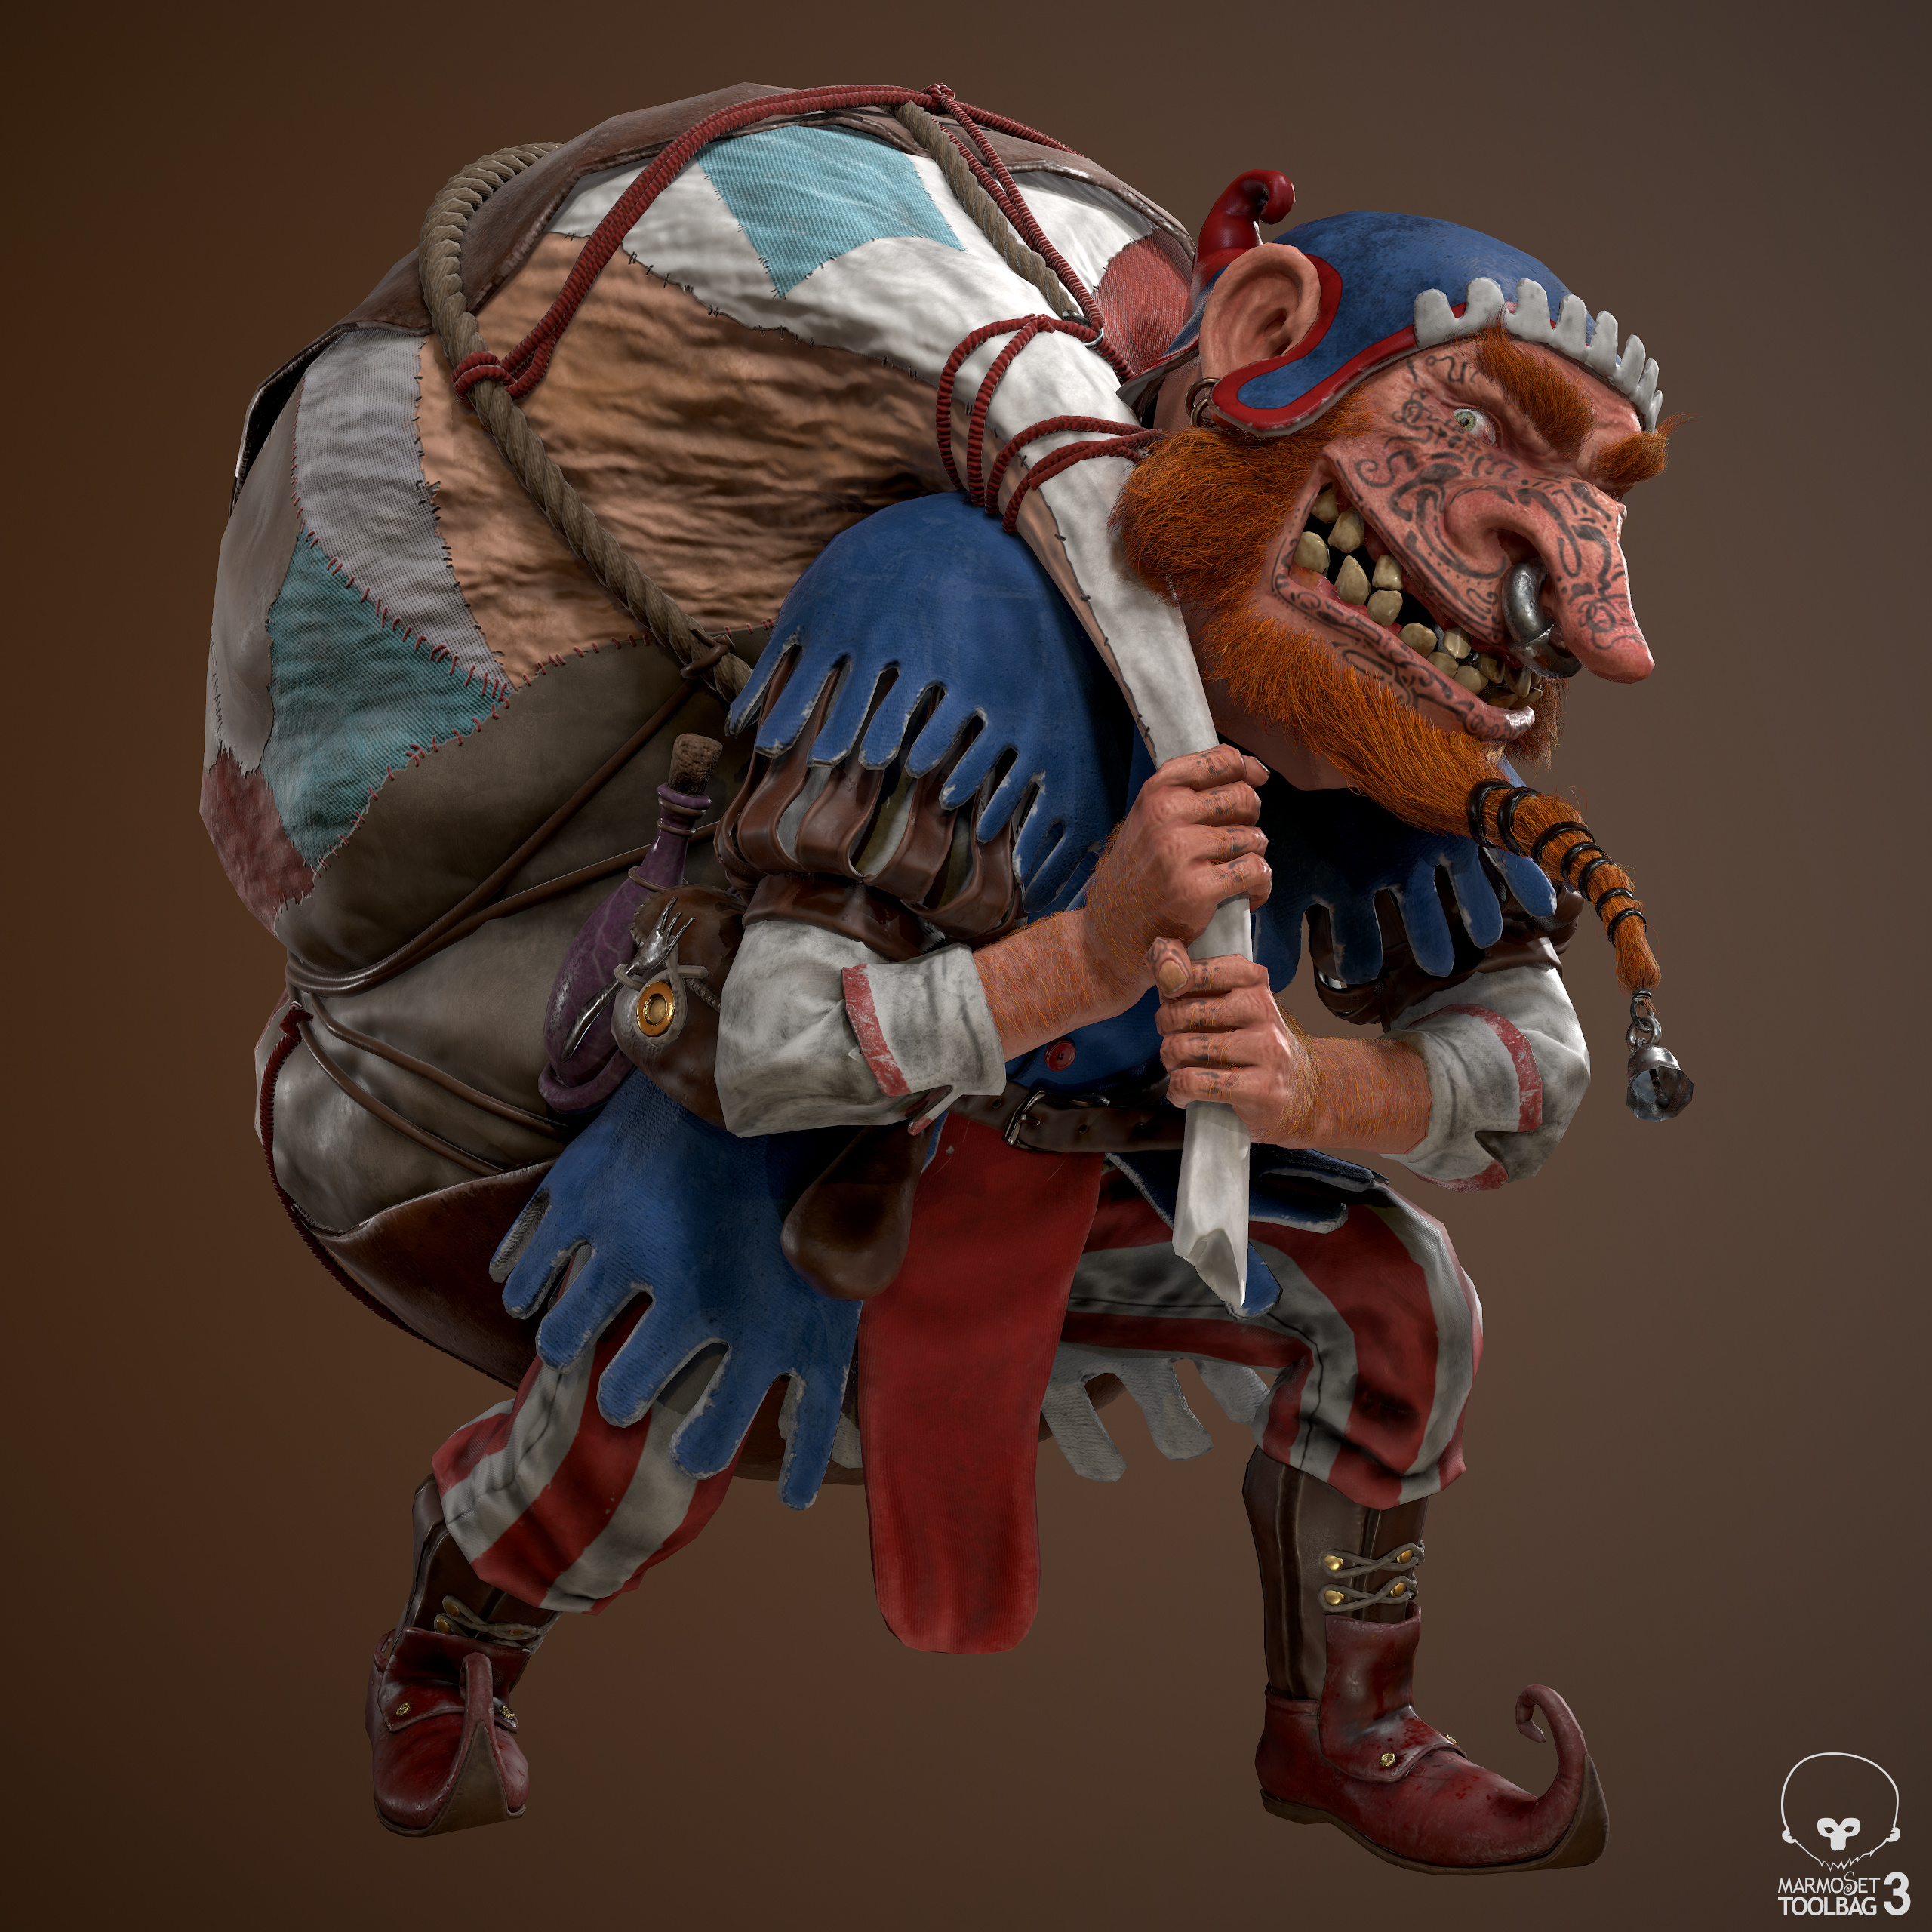
"Snatchy the 8th Dwarf" / The Gnome Thief
Hello everyone. Excited to share the final version of this character!
Really enjoyed working on this character since there were a lot of cool aspects and details that required different approaches - something I enjoy very much!
The idea of the character I wanted to create was based on mixing the fairy tale of Rumpelstiltskin with Snow White and the Seven Dwarves - An unknown 8th dwarf named “Snatchy”, who steals every shiny thing he lays eyes on.
The illustration that I based the character on was made by Filipe Pagliuso, who very kindly agreed to let me adapt his illustration into 3D!
Here are some technical aspects about the character:
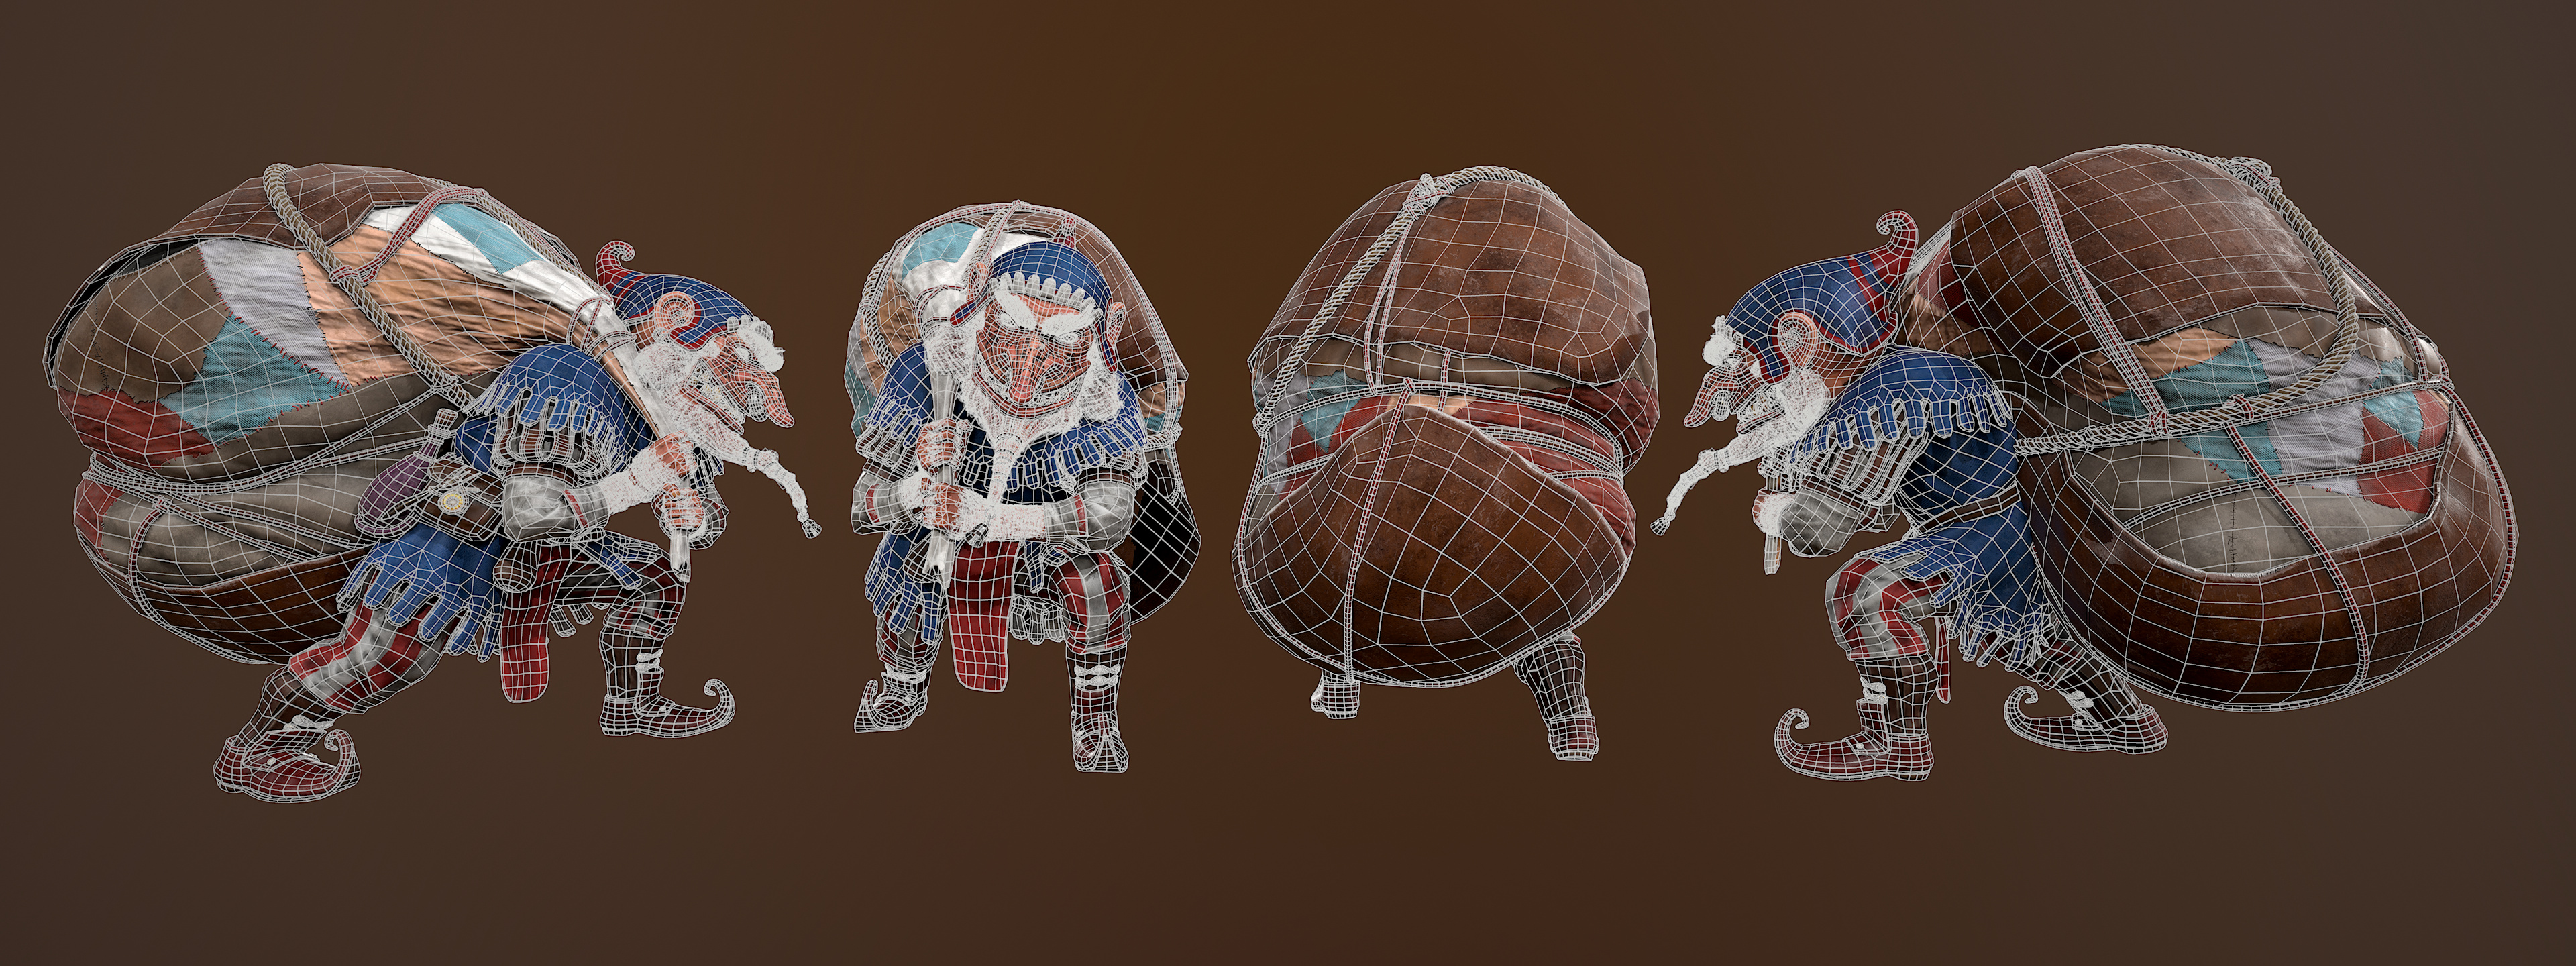
- 99,775 total triangles.
- 2 * 4096x4096 Texture Sets.
Software I used in the making of this character was ZBrush, Maya, Blender, xNormal, Substance Painter, Photoshop, and Marmoset Toolbag.
Work in progress thread can be found in the hyperlink below.
WIP Thread
All images are rendered in Marmoset with no post-render editing done.
Final Shot
Front, Side and Back Views

Wireframe

Texture Overview

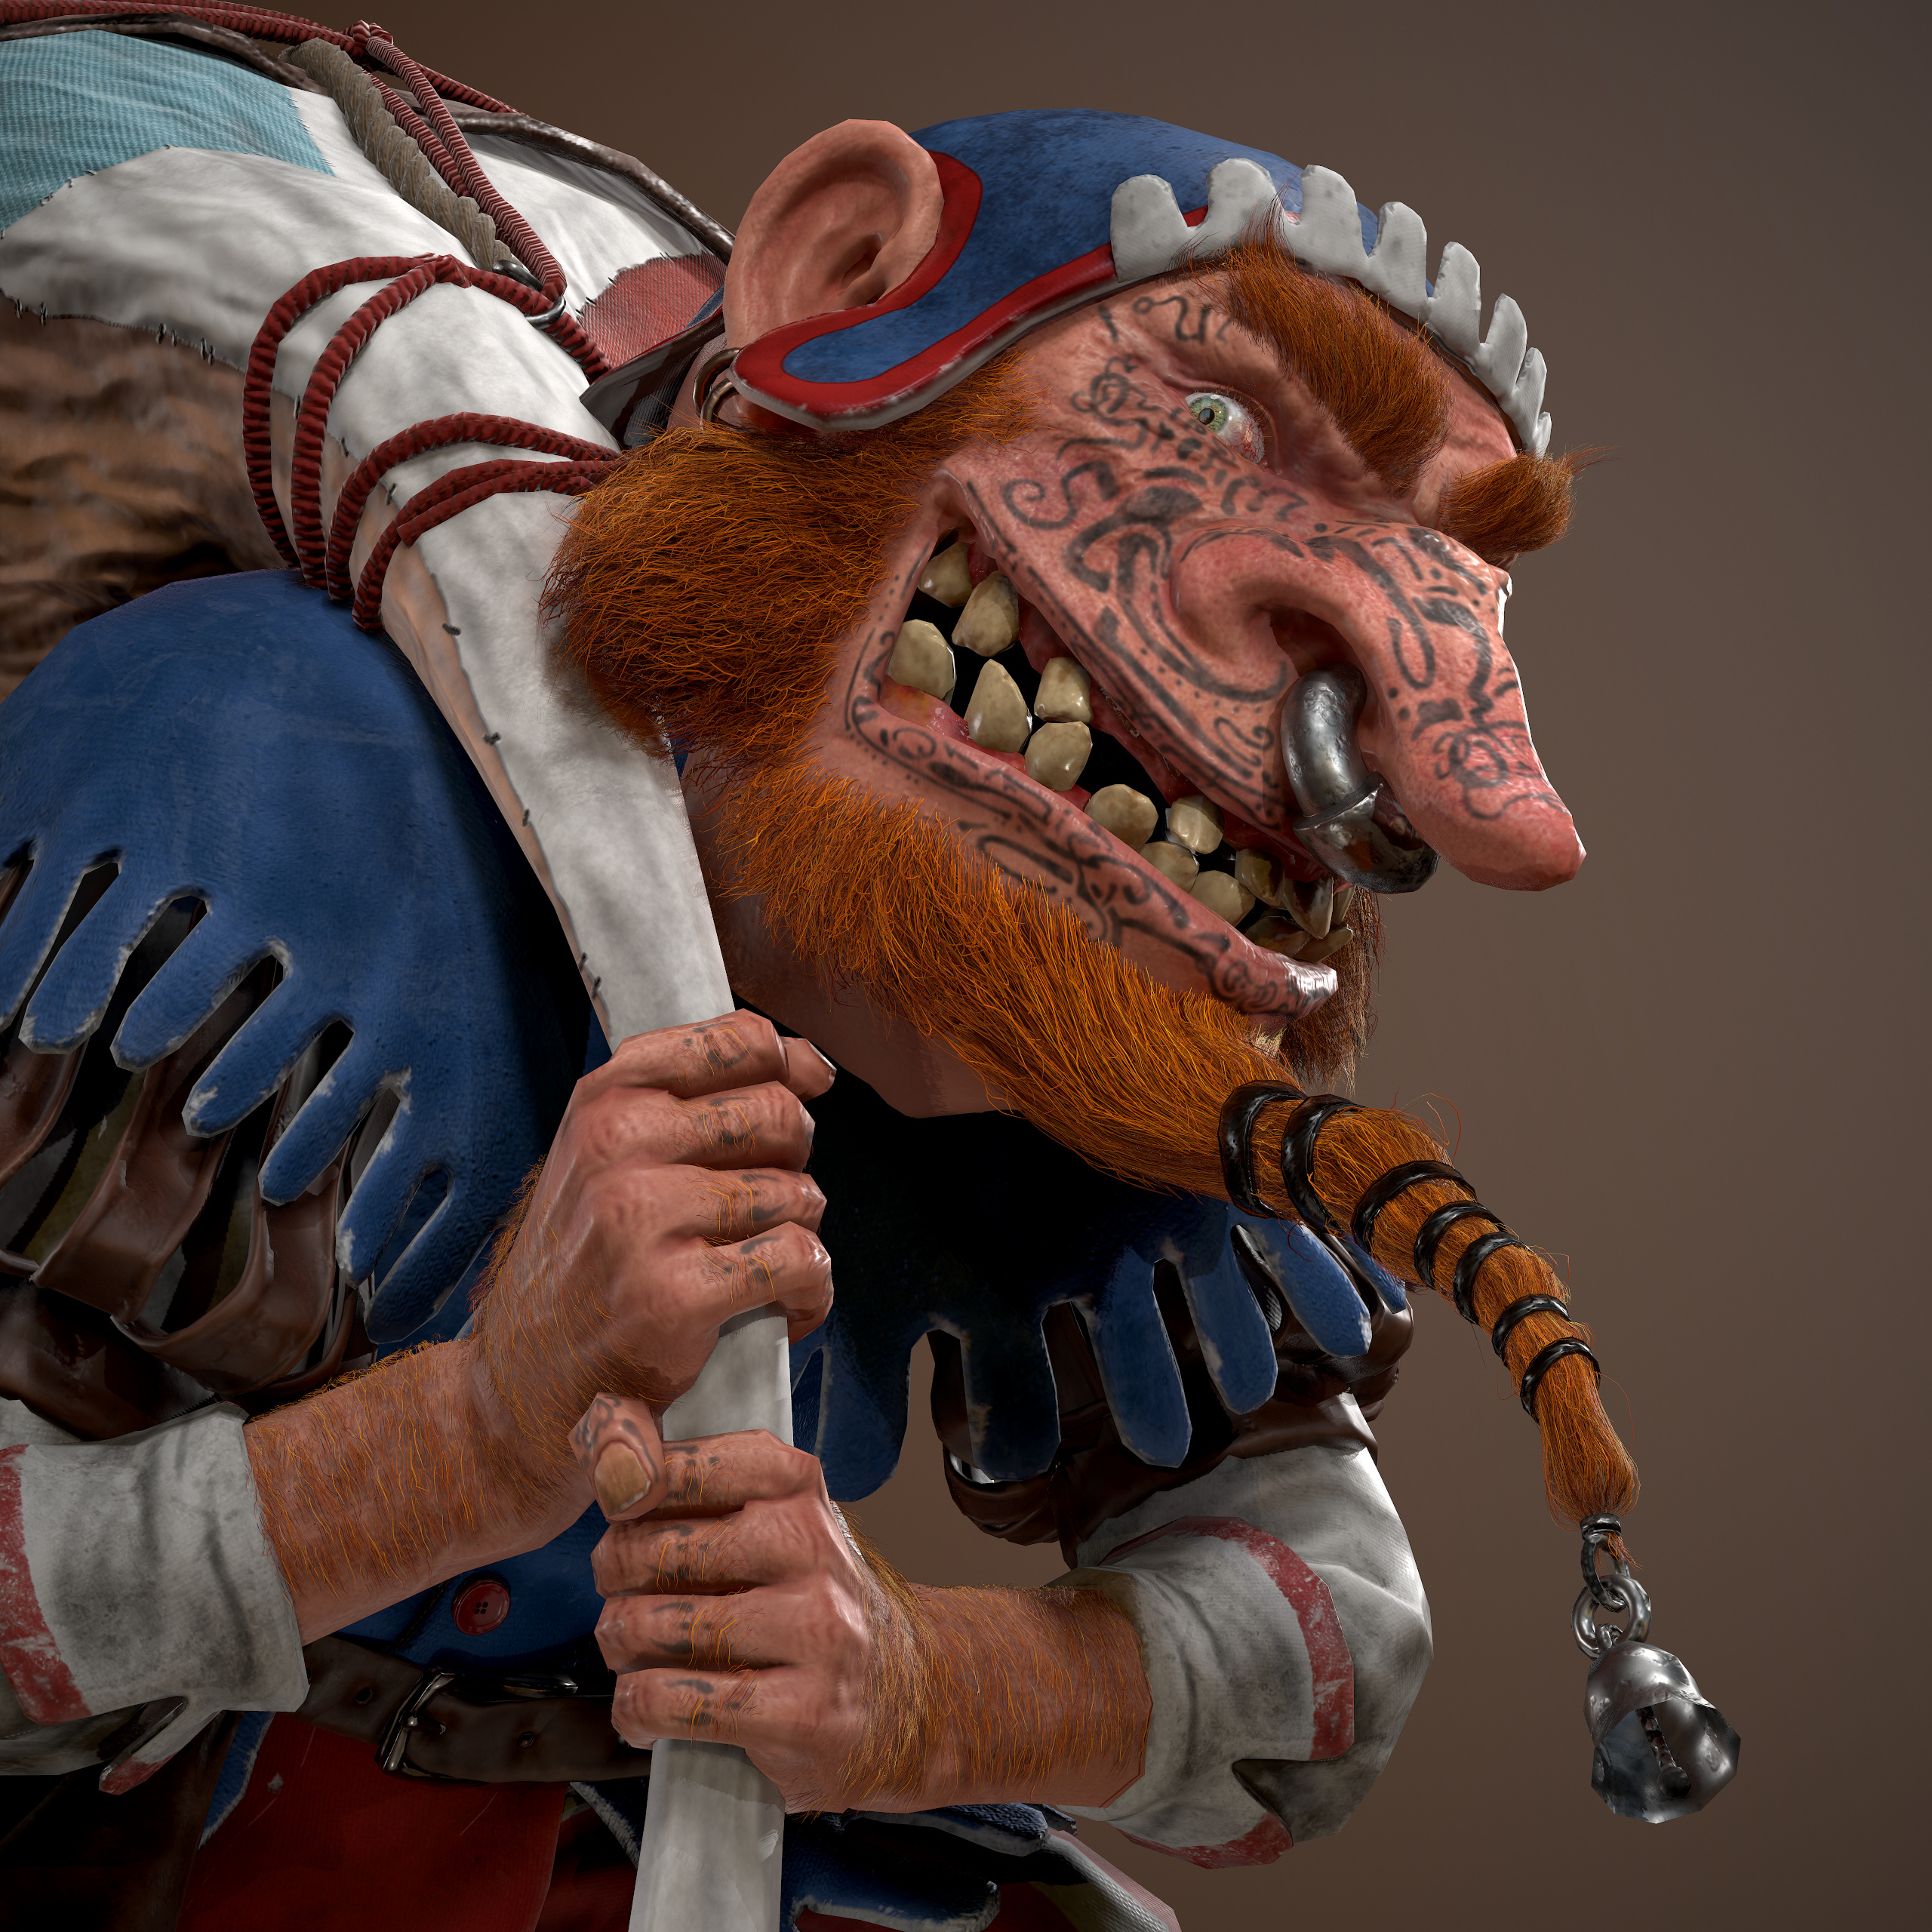
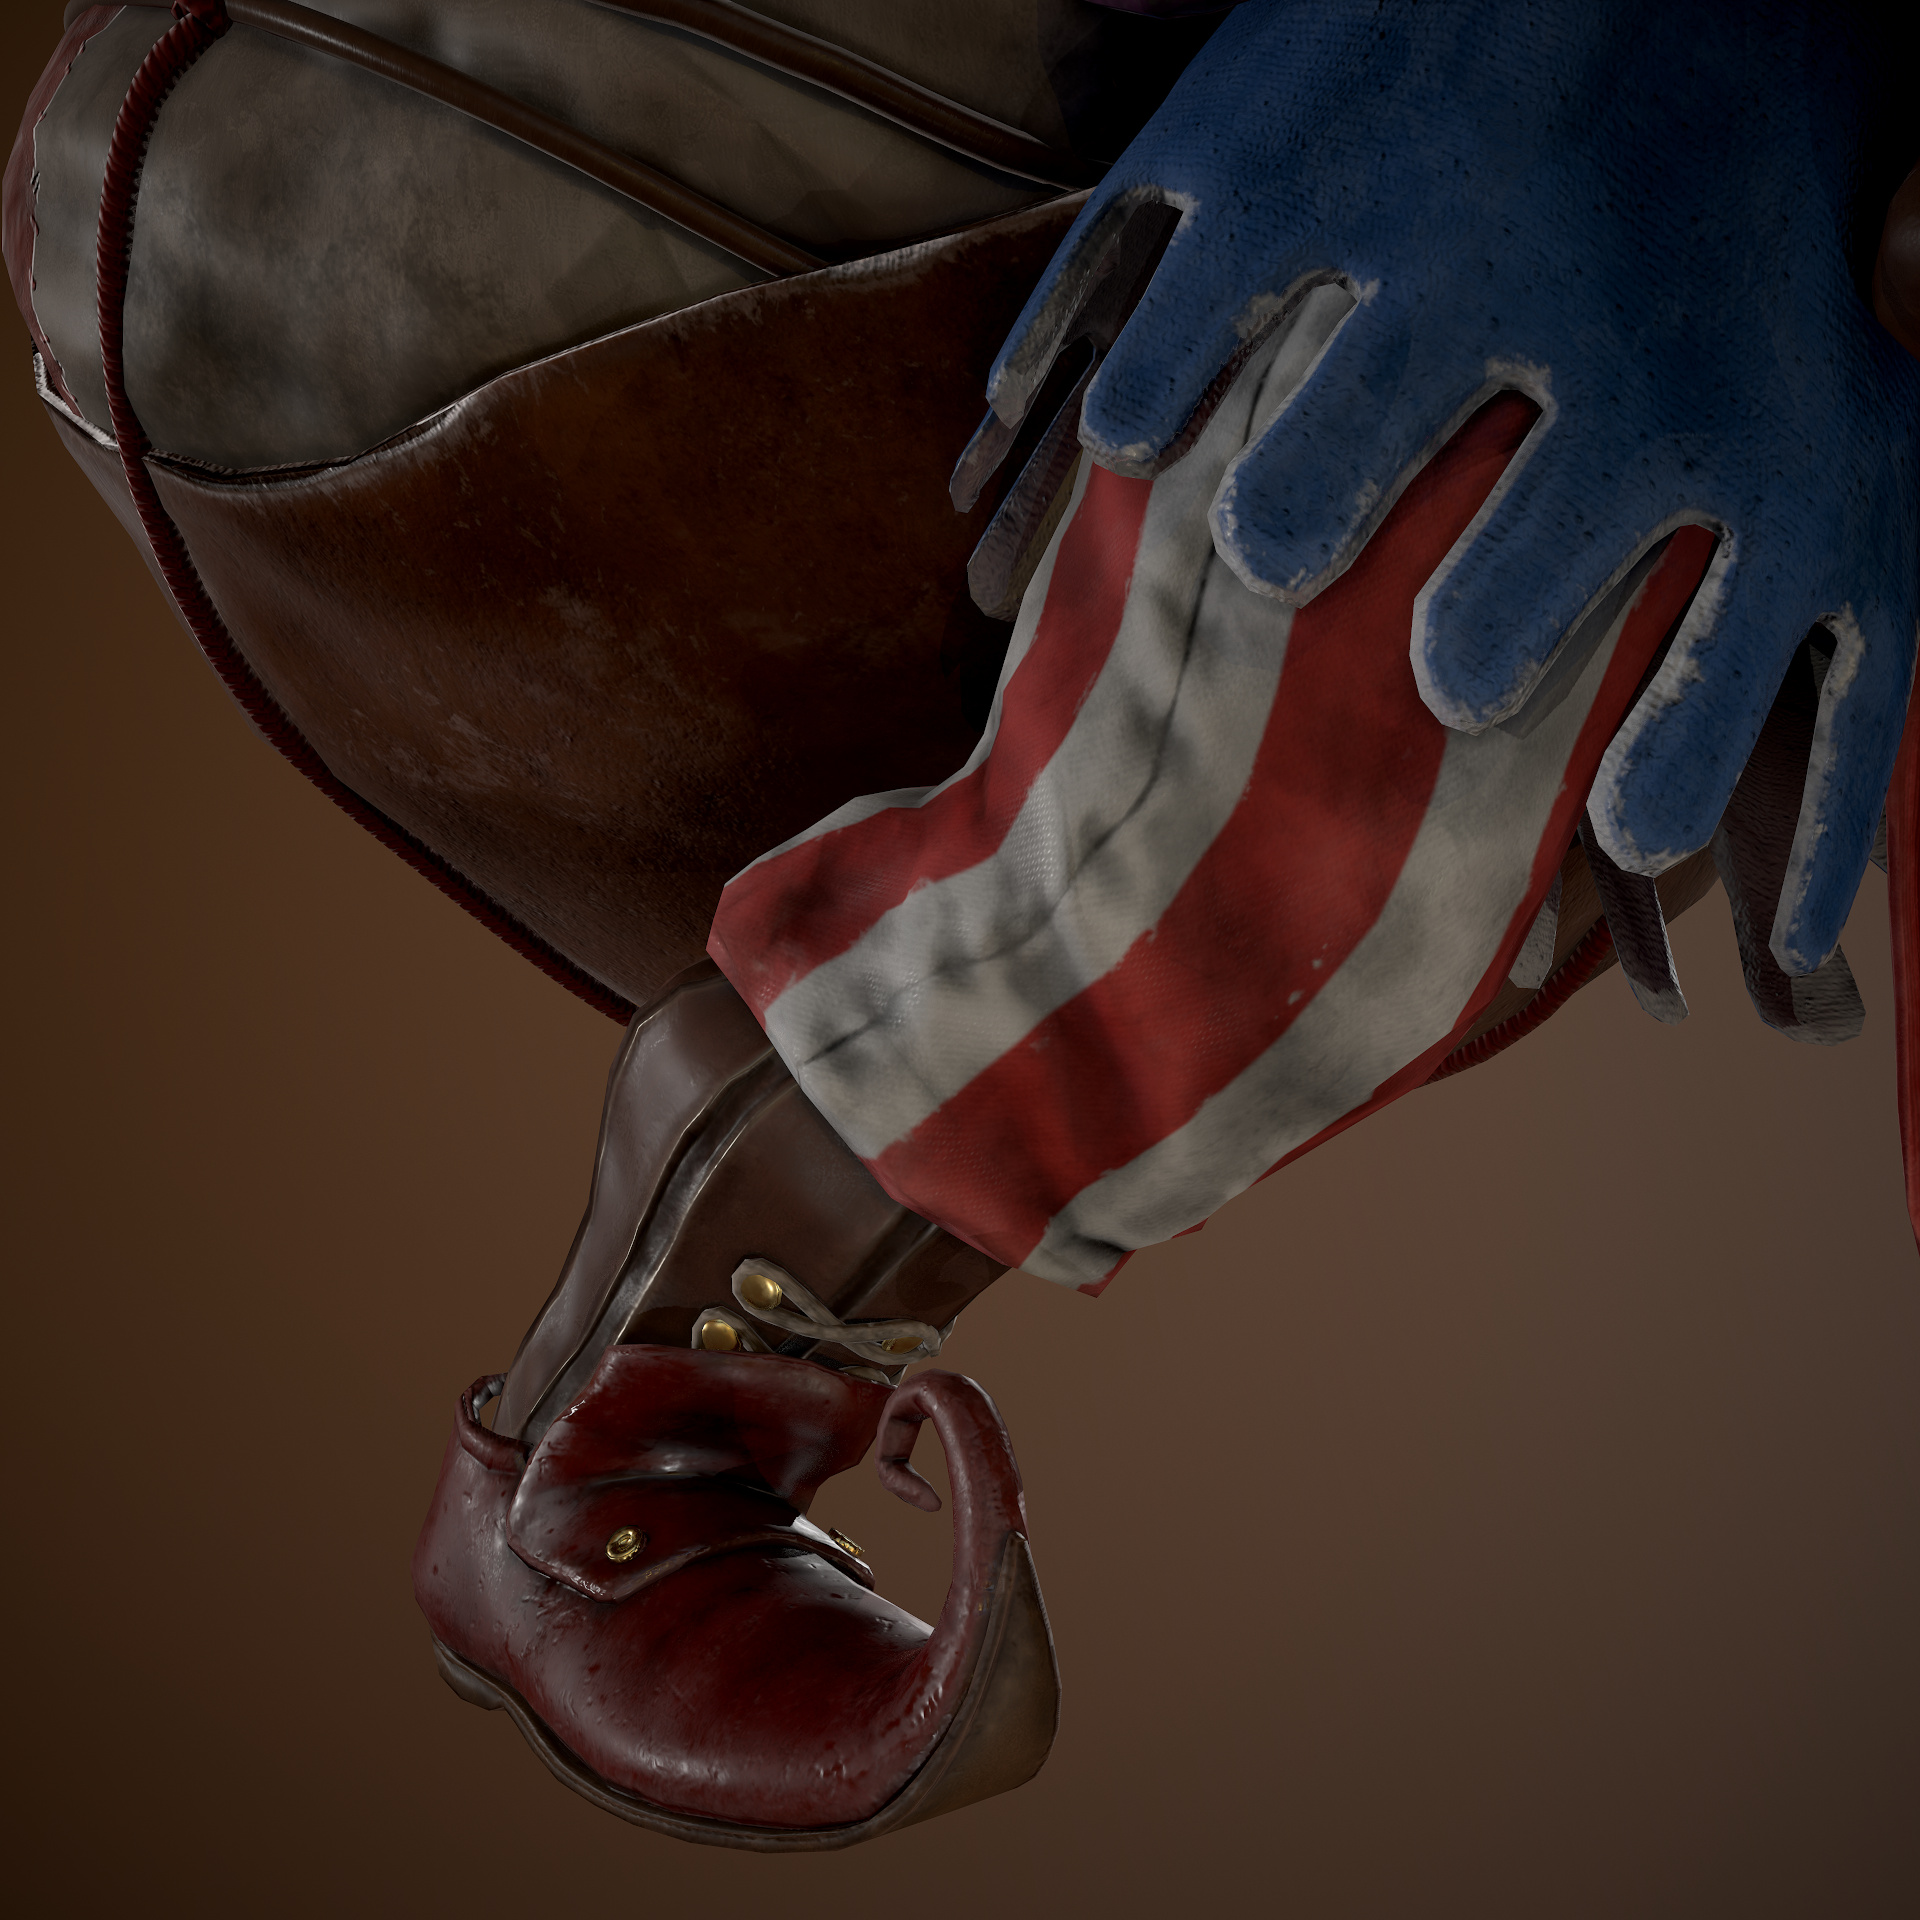
Additional Shots


Marmoset Viewer
Idle Animation
Turntable
Thank you for taking a look!
Also, thanks to everyone who engaged in my thread, and to FlippedNormals for hosting the challenge!
Best of luck to everyone!