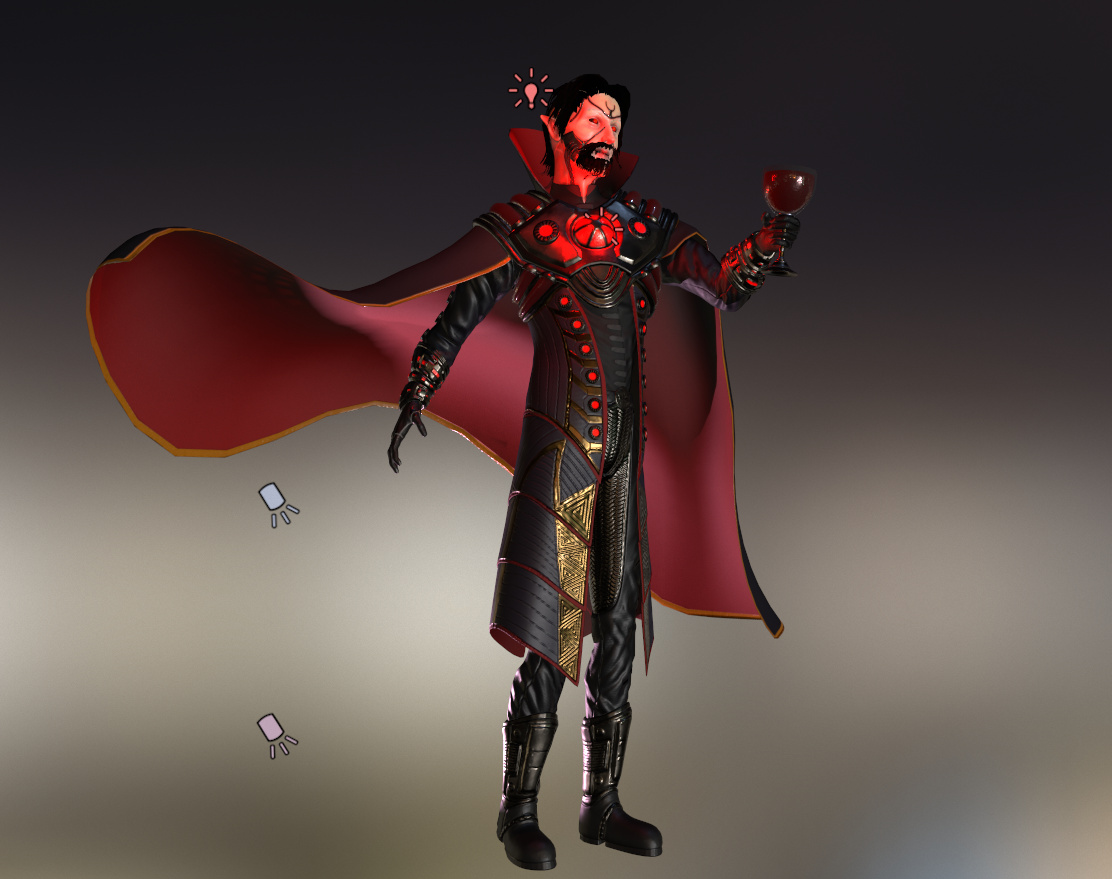
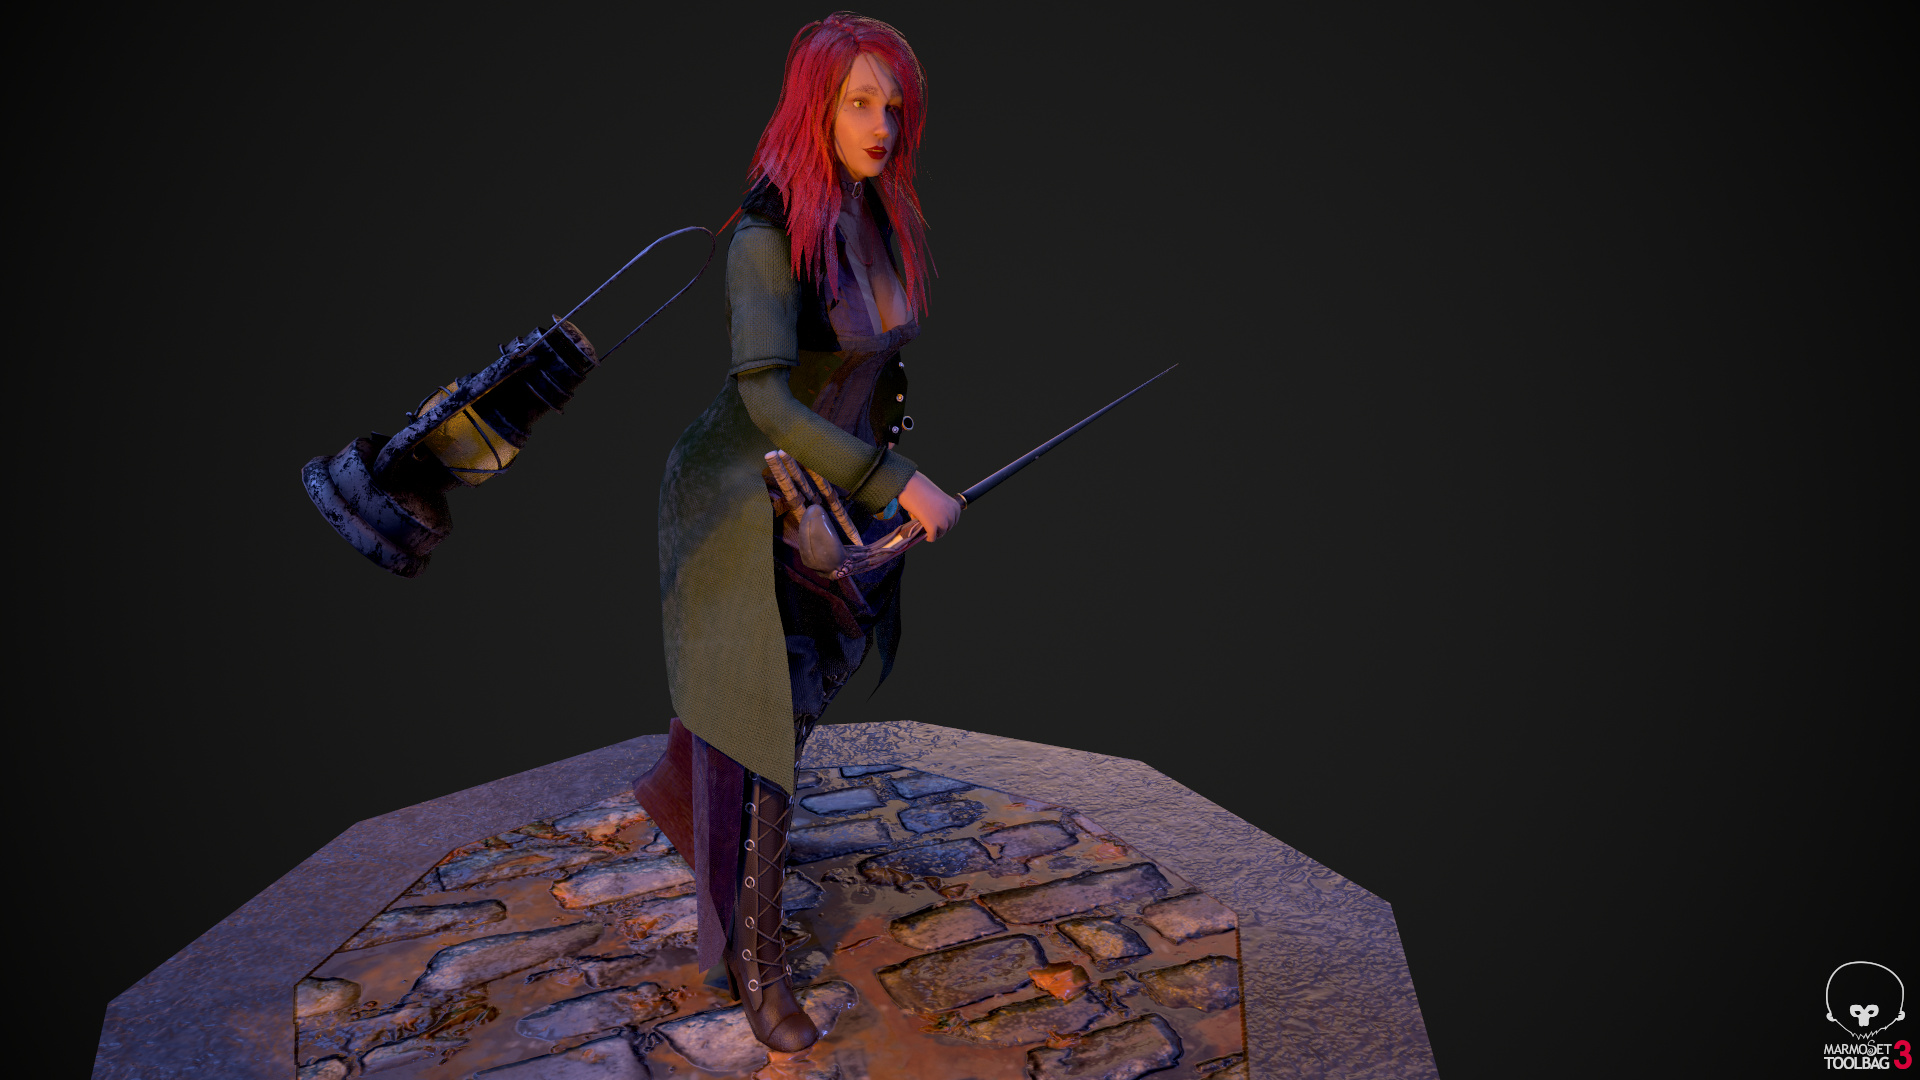
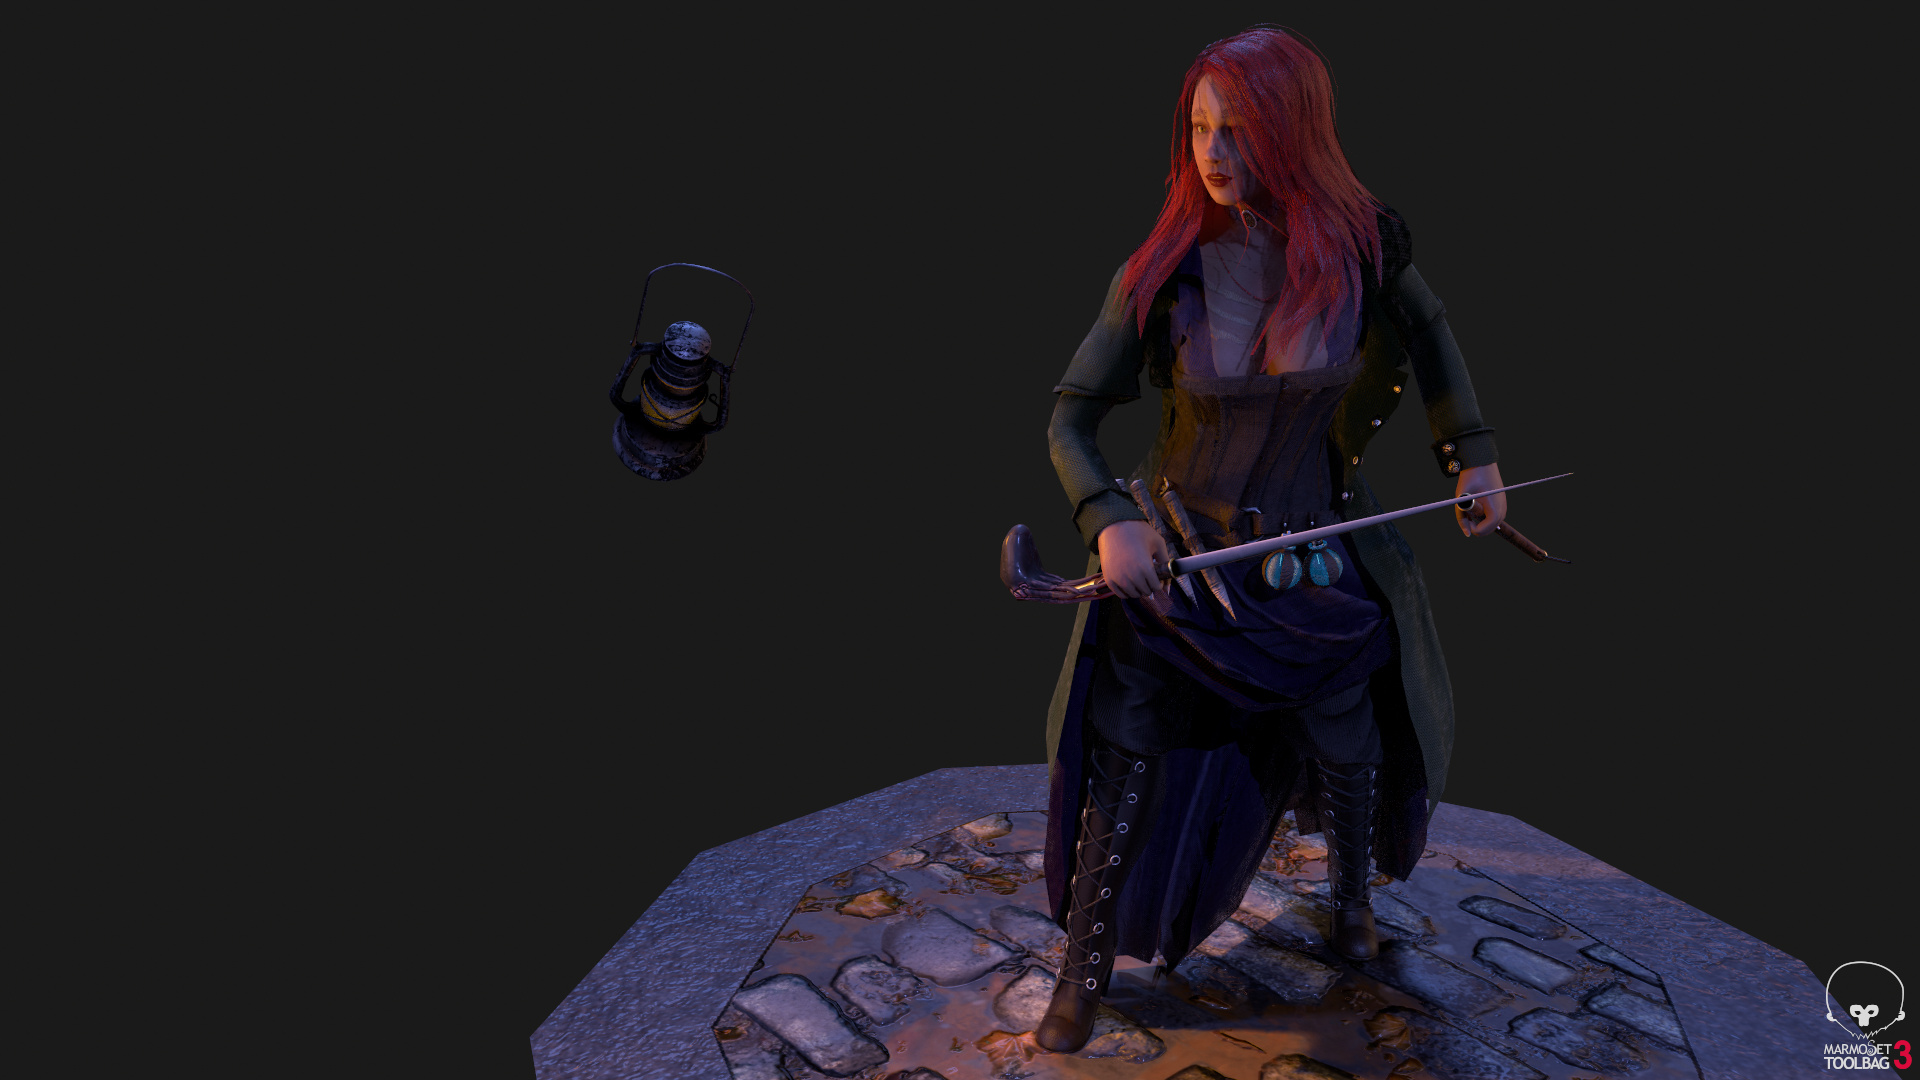
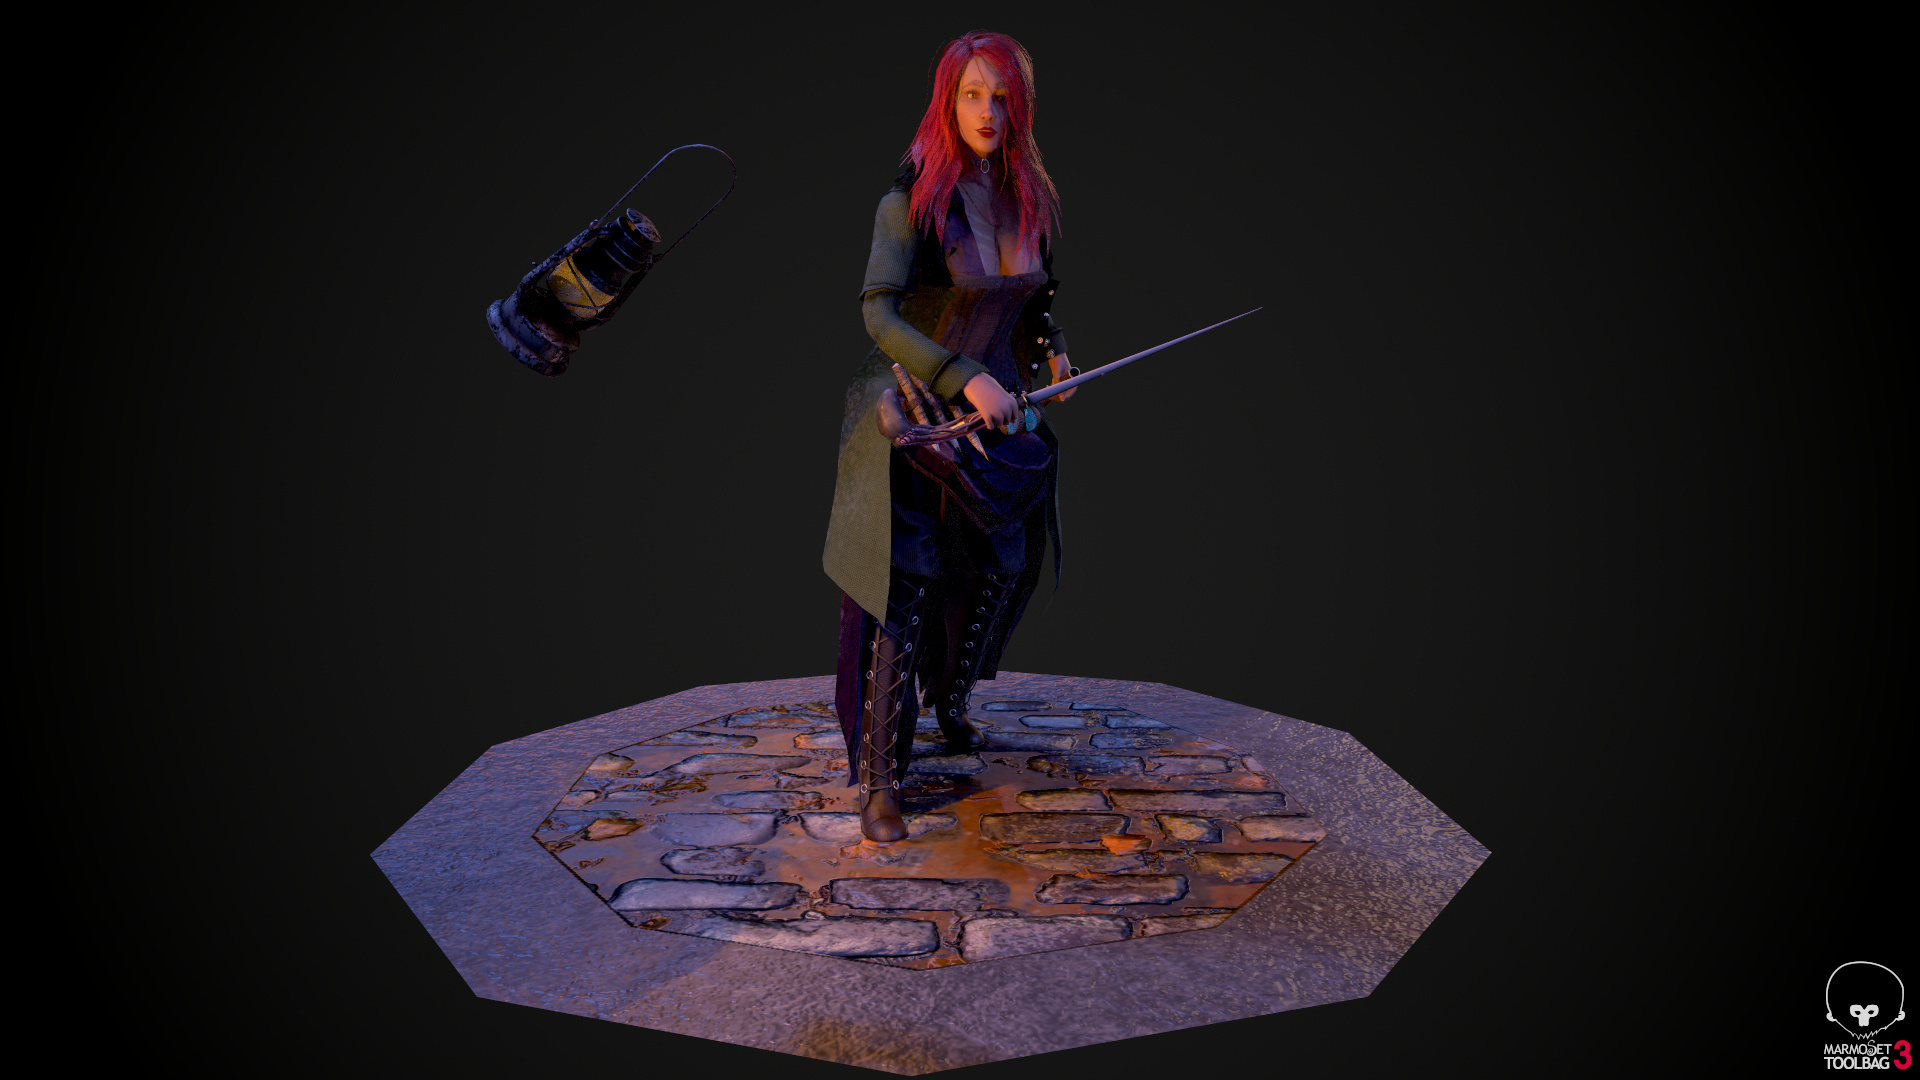
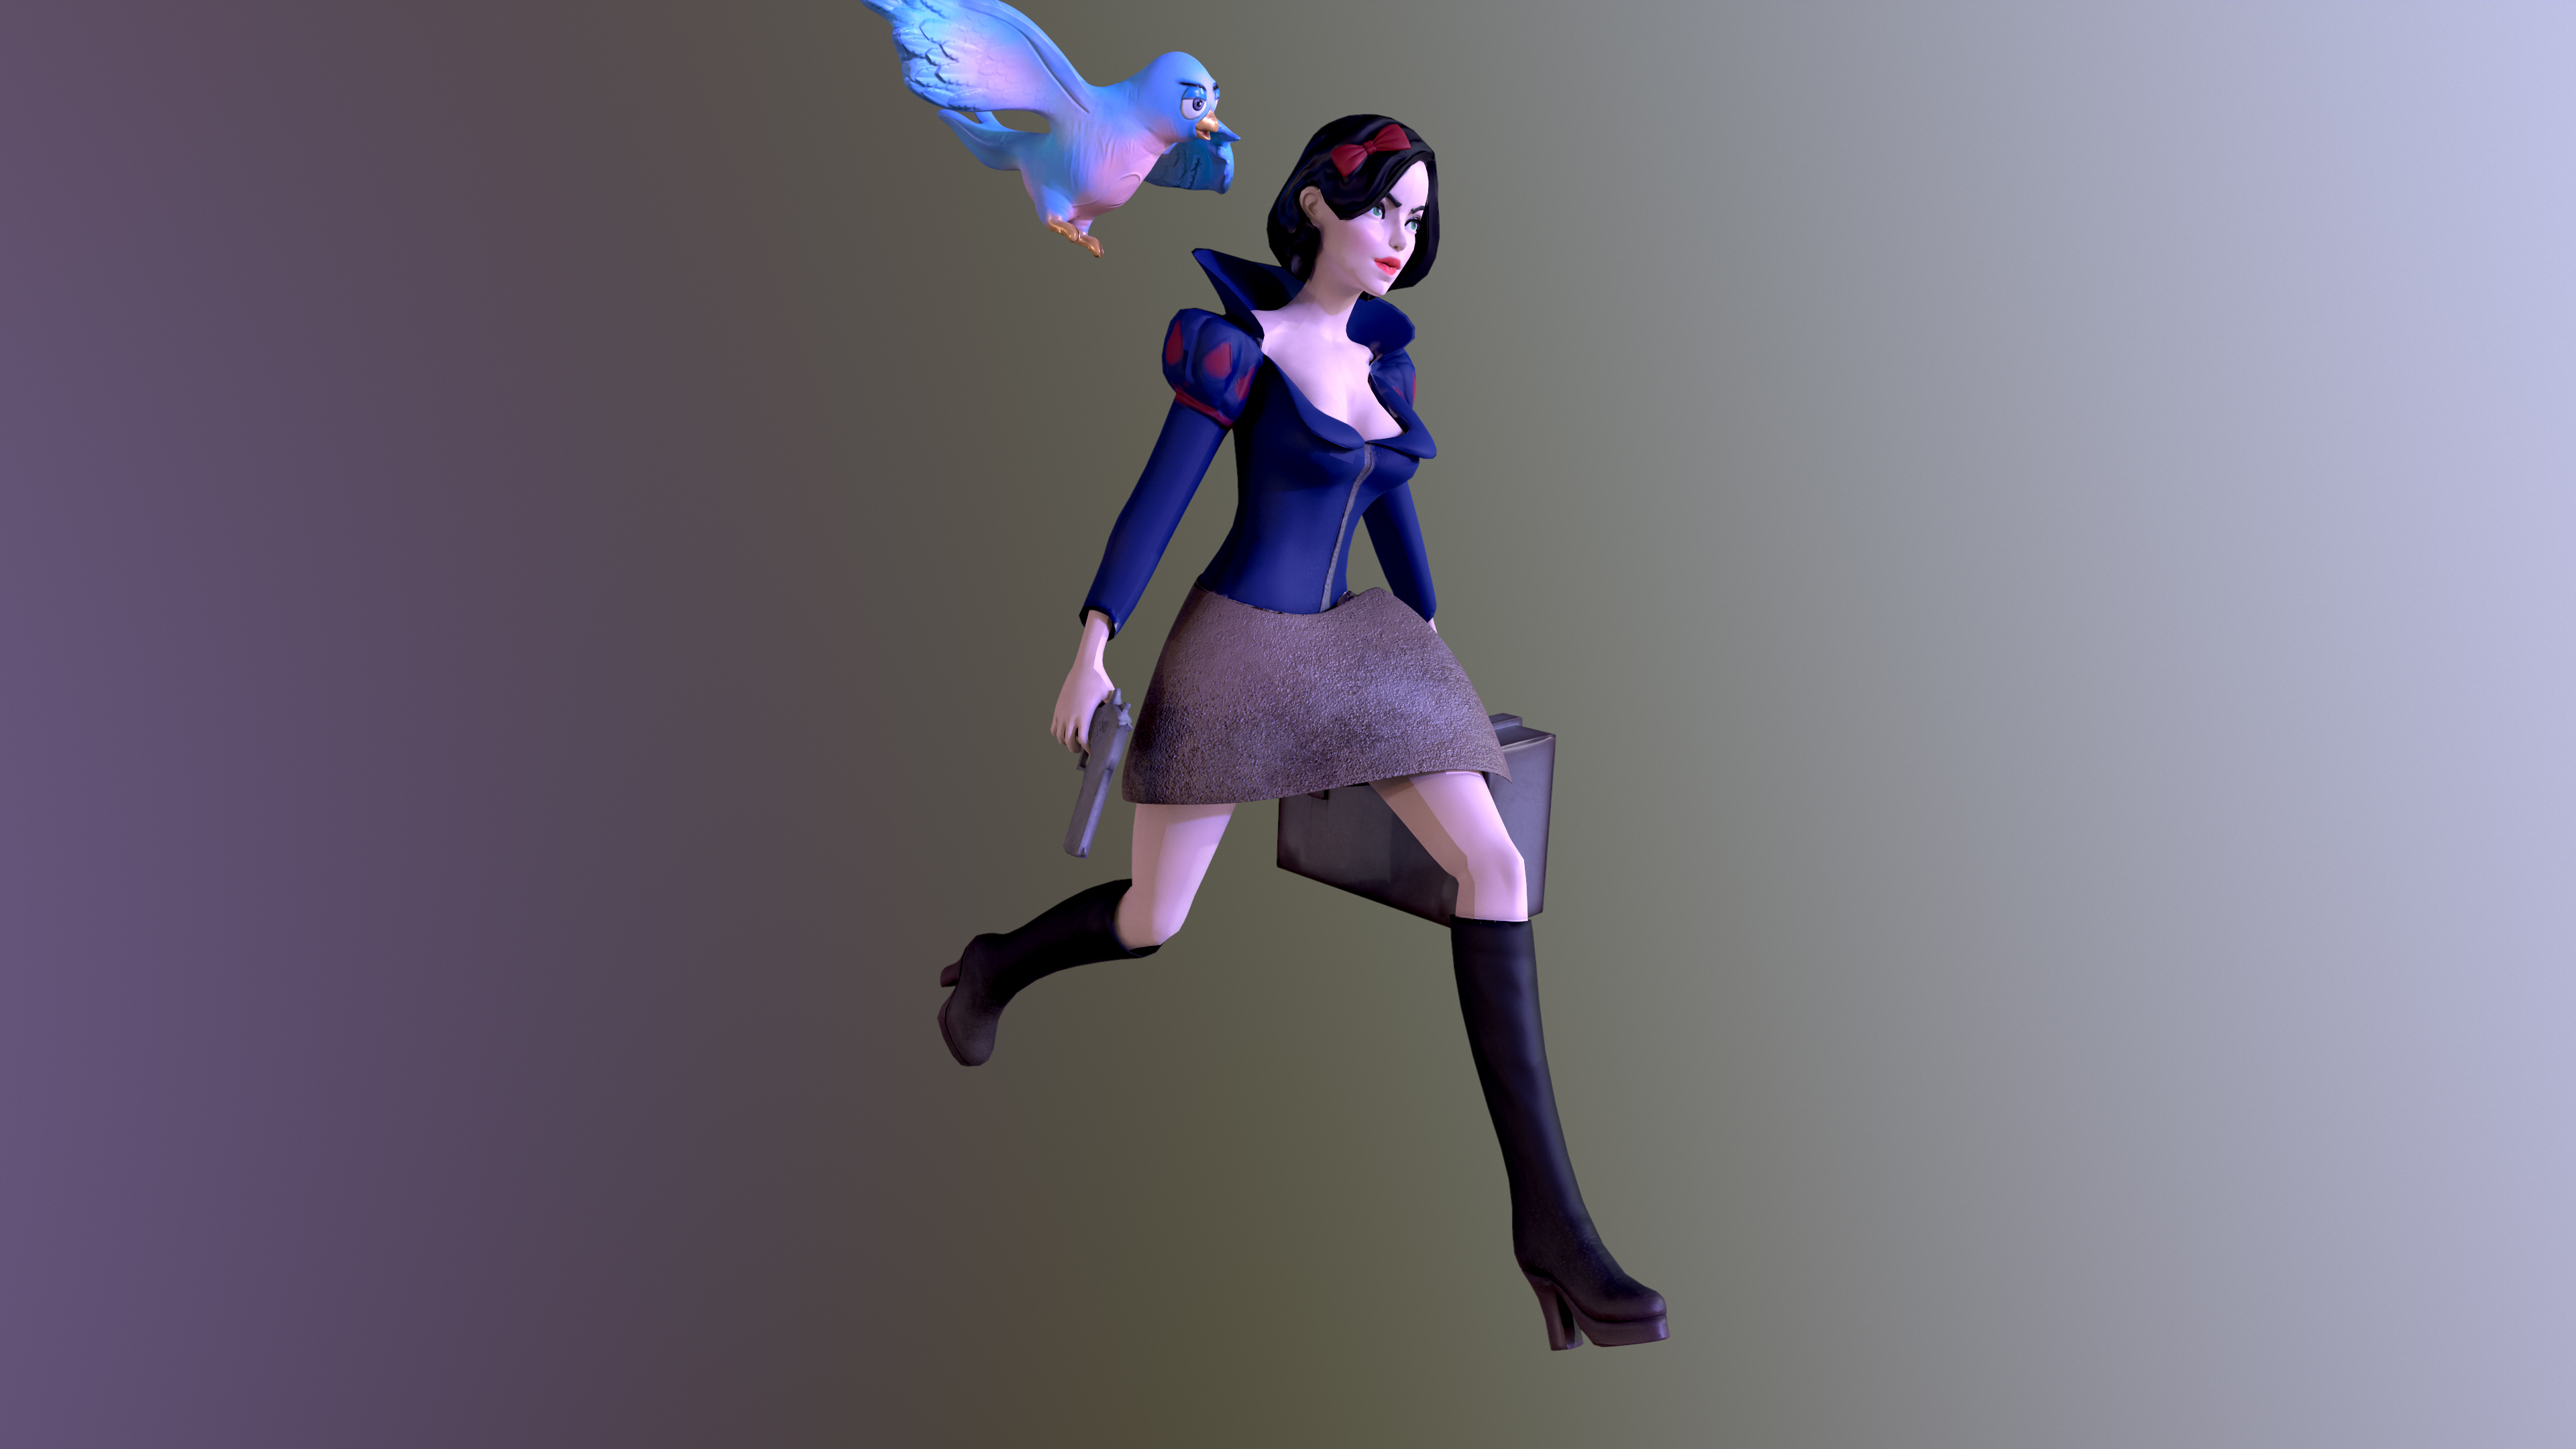
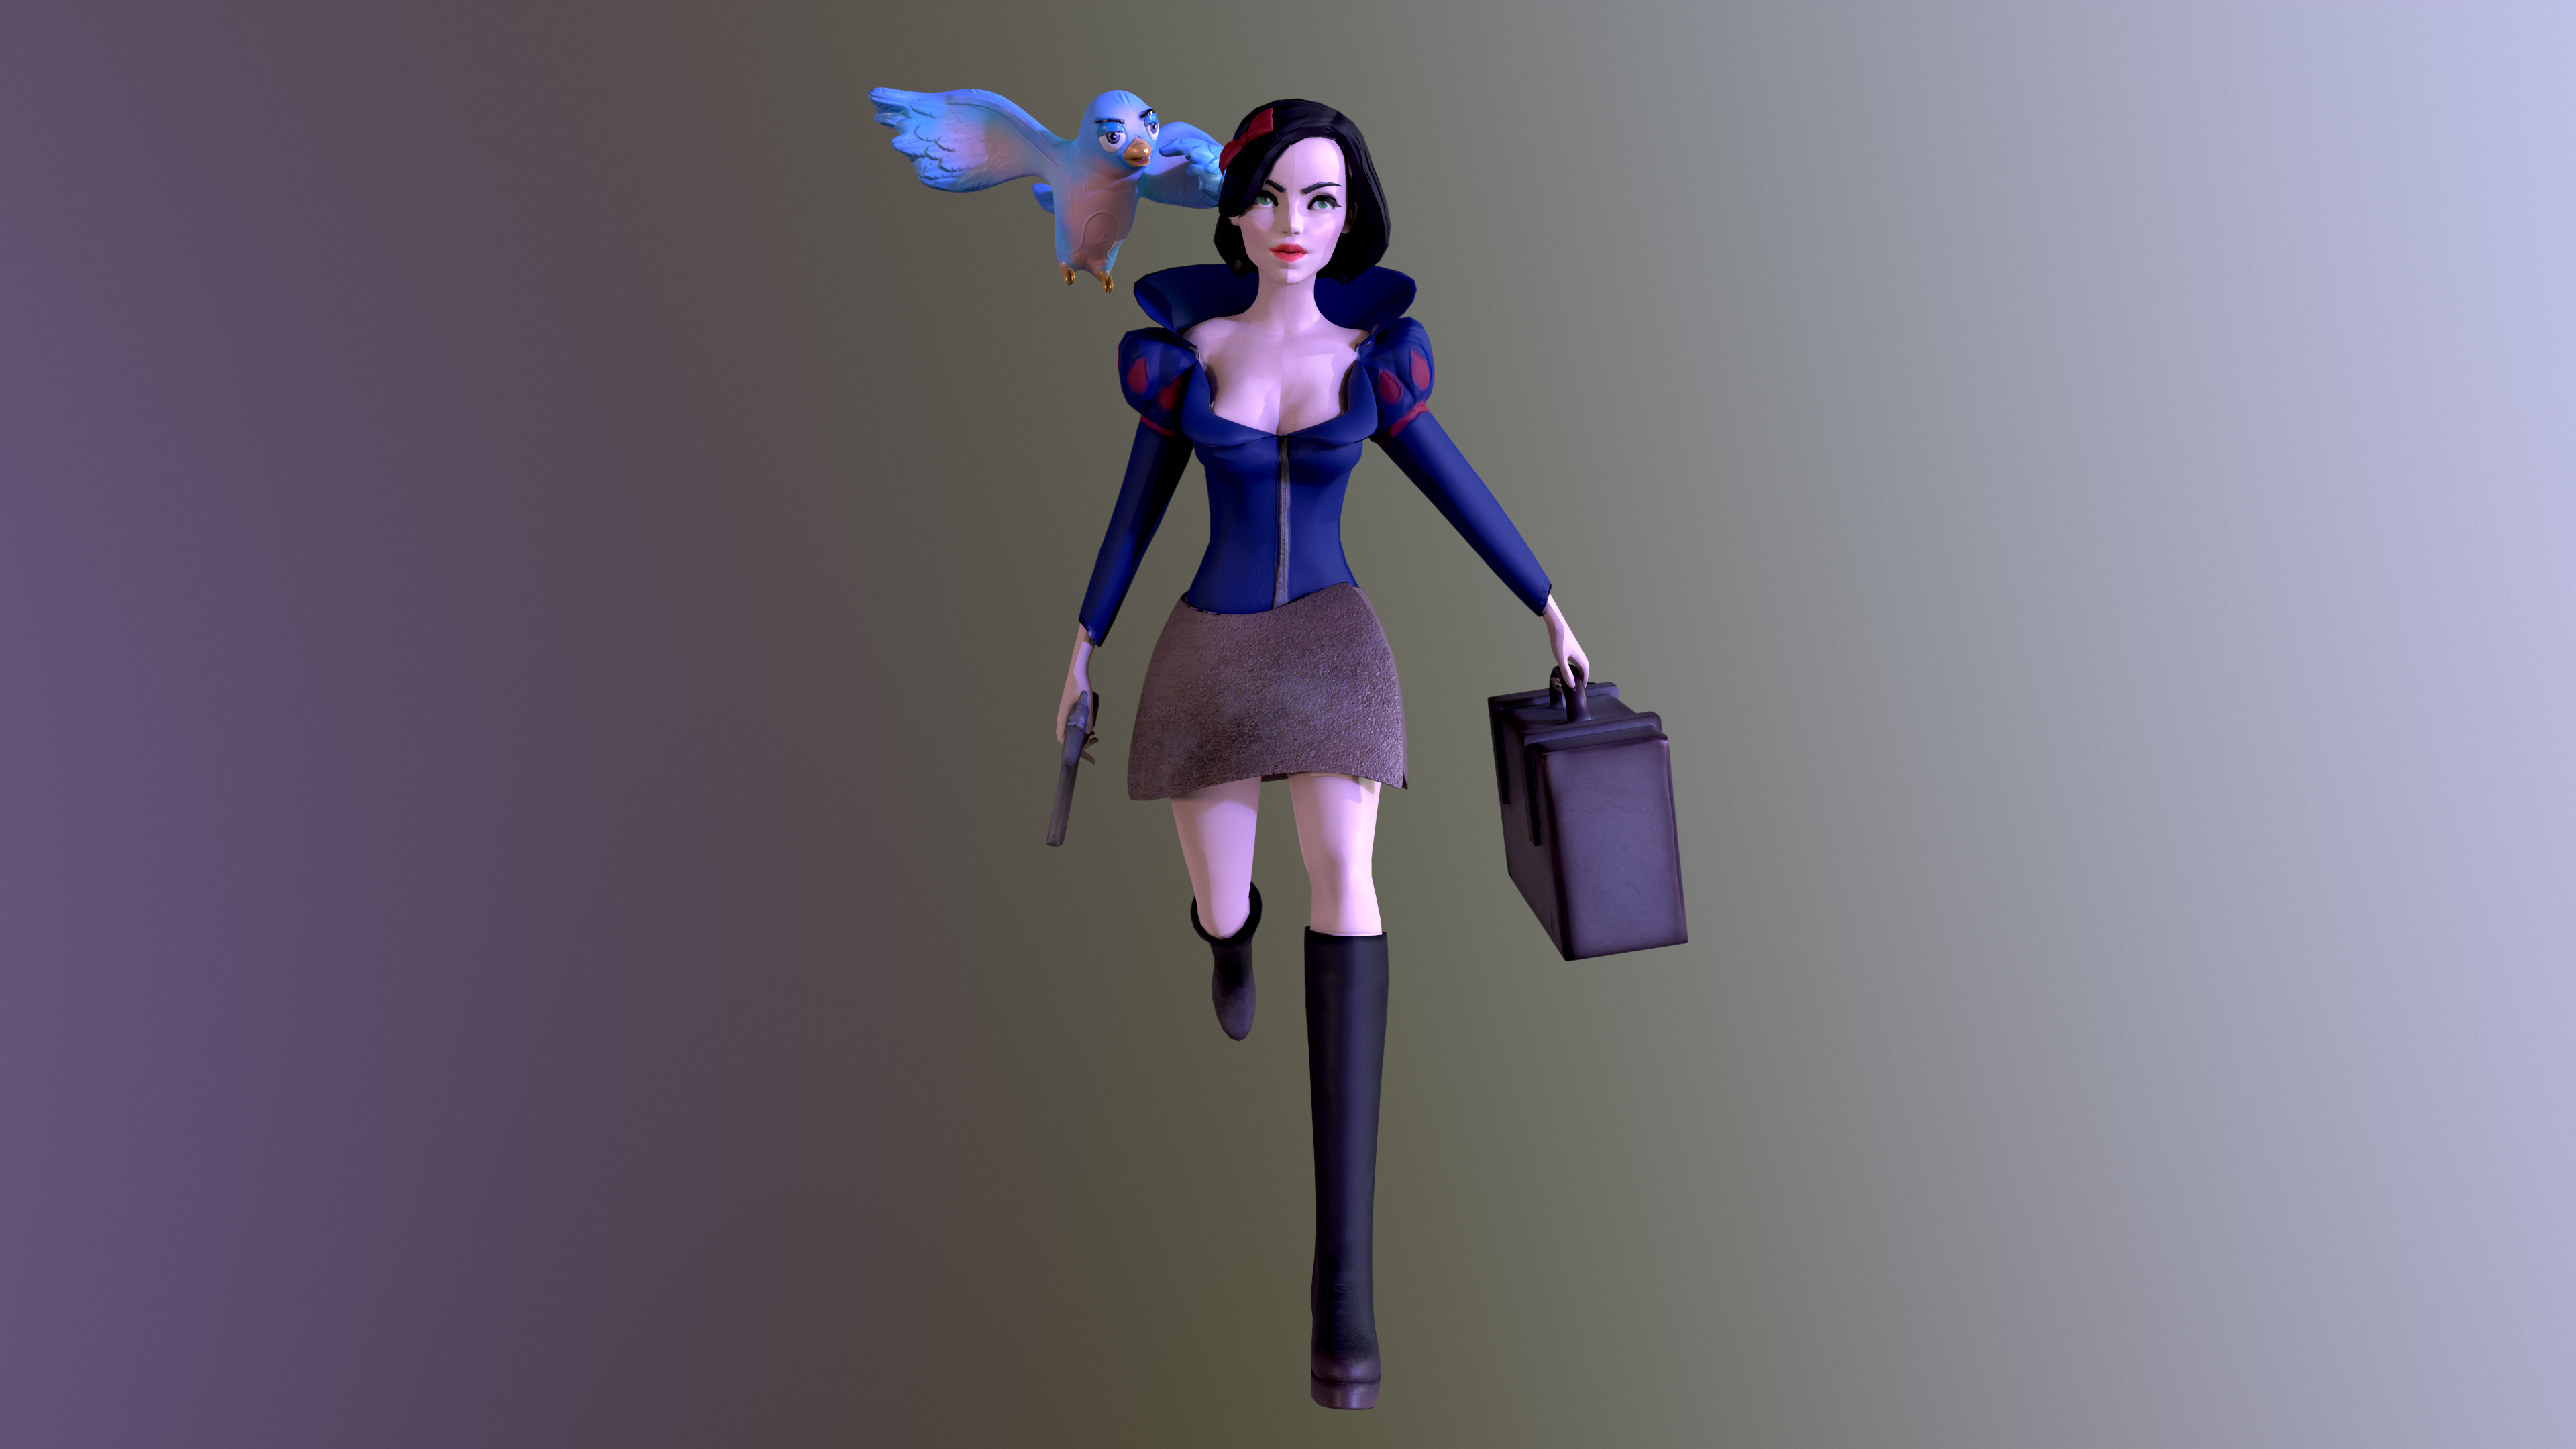
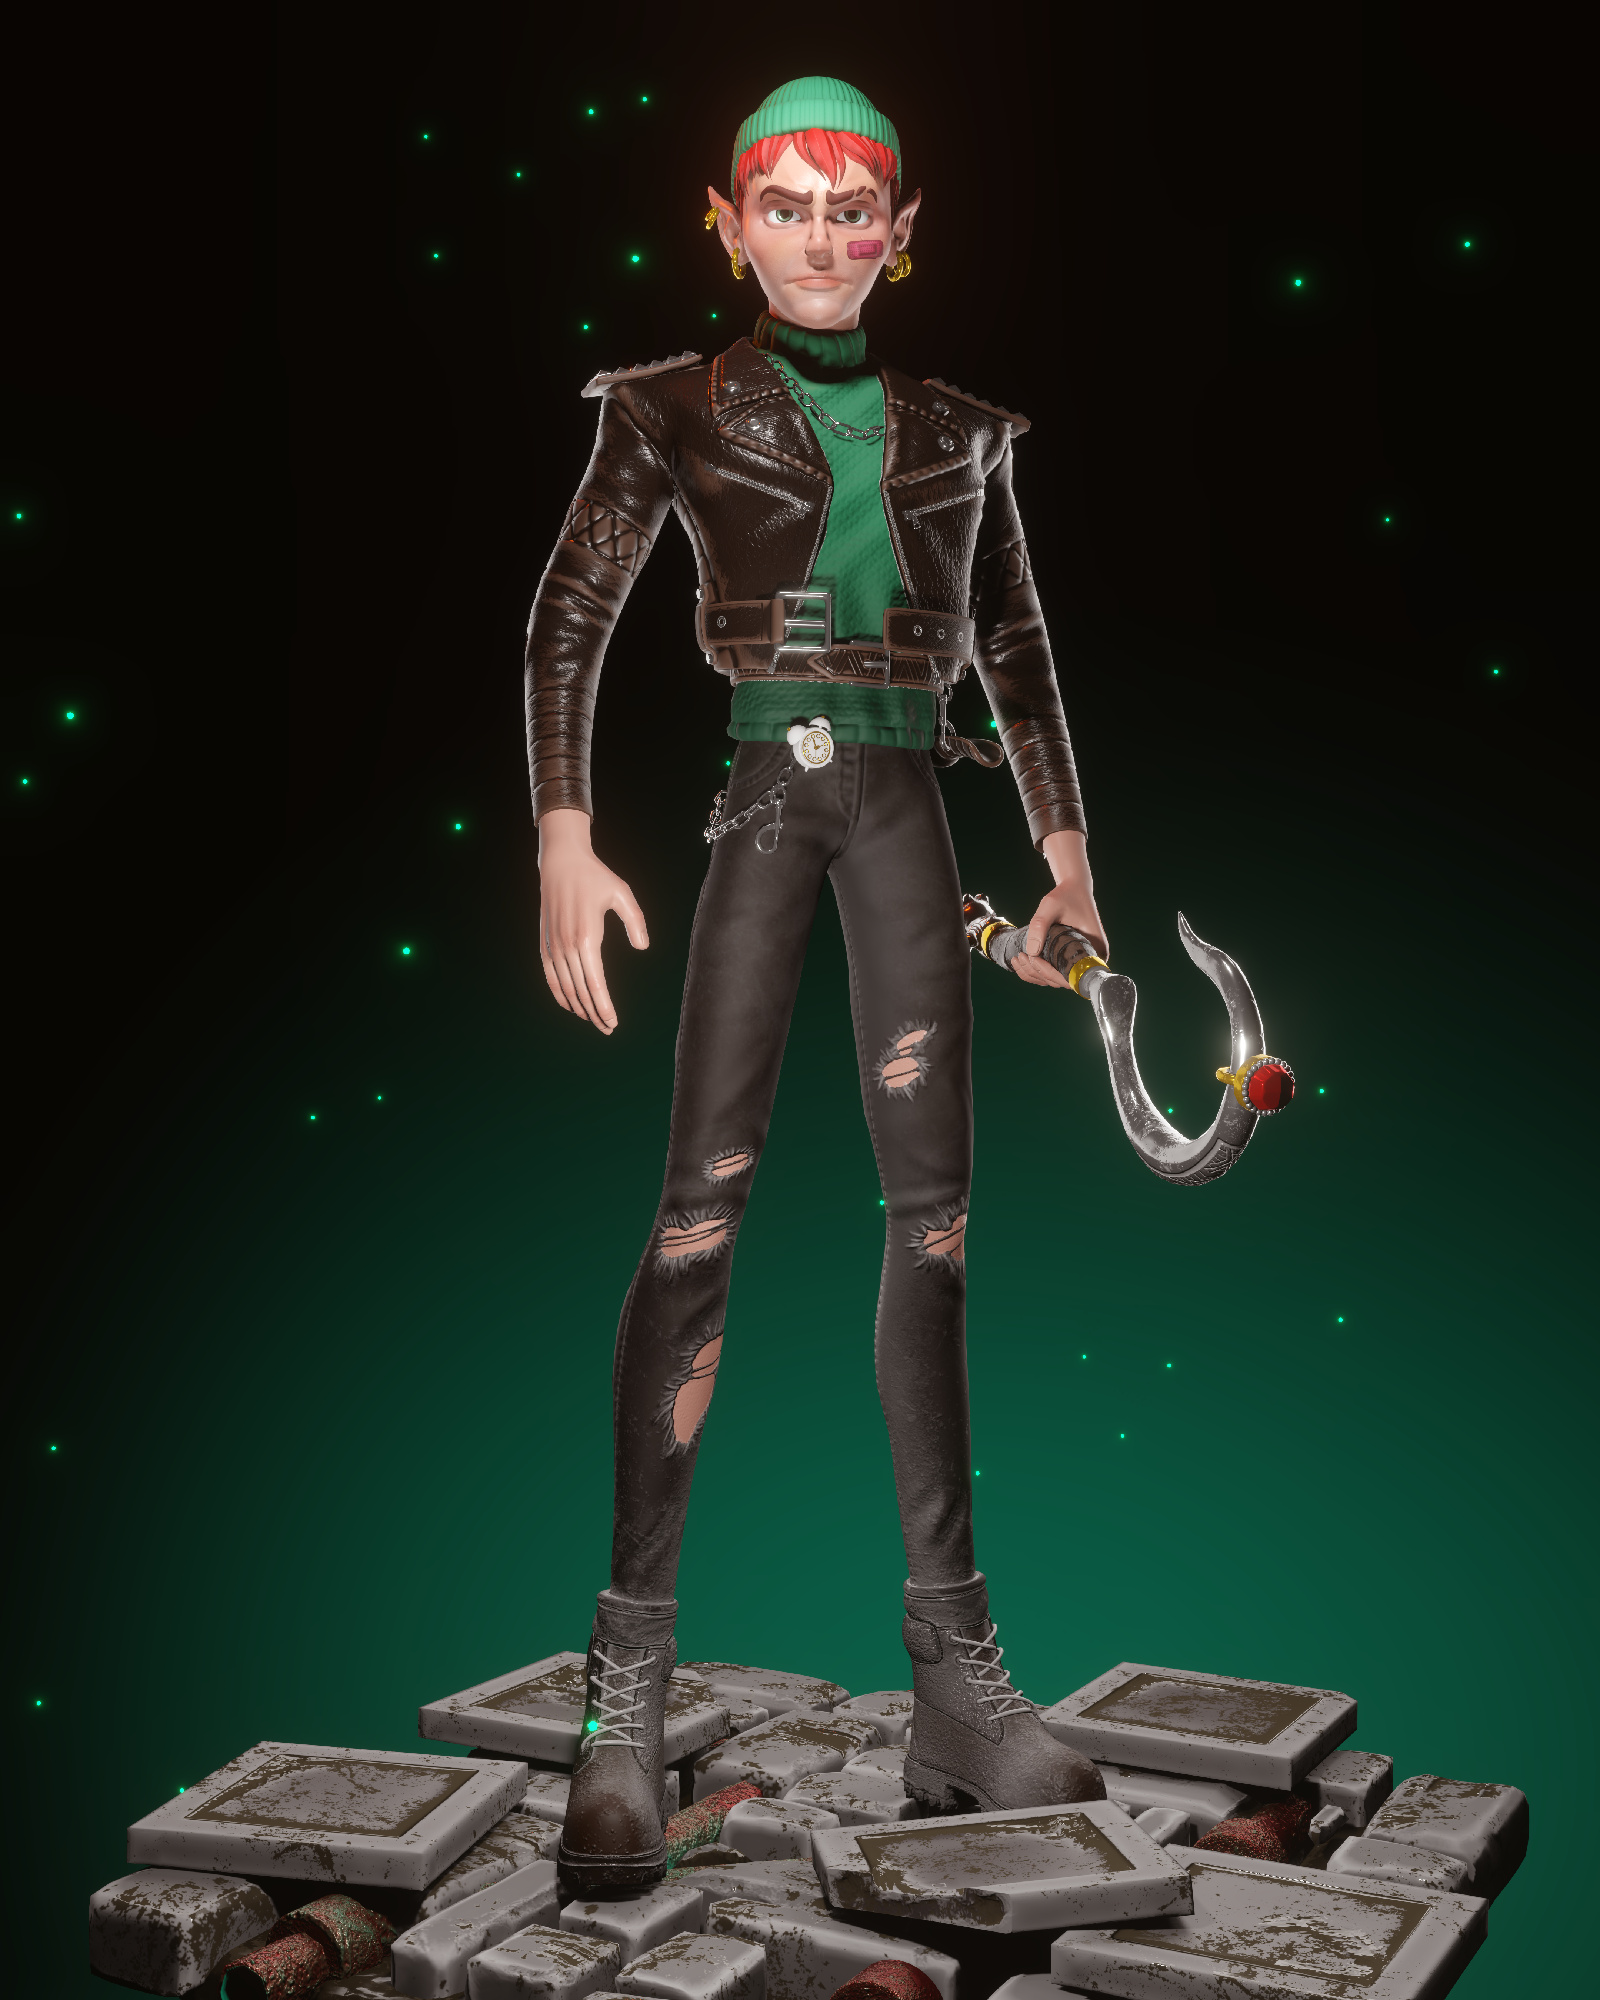
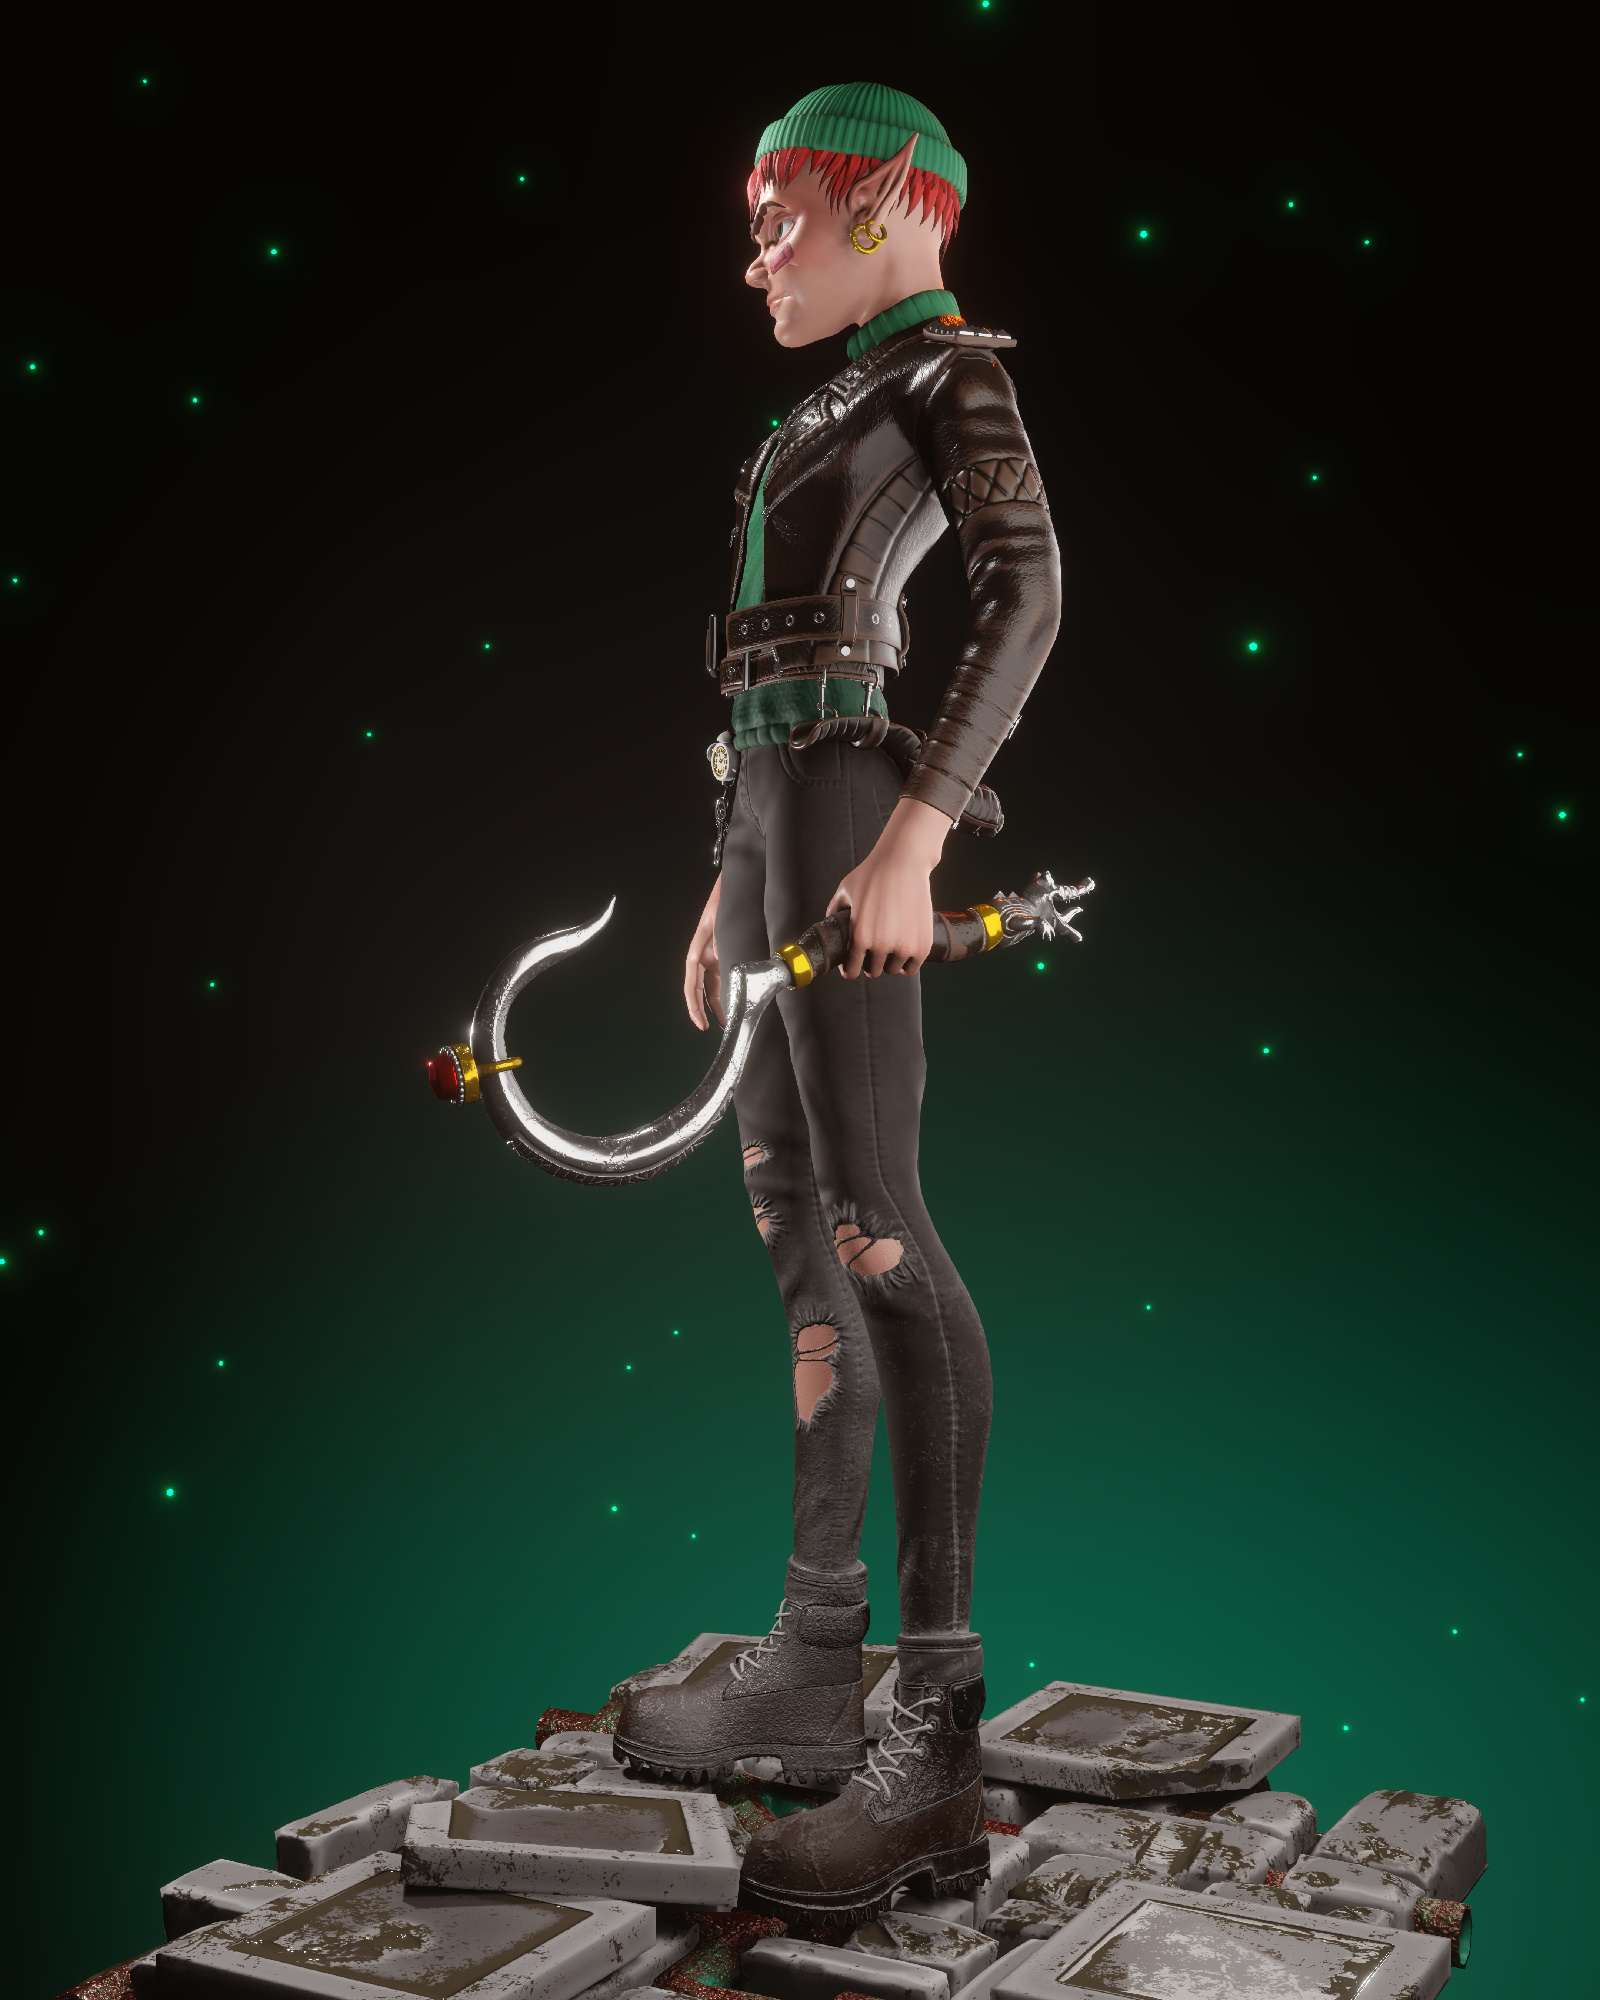
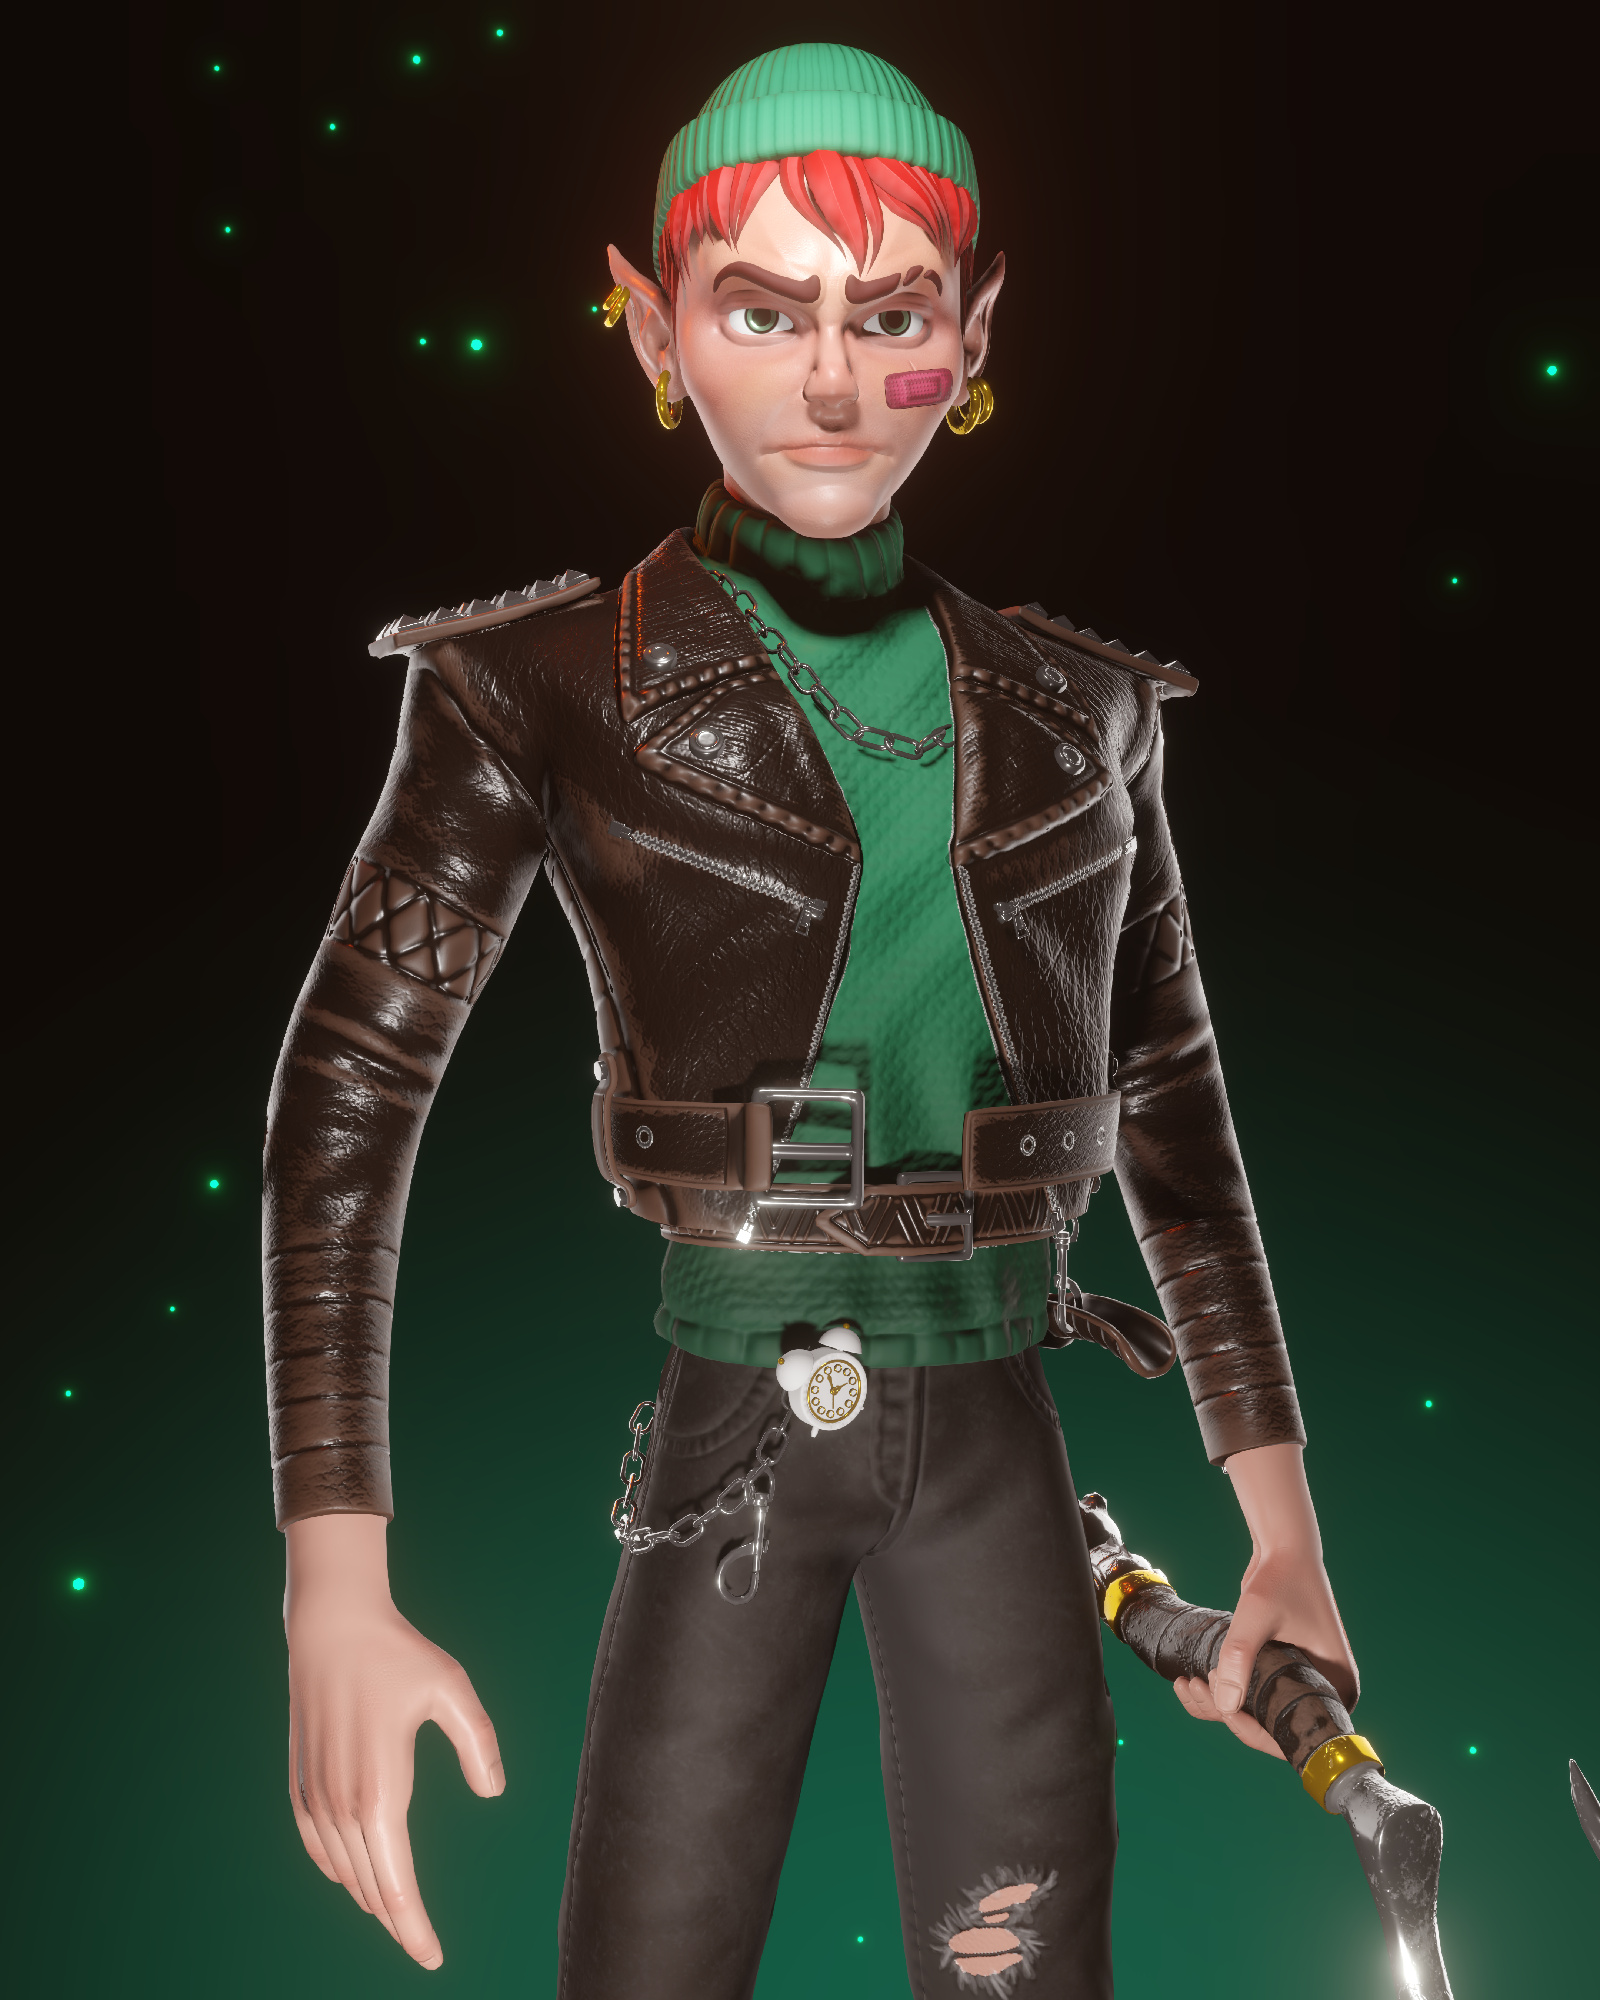
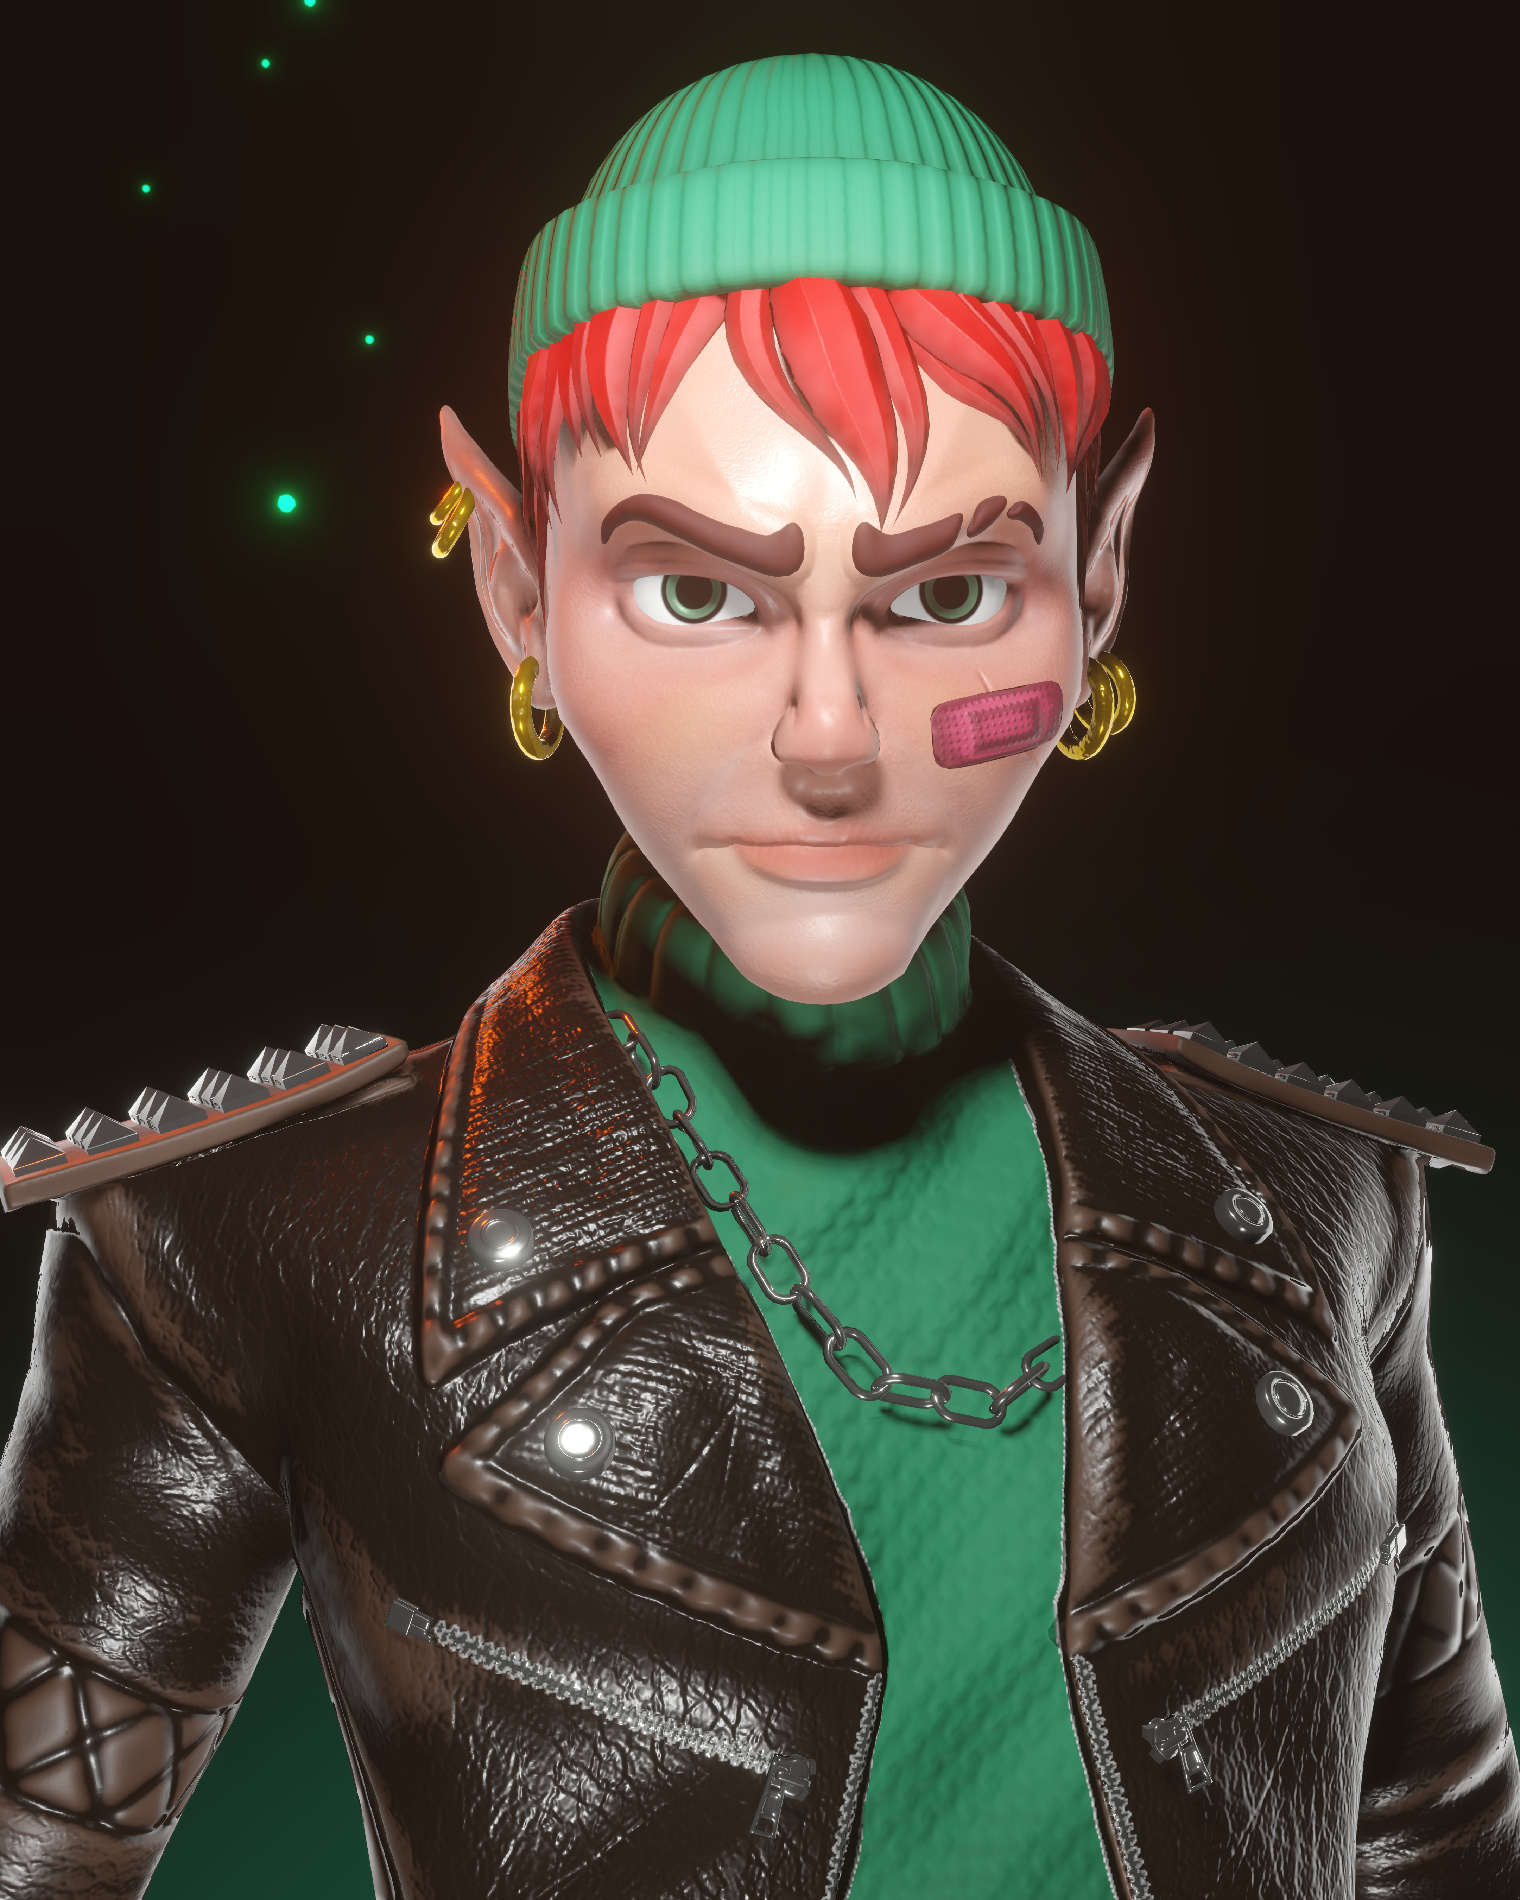
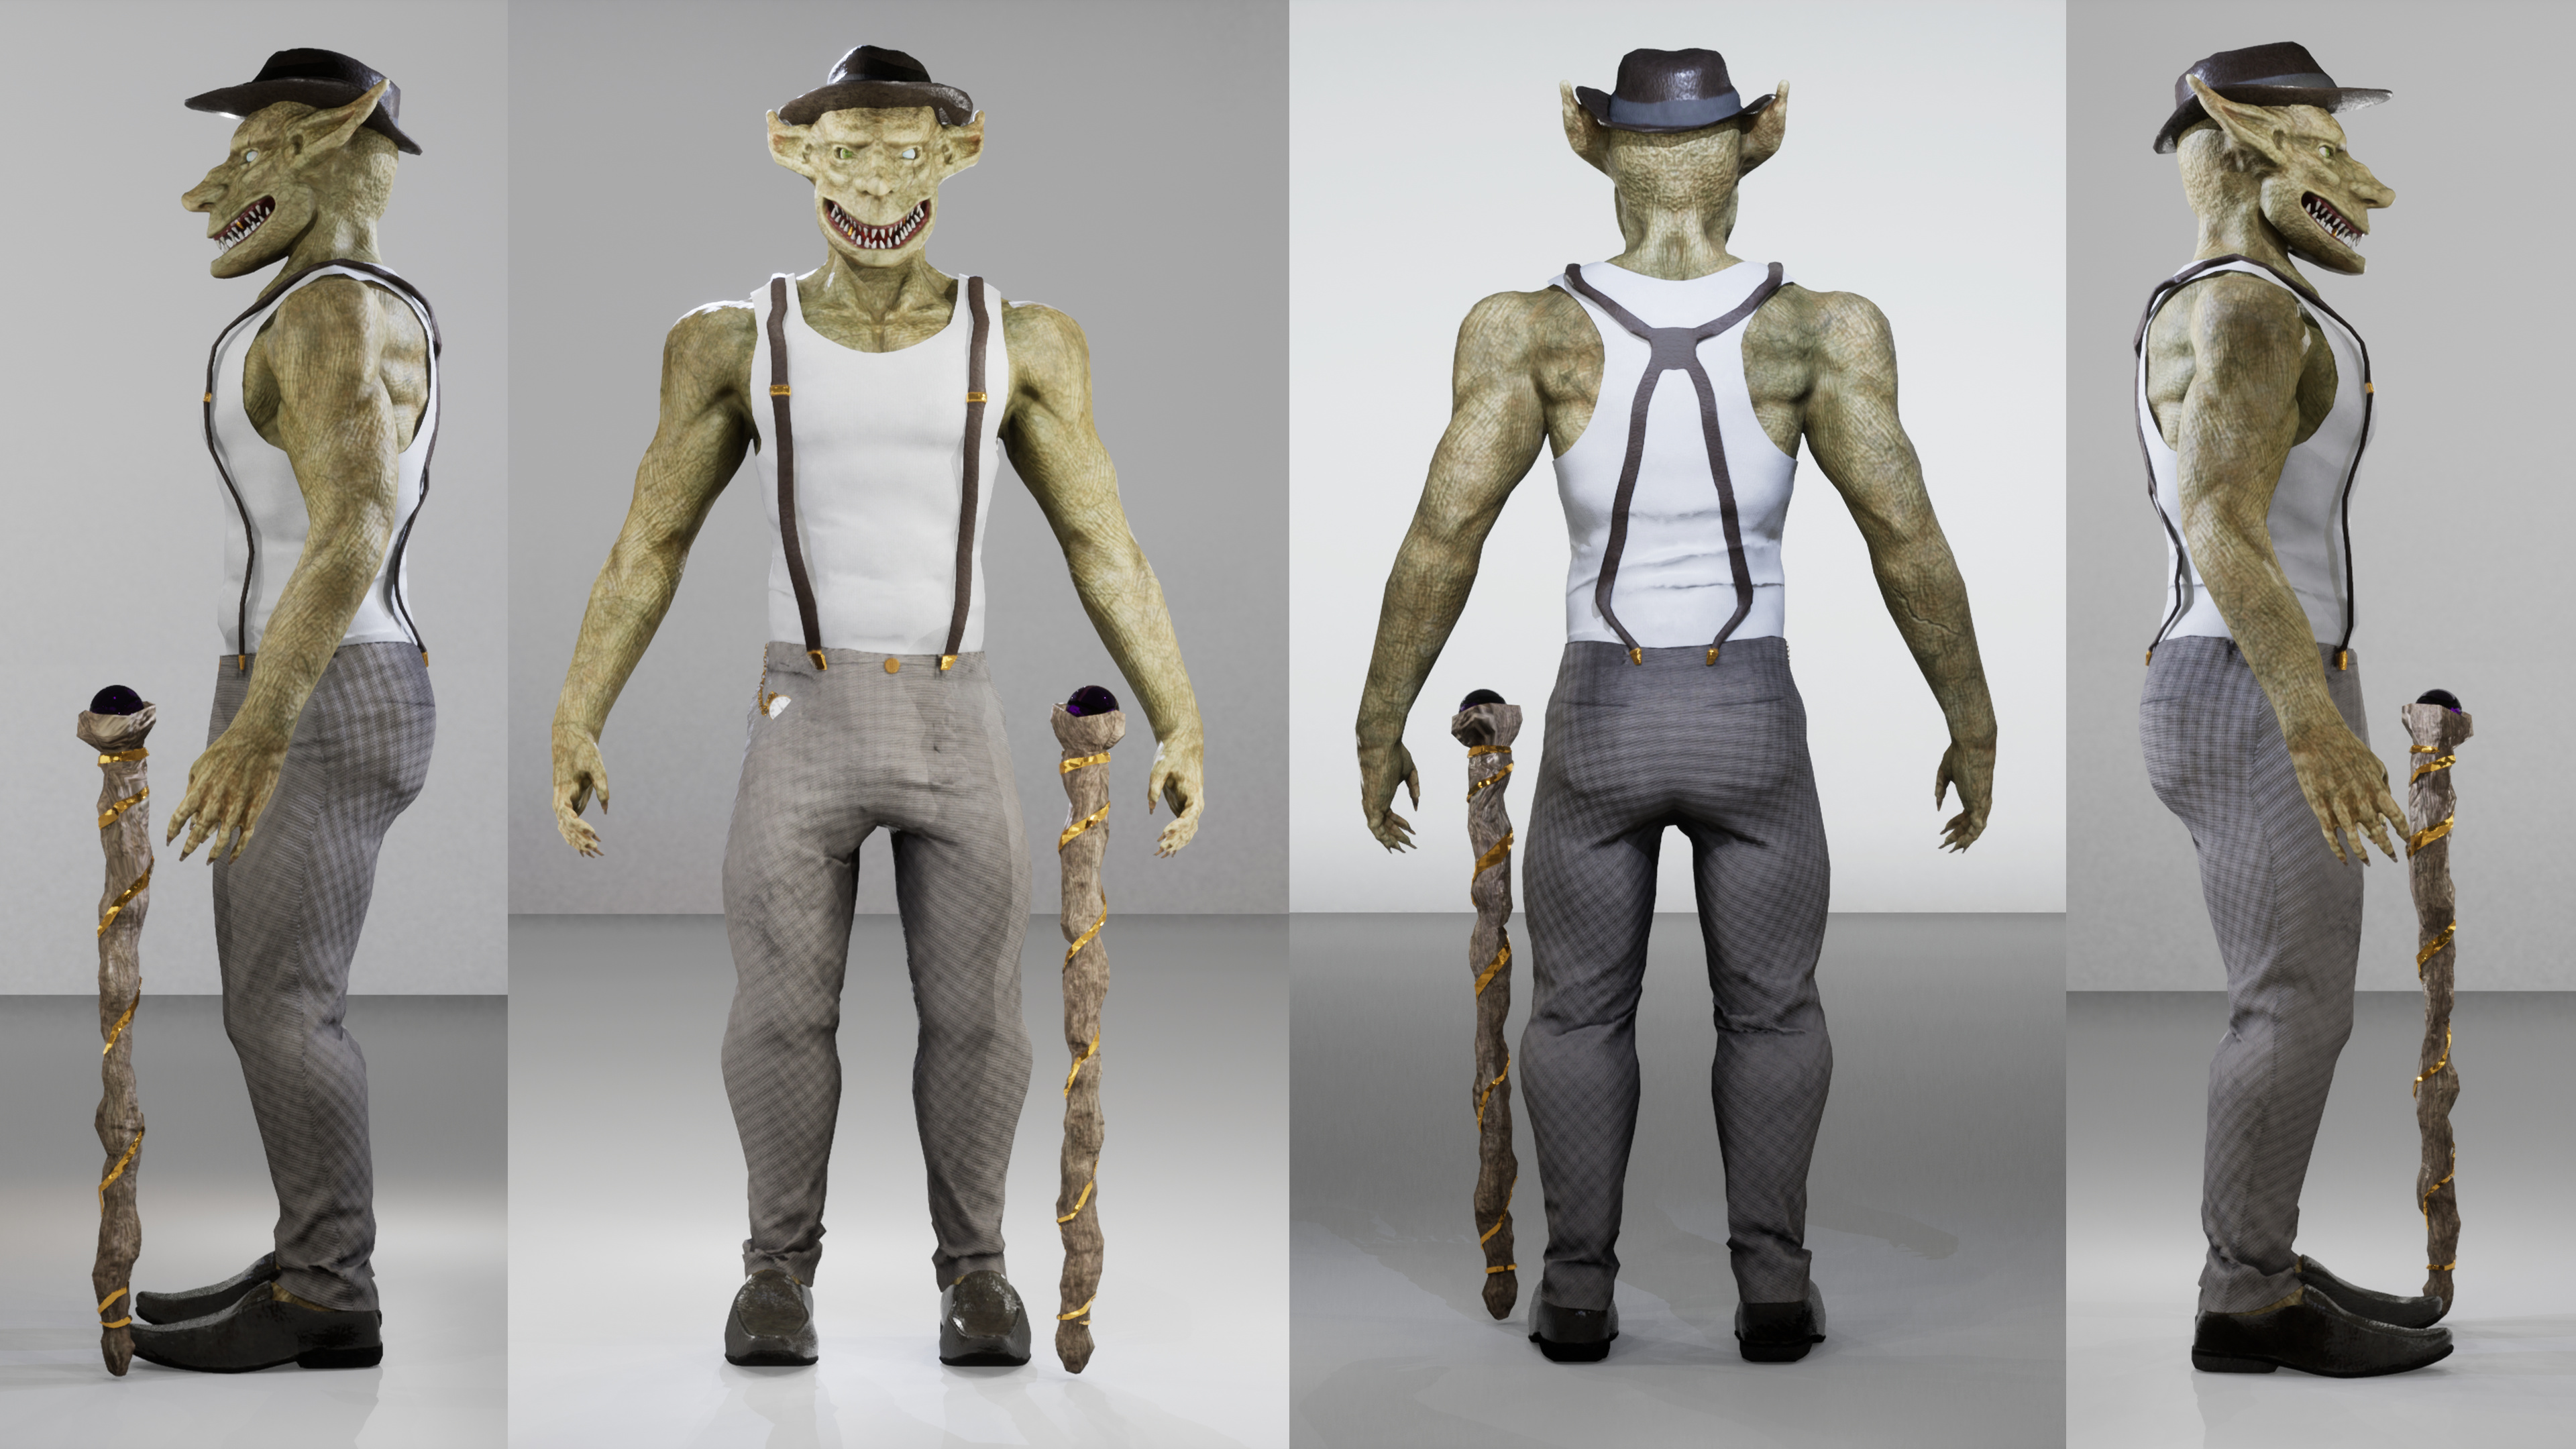
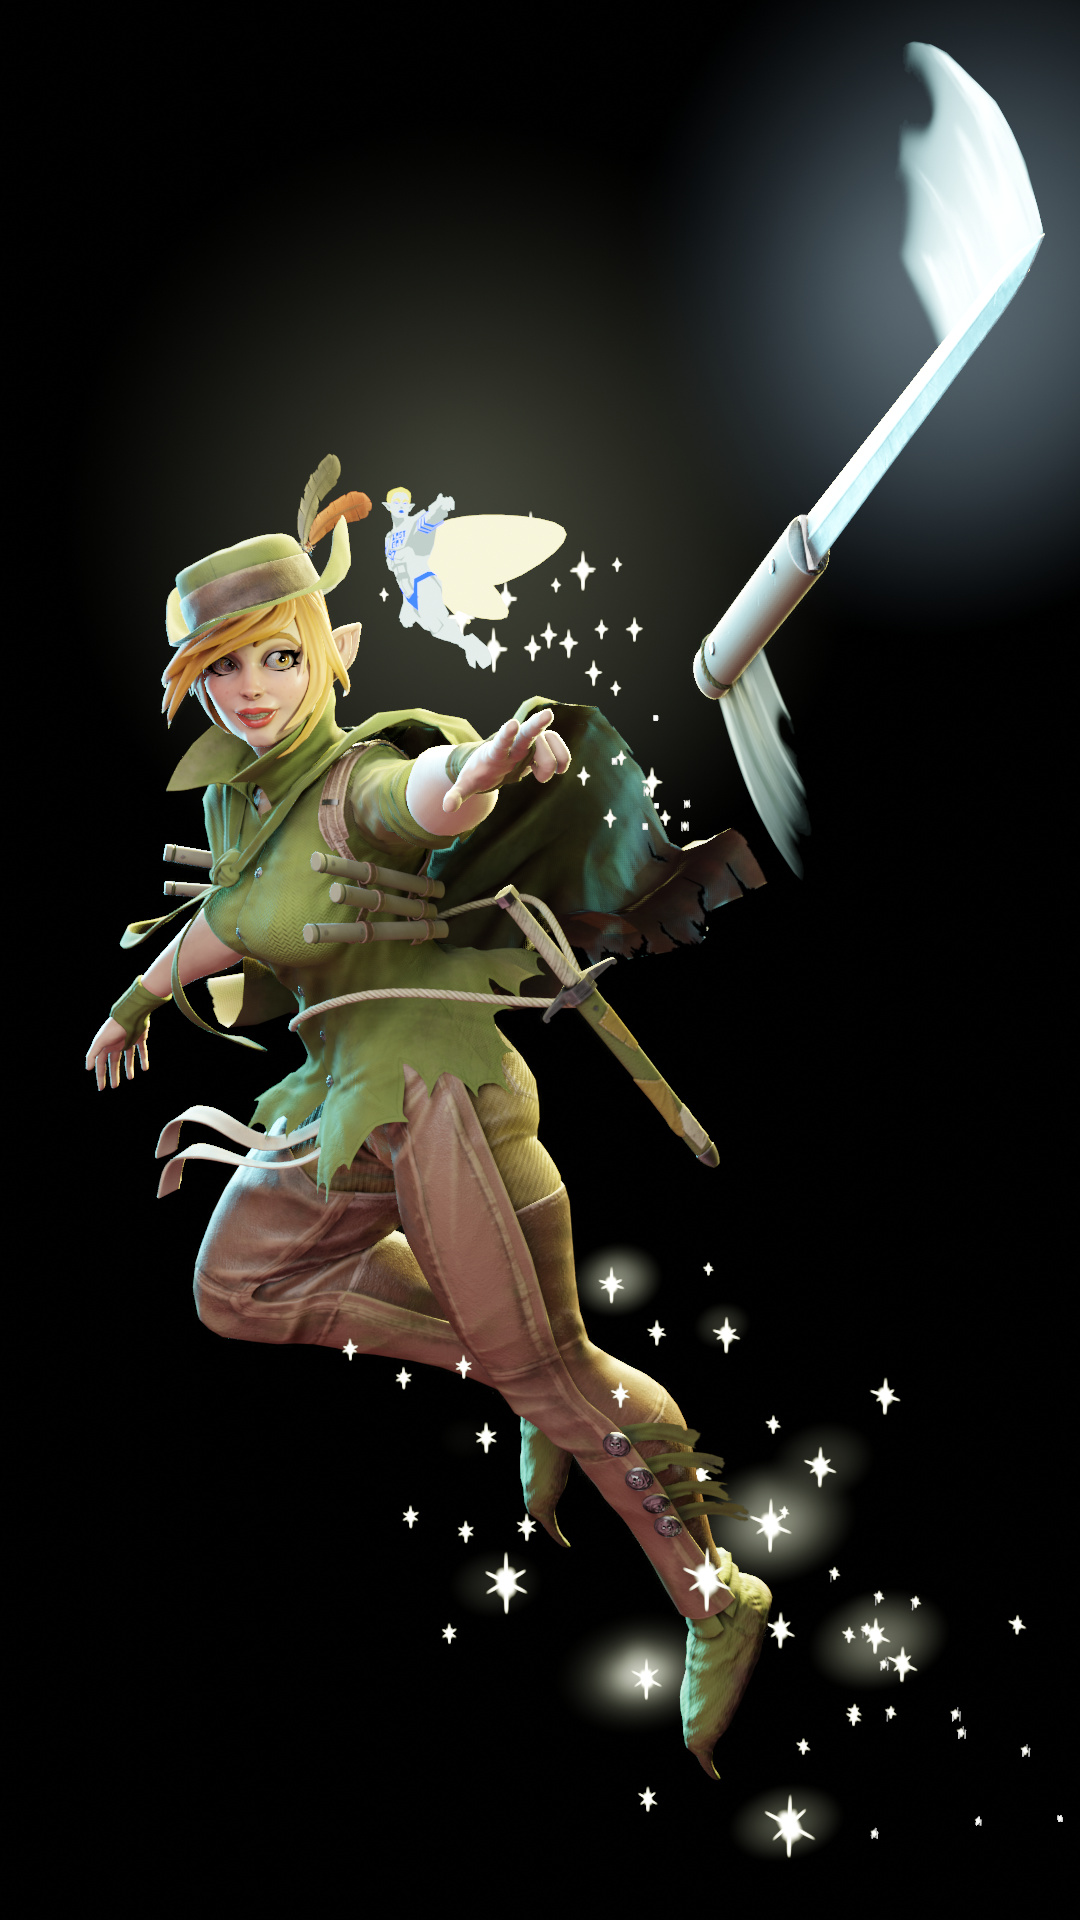
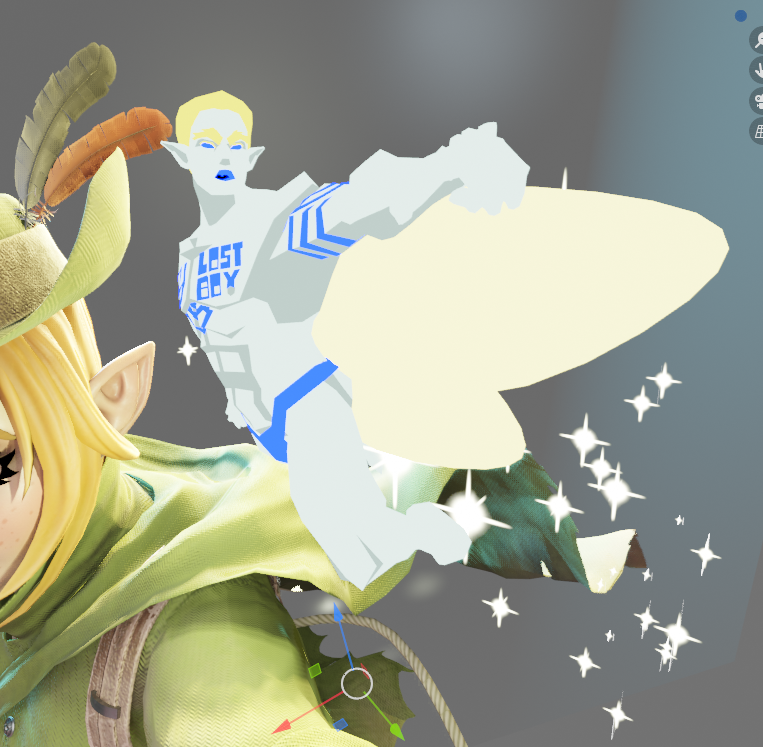
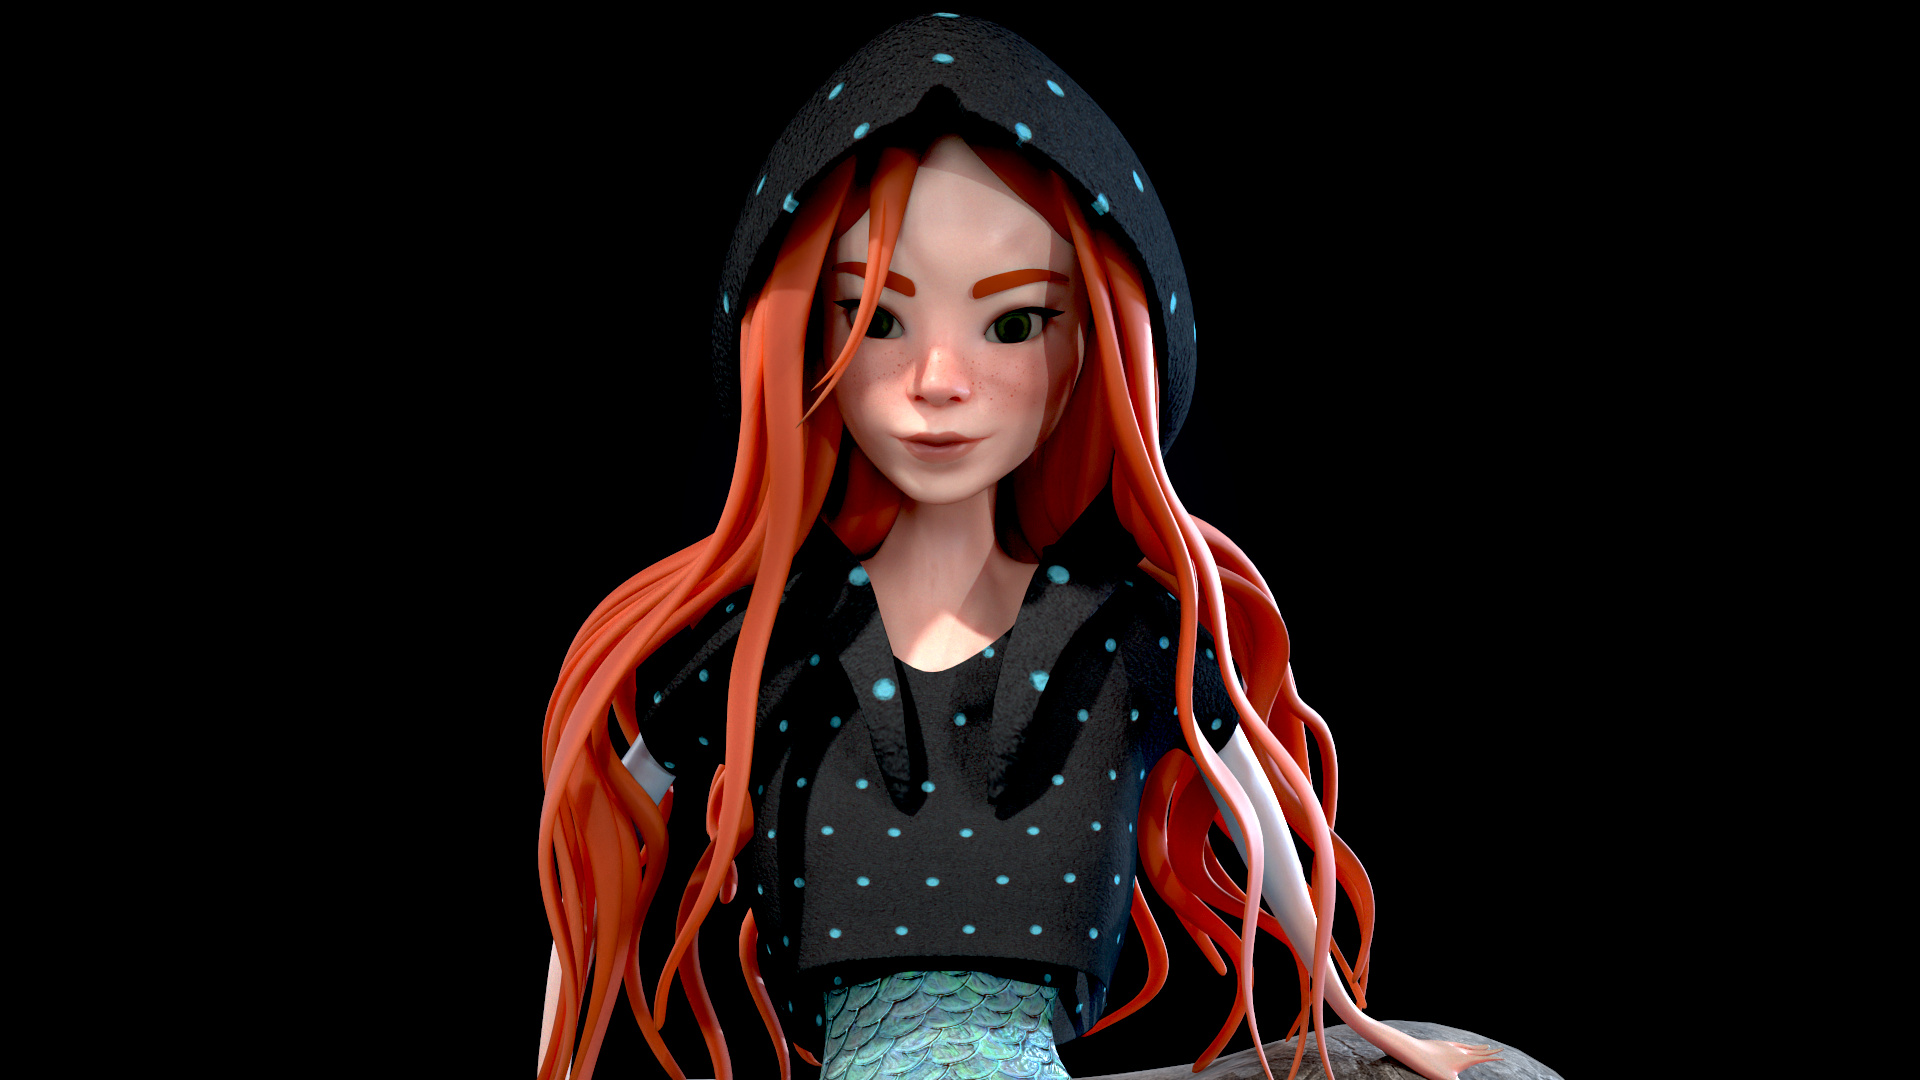
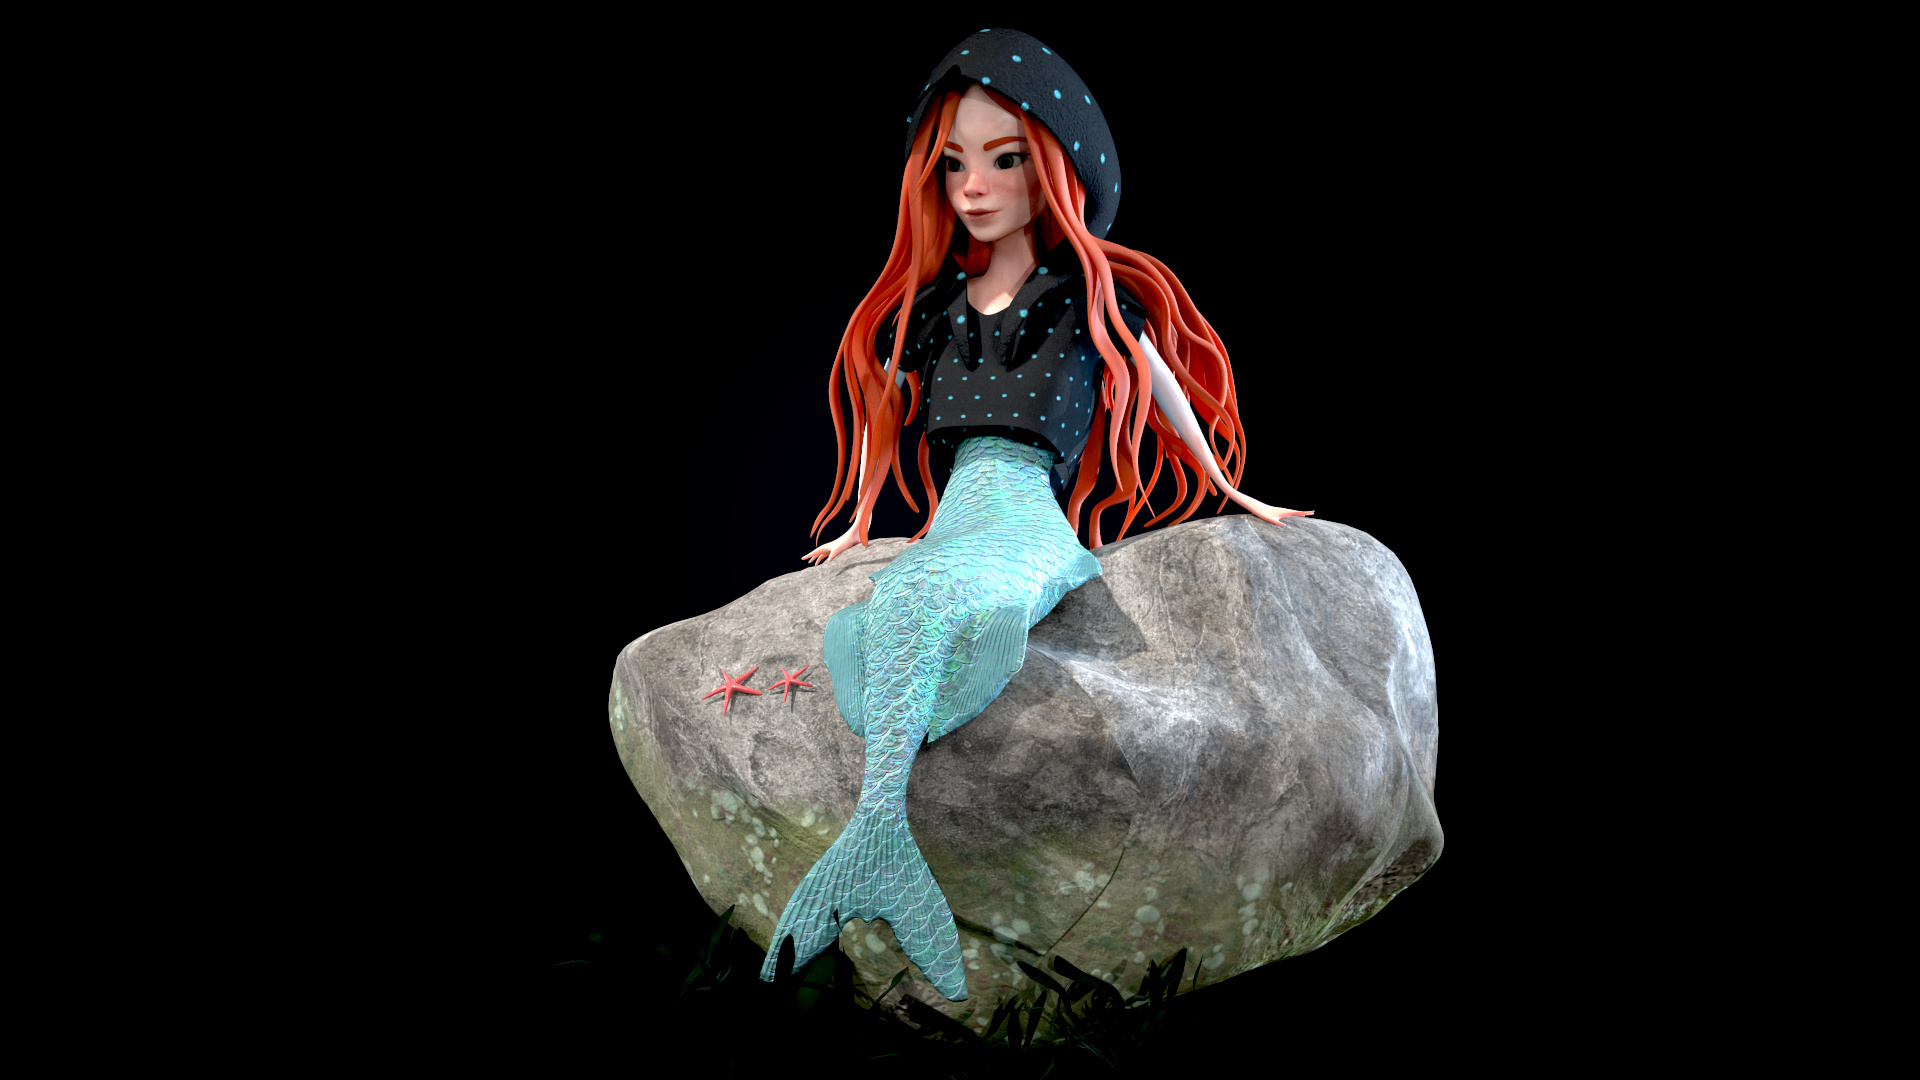
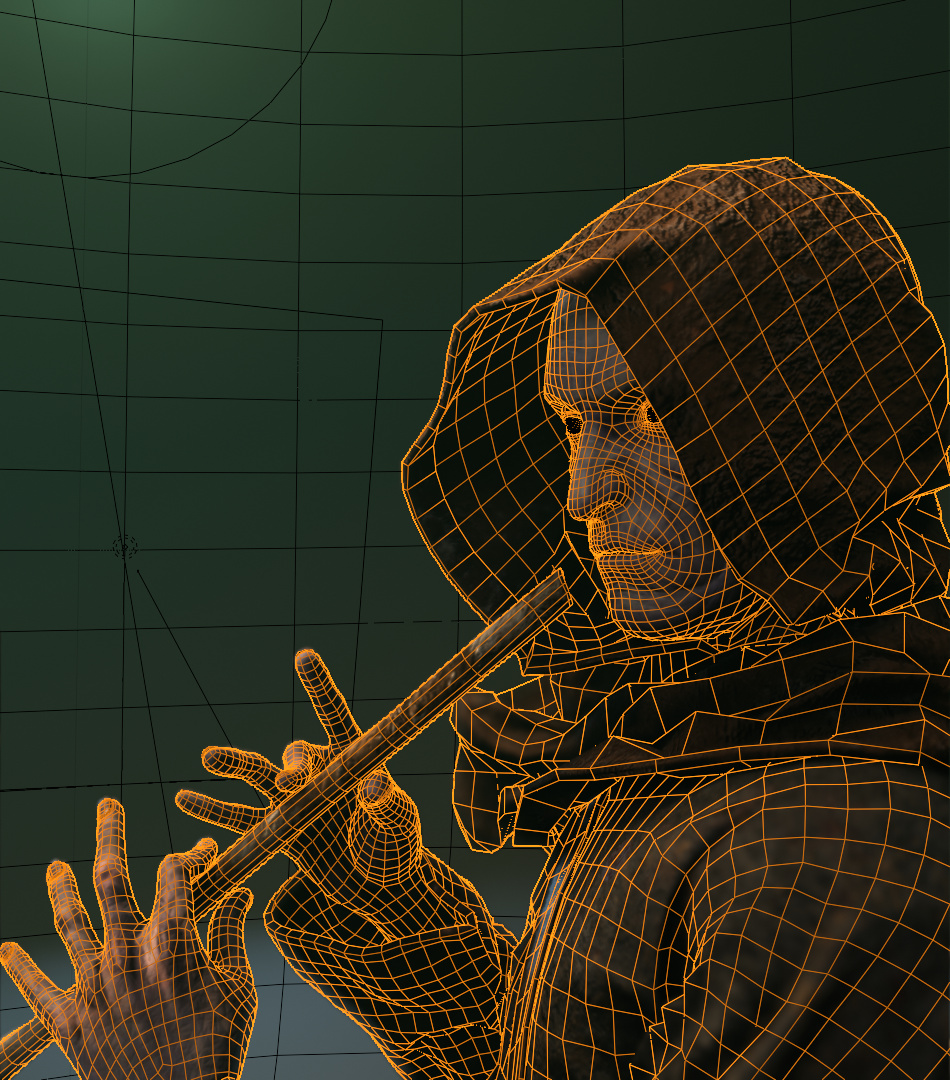
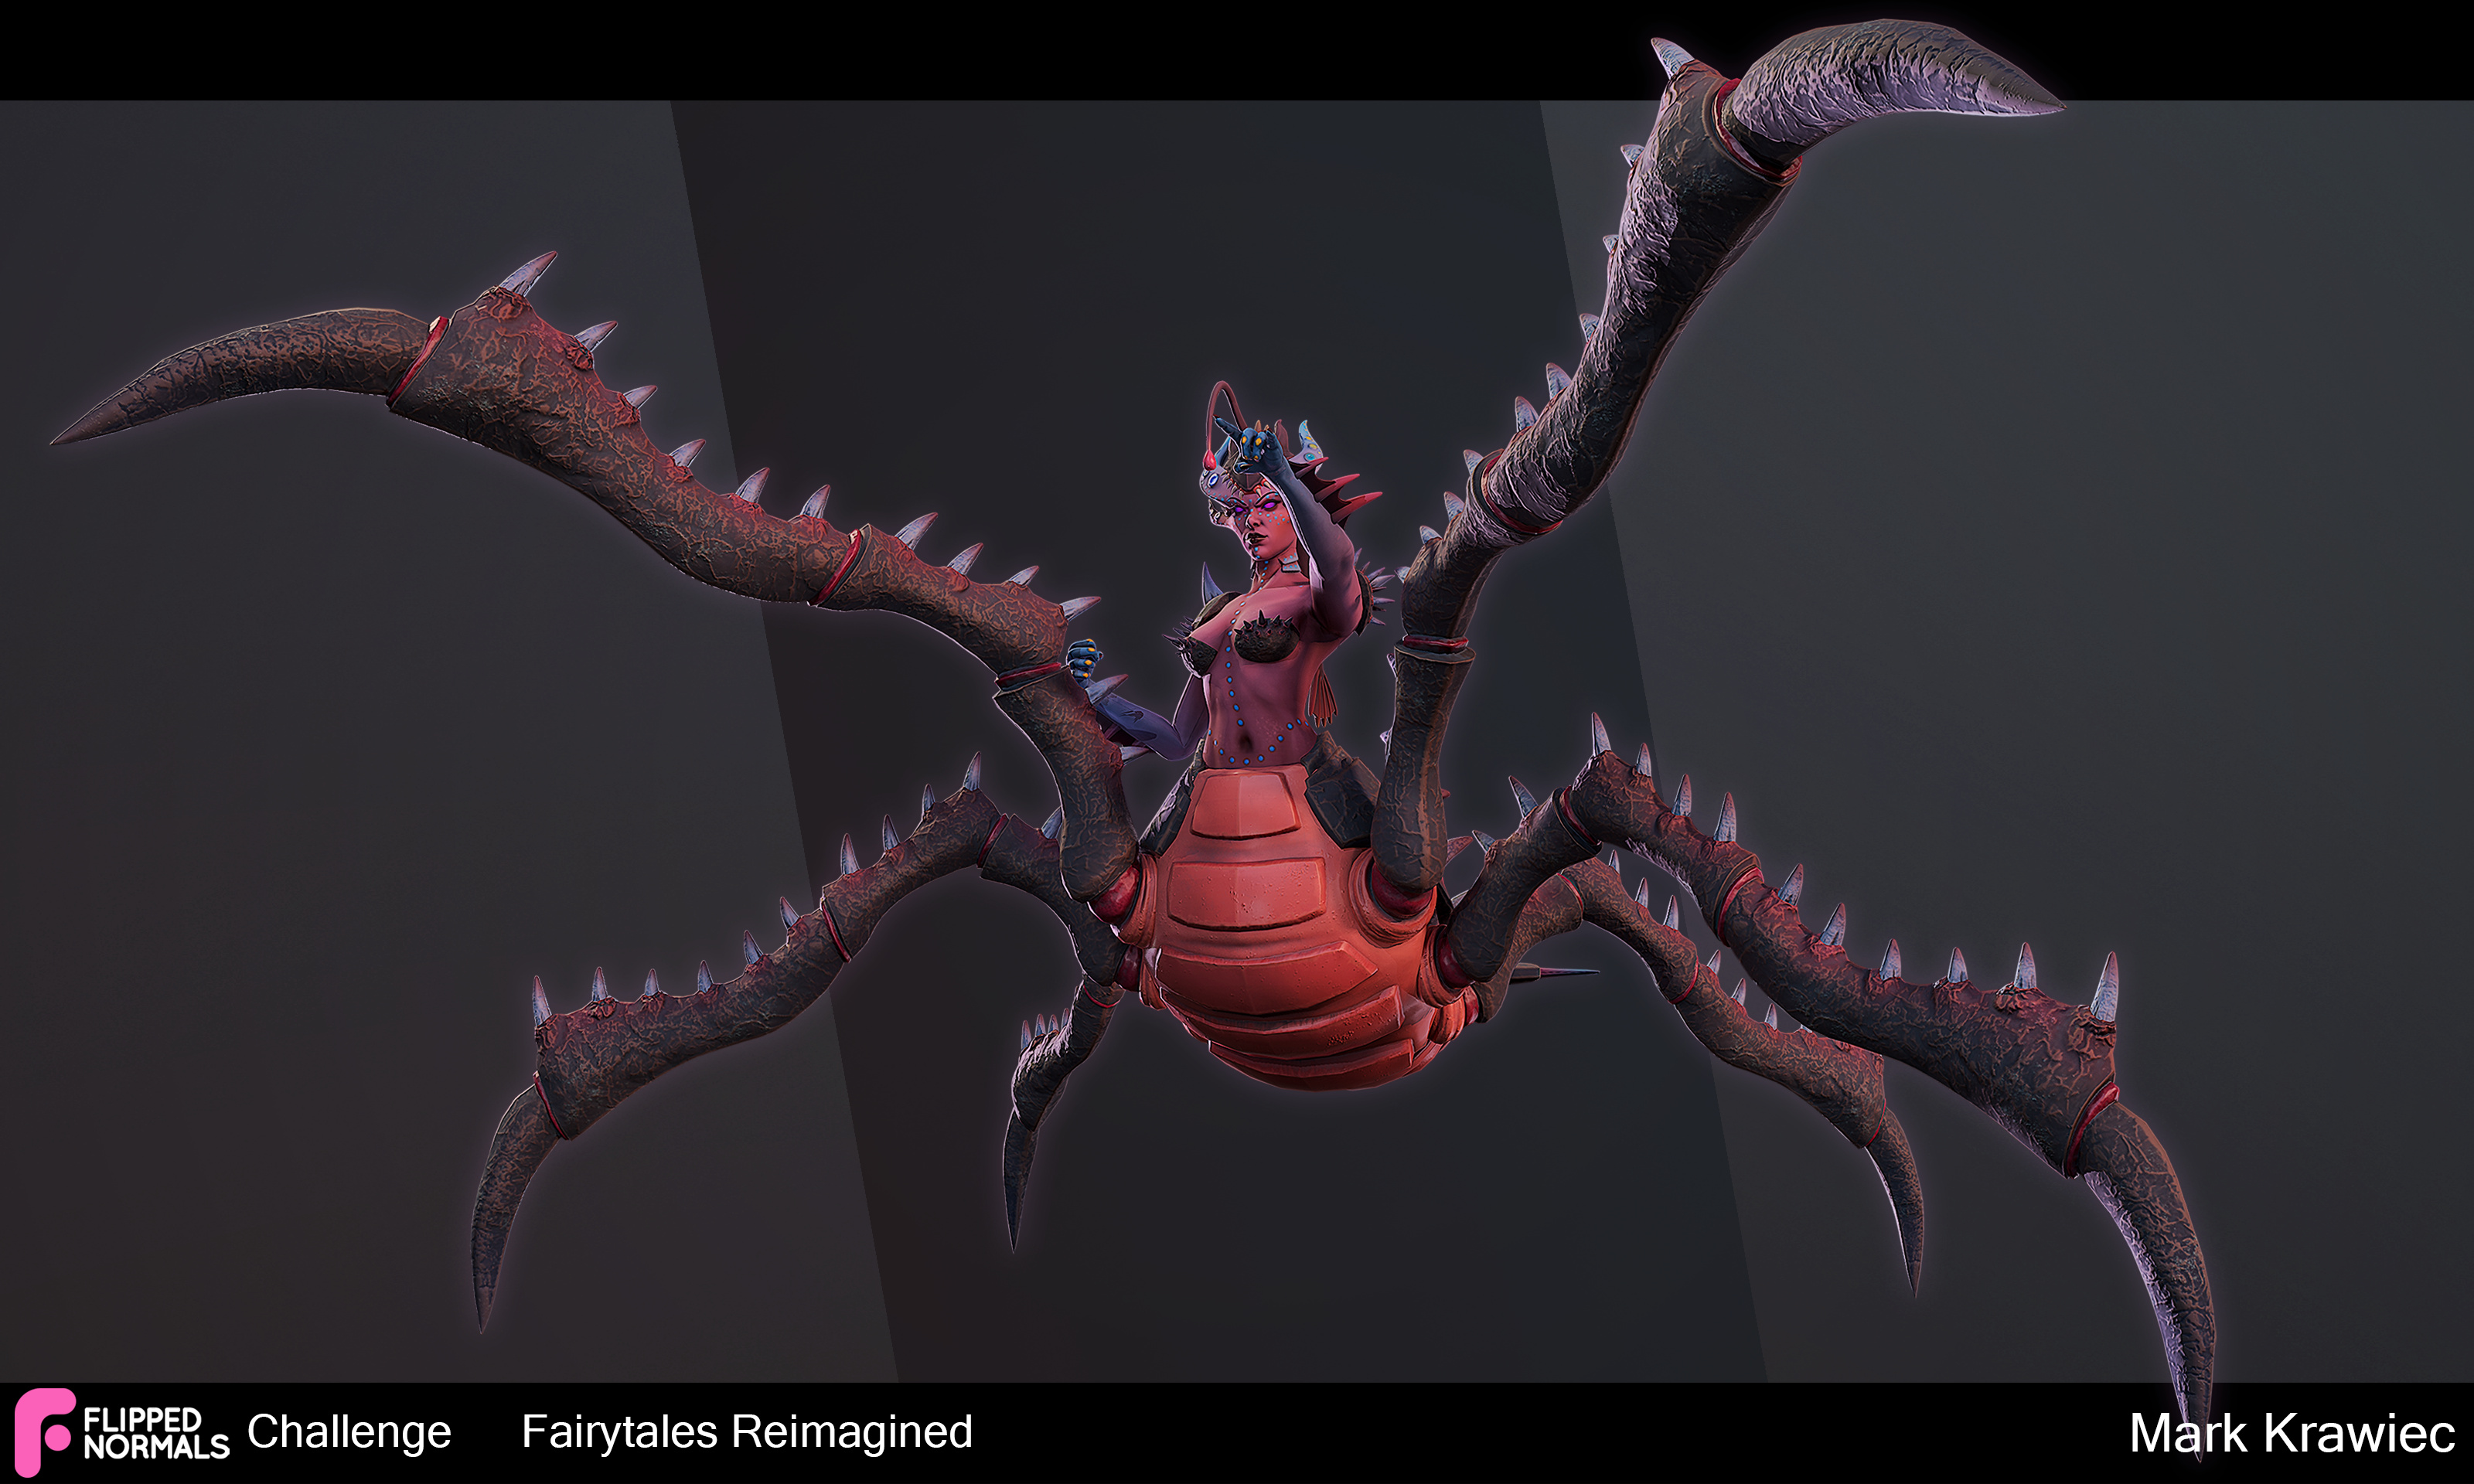
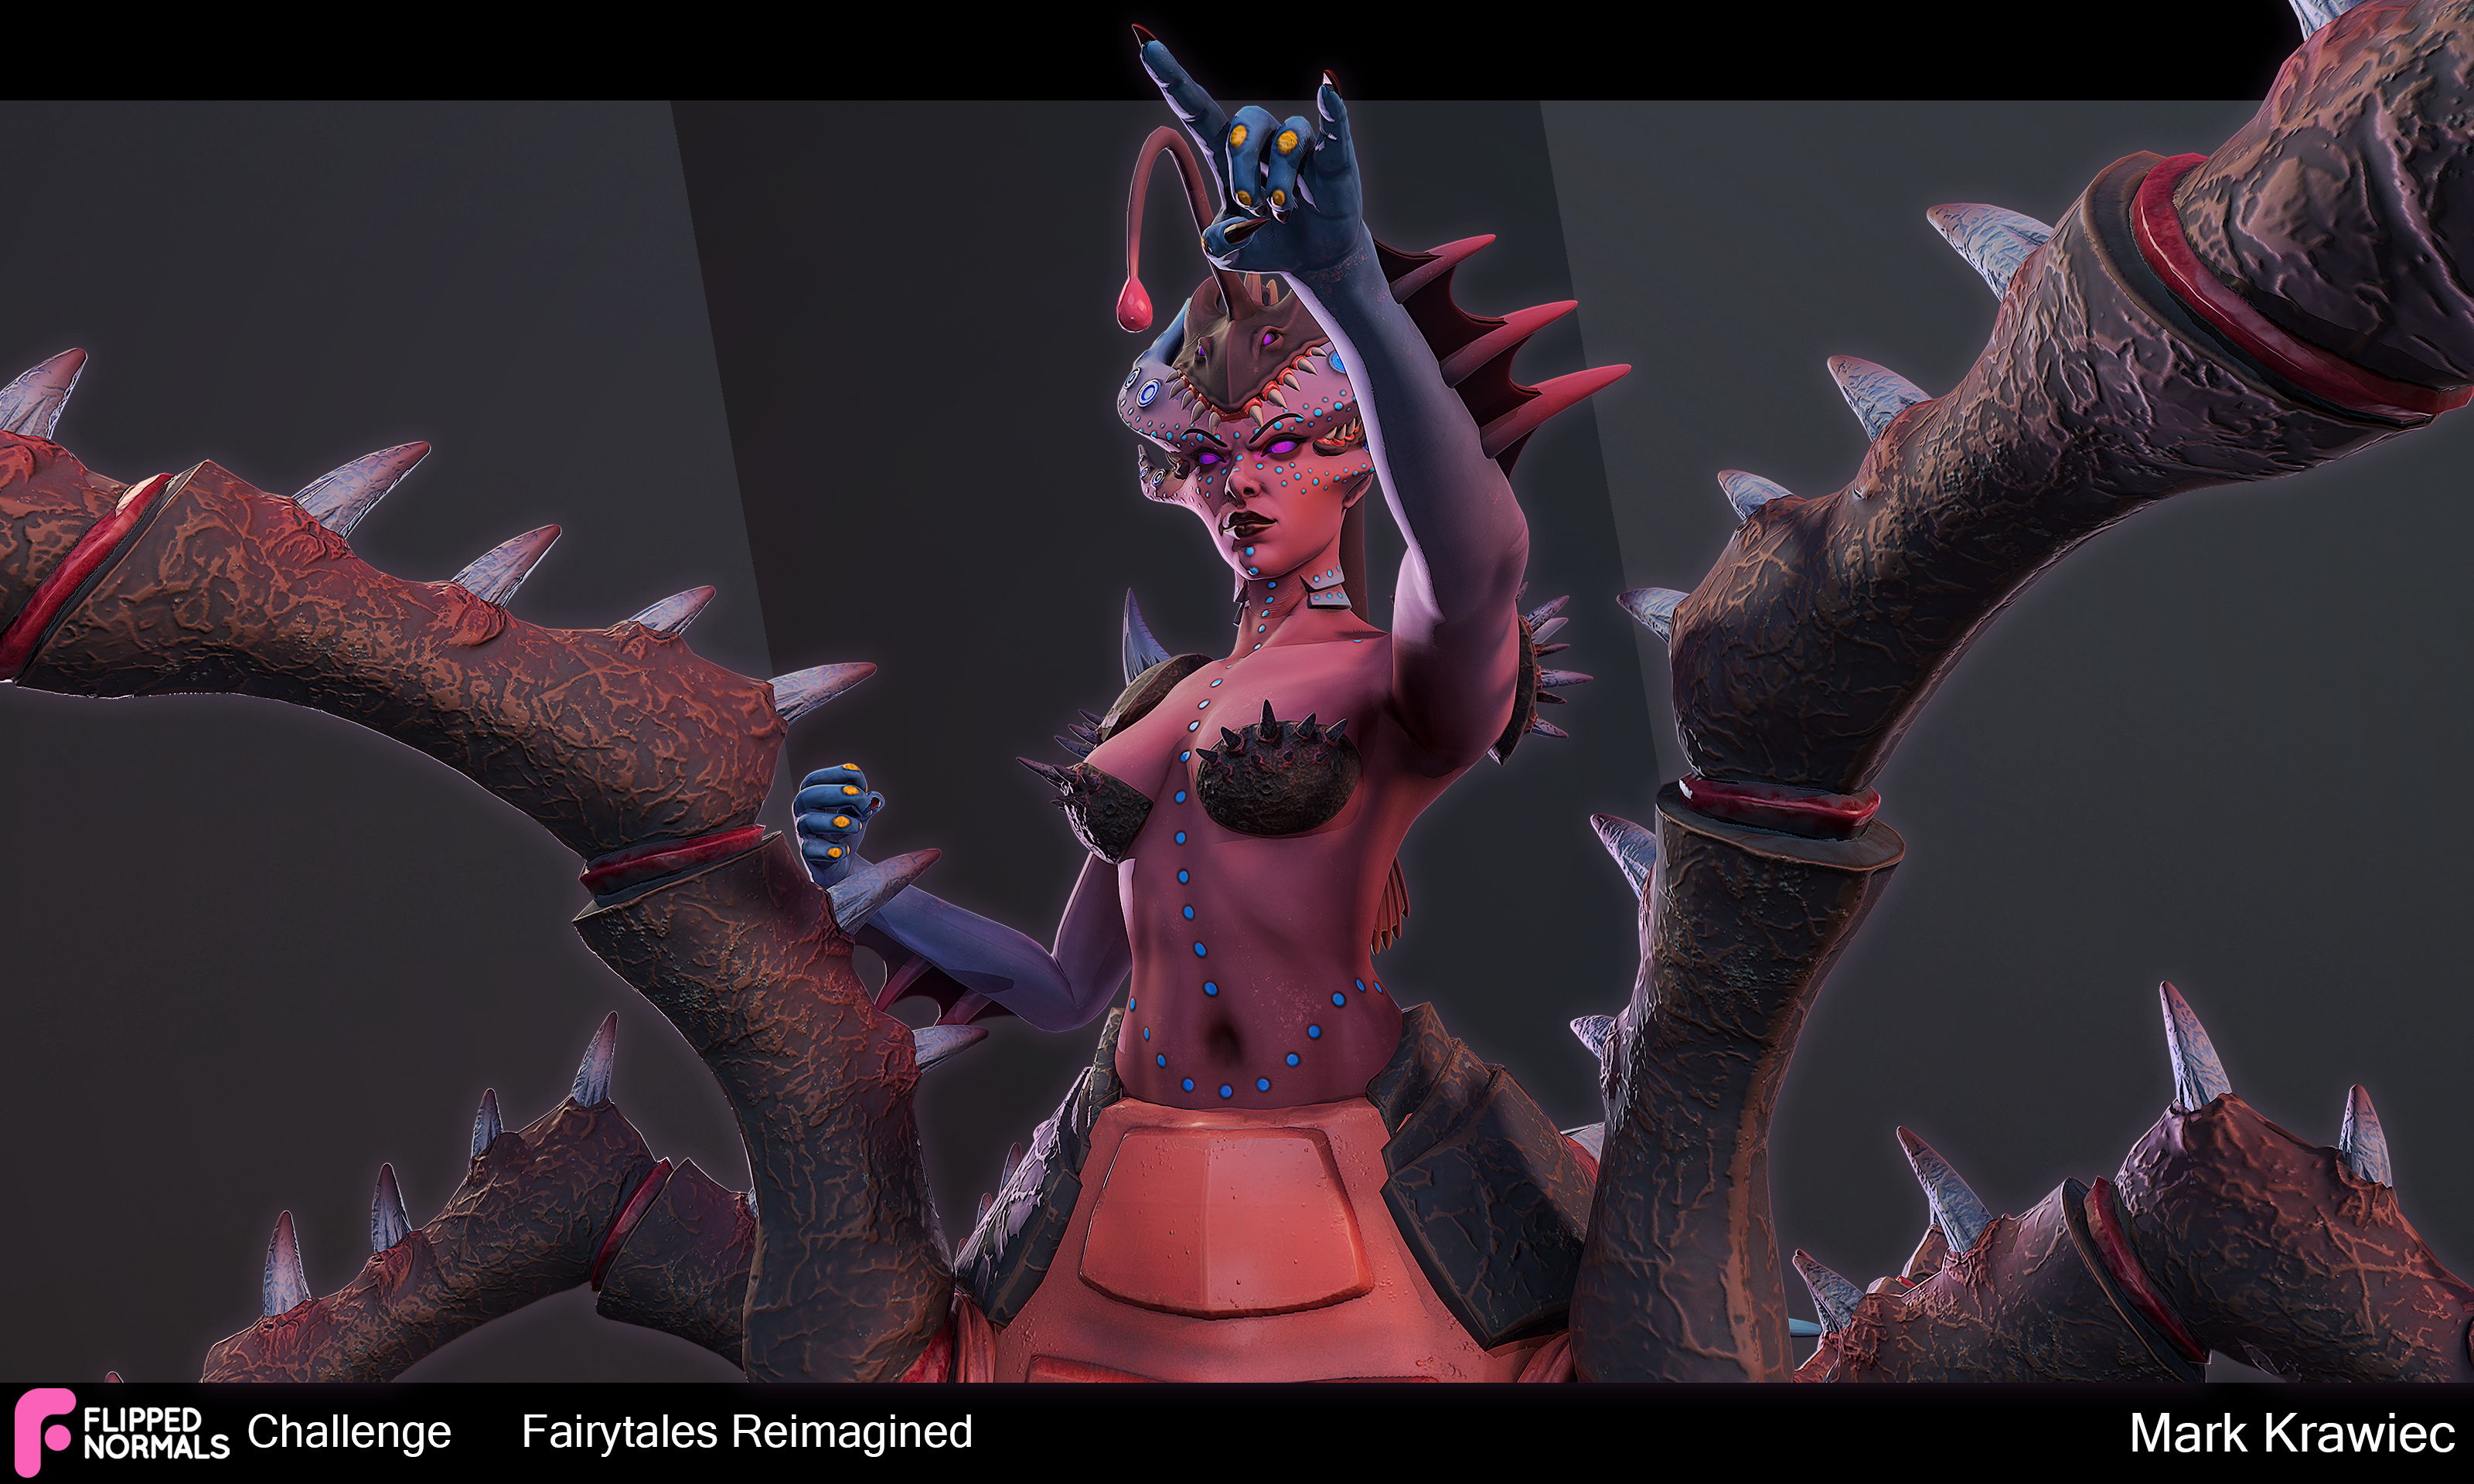
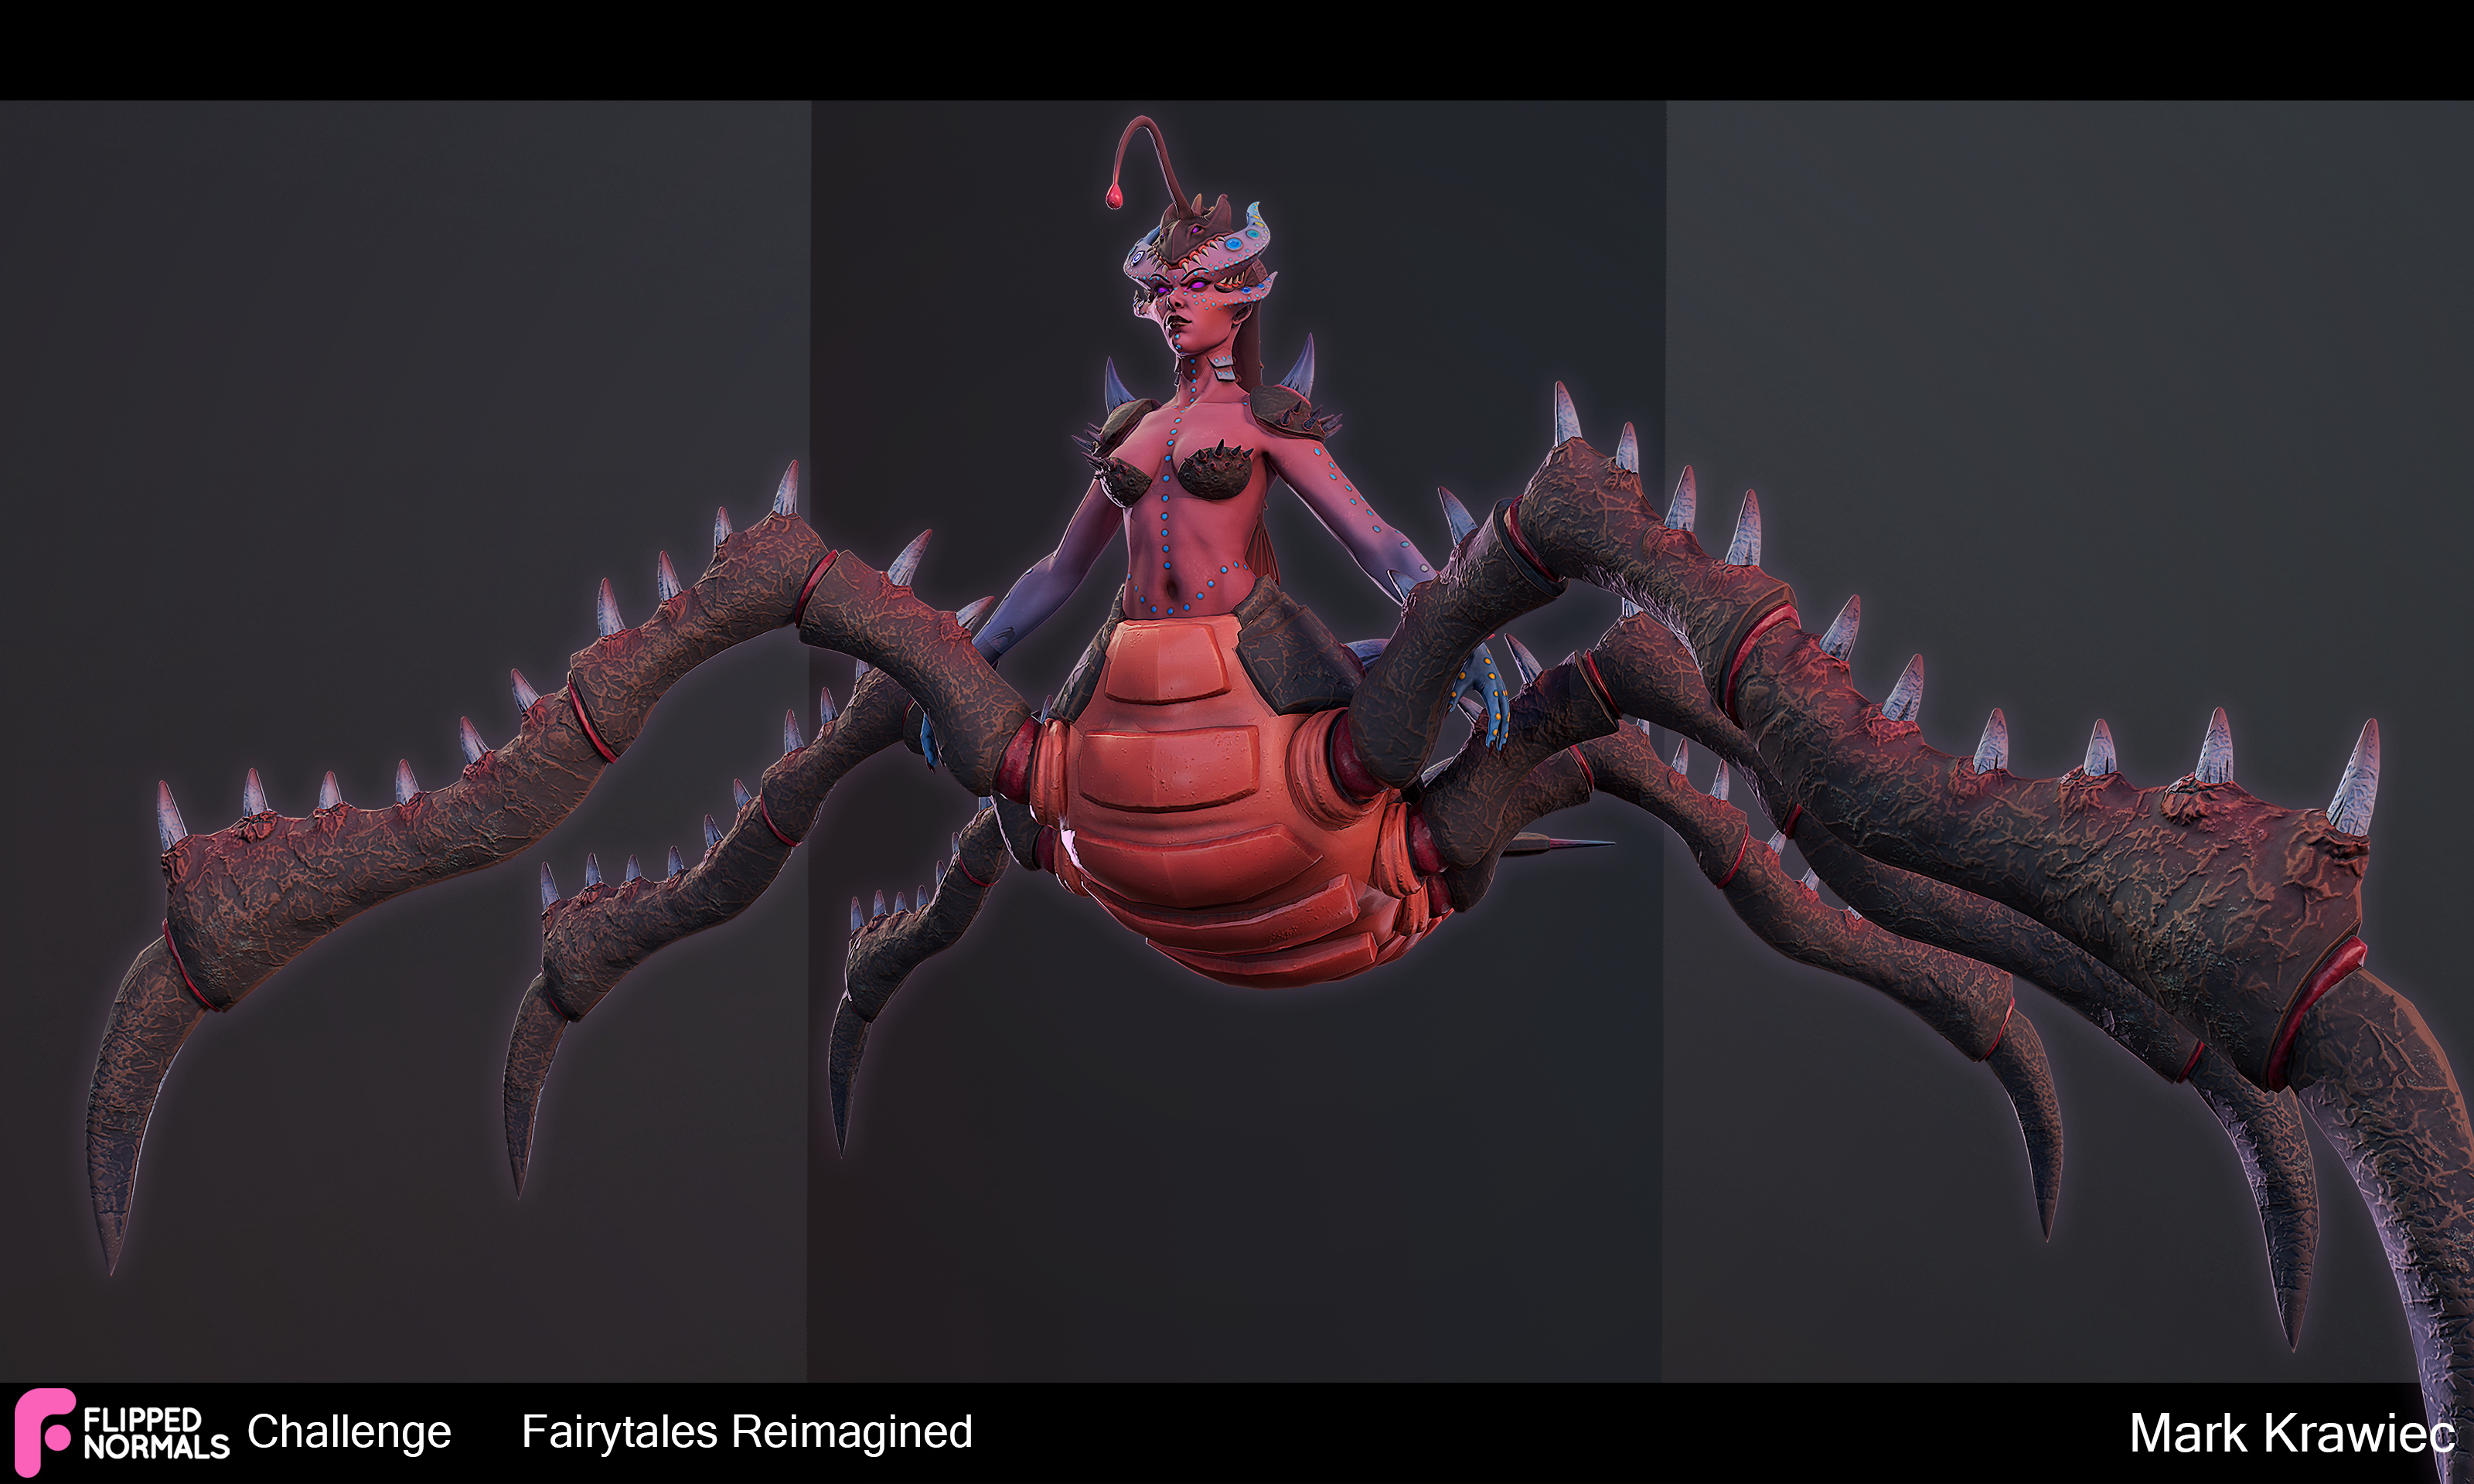
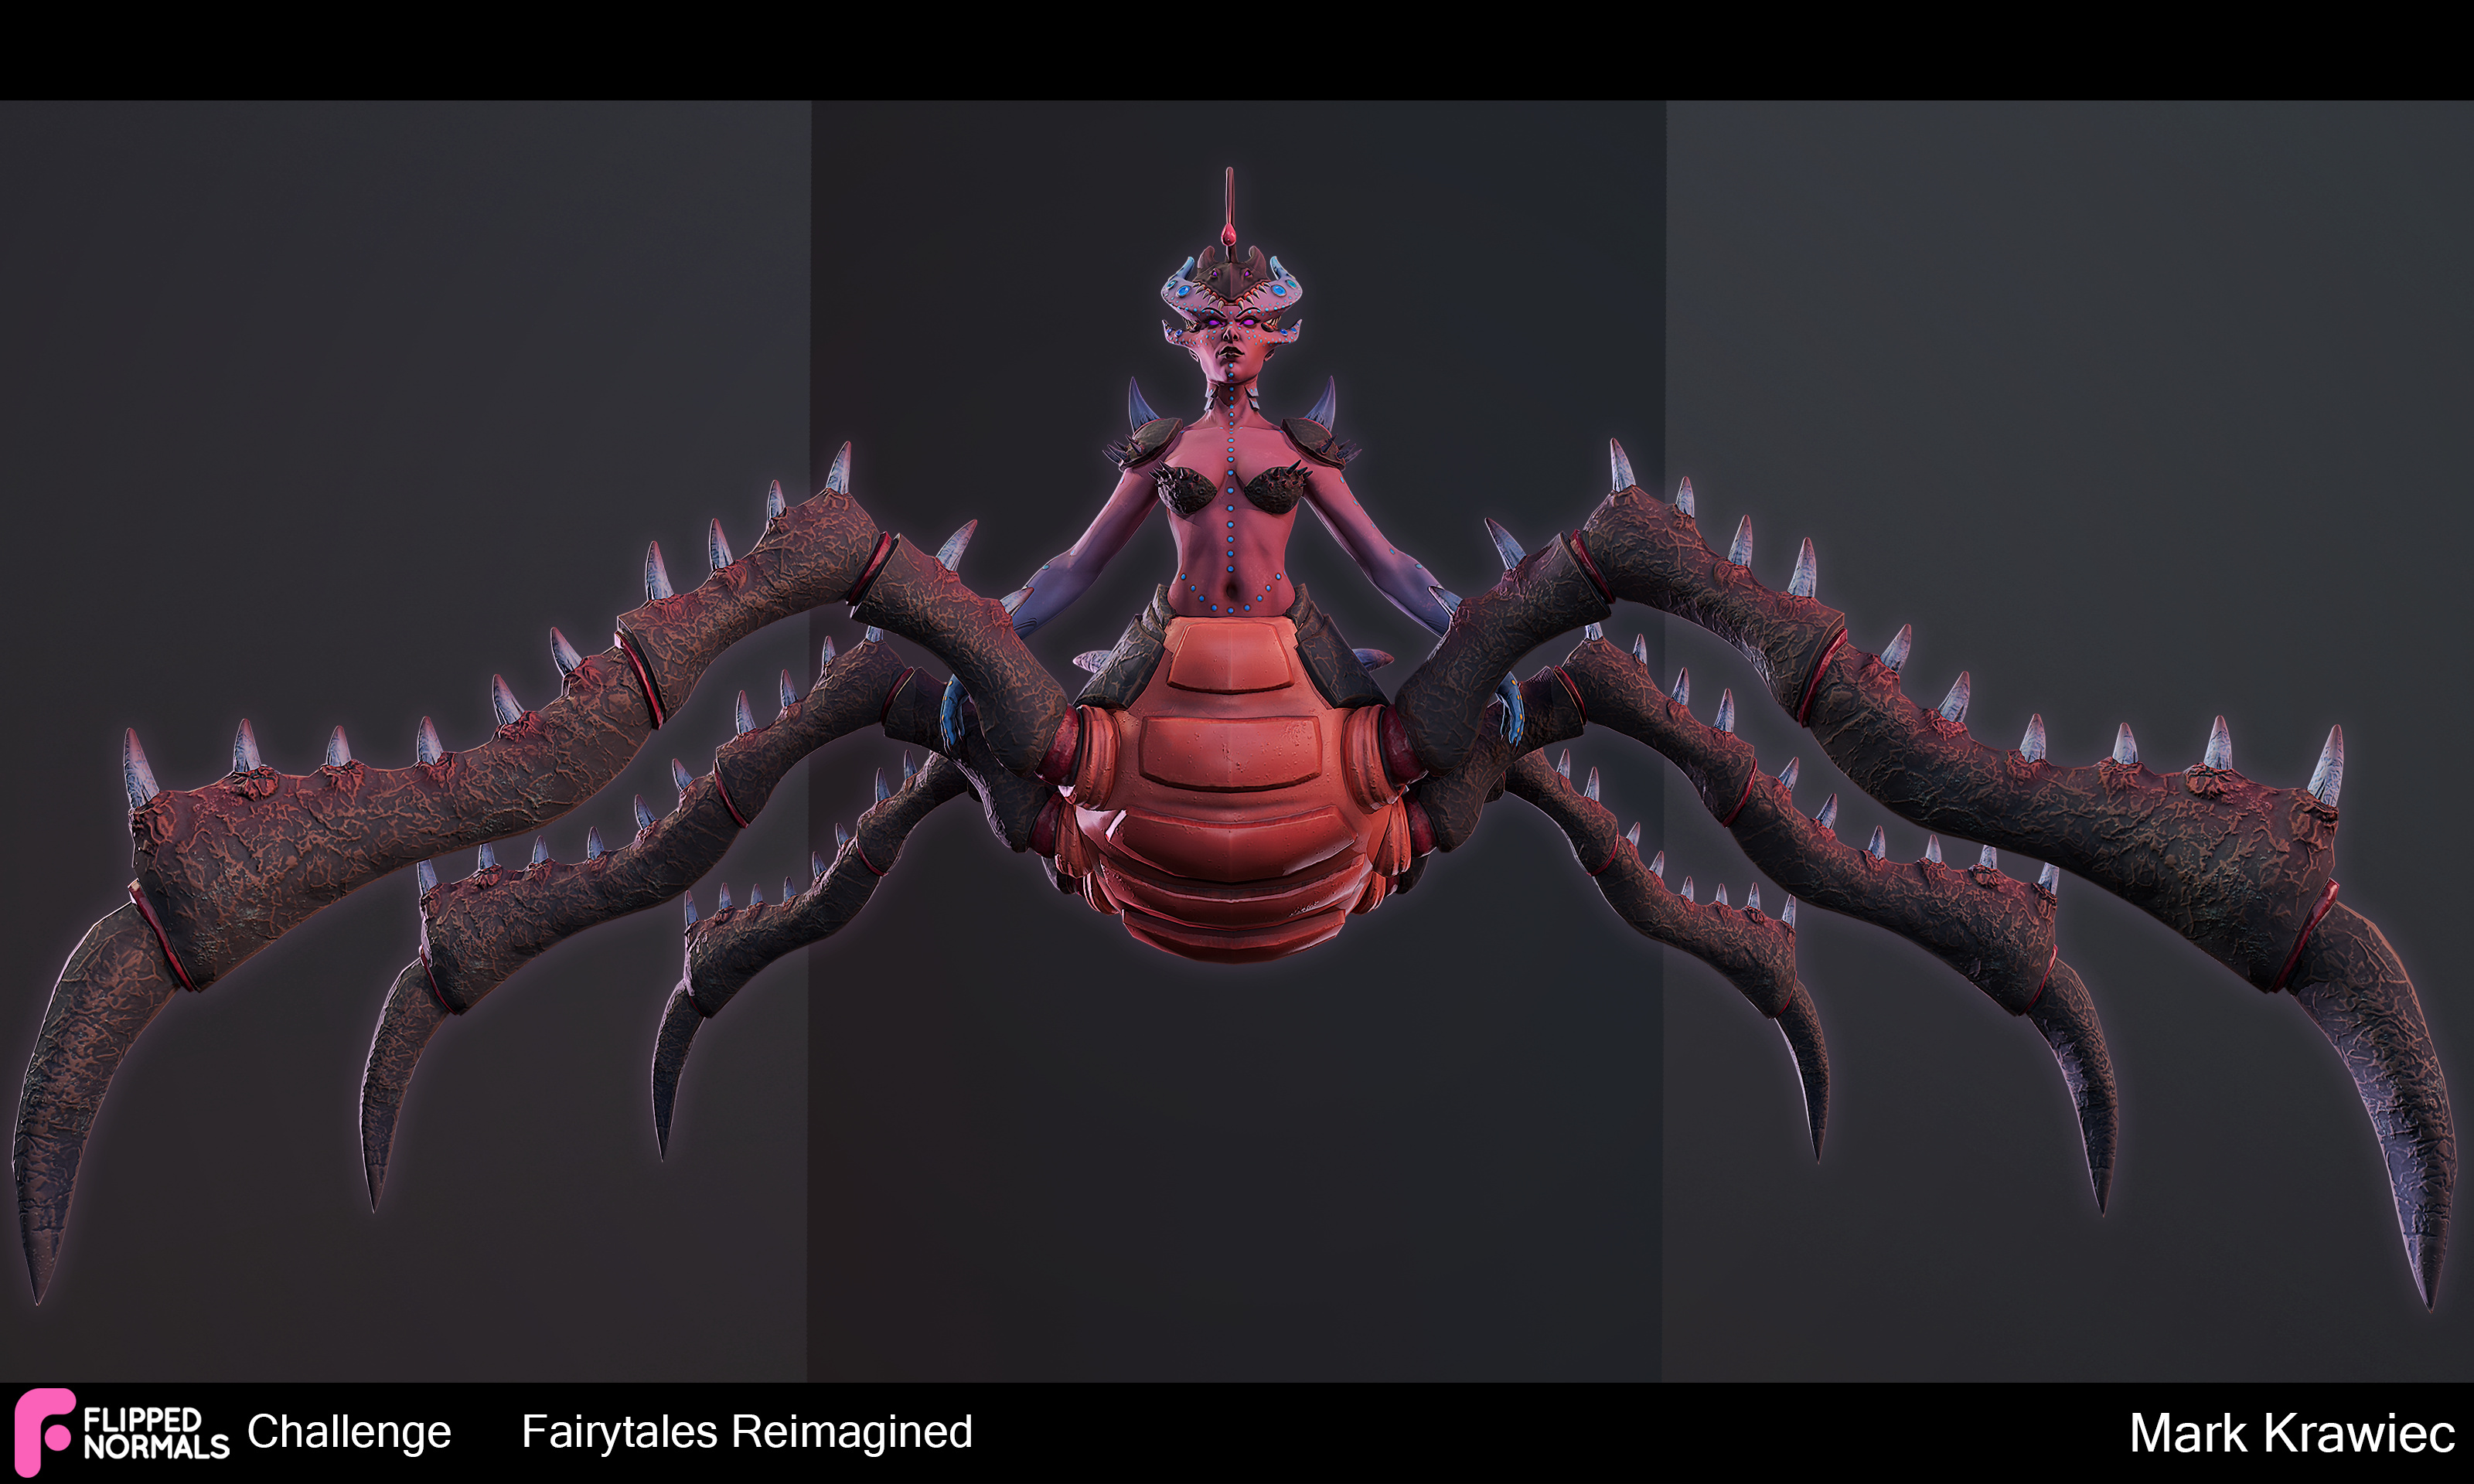
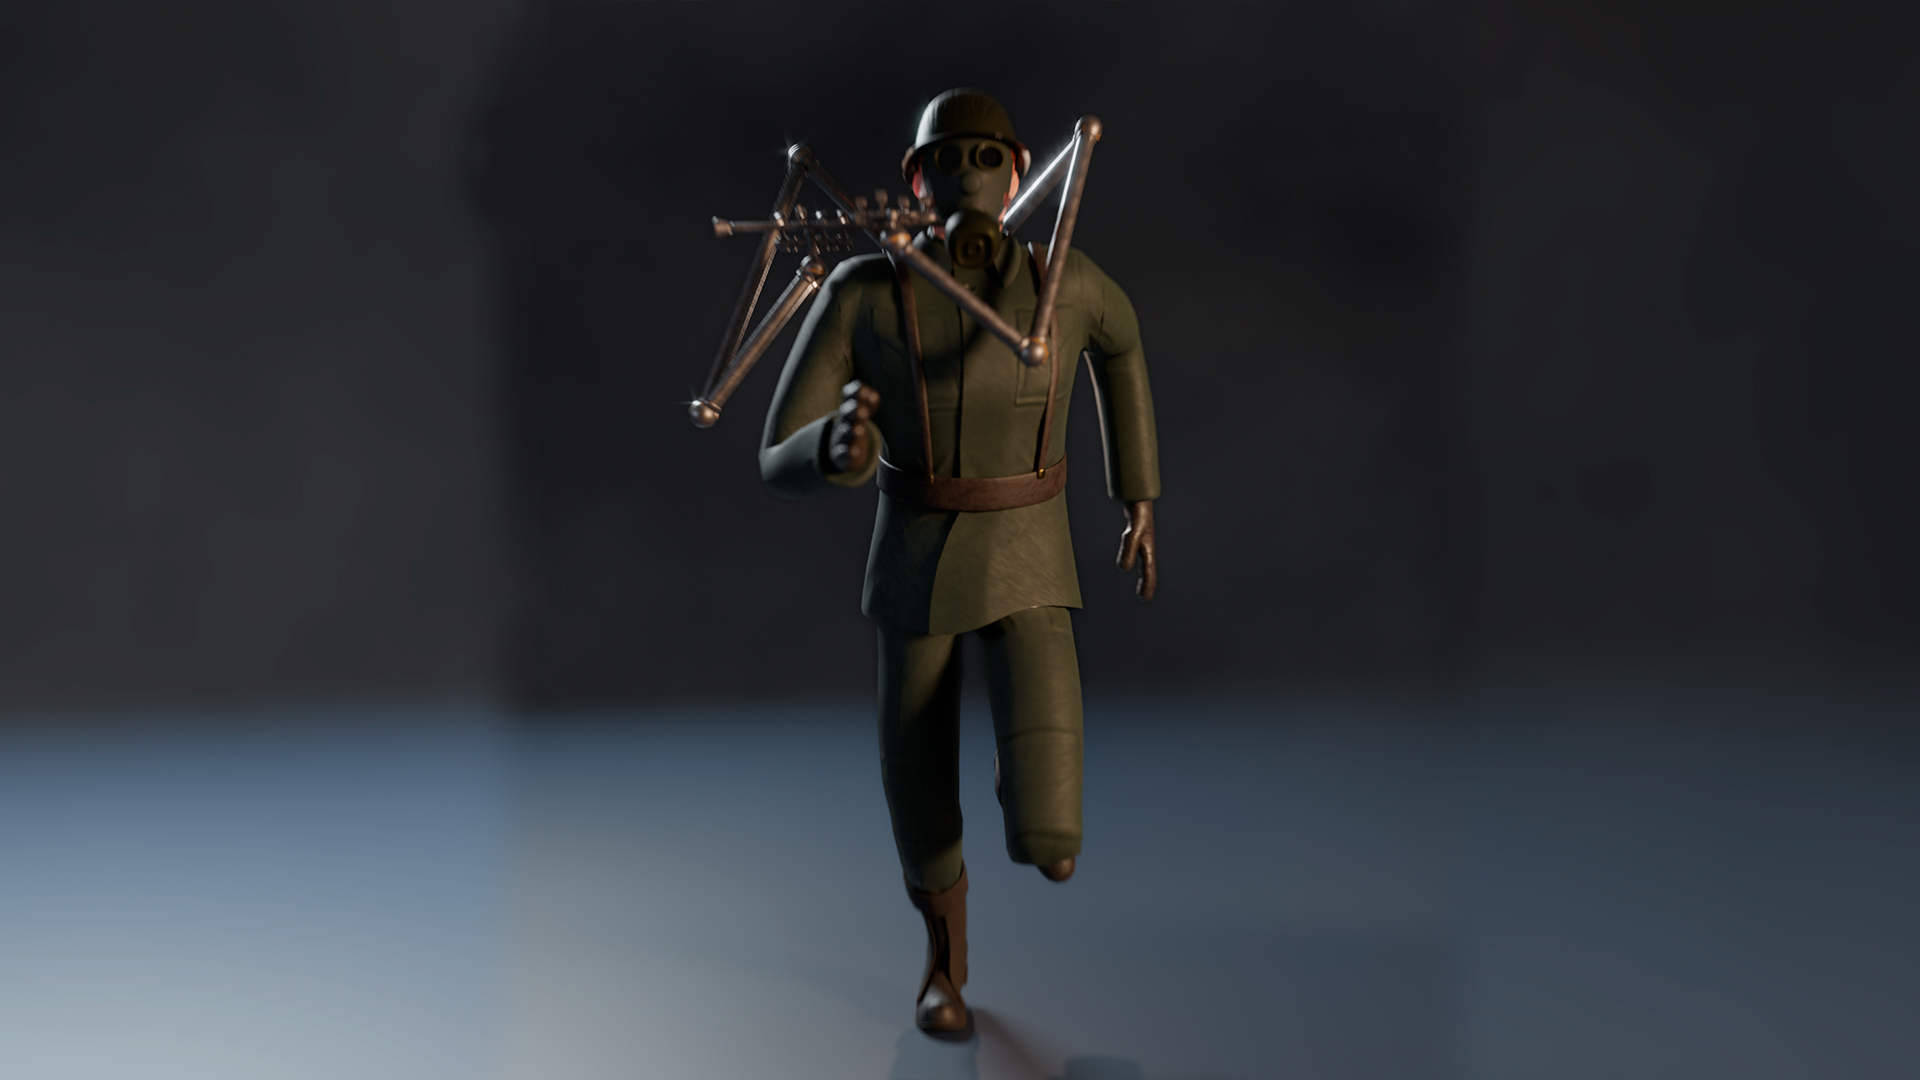
Here’s my final submission. Let me introduce you to the Way-Too-Heavy-Polycount-Peter-Pan (yeah that’s his new name since yesterday, when I just discovered that I were always wrong about polygons…). Sad truth, sad moment…
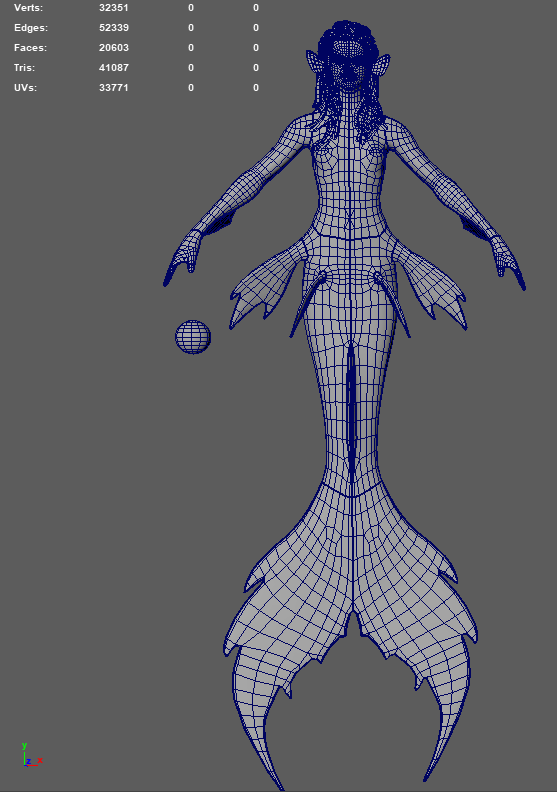
Yep, that’s true, I thought poly/tri-count was the number of FACES I had on my character… but sadly I just learned that it wasn’t…  . Like I said in my thread (Fairy Tales Reimagined - Peter Pan Teenager), this is my first character from start to finish and I learned everything myself. I thought about every mistake I could have make and I made the simplest one… Nevermind, I will never forget what poly/tri count means. I promise
So I thought about throwing my brain on my computer and not posting my work then I told myself that it would be to bad not to show my work even if it doesn’t fit with the rules of the challenge.
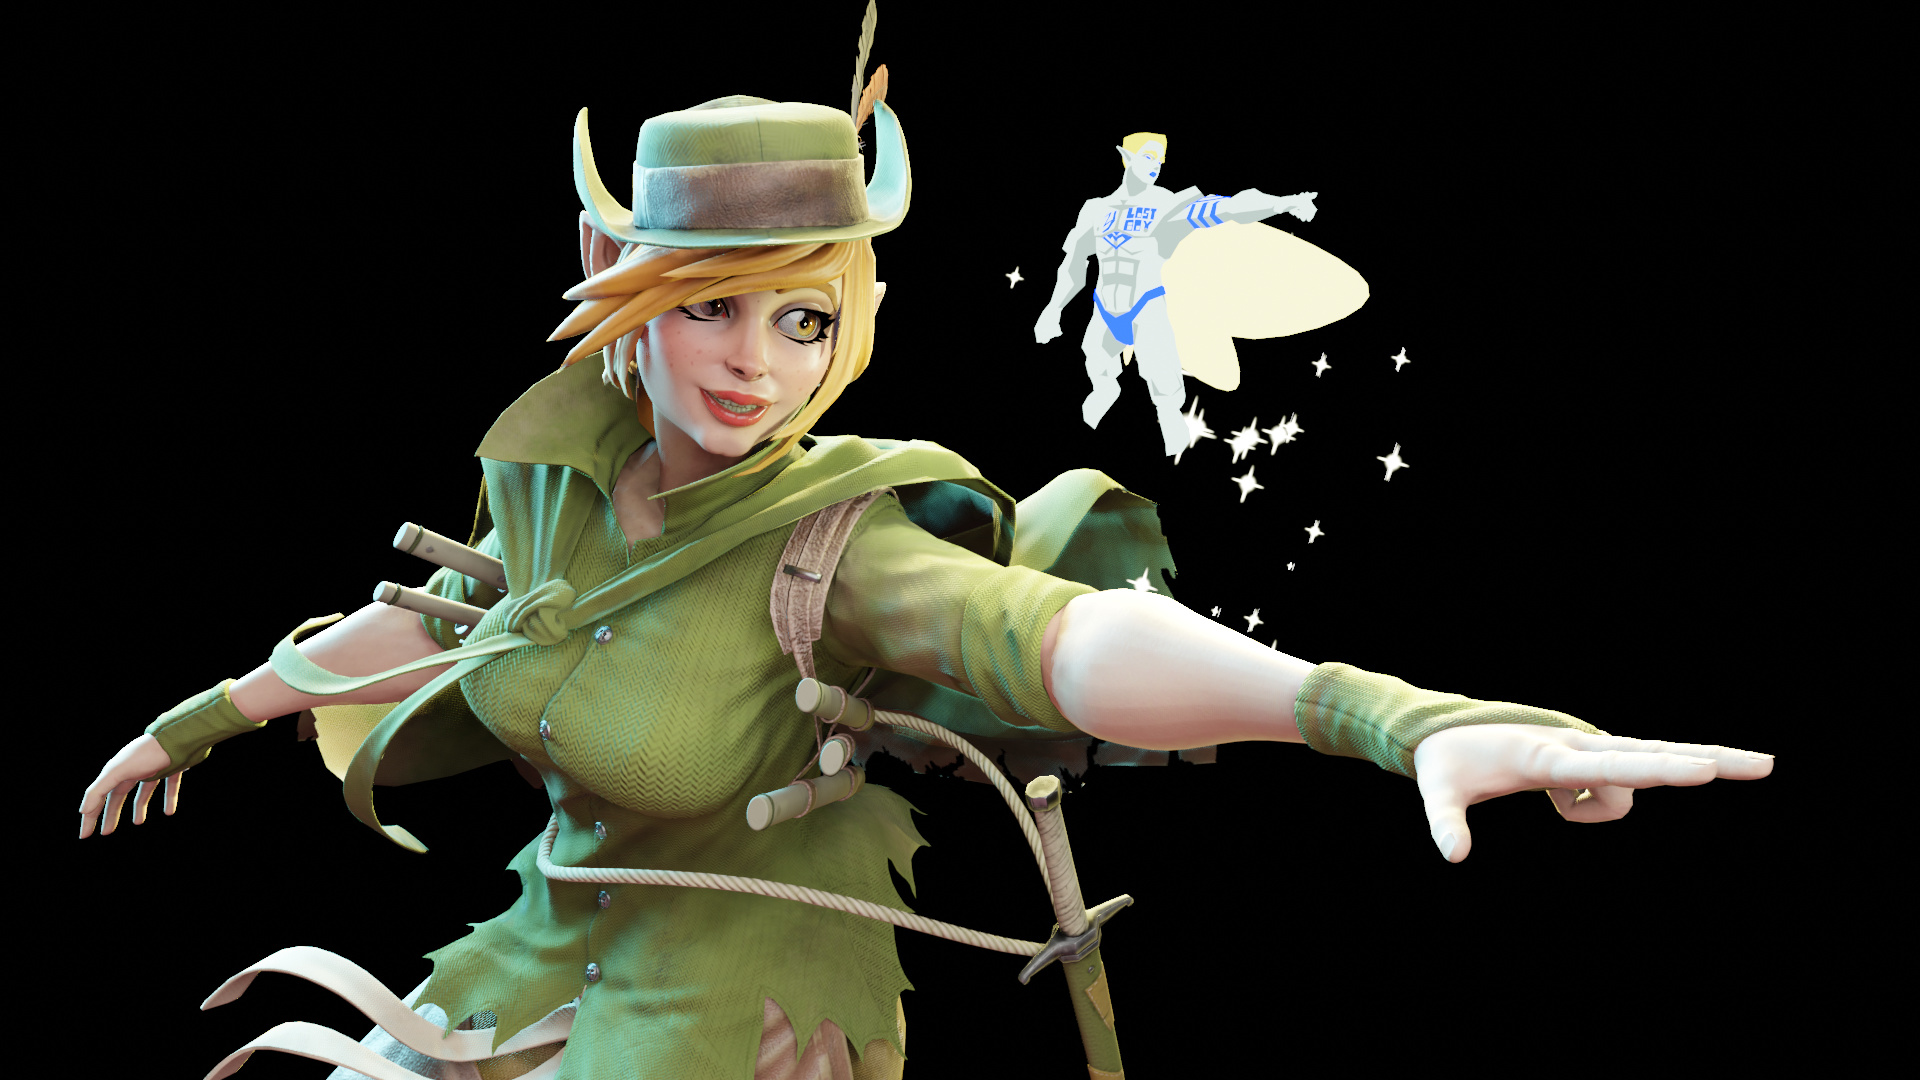
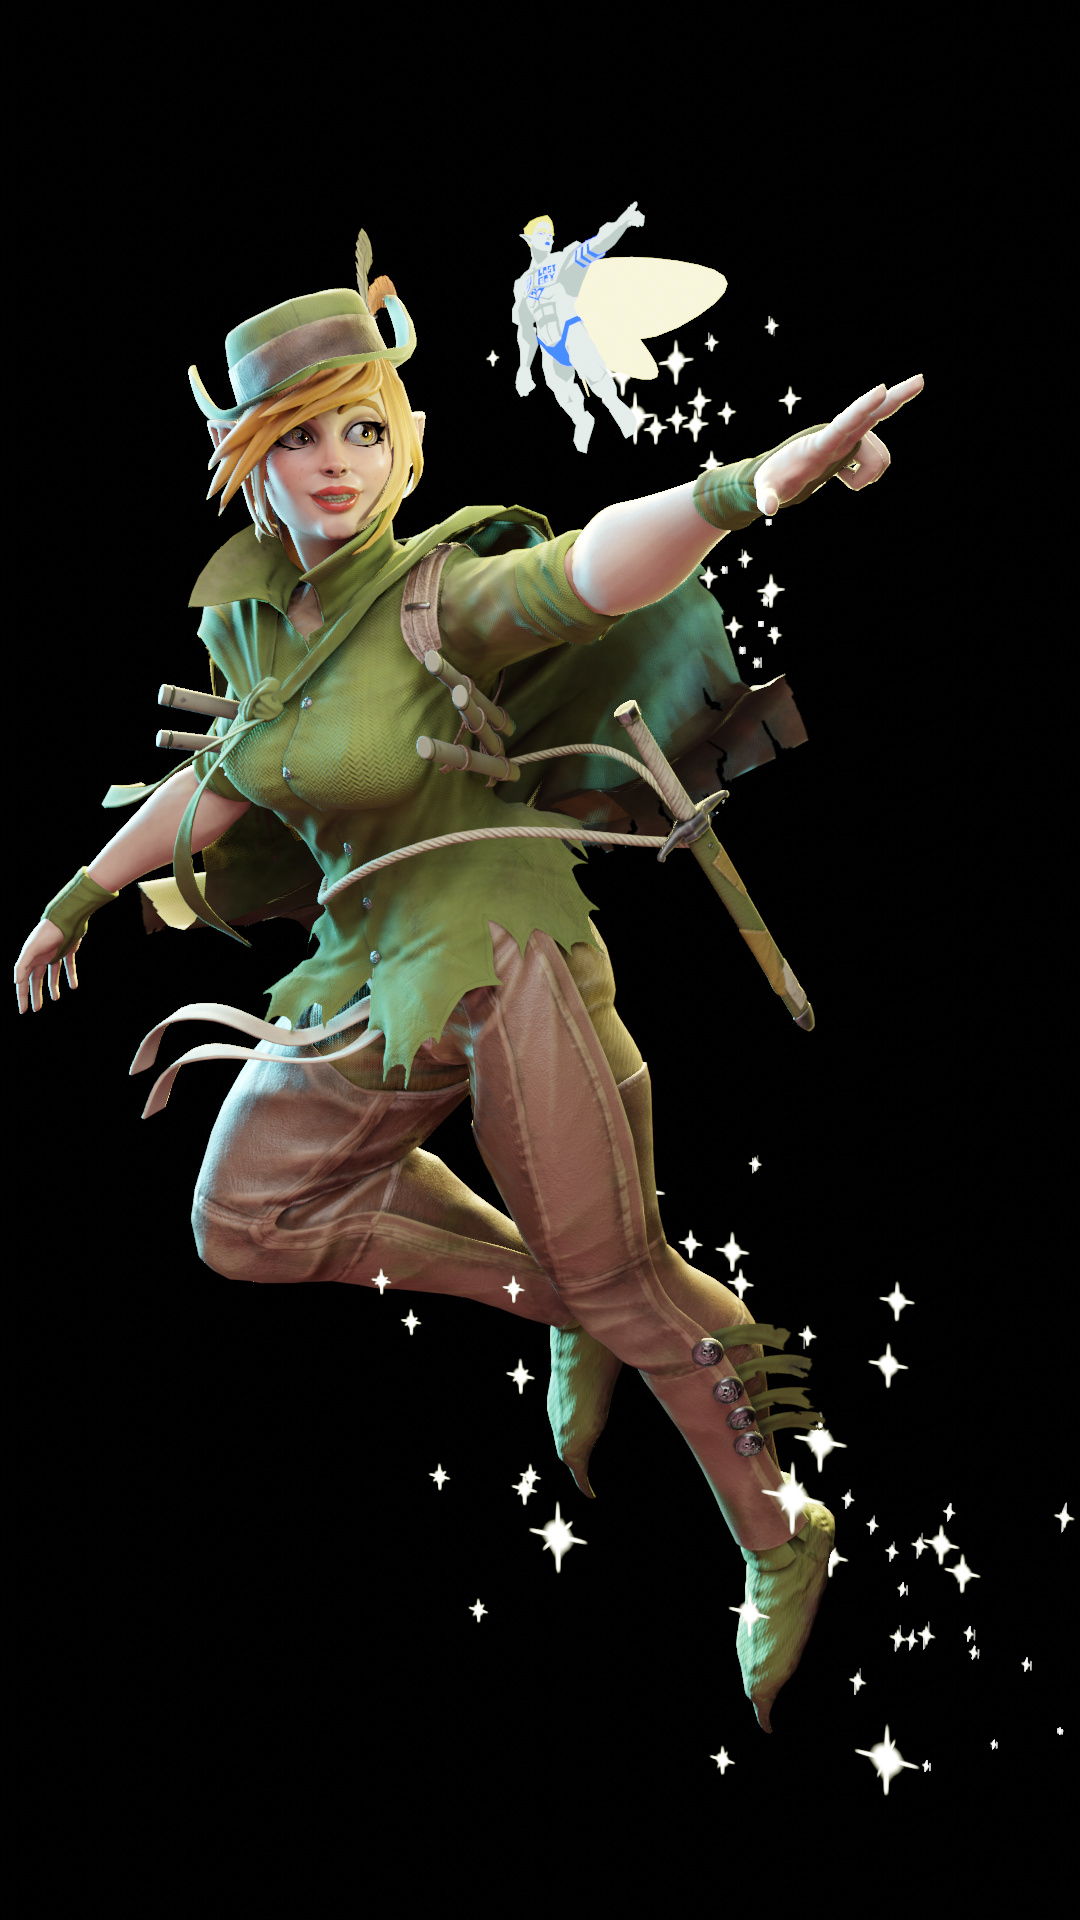
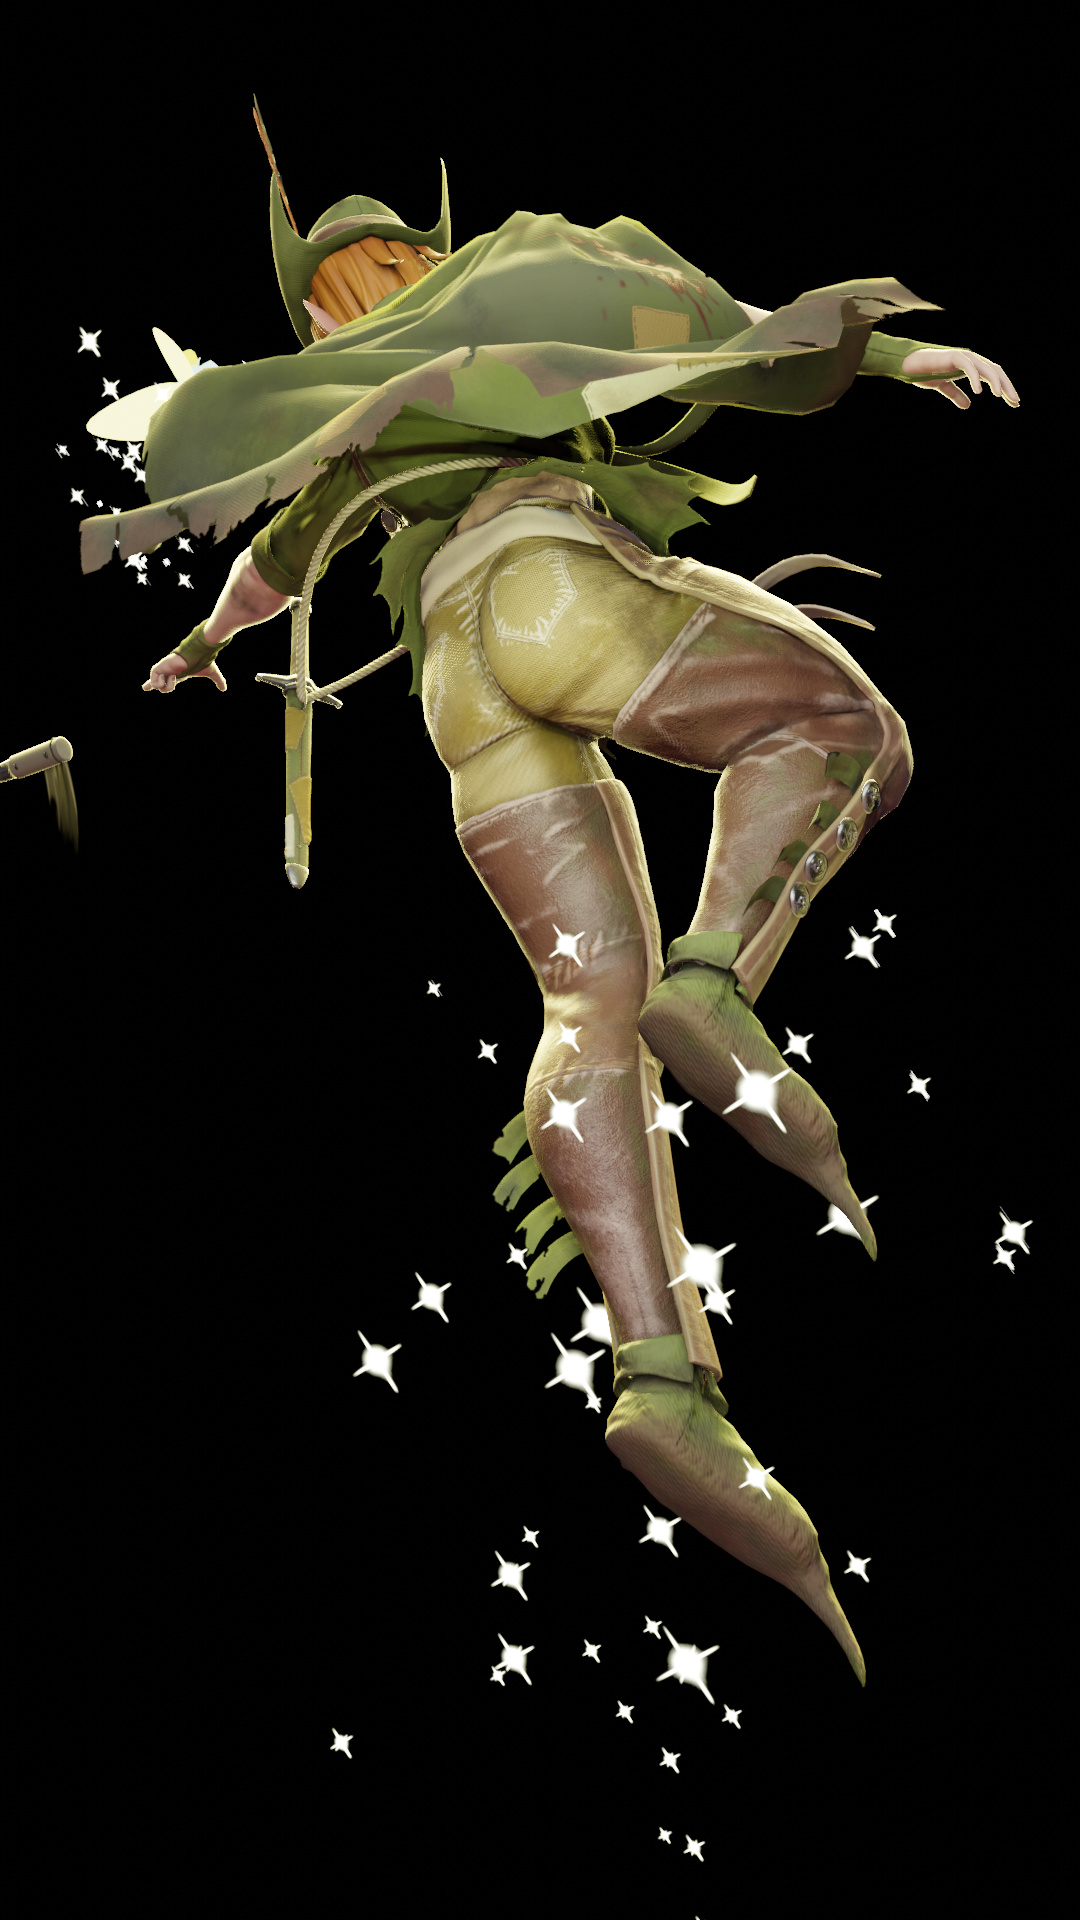
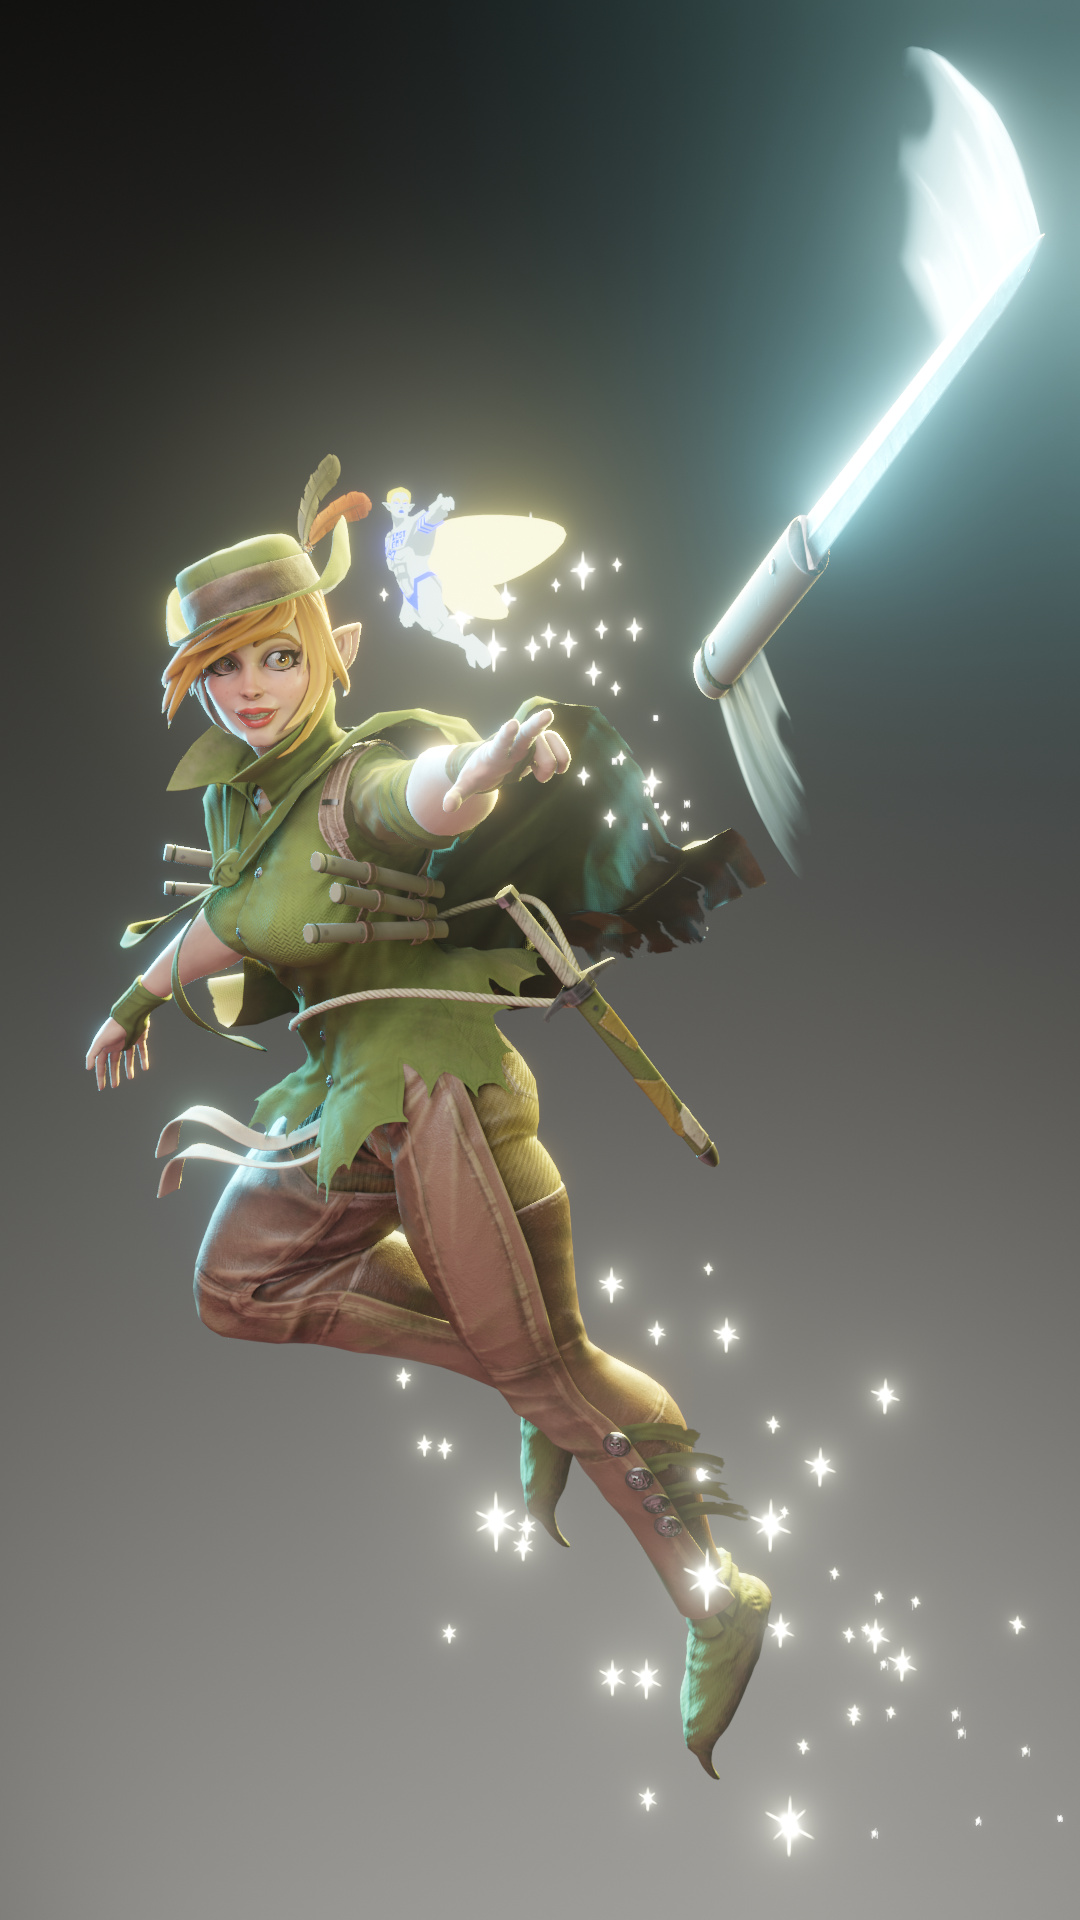
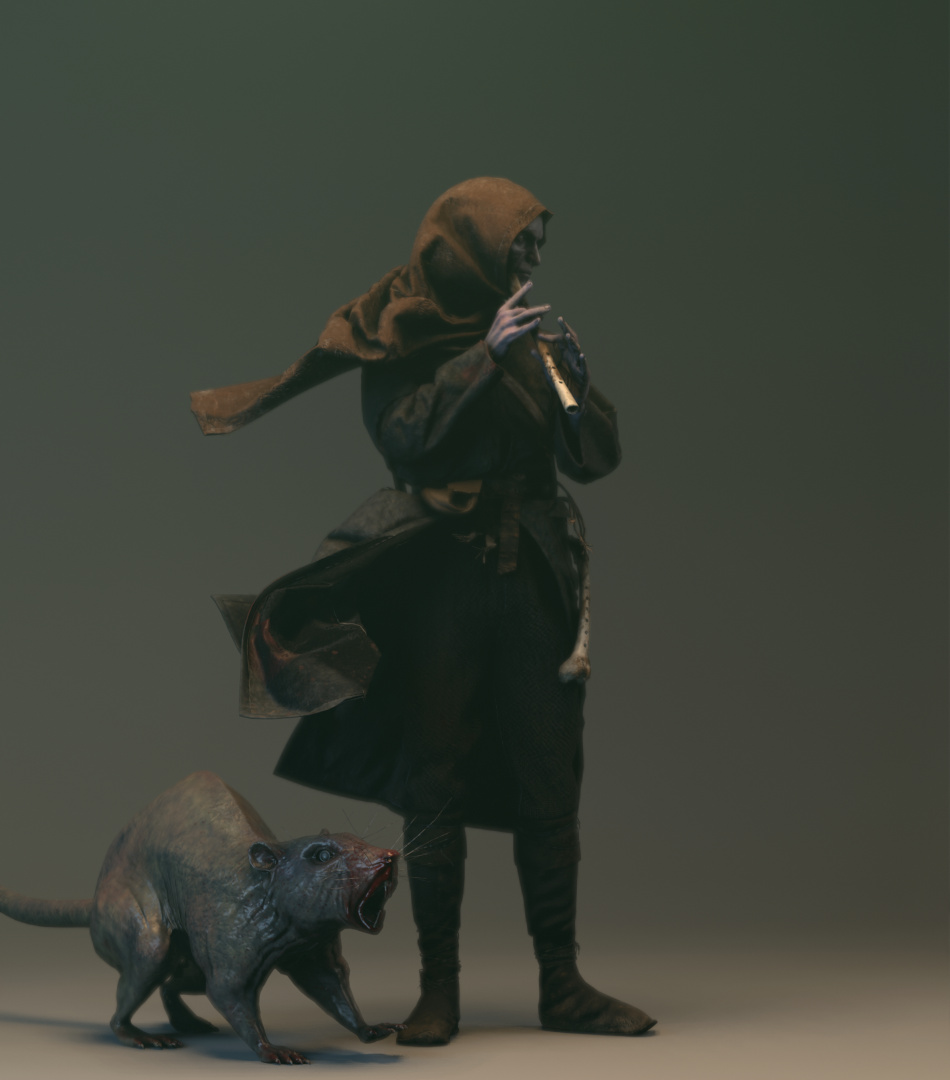
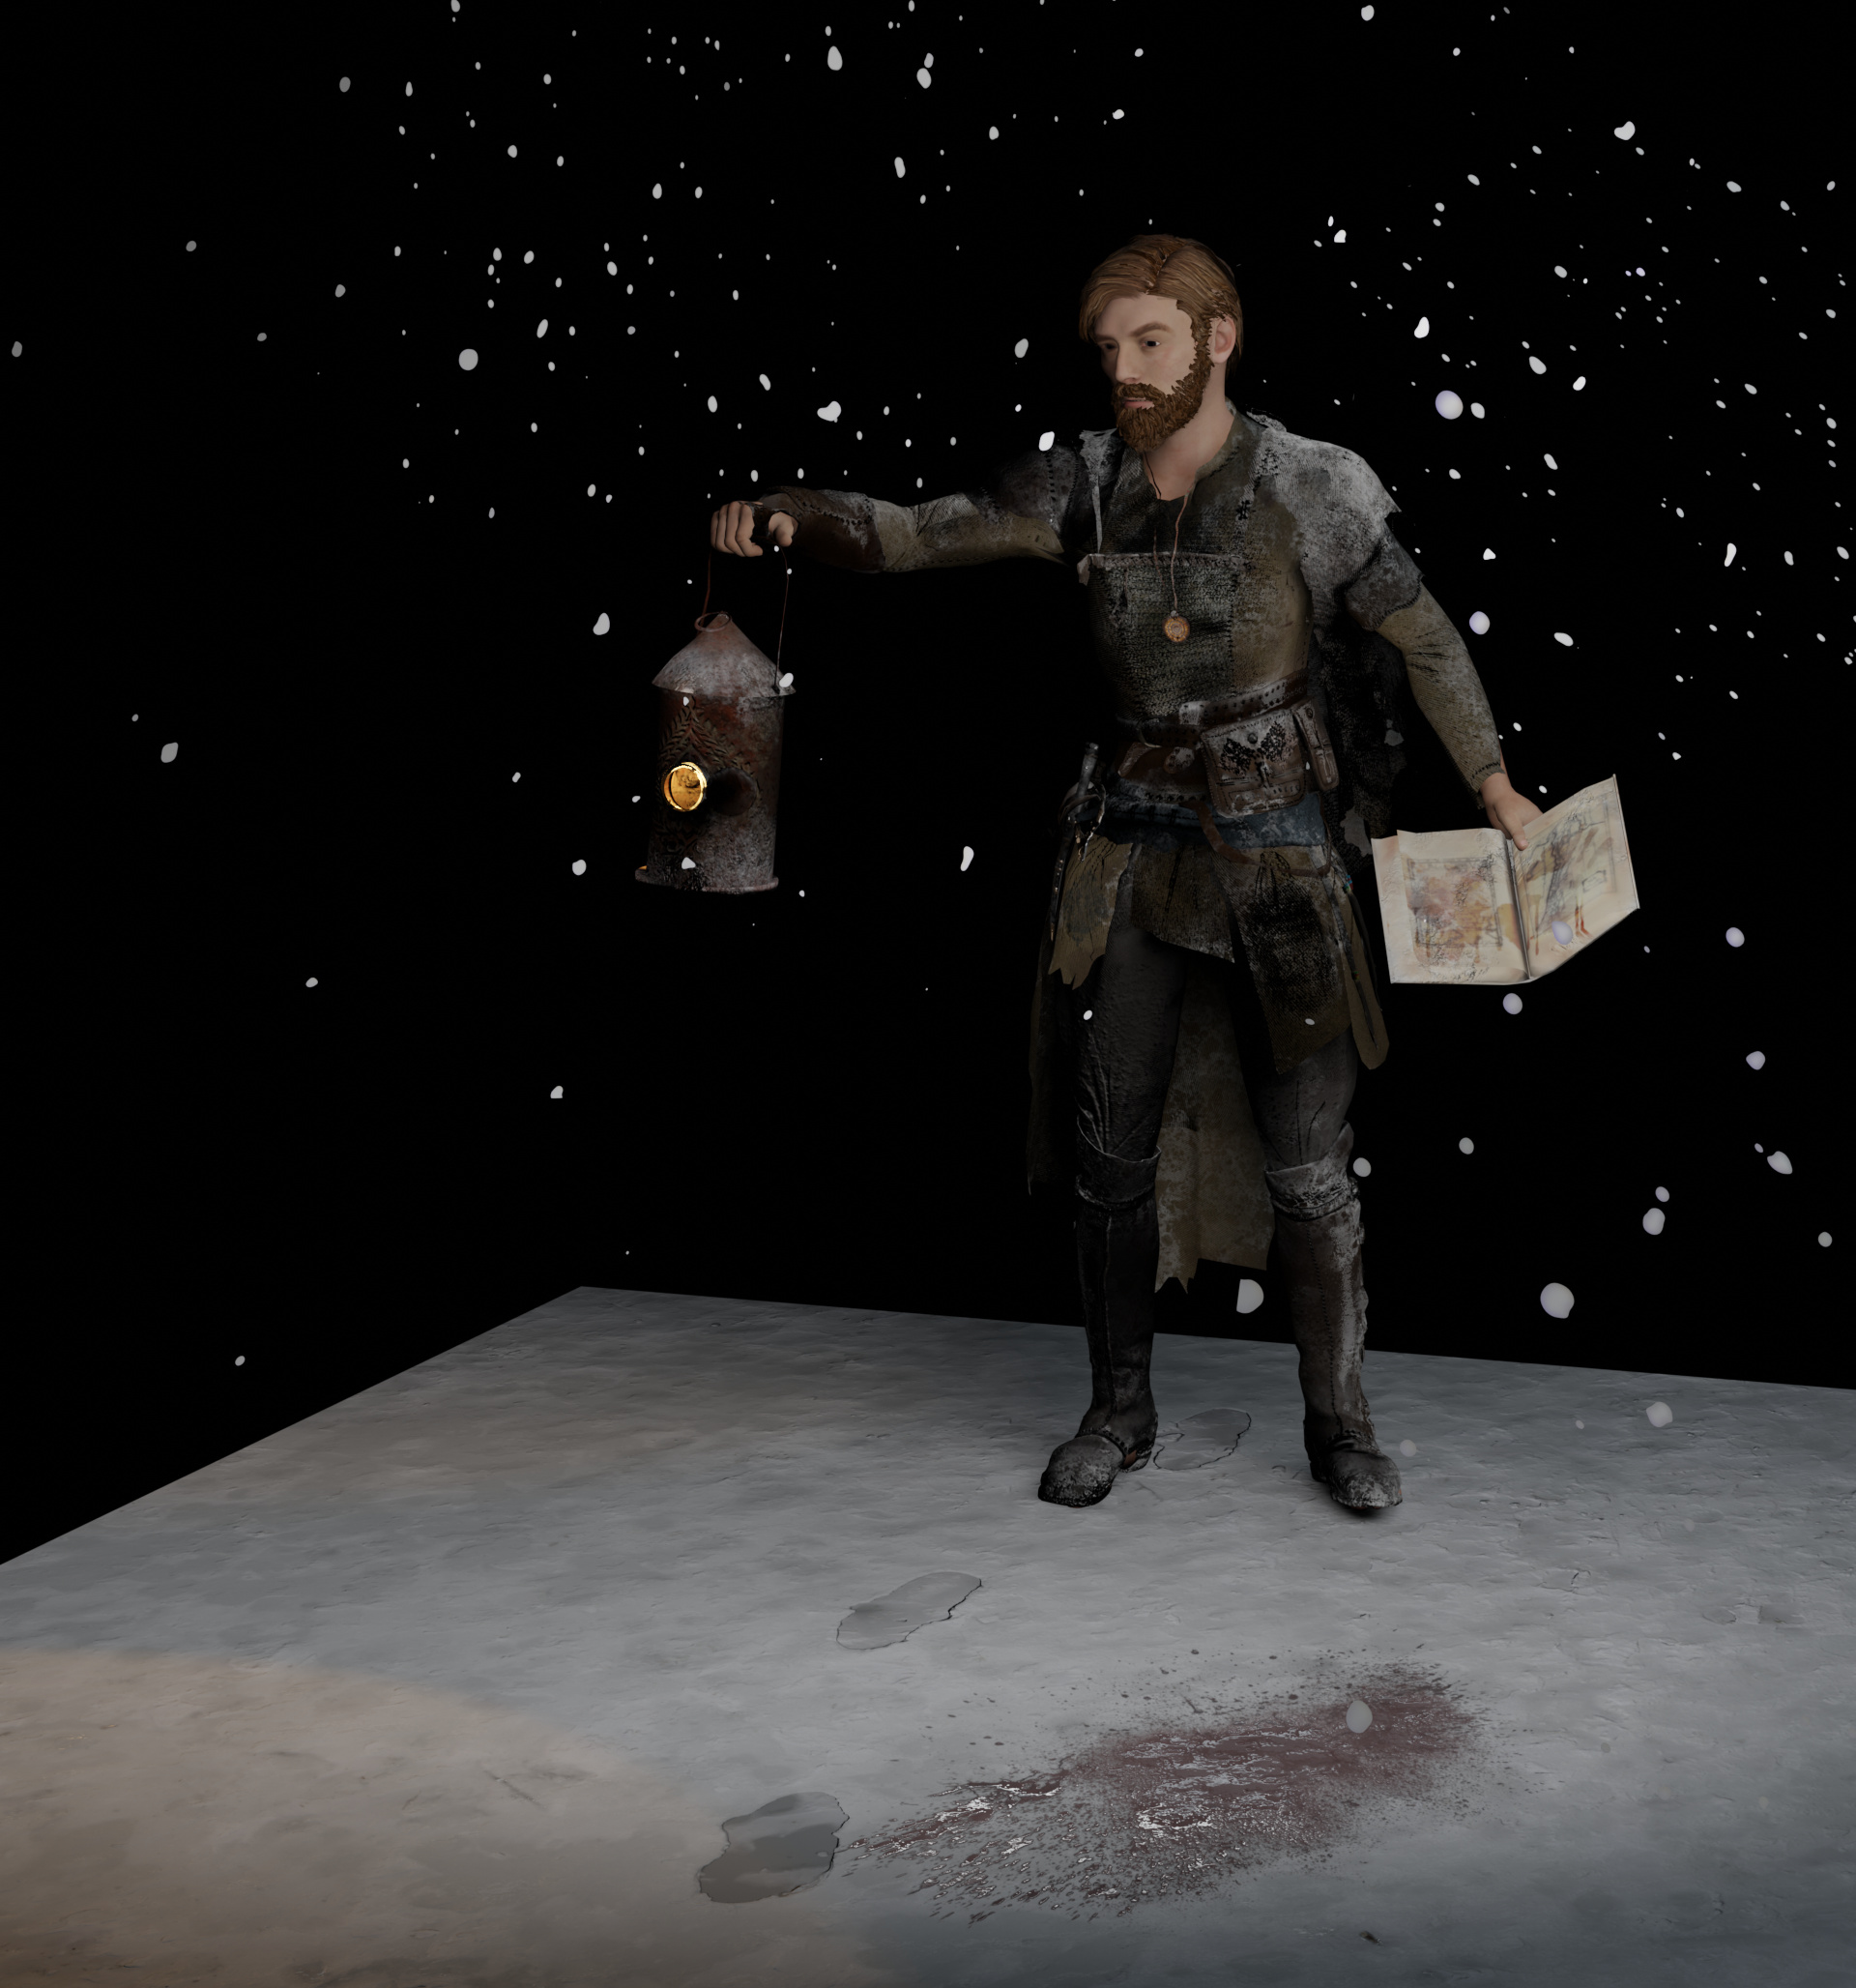
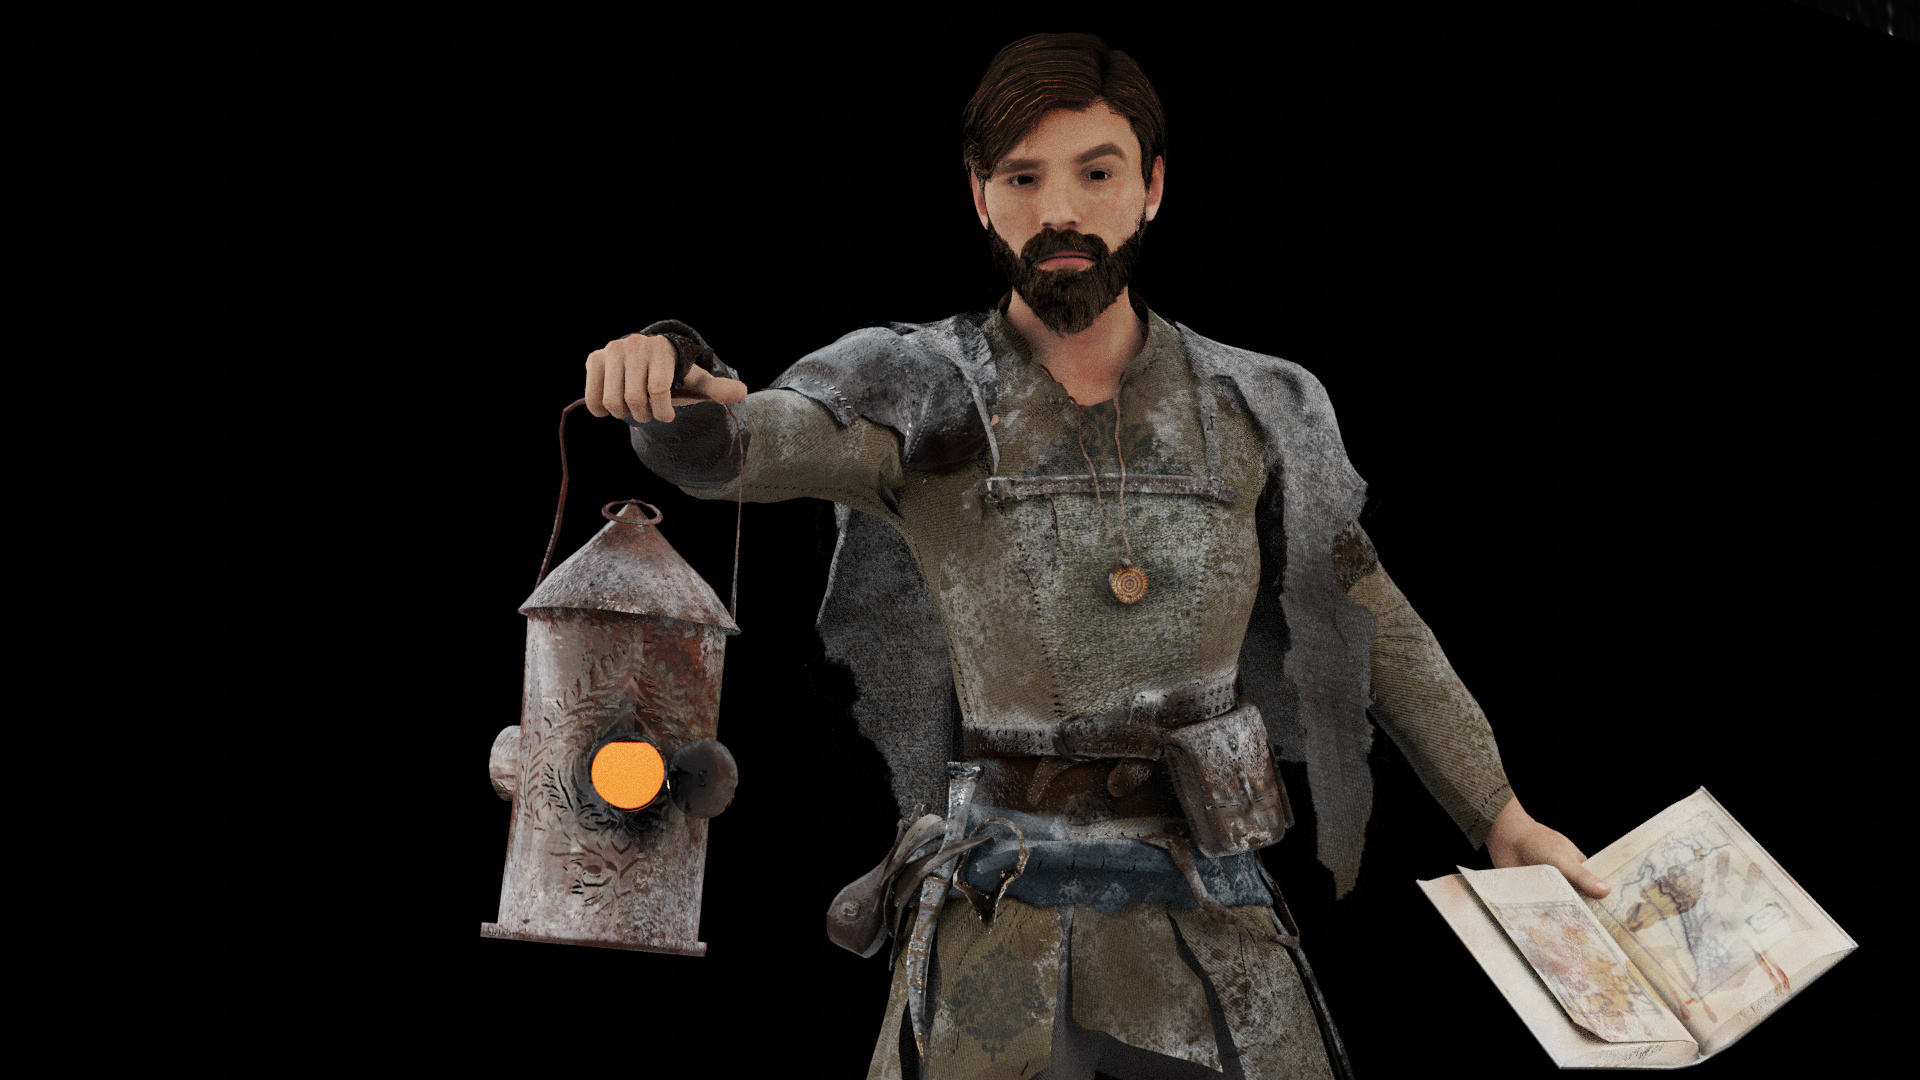
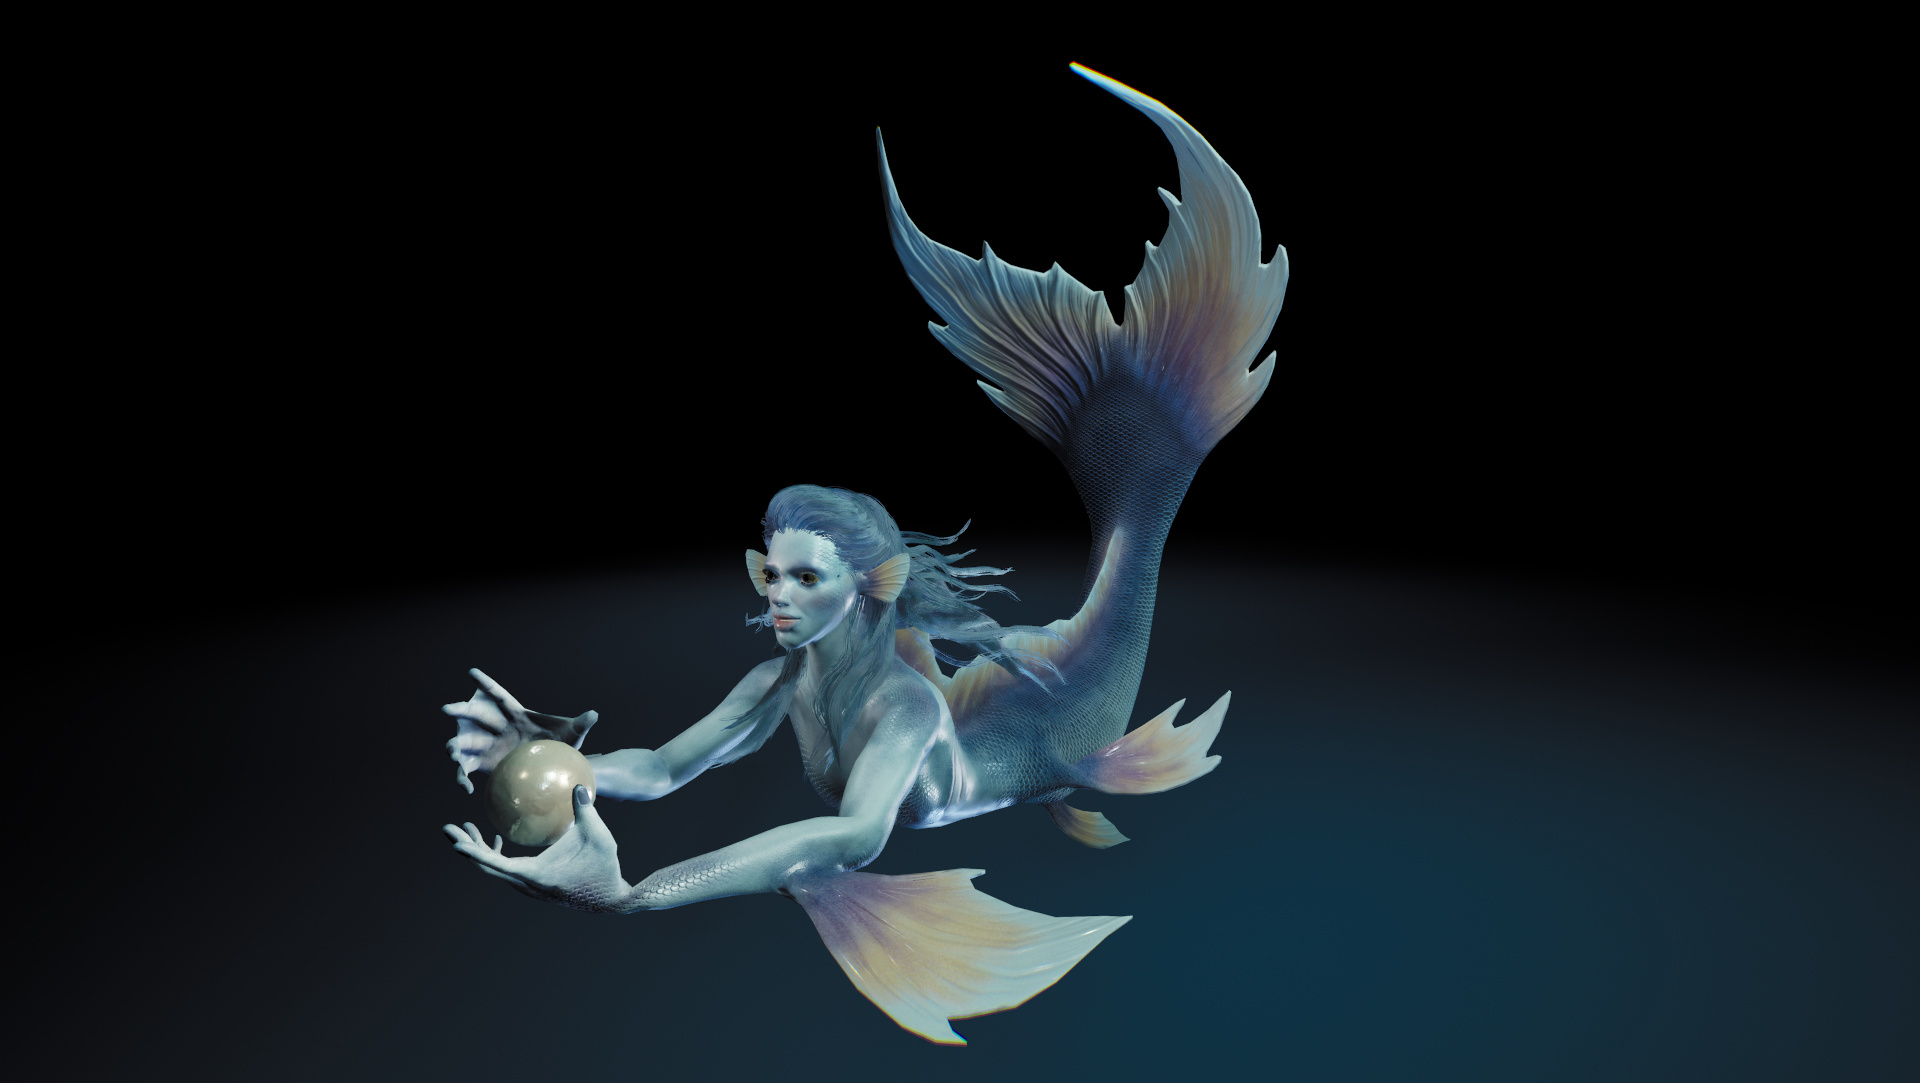
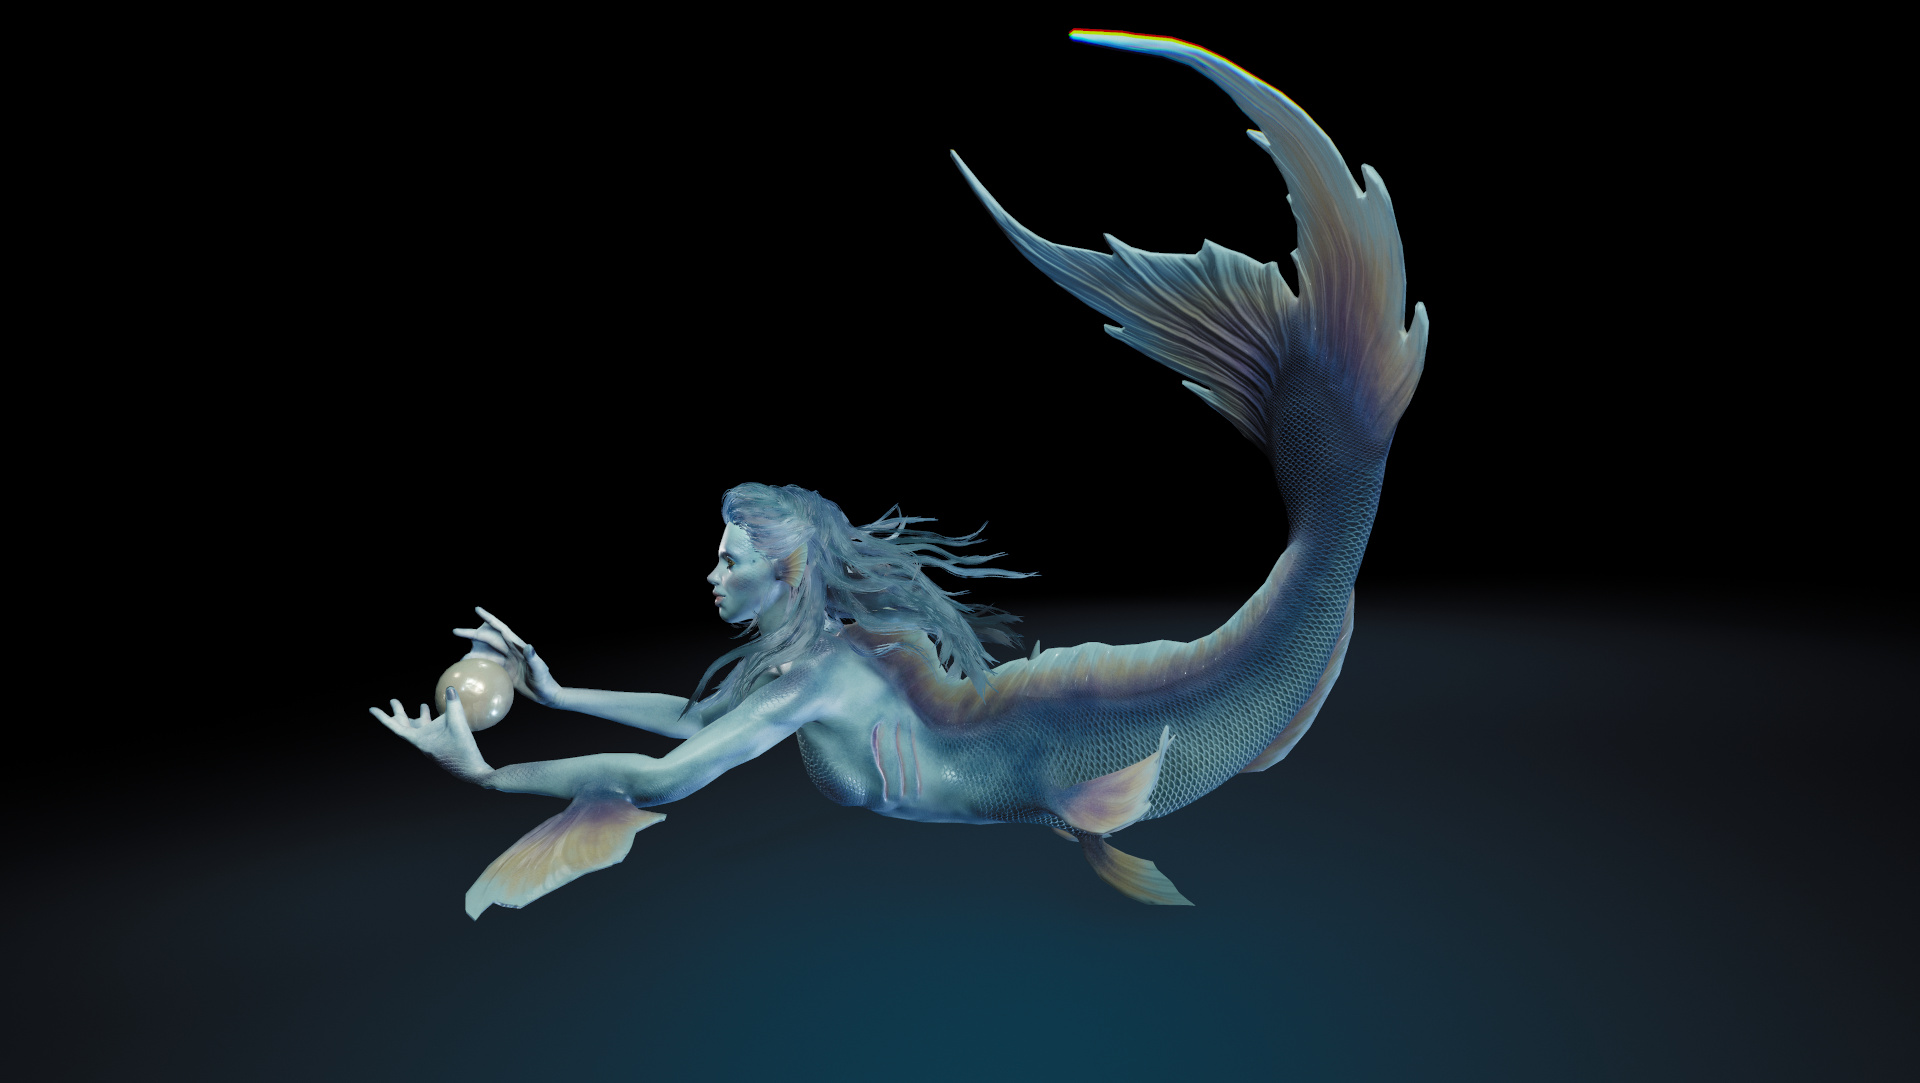
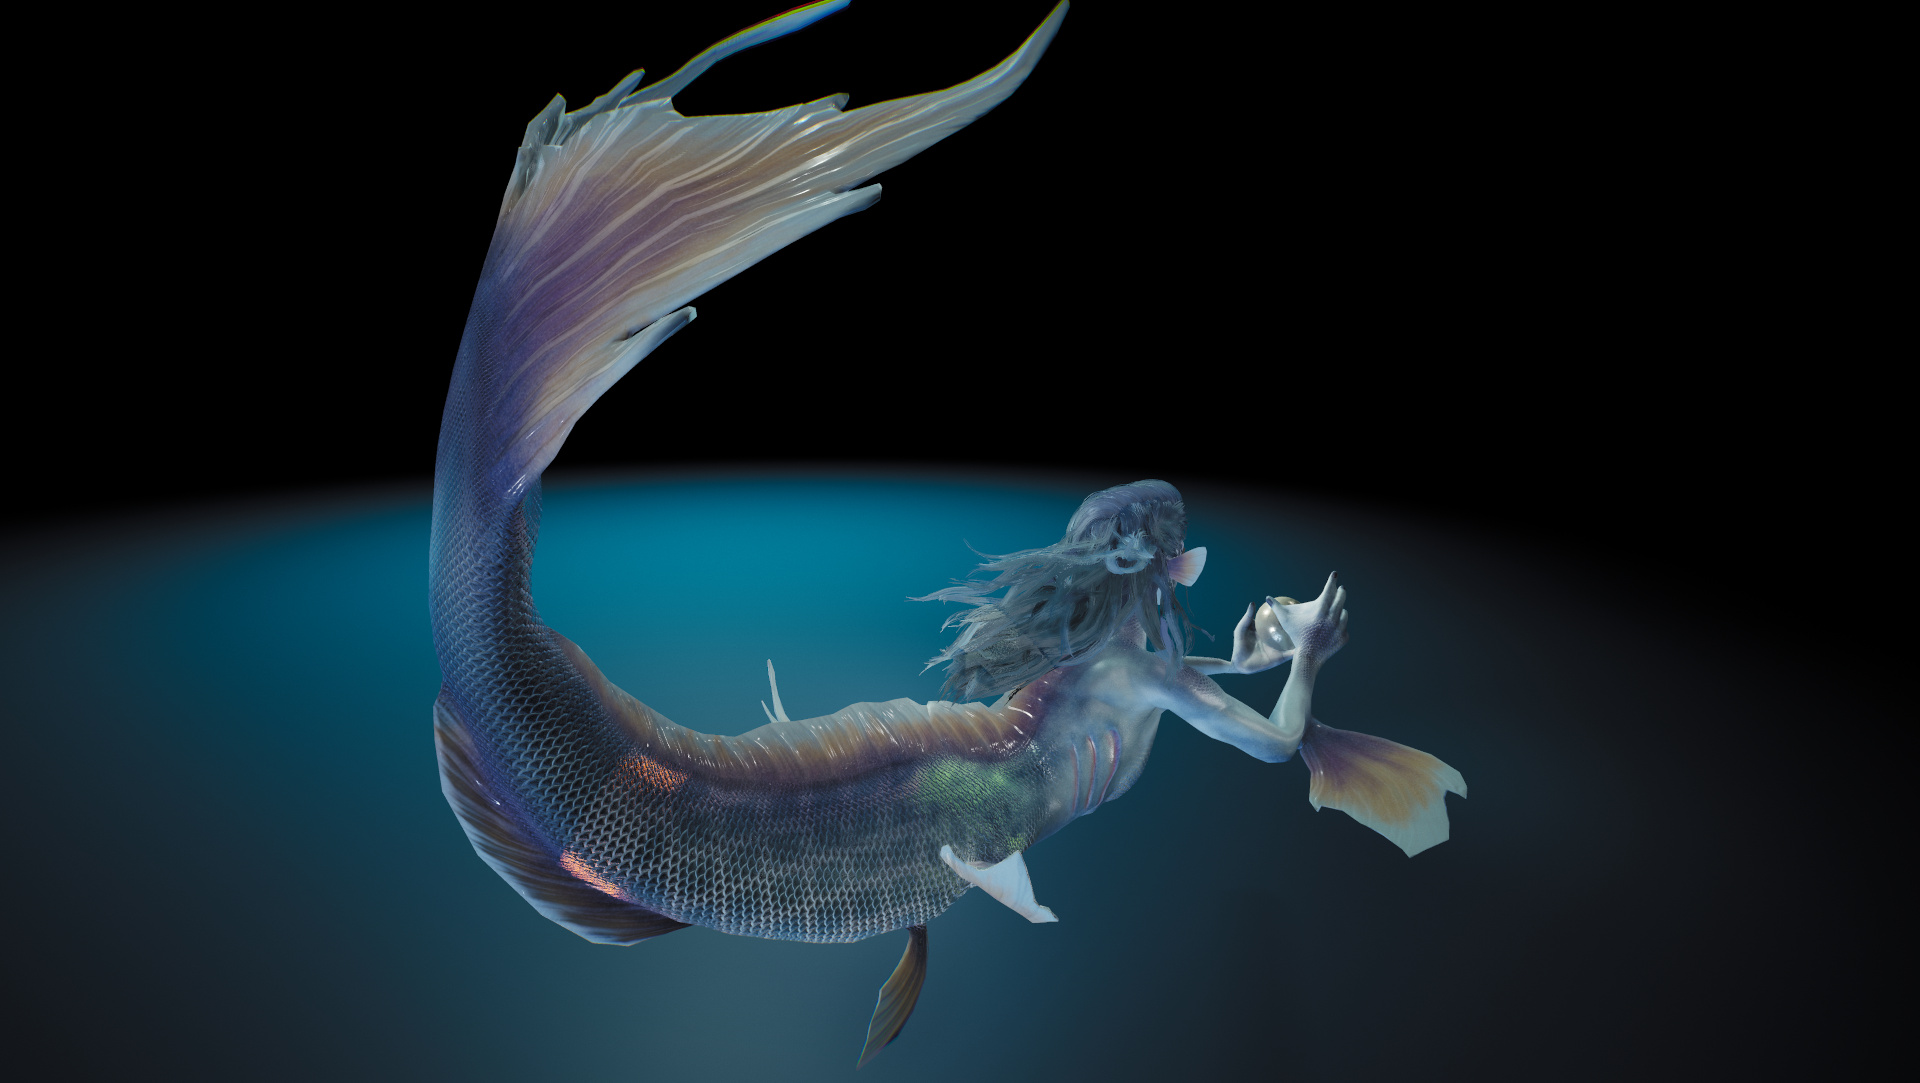
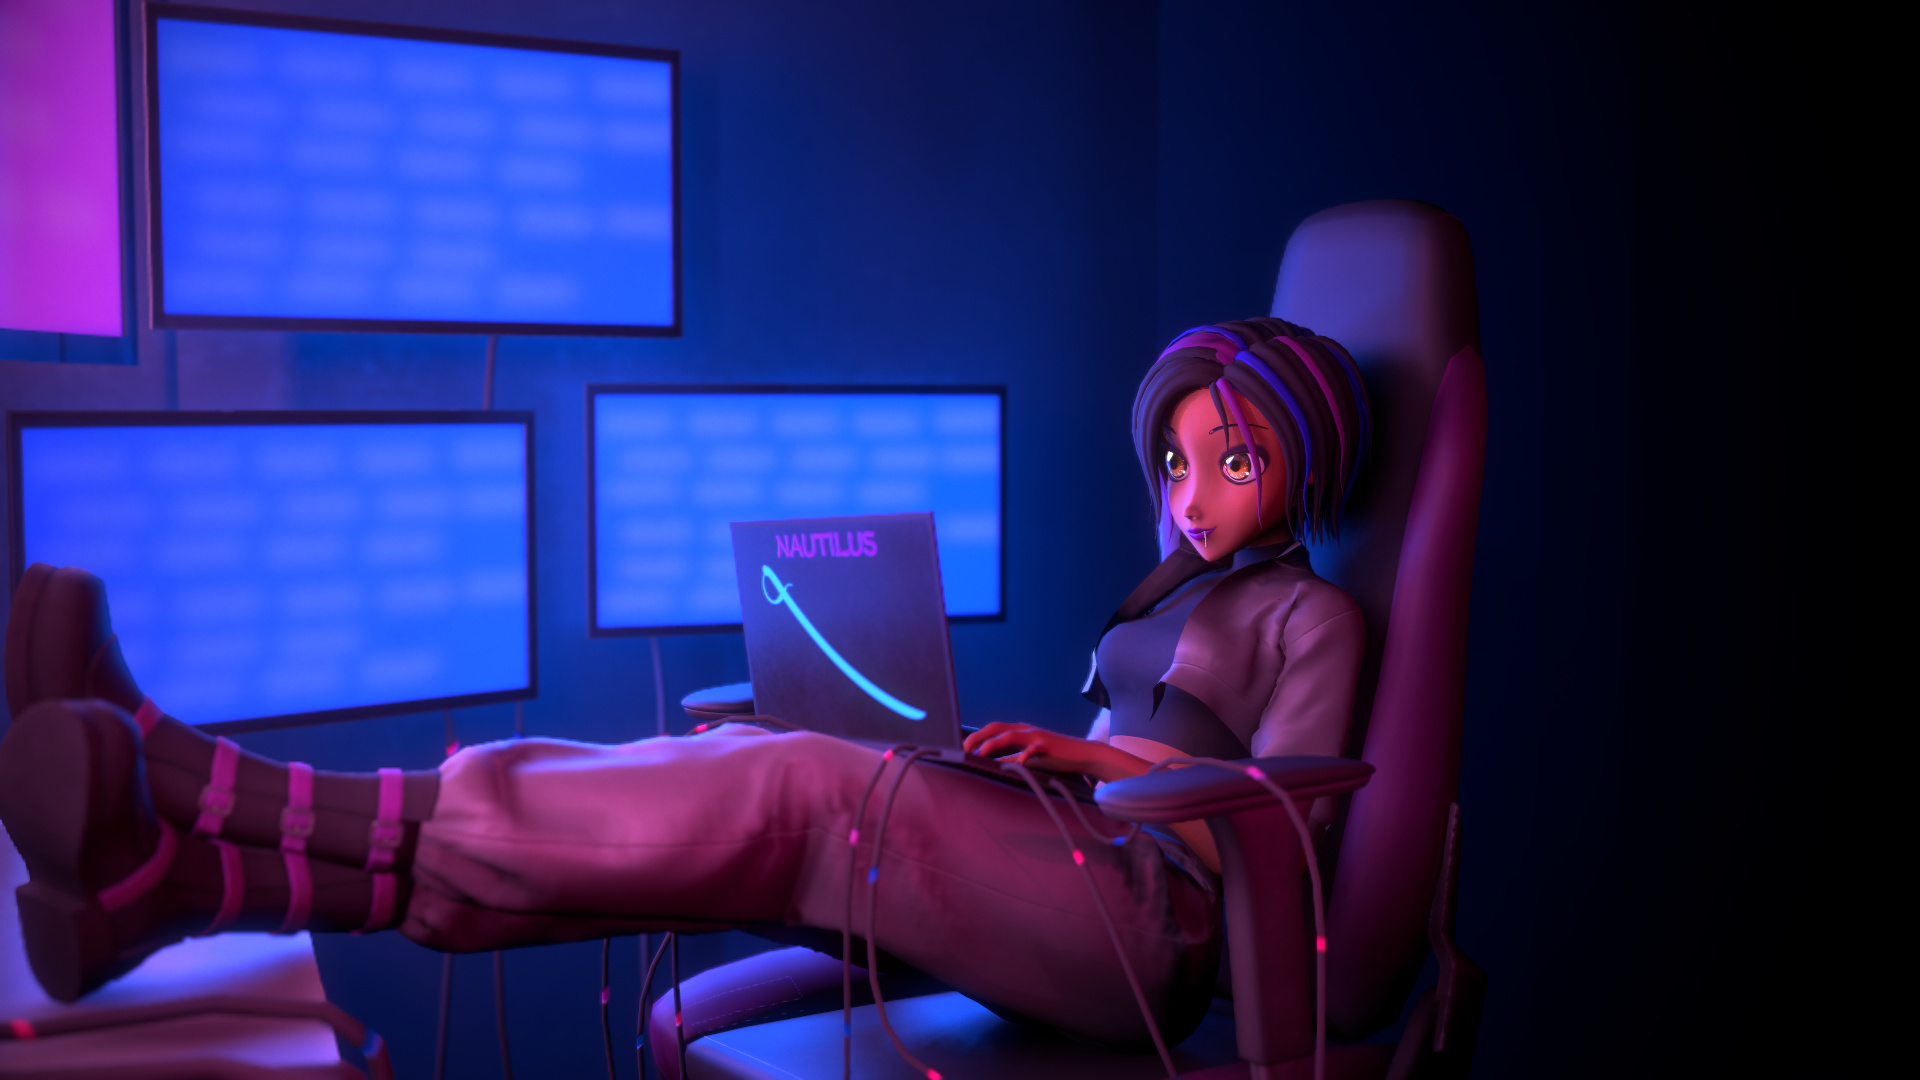
So here is my Teenager Bad’ass Peter Pan. Hope you’ll like it.
Like I said earlier, this is almost the first time I’m making a character from start to finish. I mean concept, sculpting, retopology and everything, so in spite of this big fundamental mistake, I’m happy I did it. I learned so much stuff. Thanks a lot Flipped Normals pushing me to do my best (almost).
You can check the whole process in my thread : Fairy Tales Reimagined - Peter Pan Teenager
Project on Sketchfab : https://skfb.ly/onR6C
Instagram : @adrien_requin
Artstation : https://www.artstation.com/adrienrequin
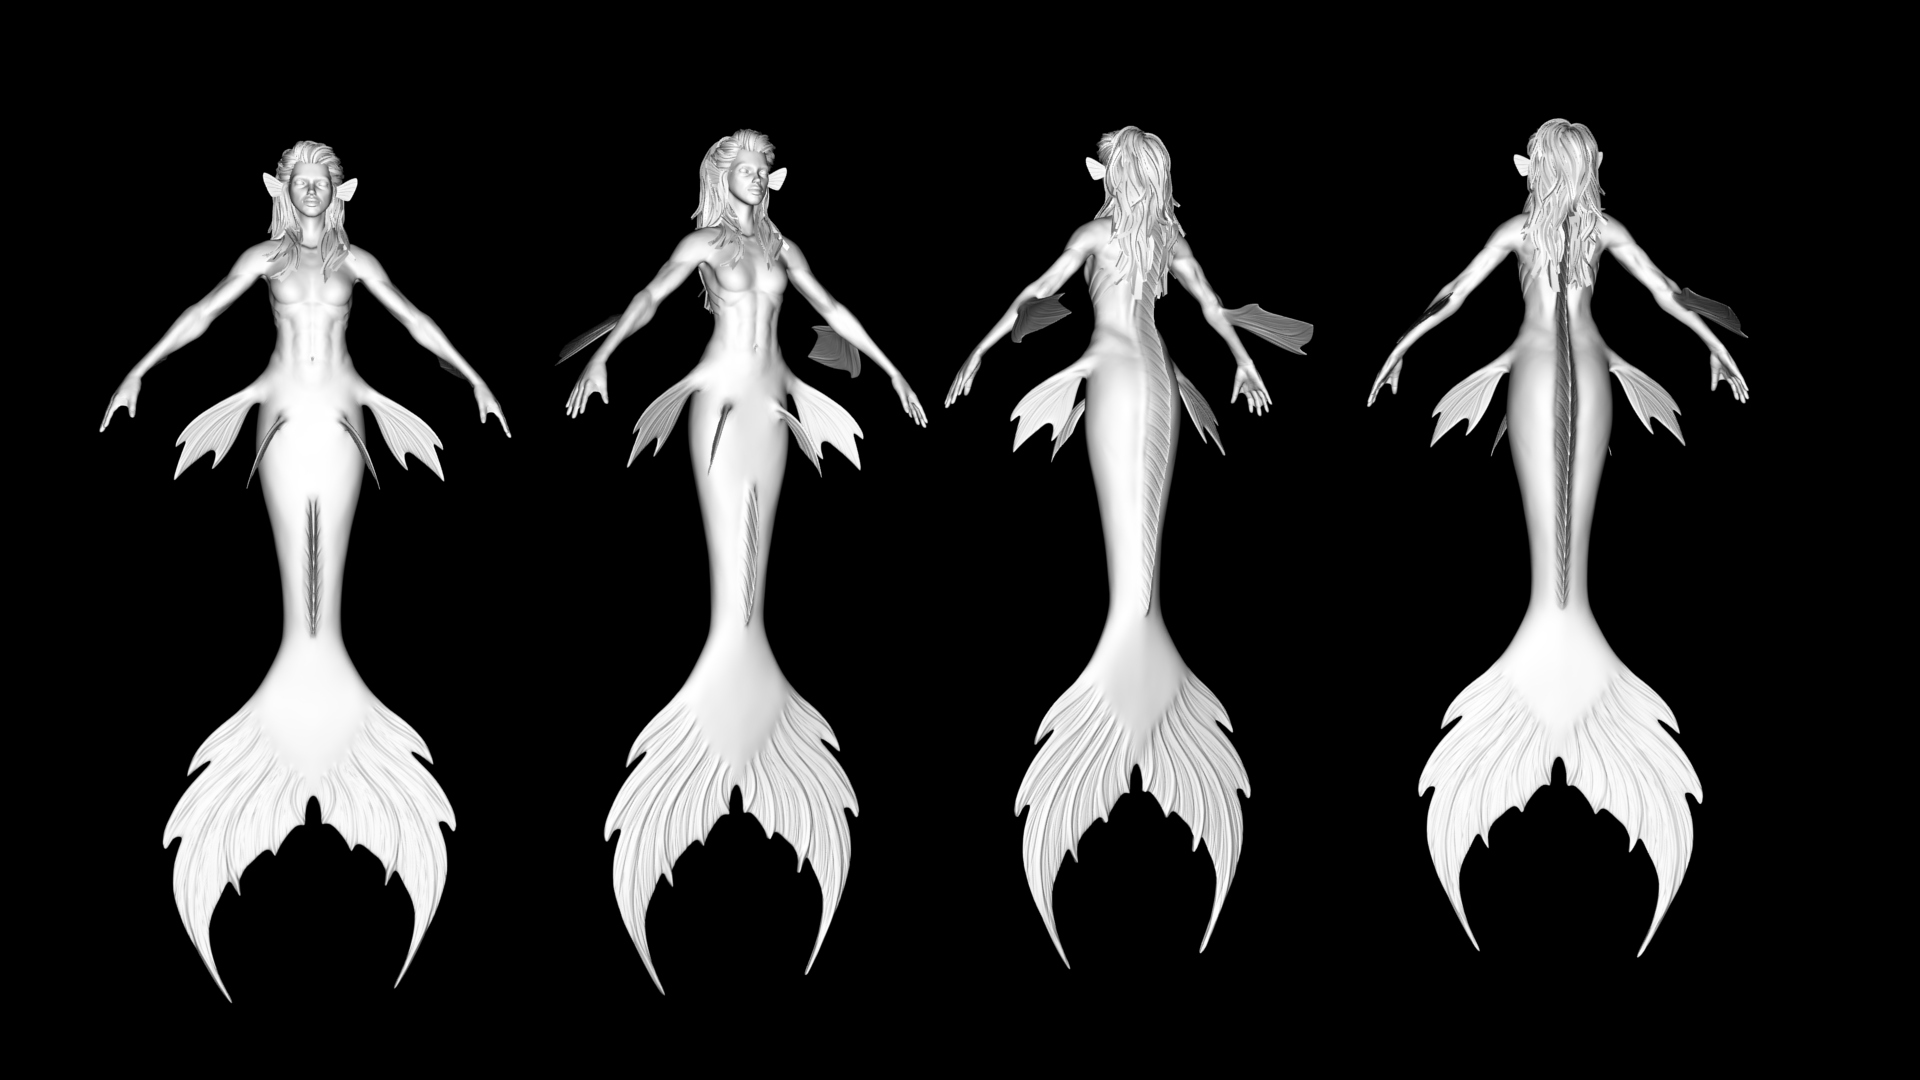
Sculpting : ZBrush
Retopology/ Modelling : Maya & Blender
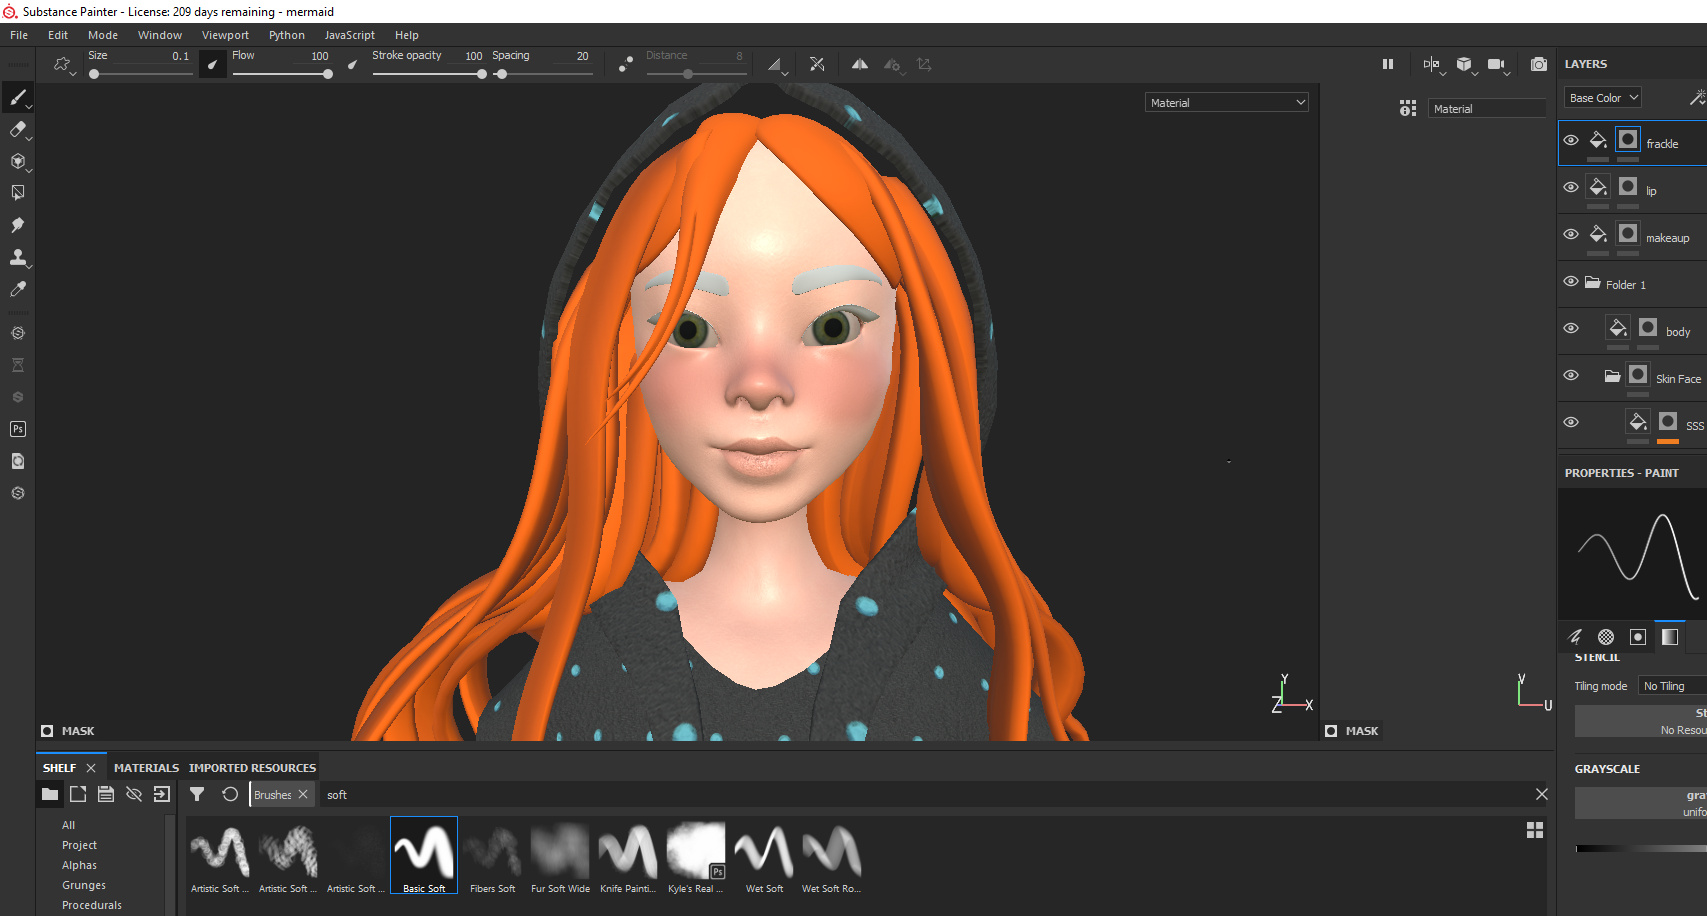
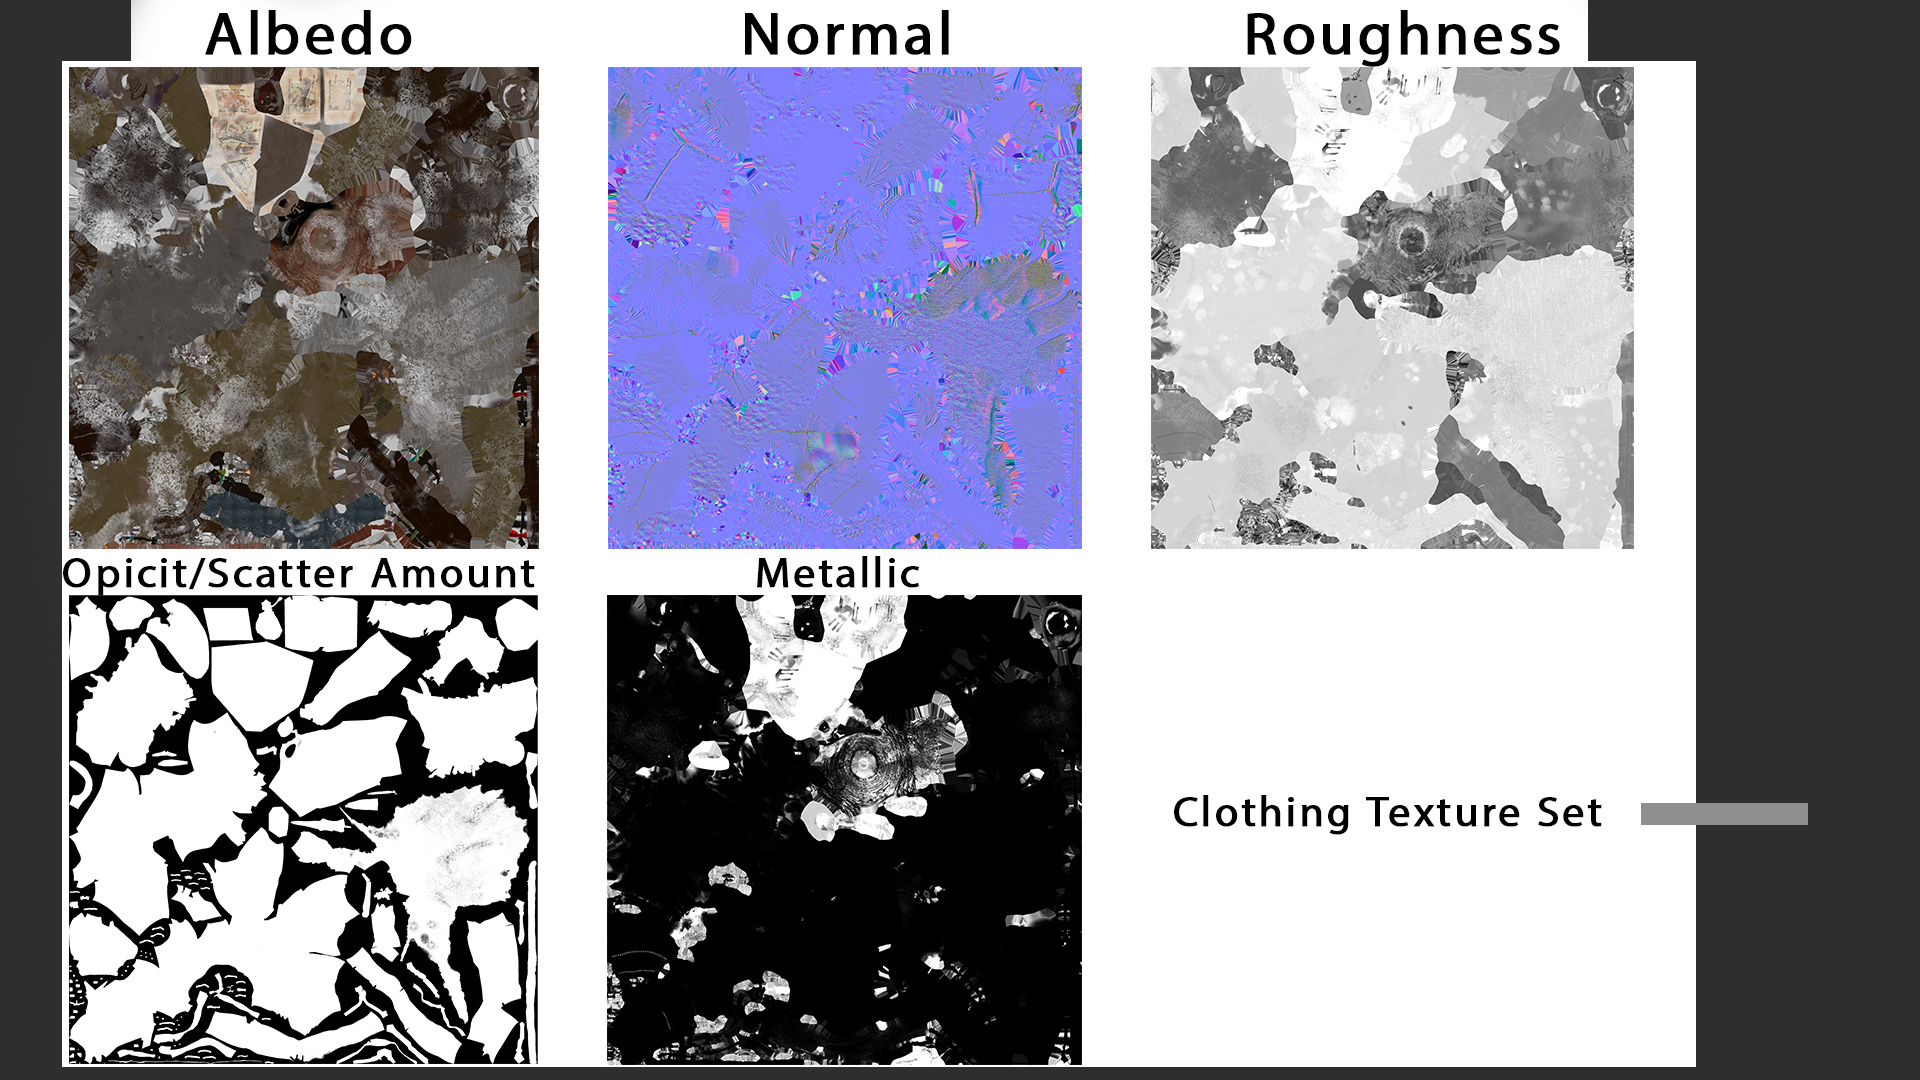
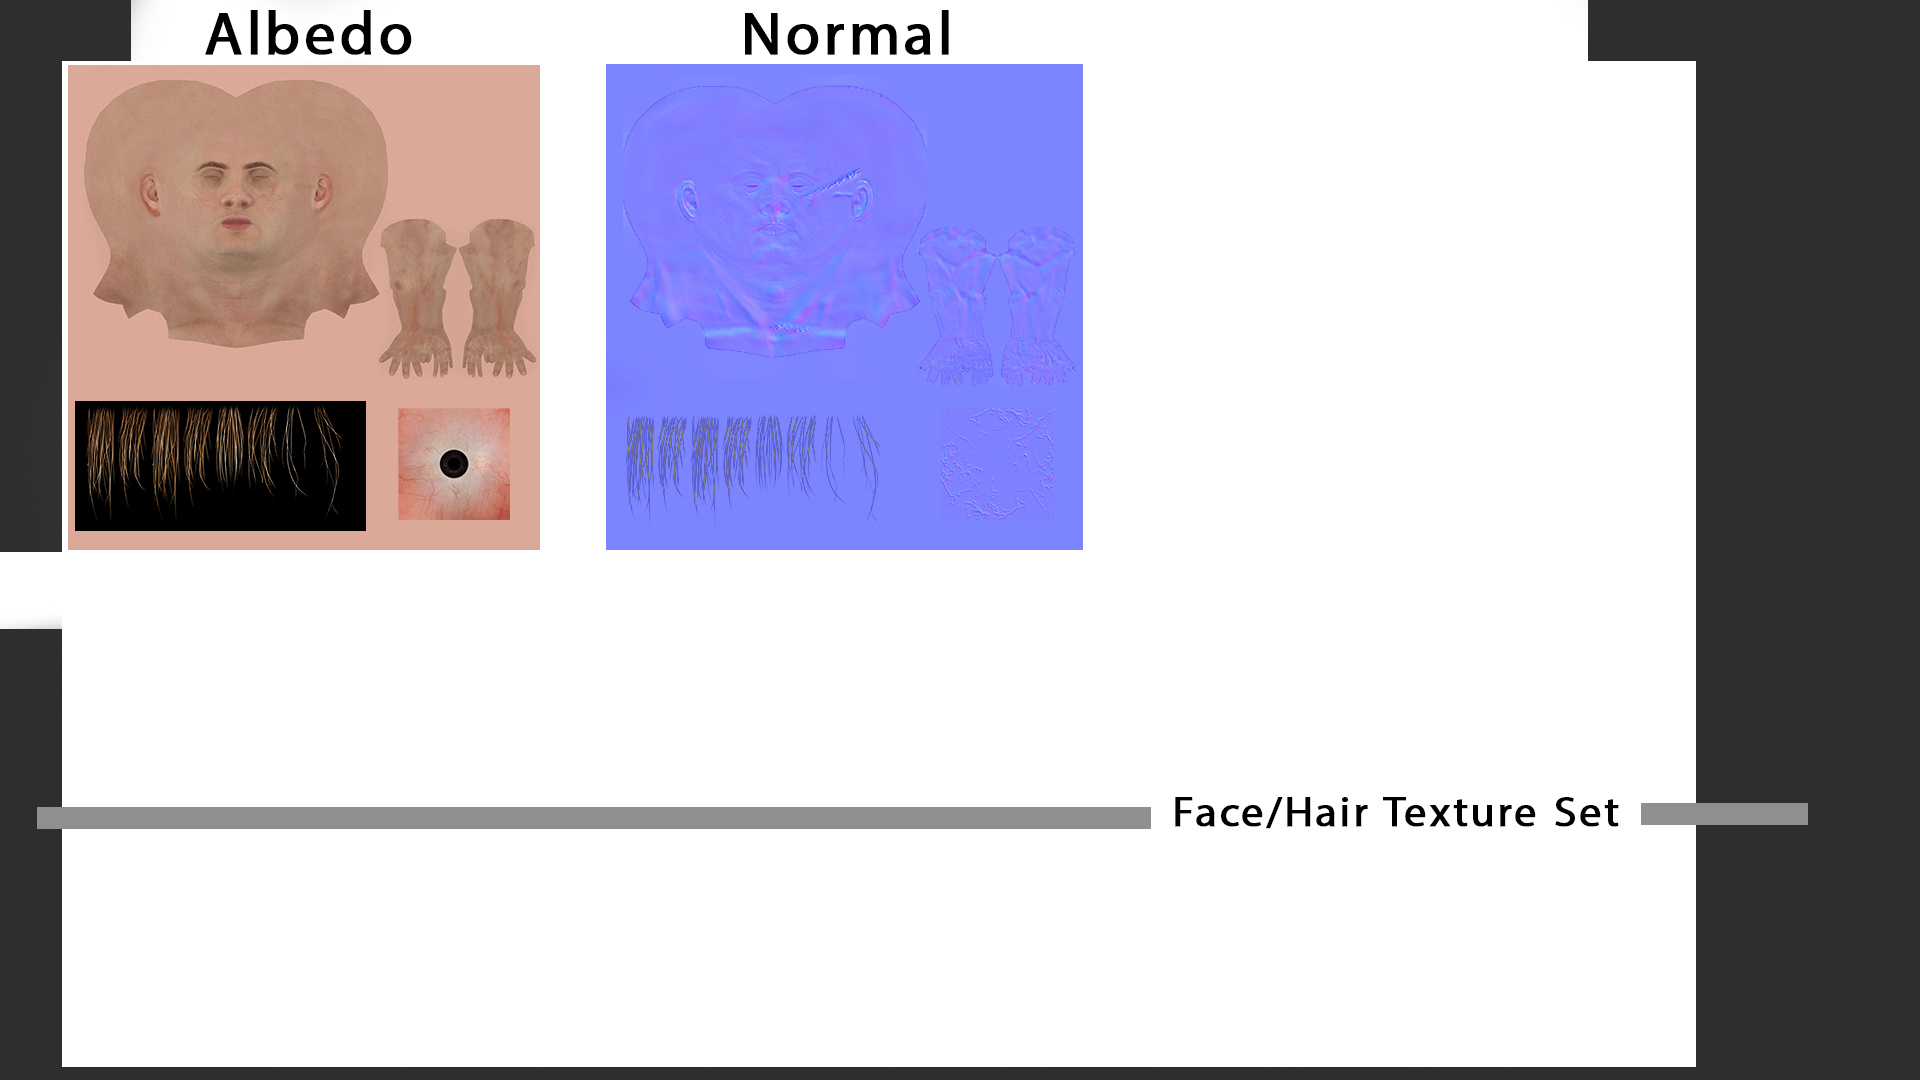
Textures : Substance Painter
Render : Blender Eevee
And some grading with Photoshop
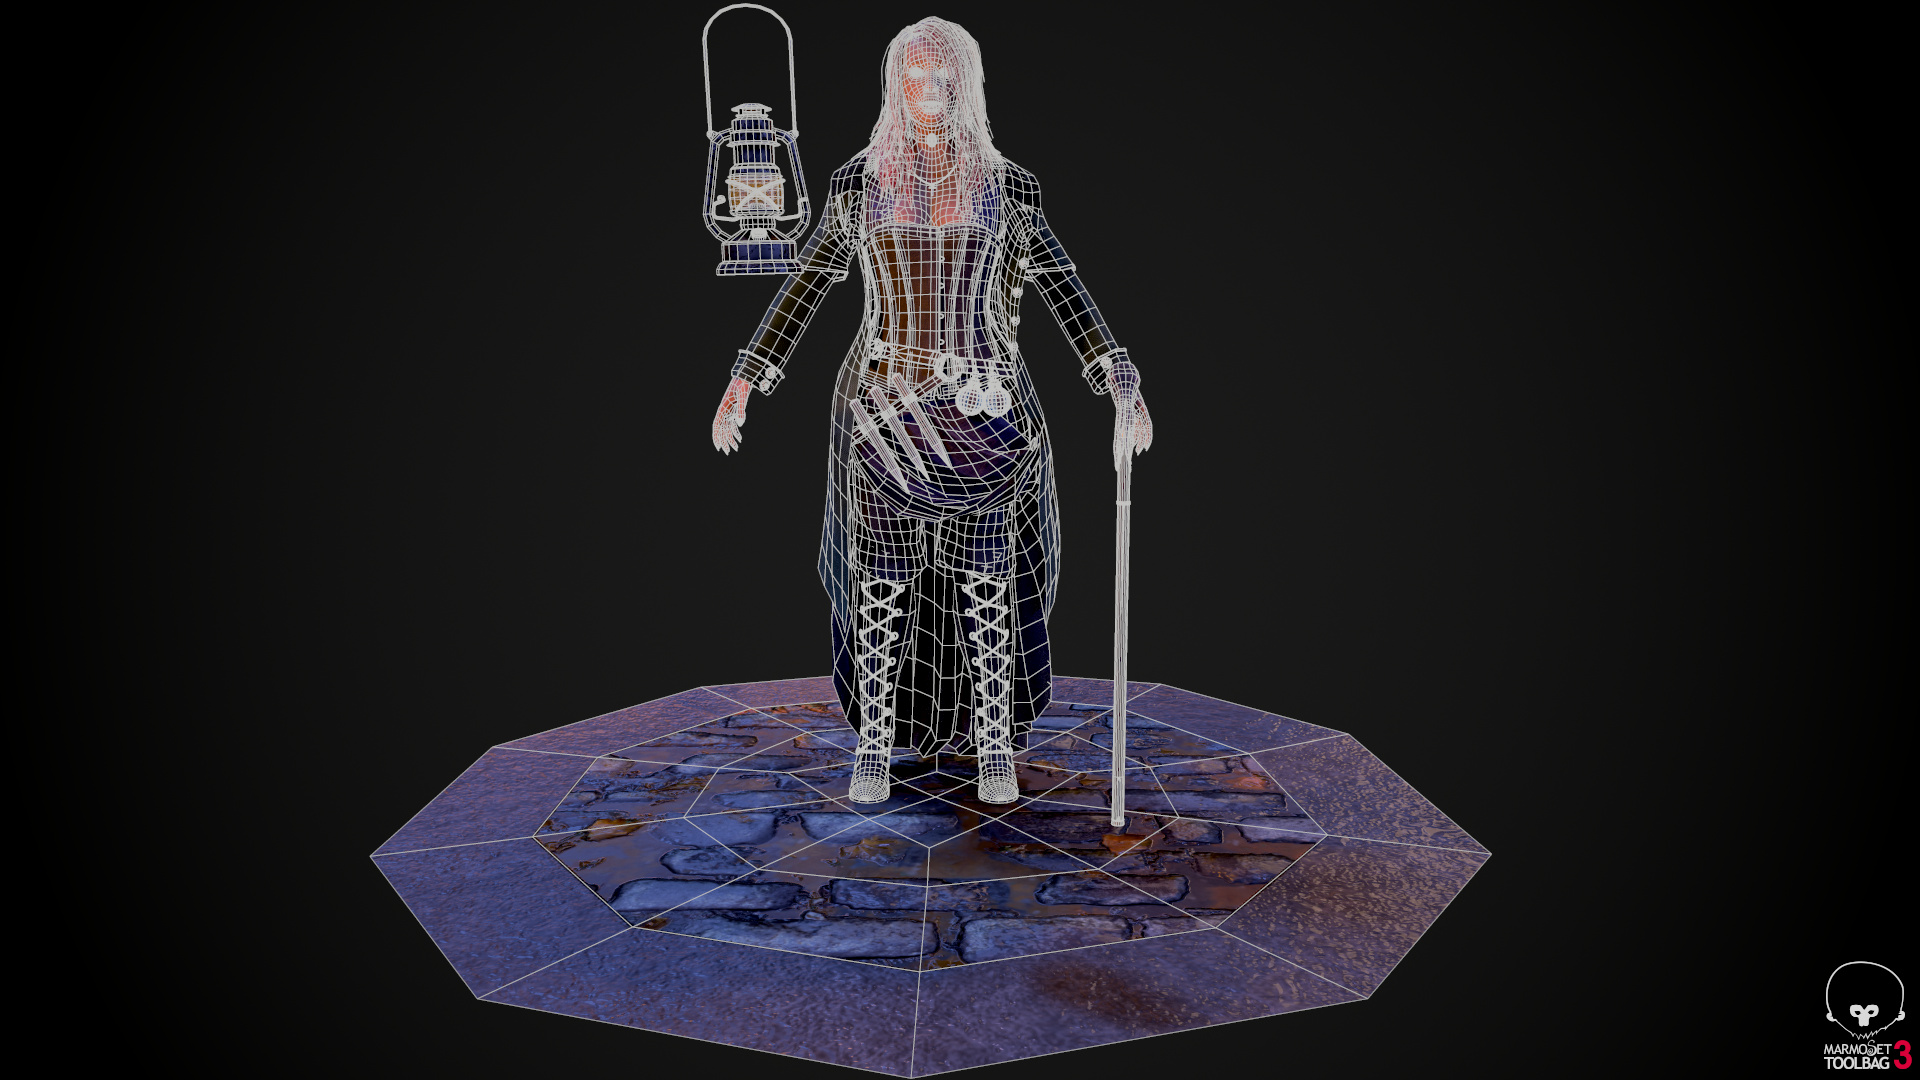
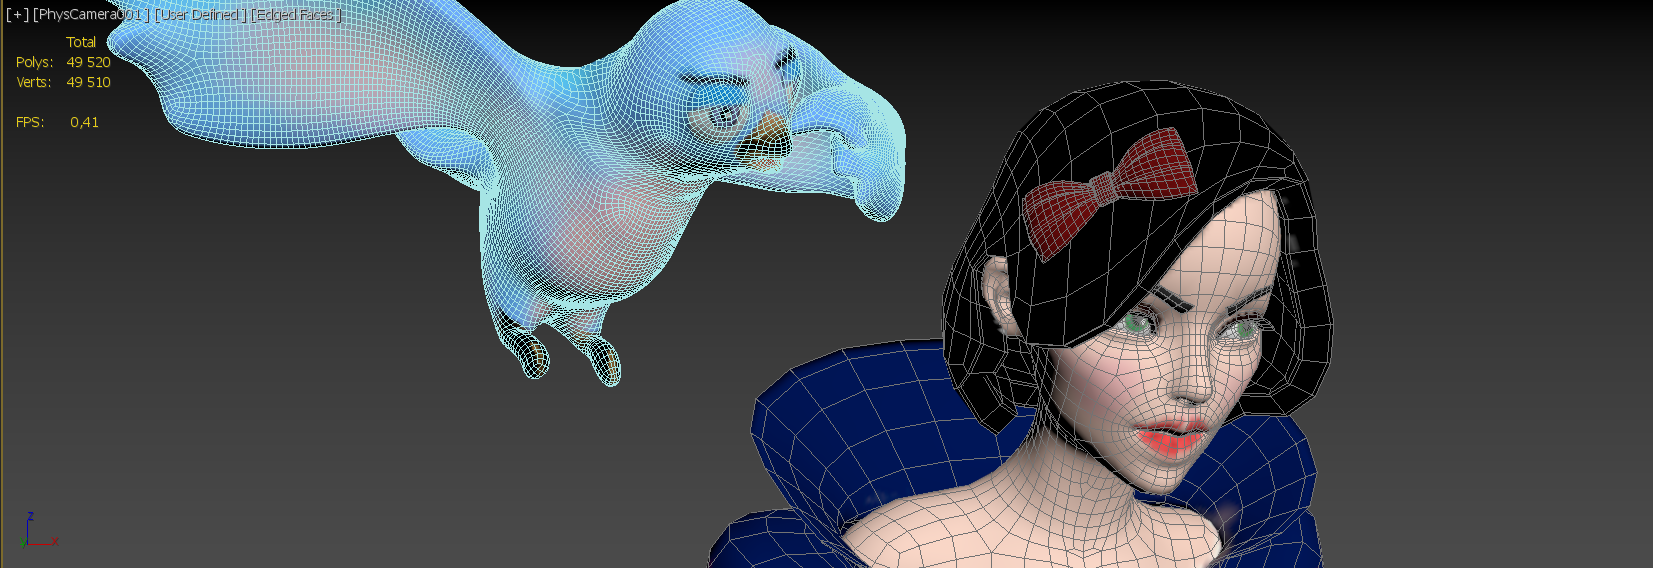
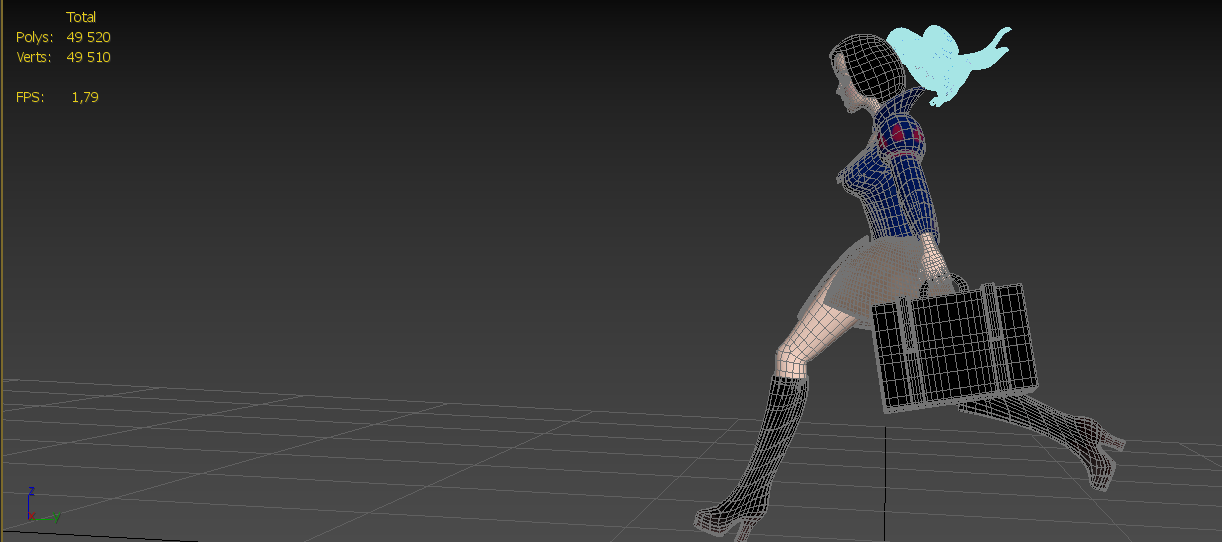
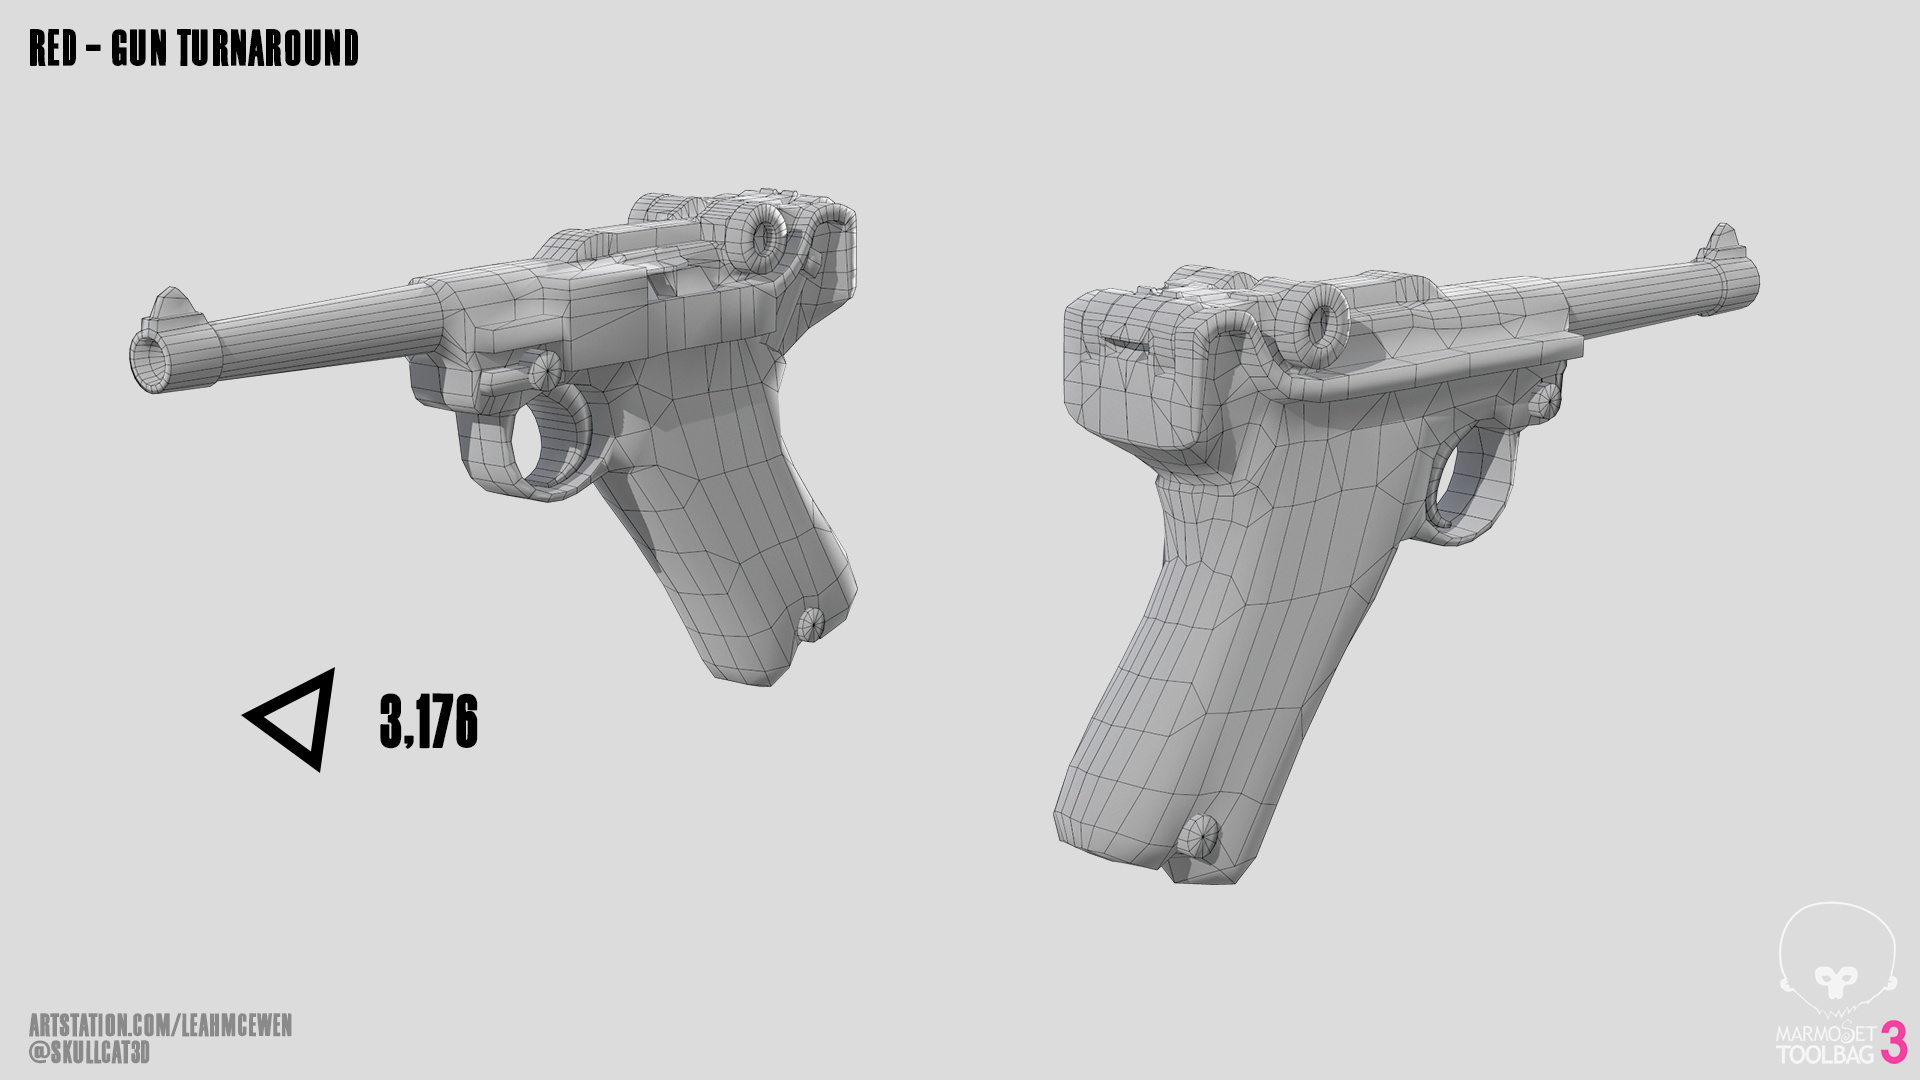
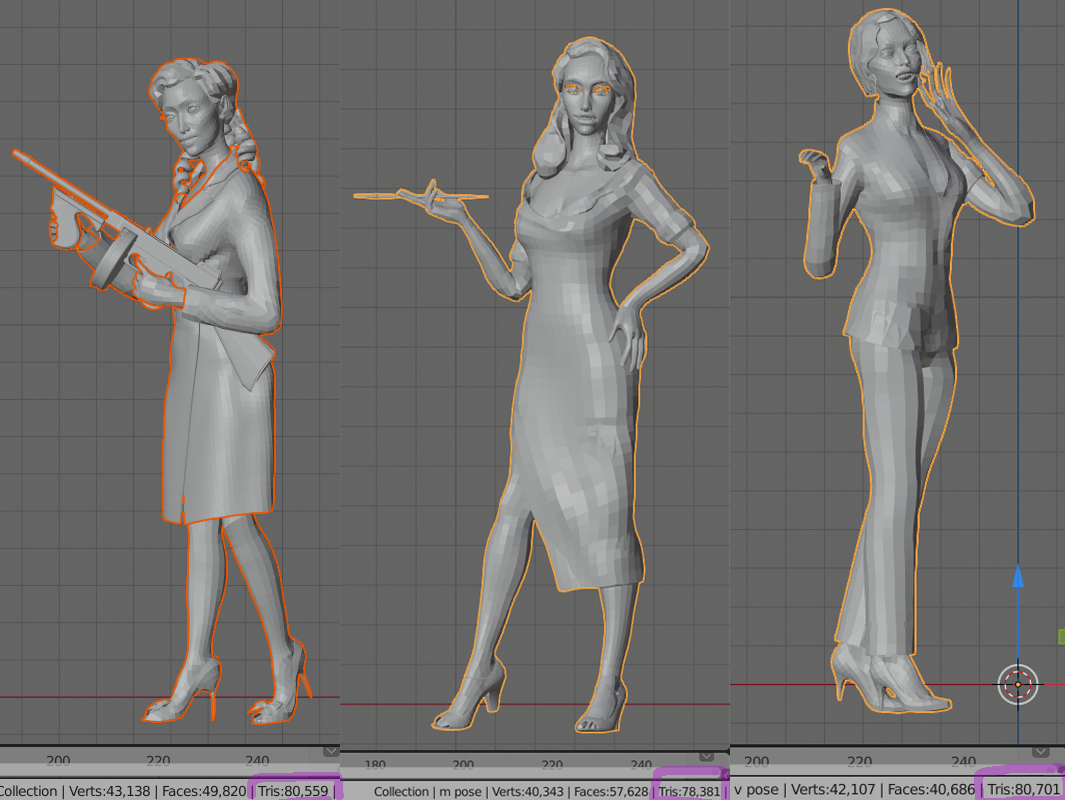
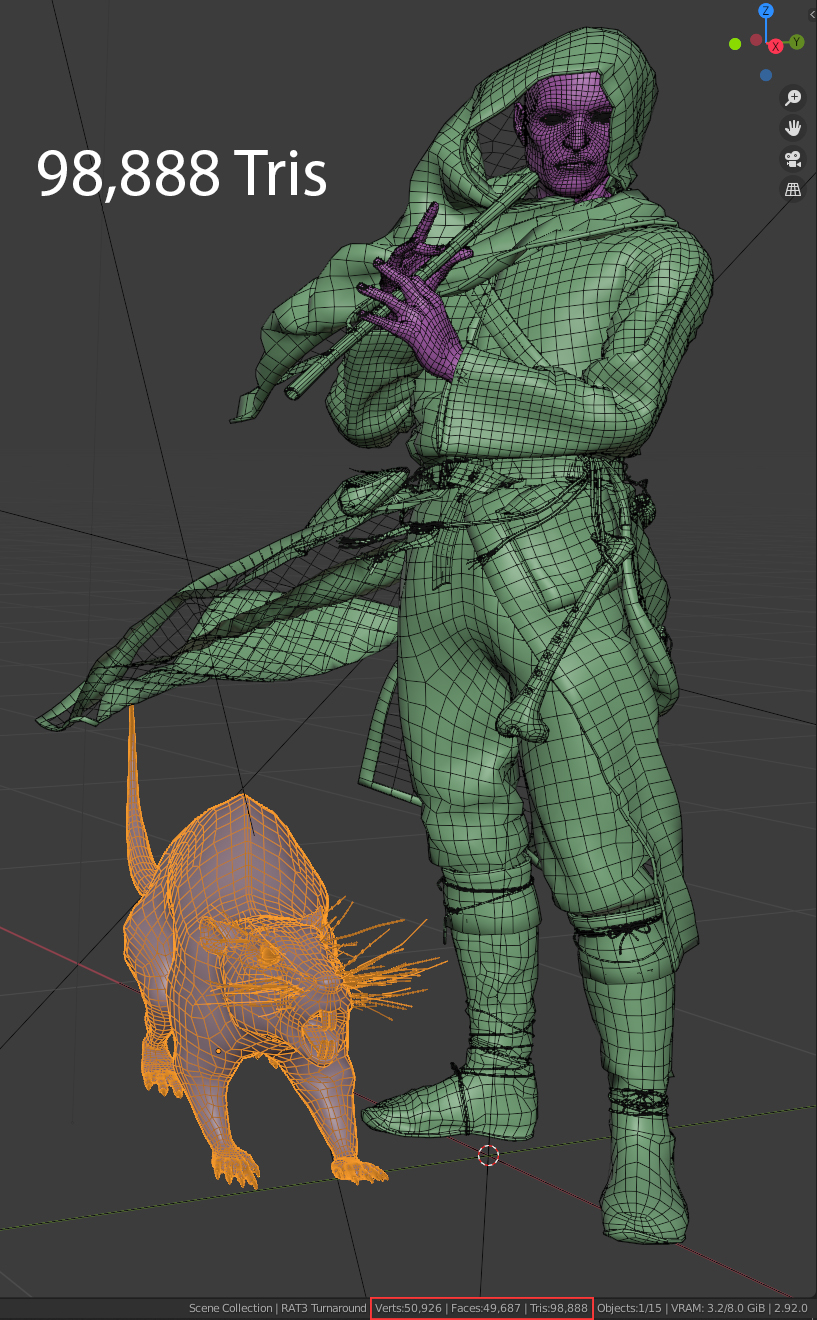
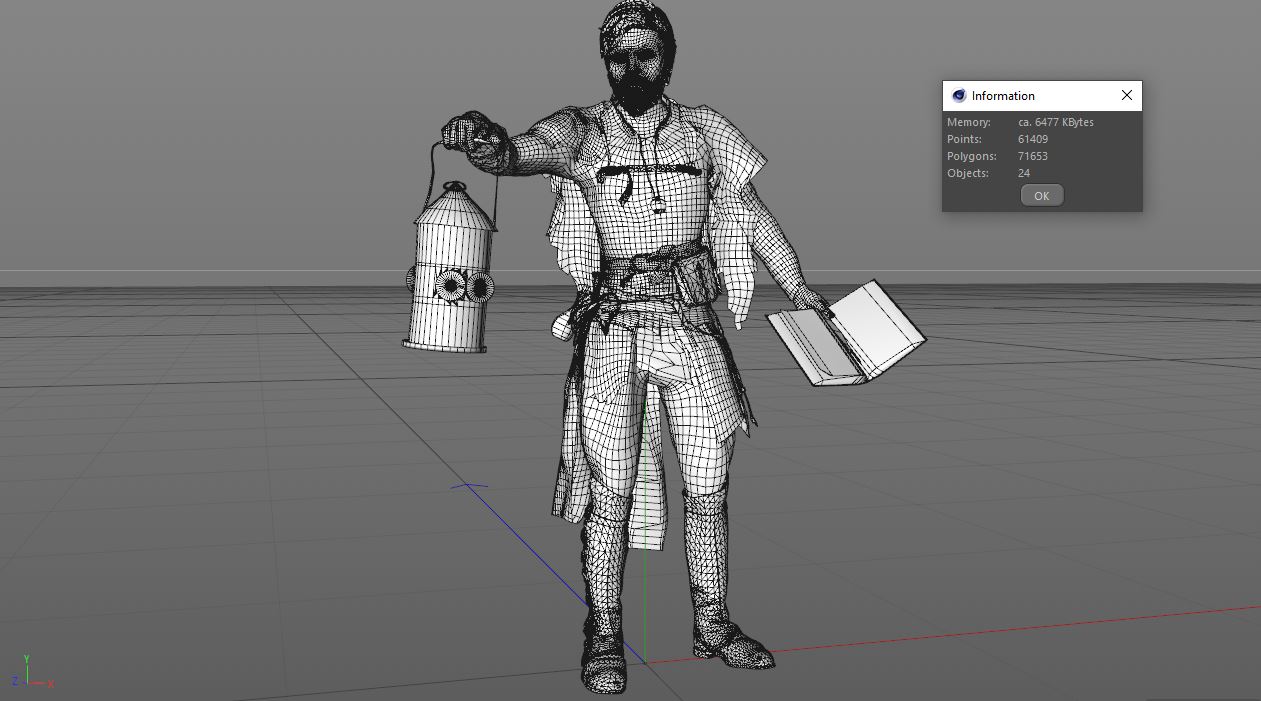
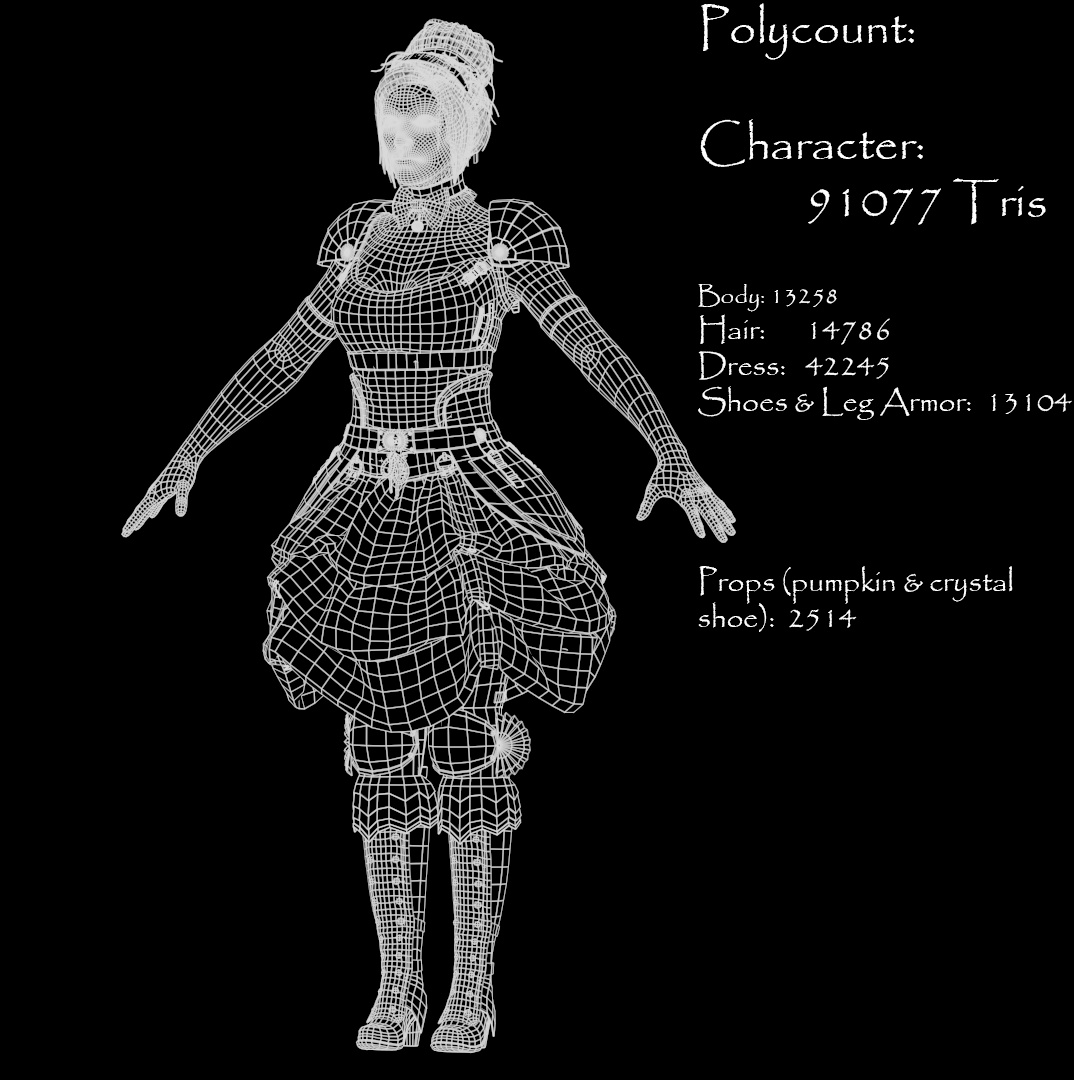
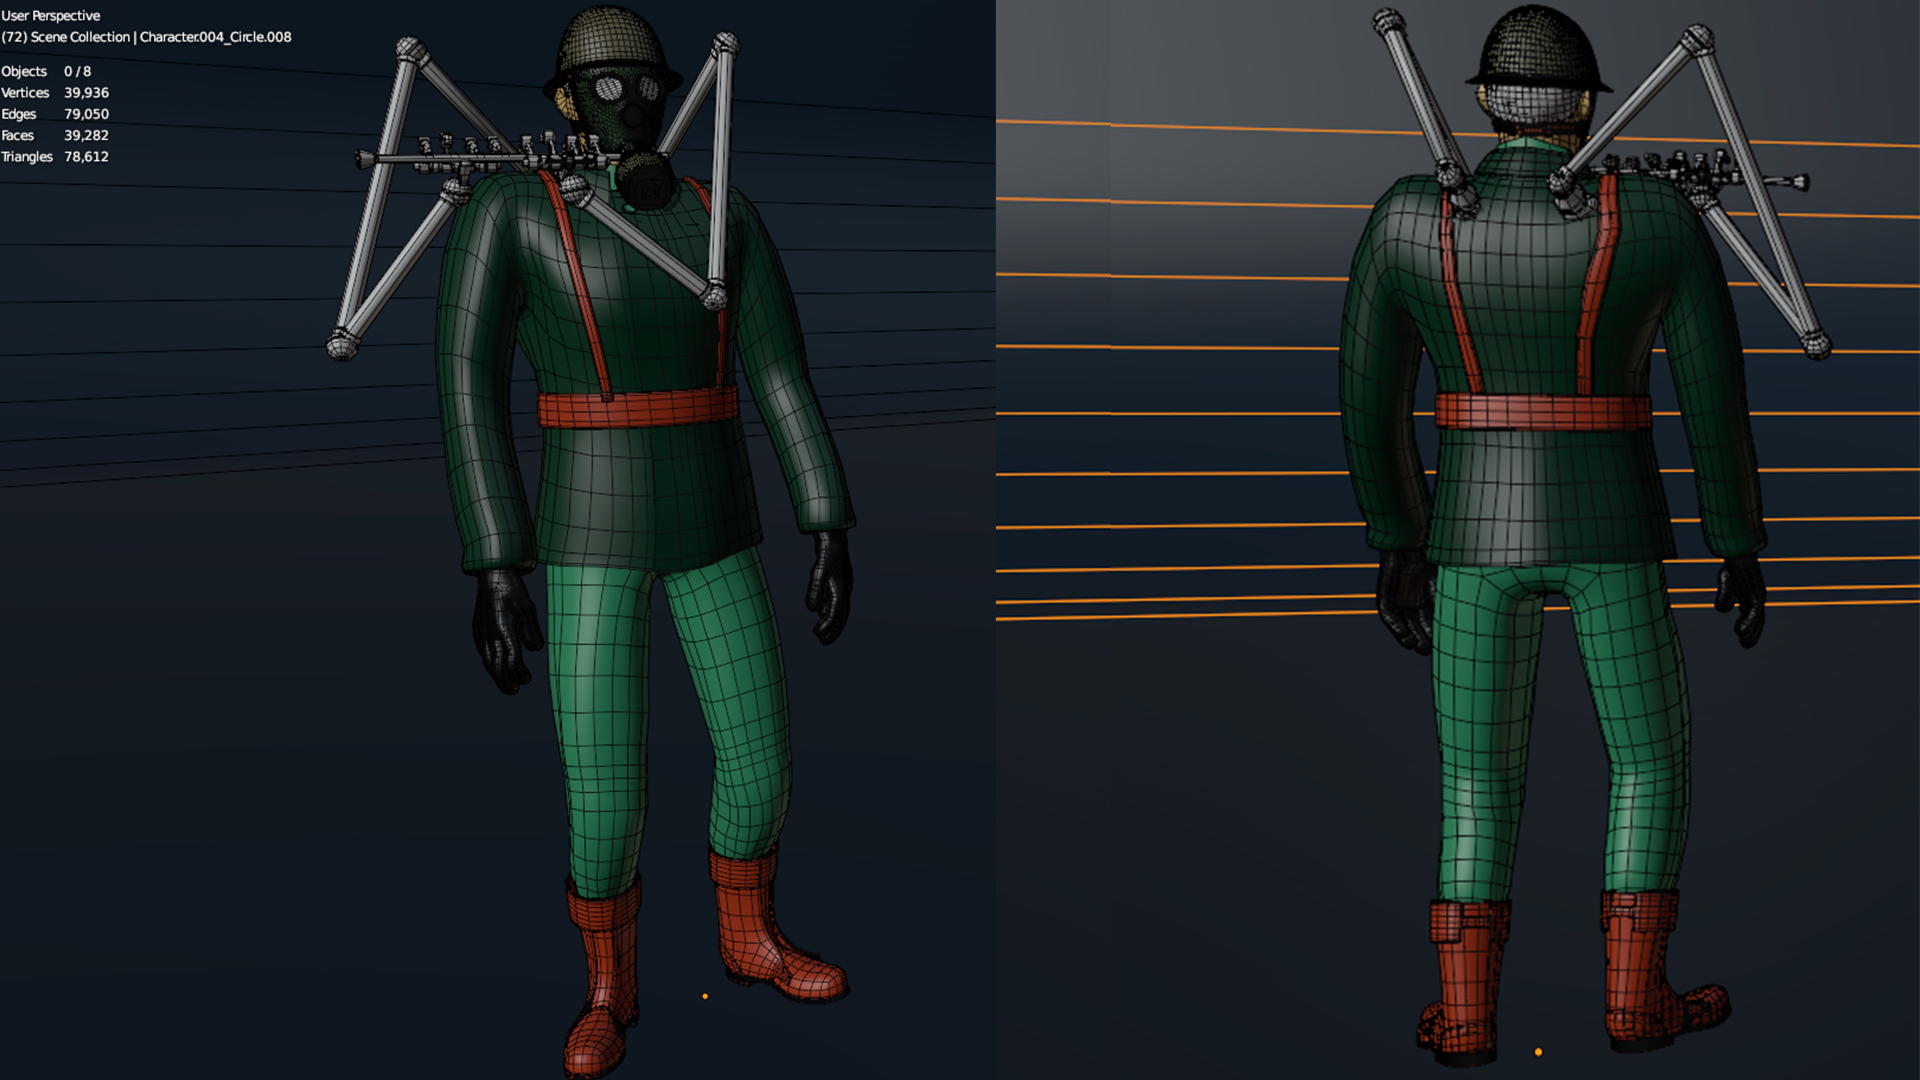
Polycount… 156.398 
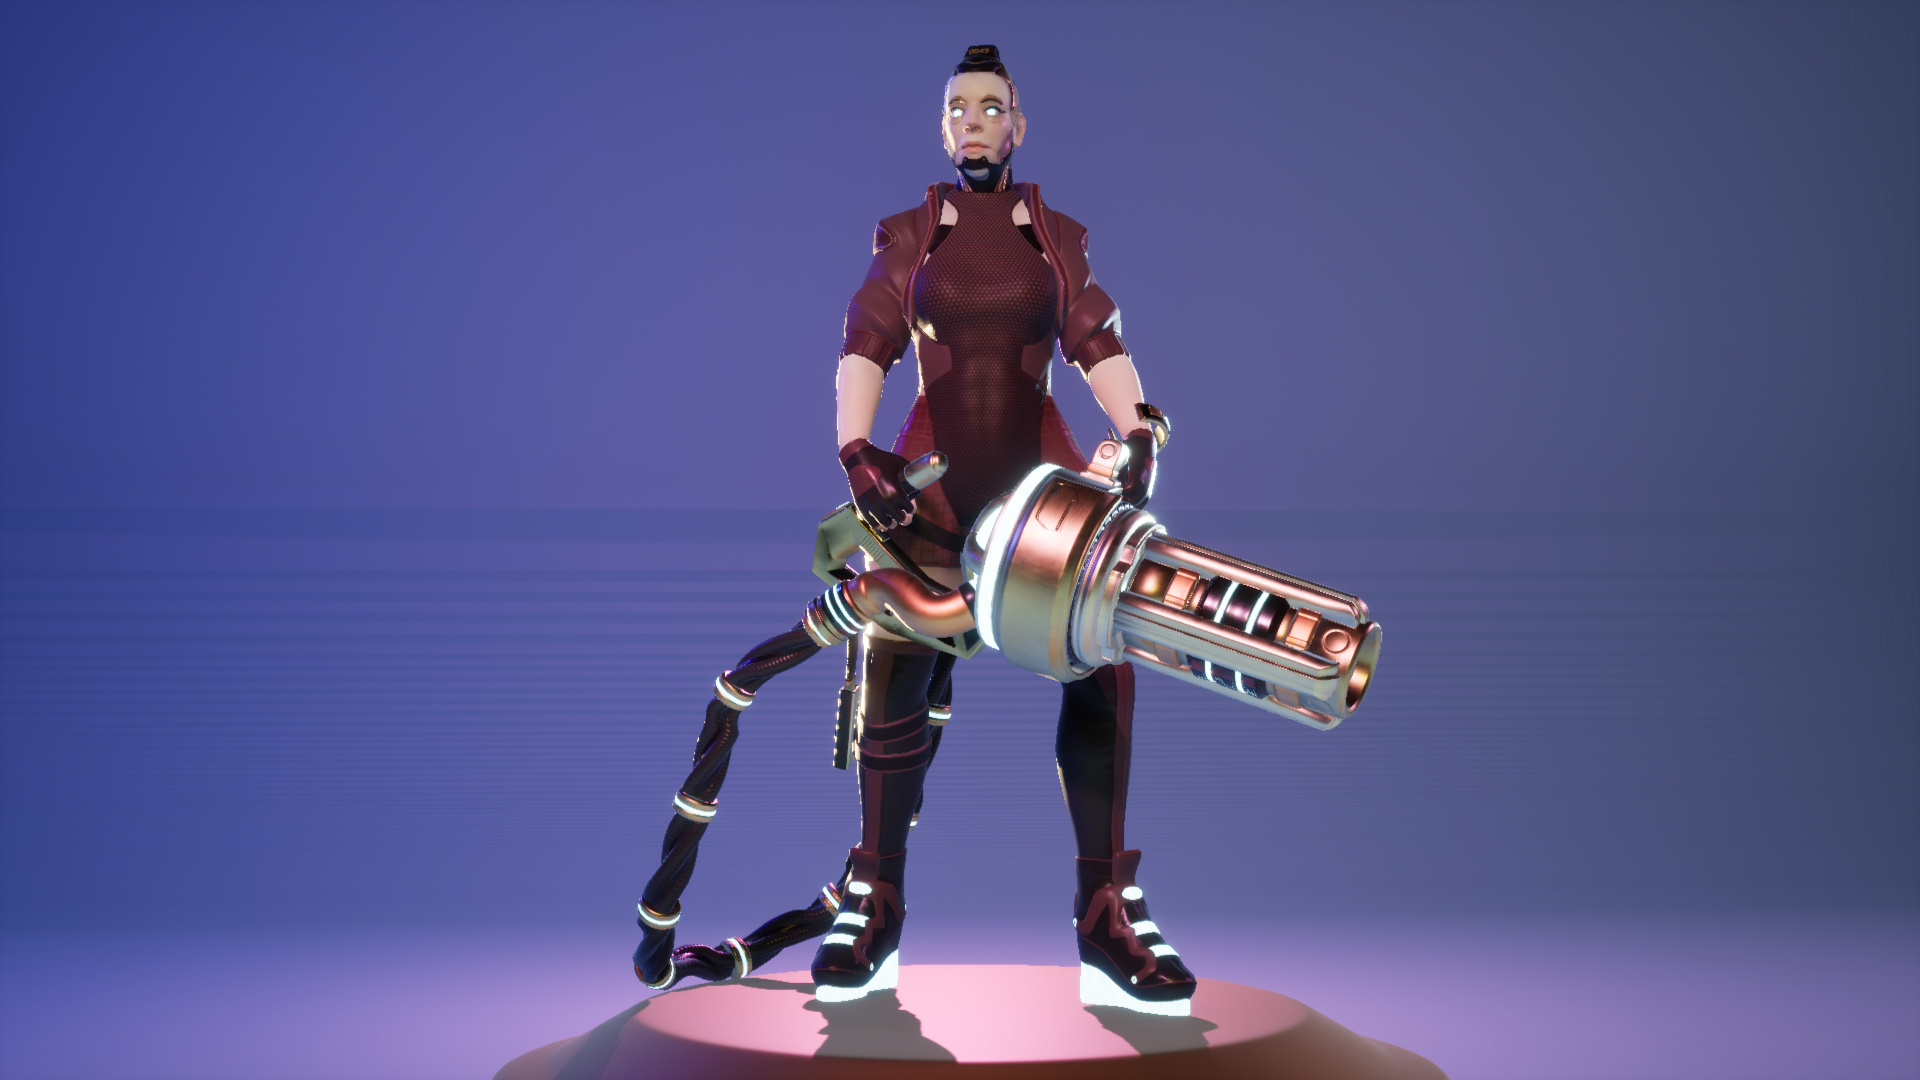
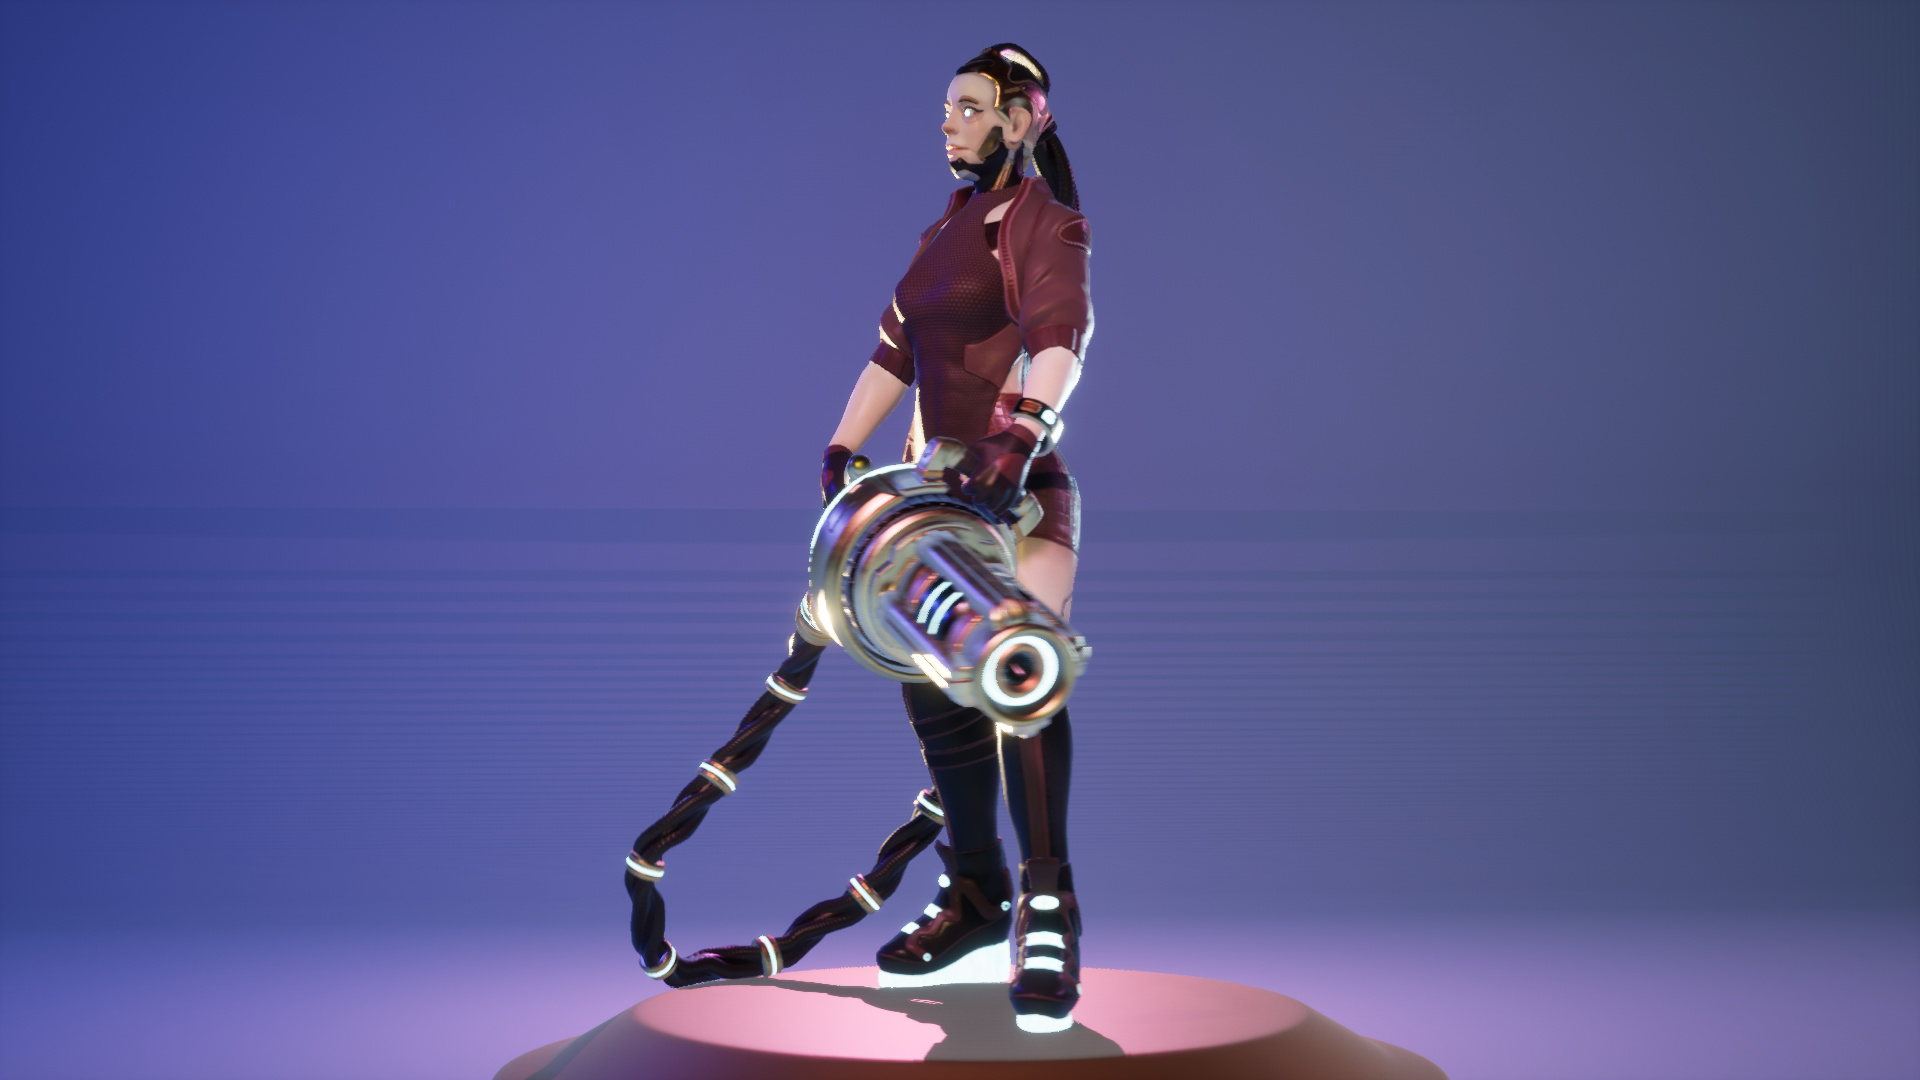
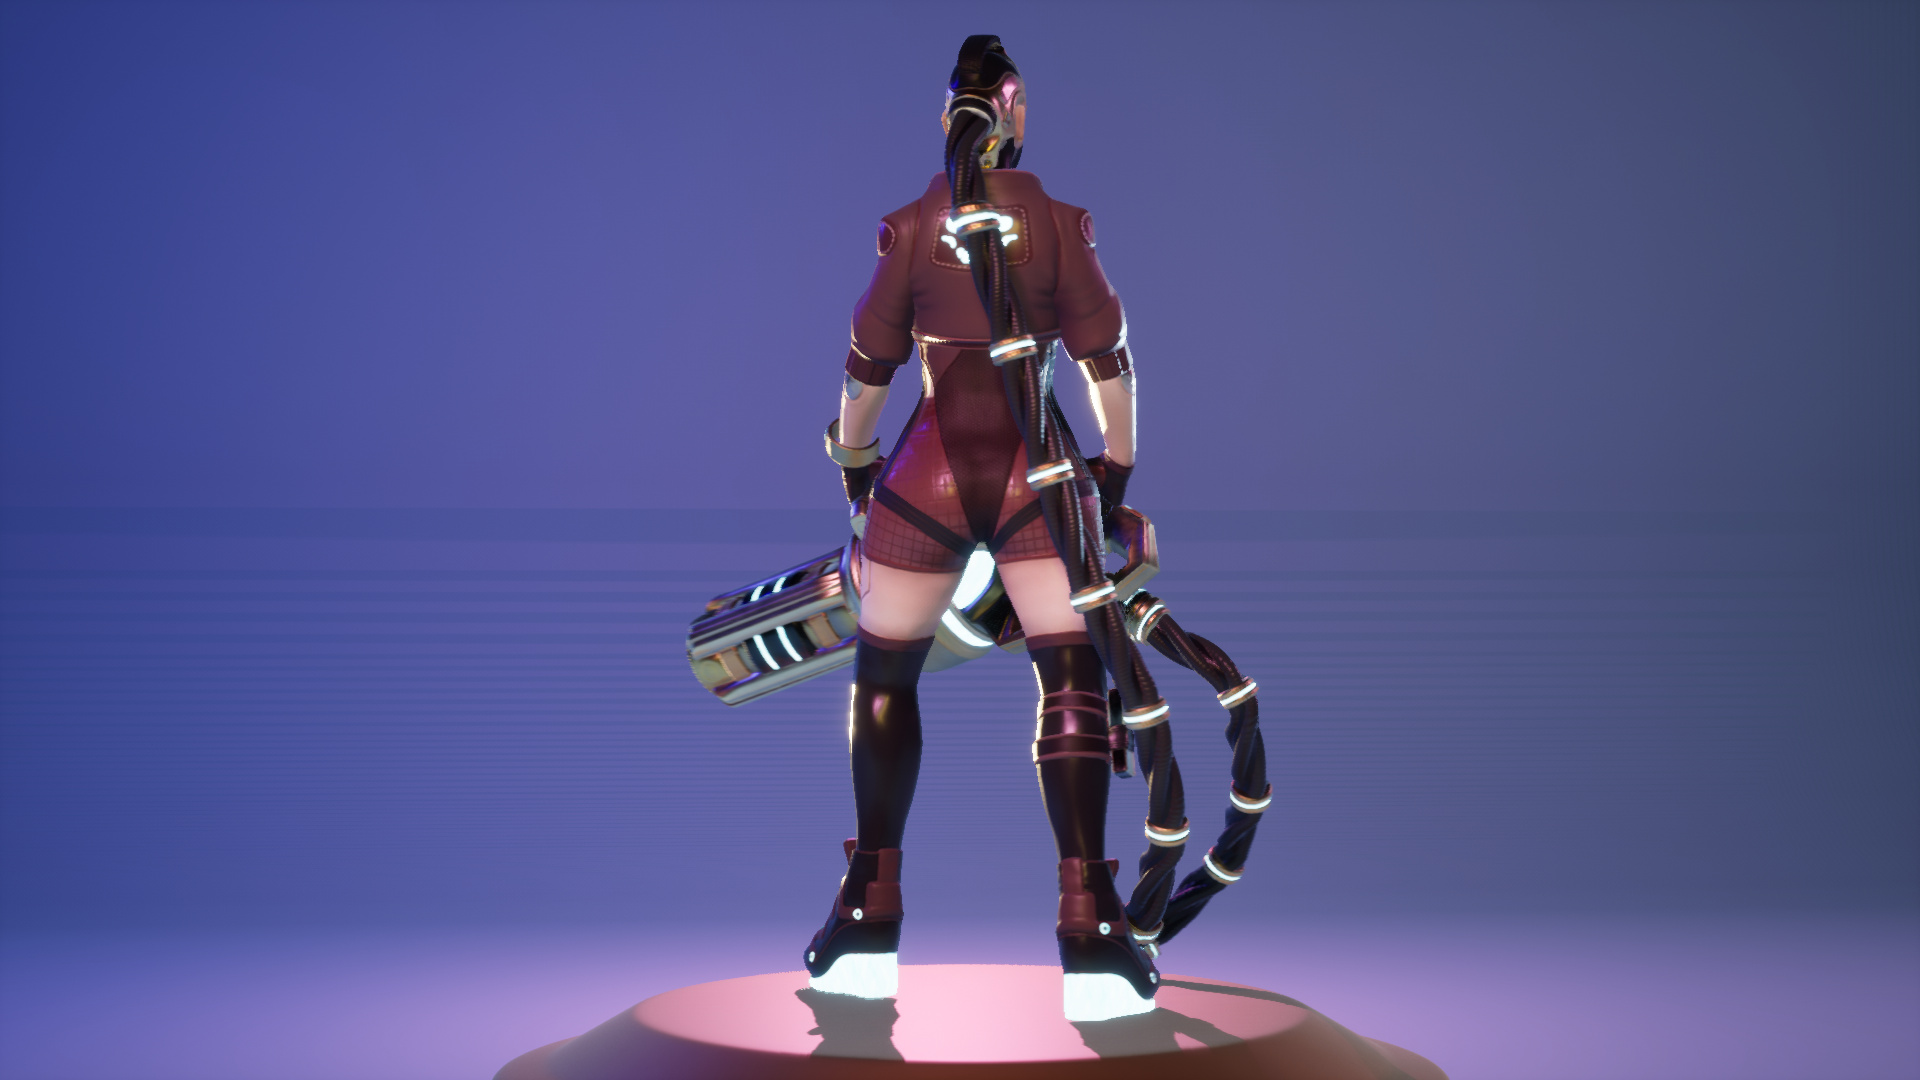
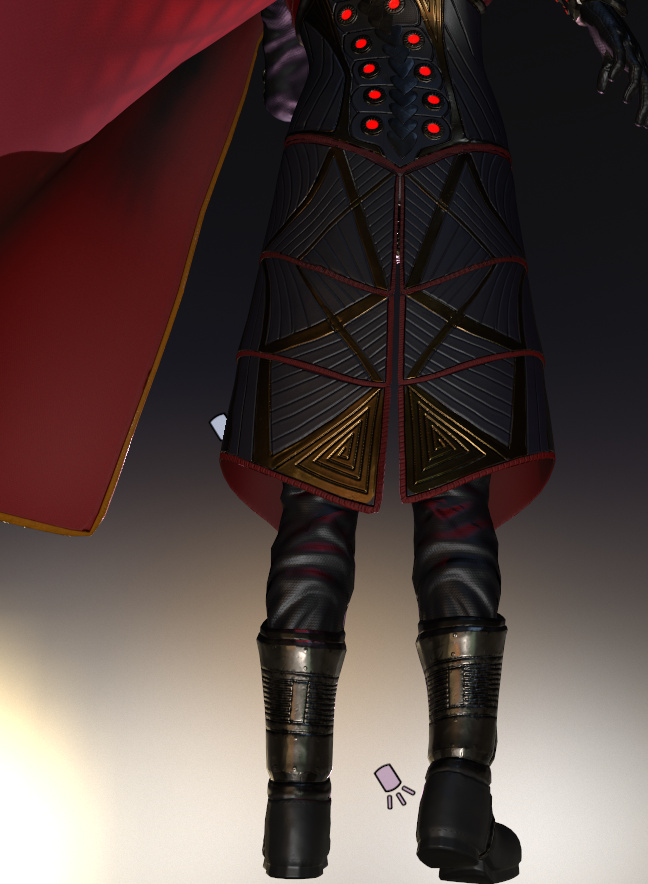
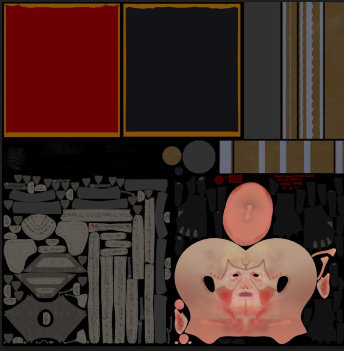
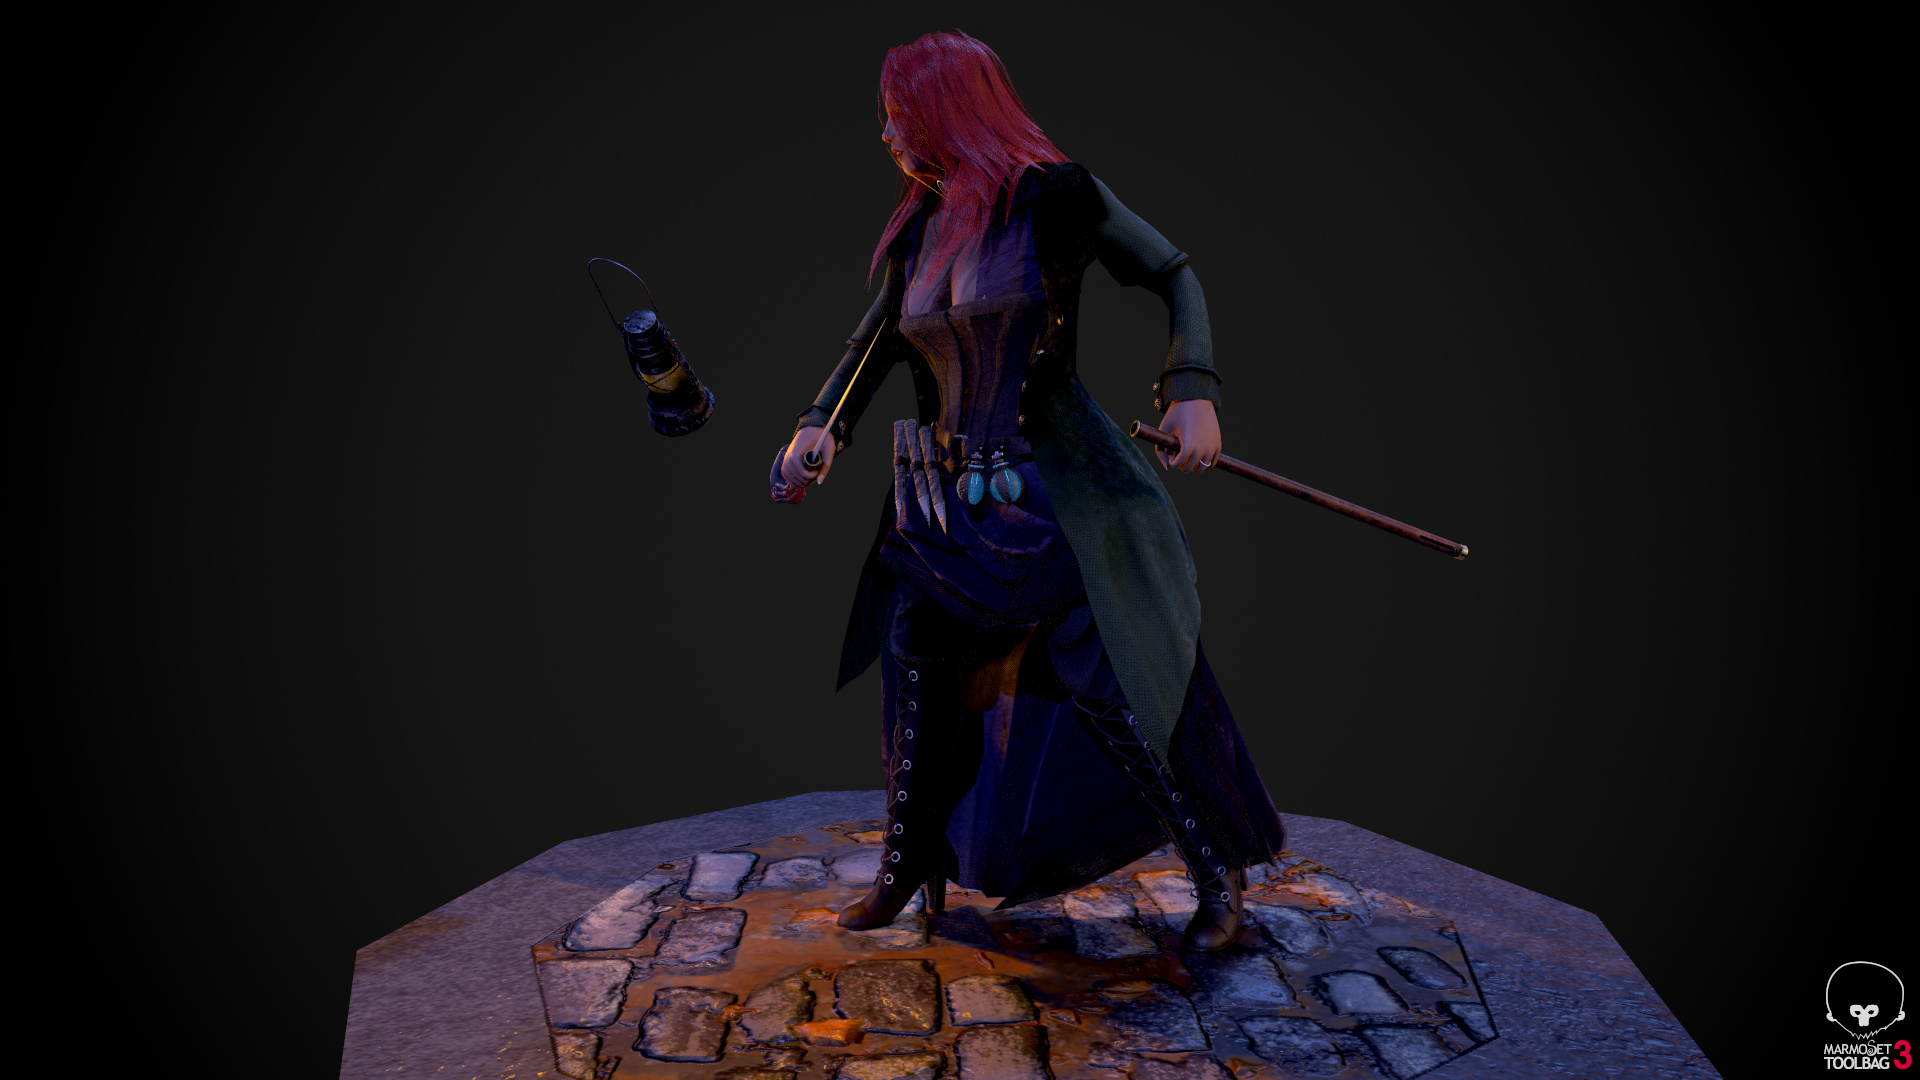
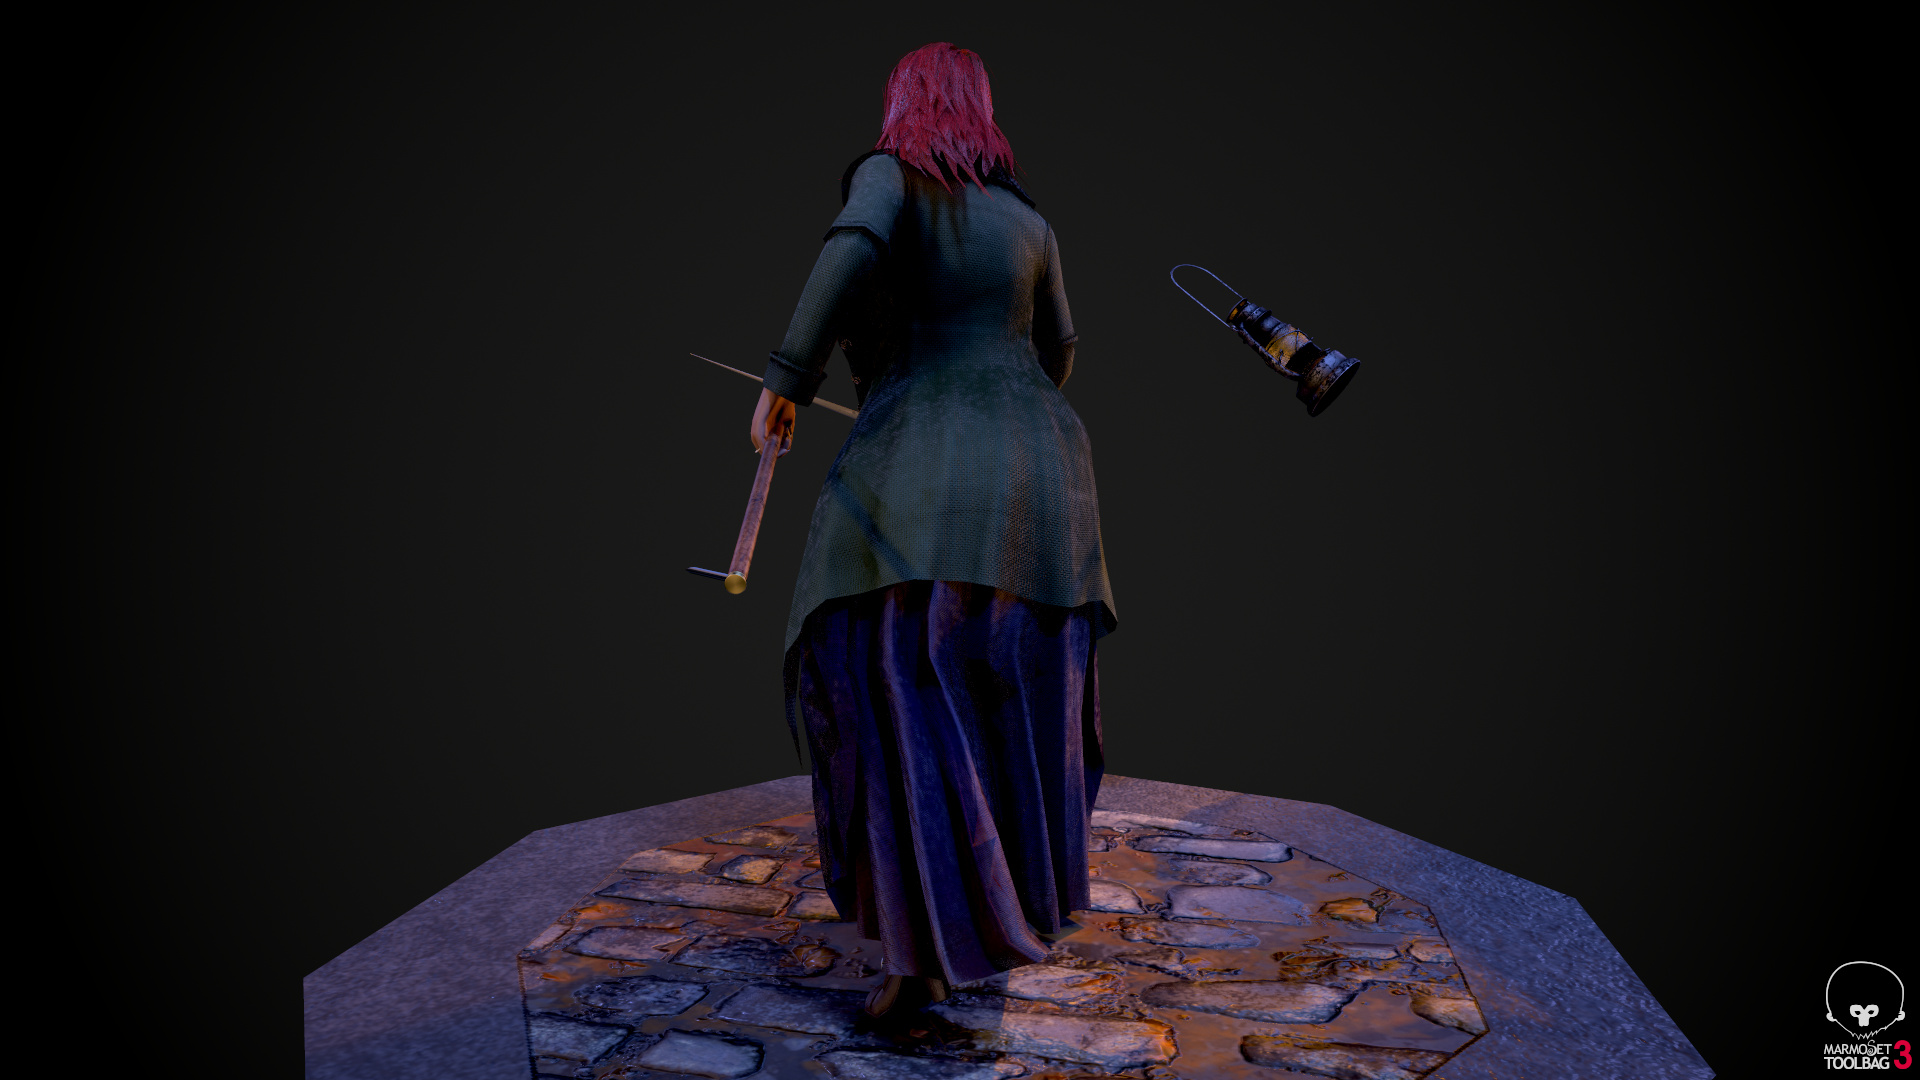
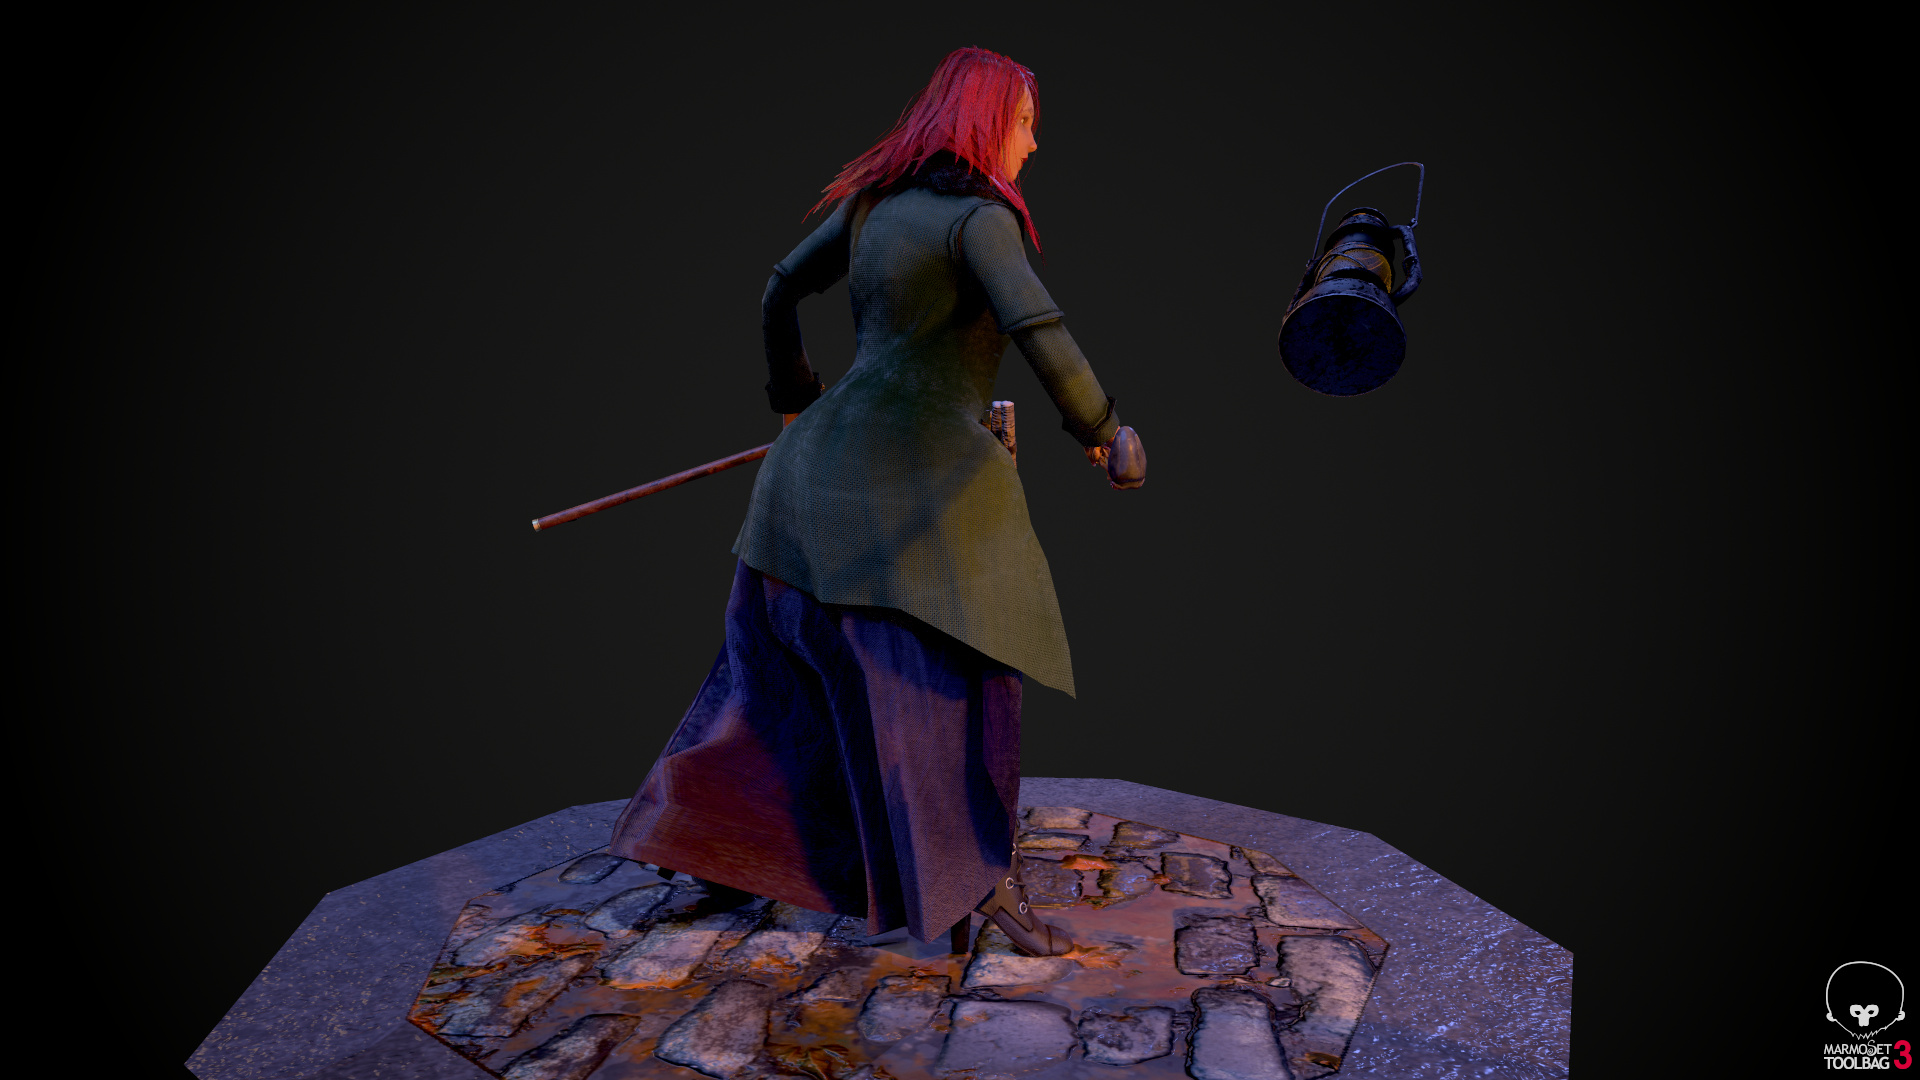
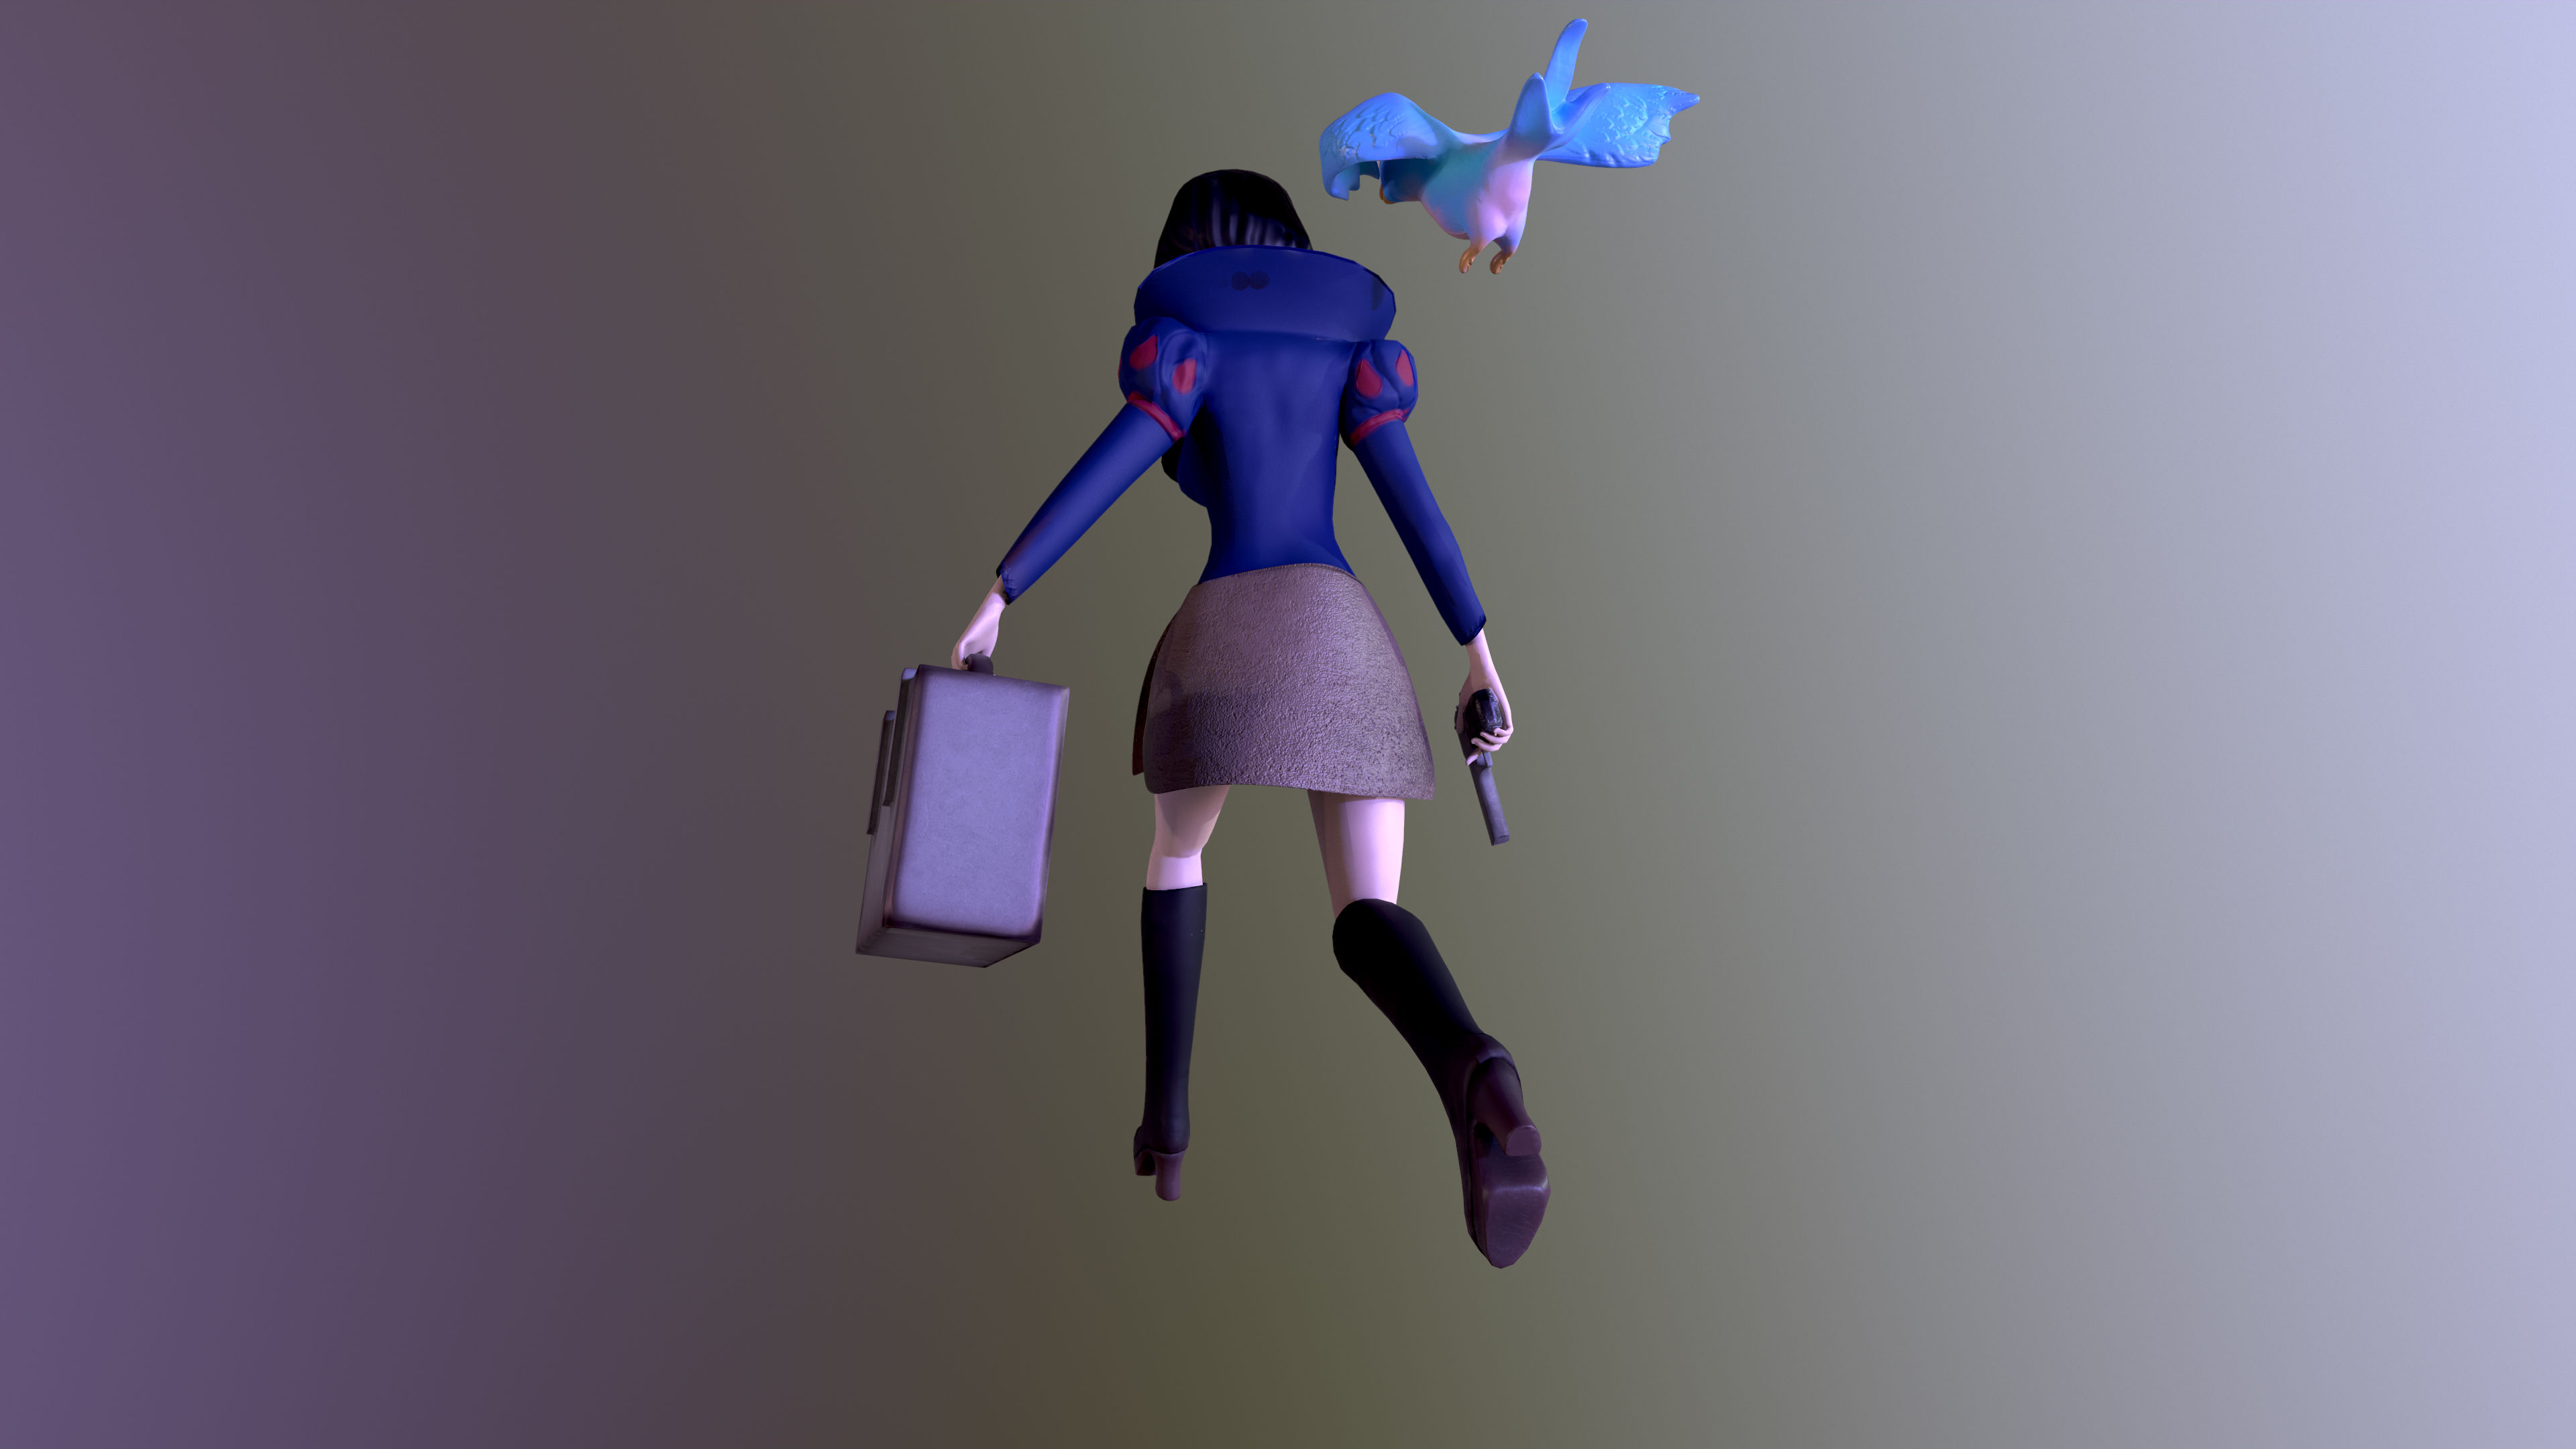
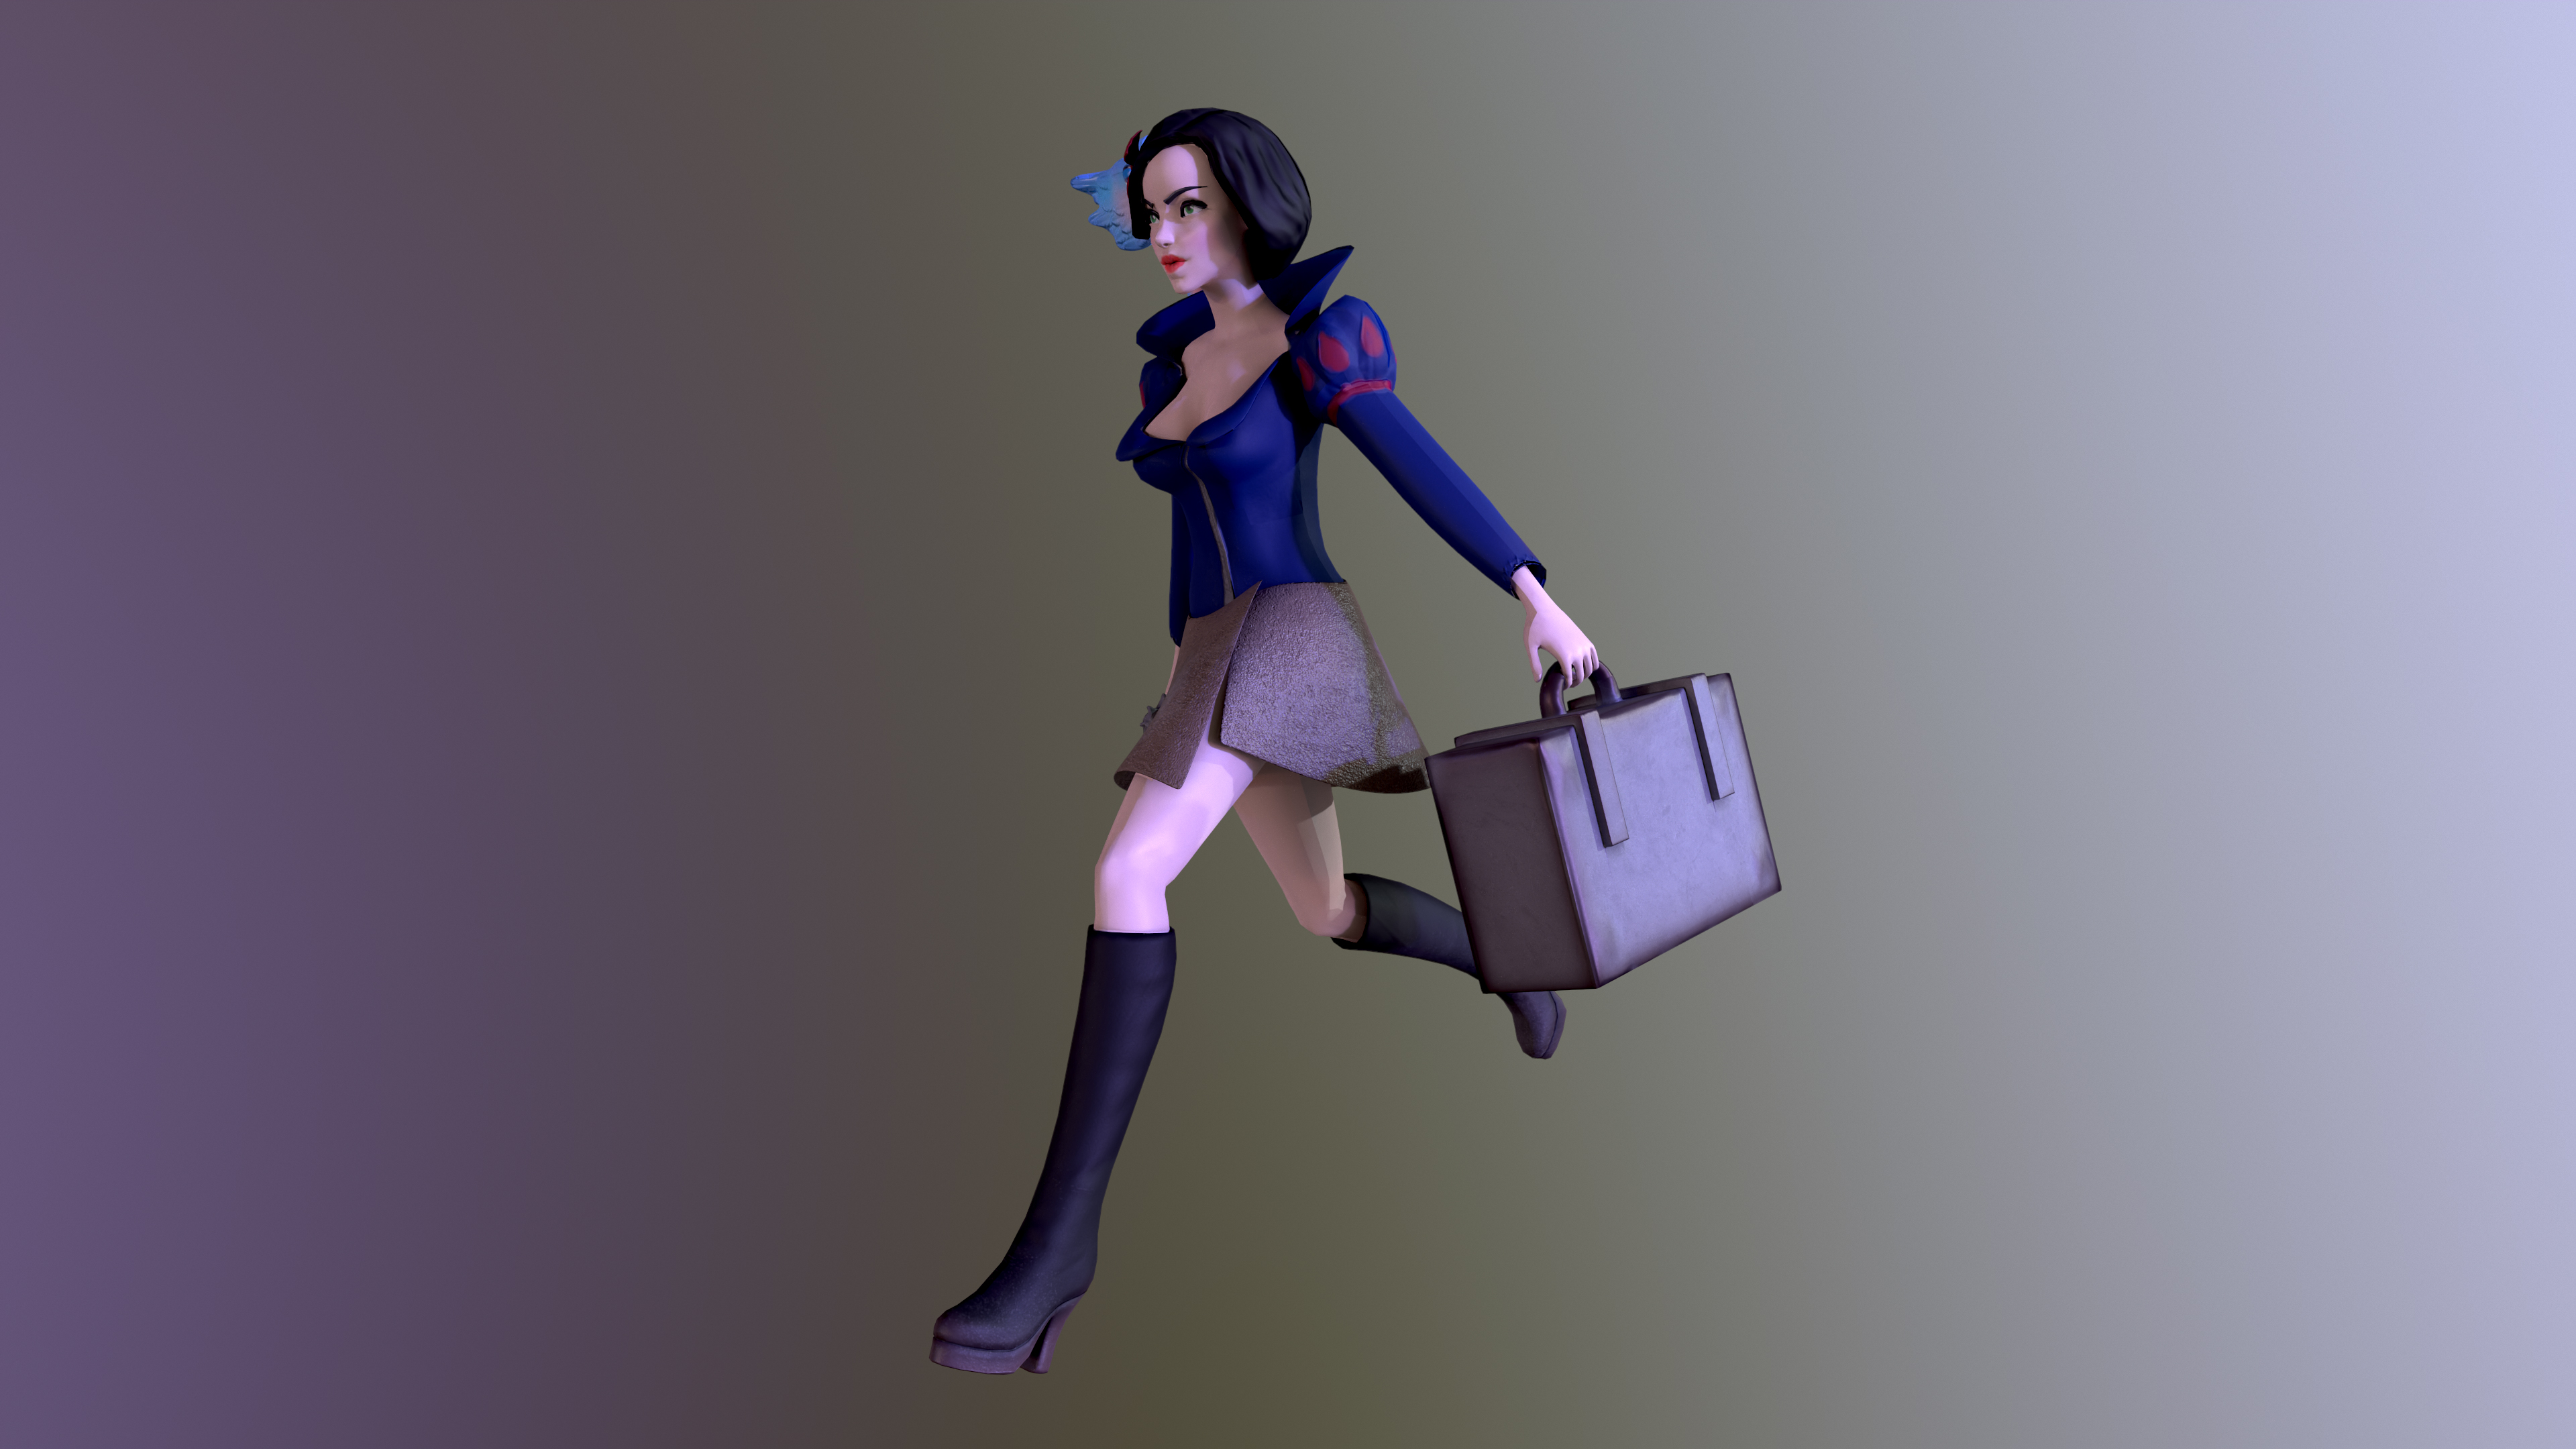
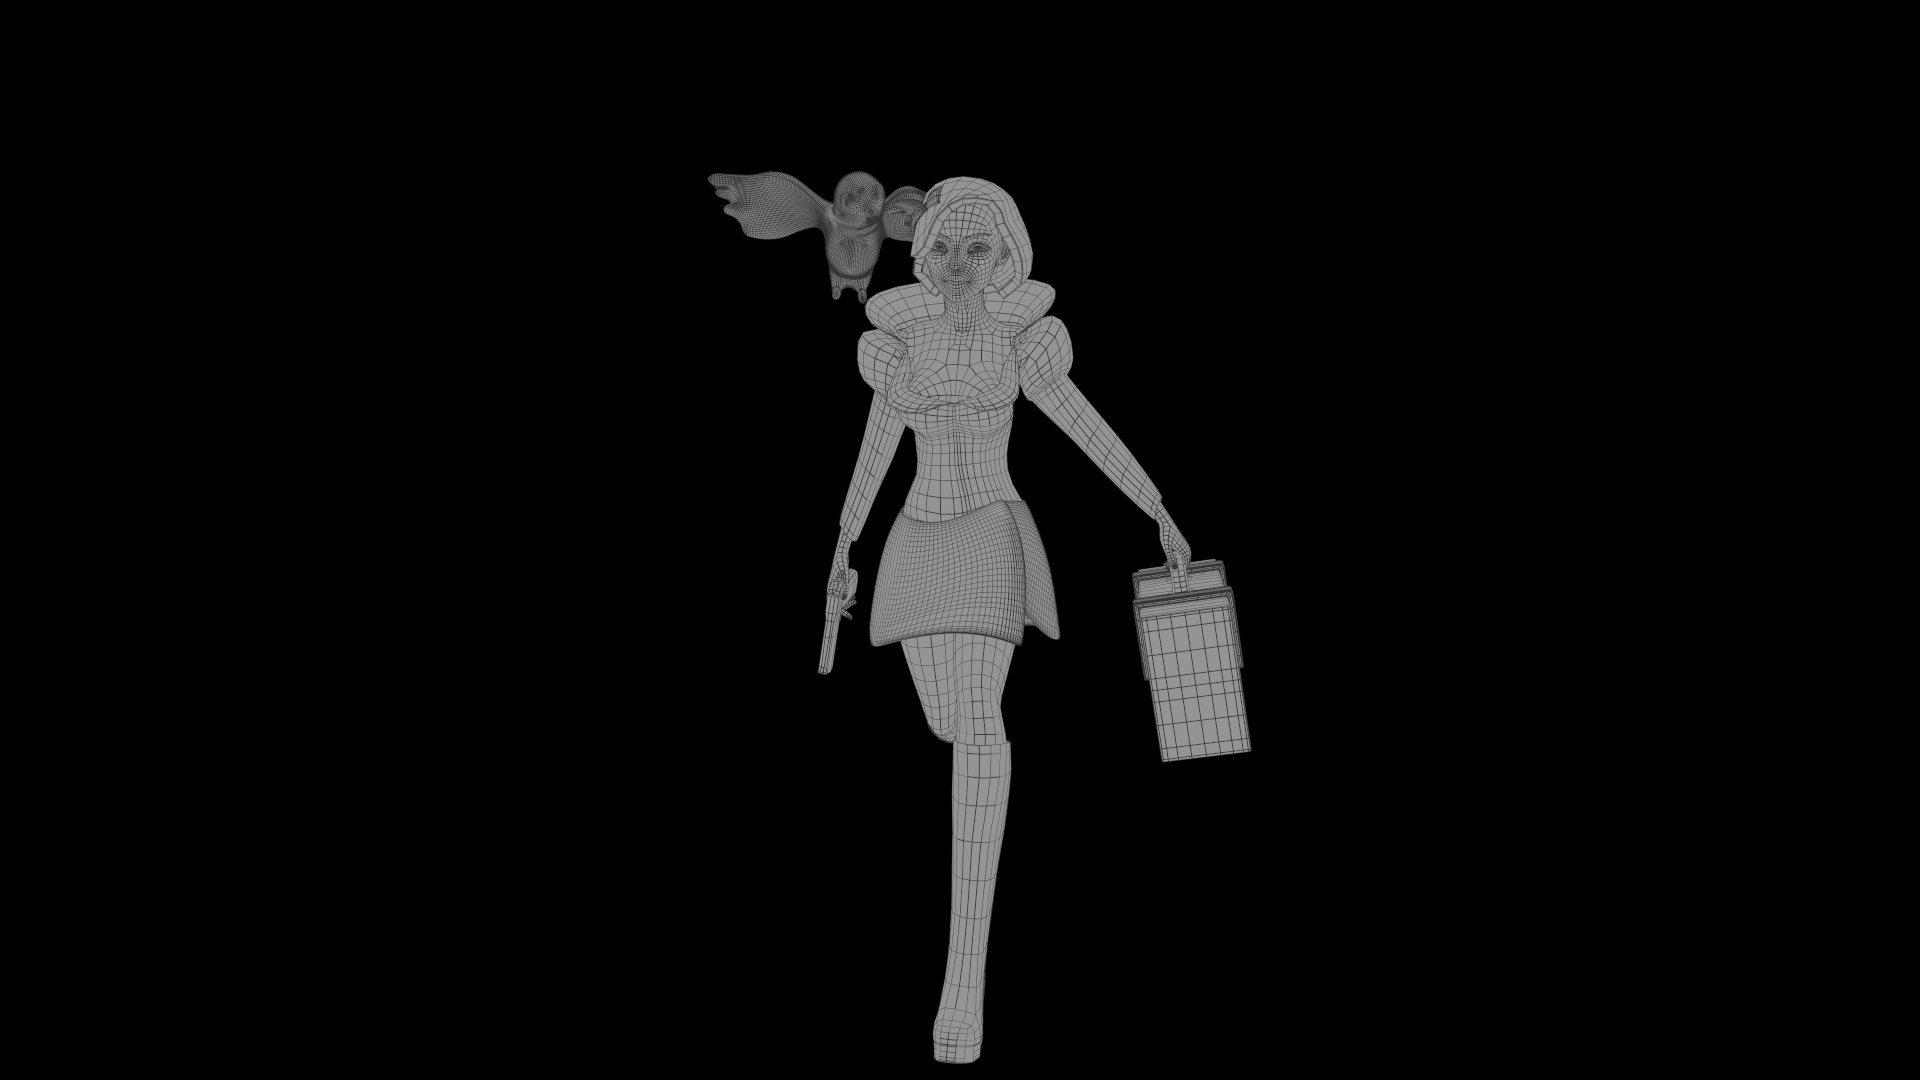
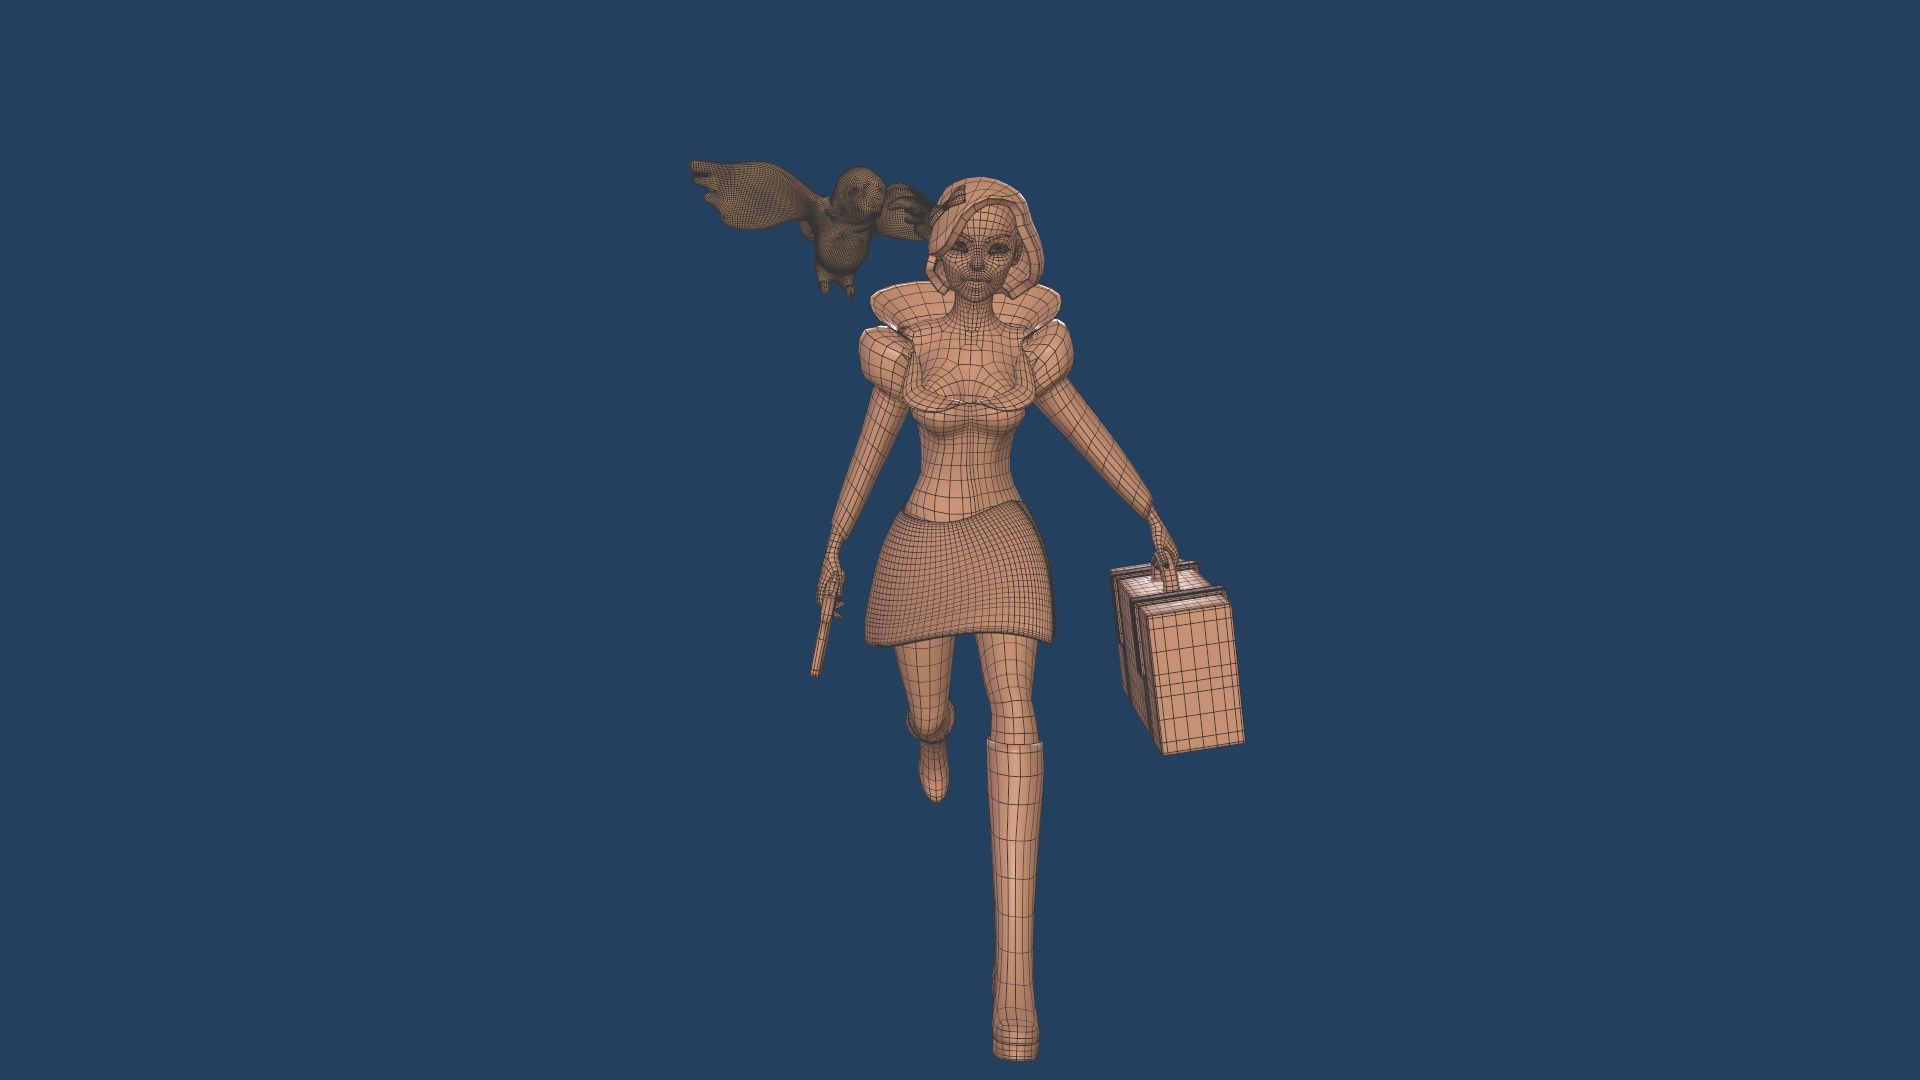
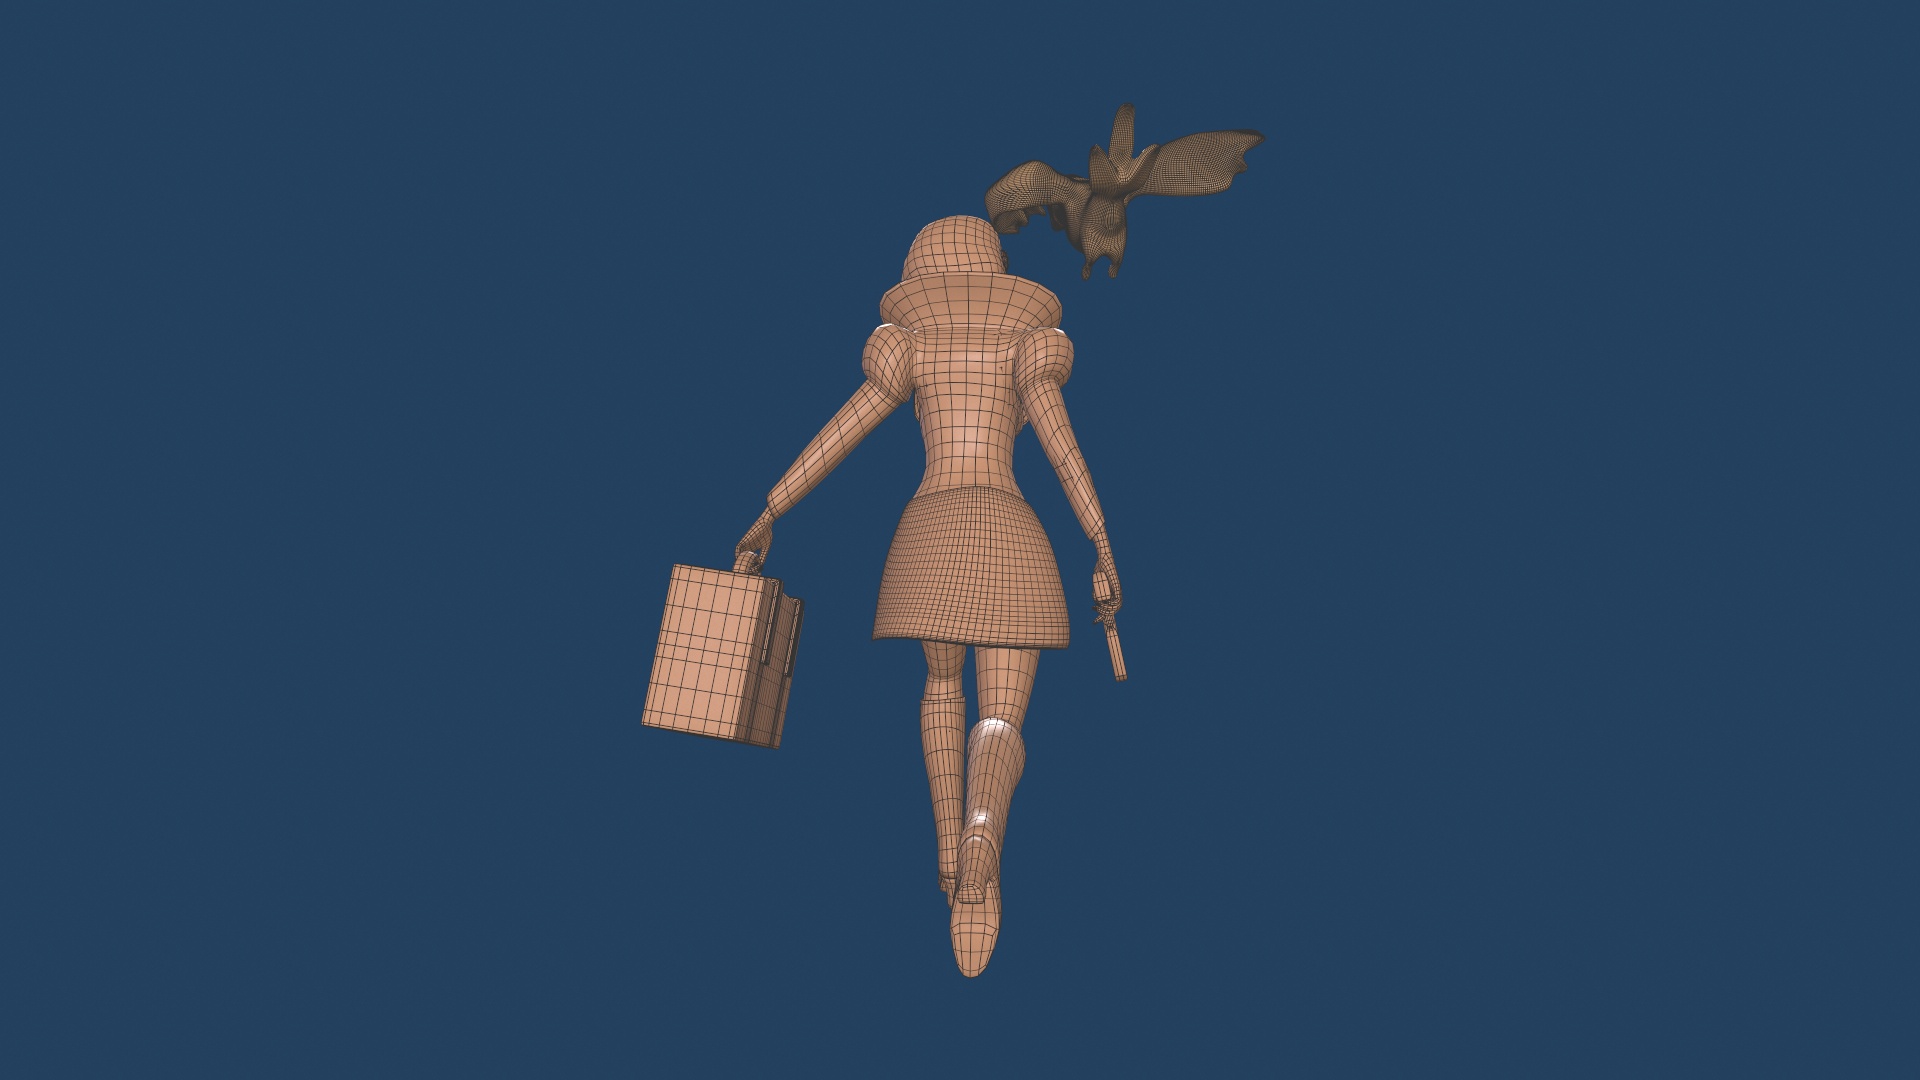
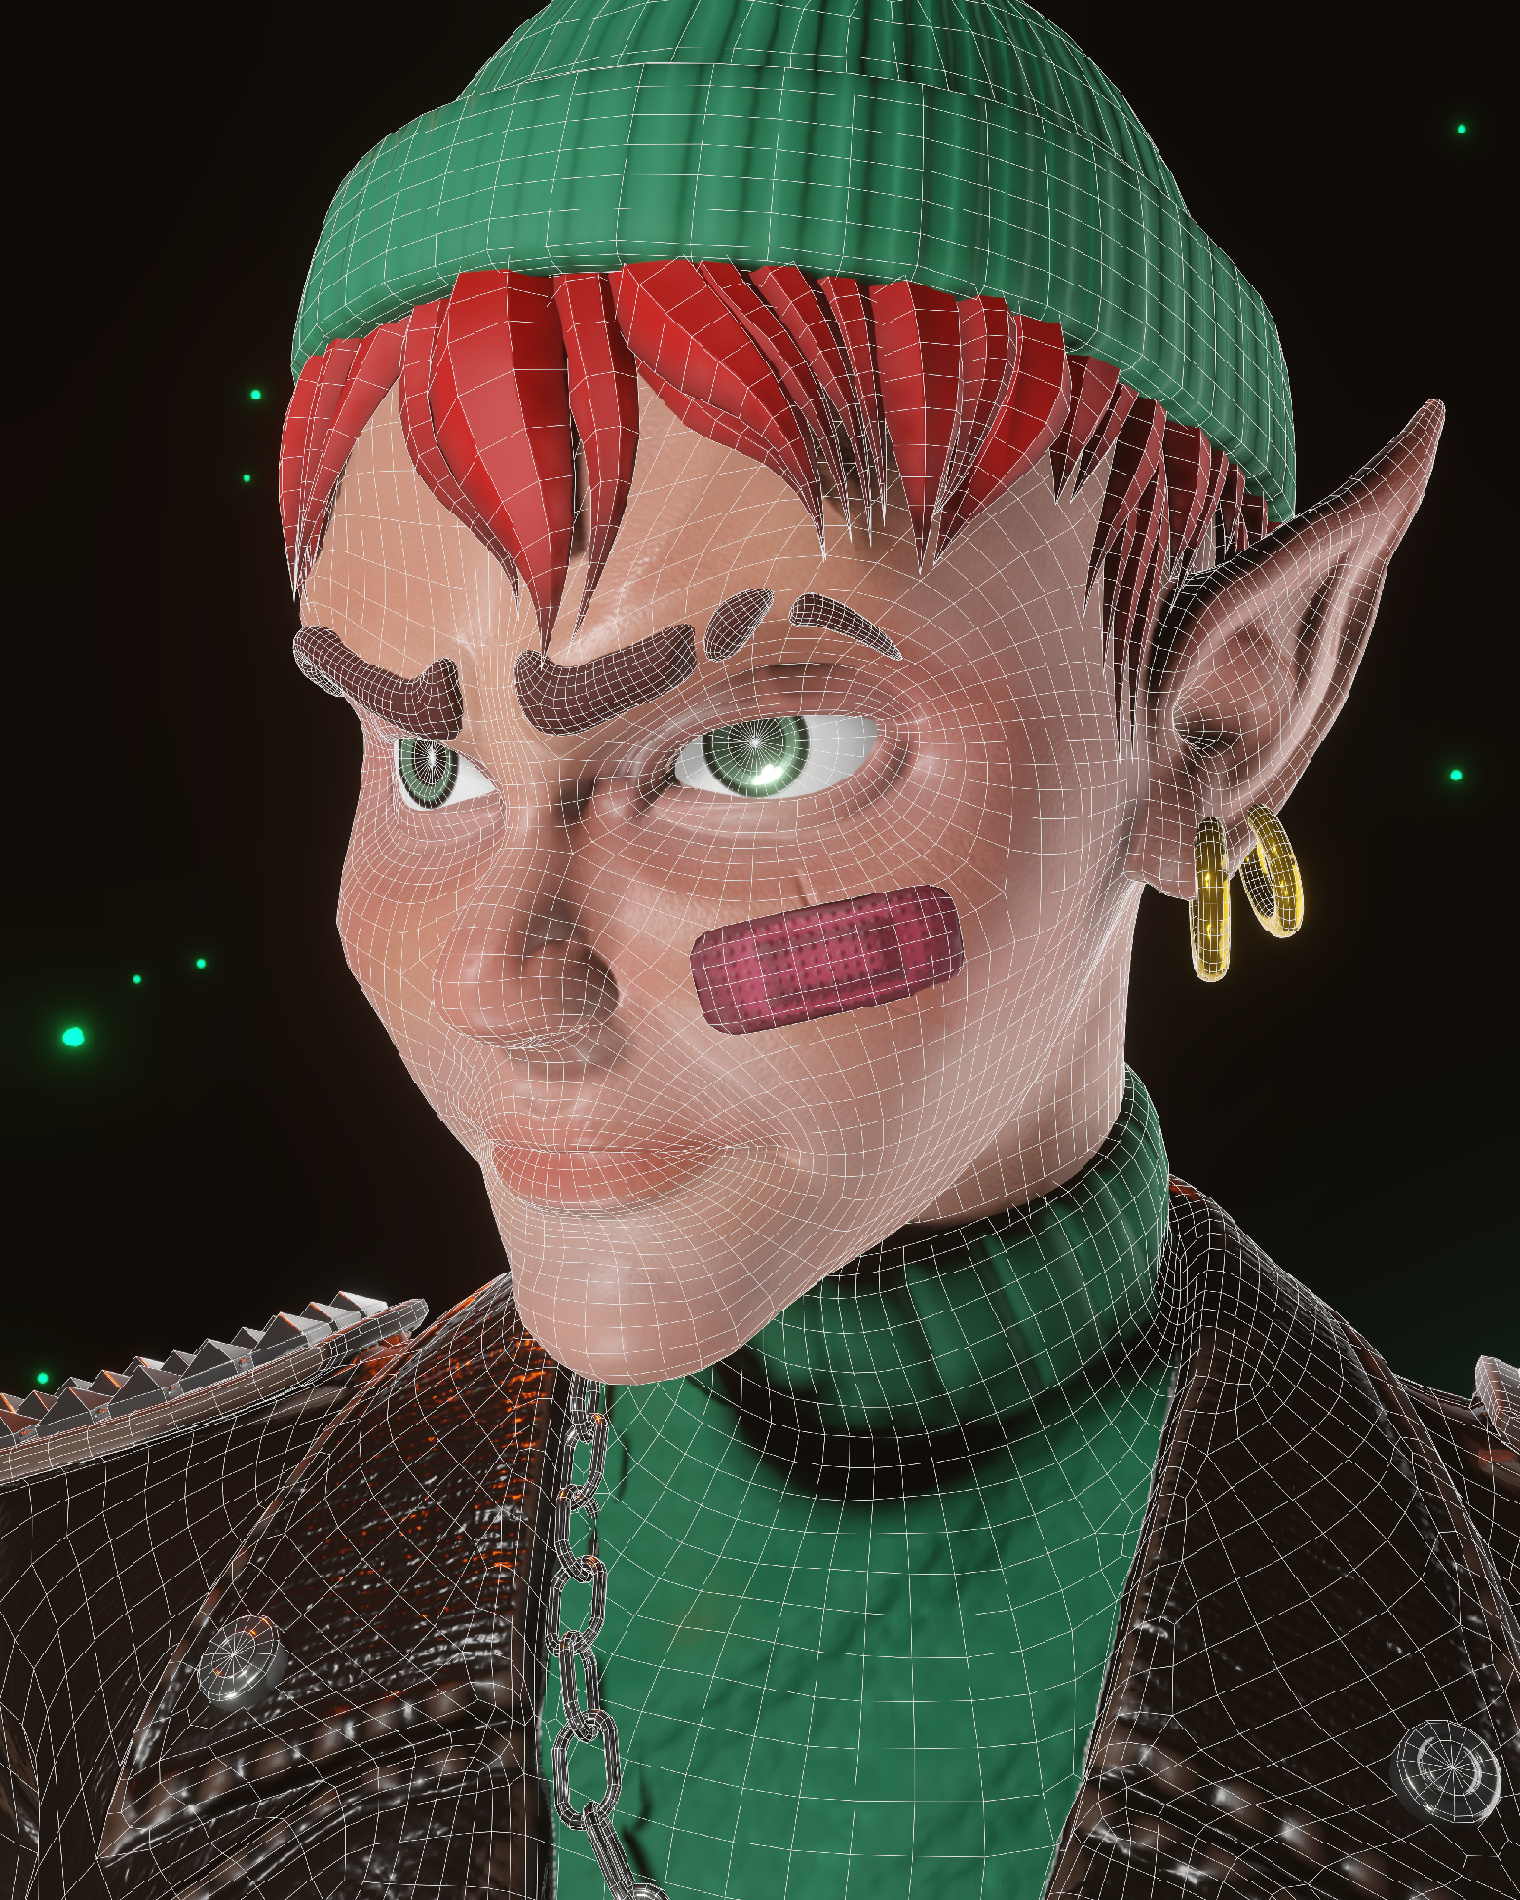
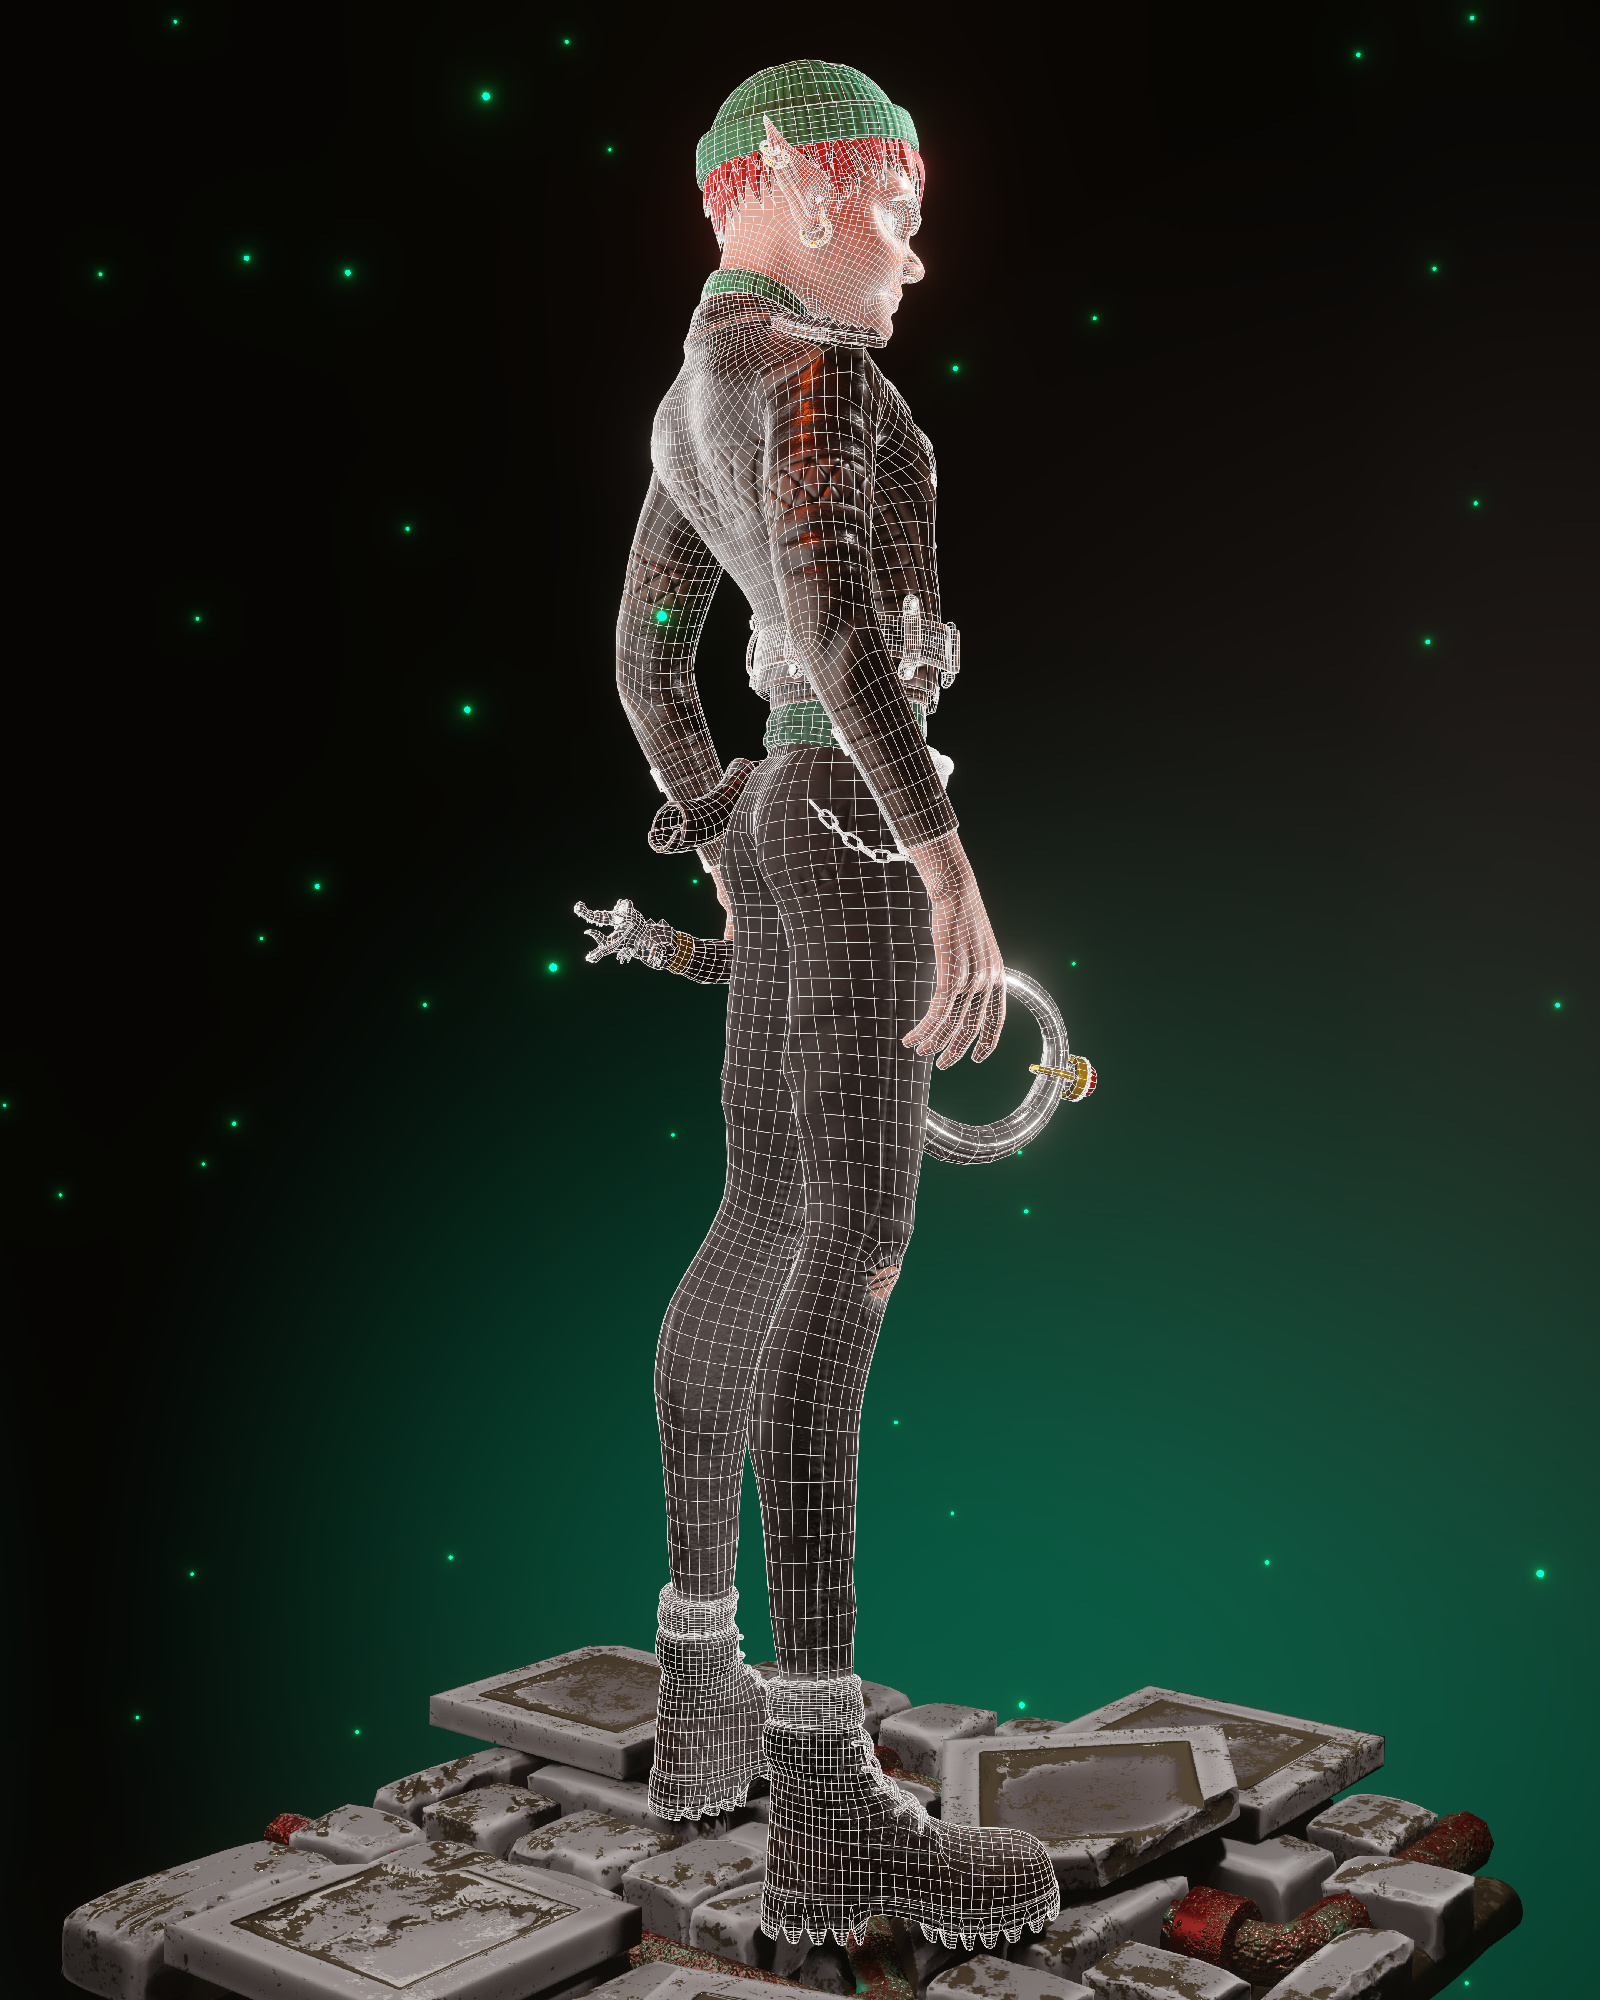
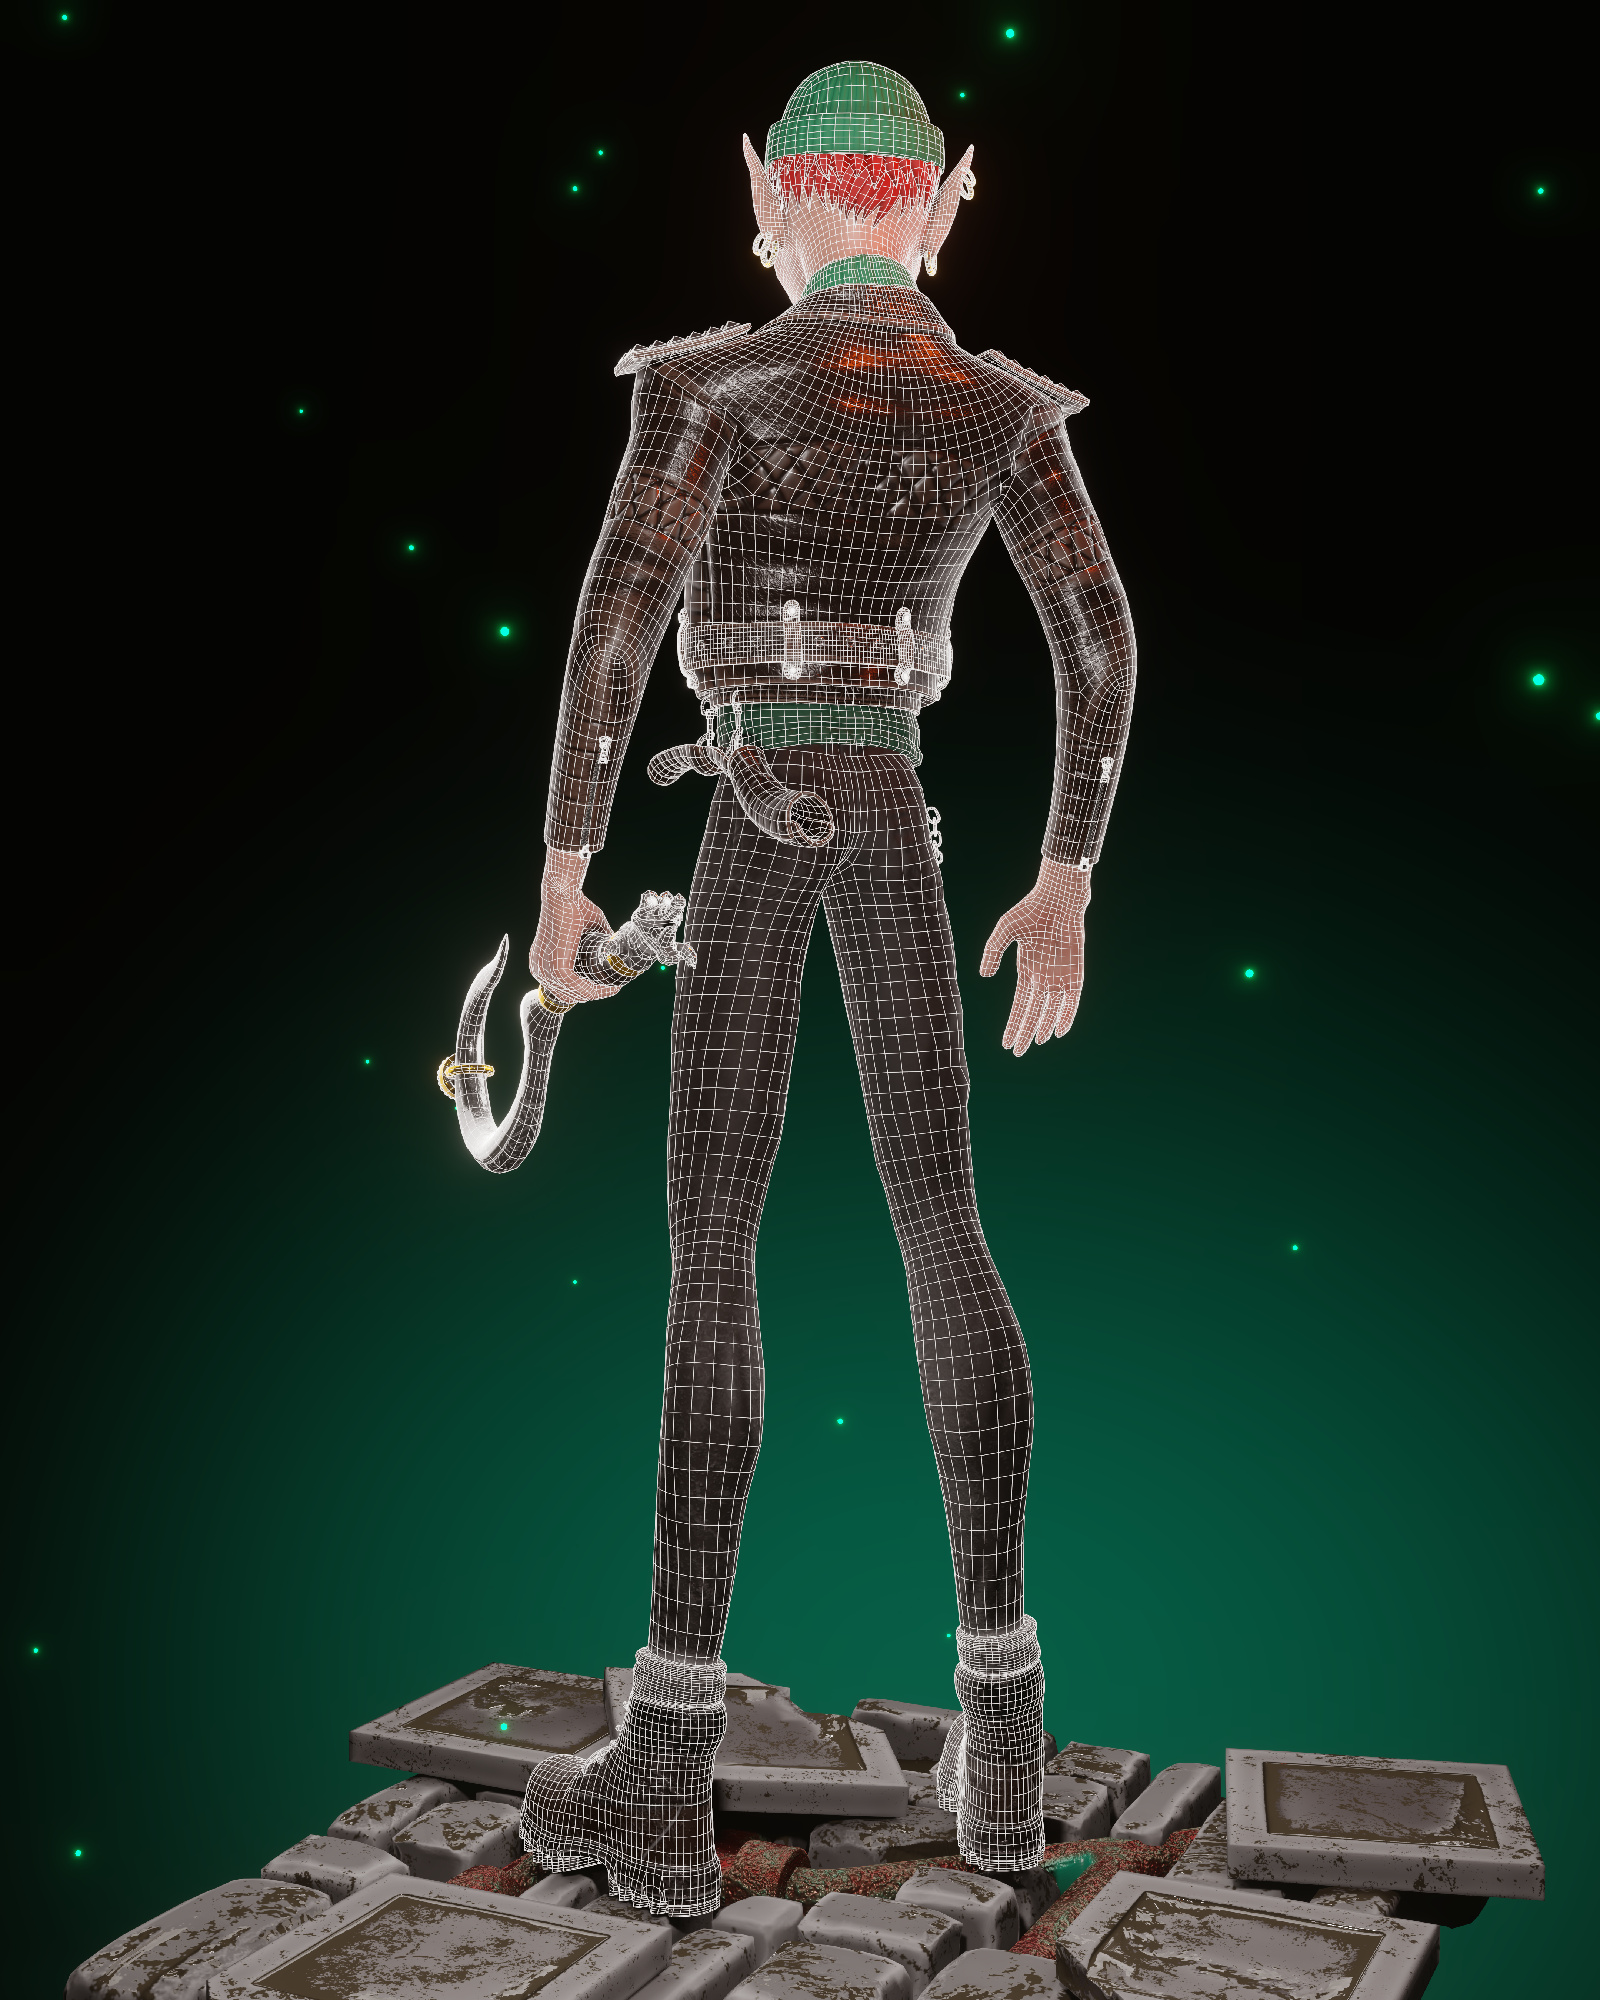
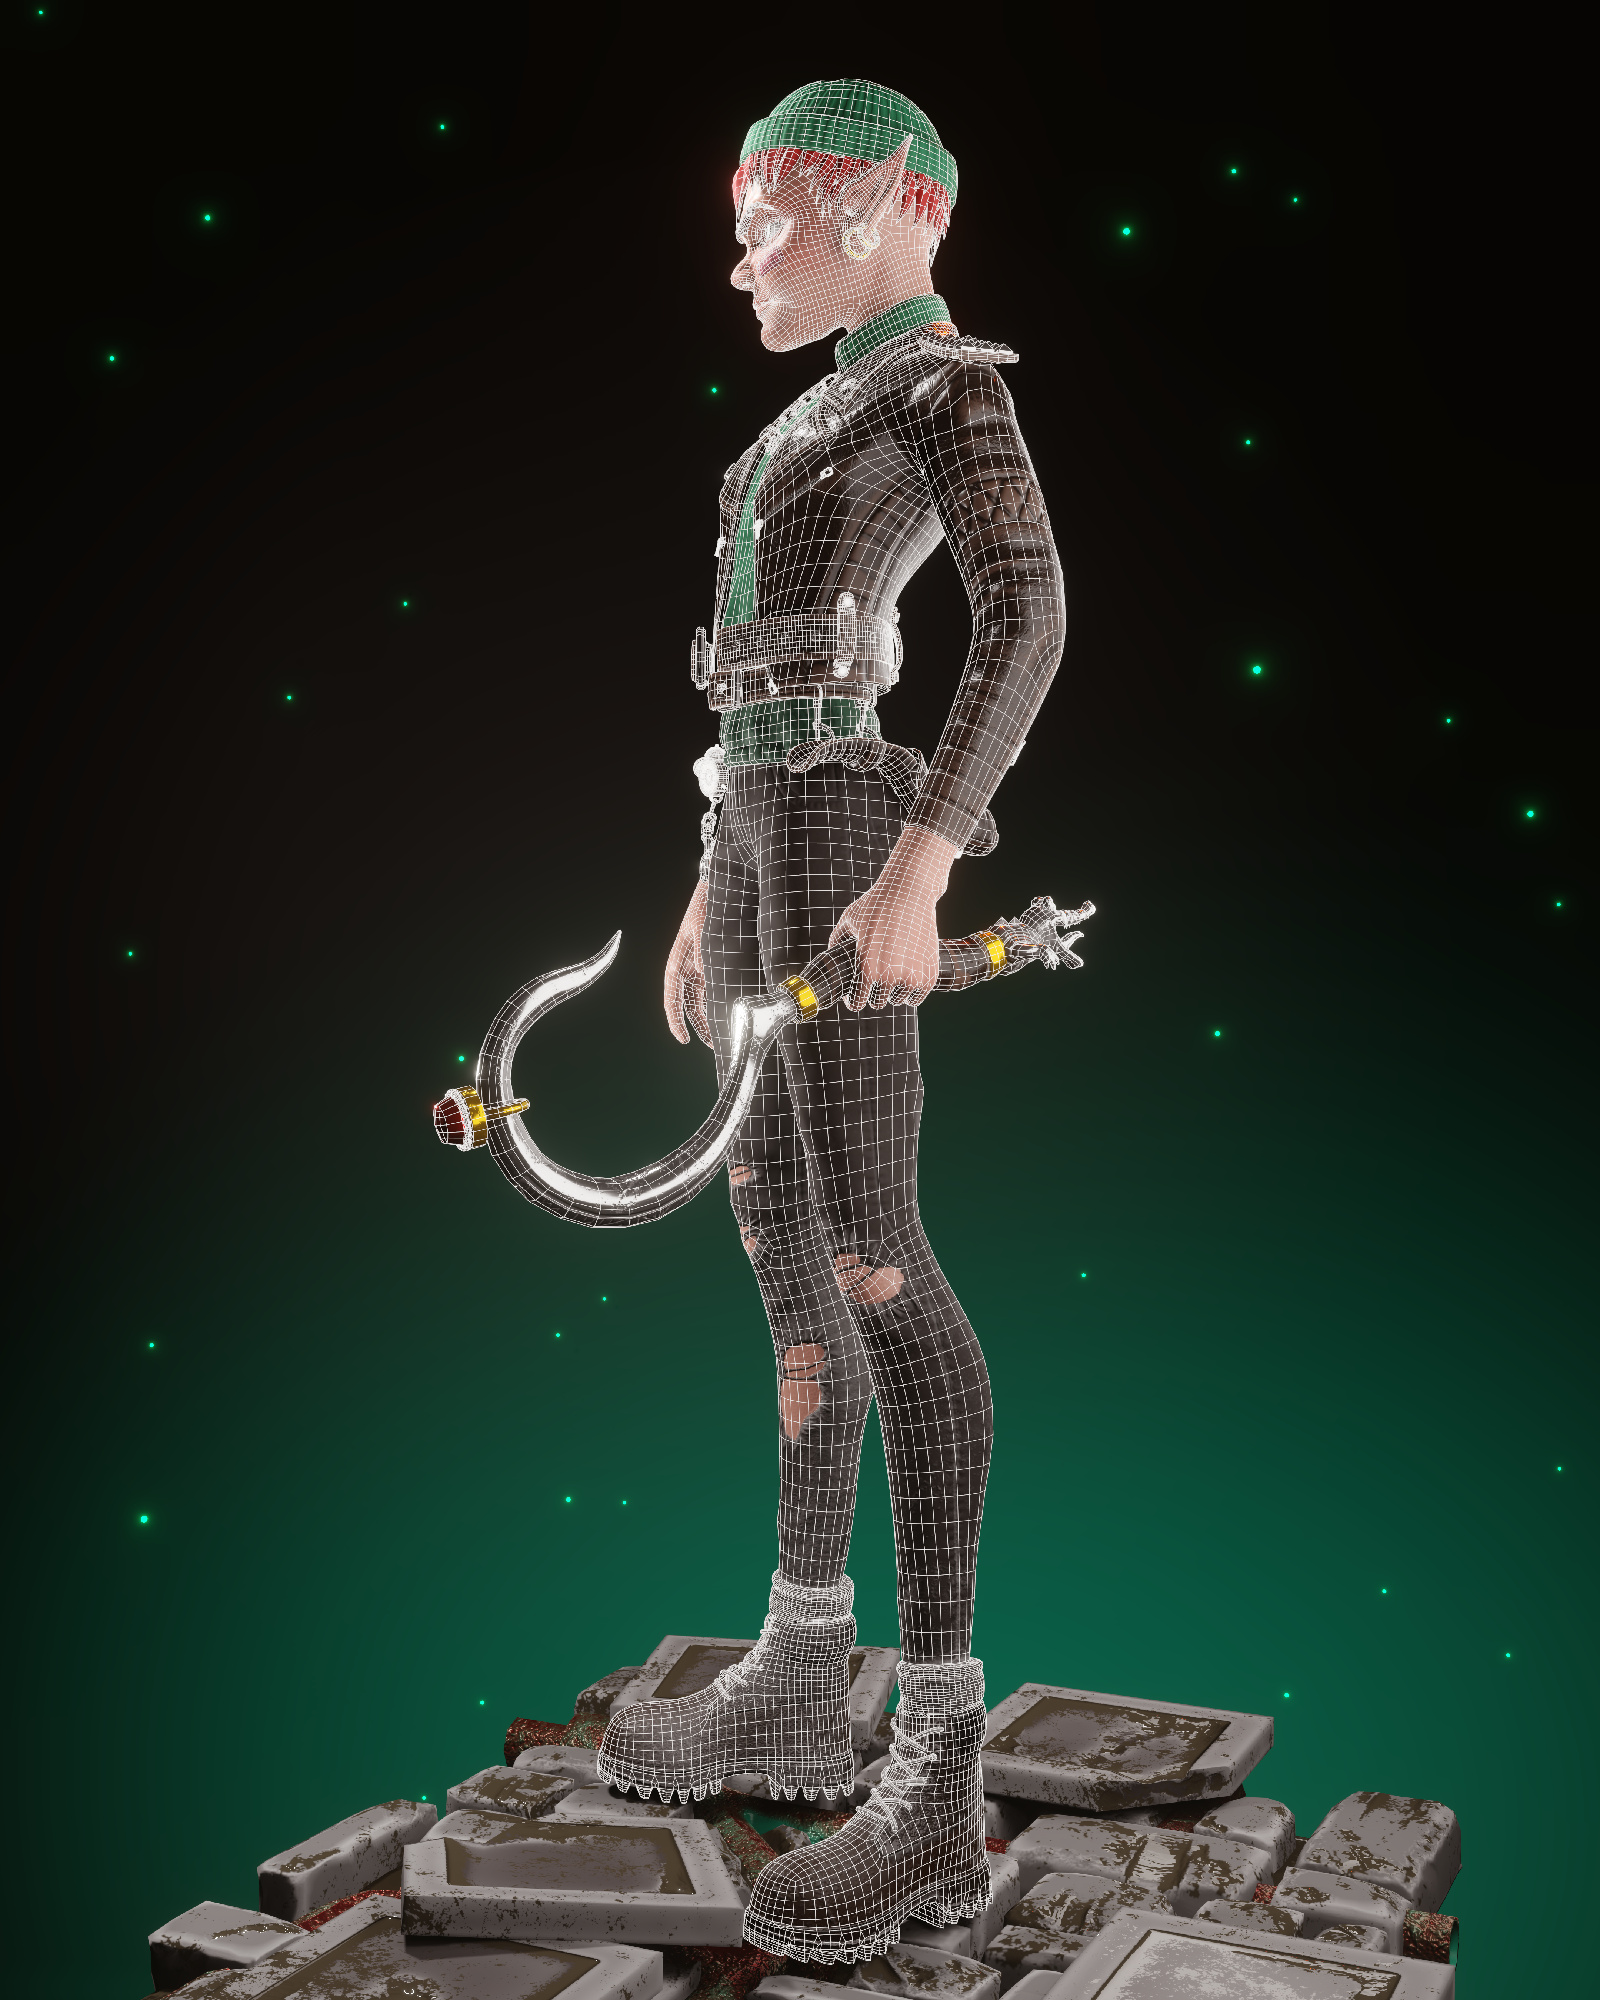
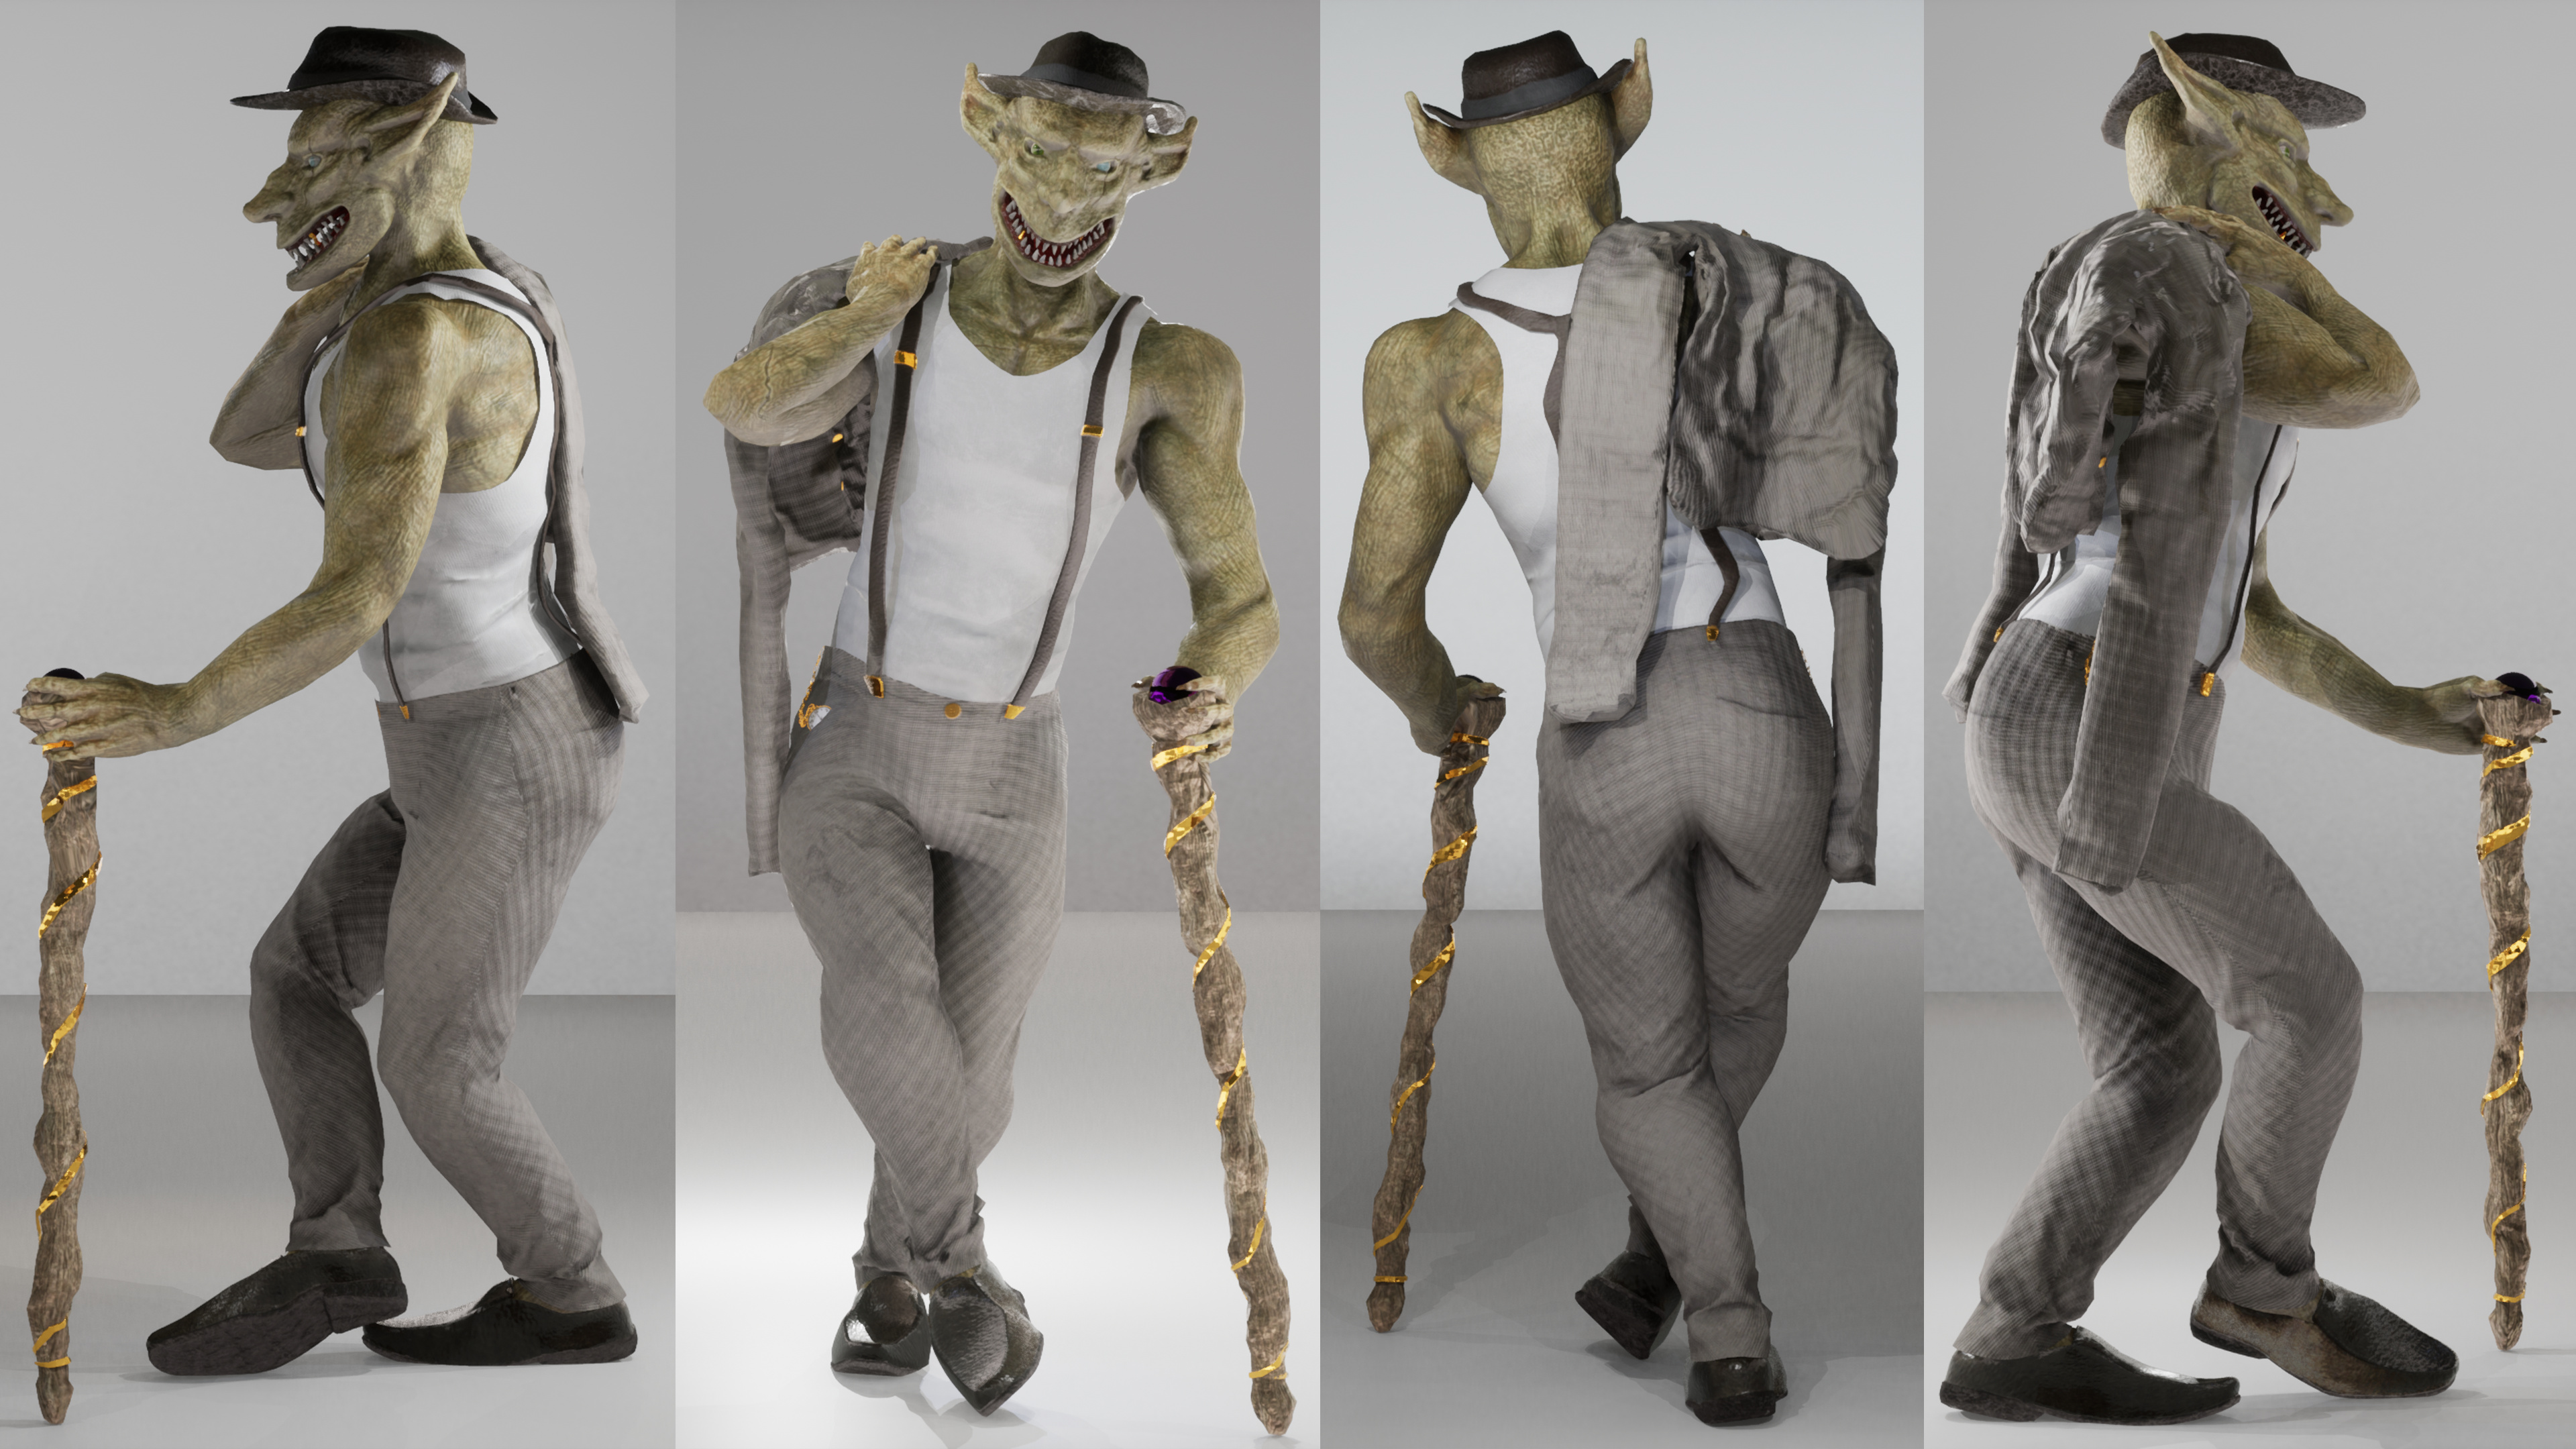
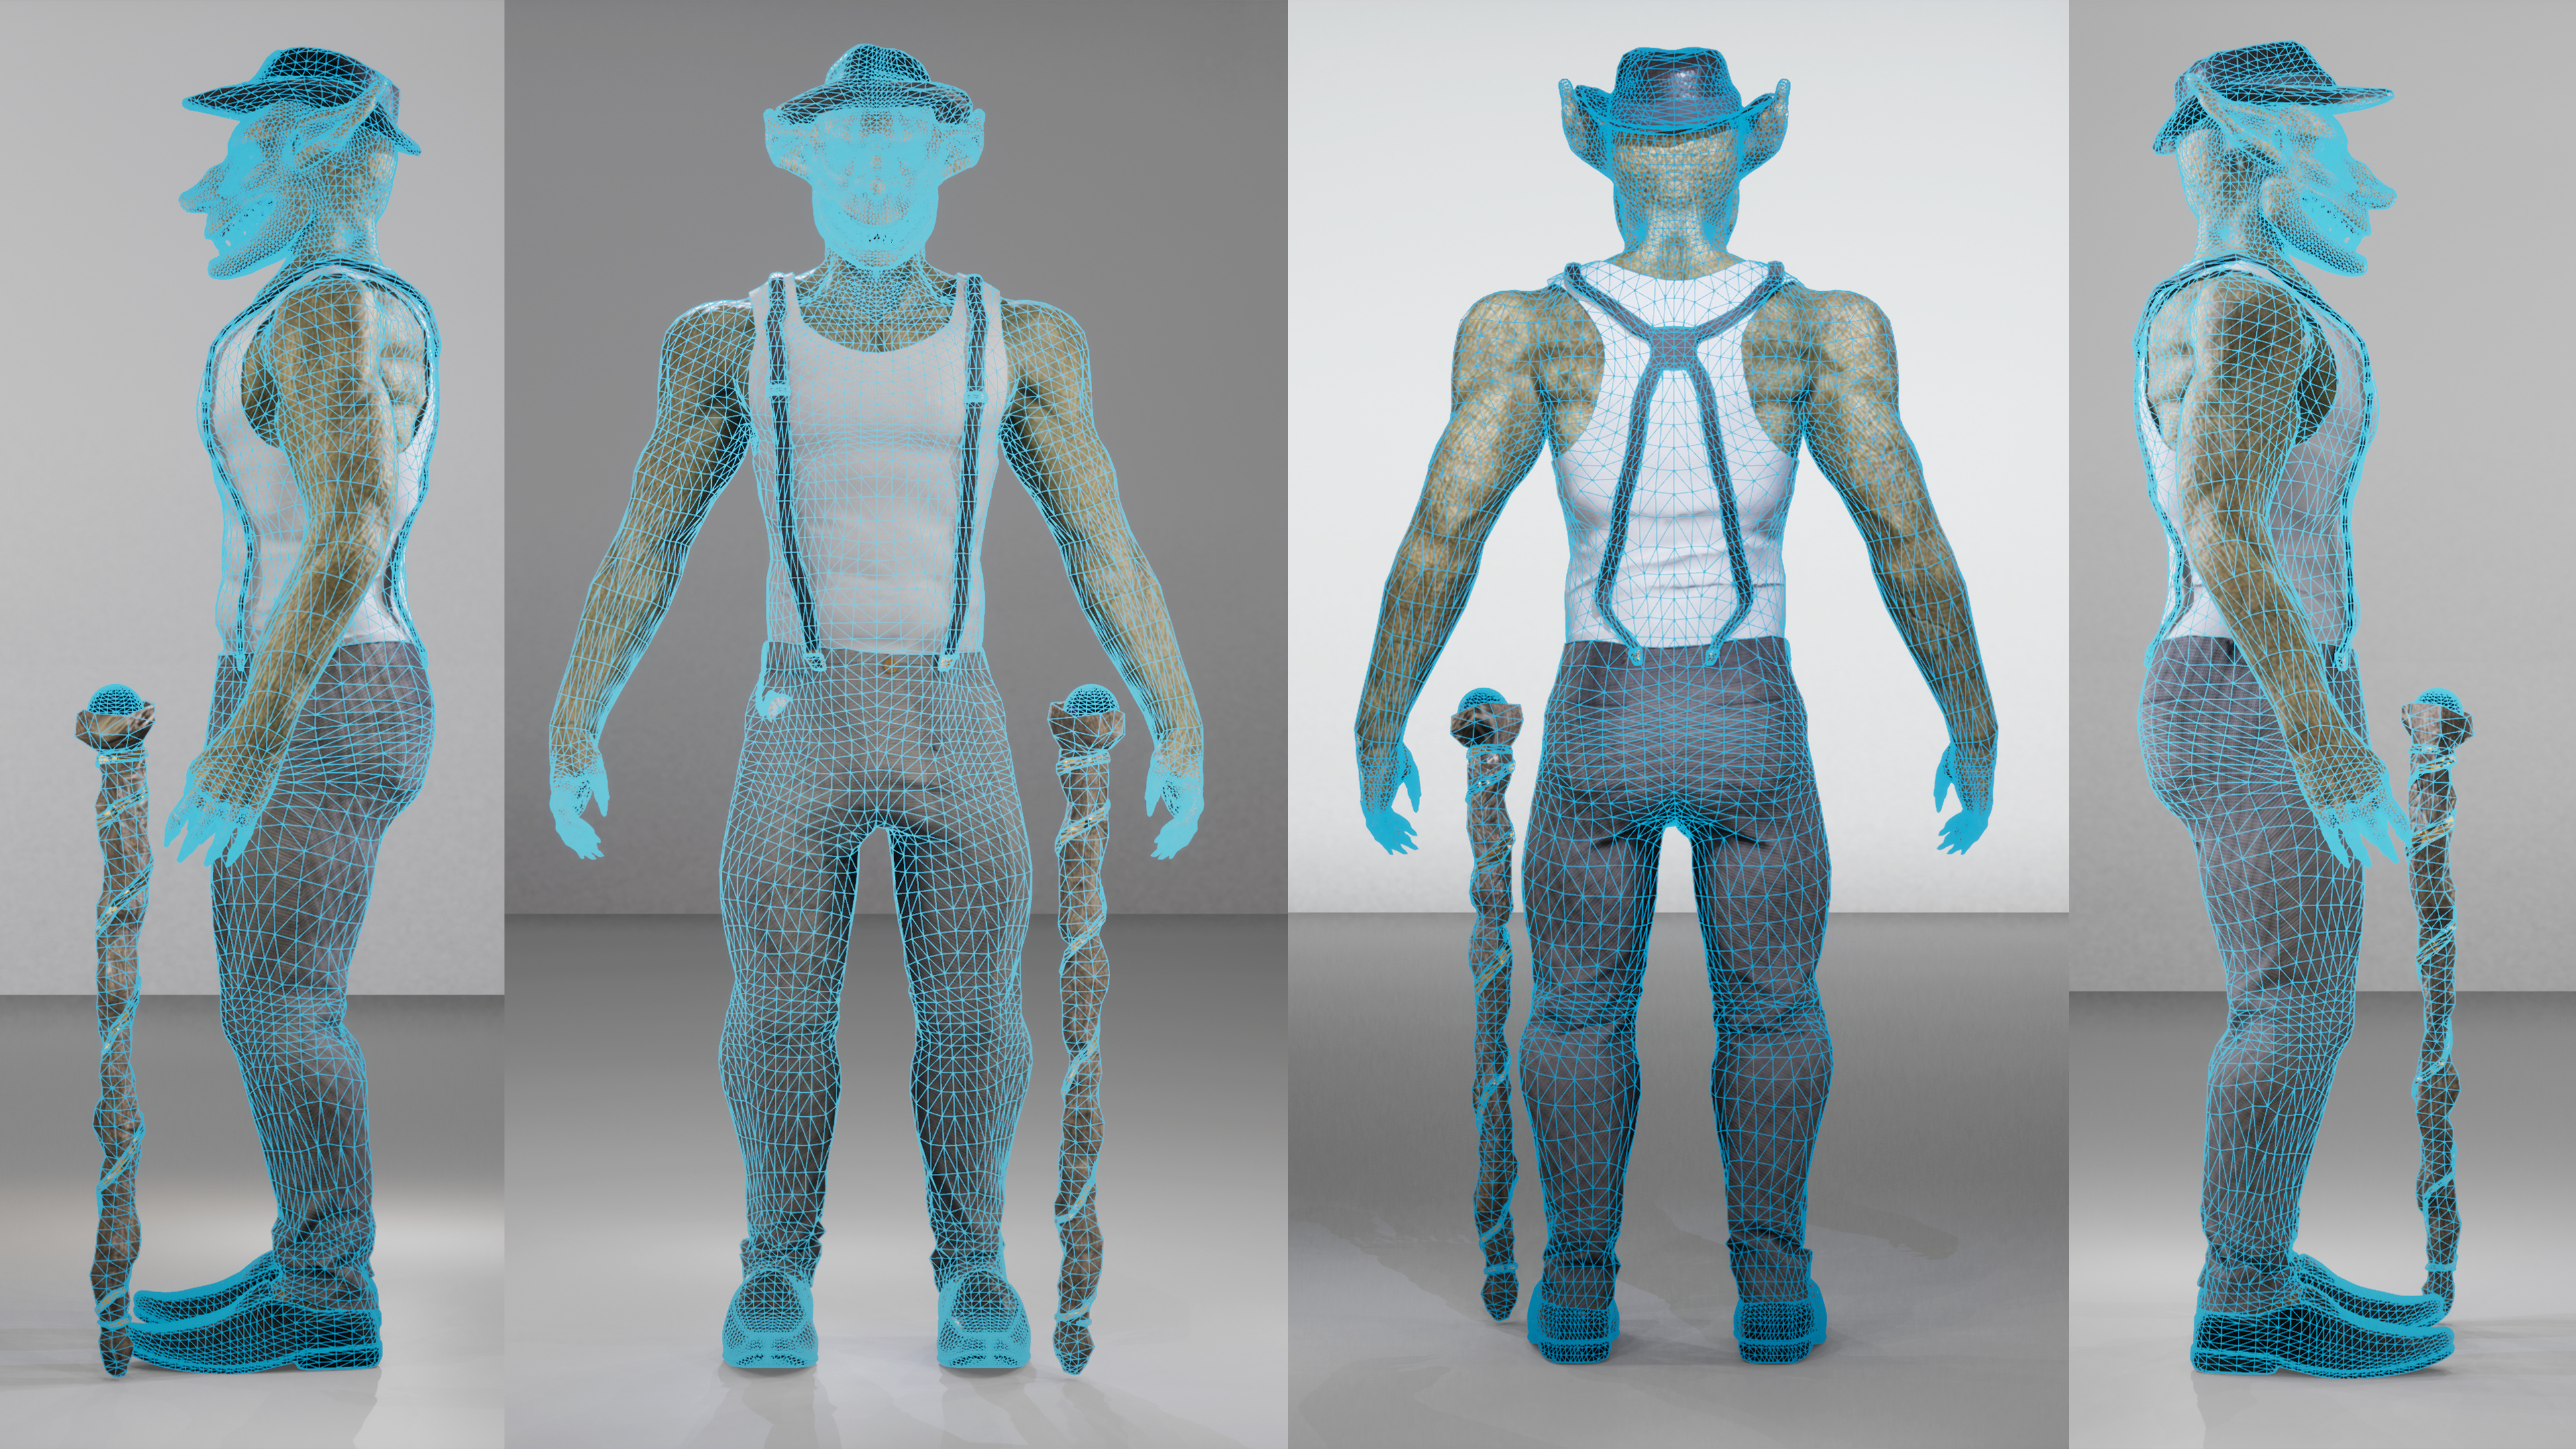
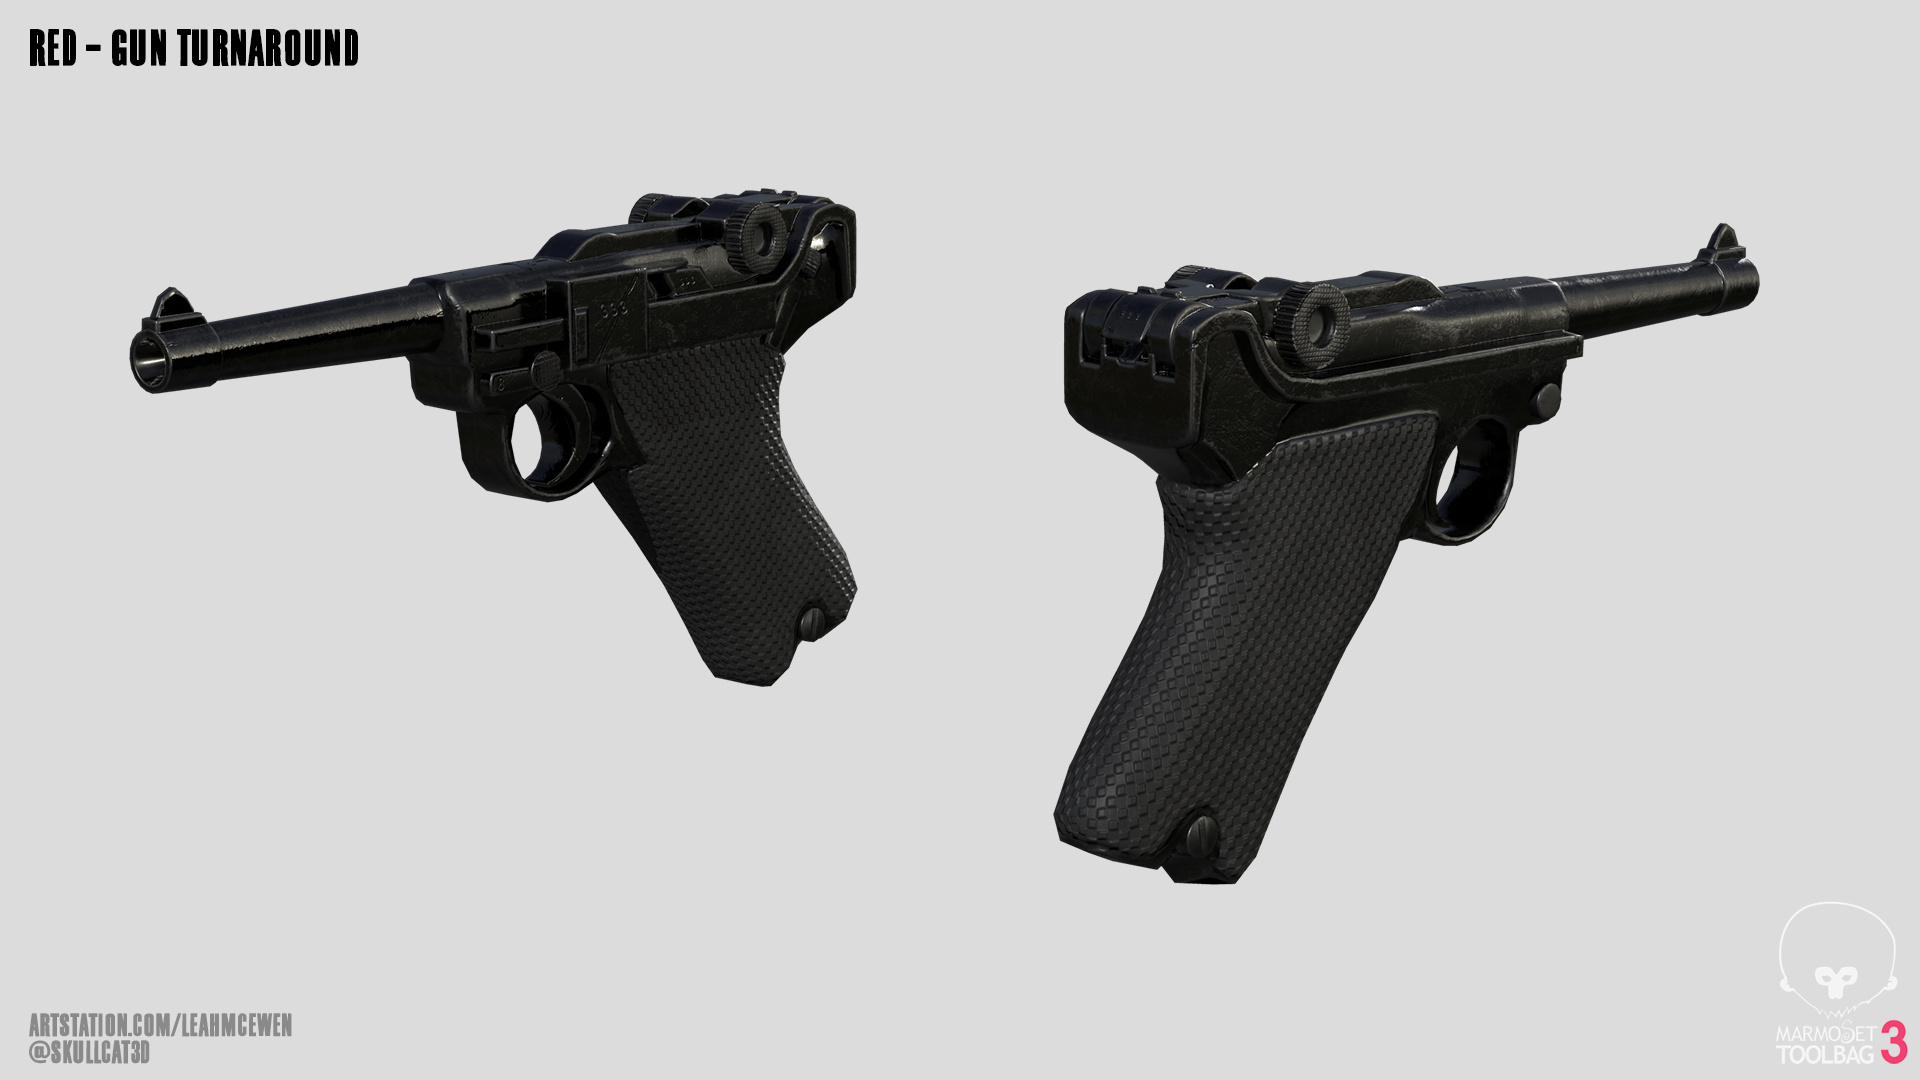
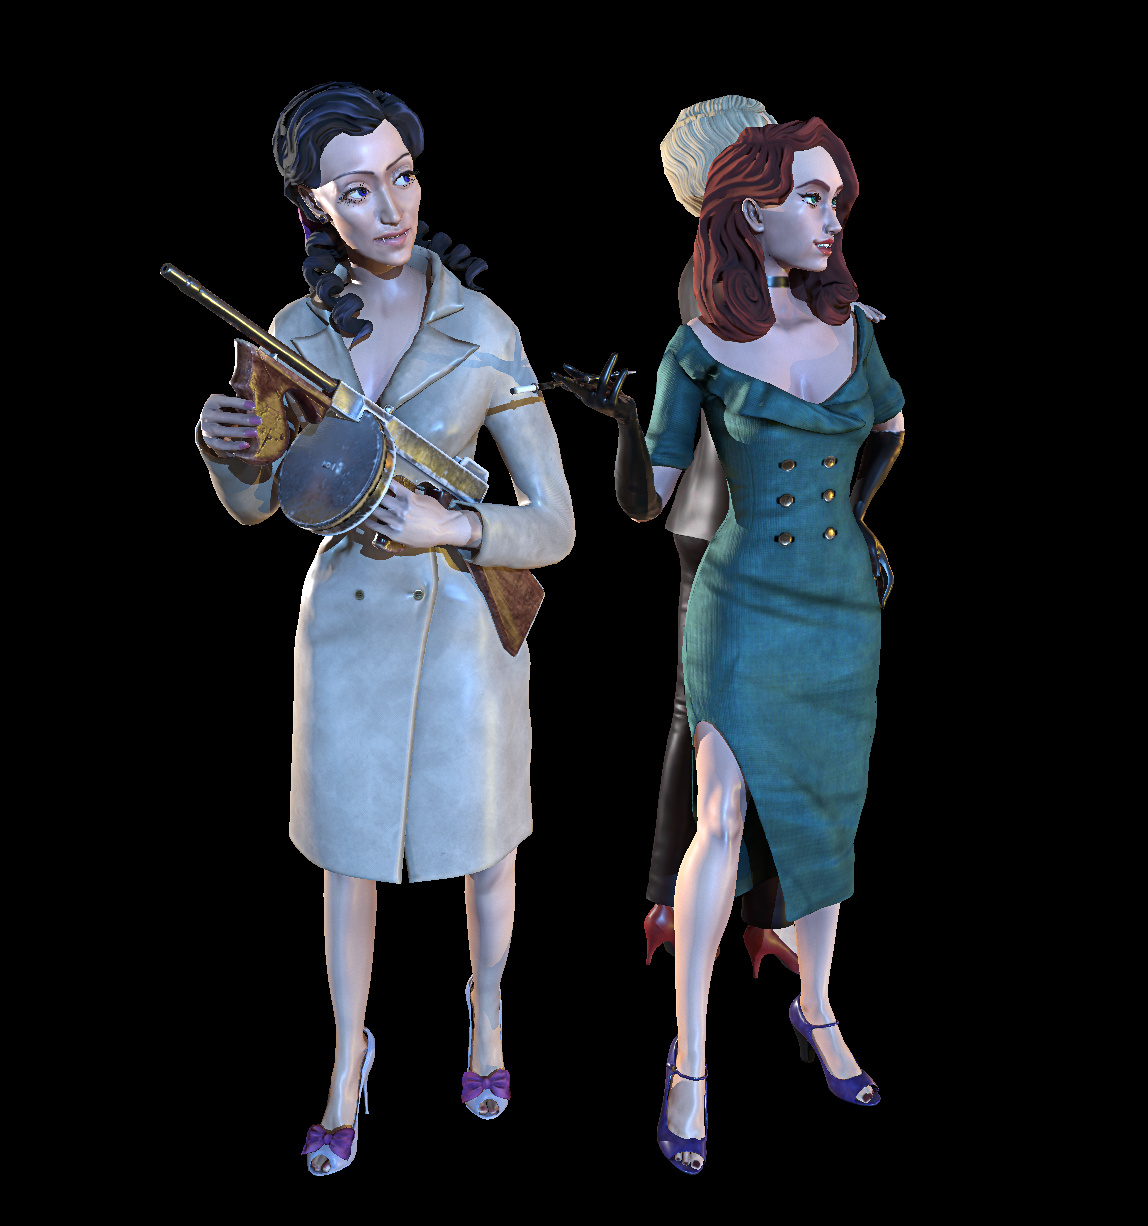
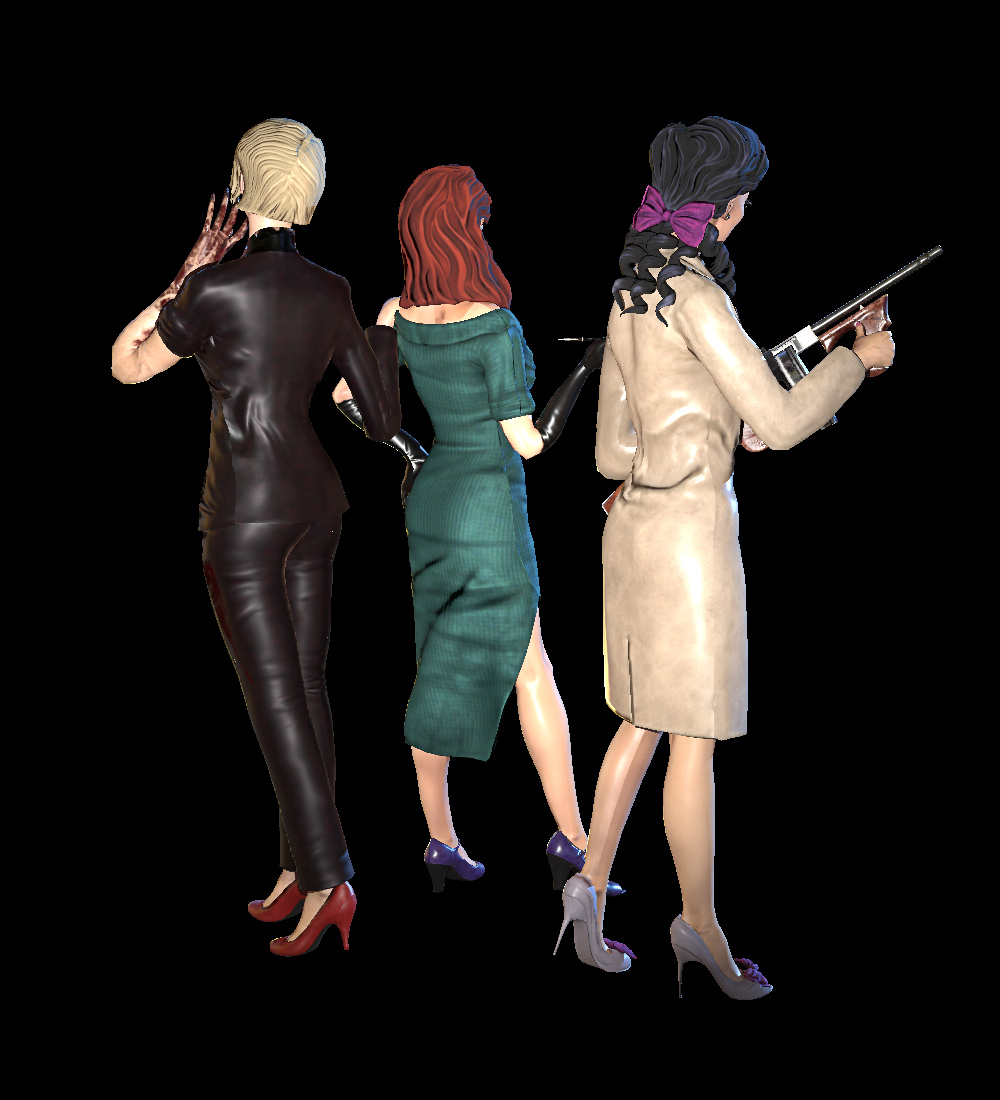
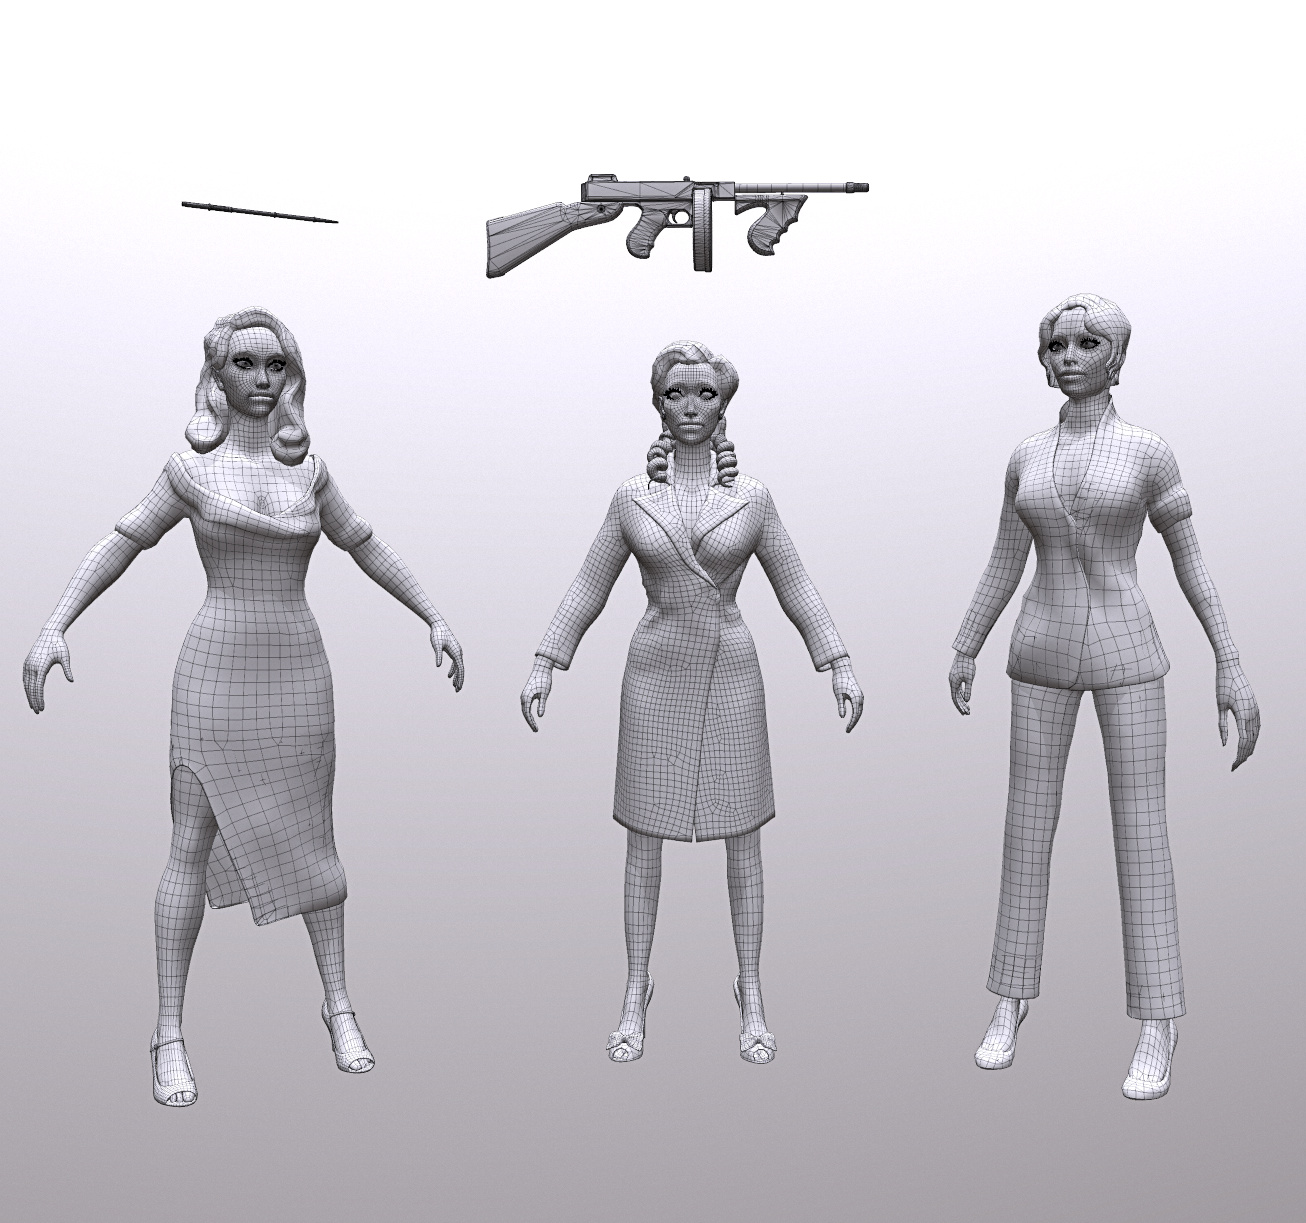
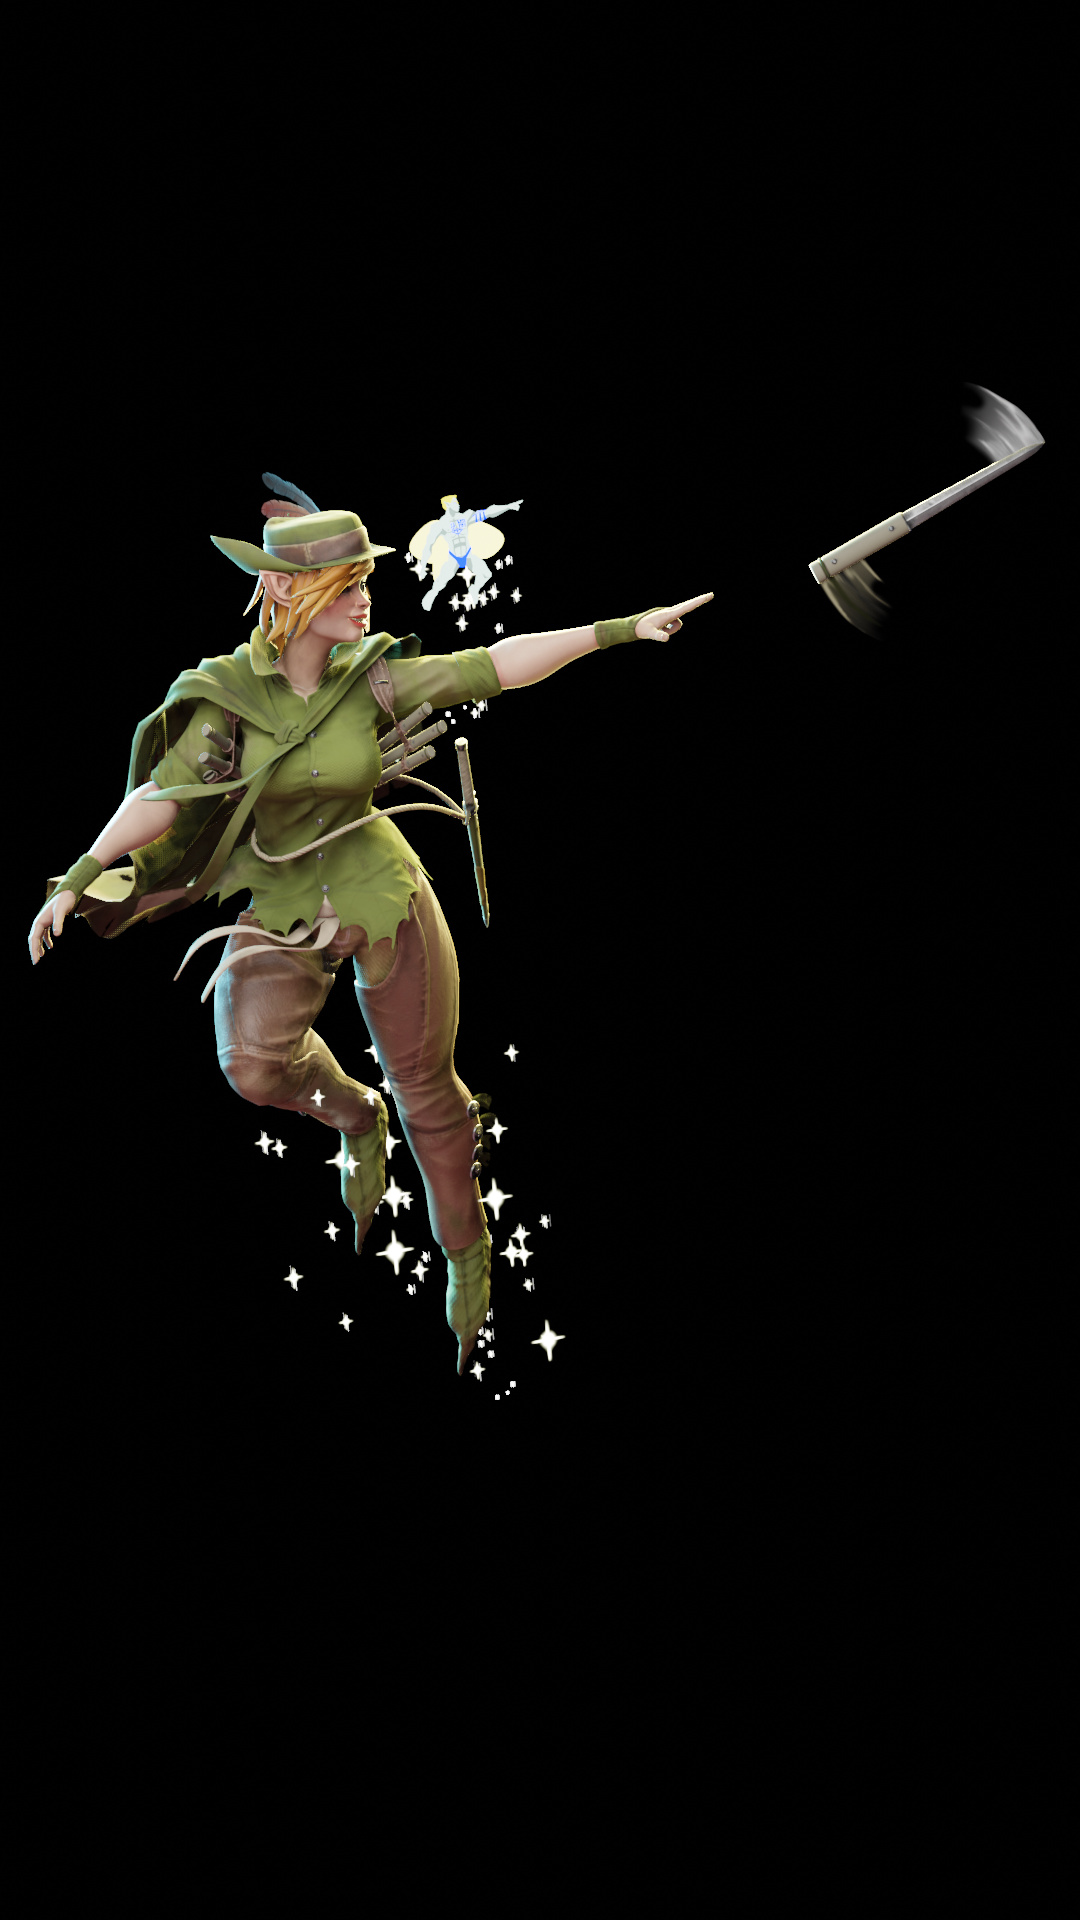
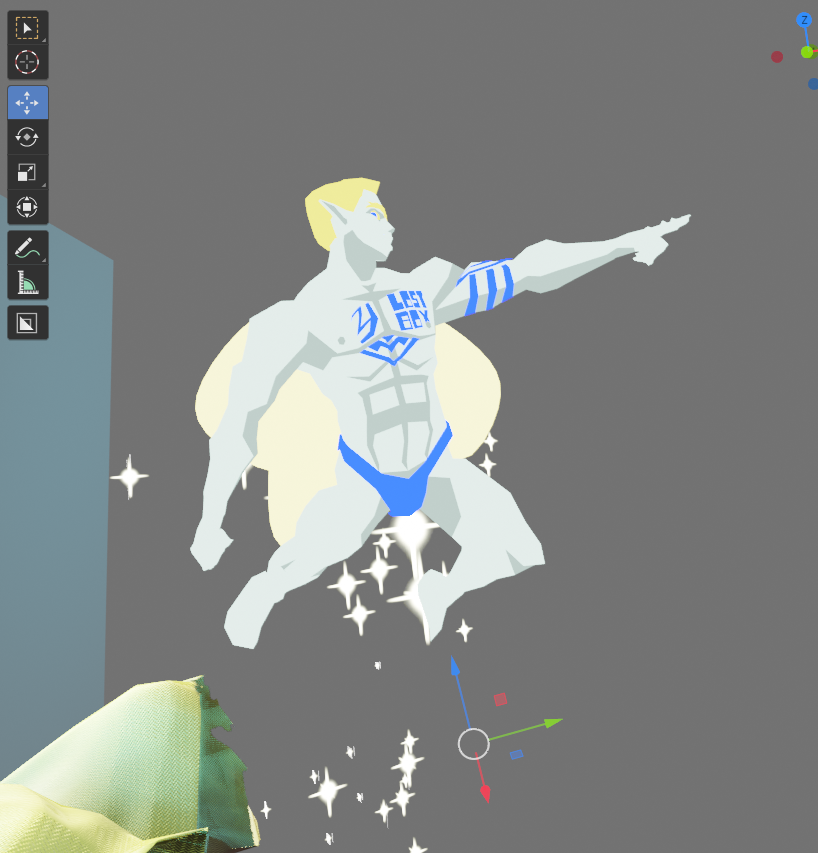
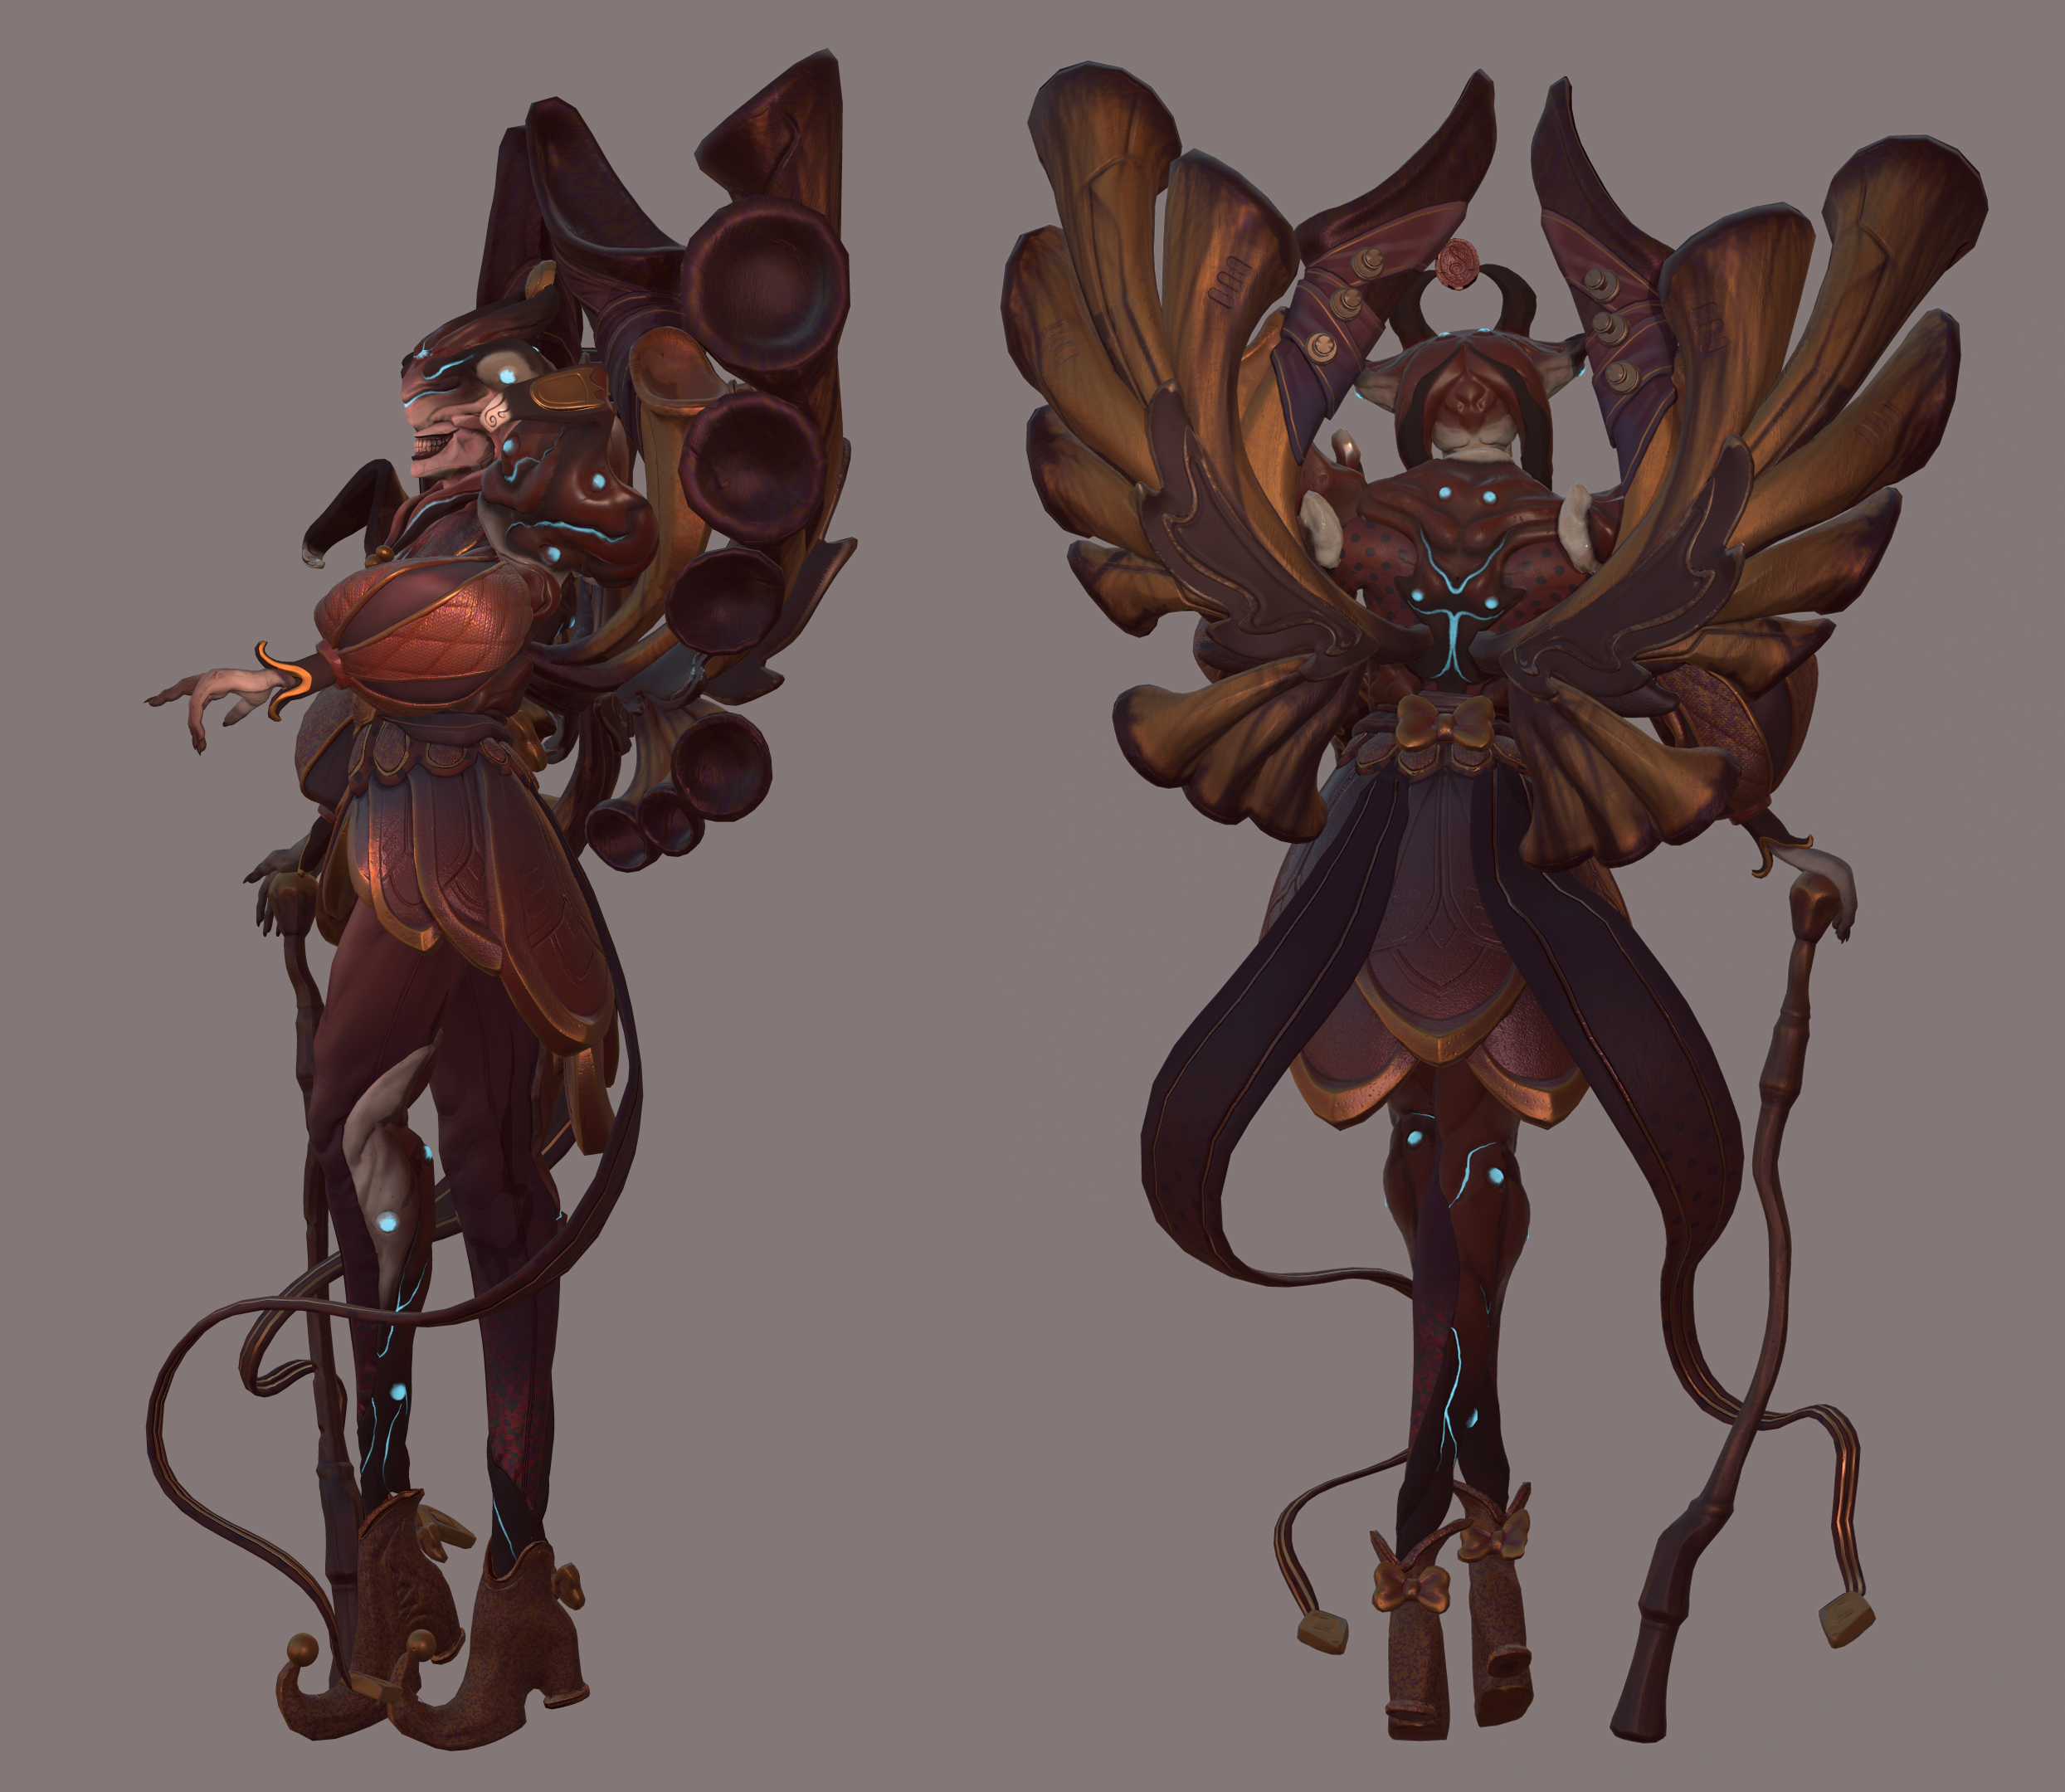
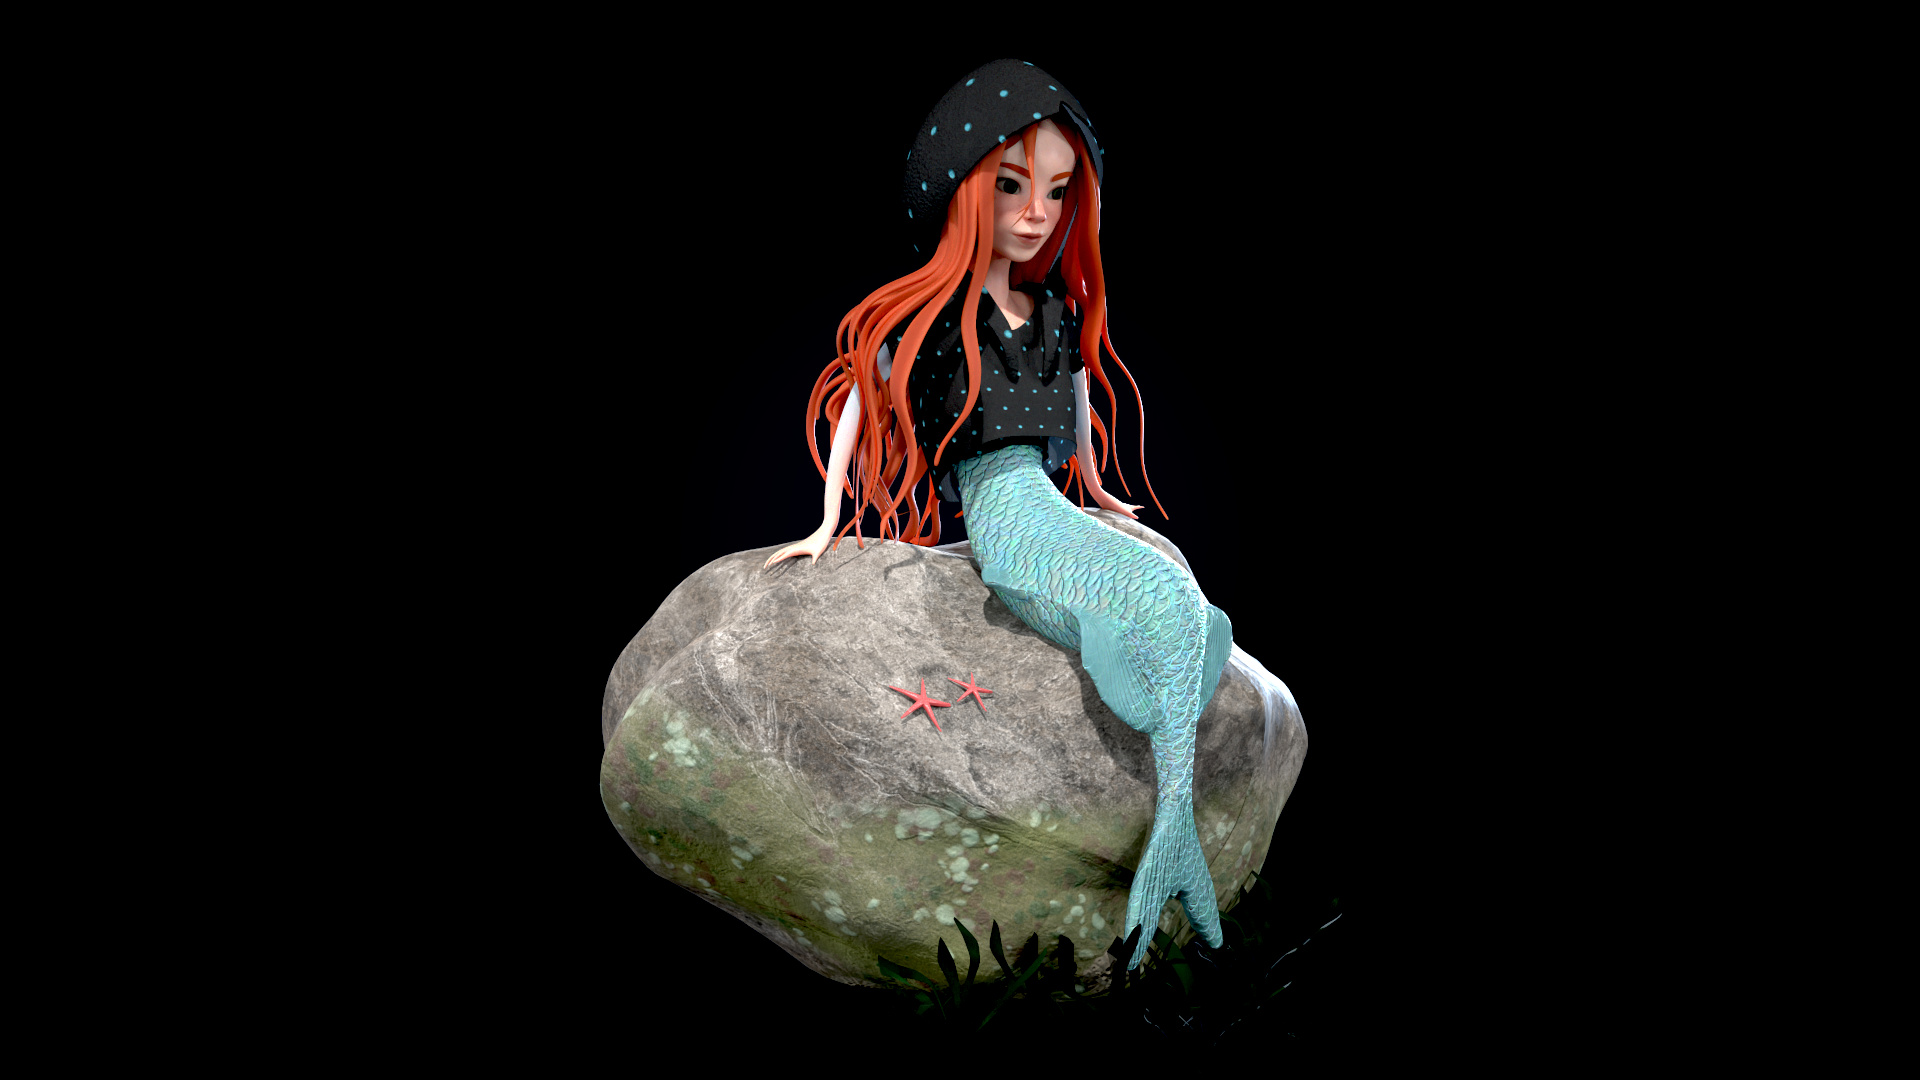
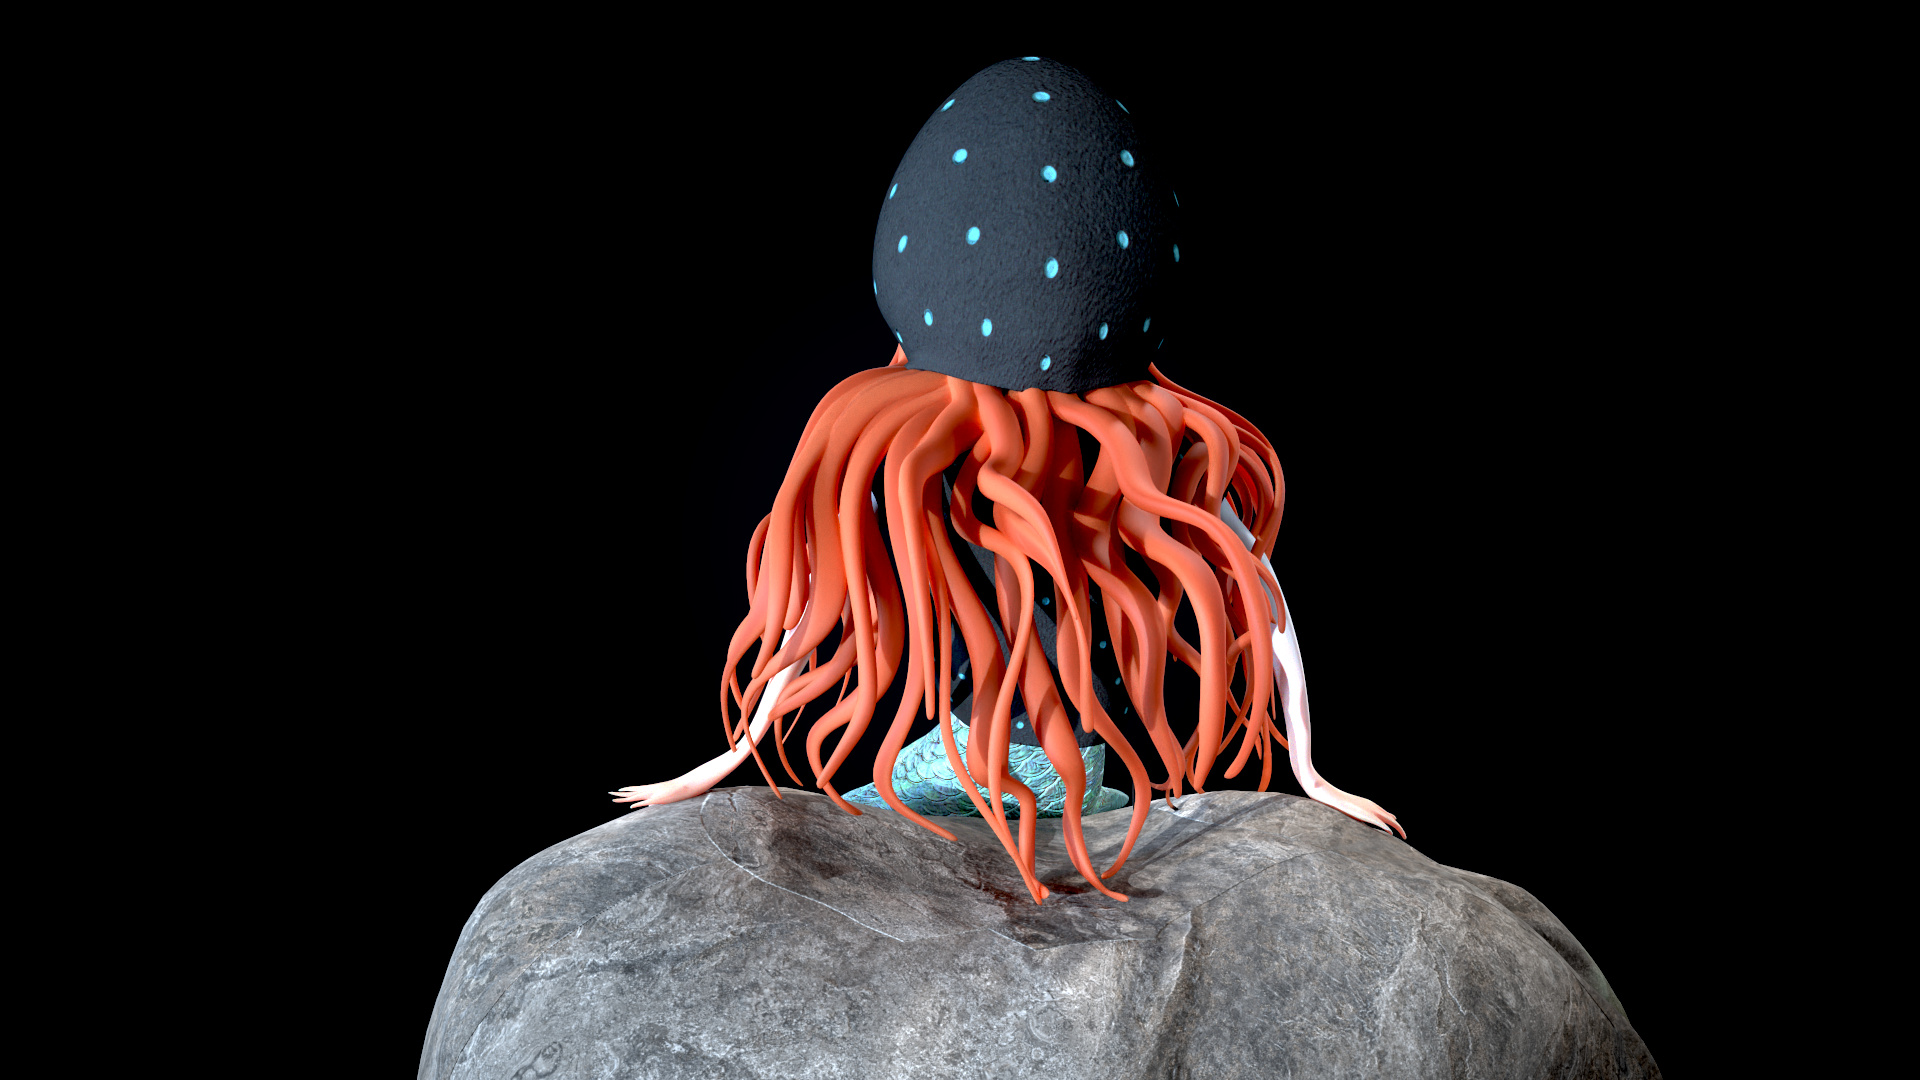
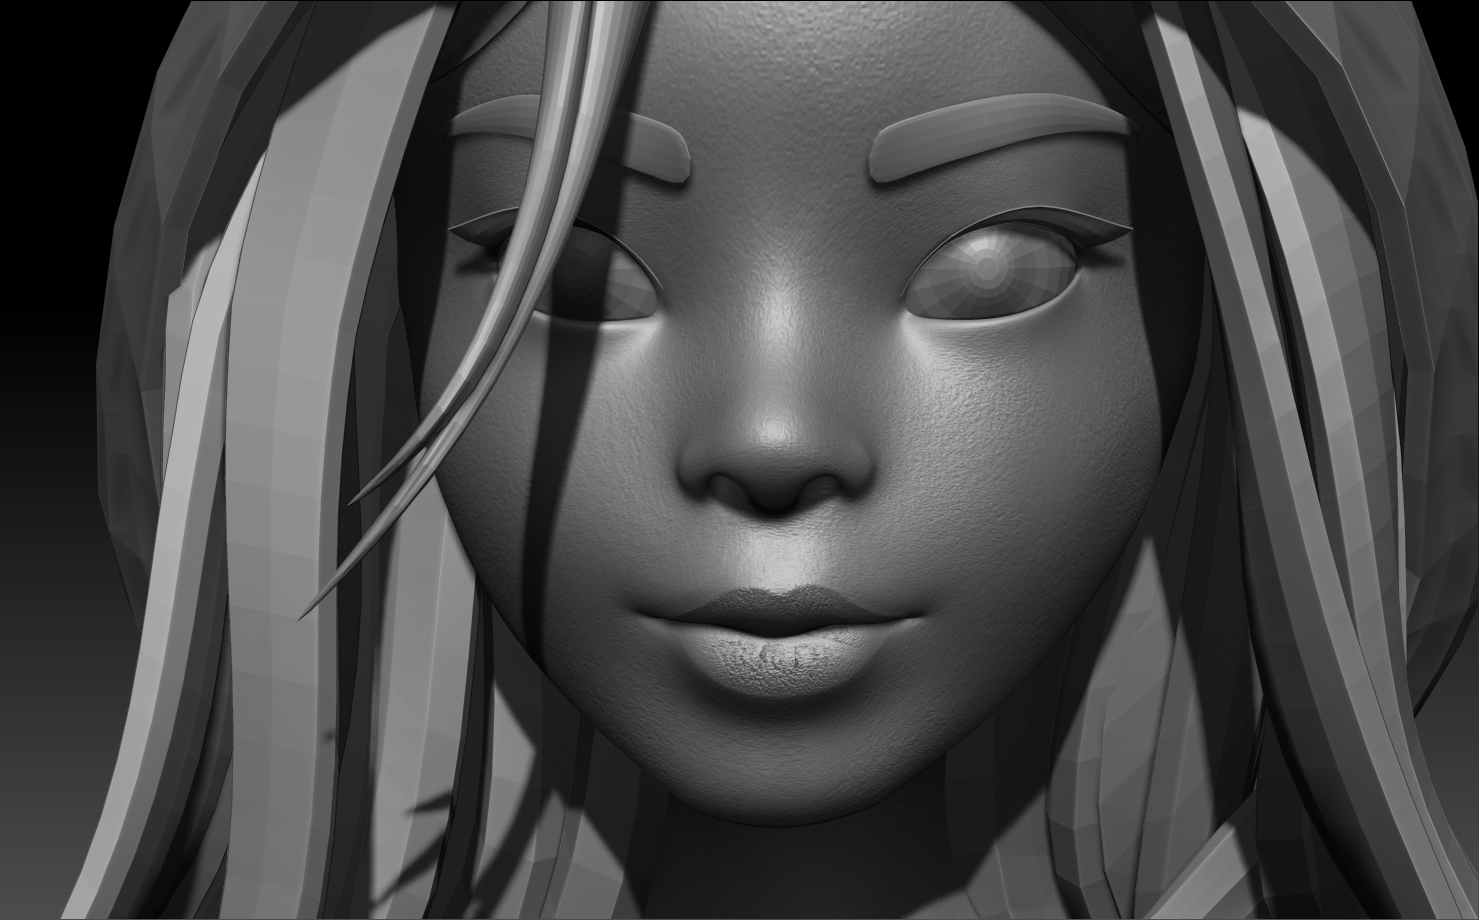
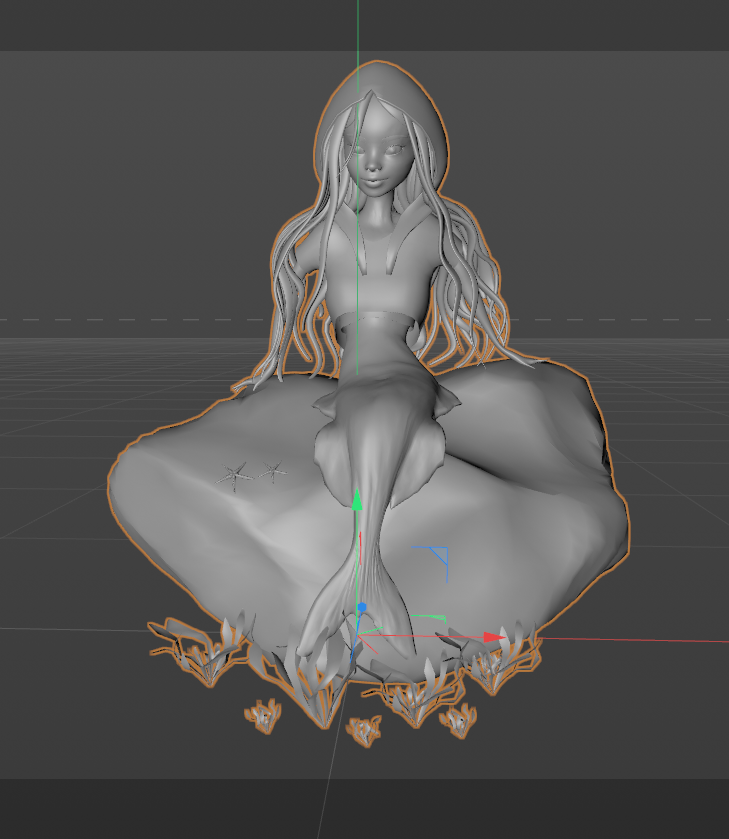
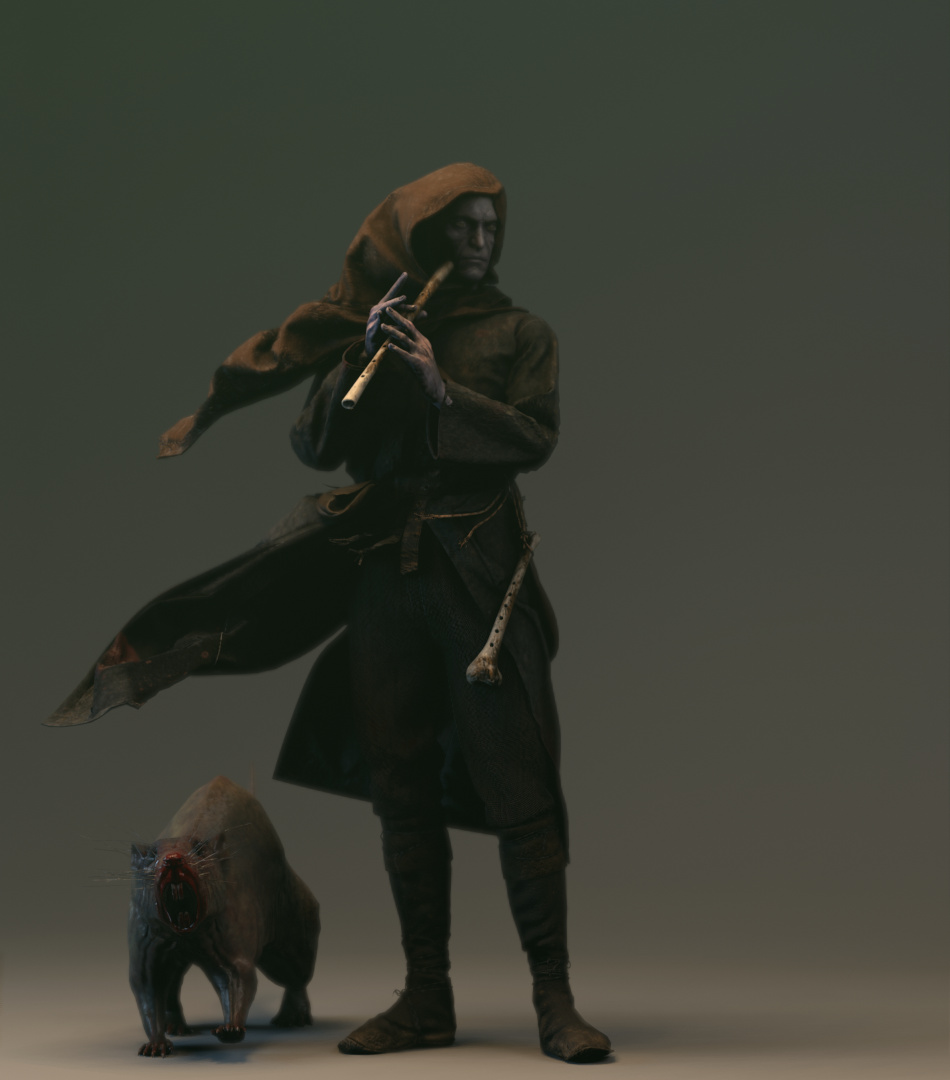
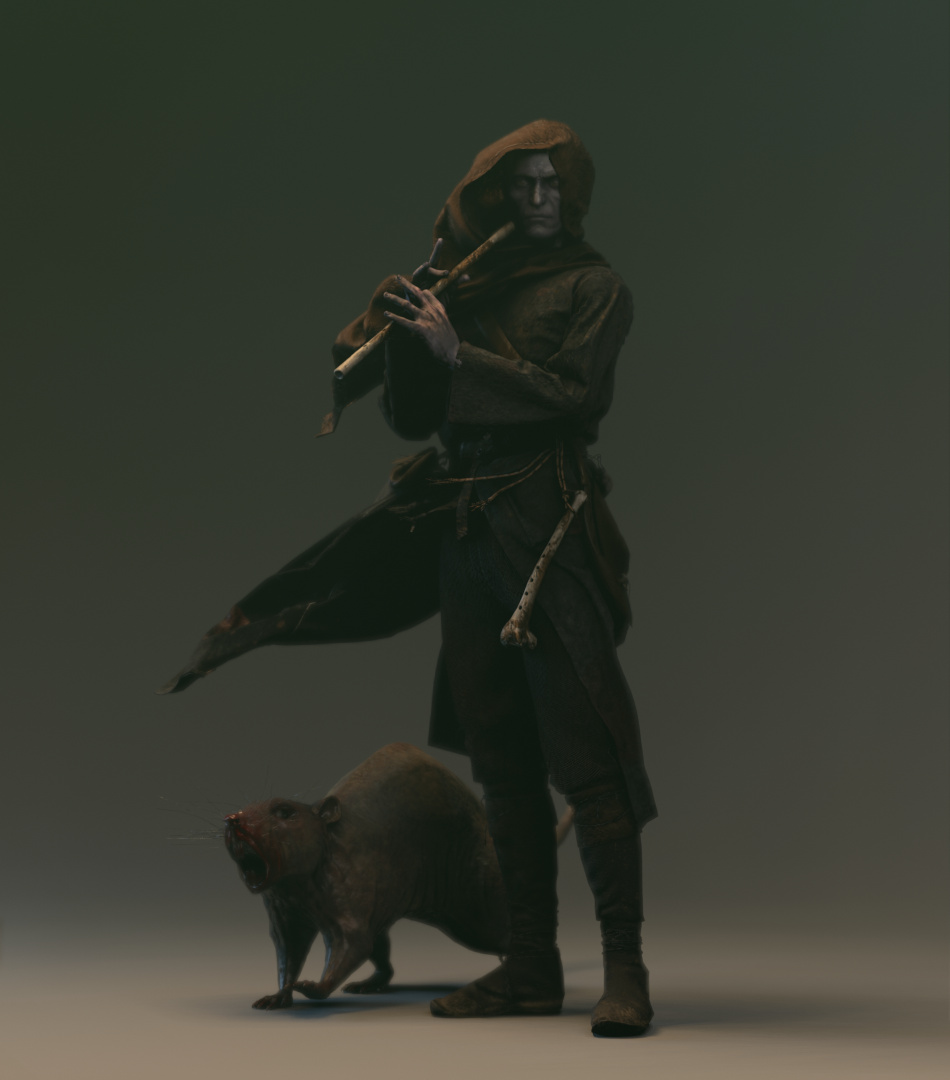
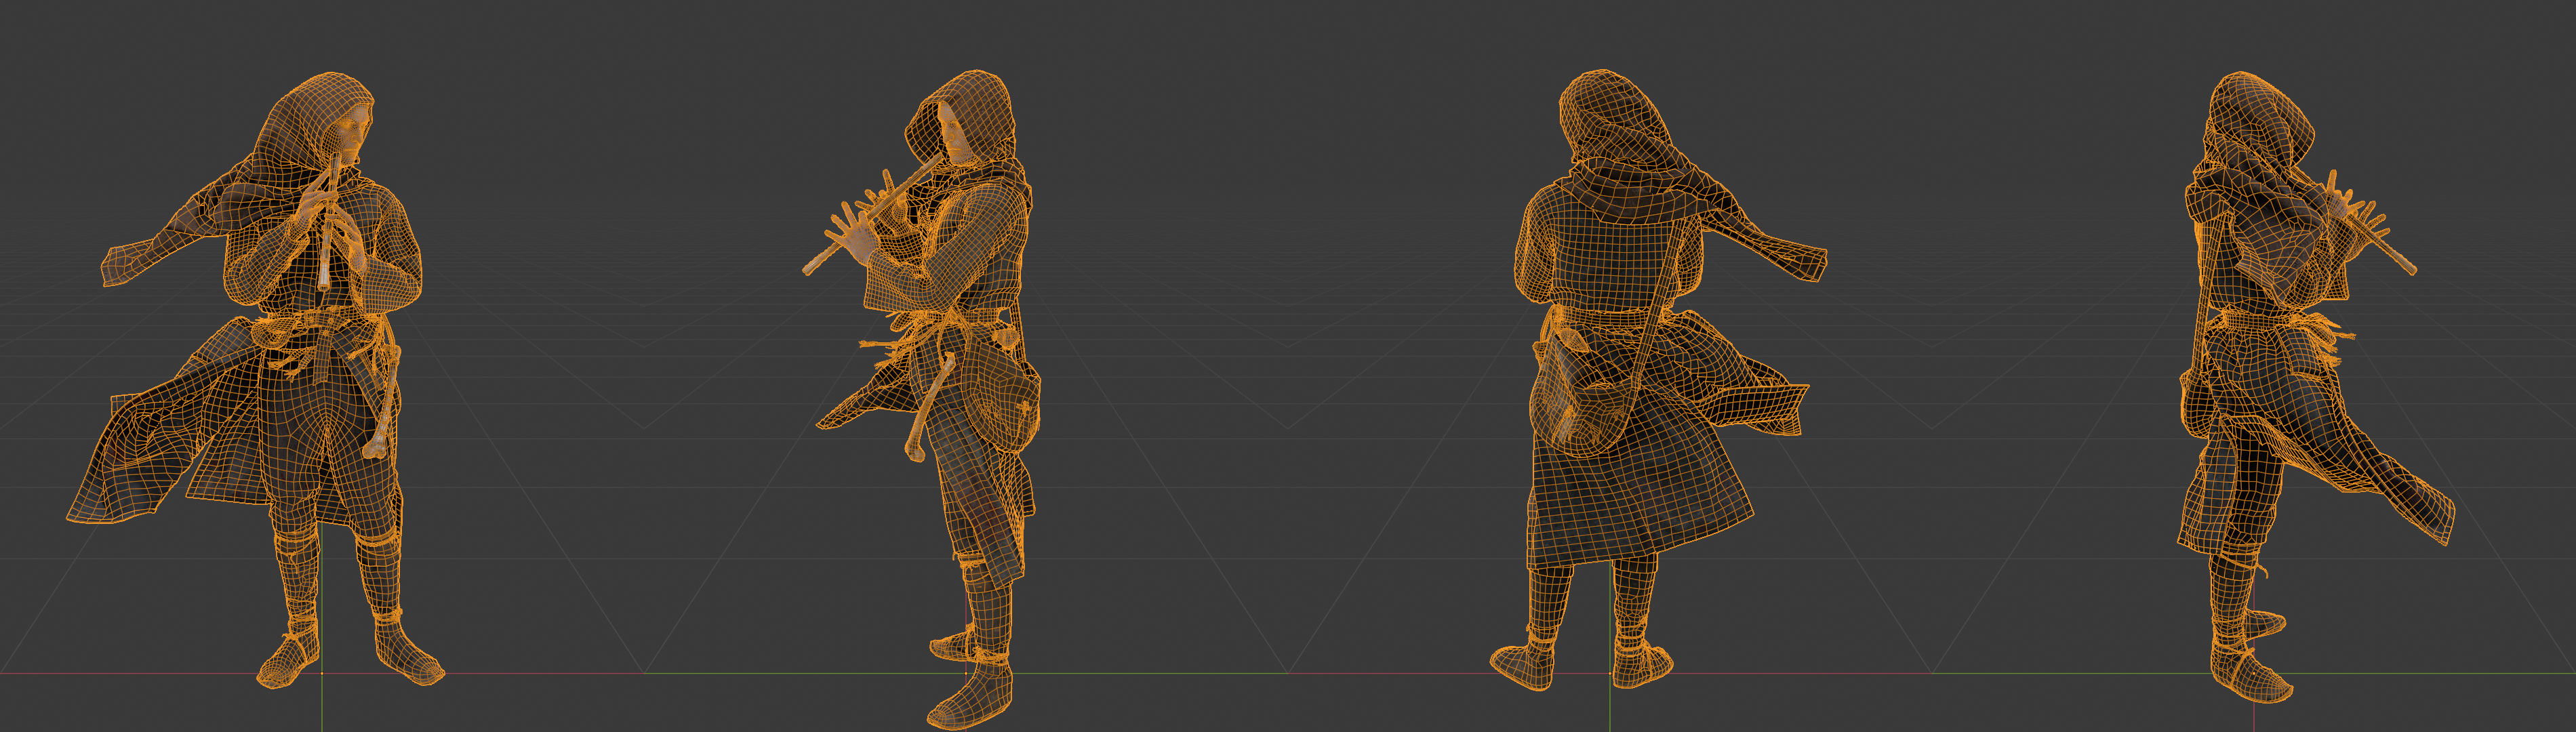
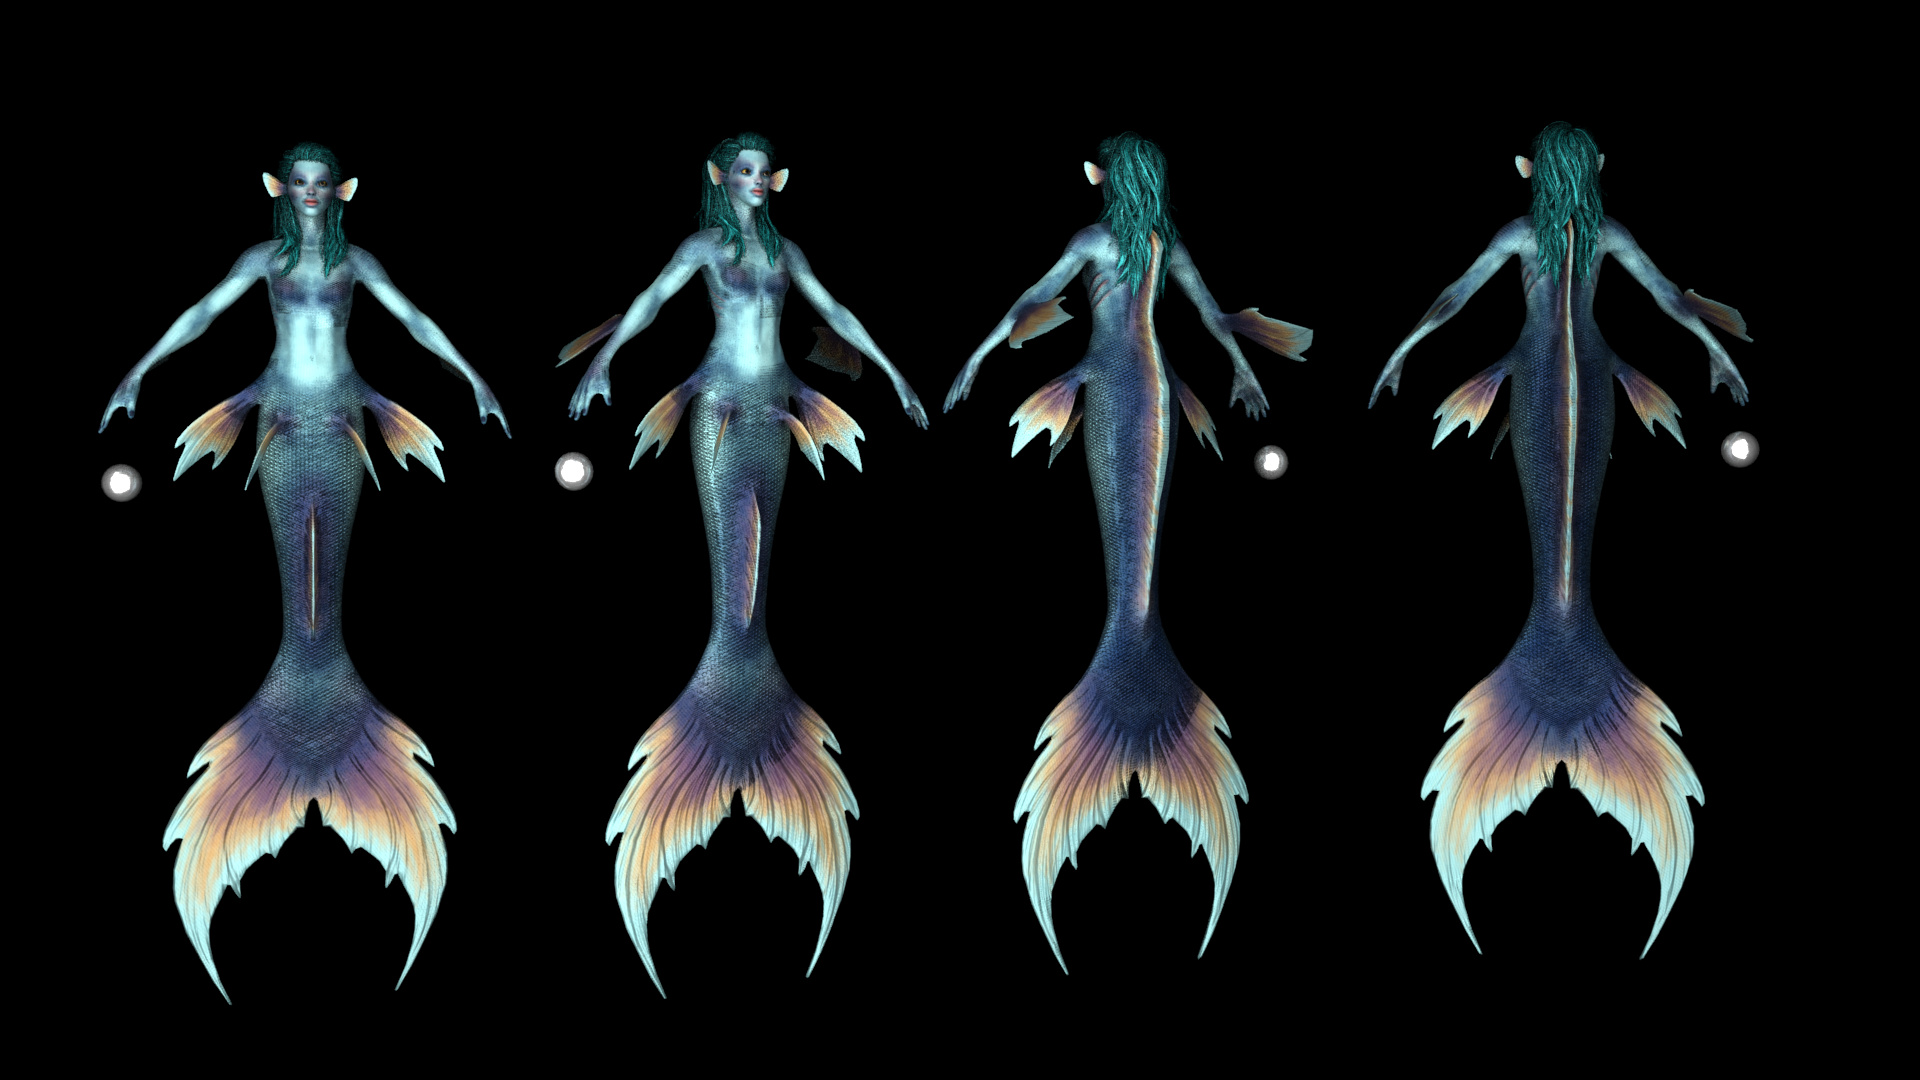
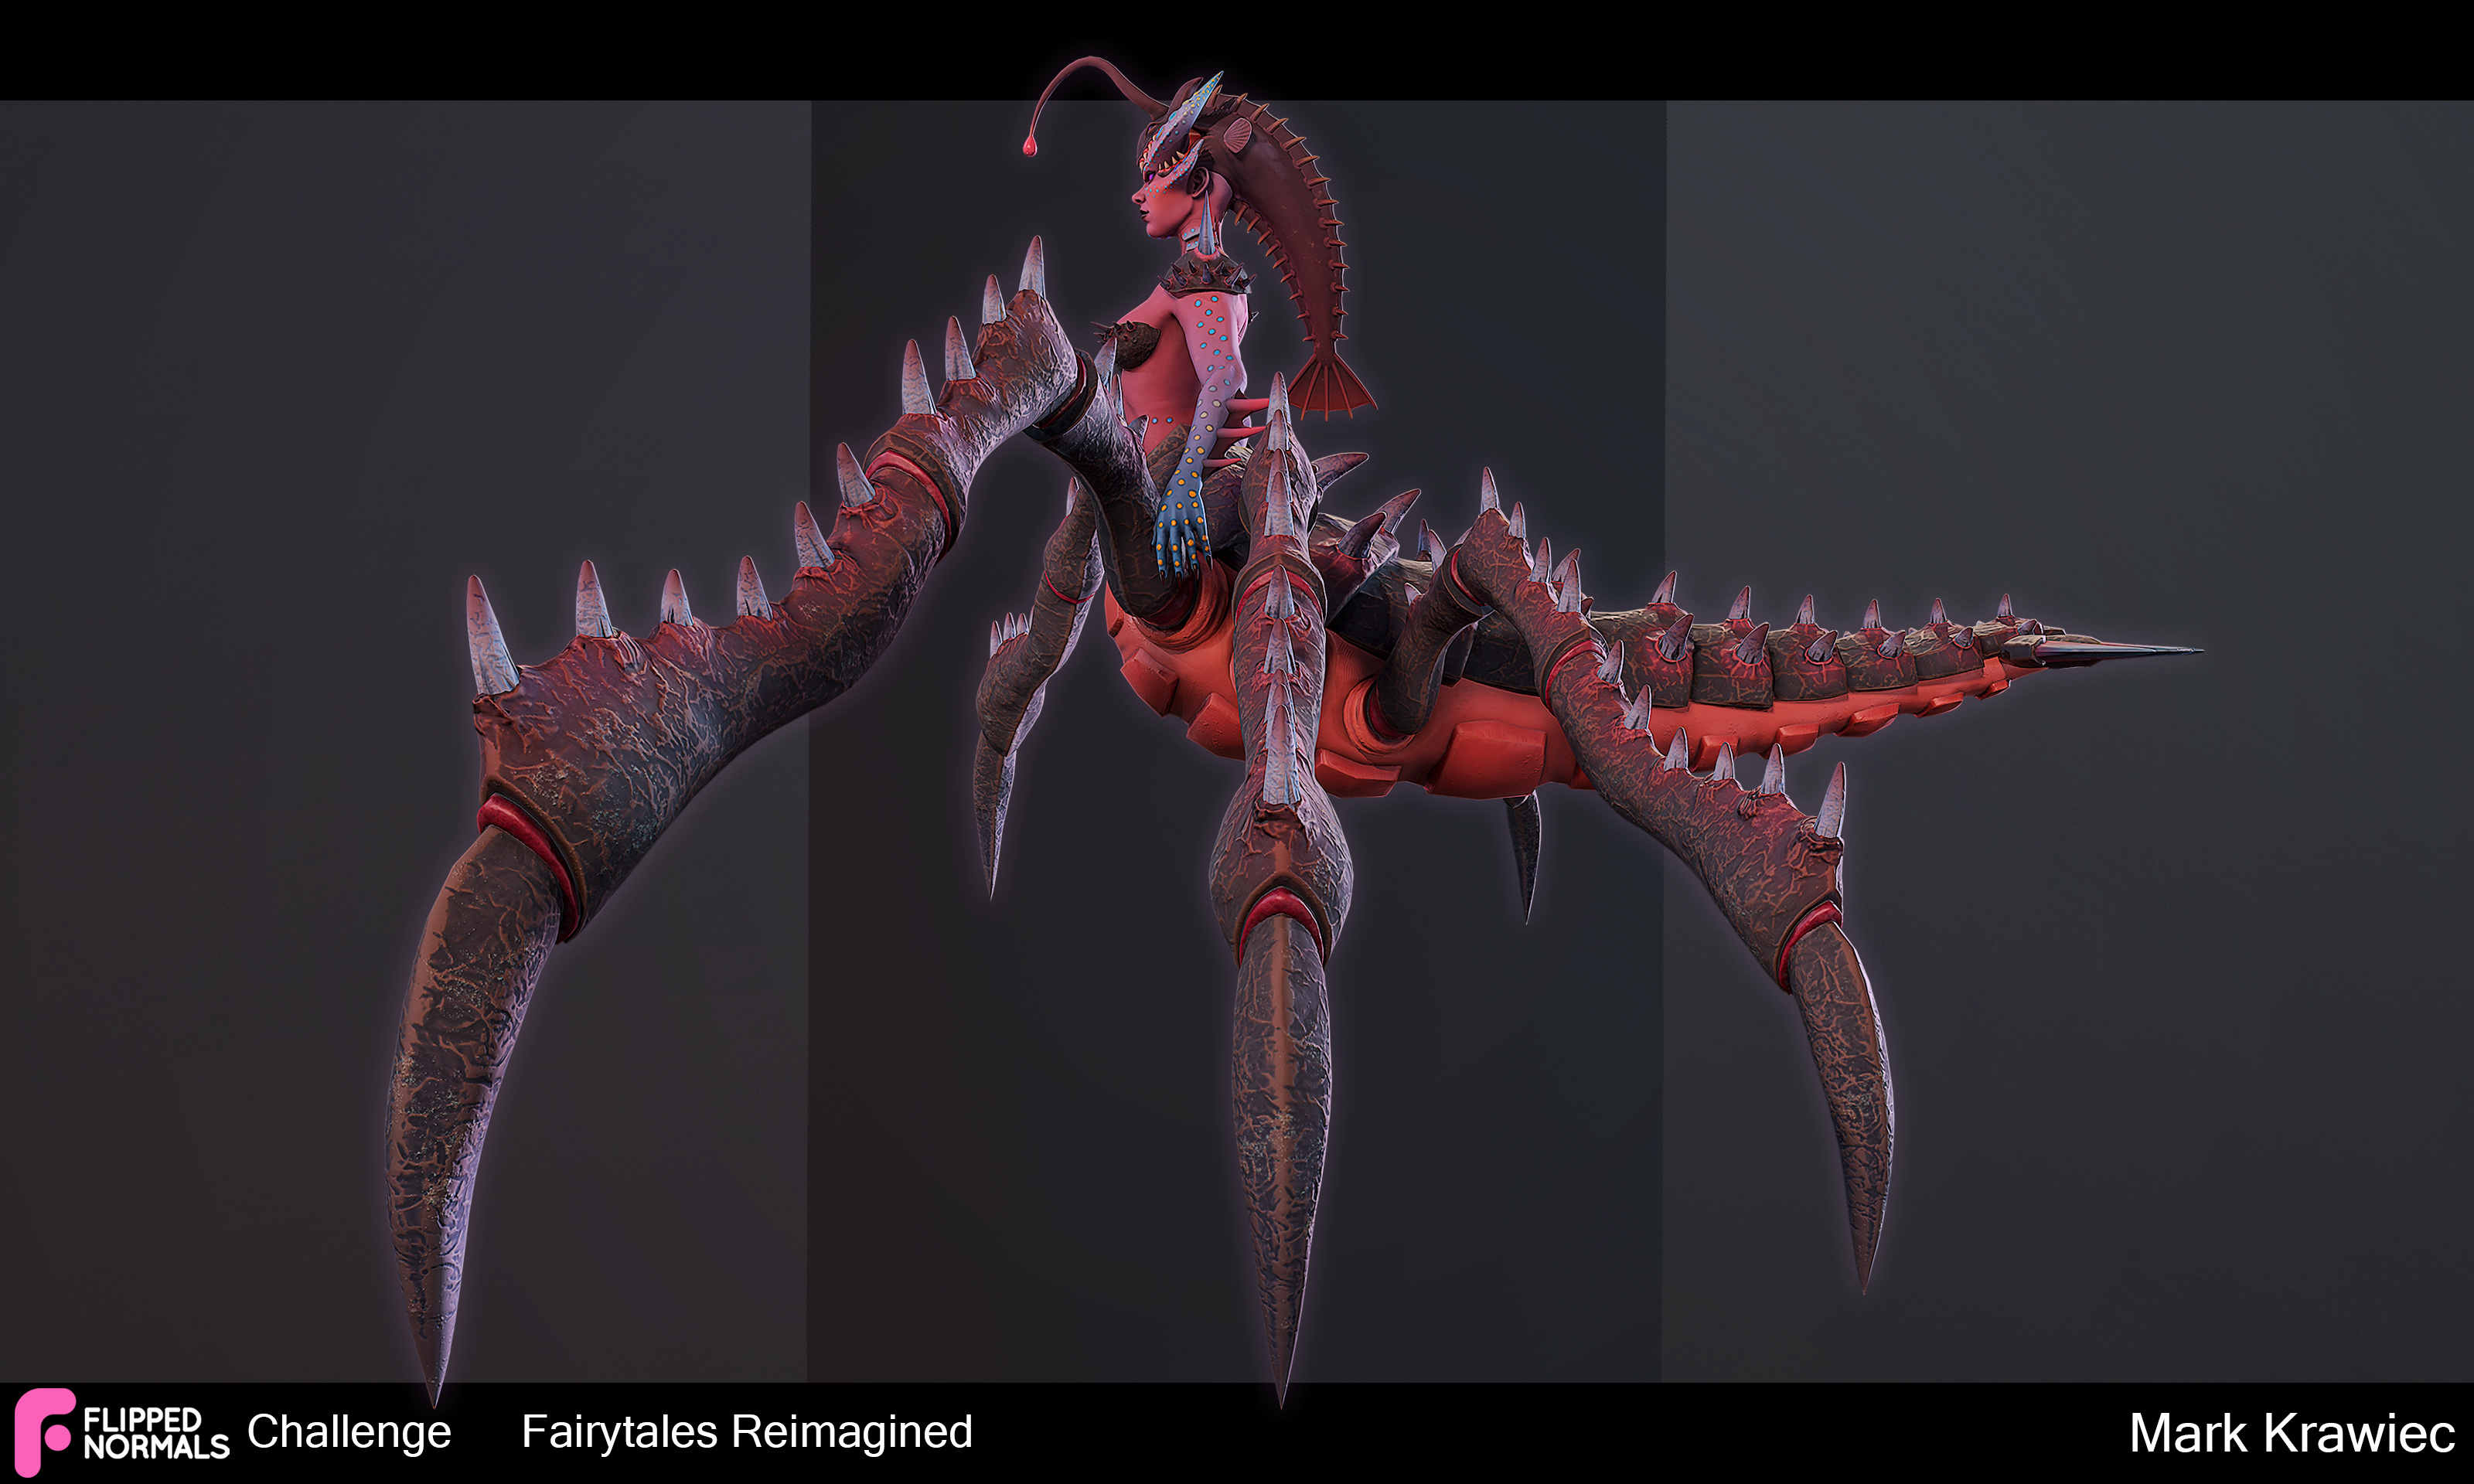
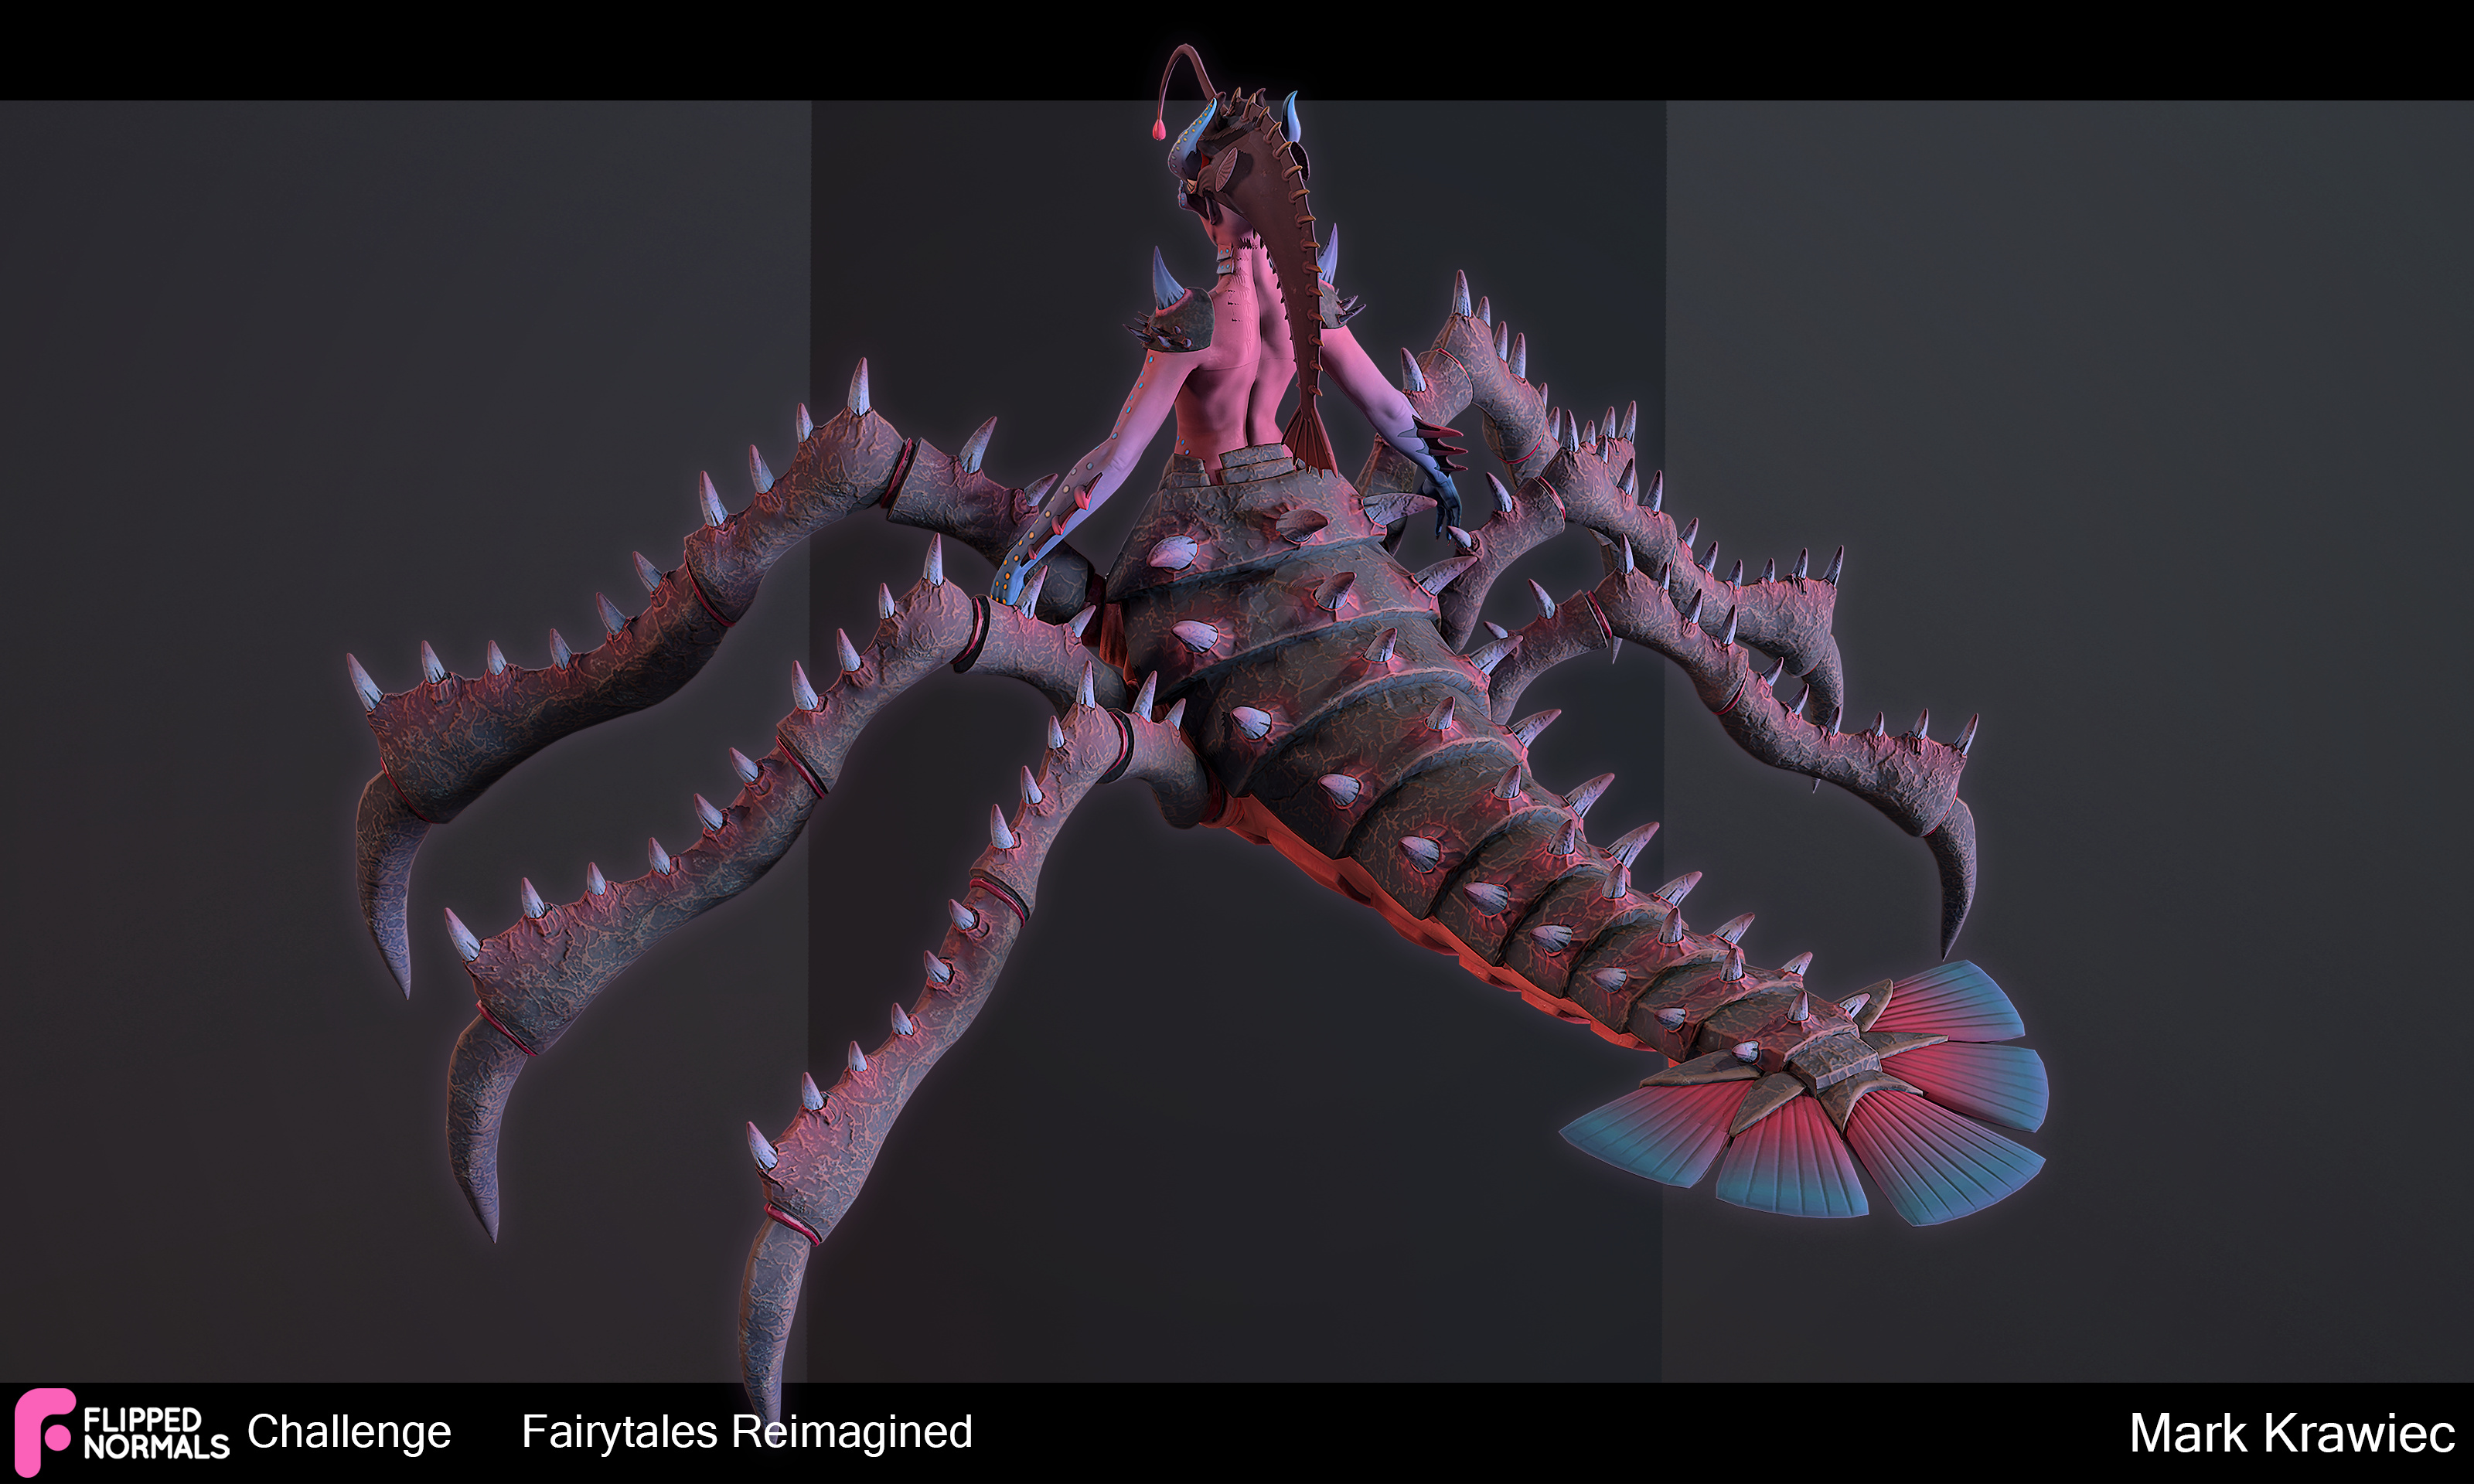
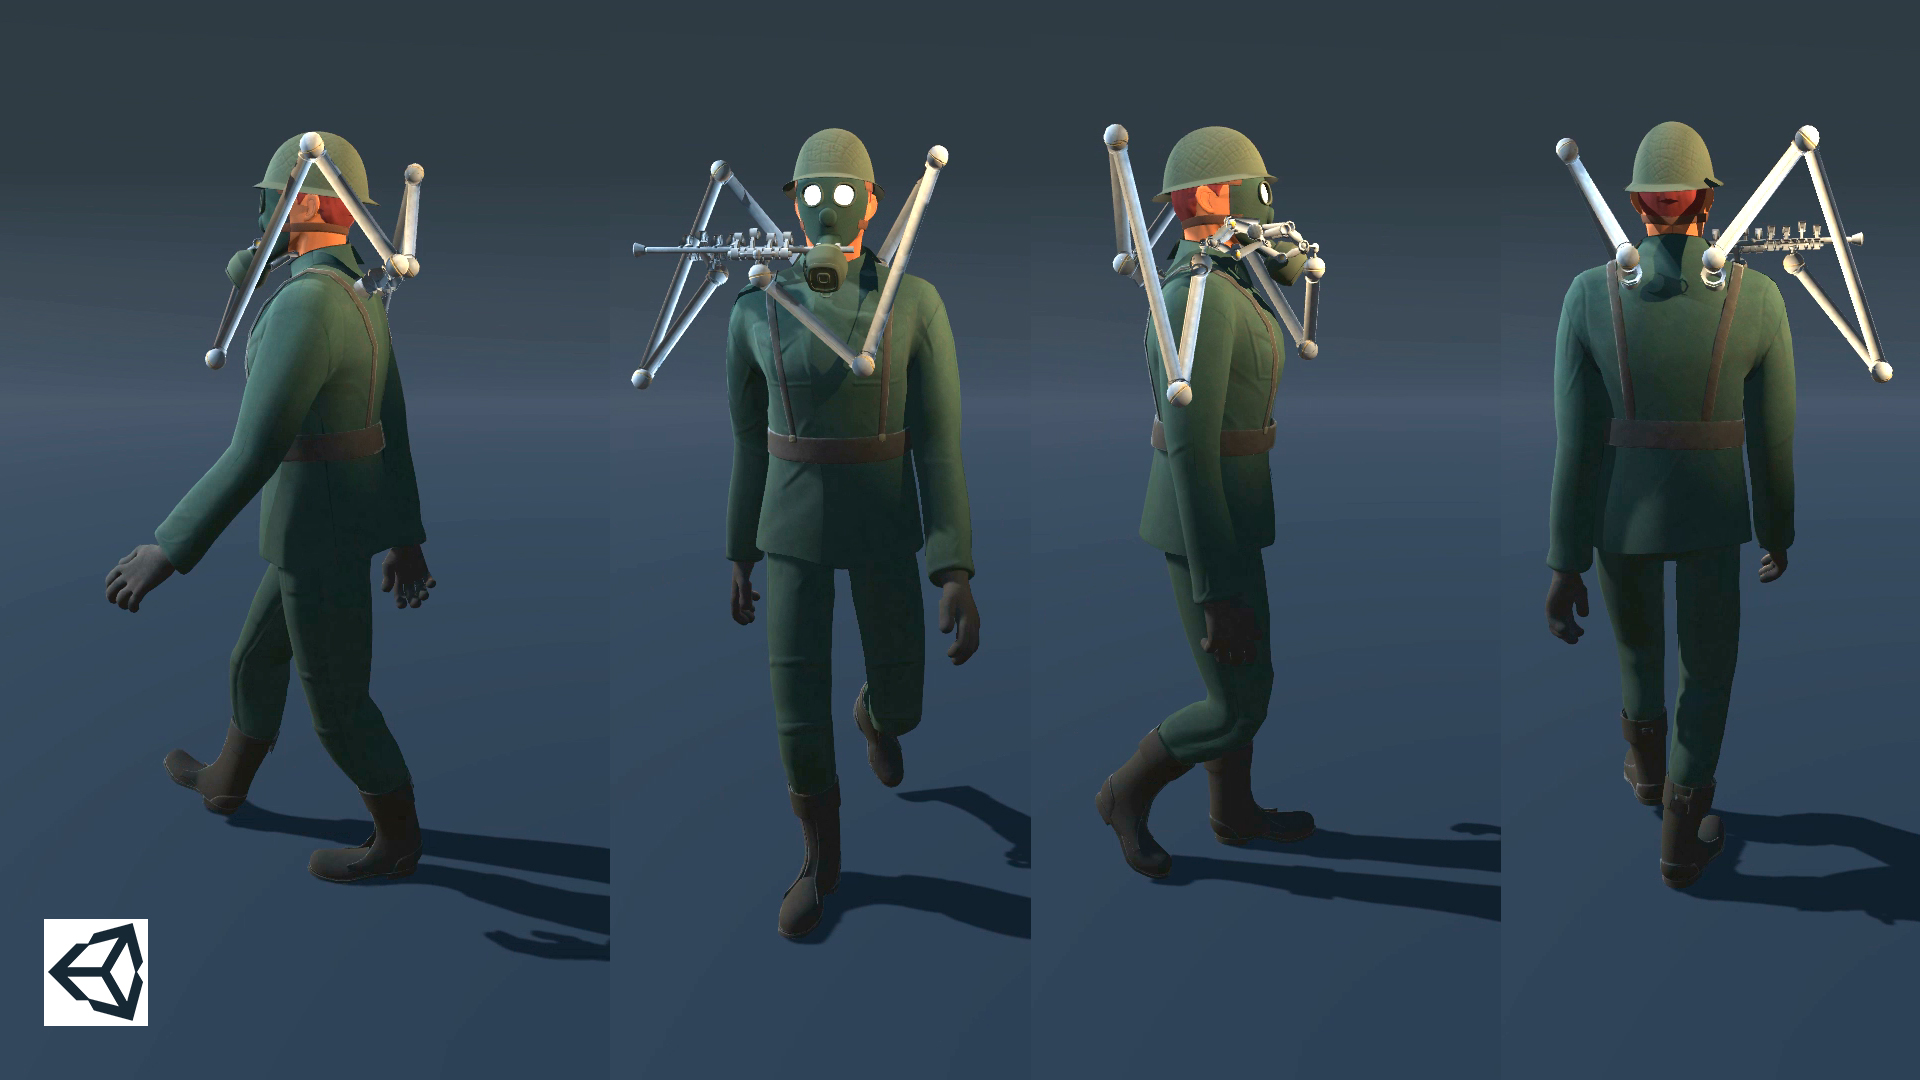
Front, side and back views :

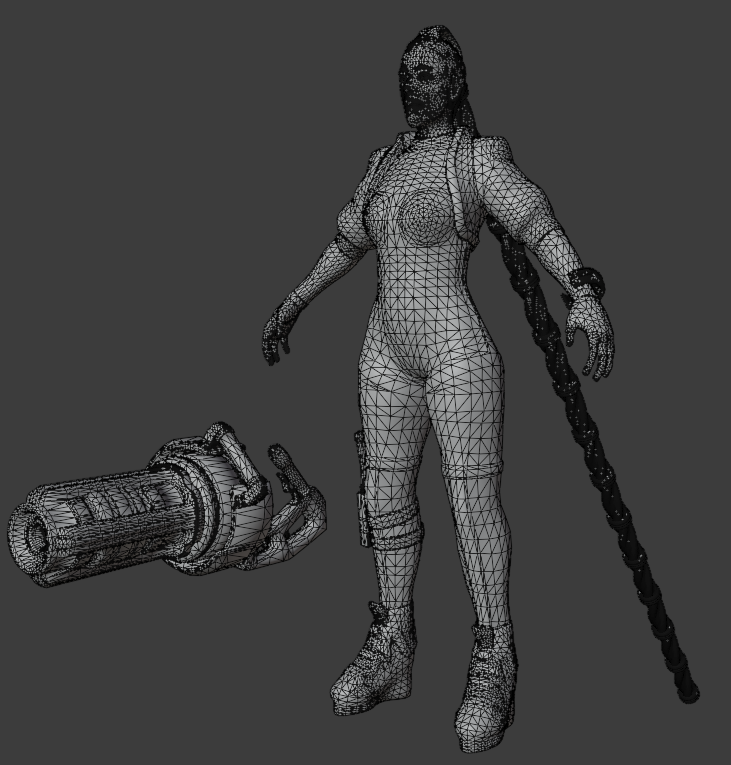
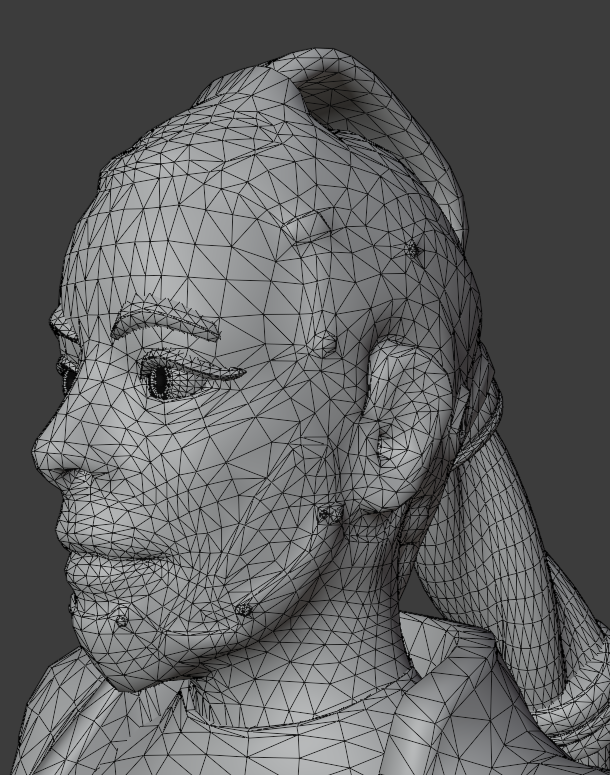
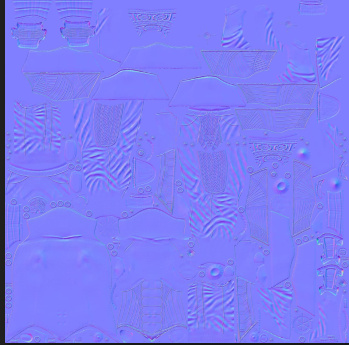
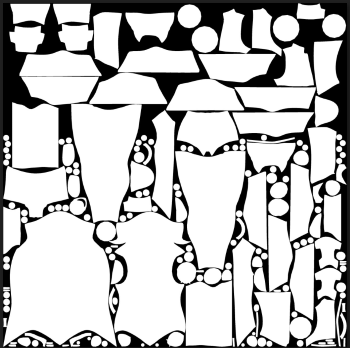
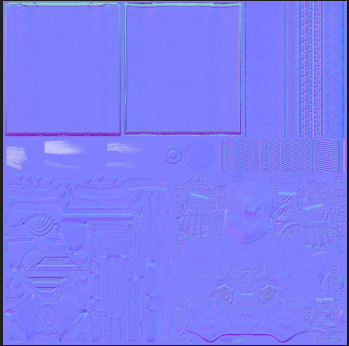
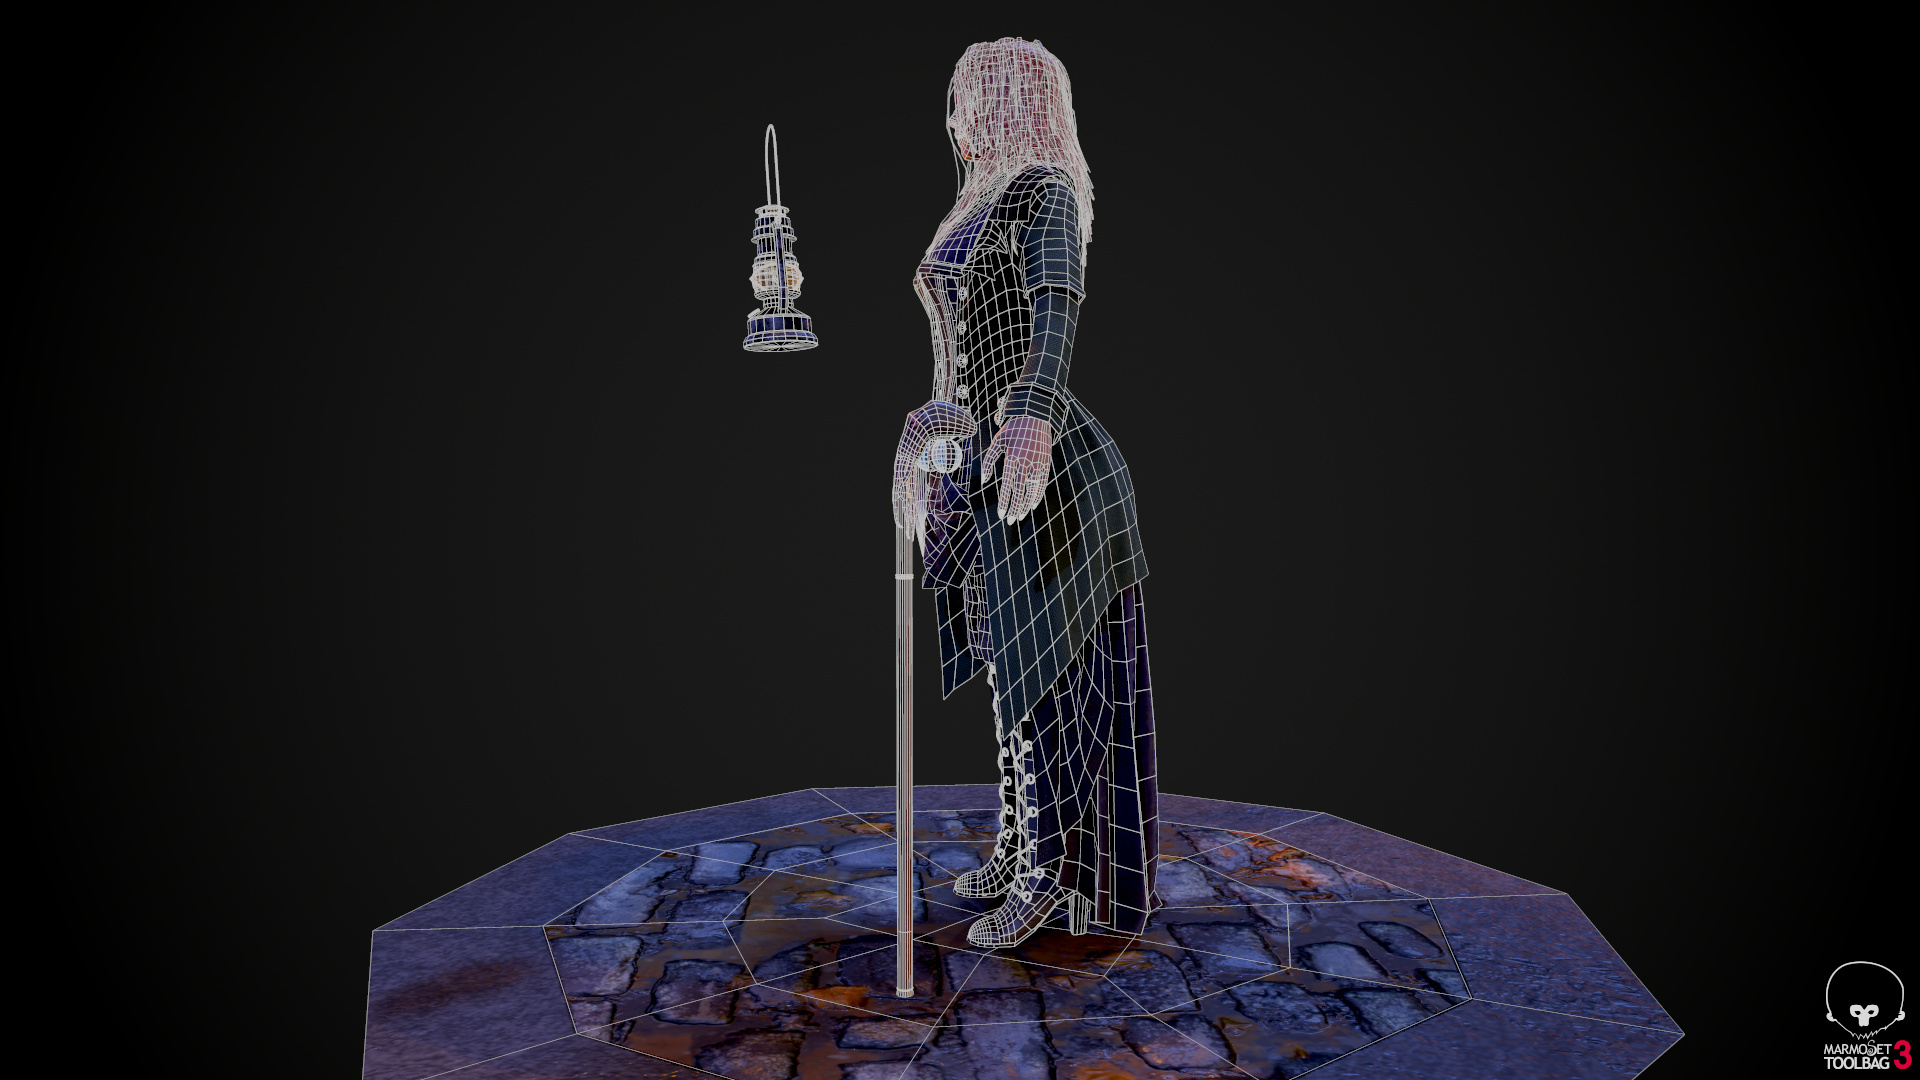
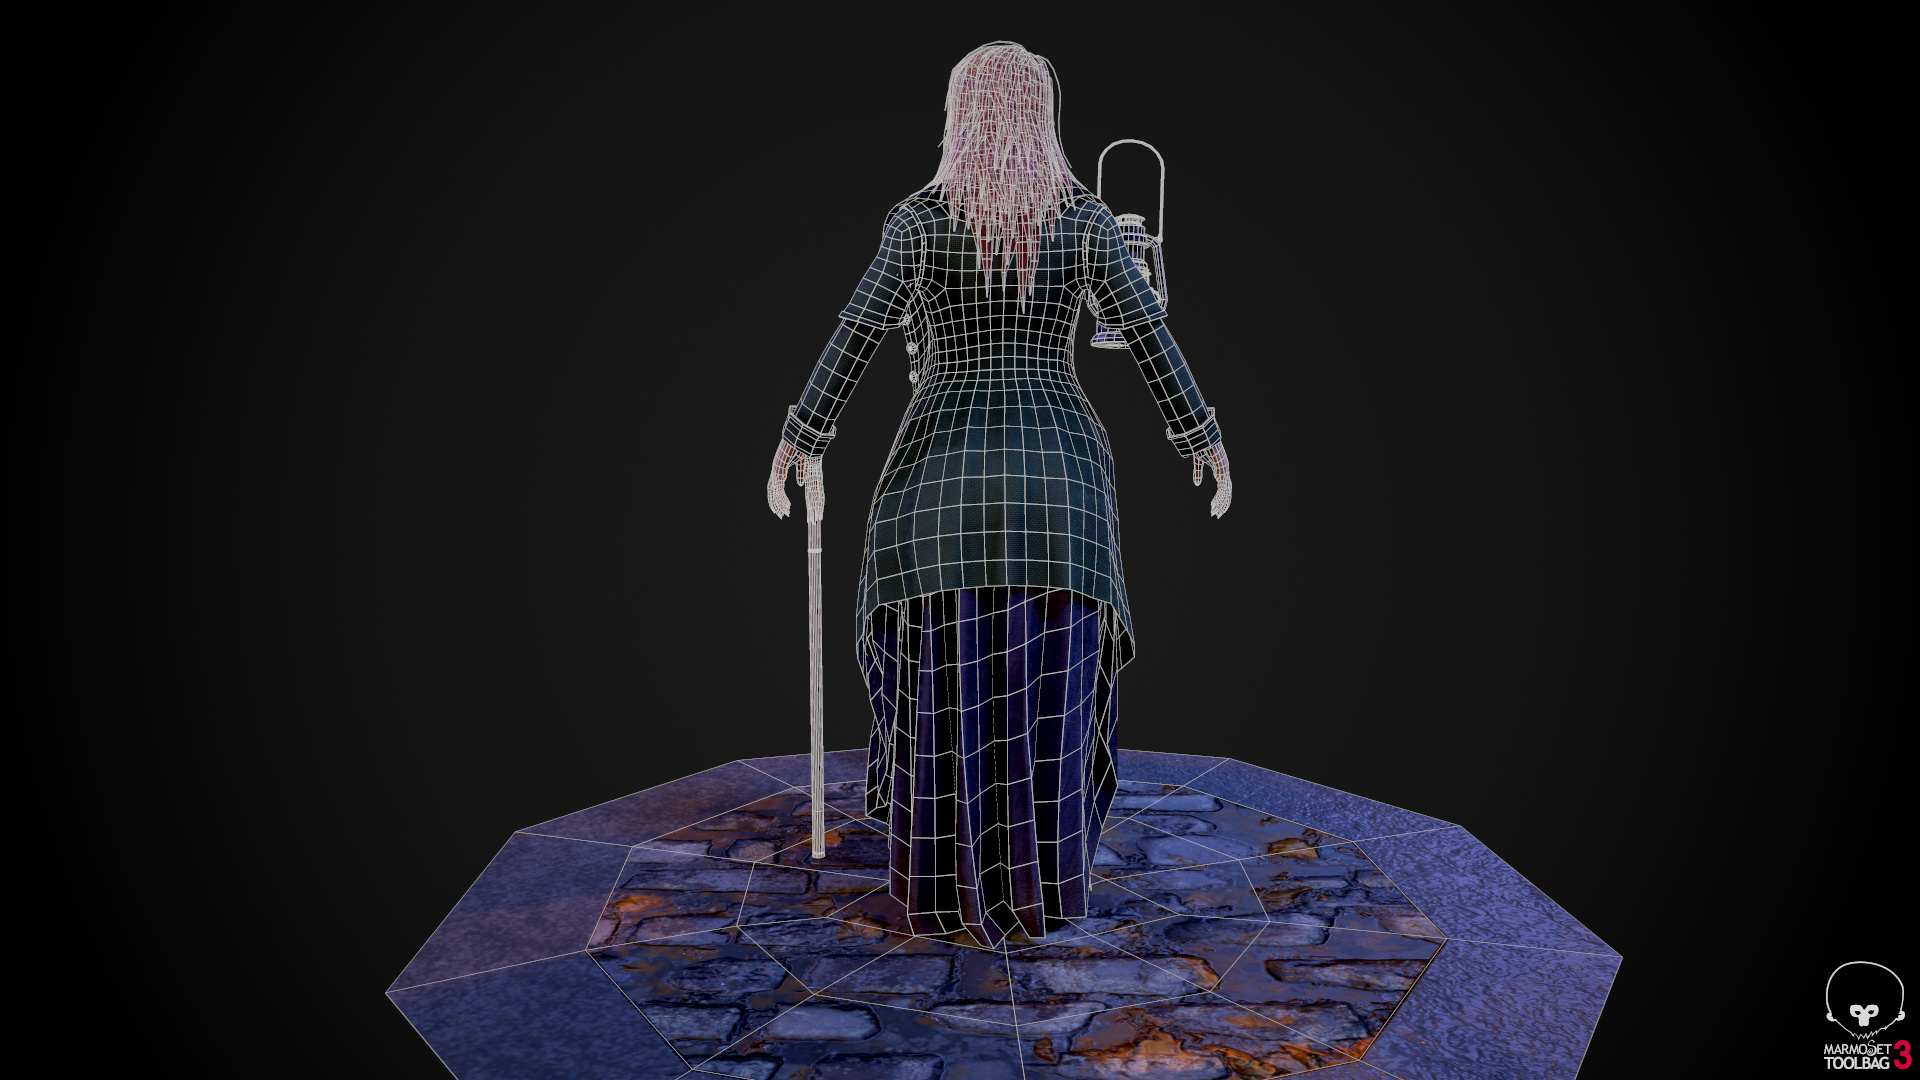
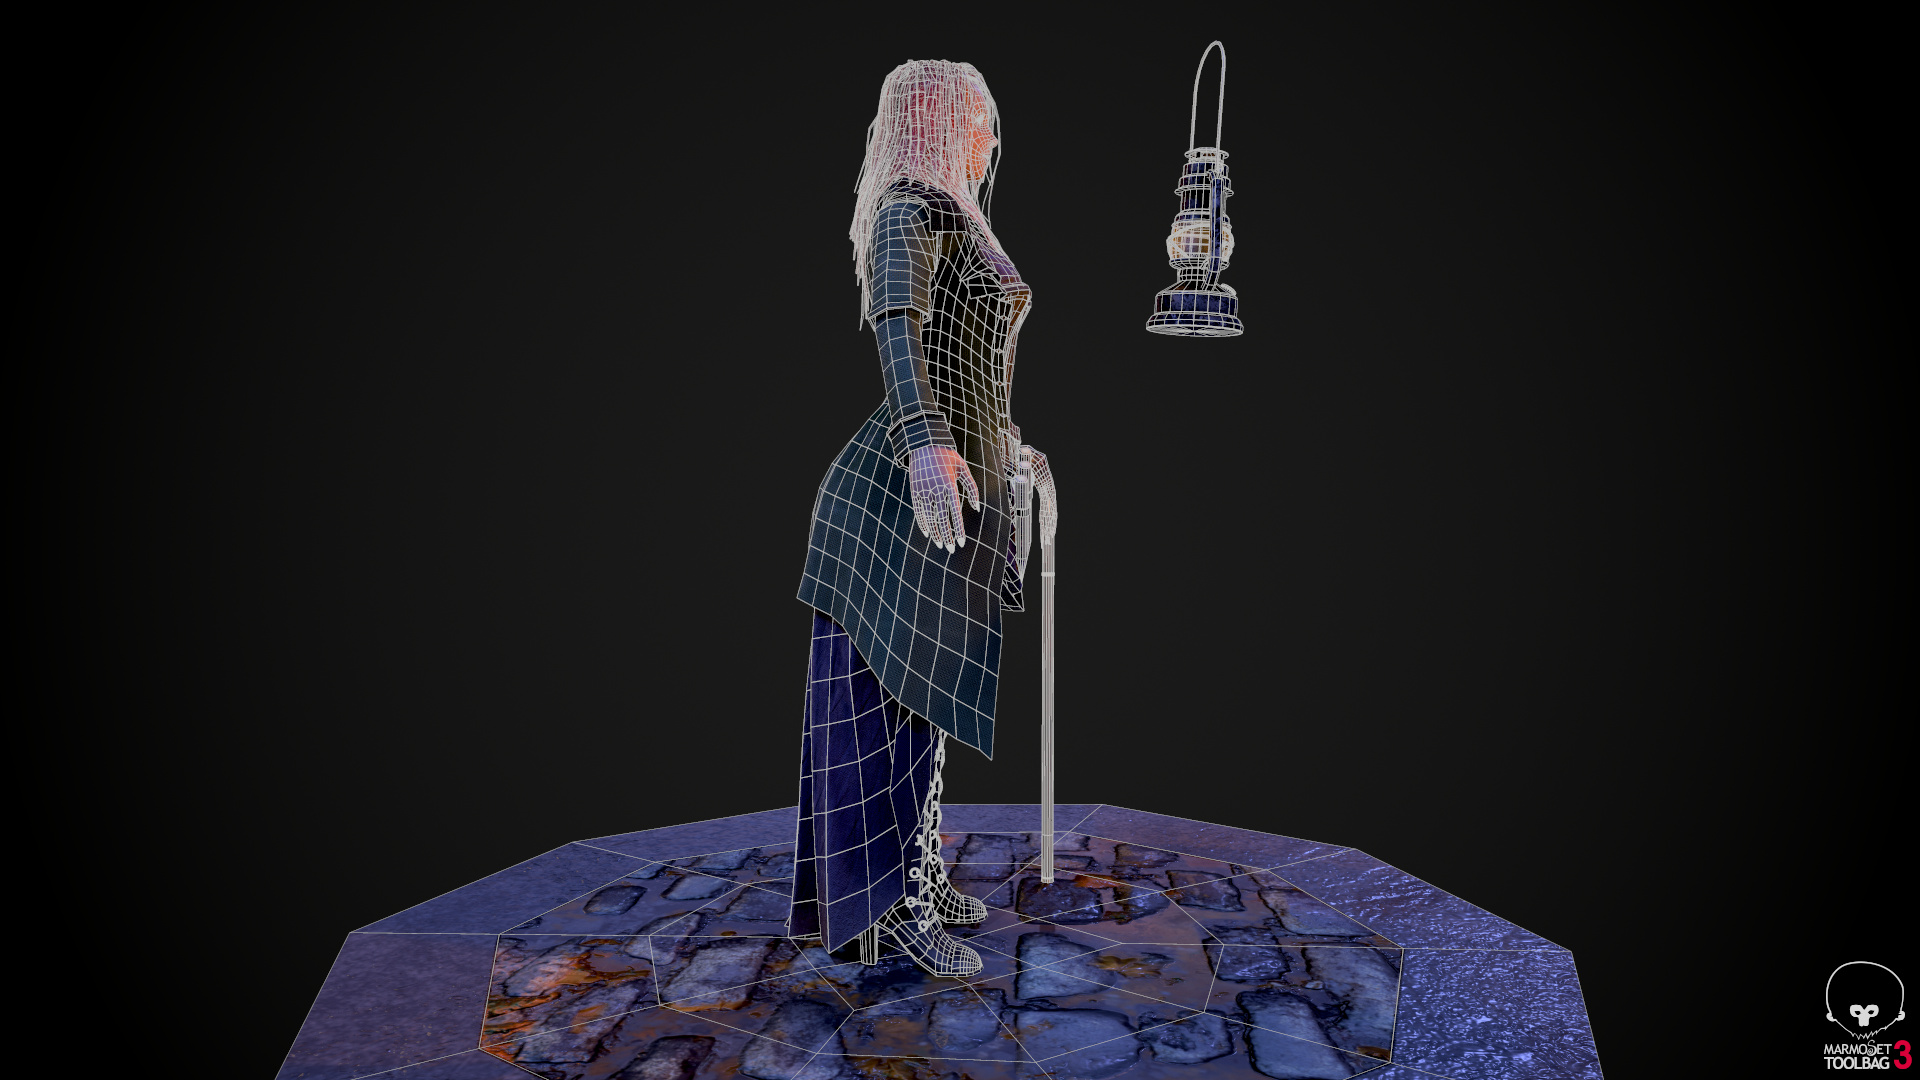
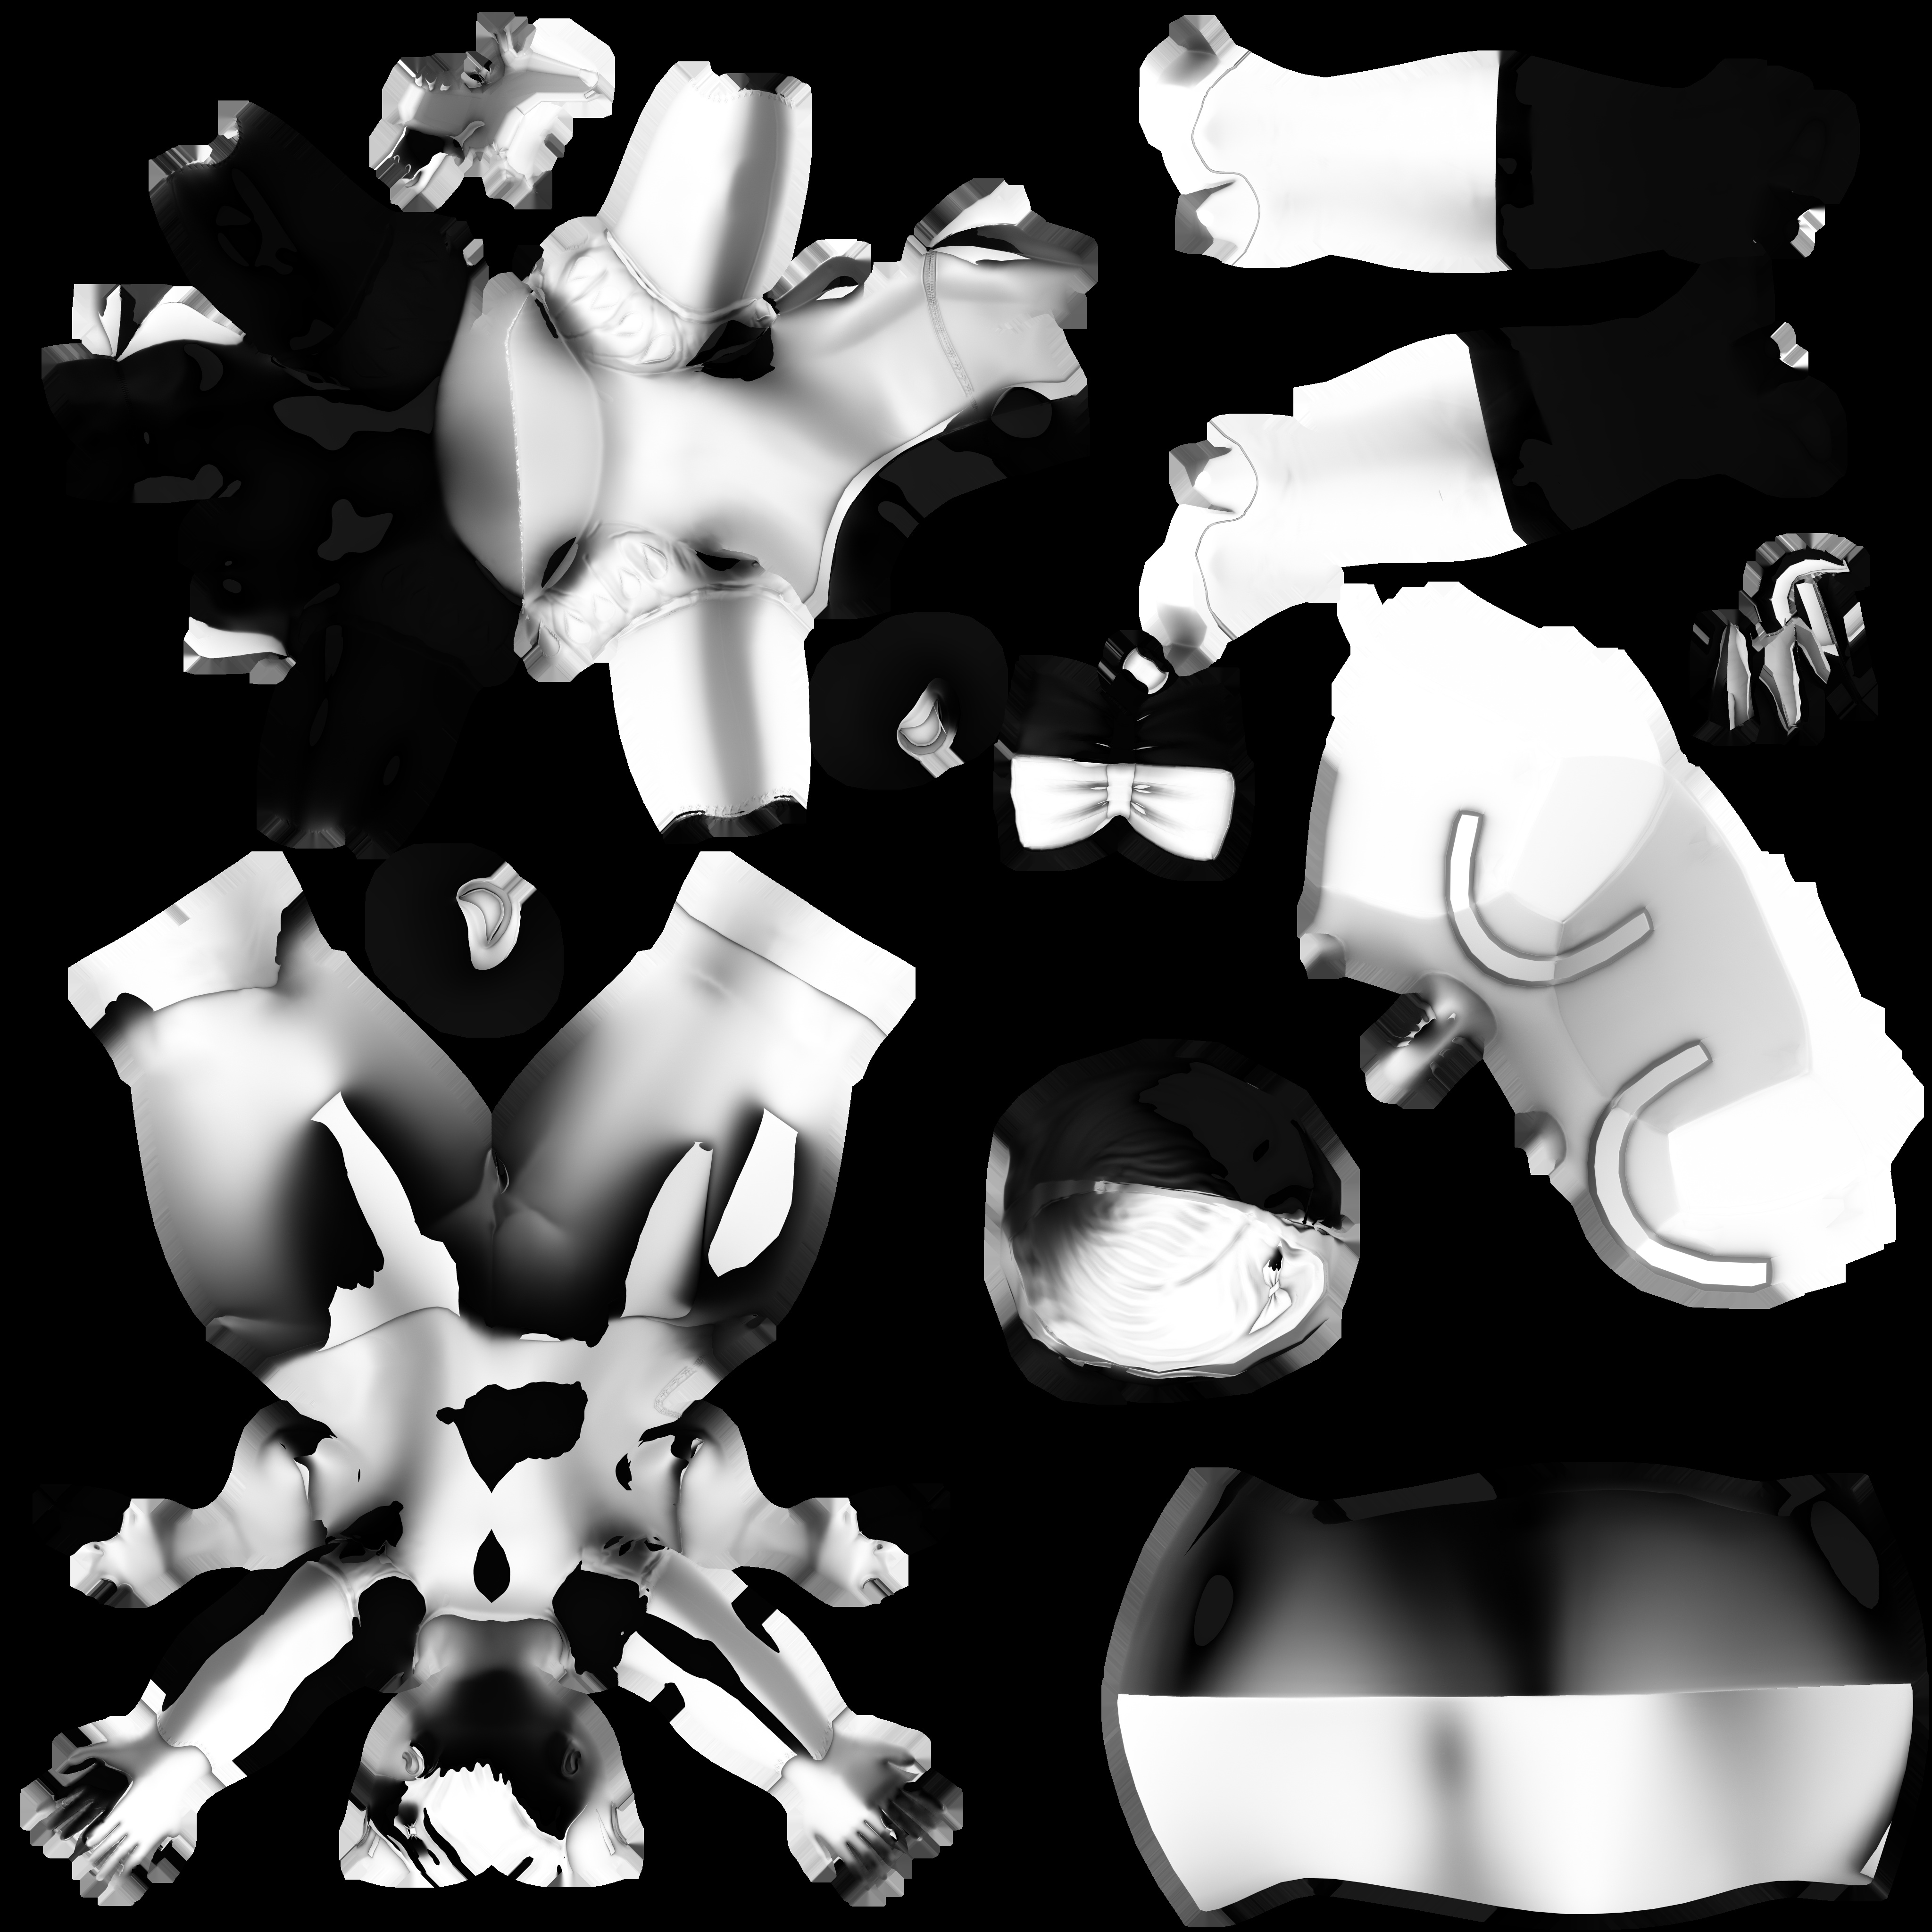
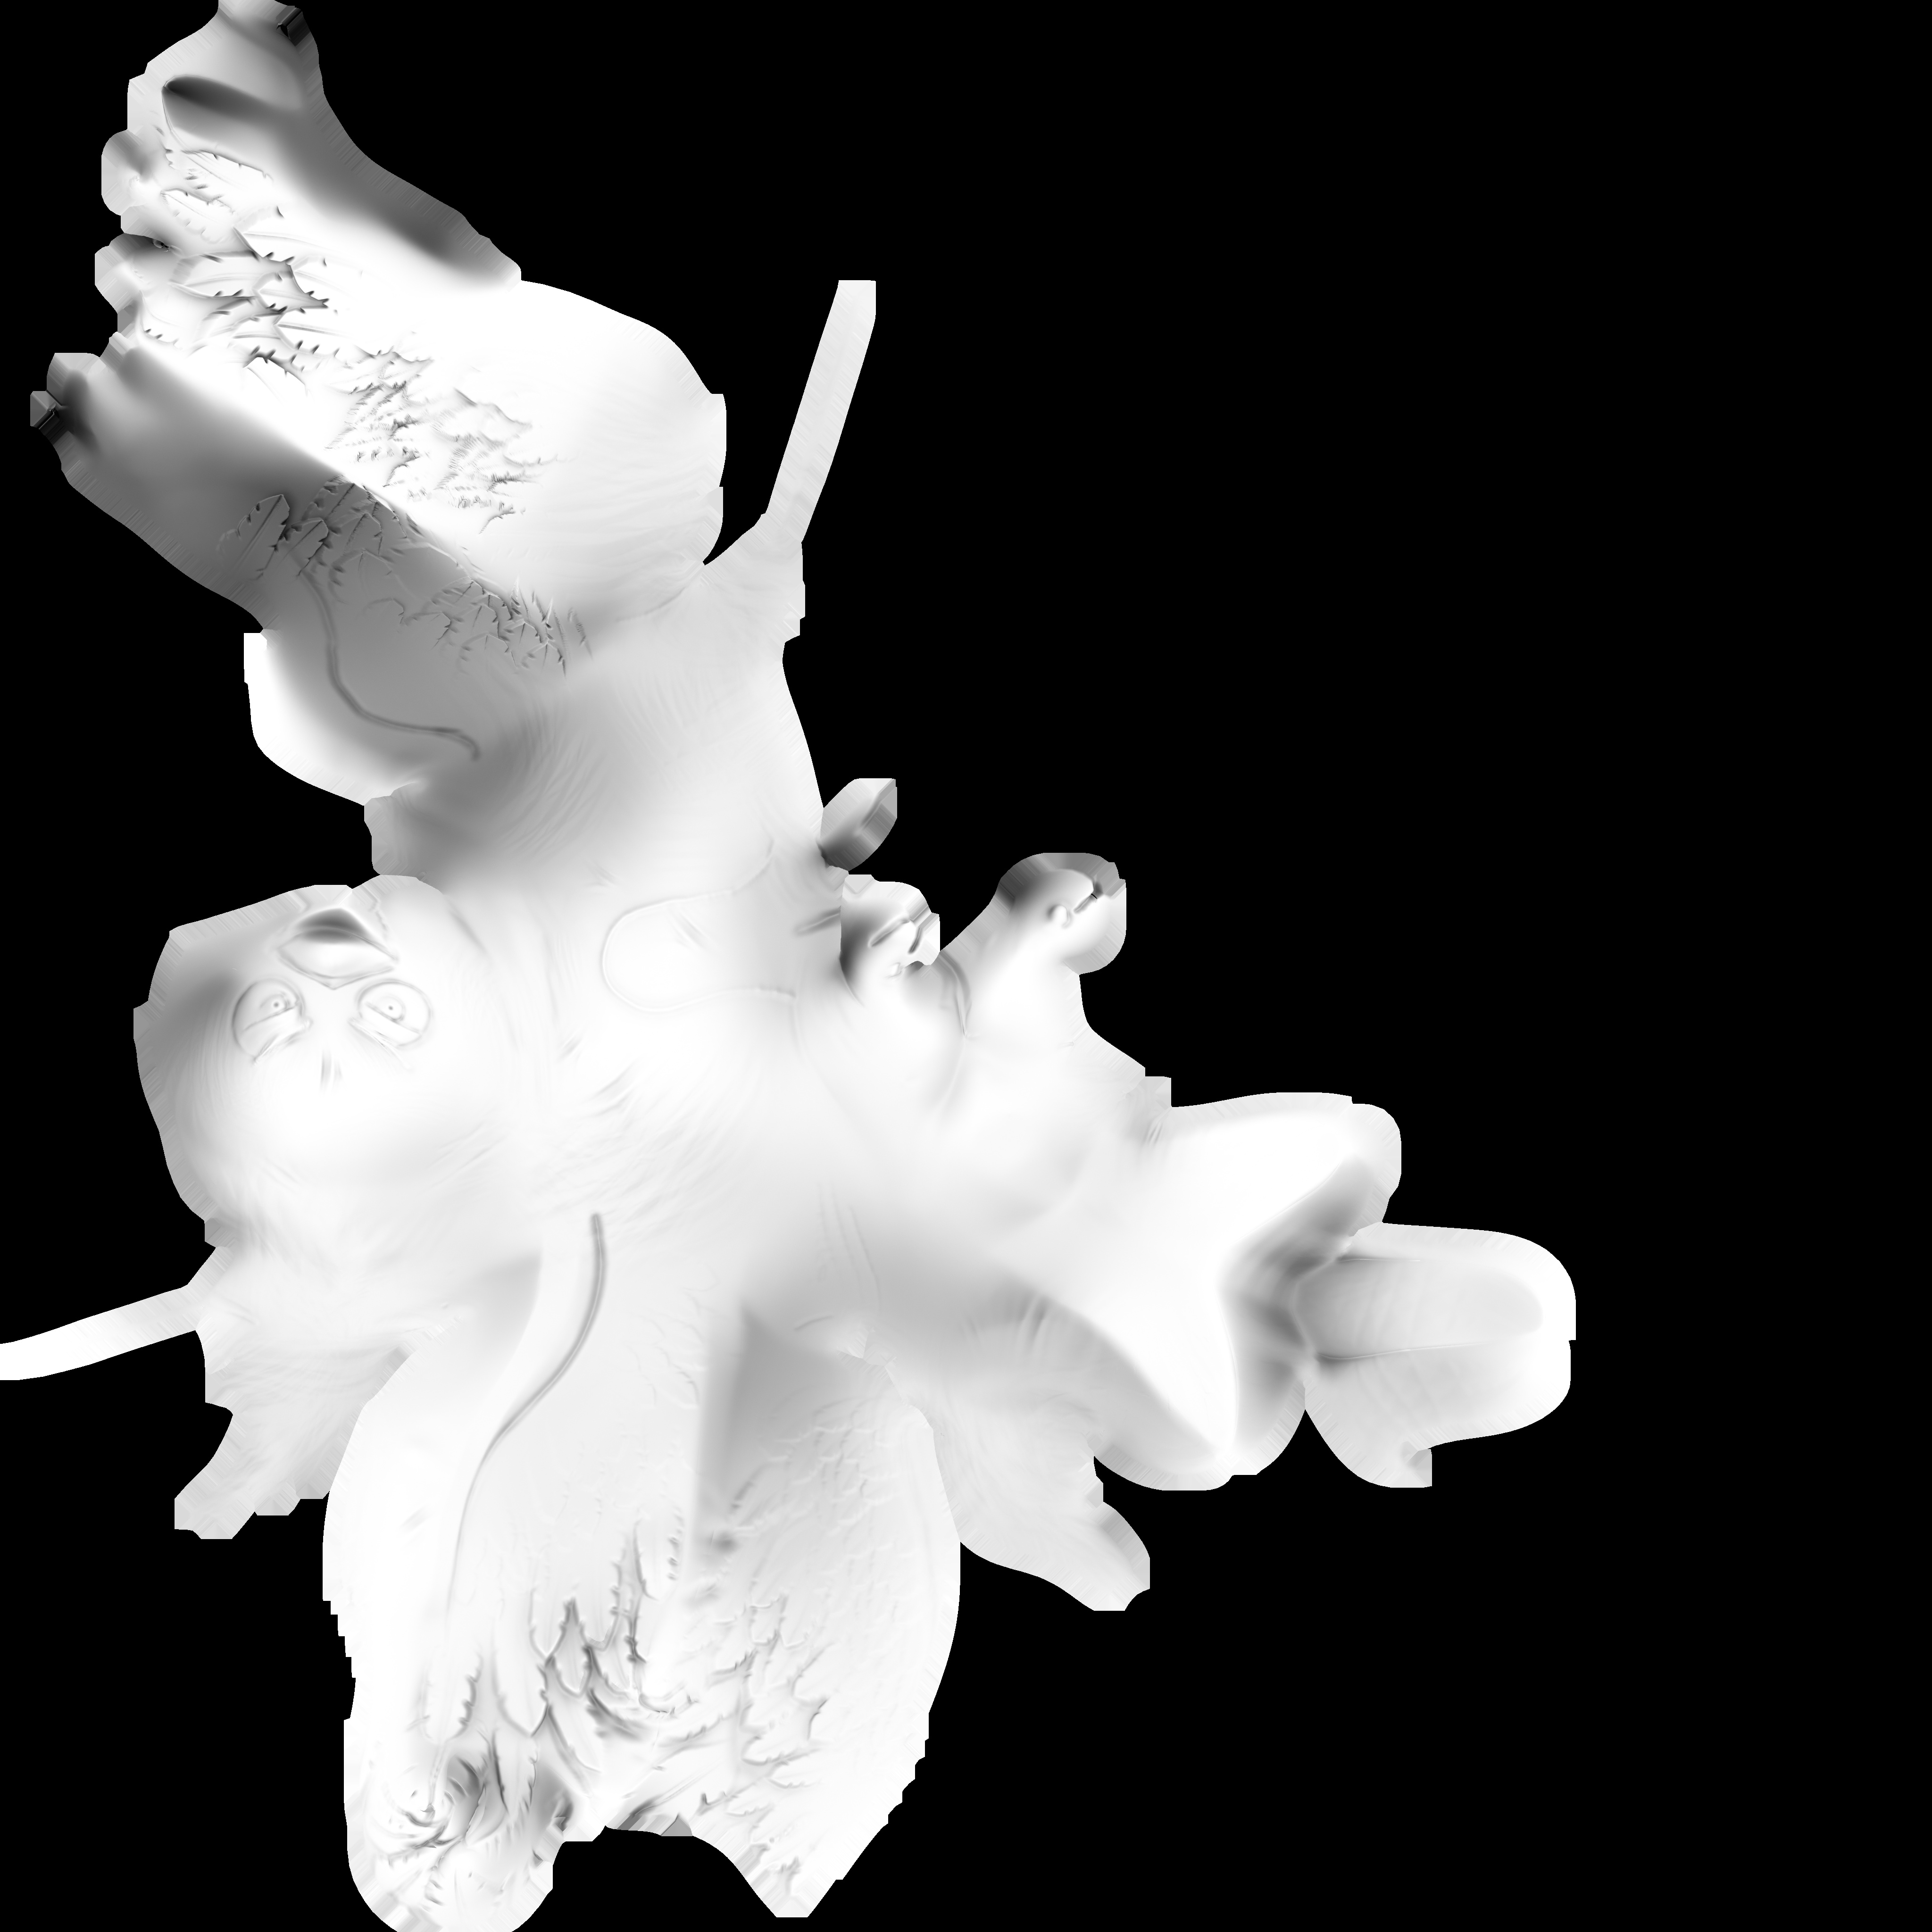
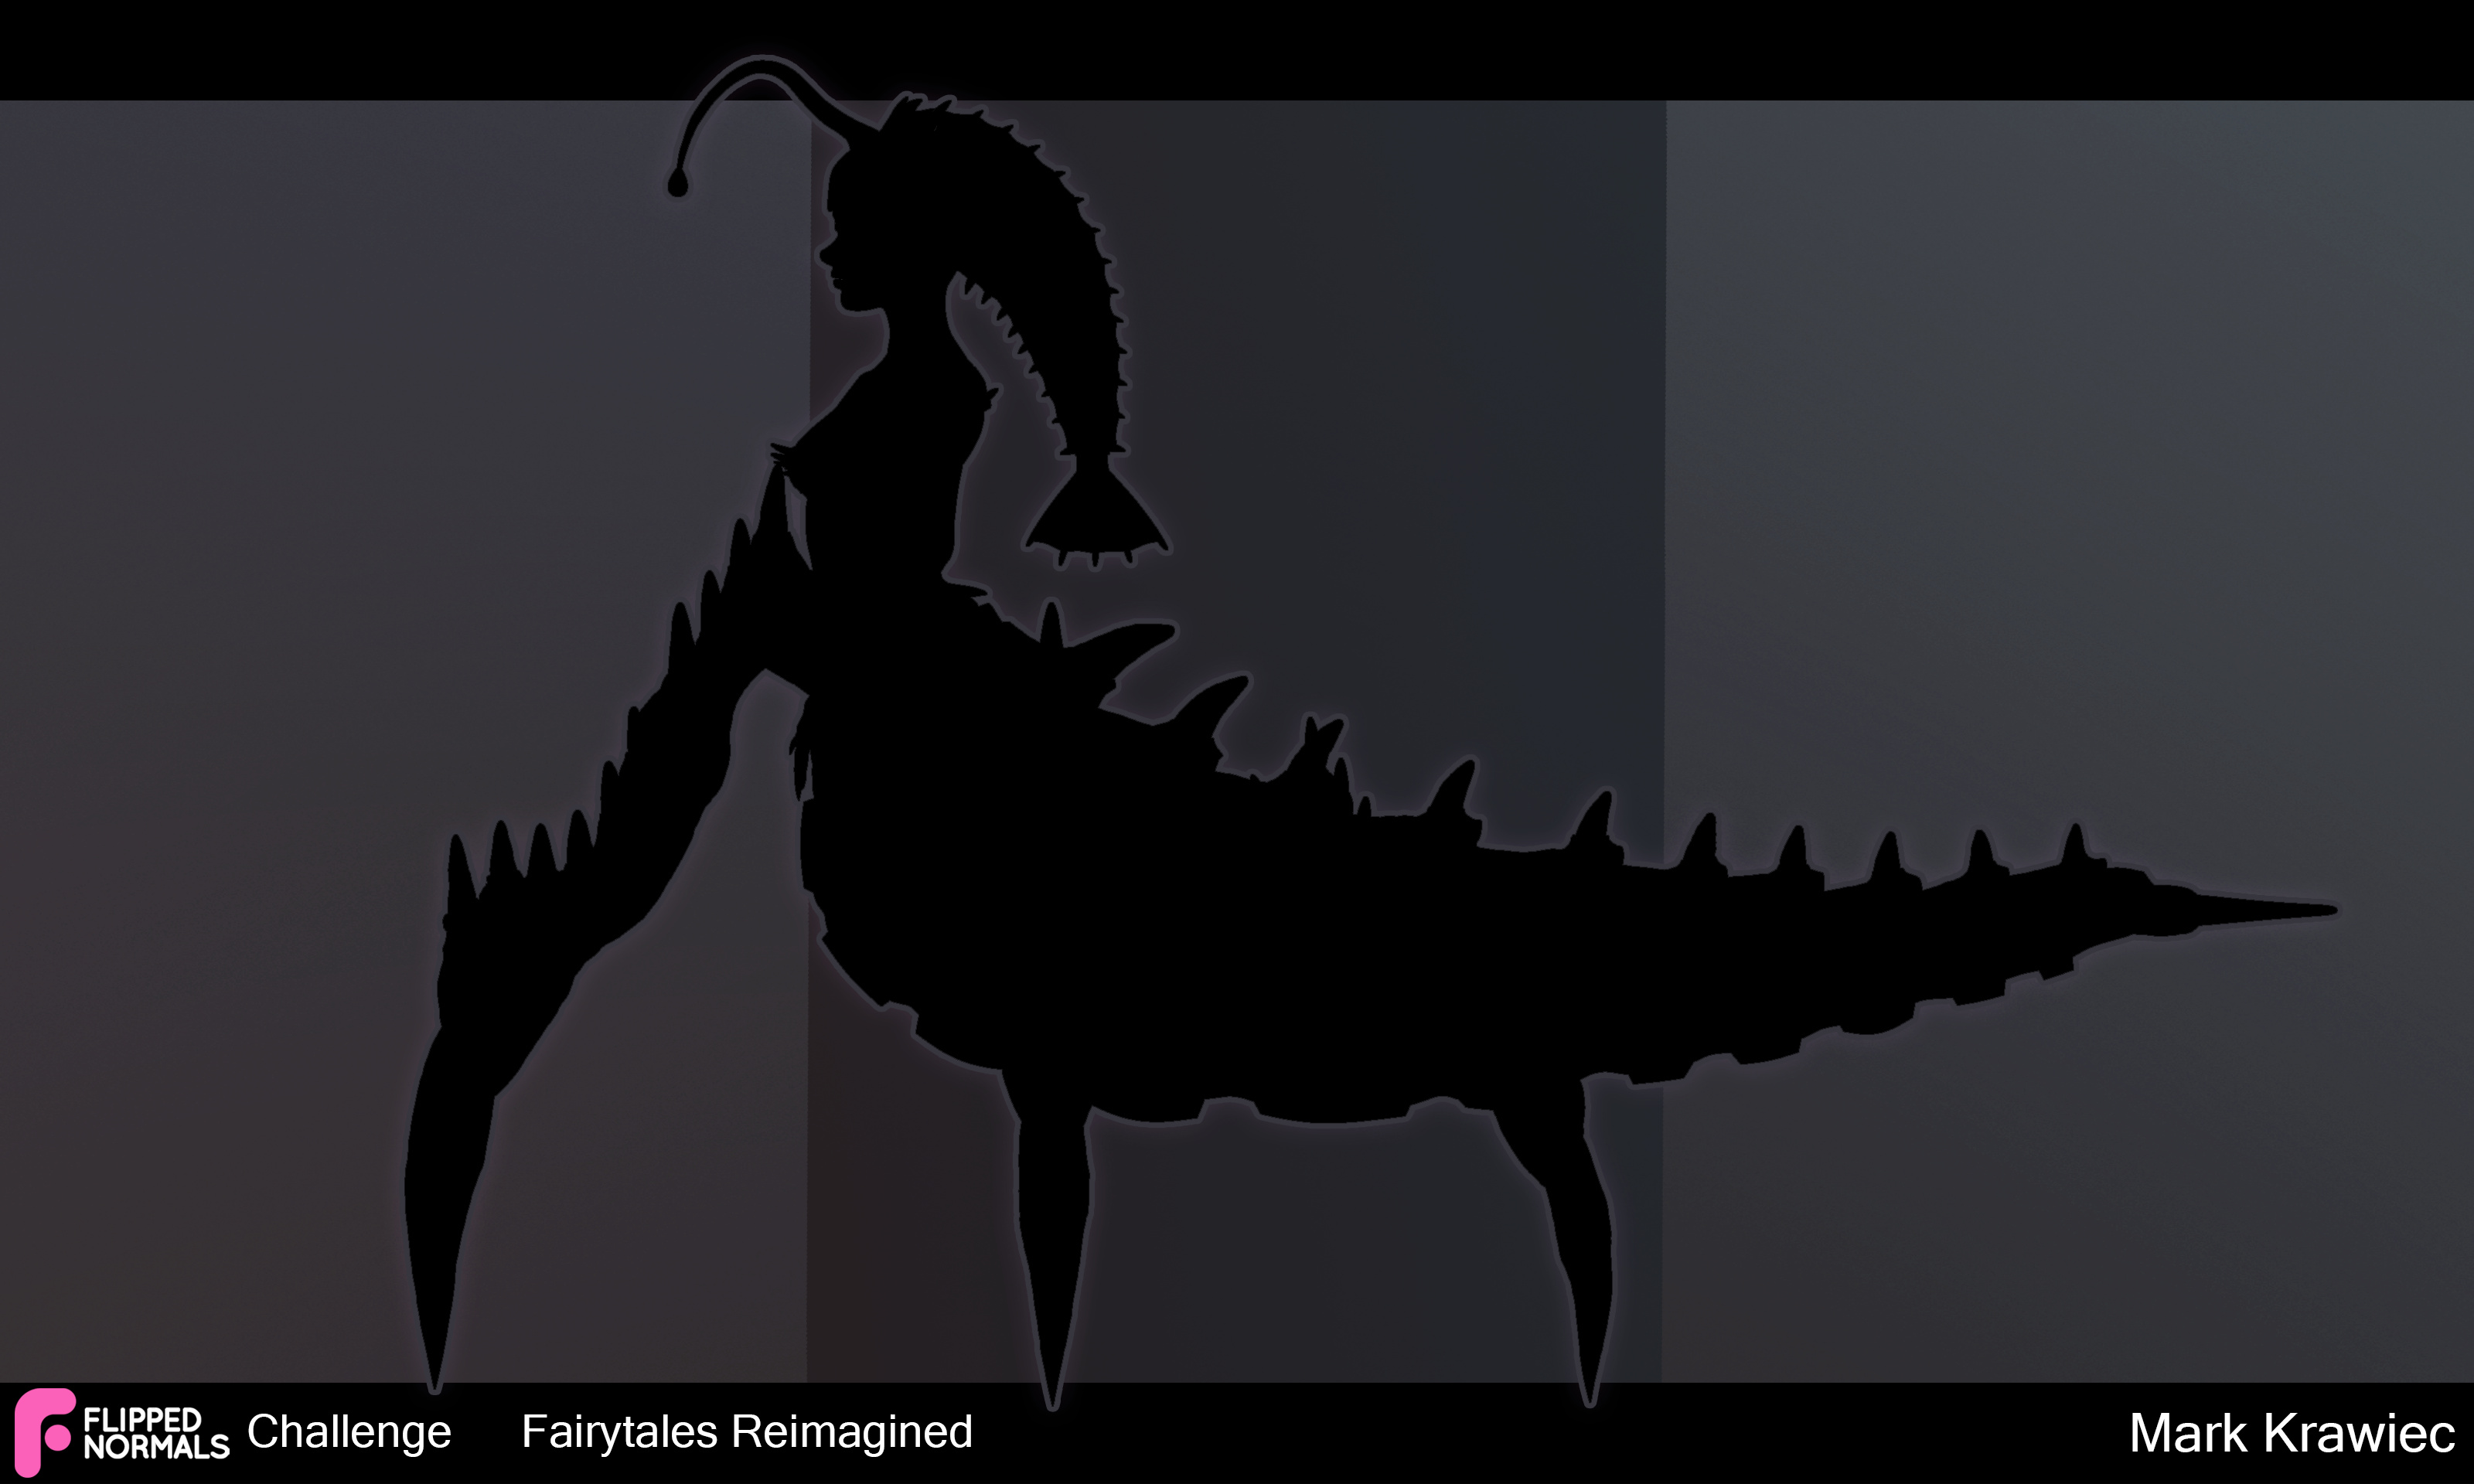
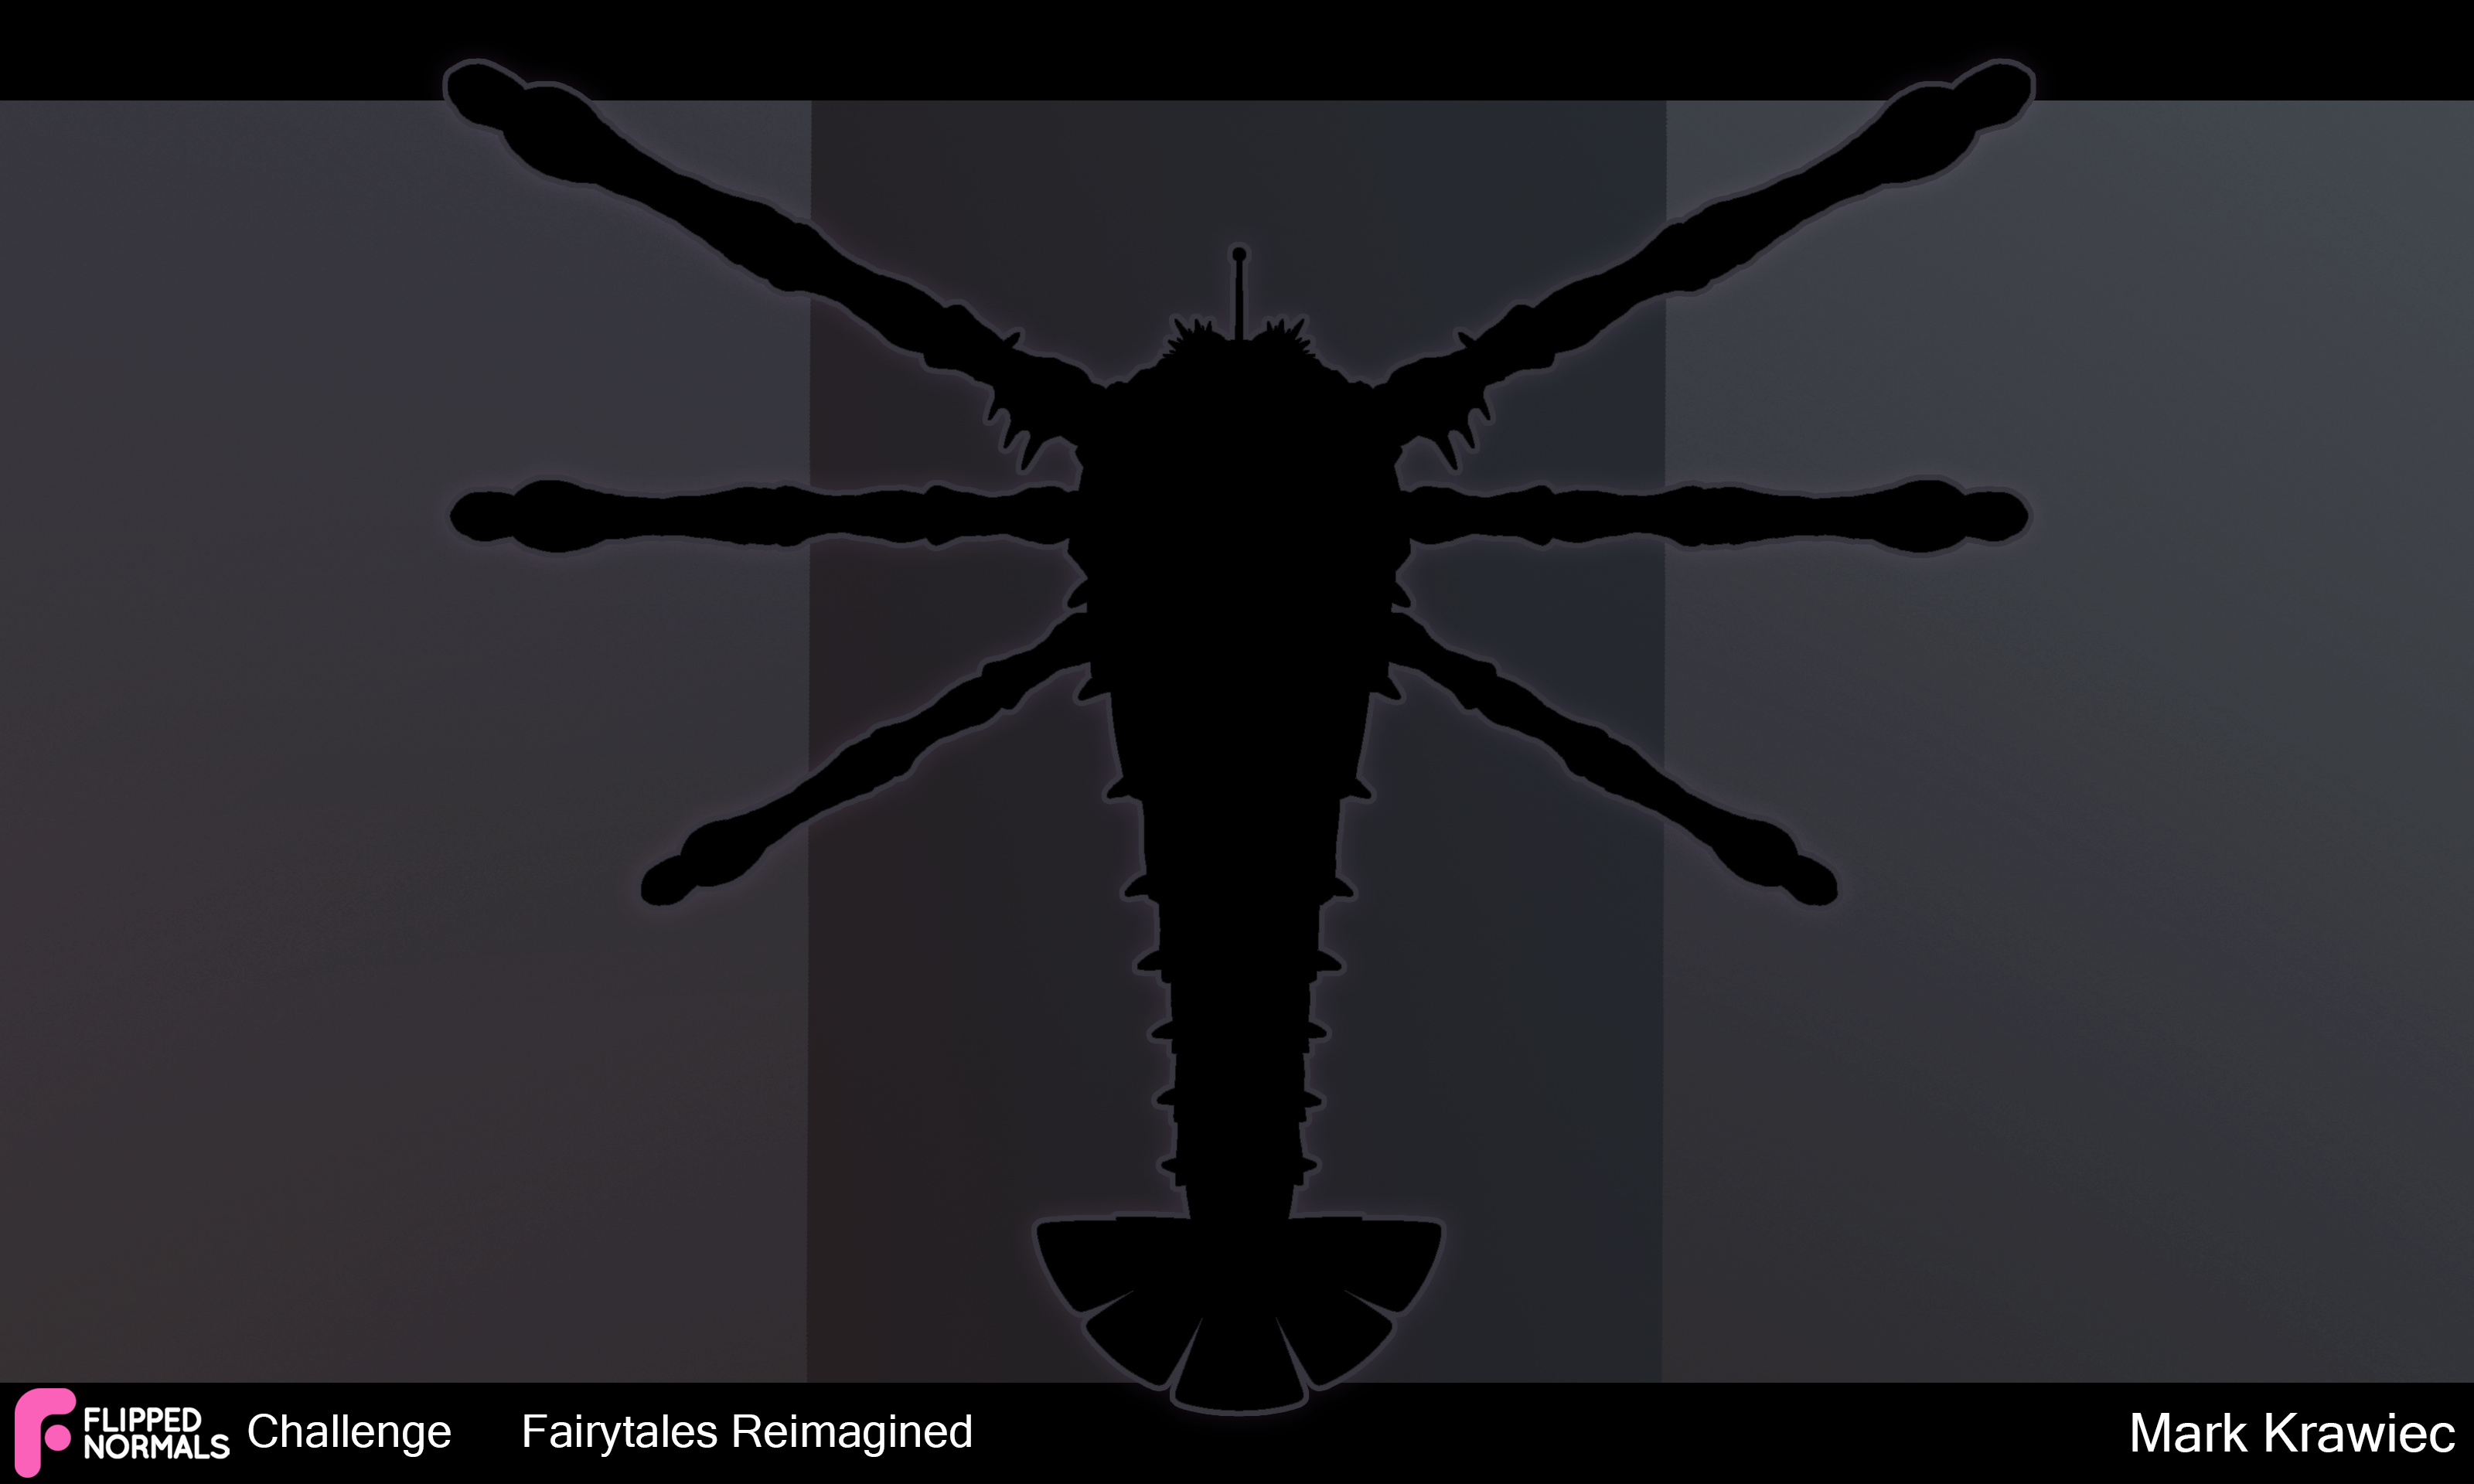
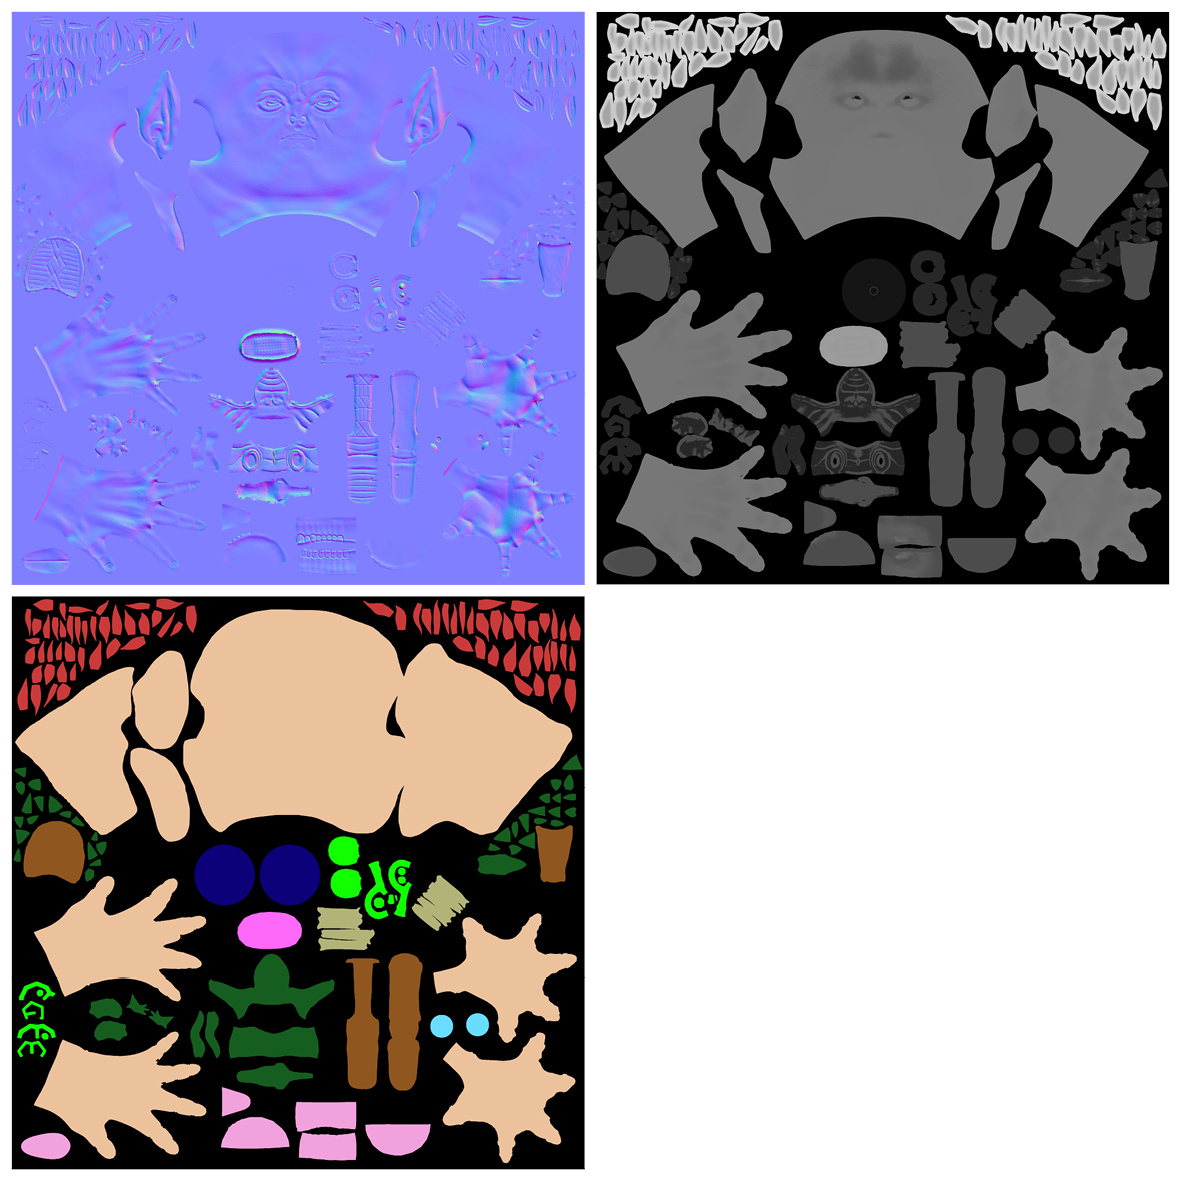
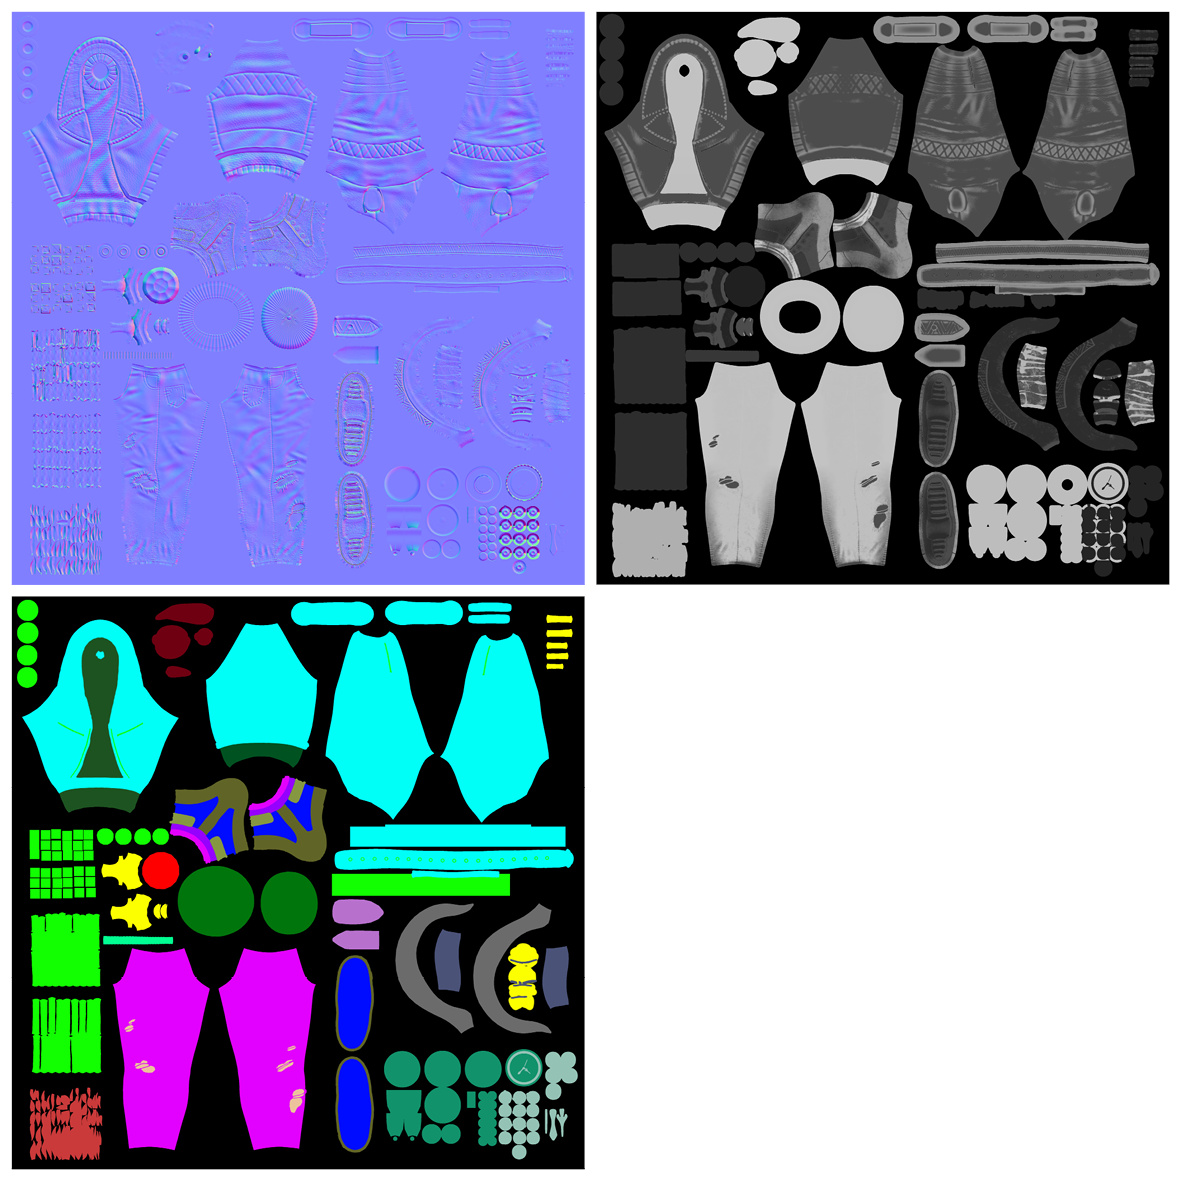
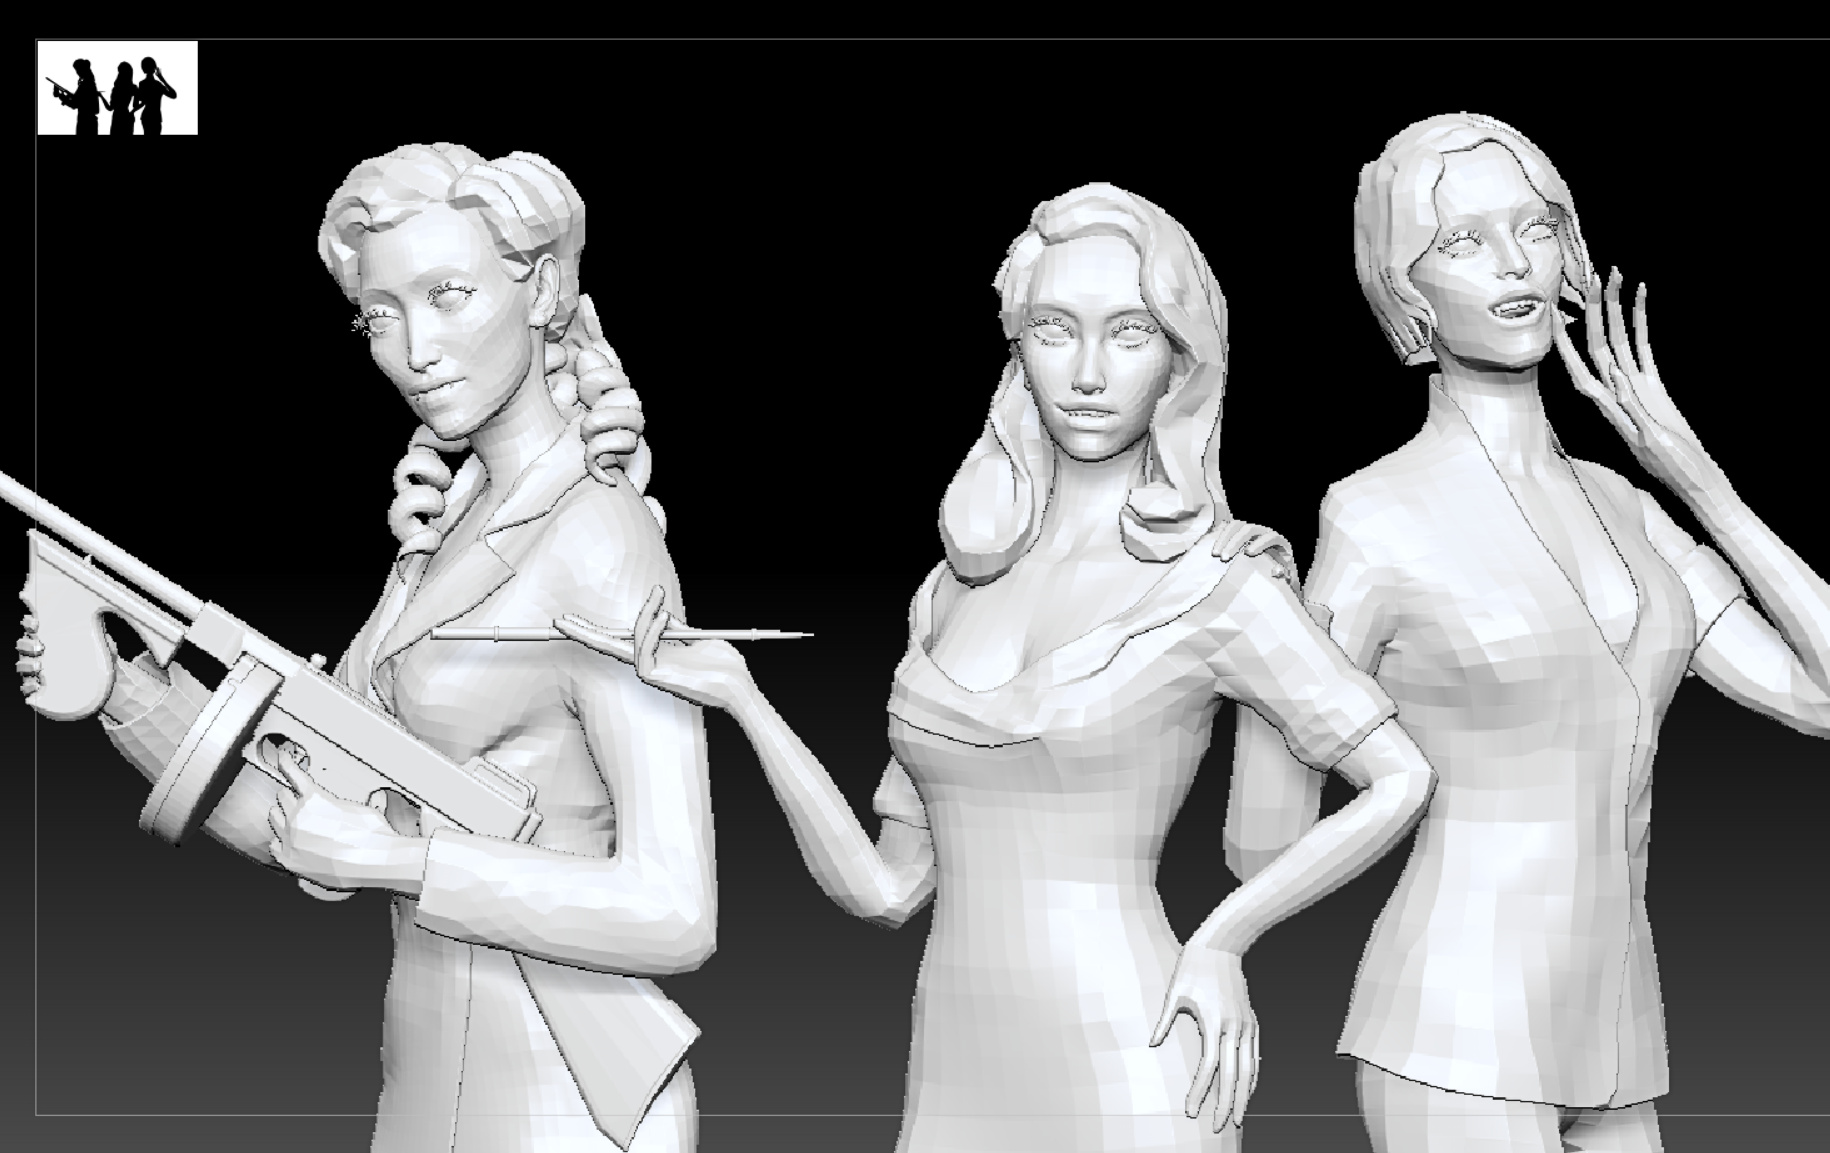
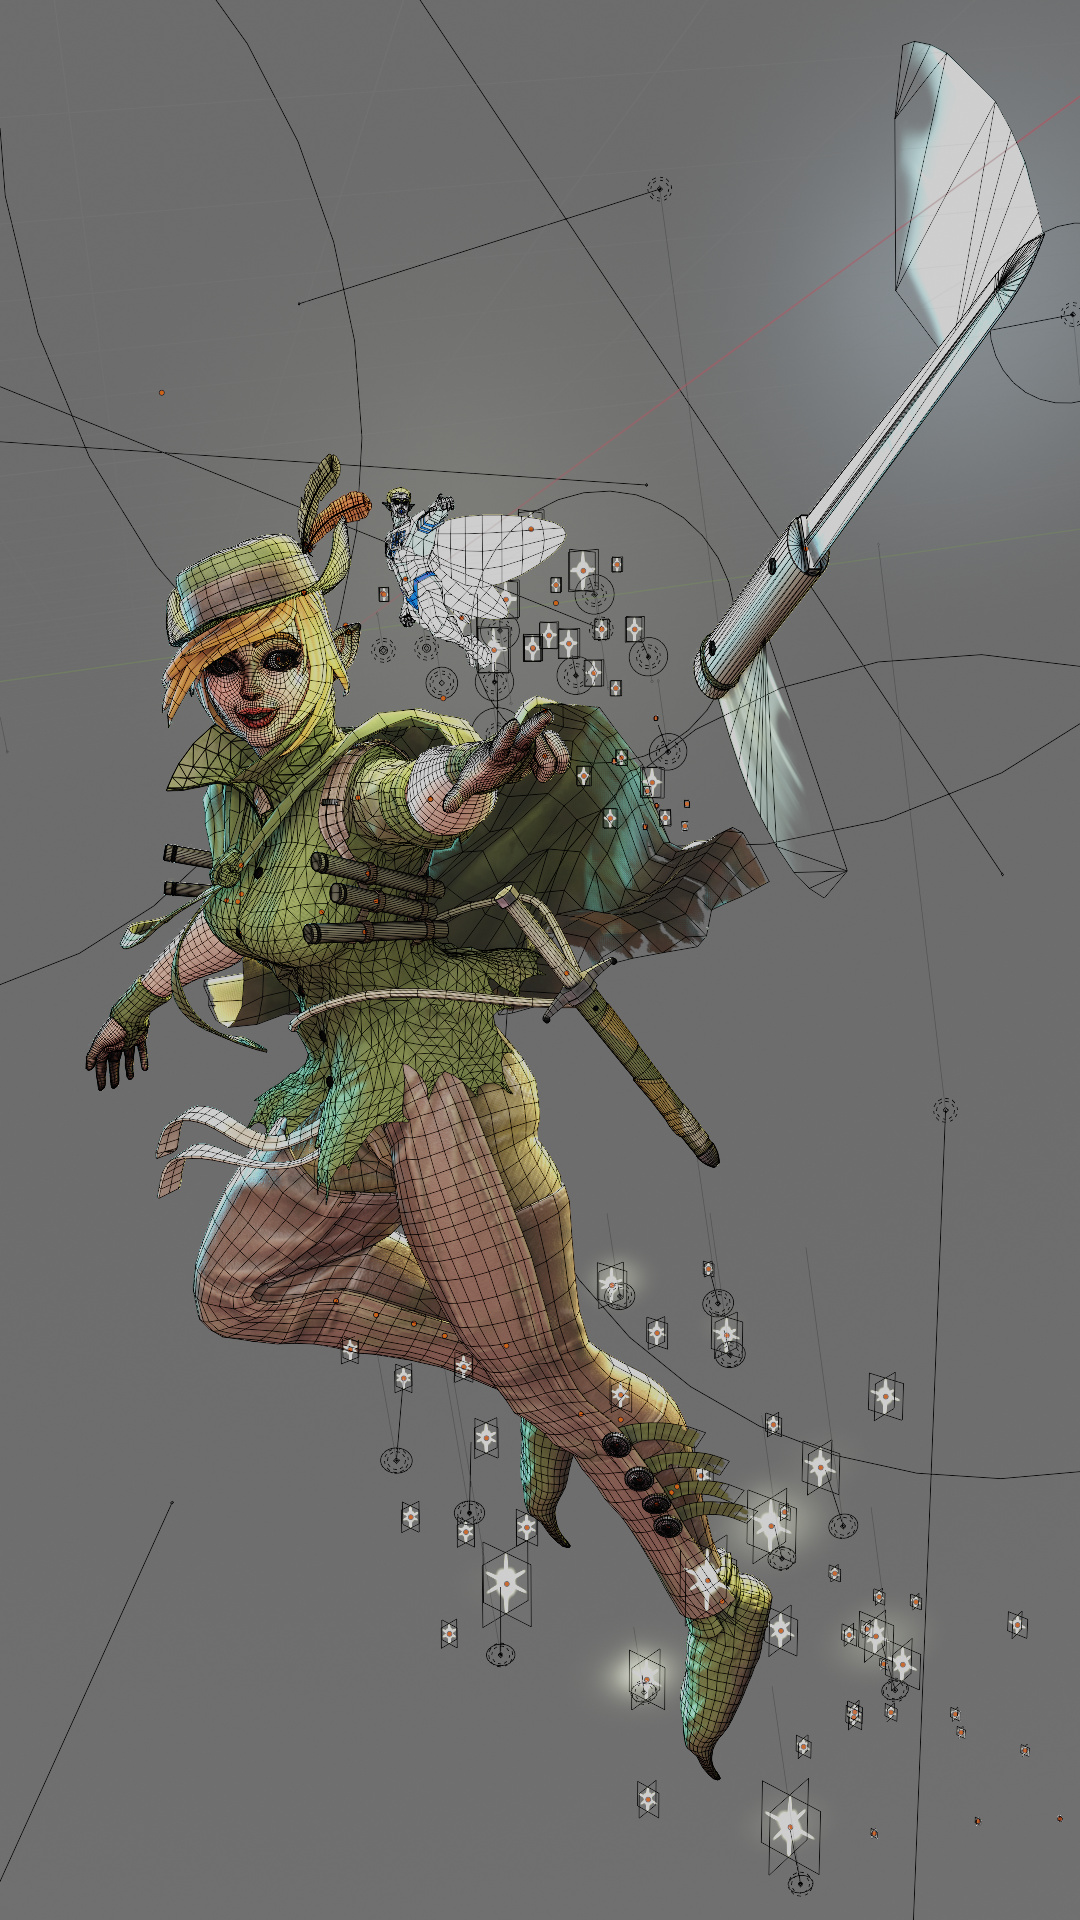
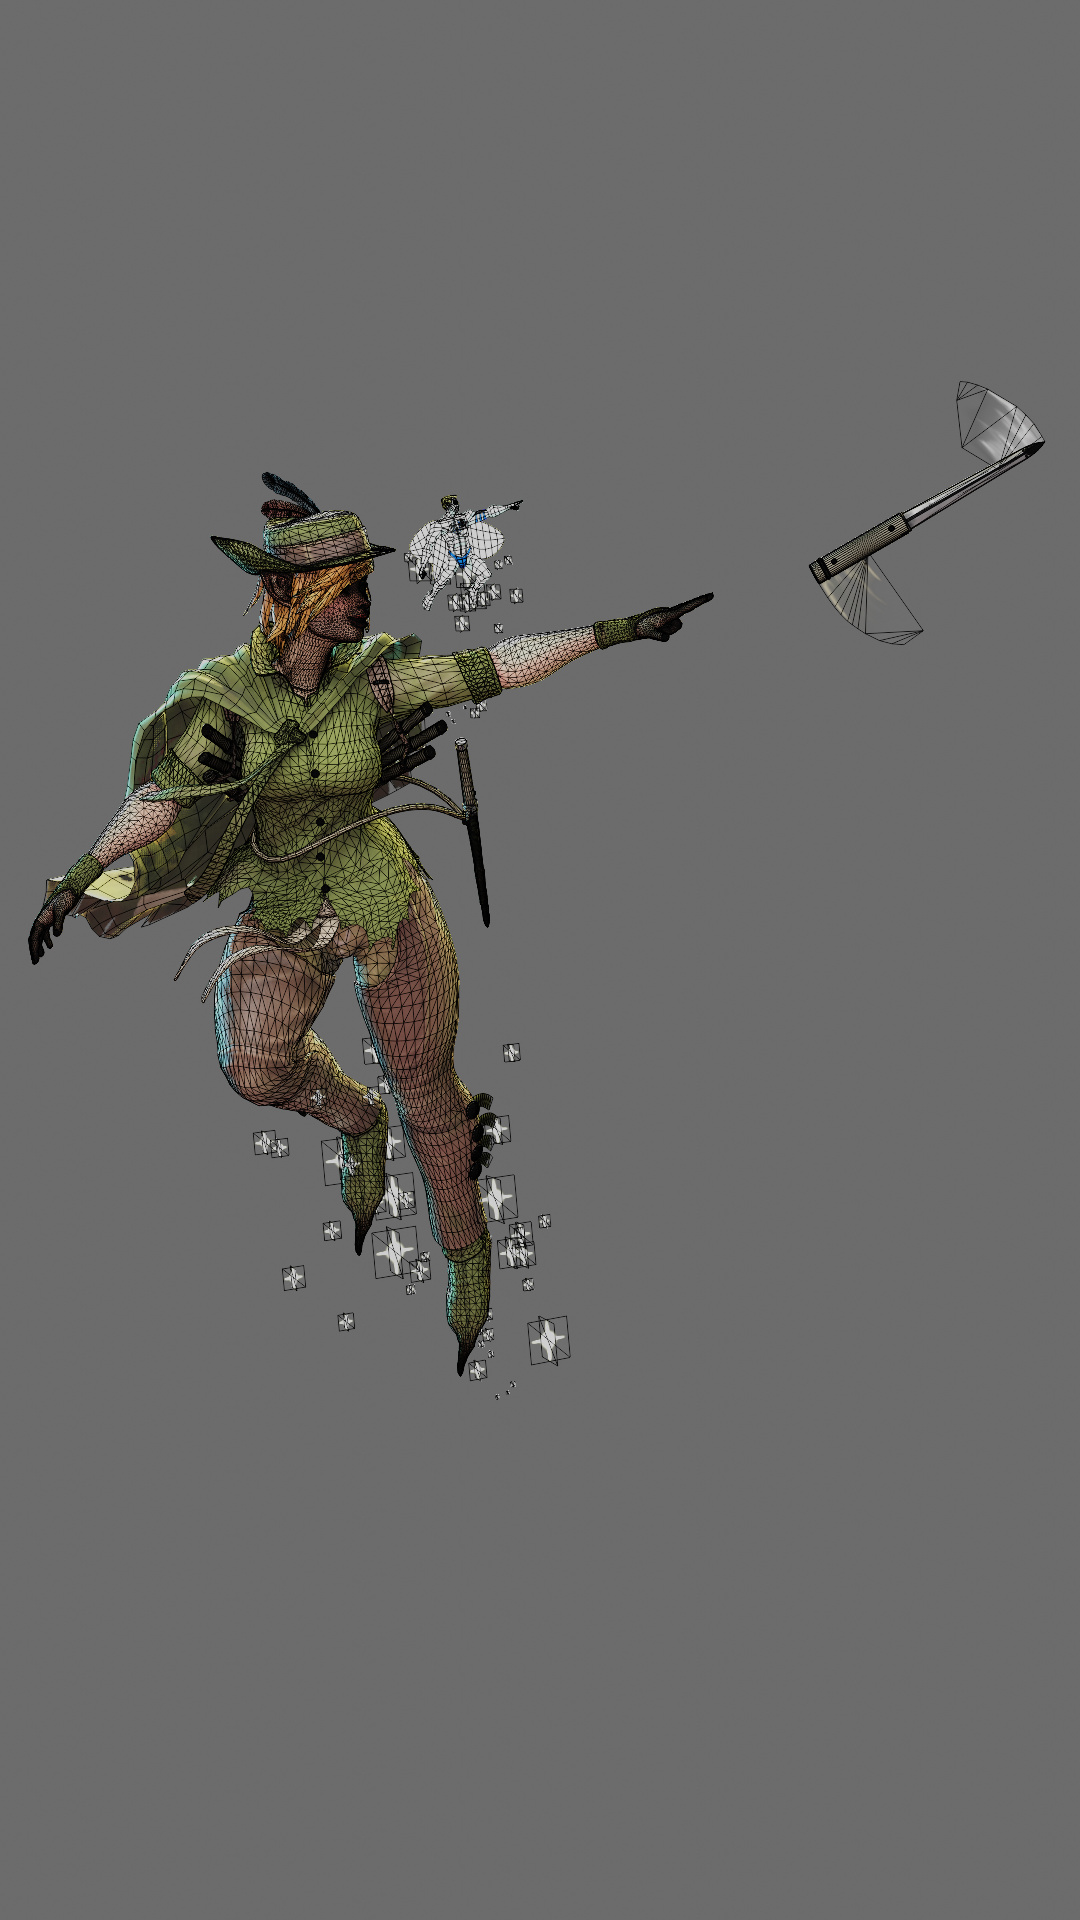
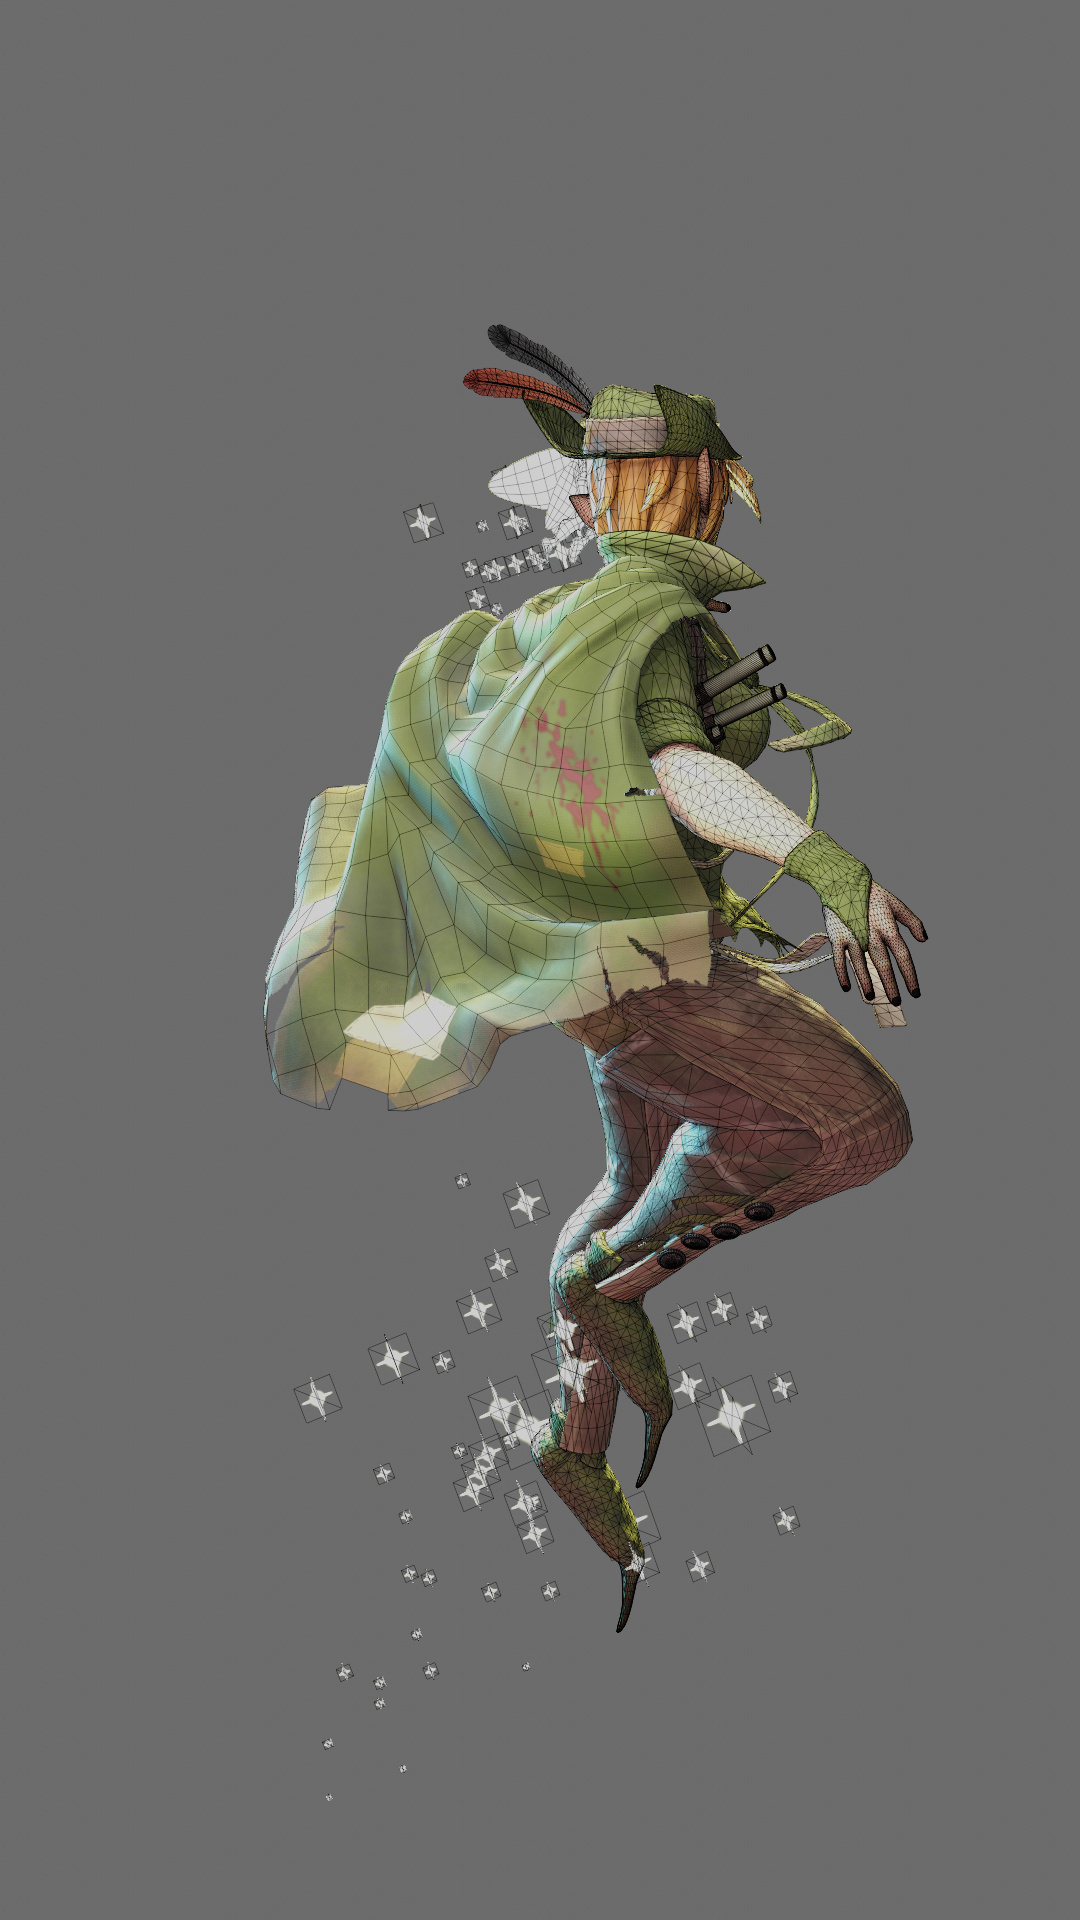
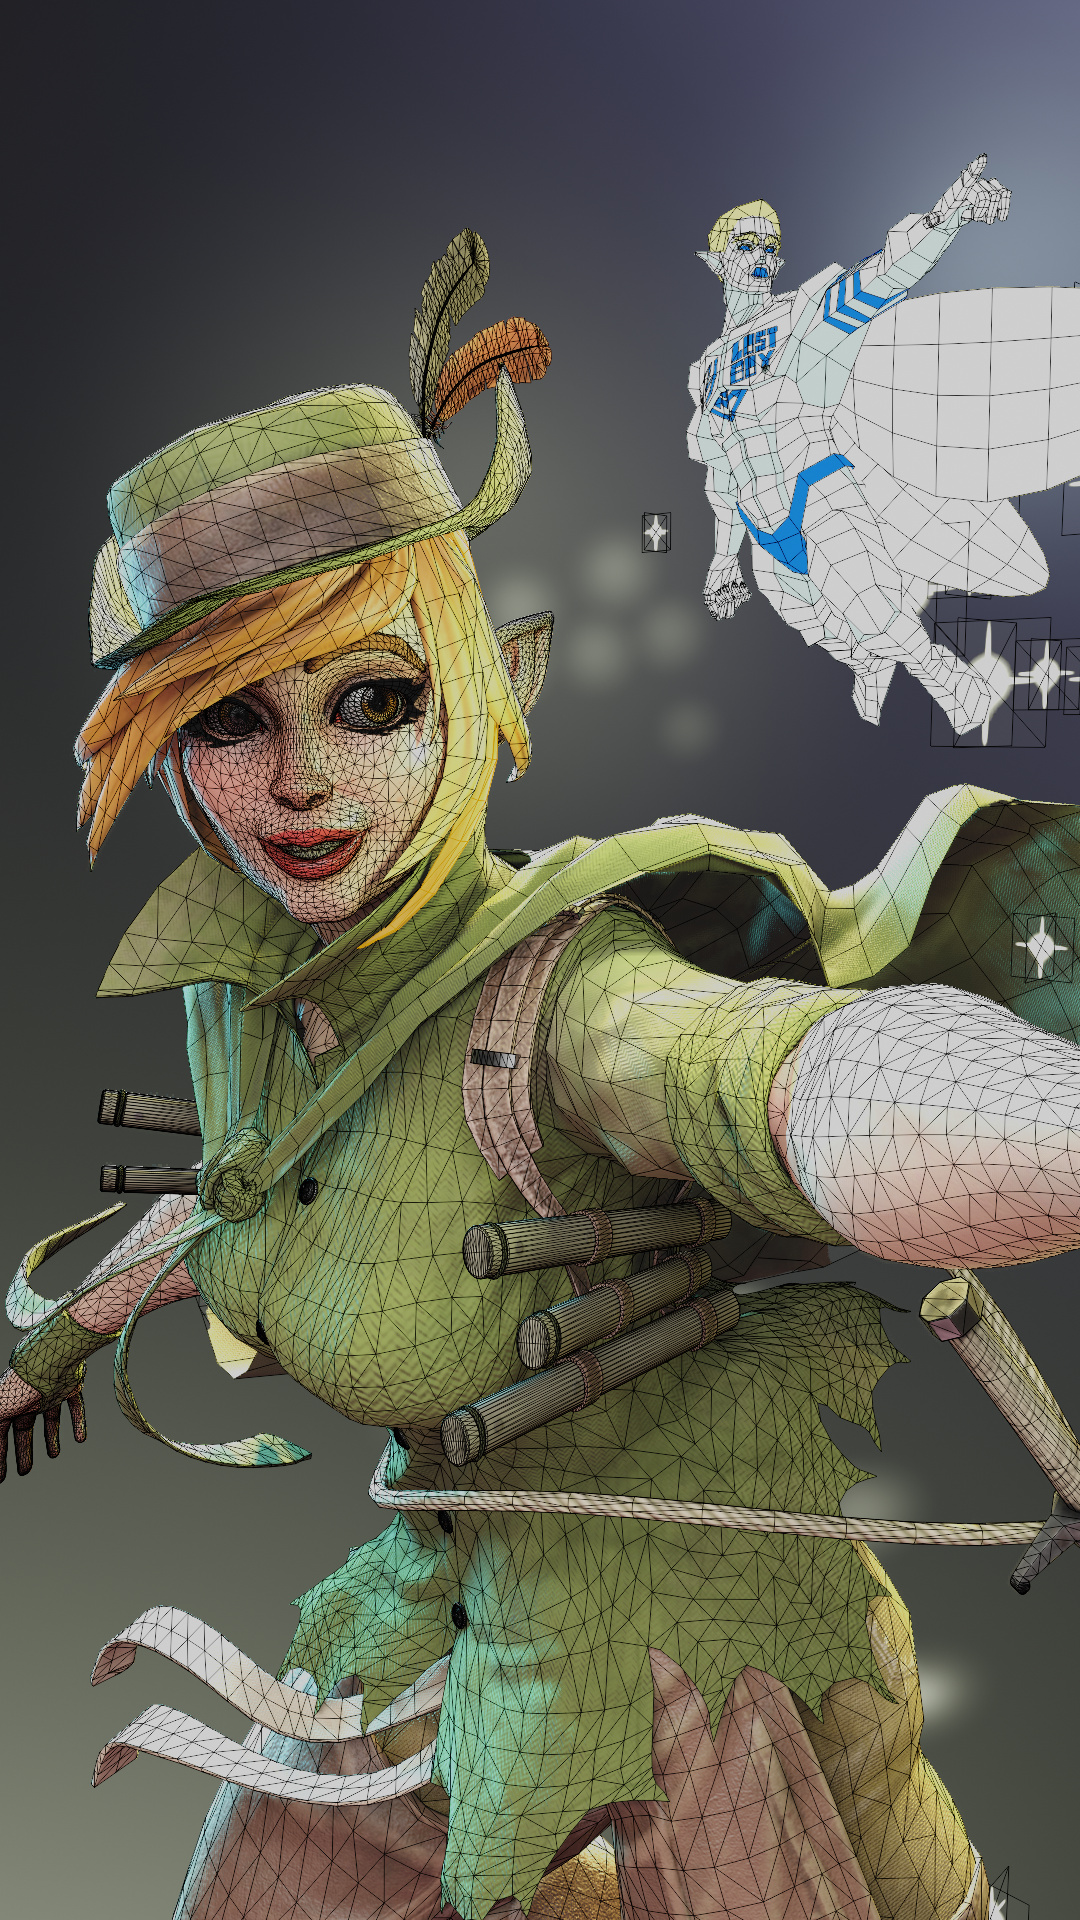
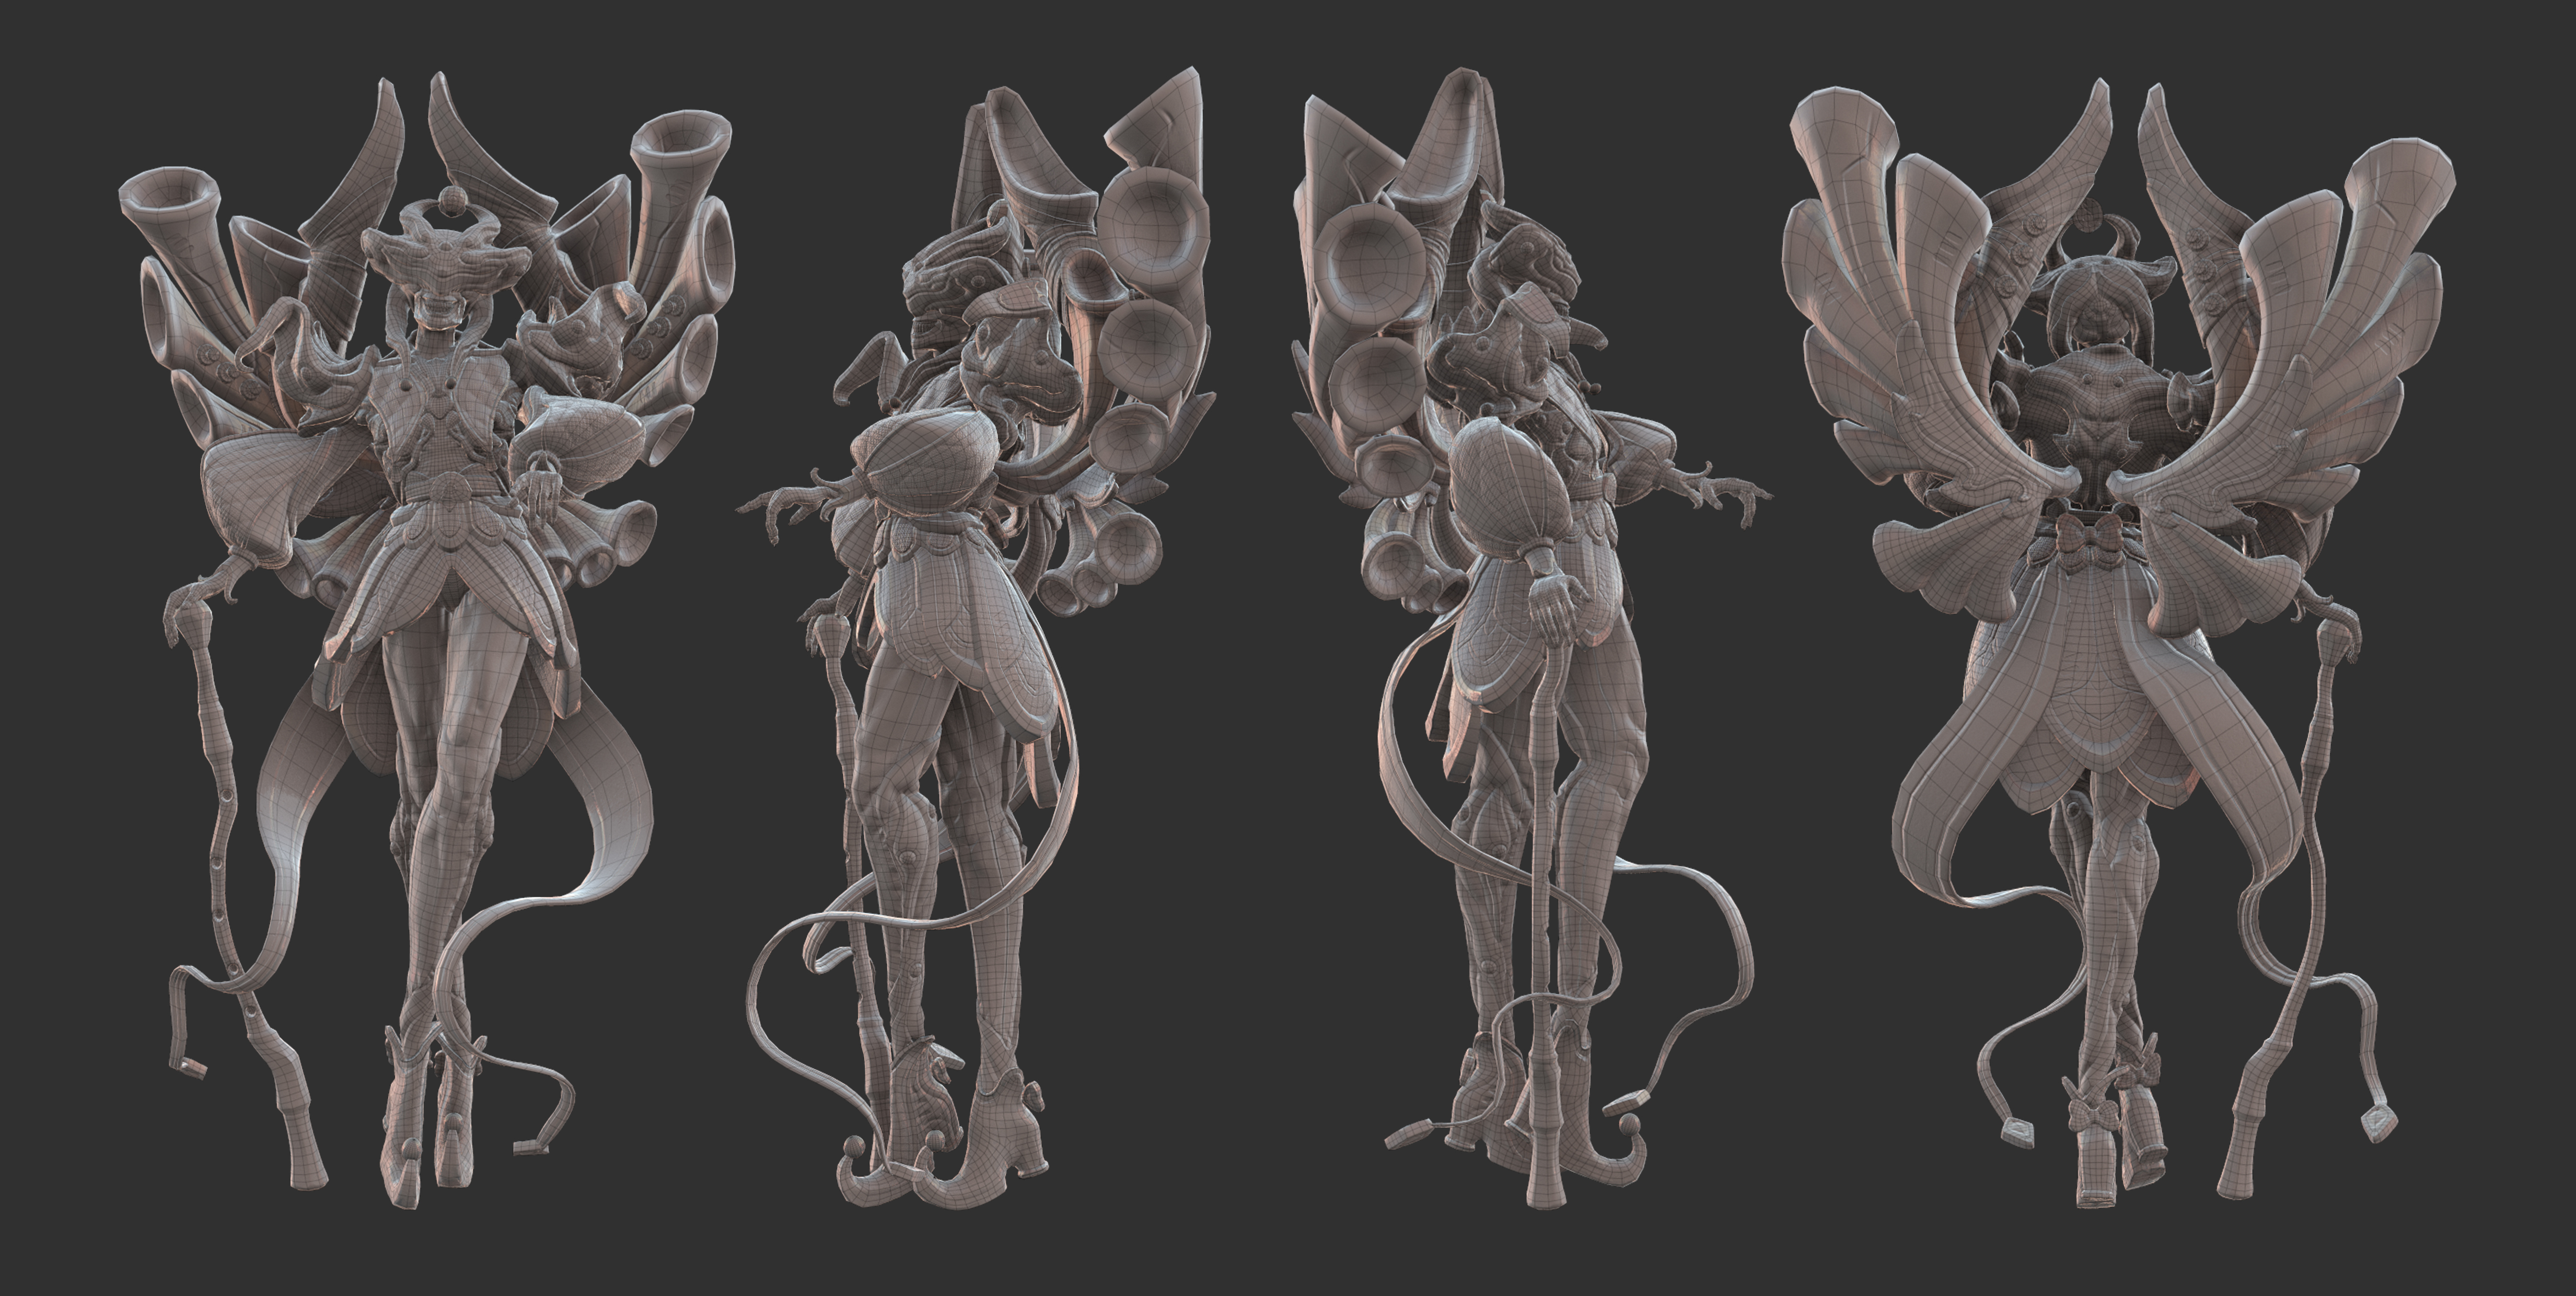
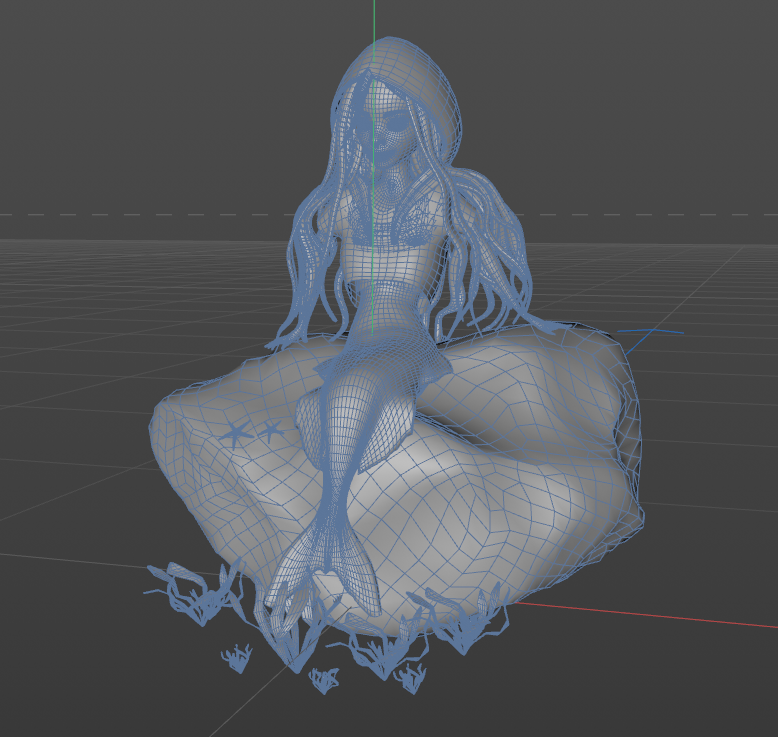
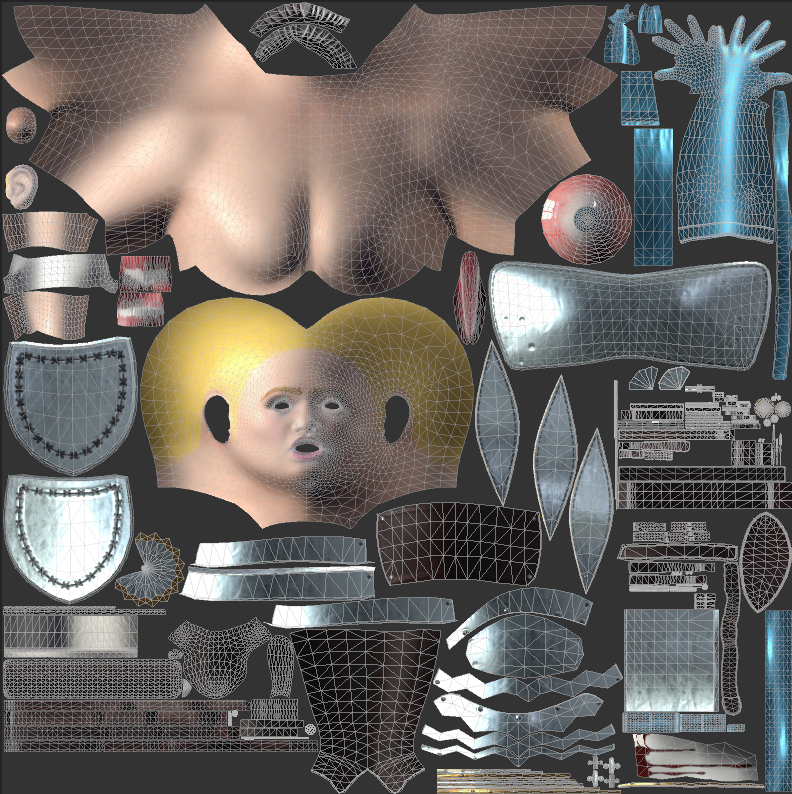
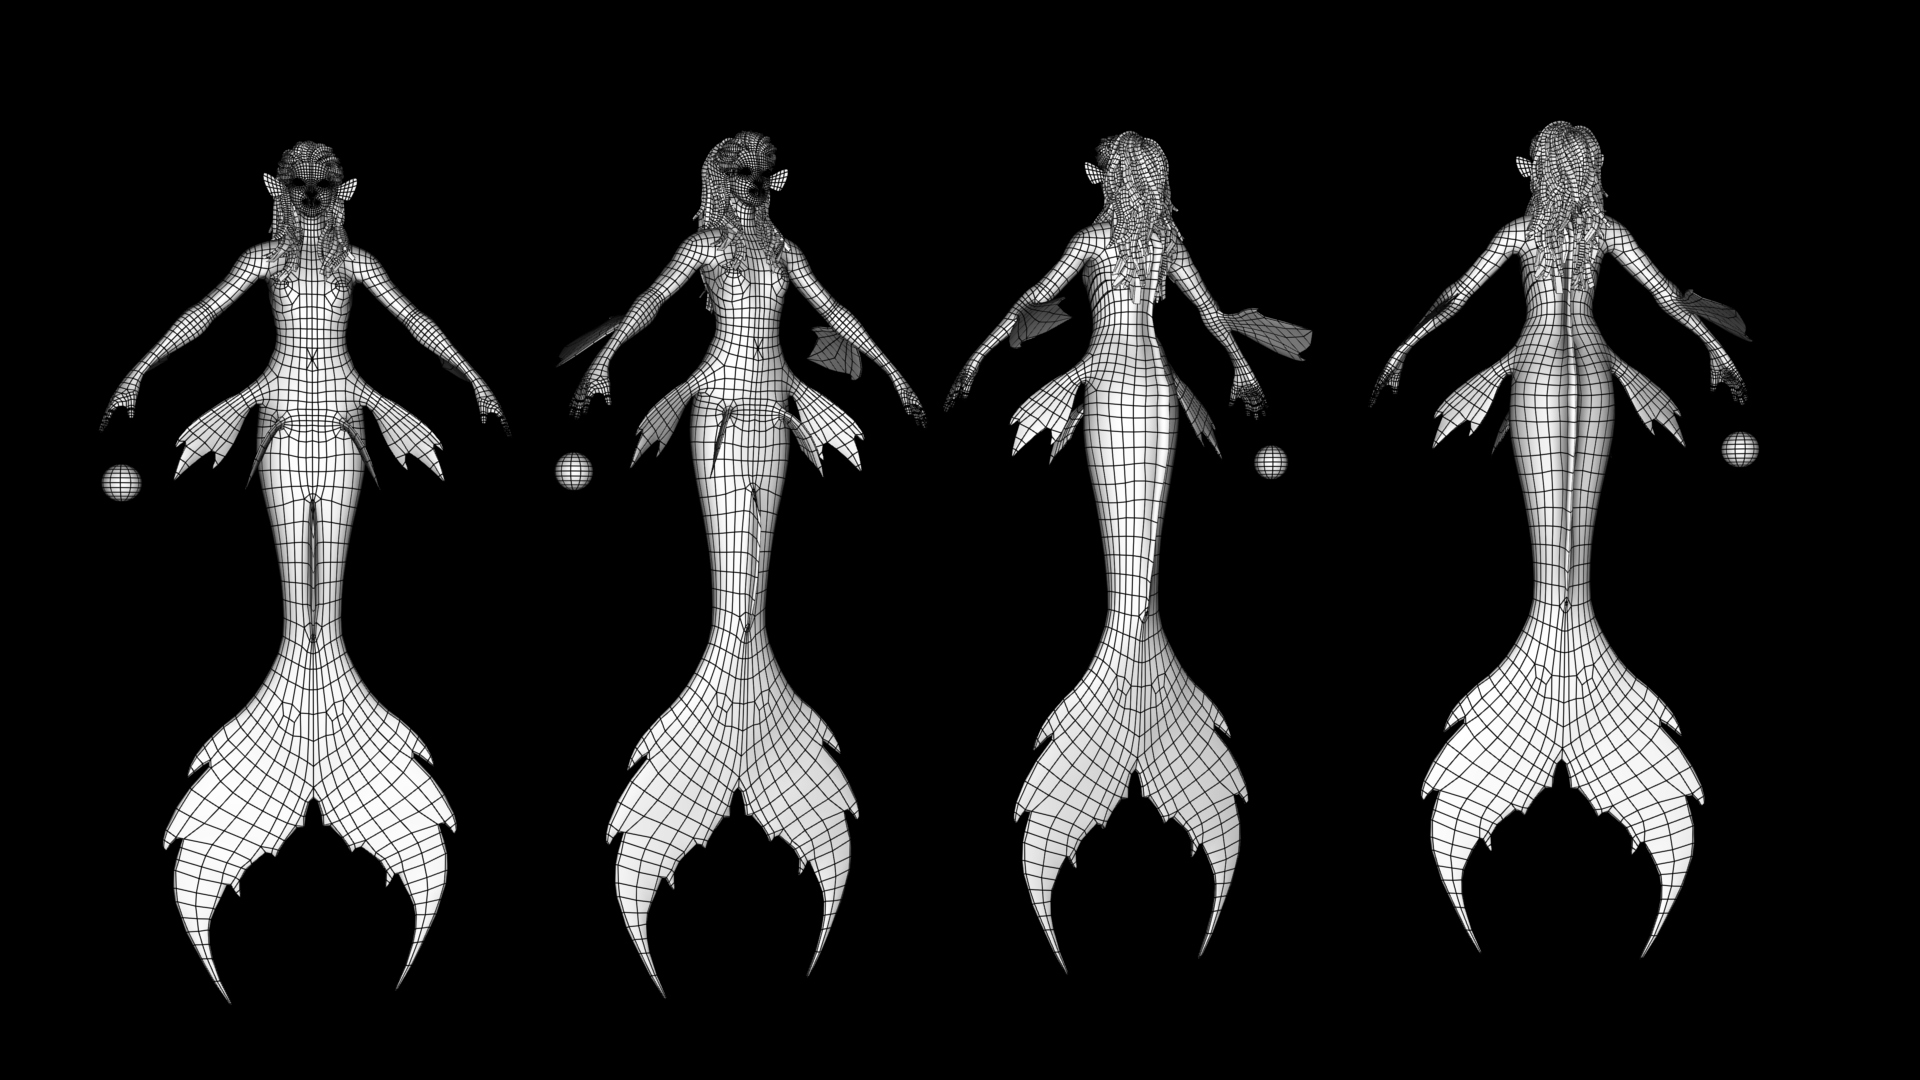
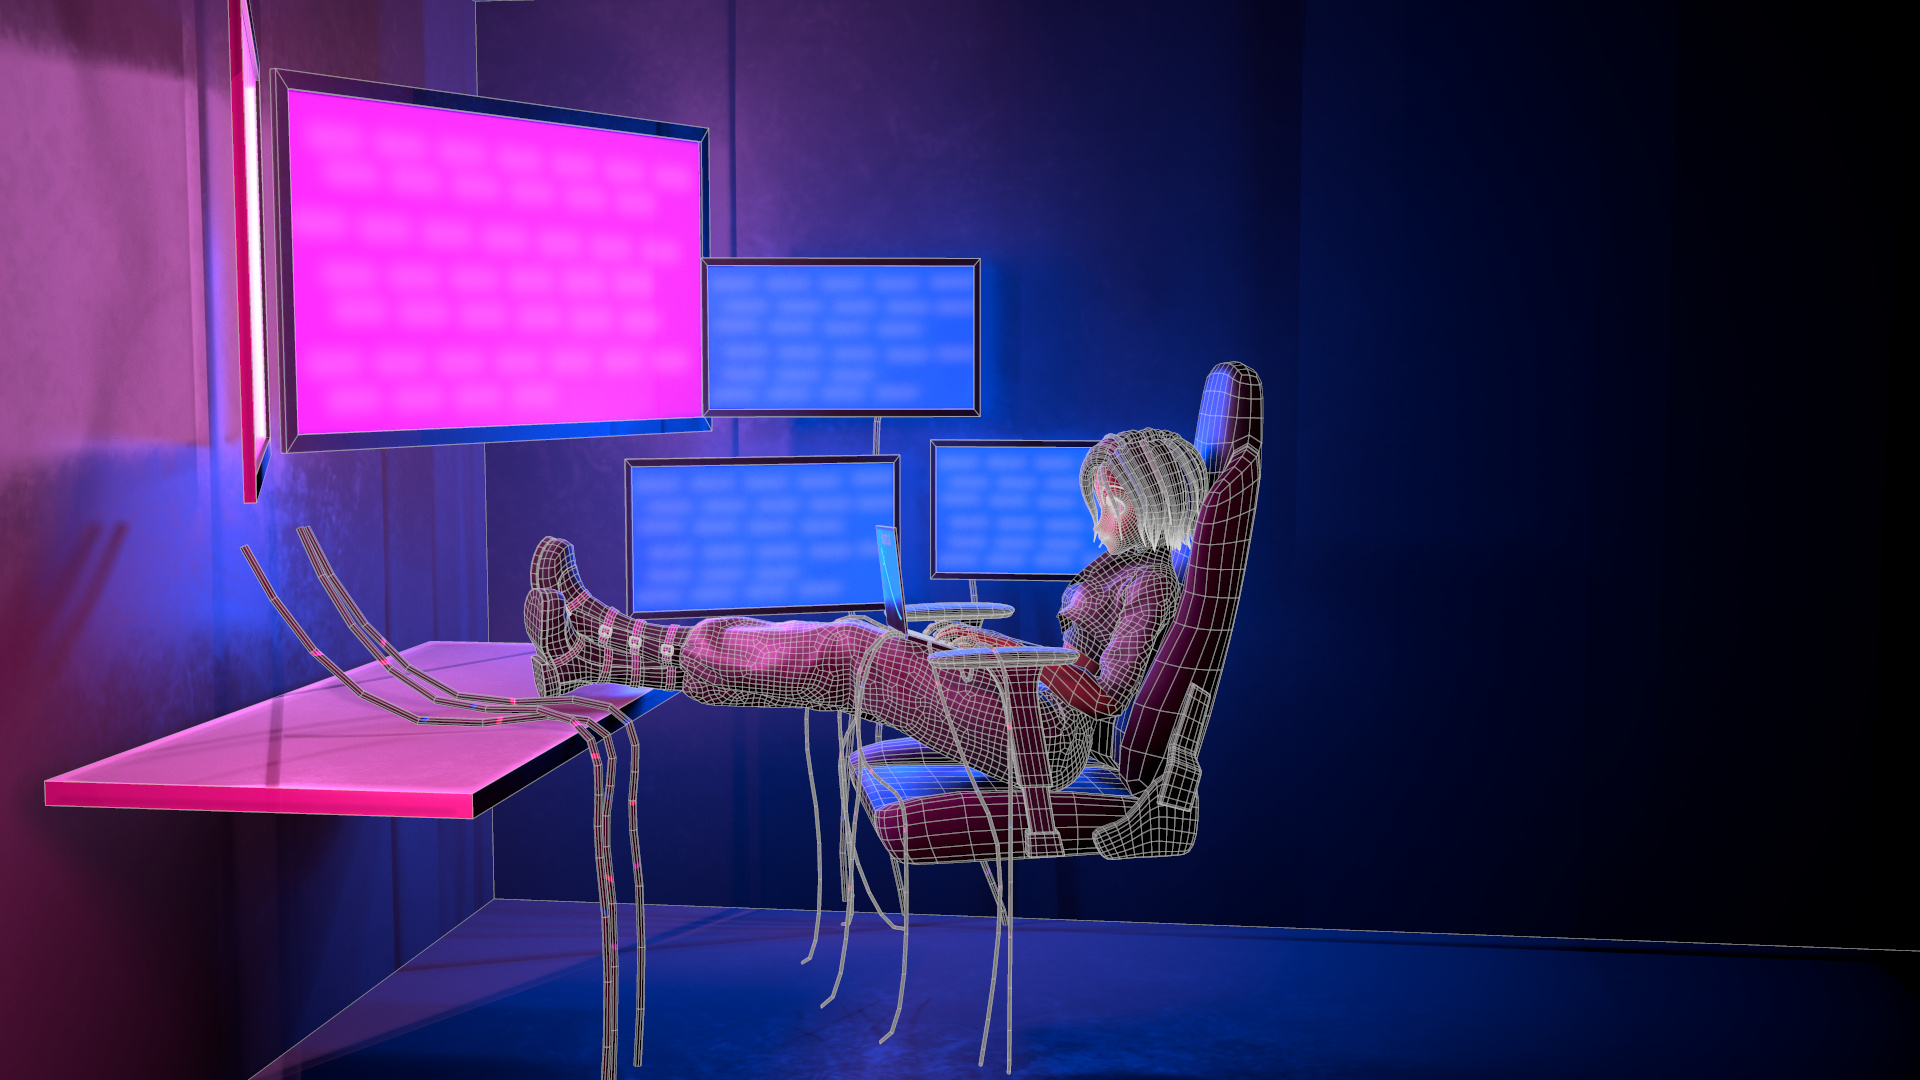
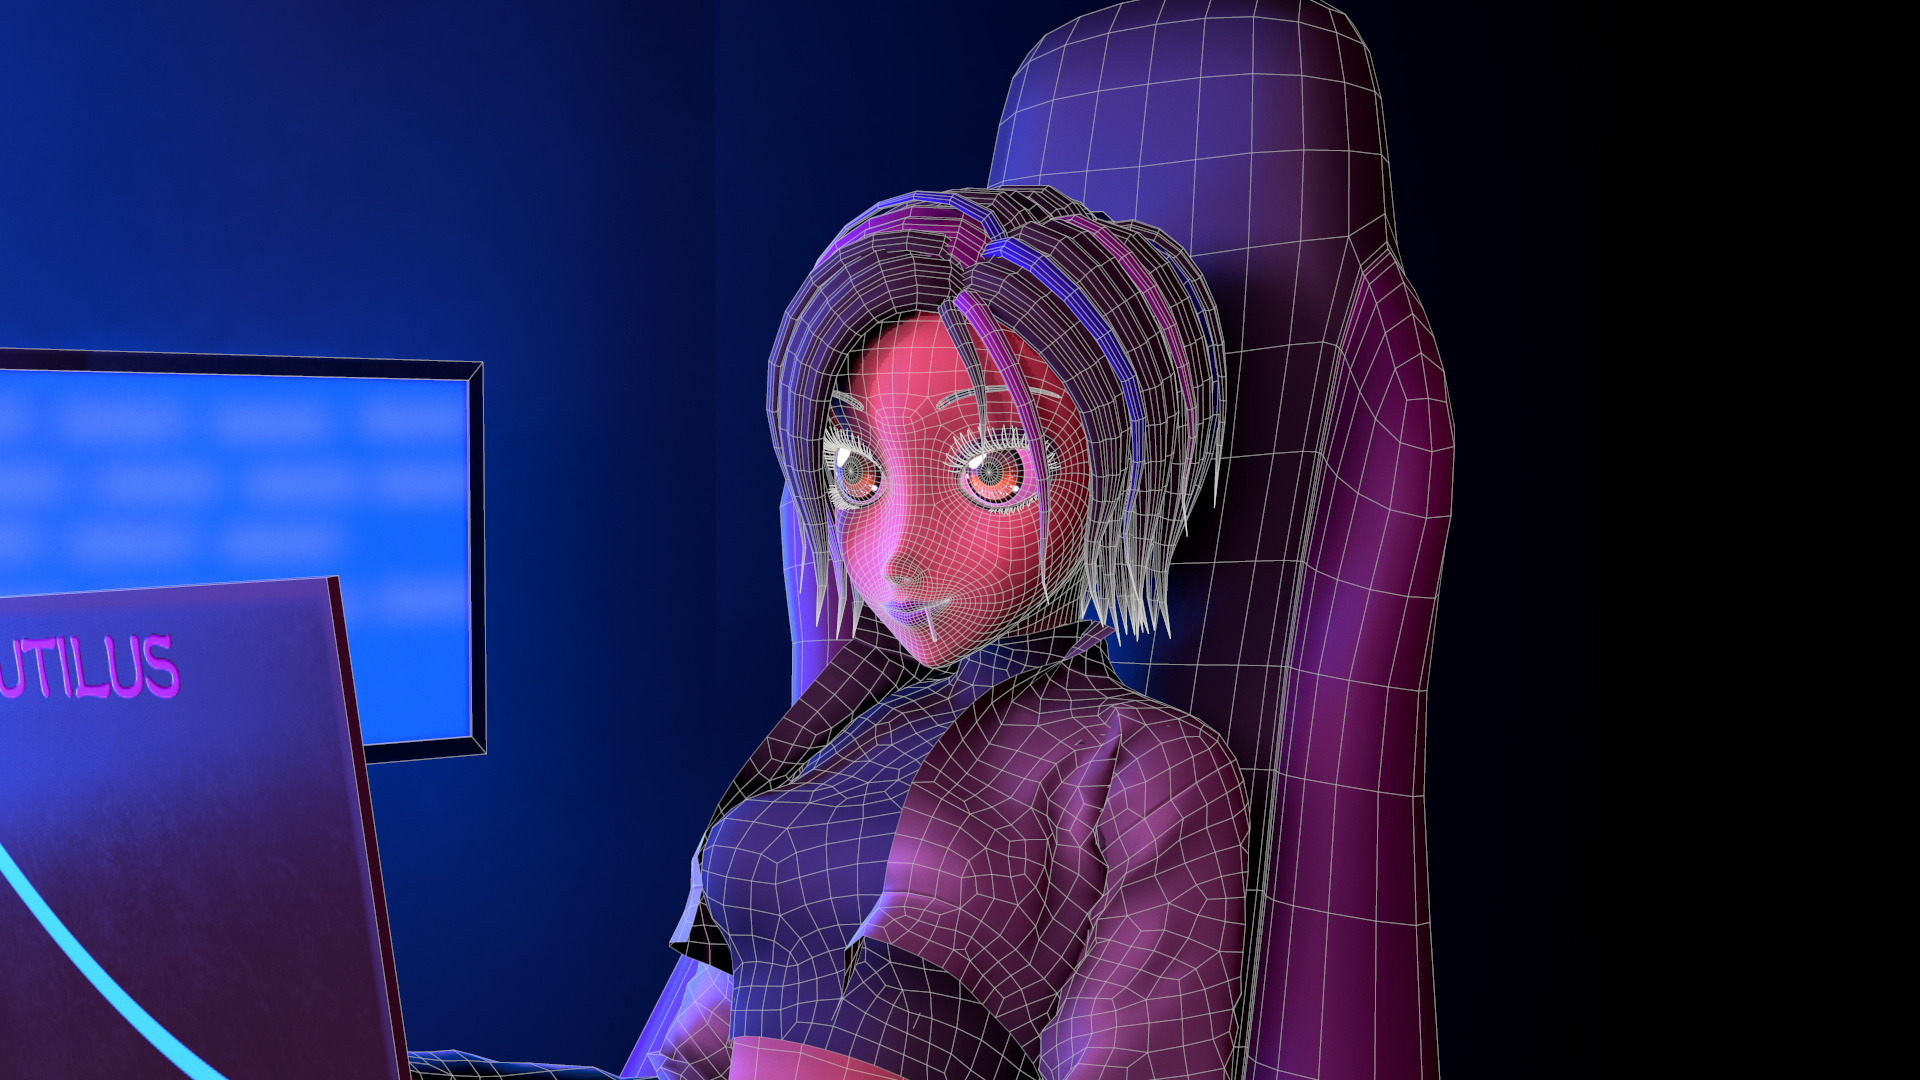
Wireframes :

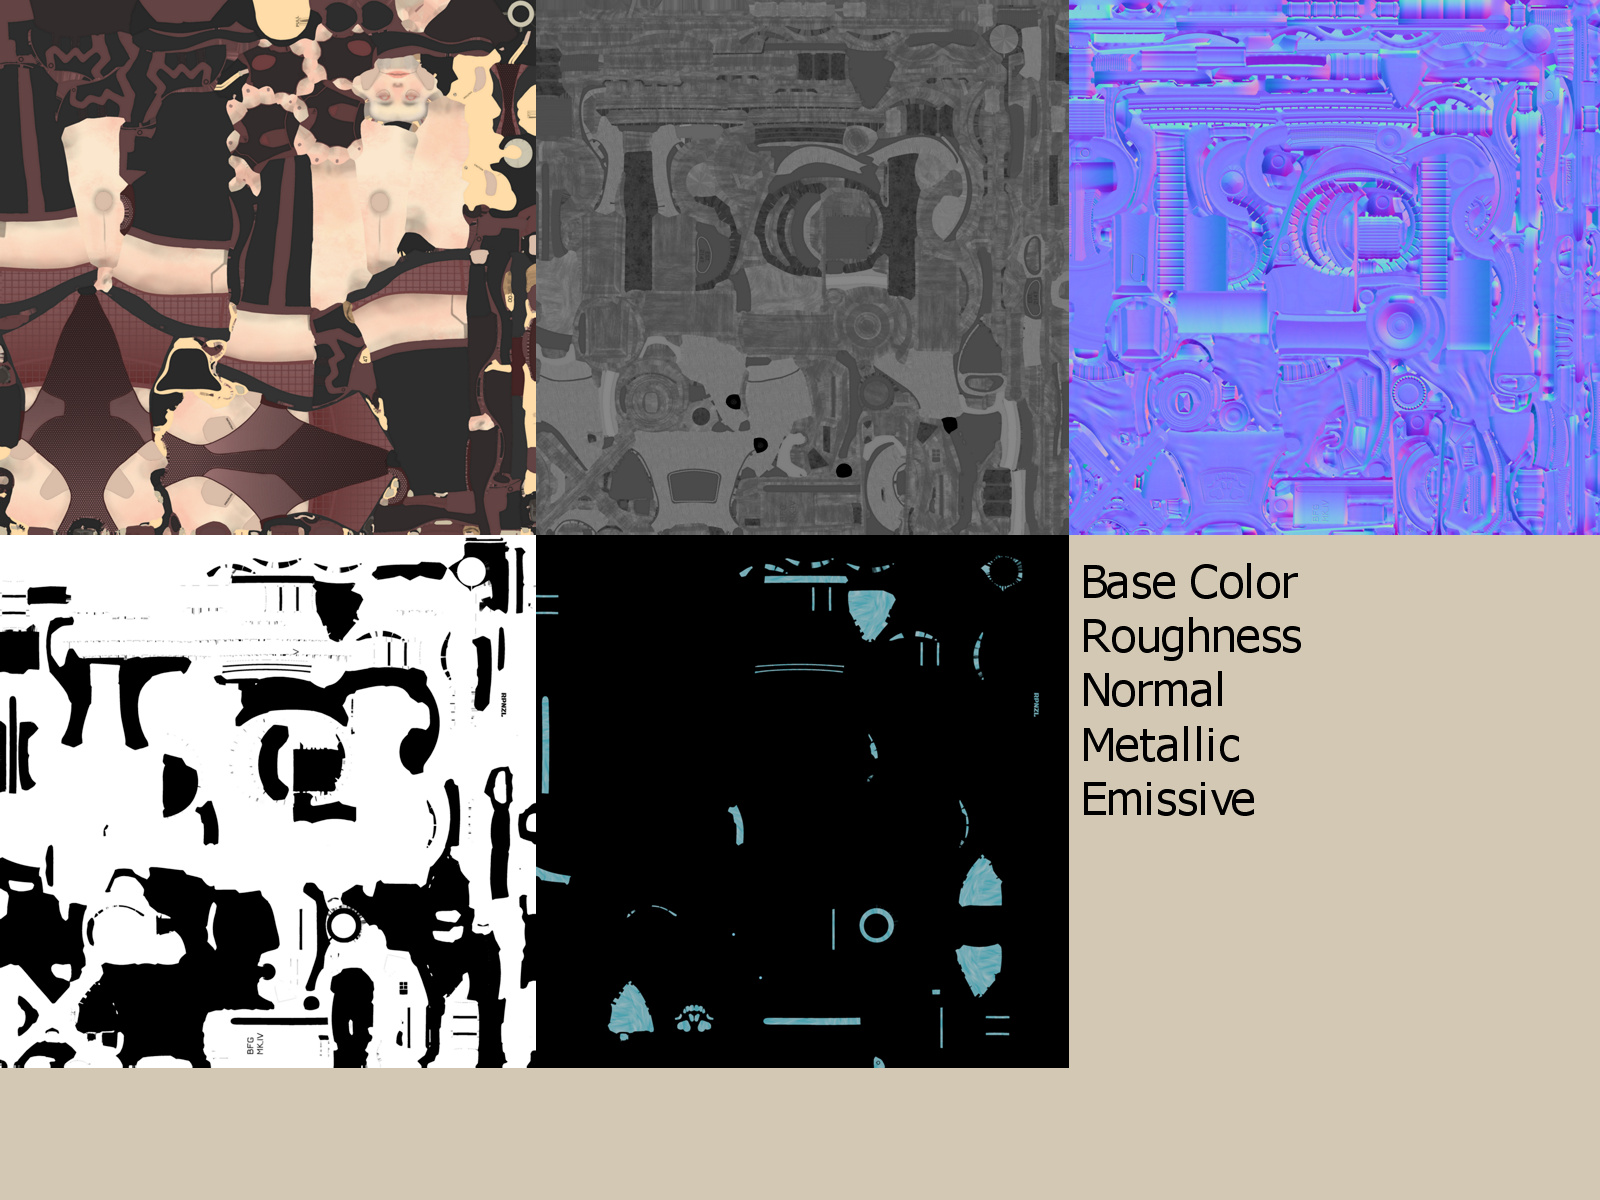
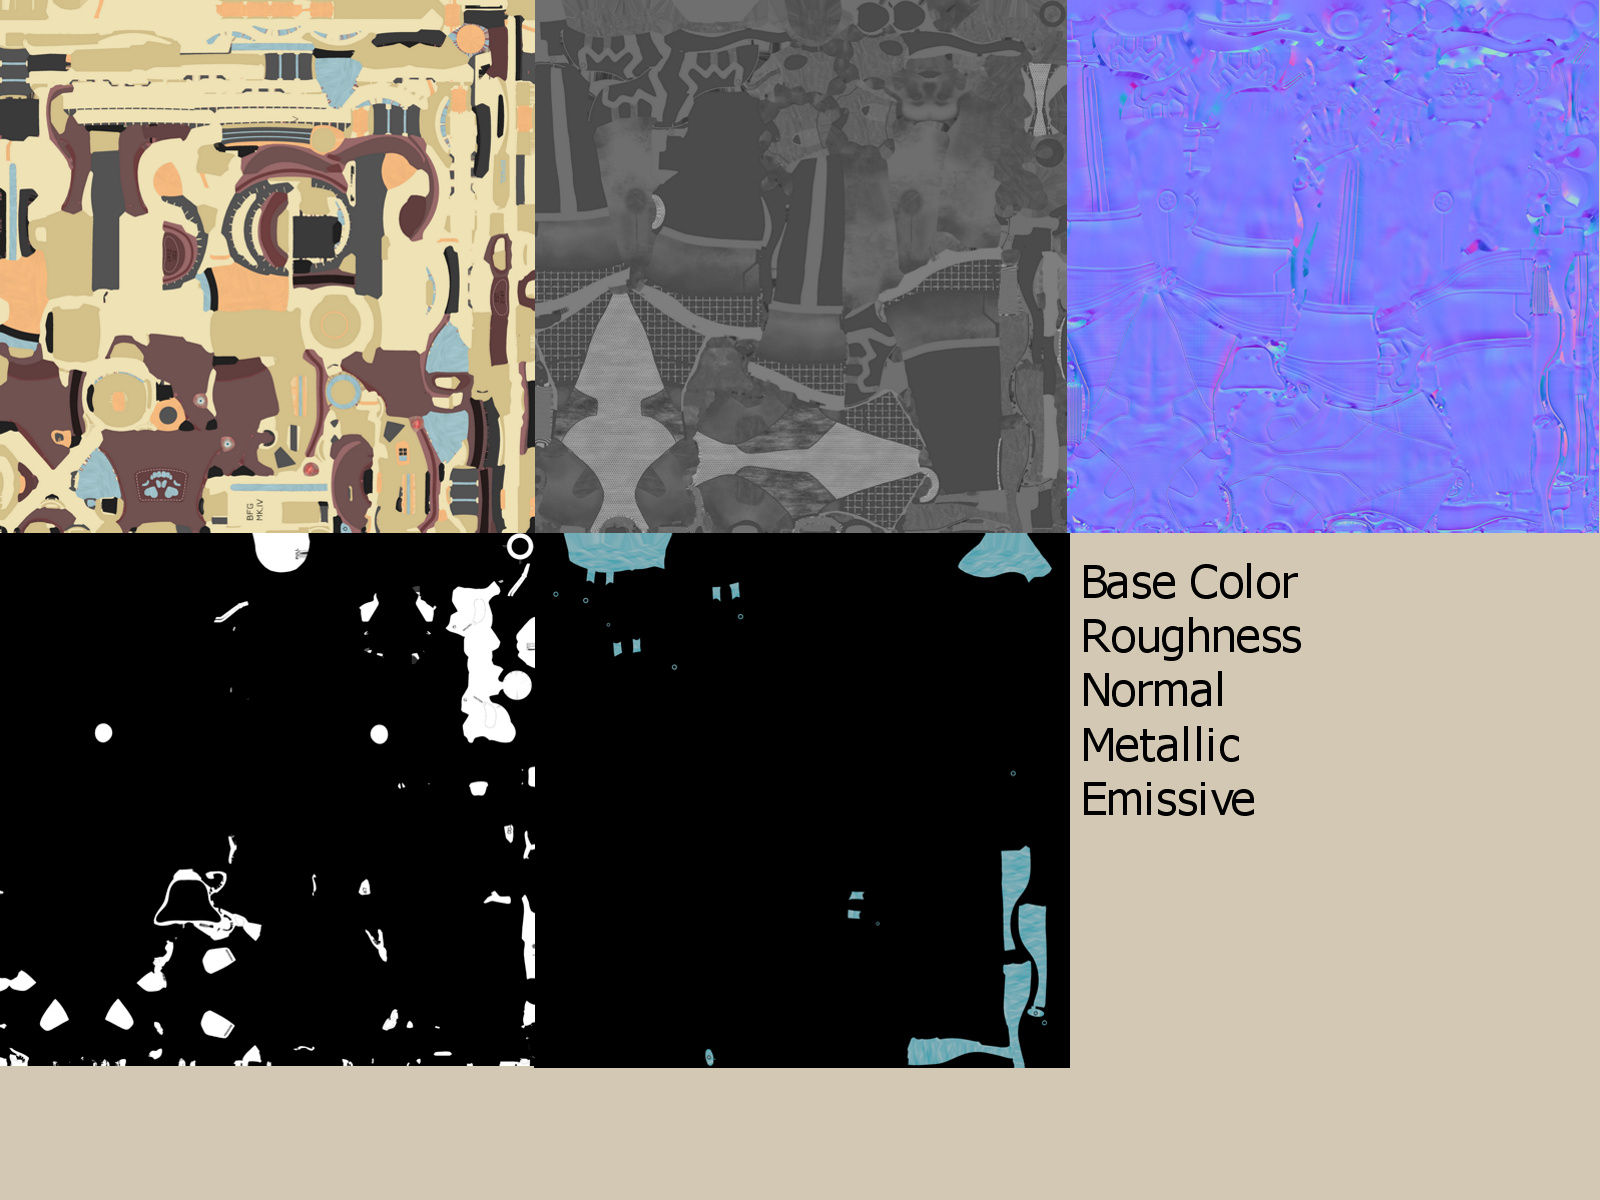
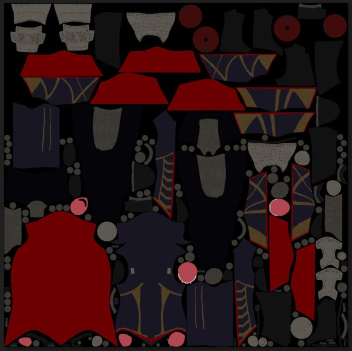
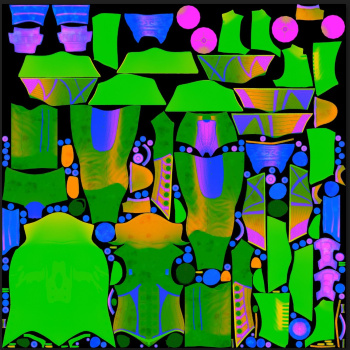
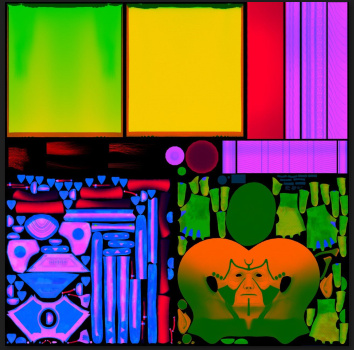
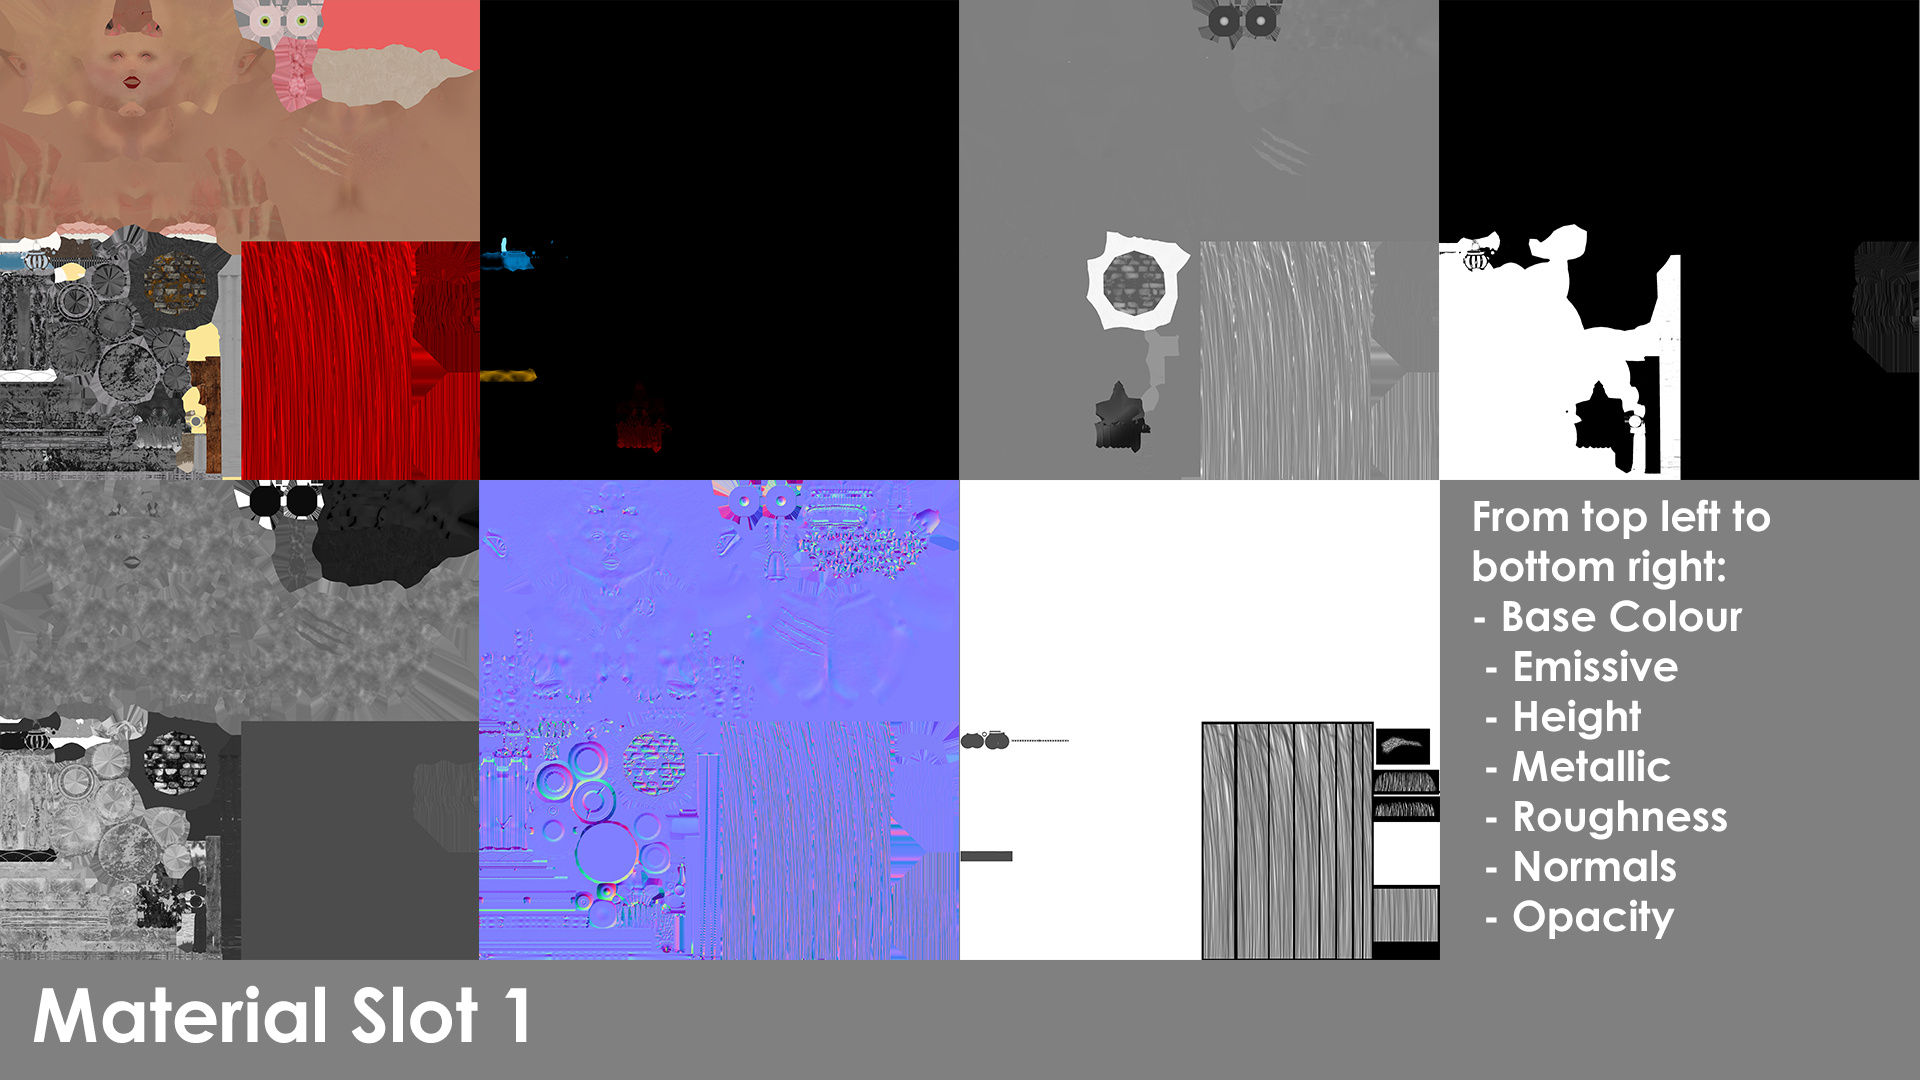
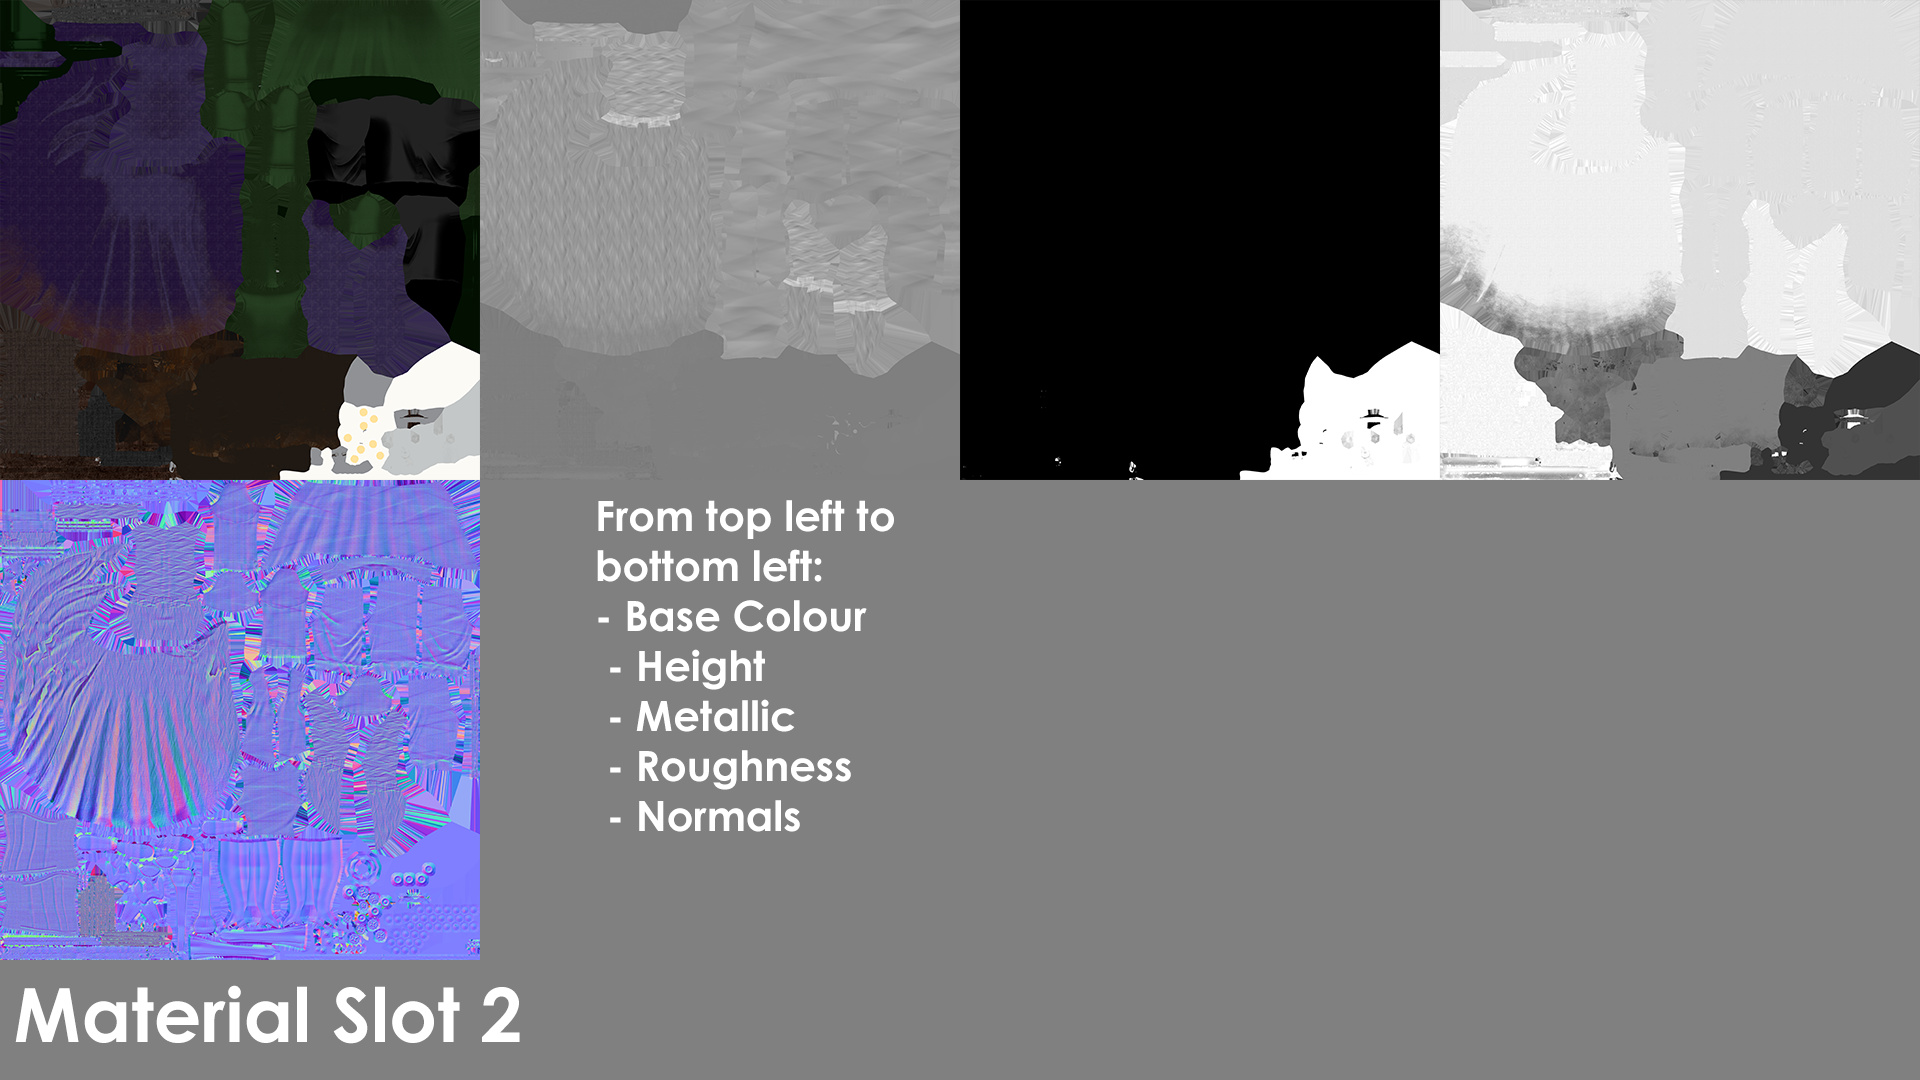
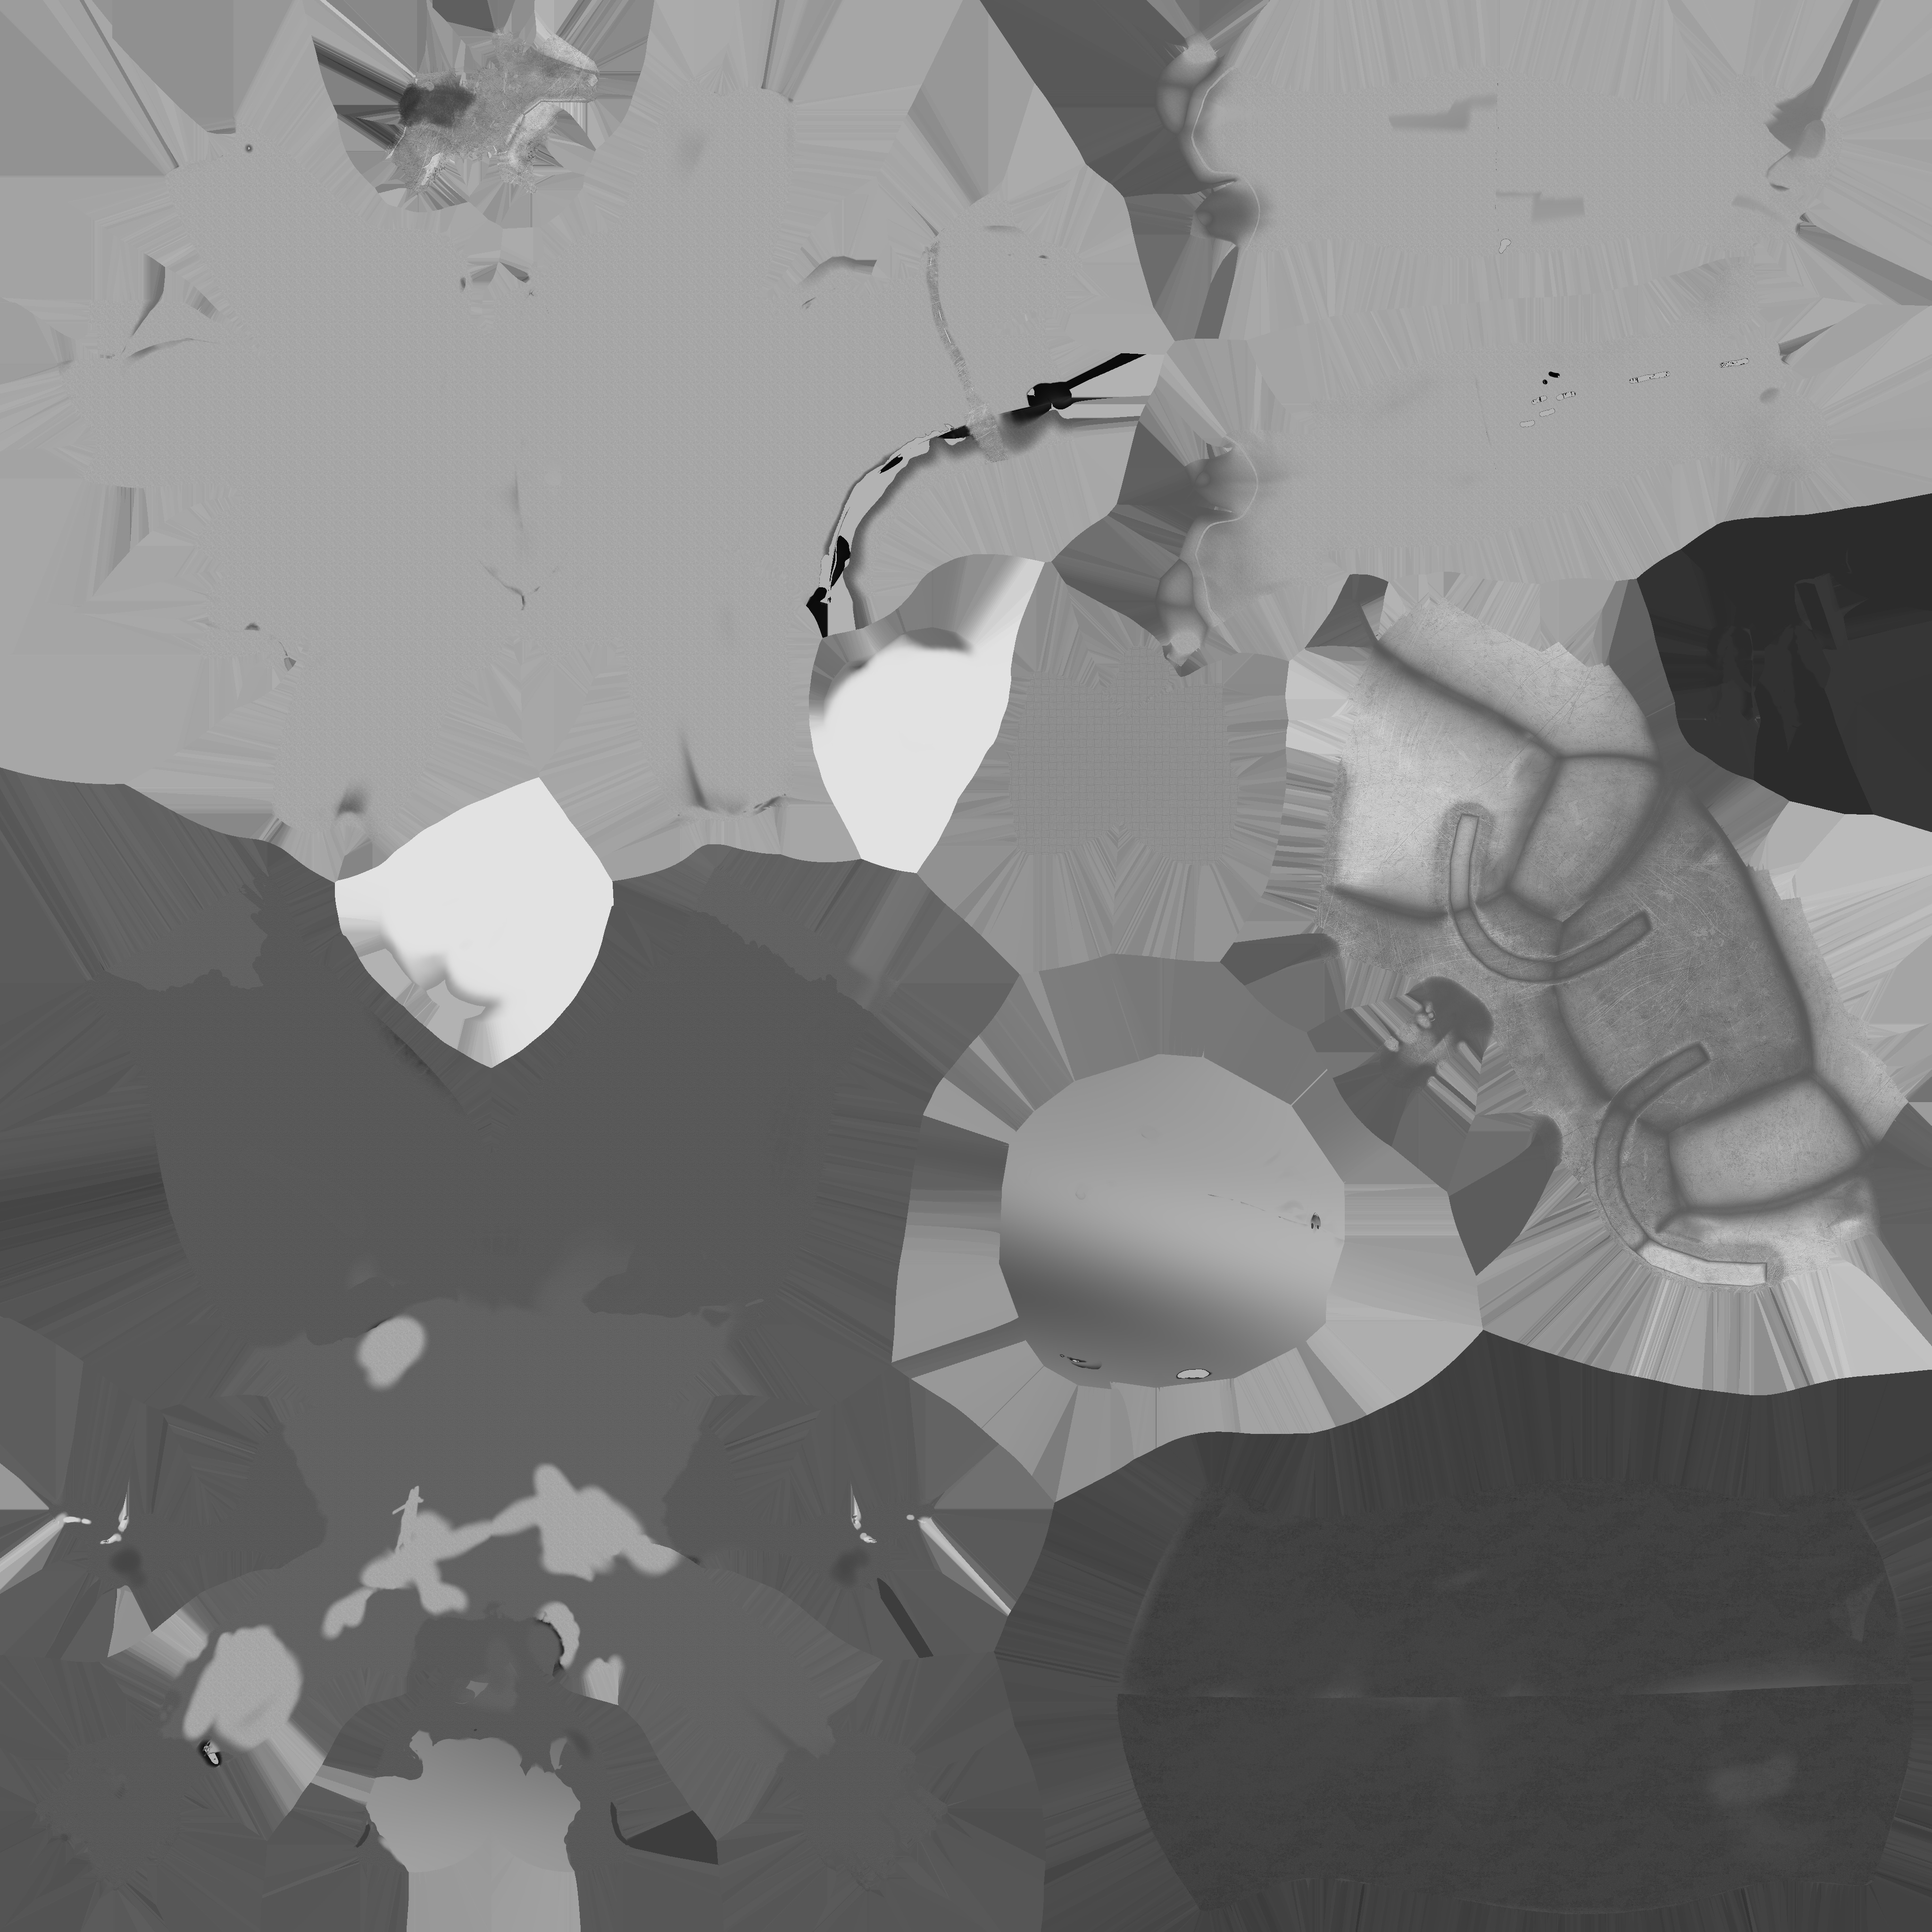
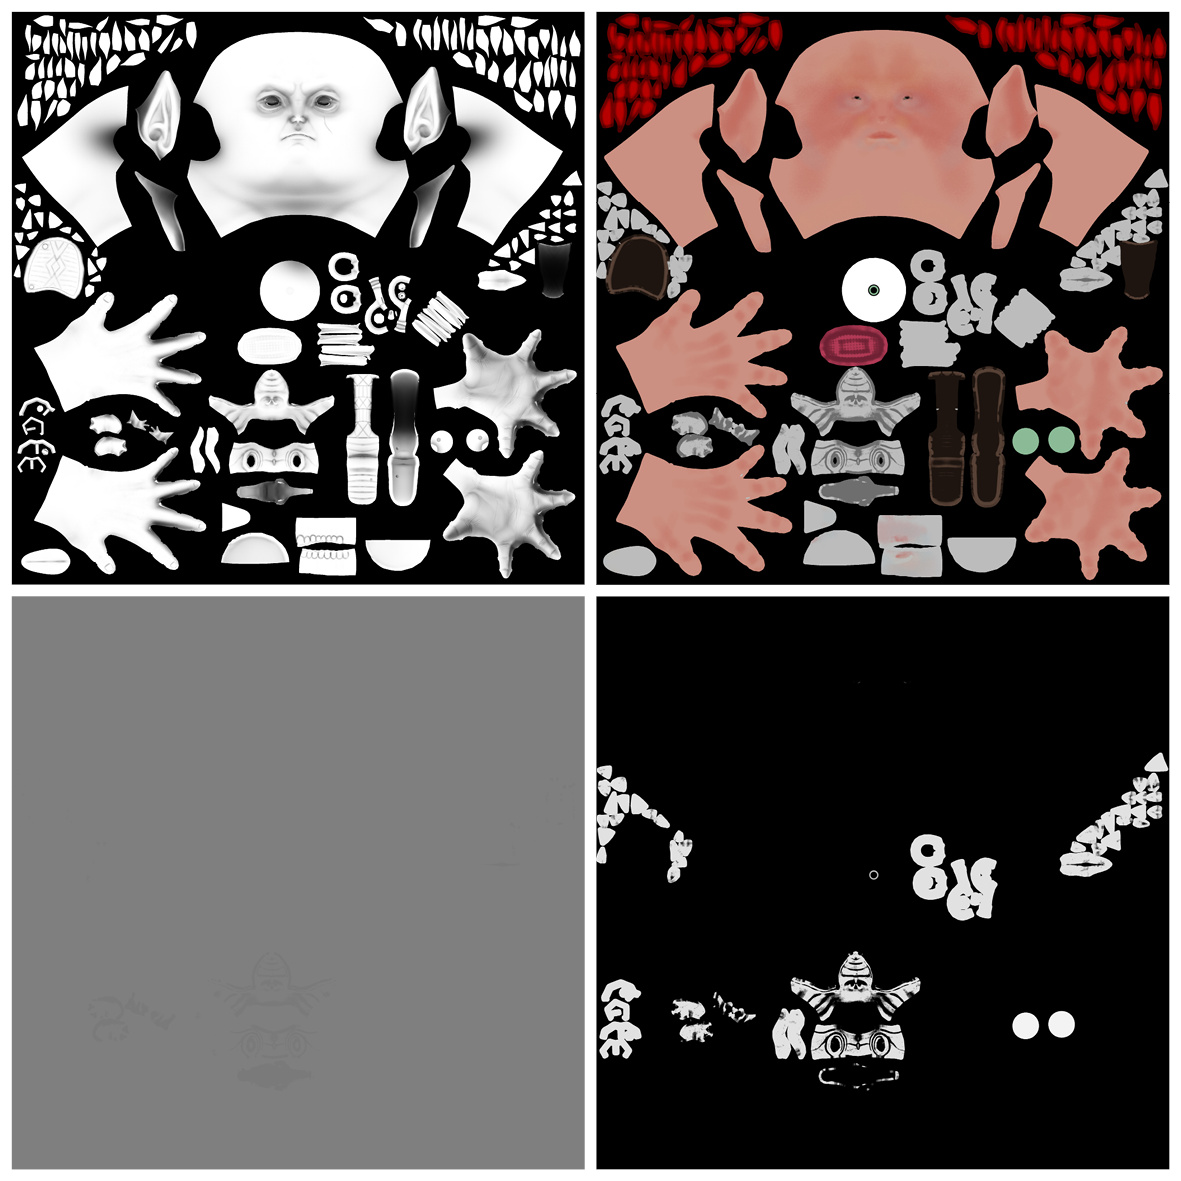
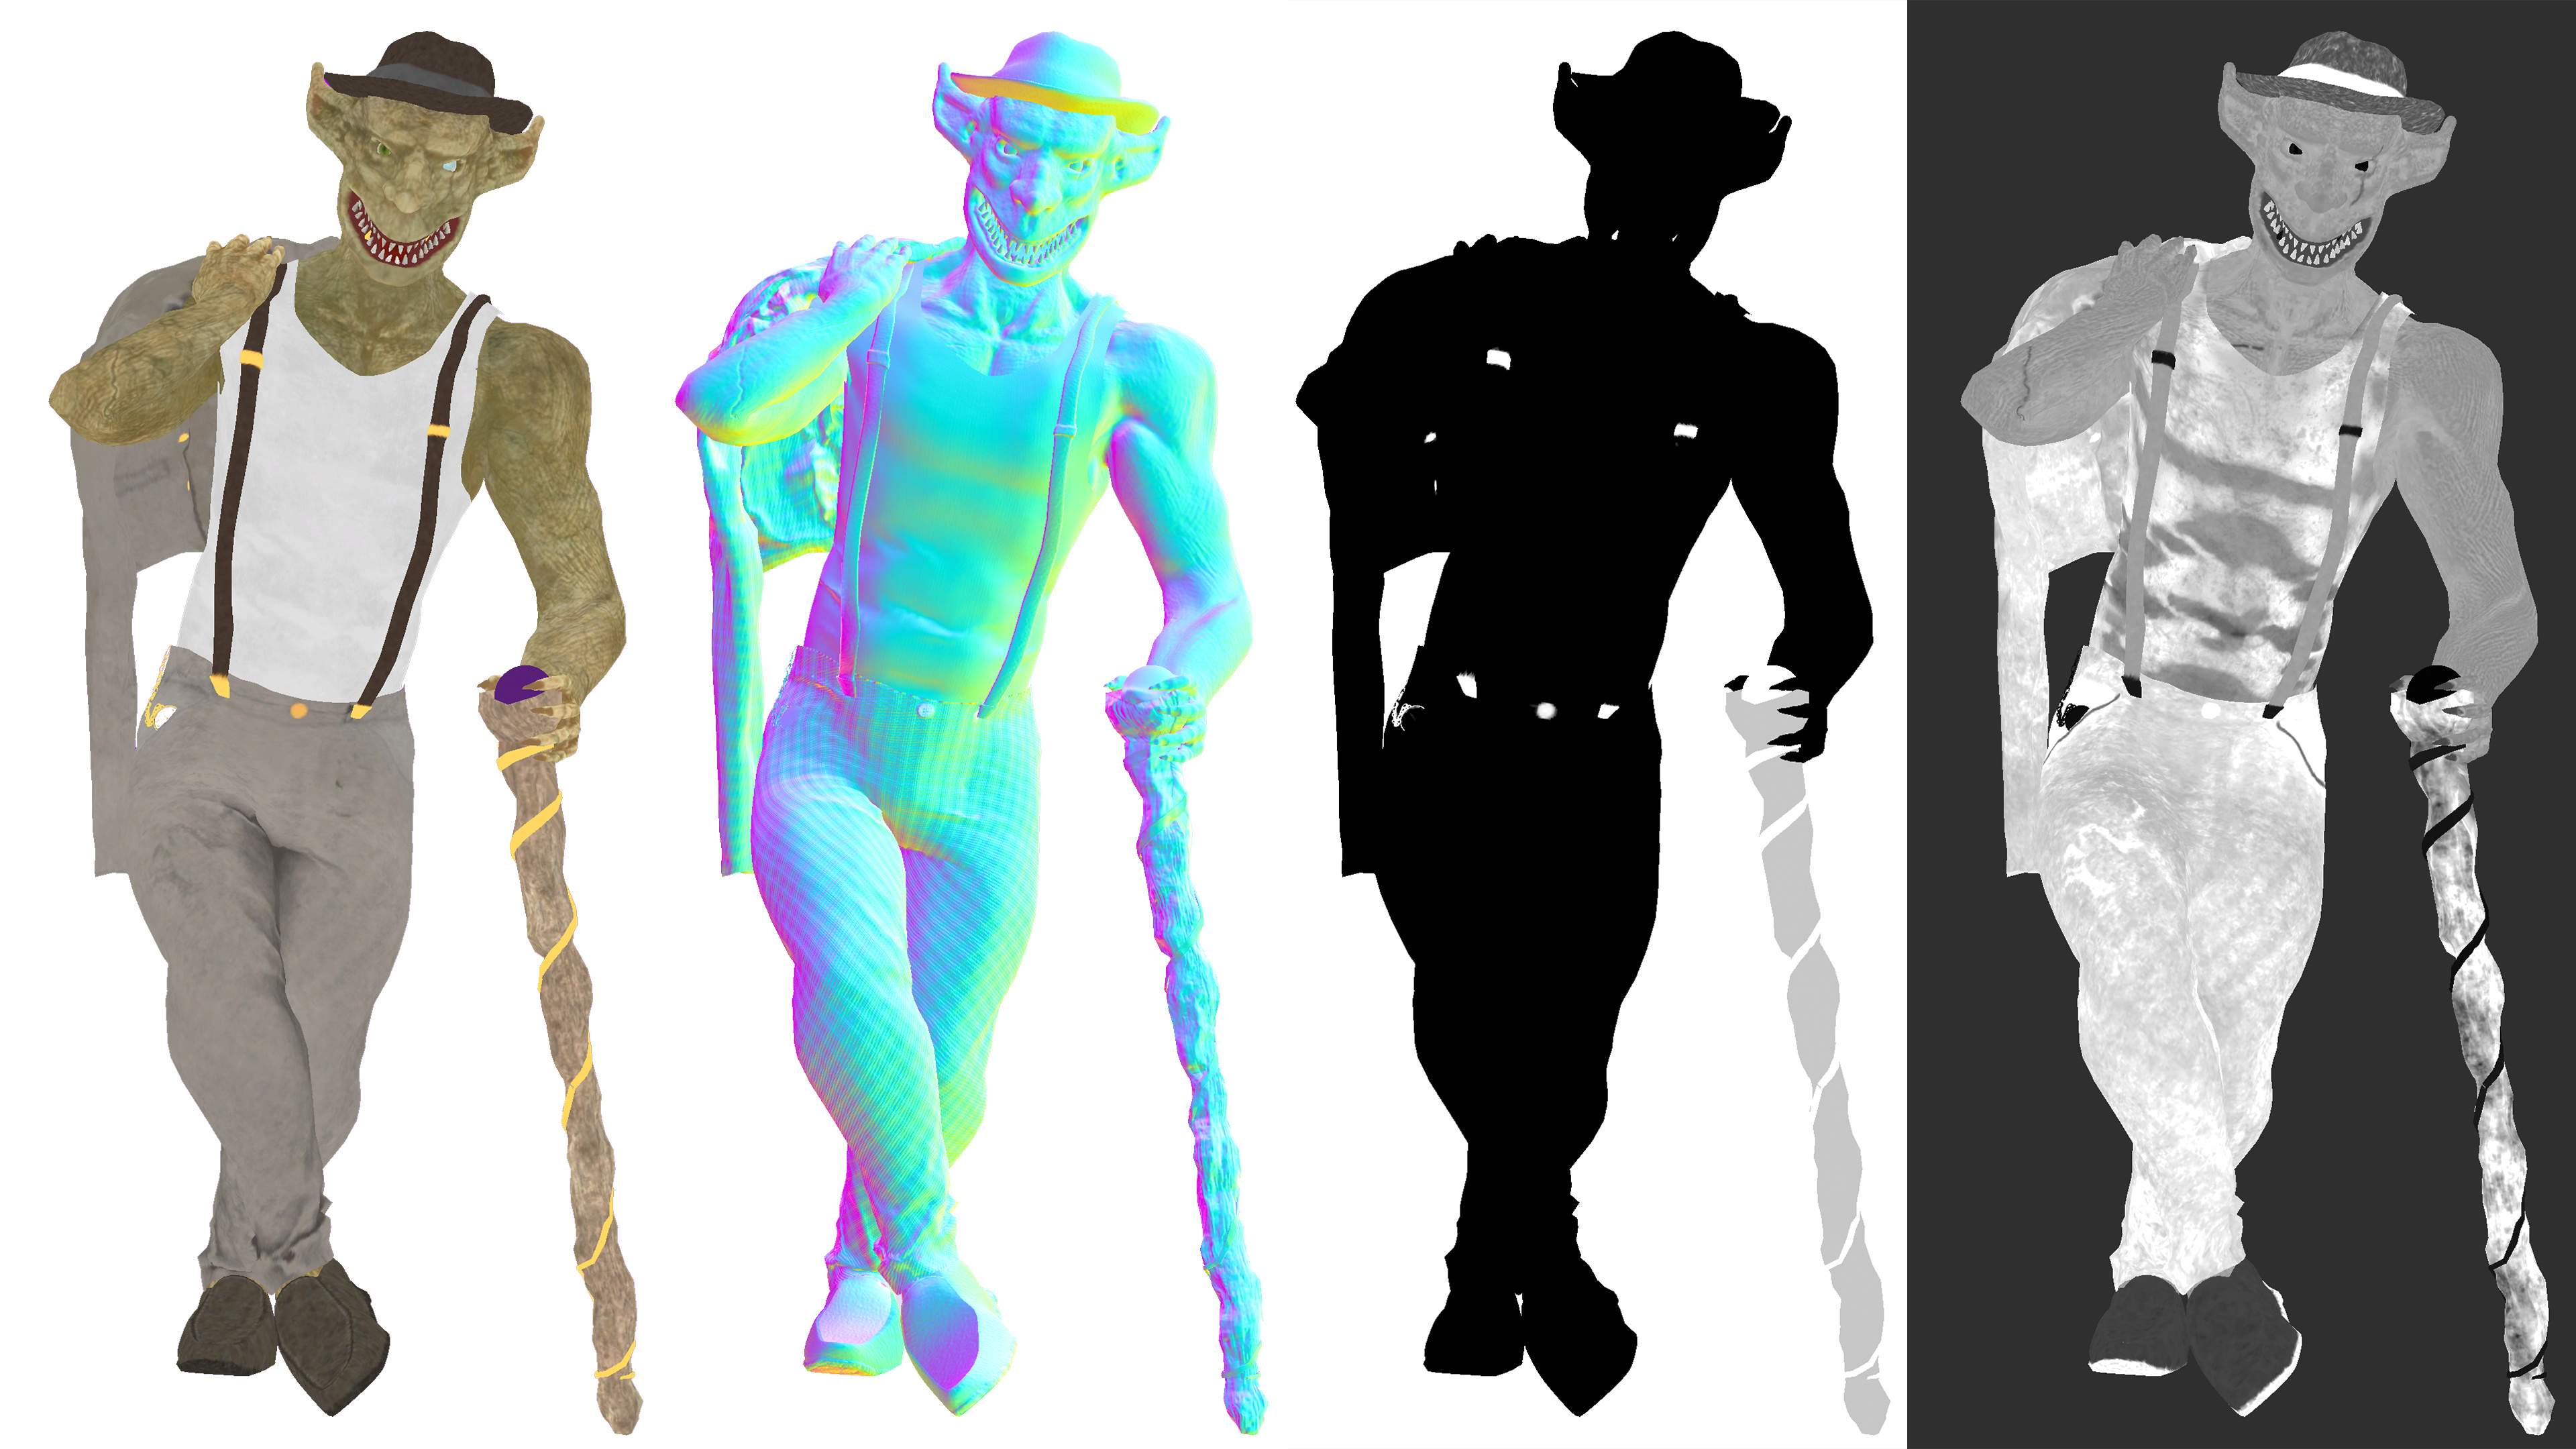
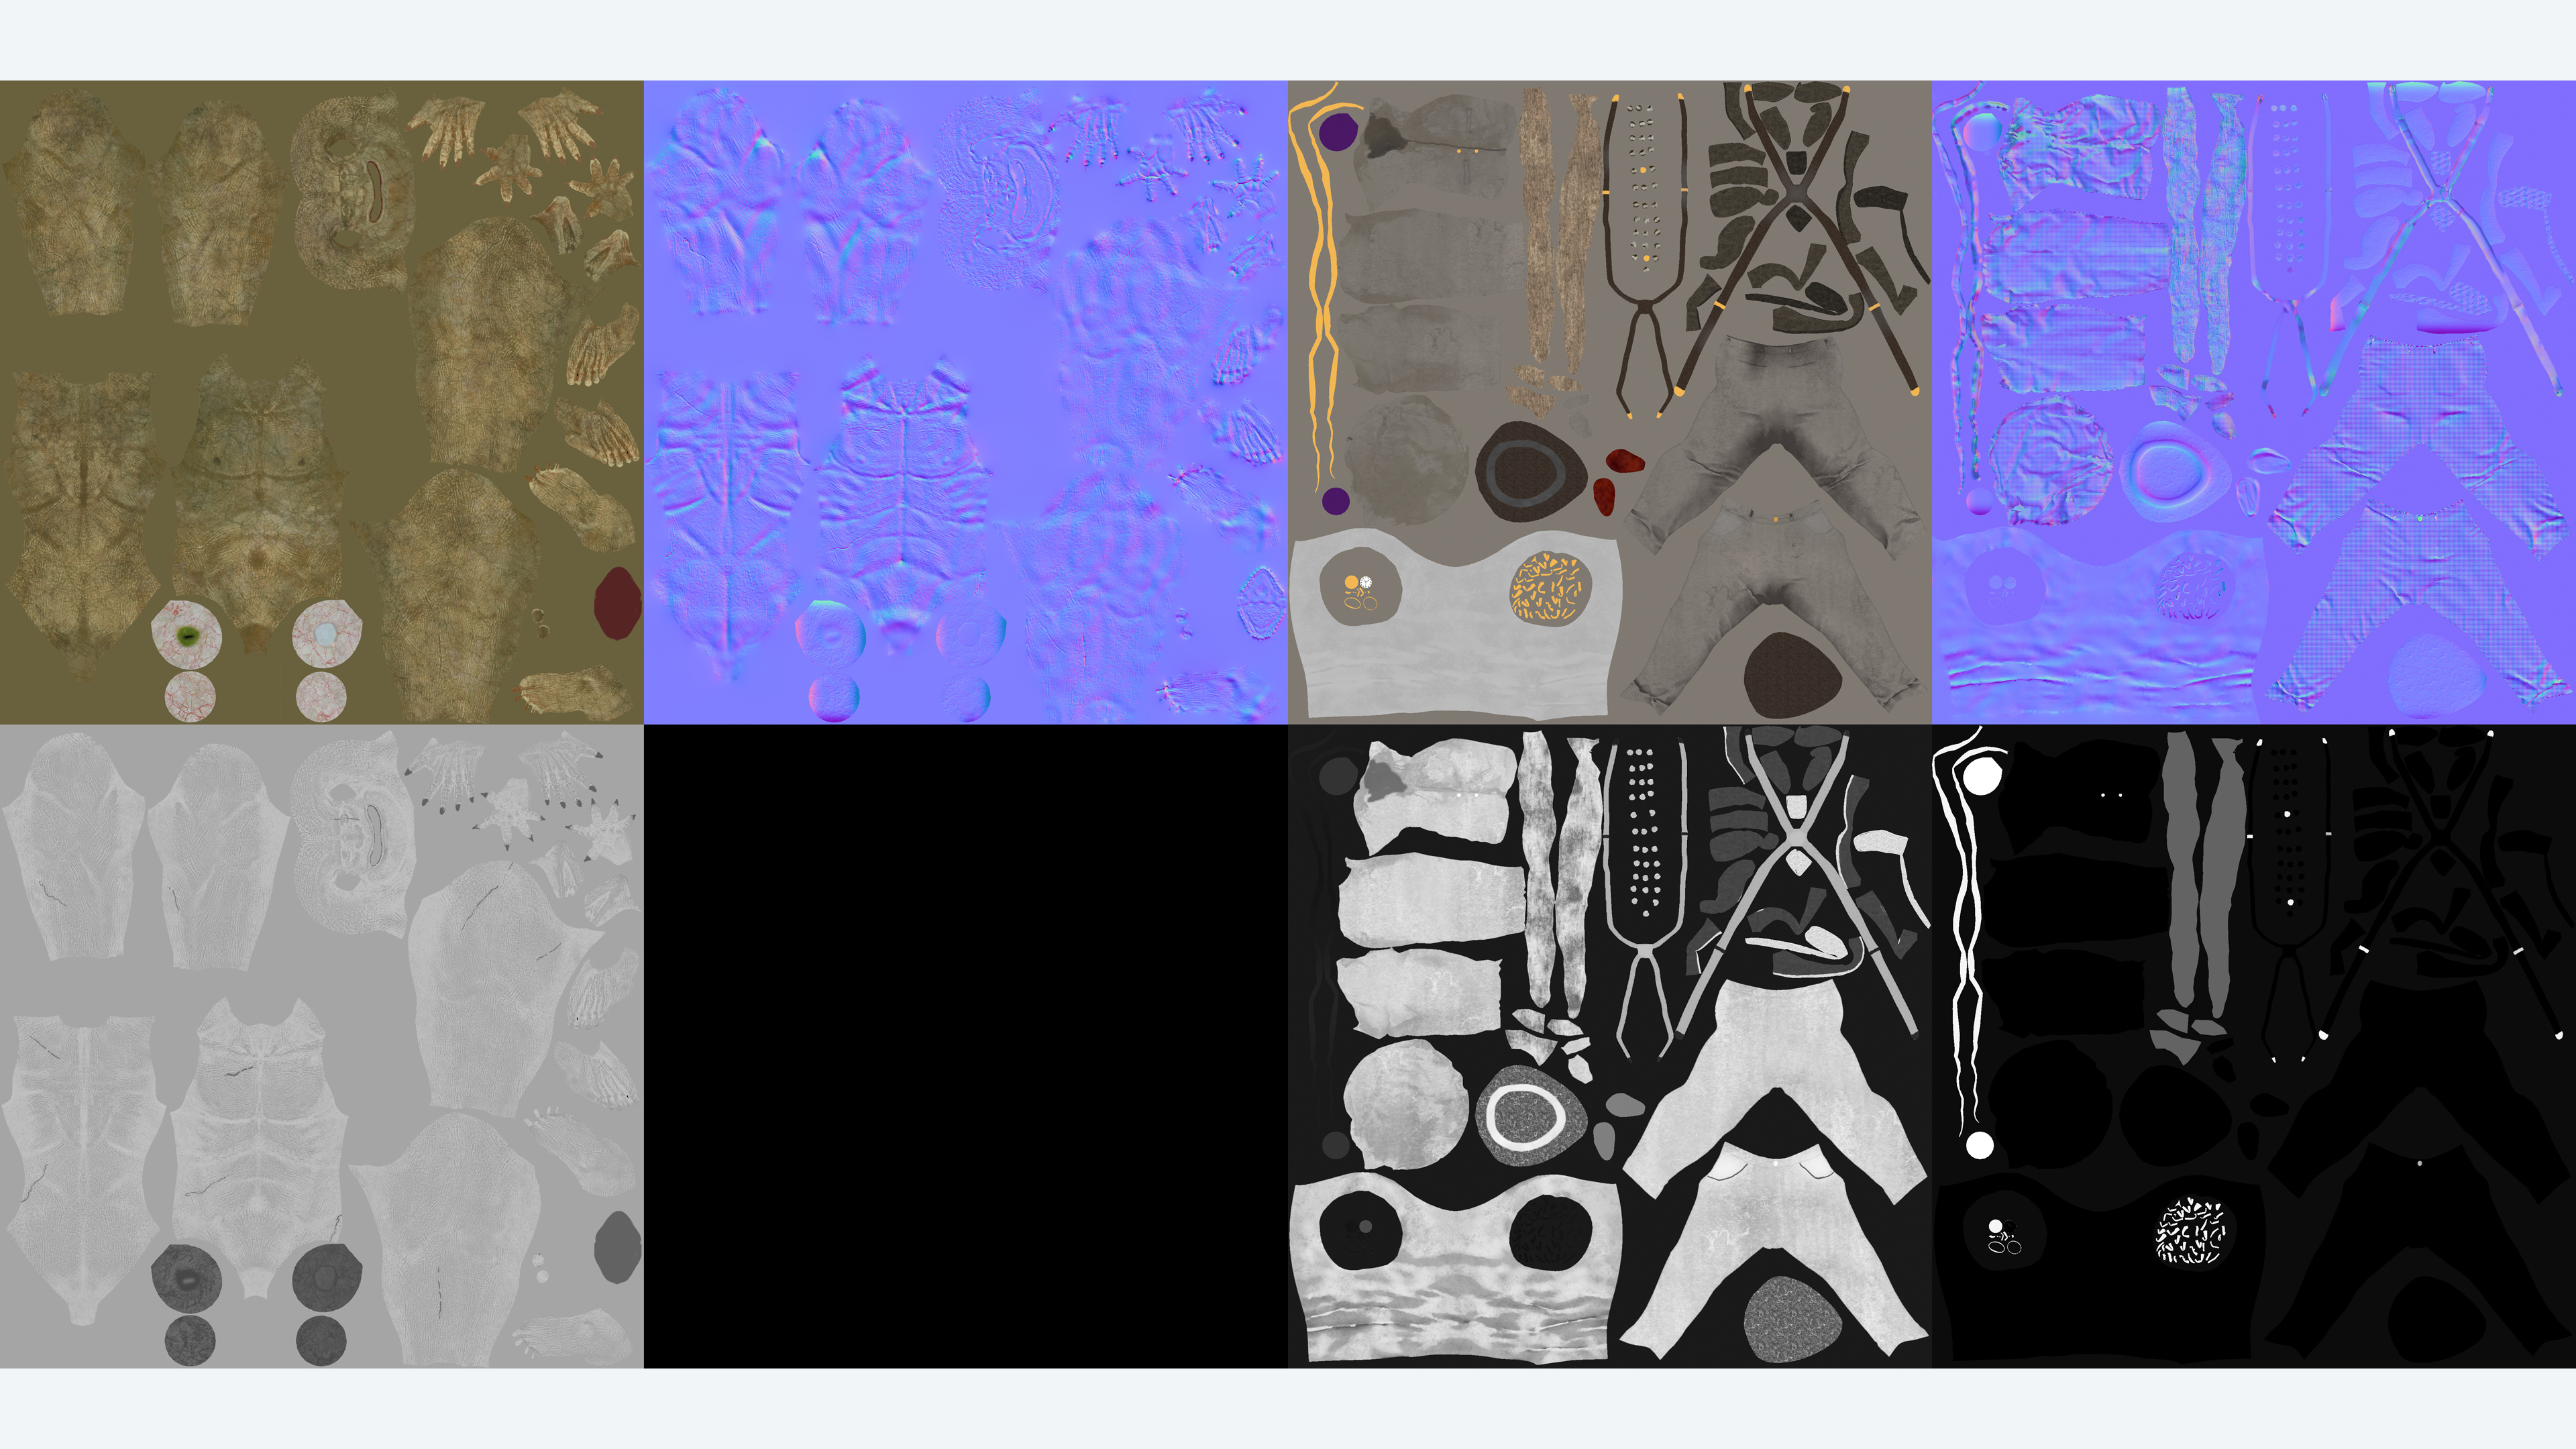
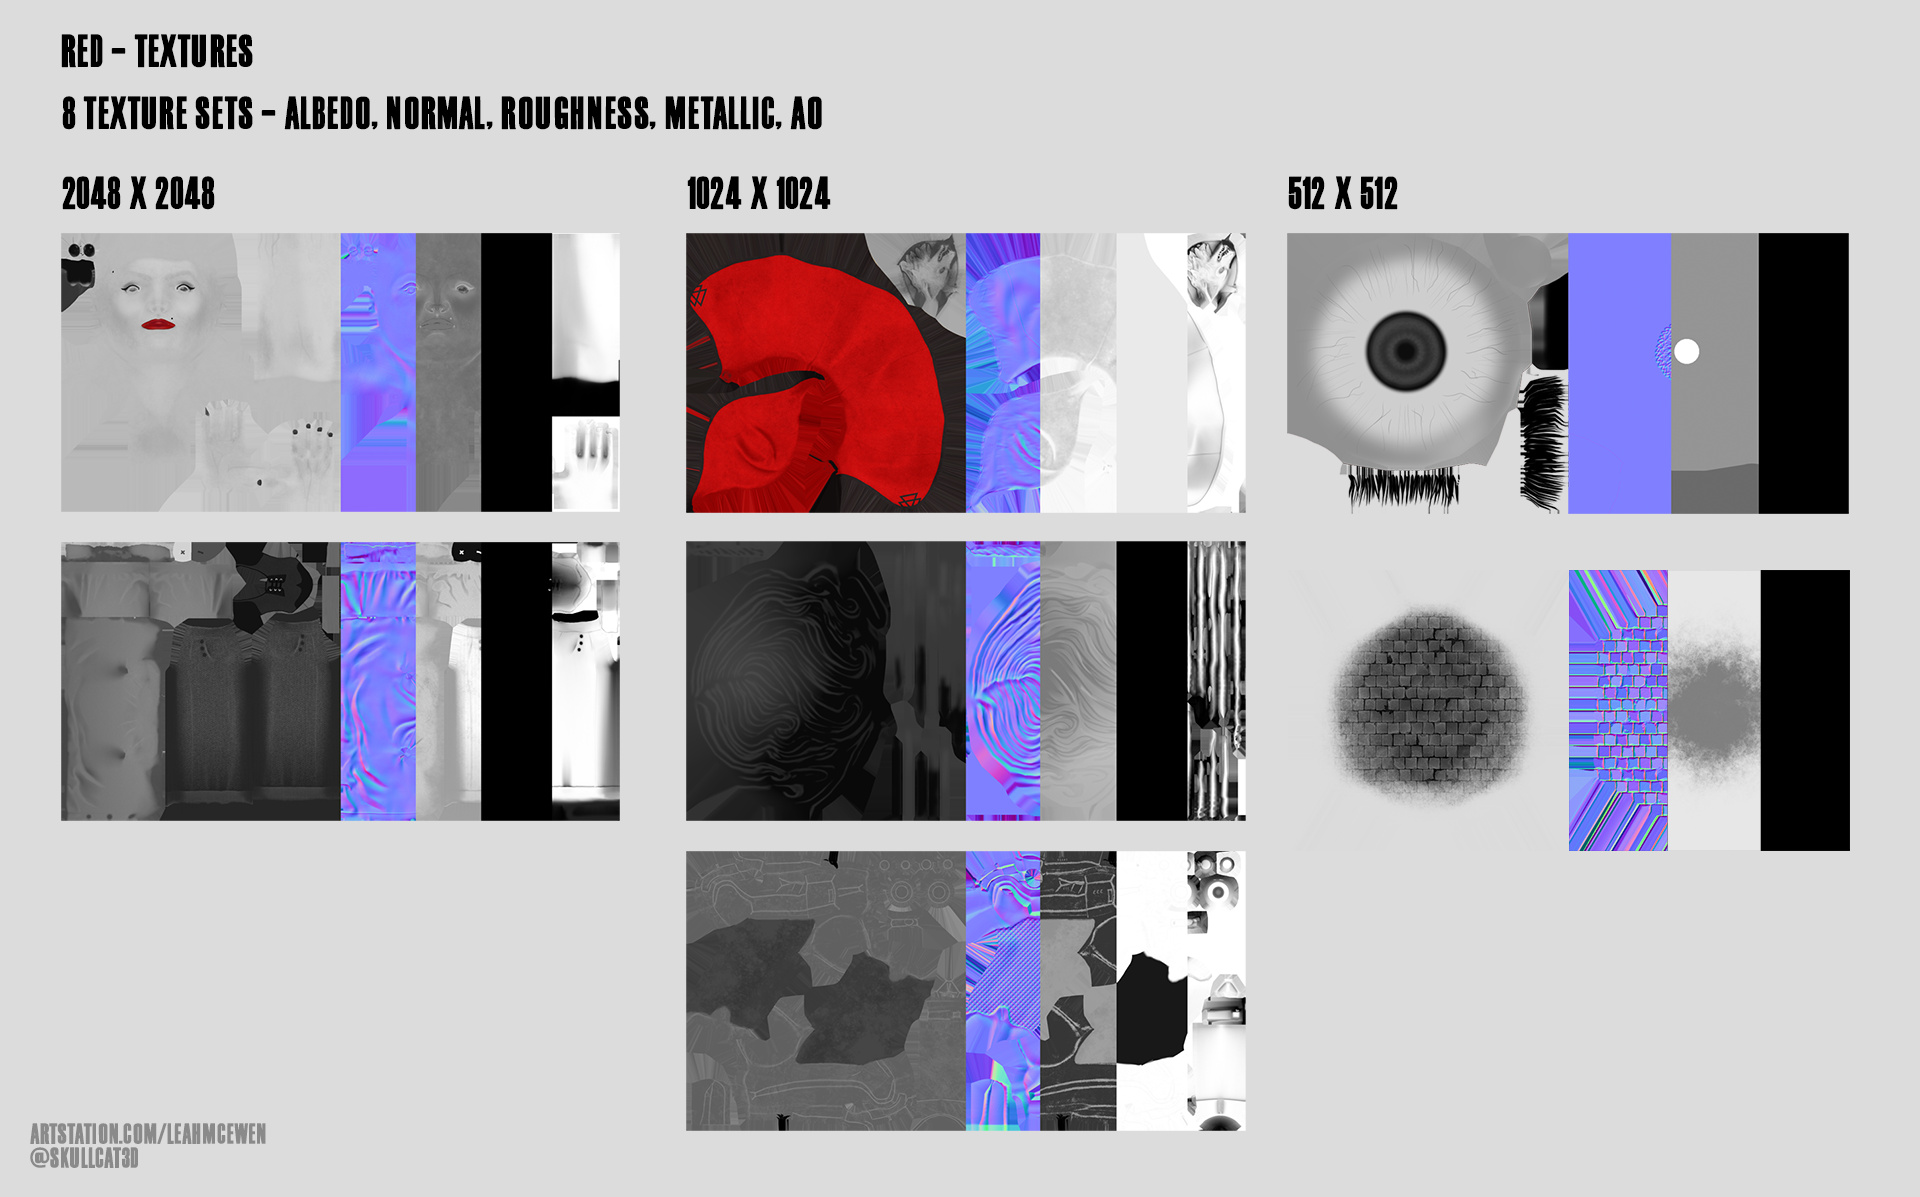
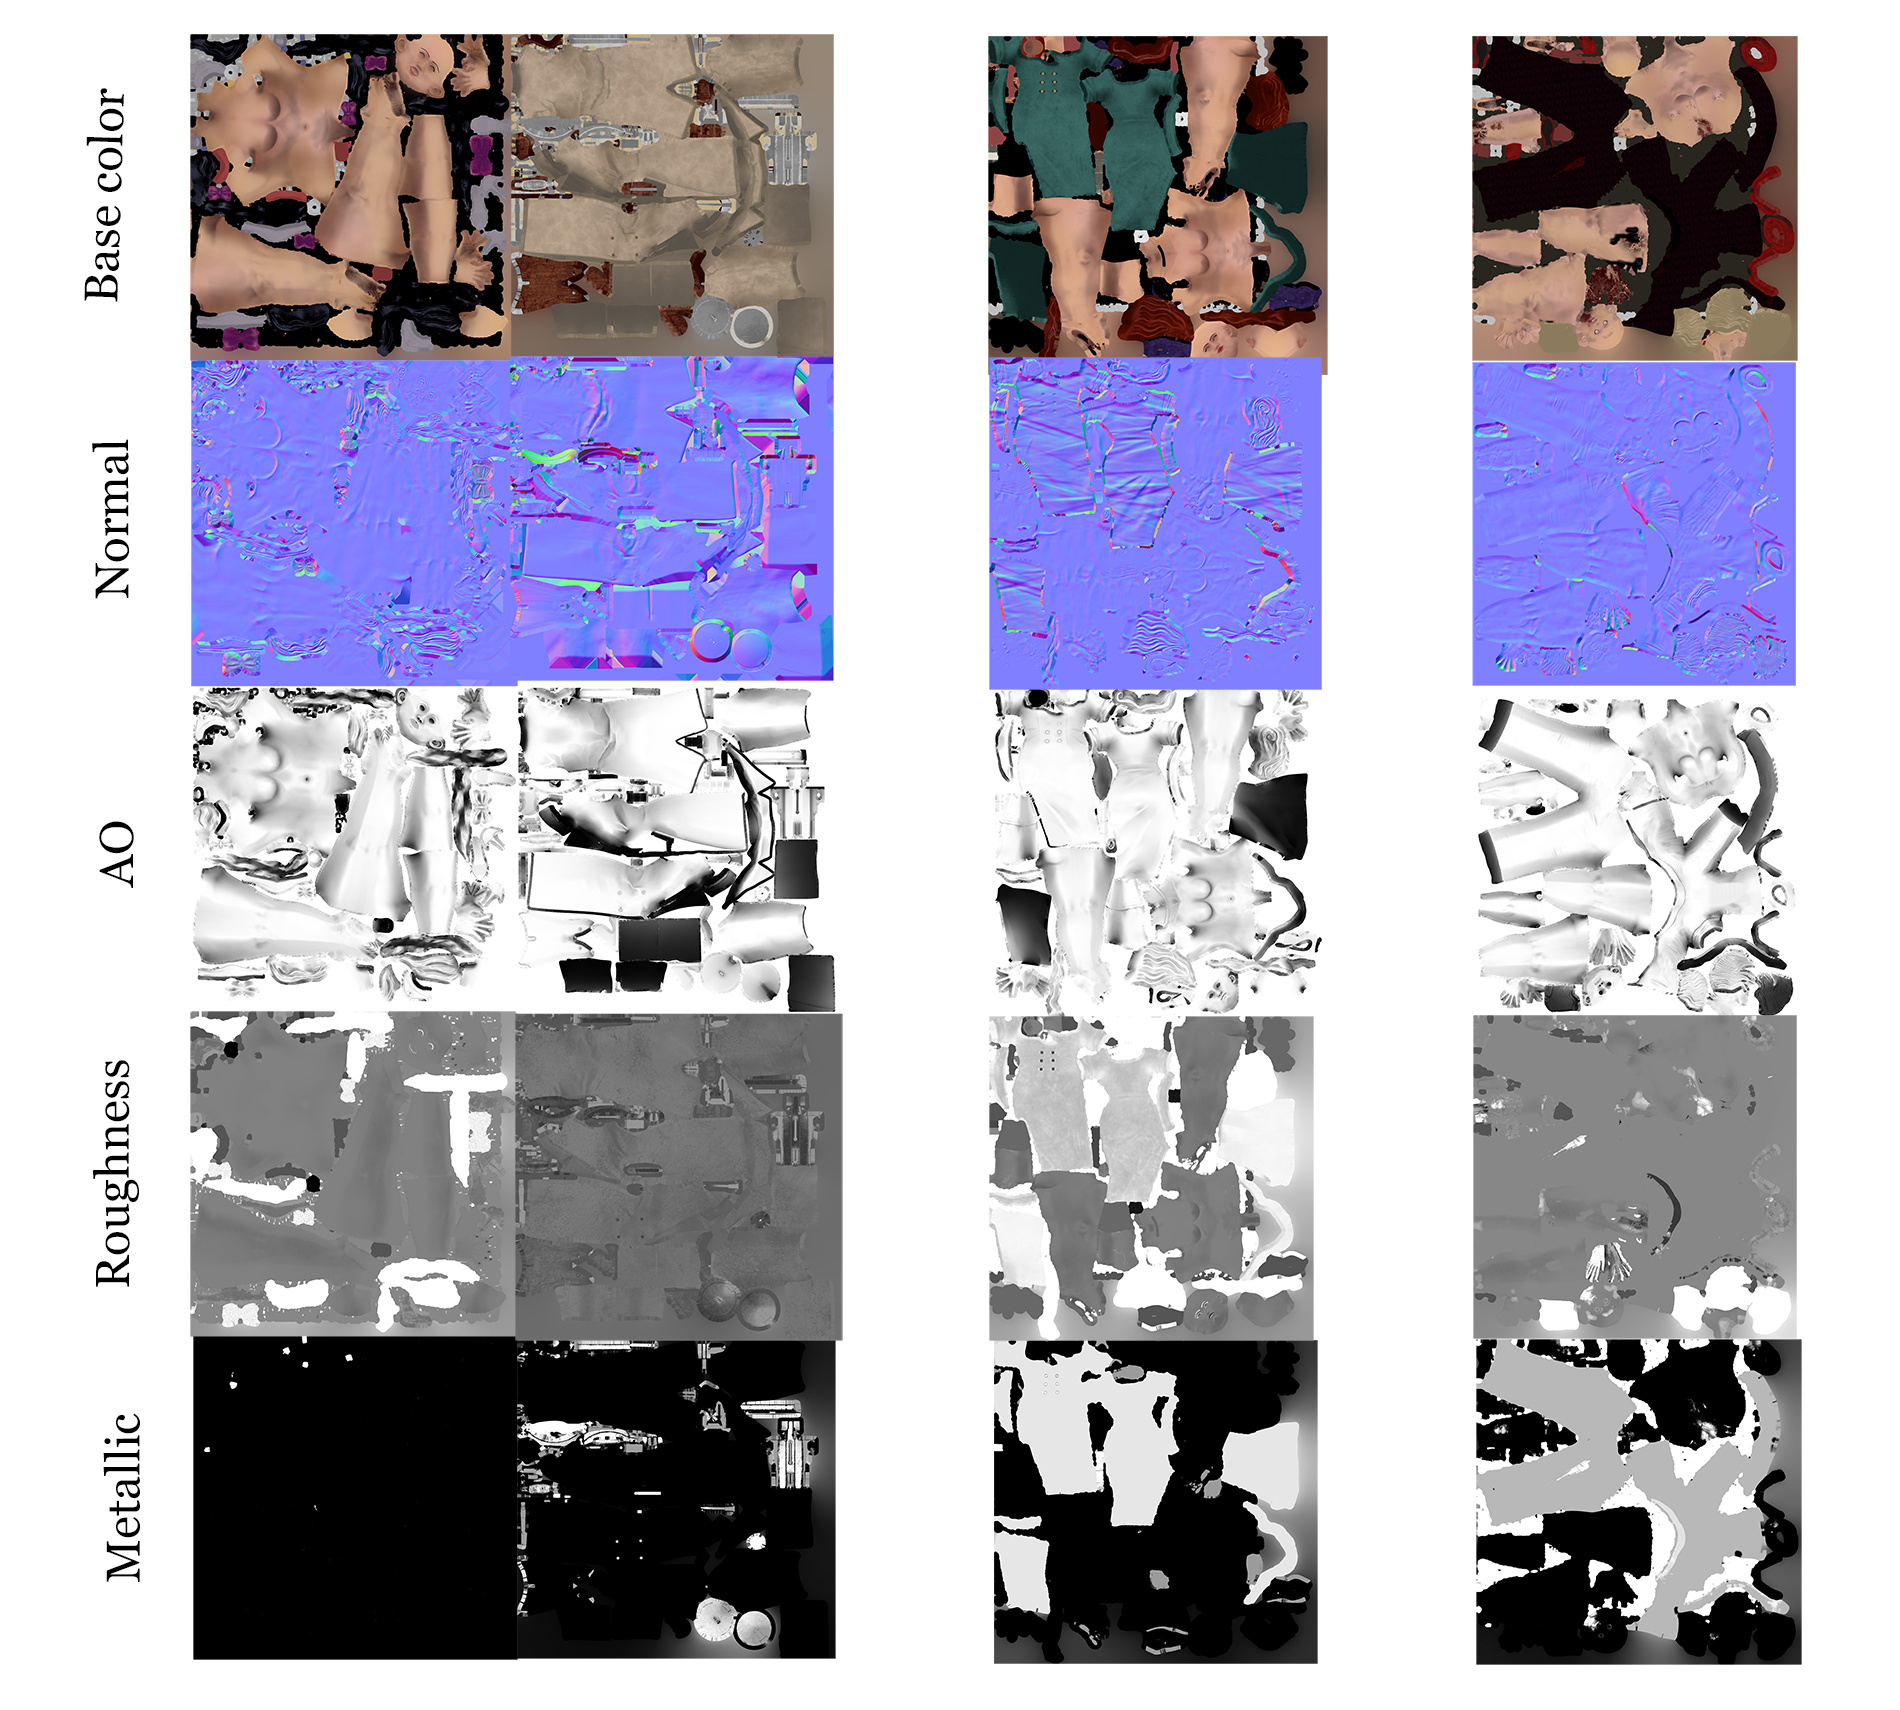
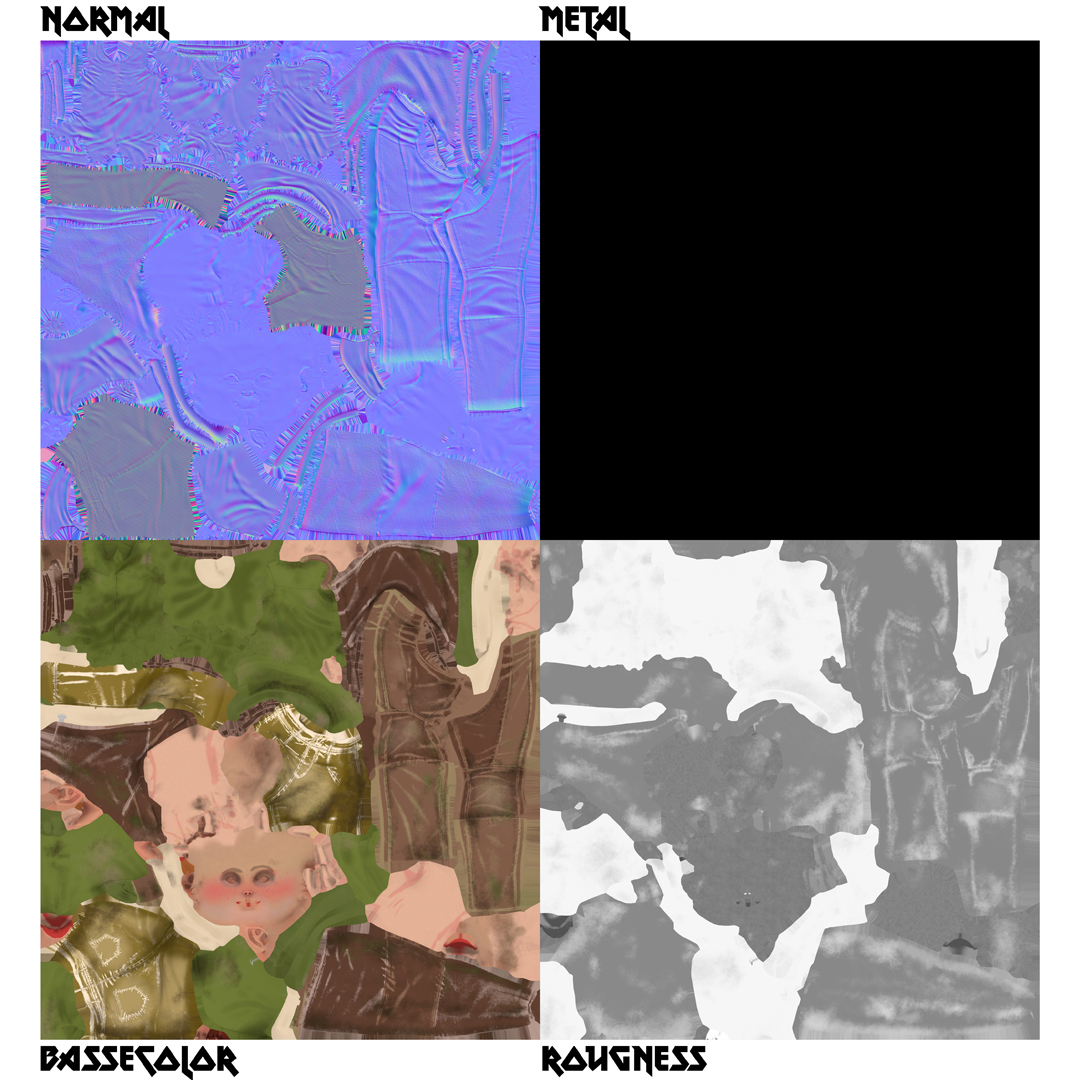
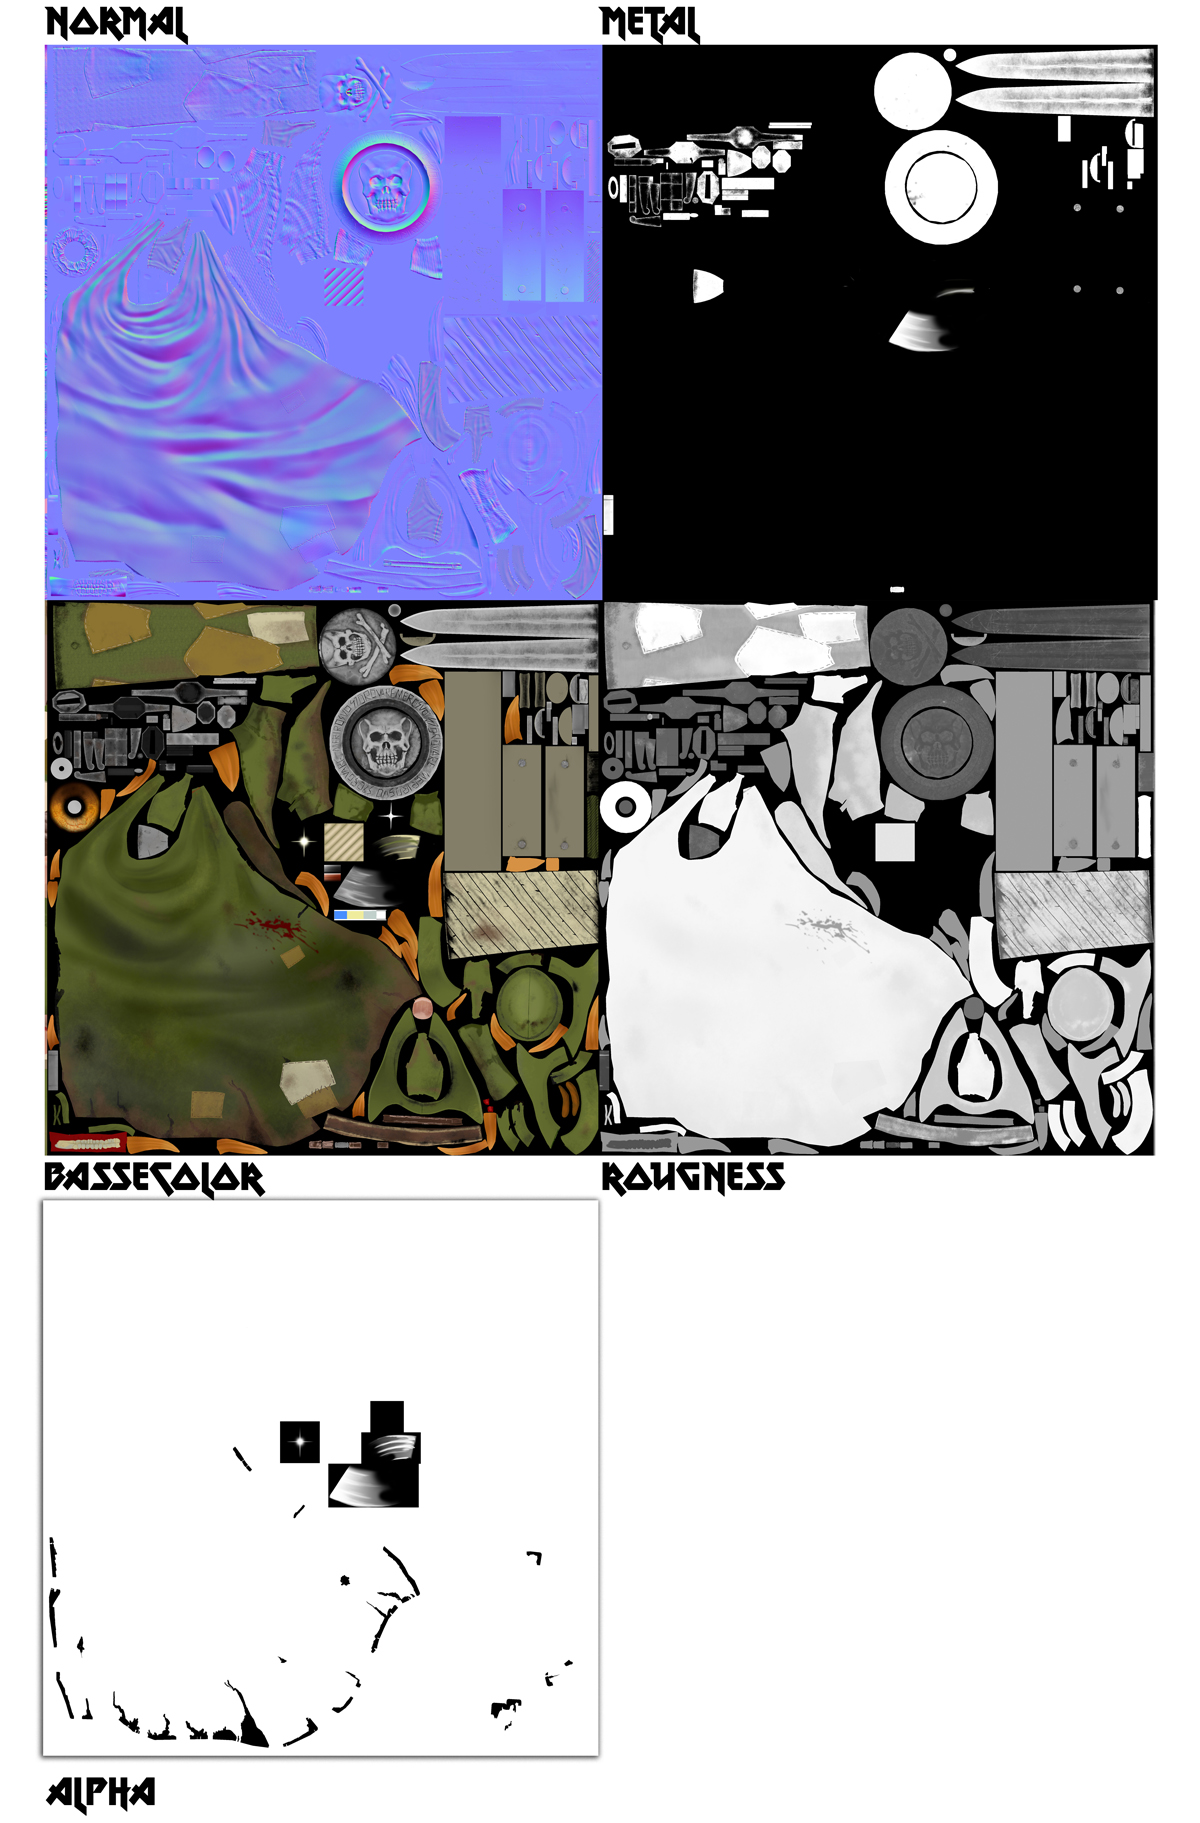
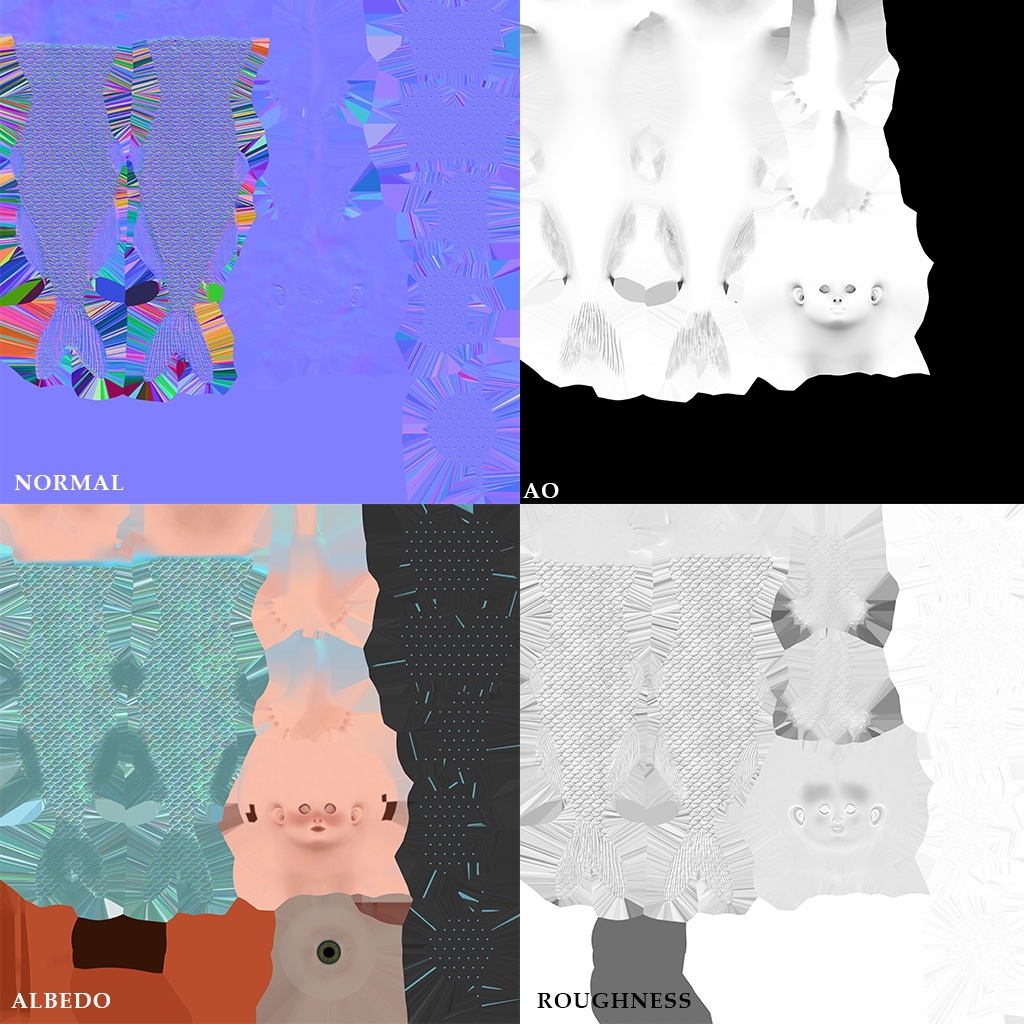
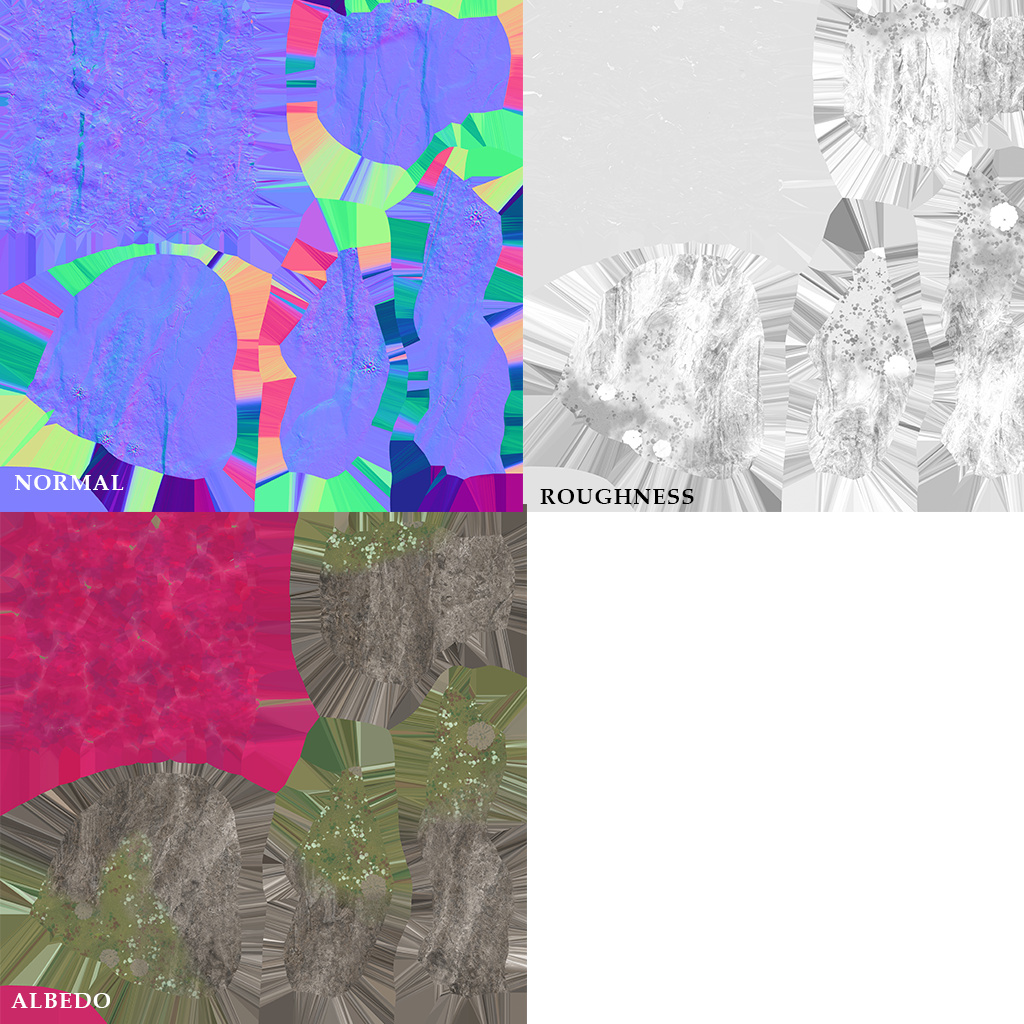
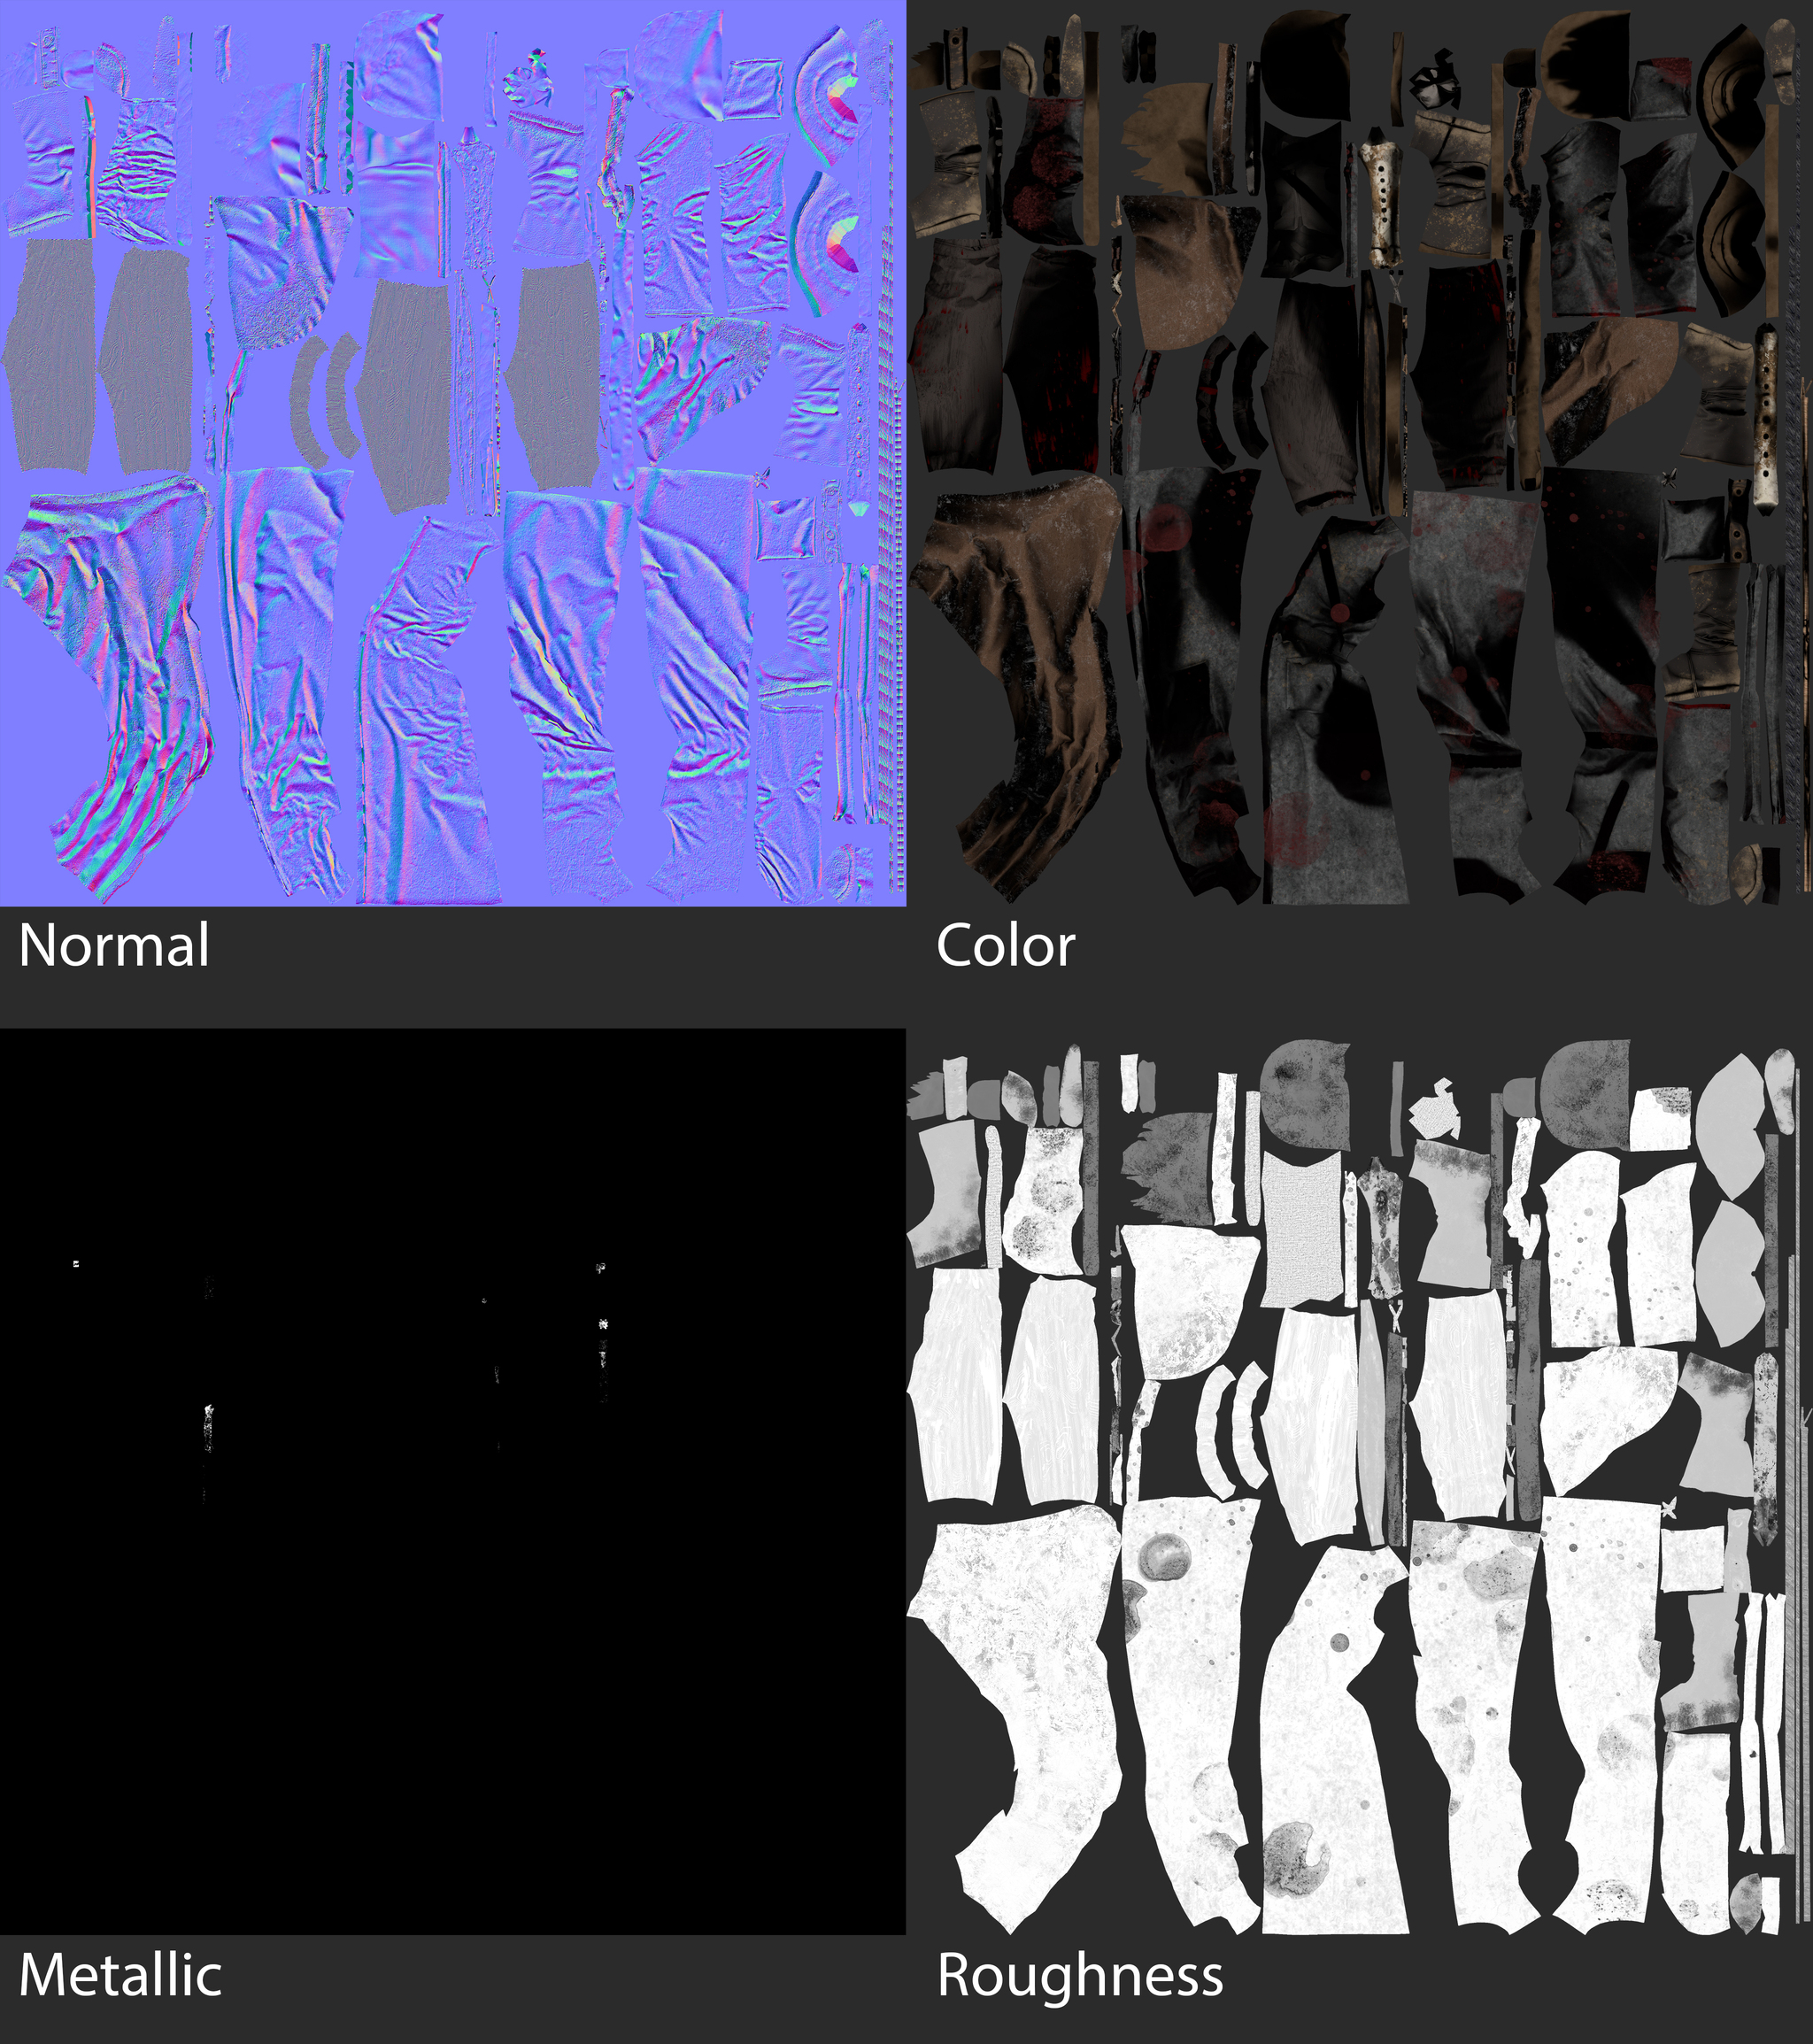
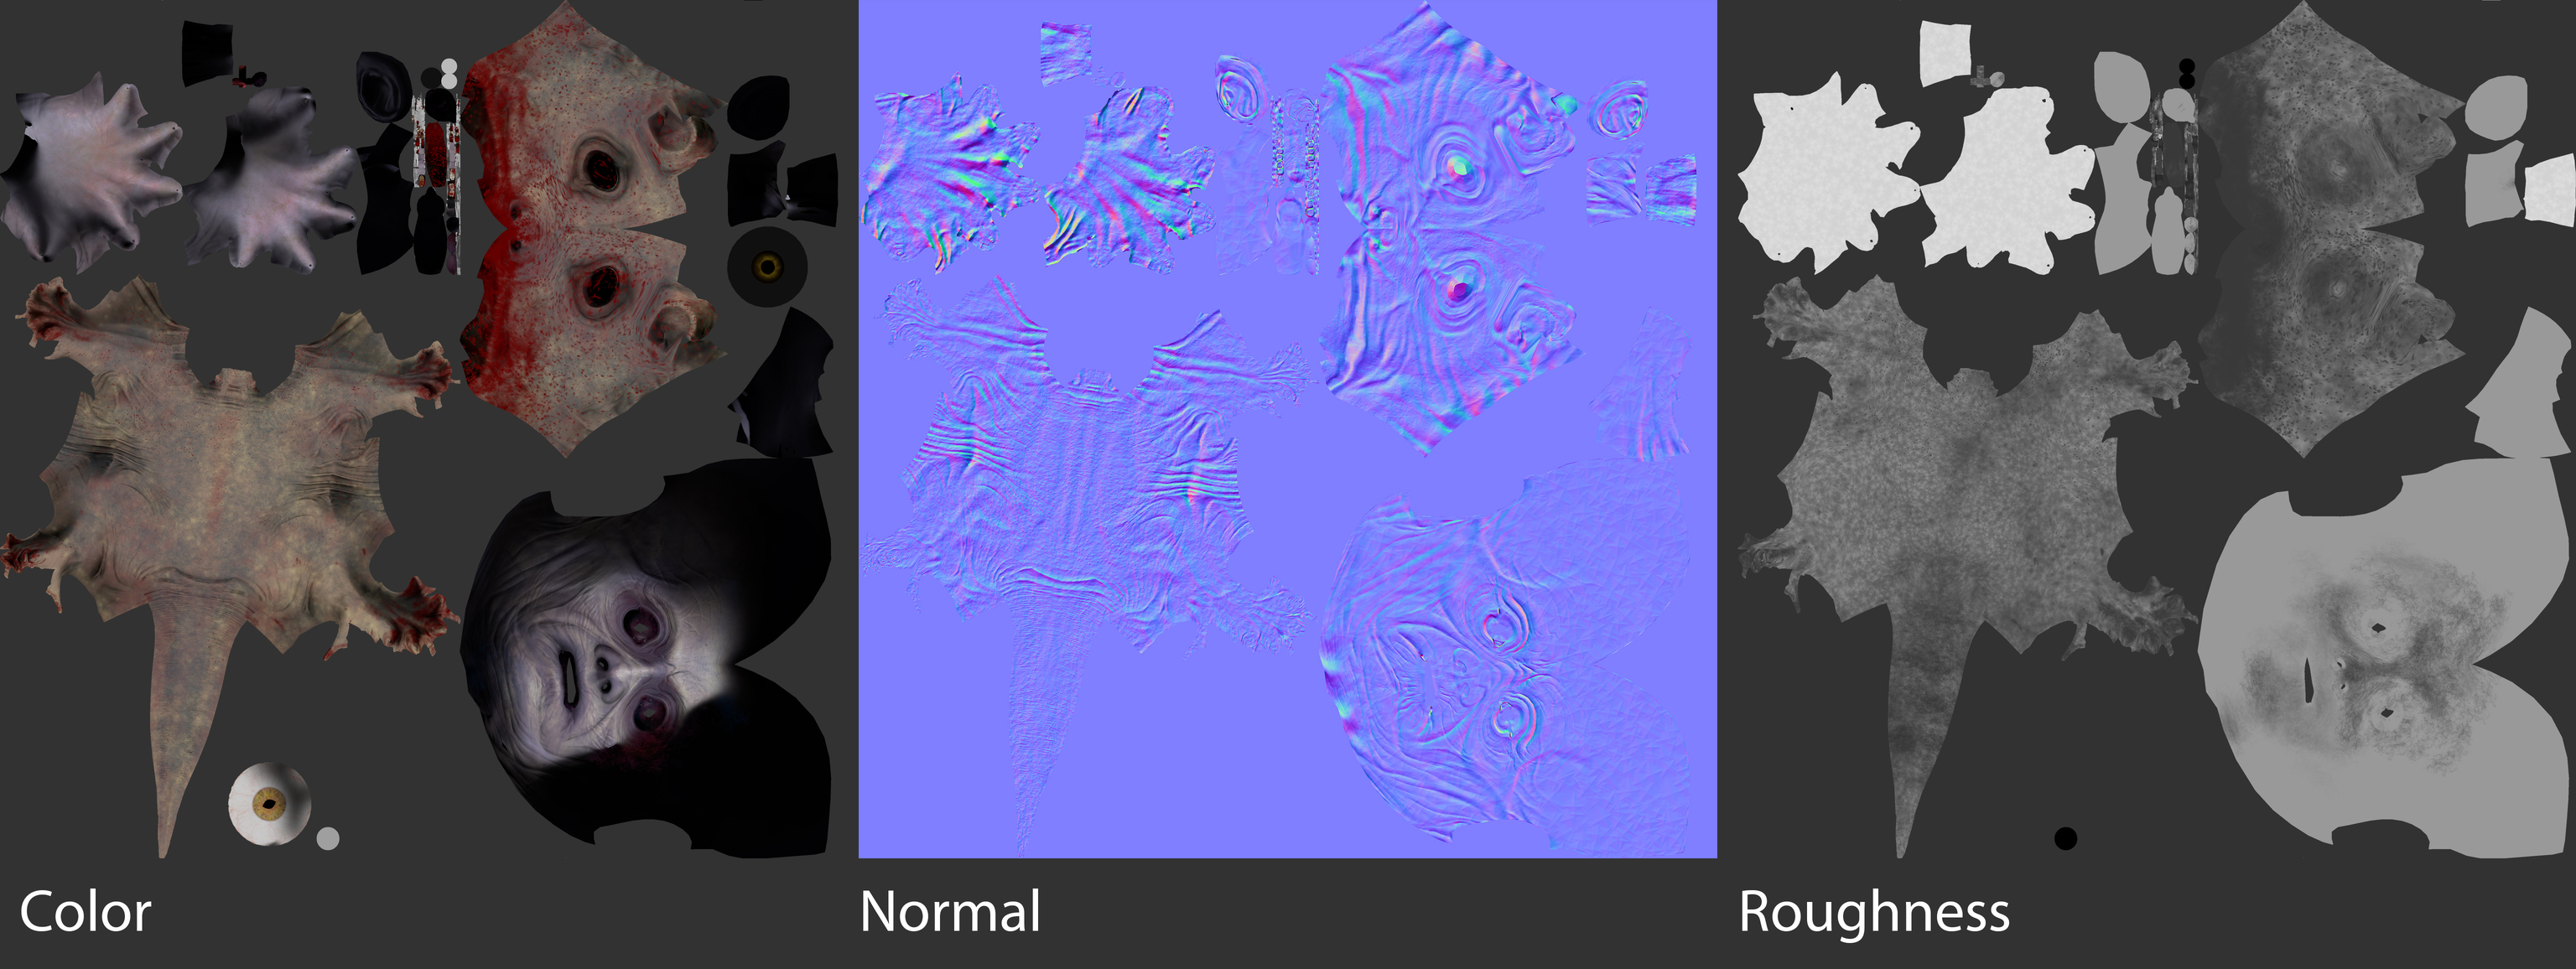
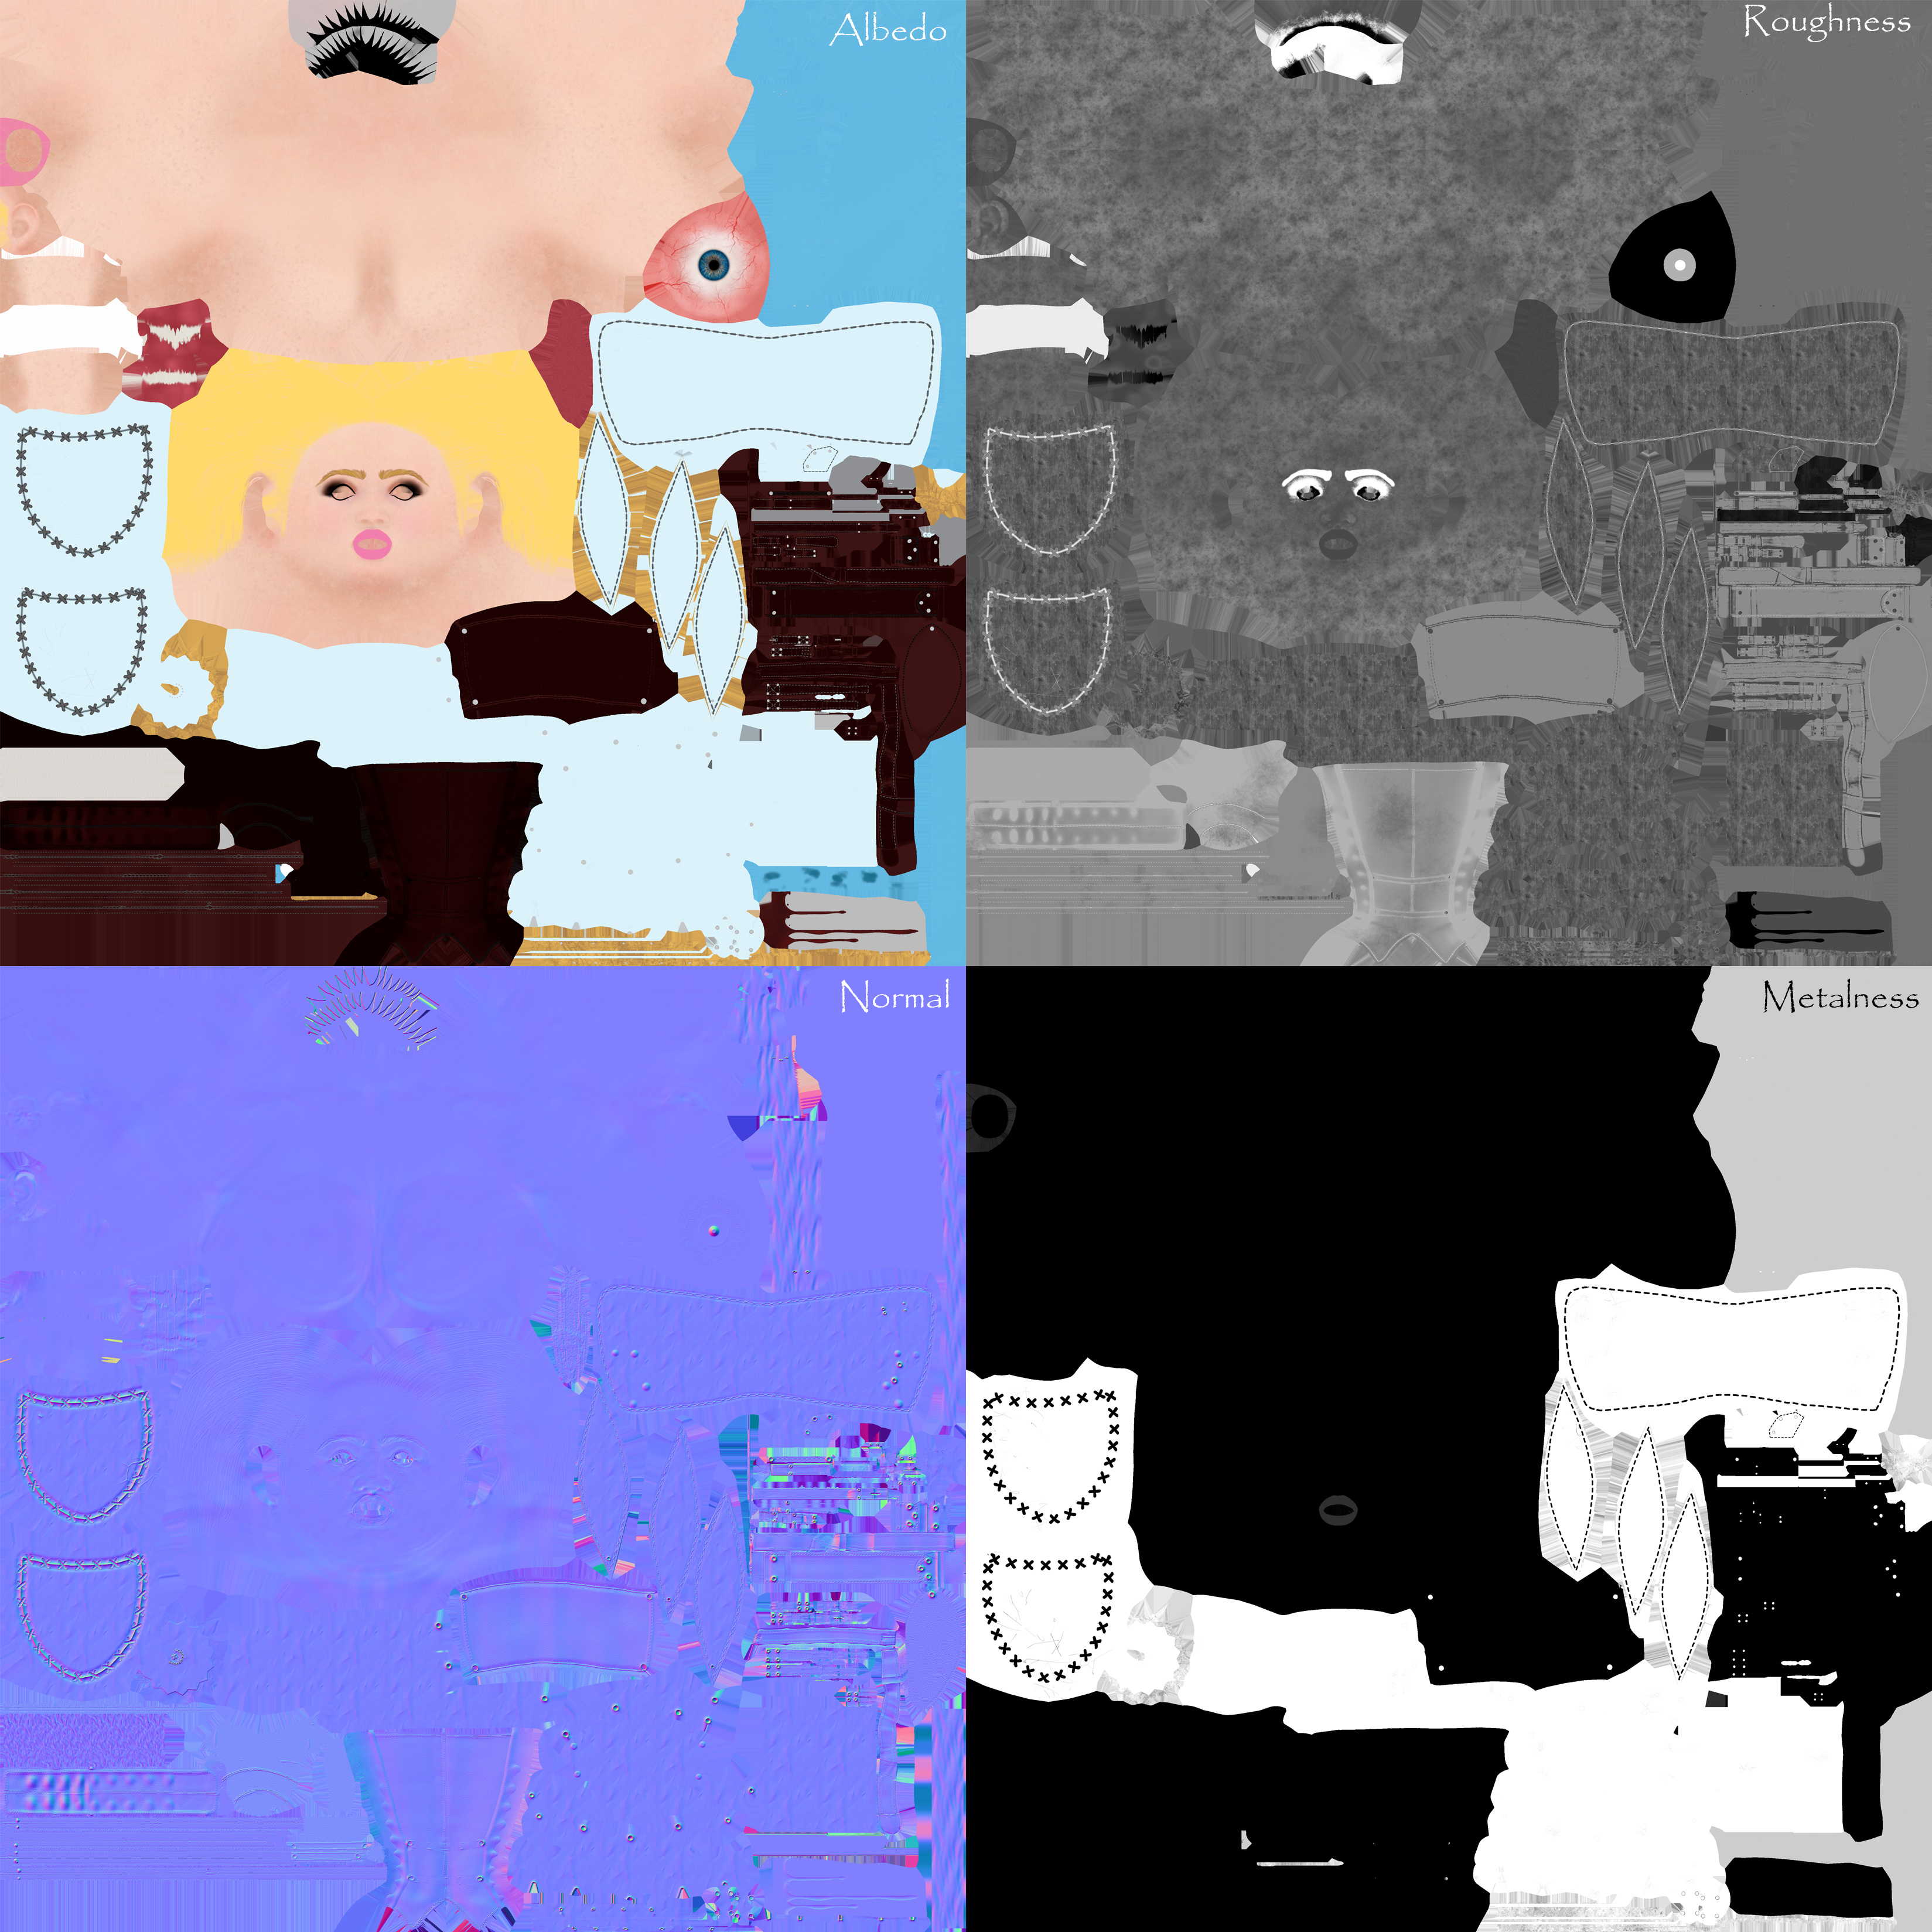
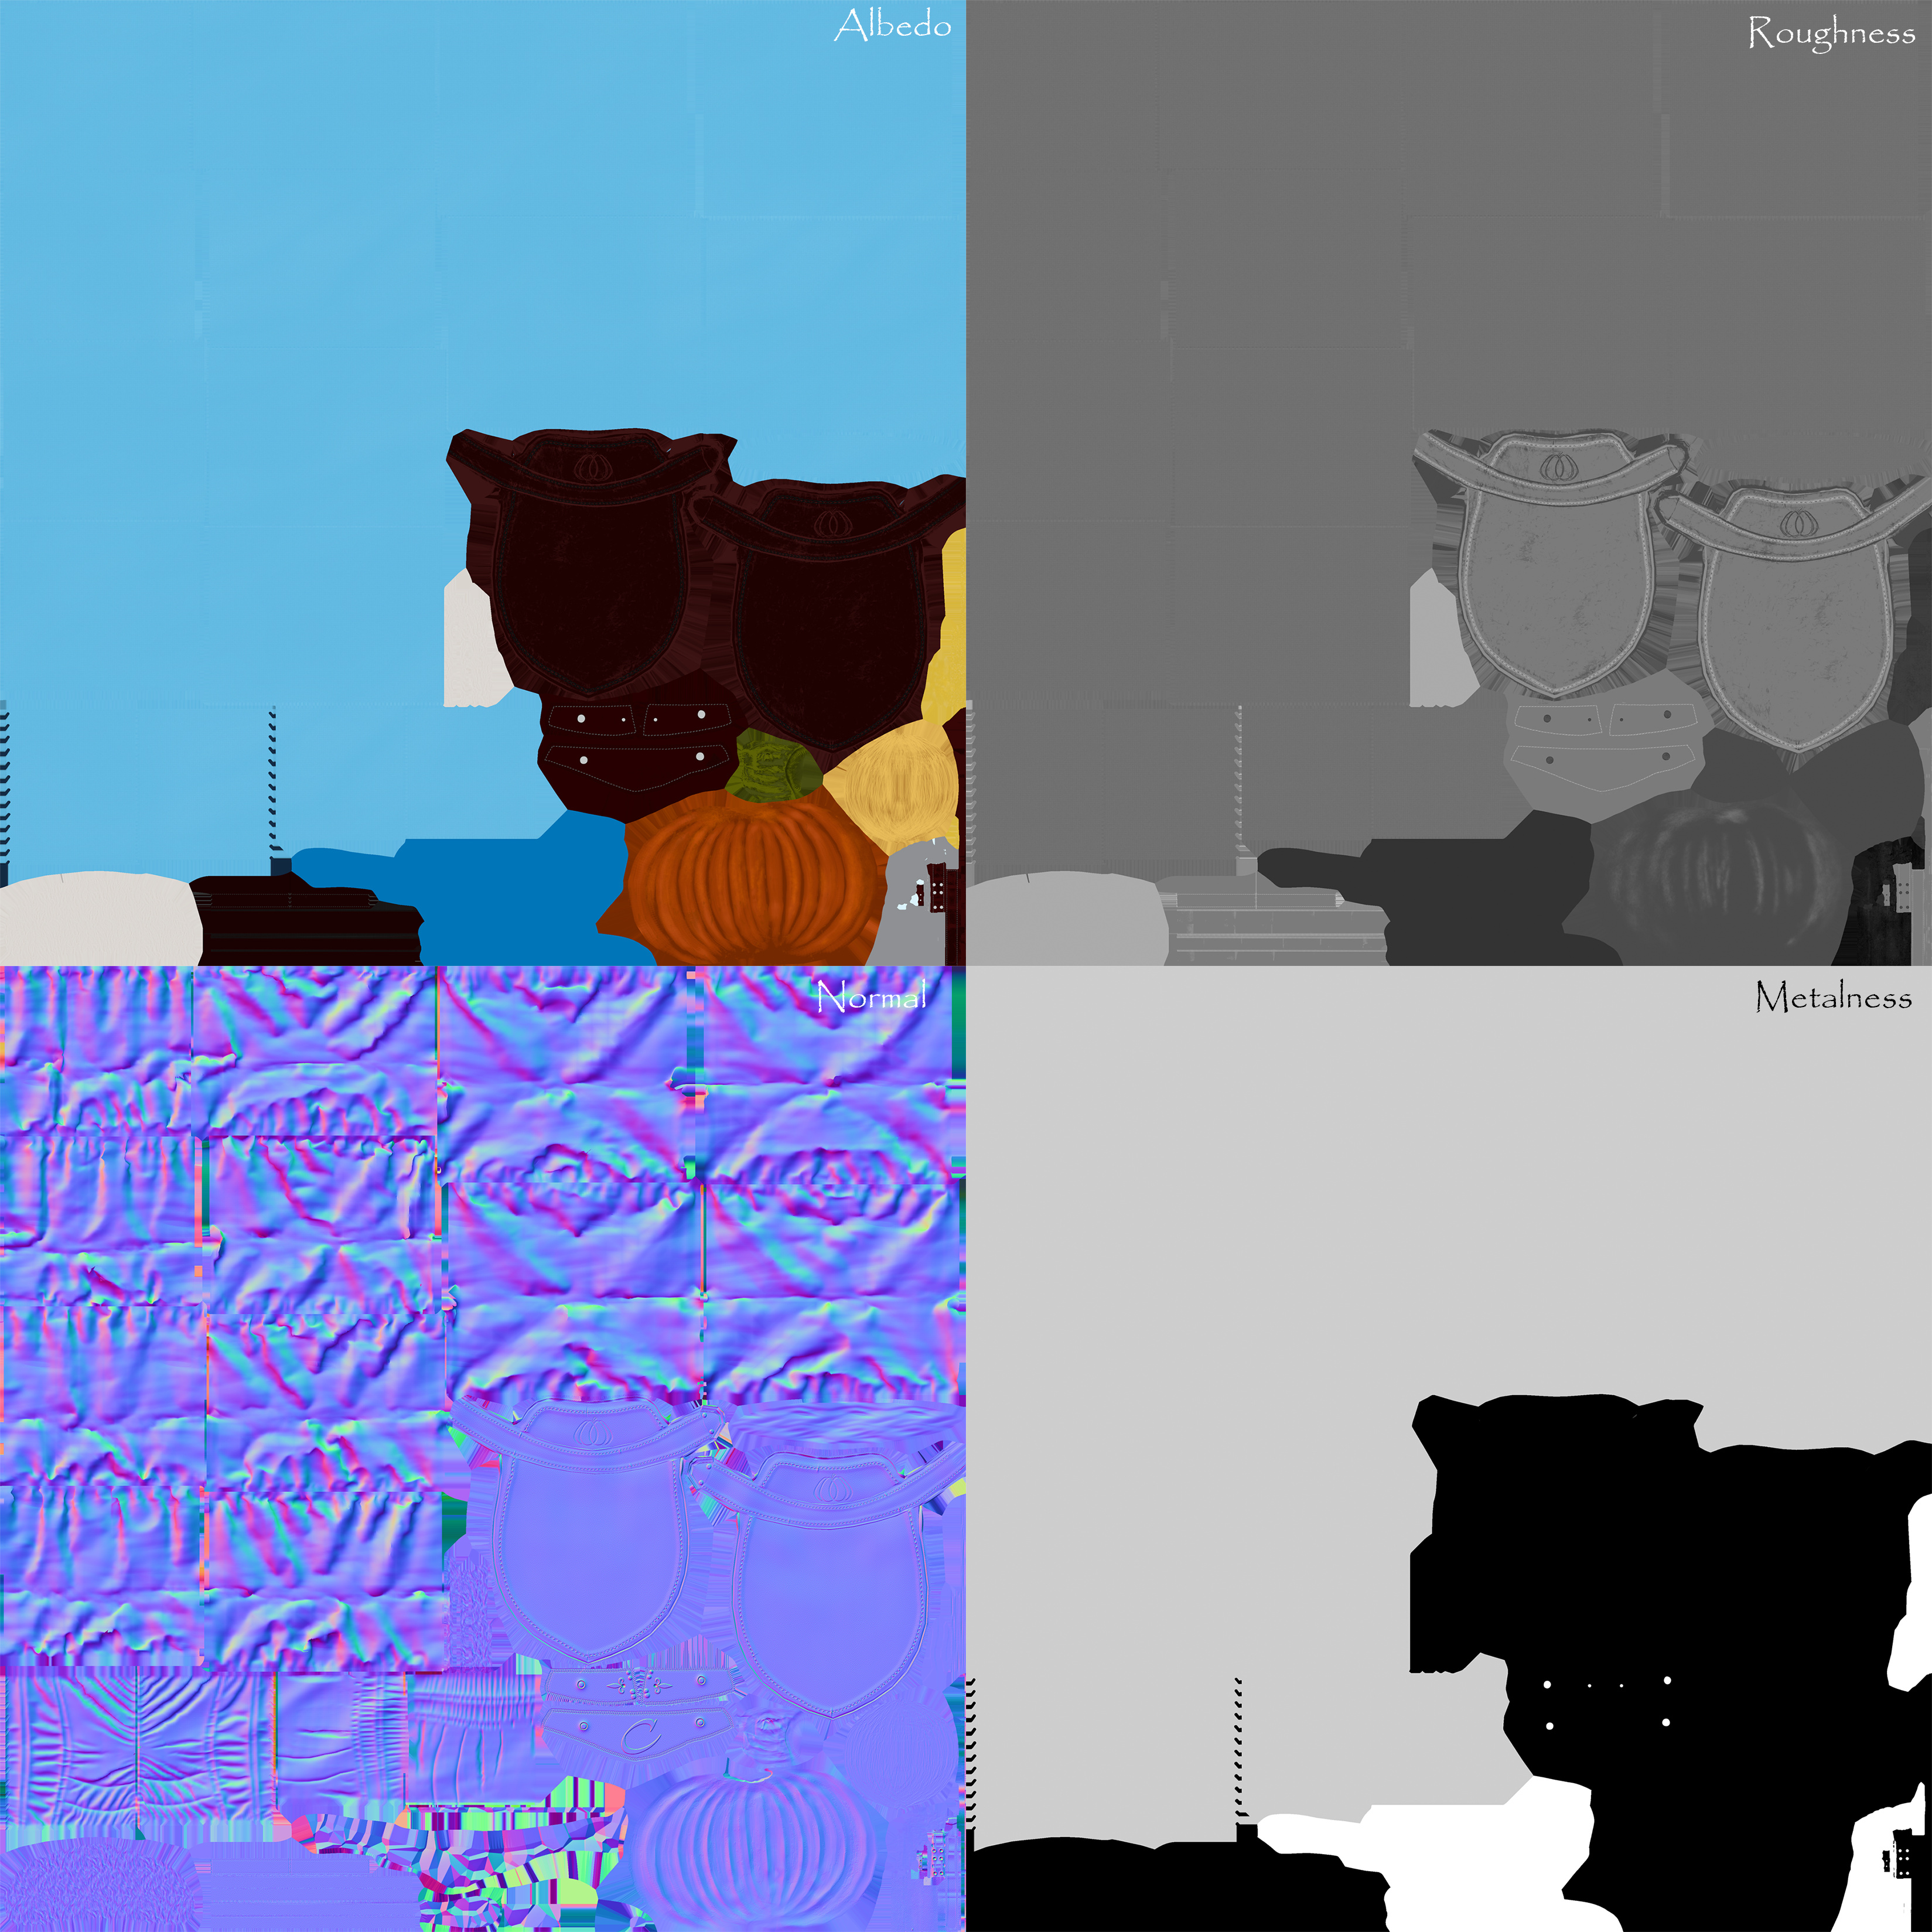
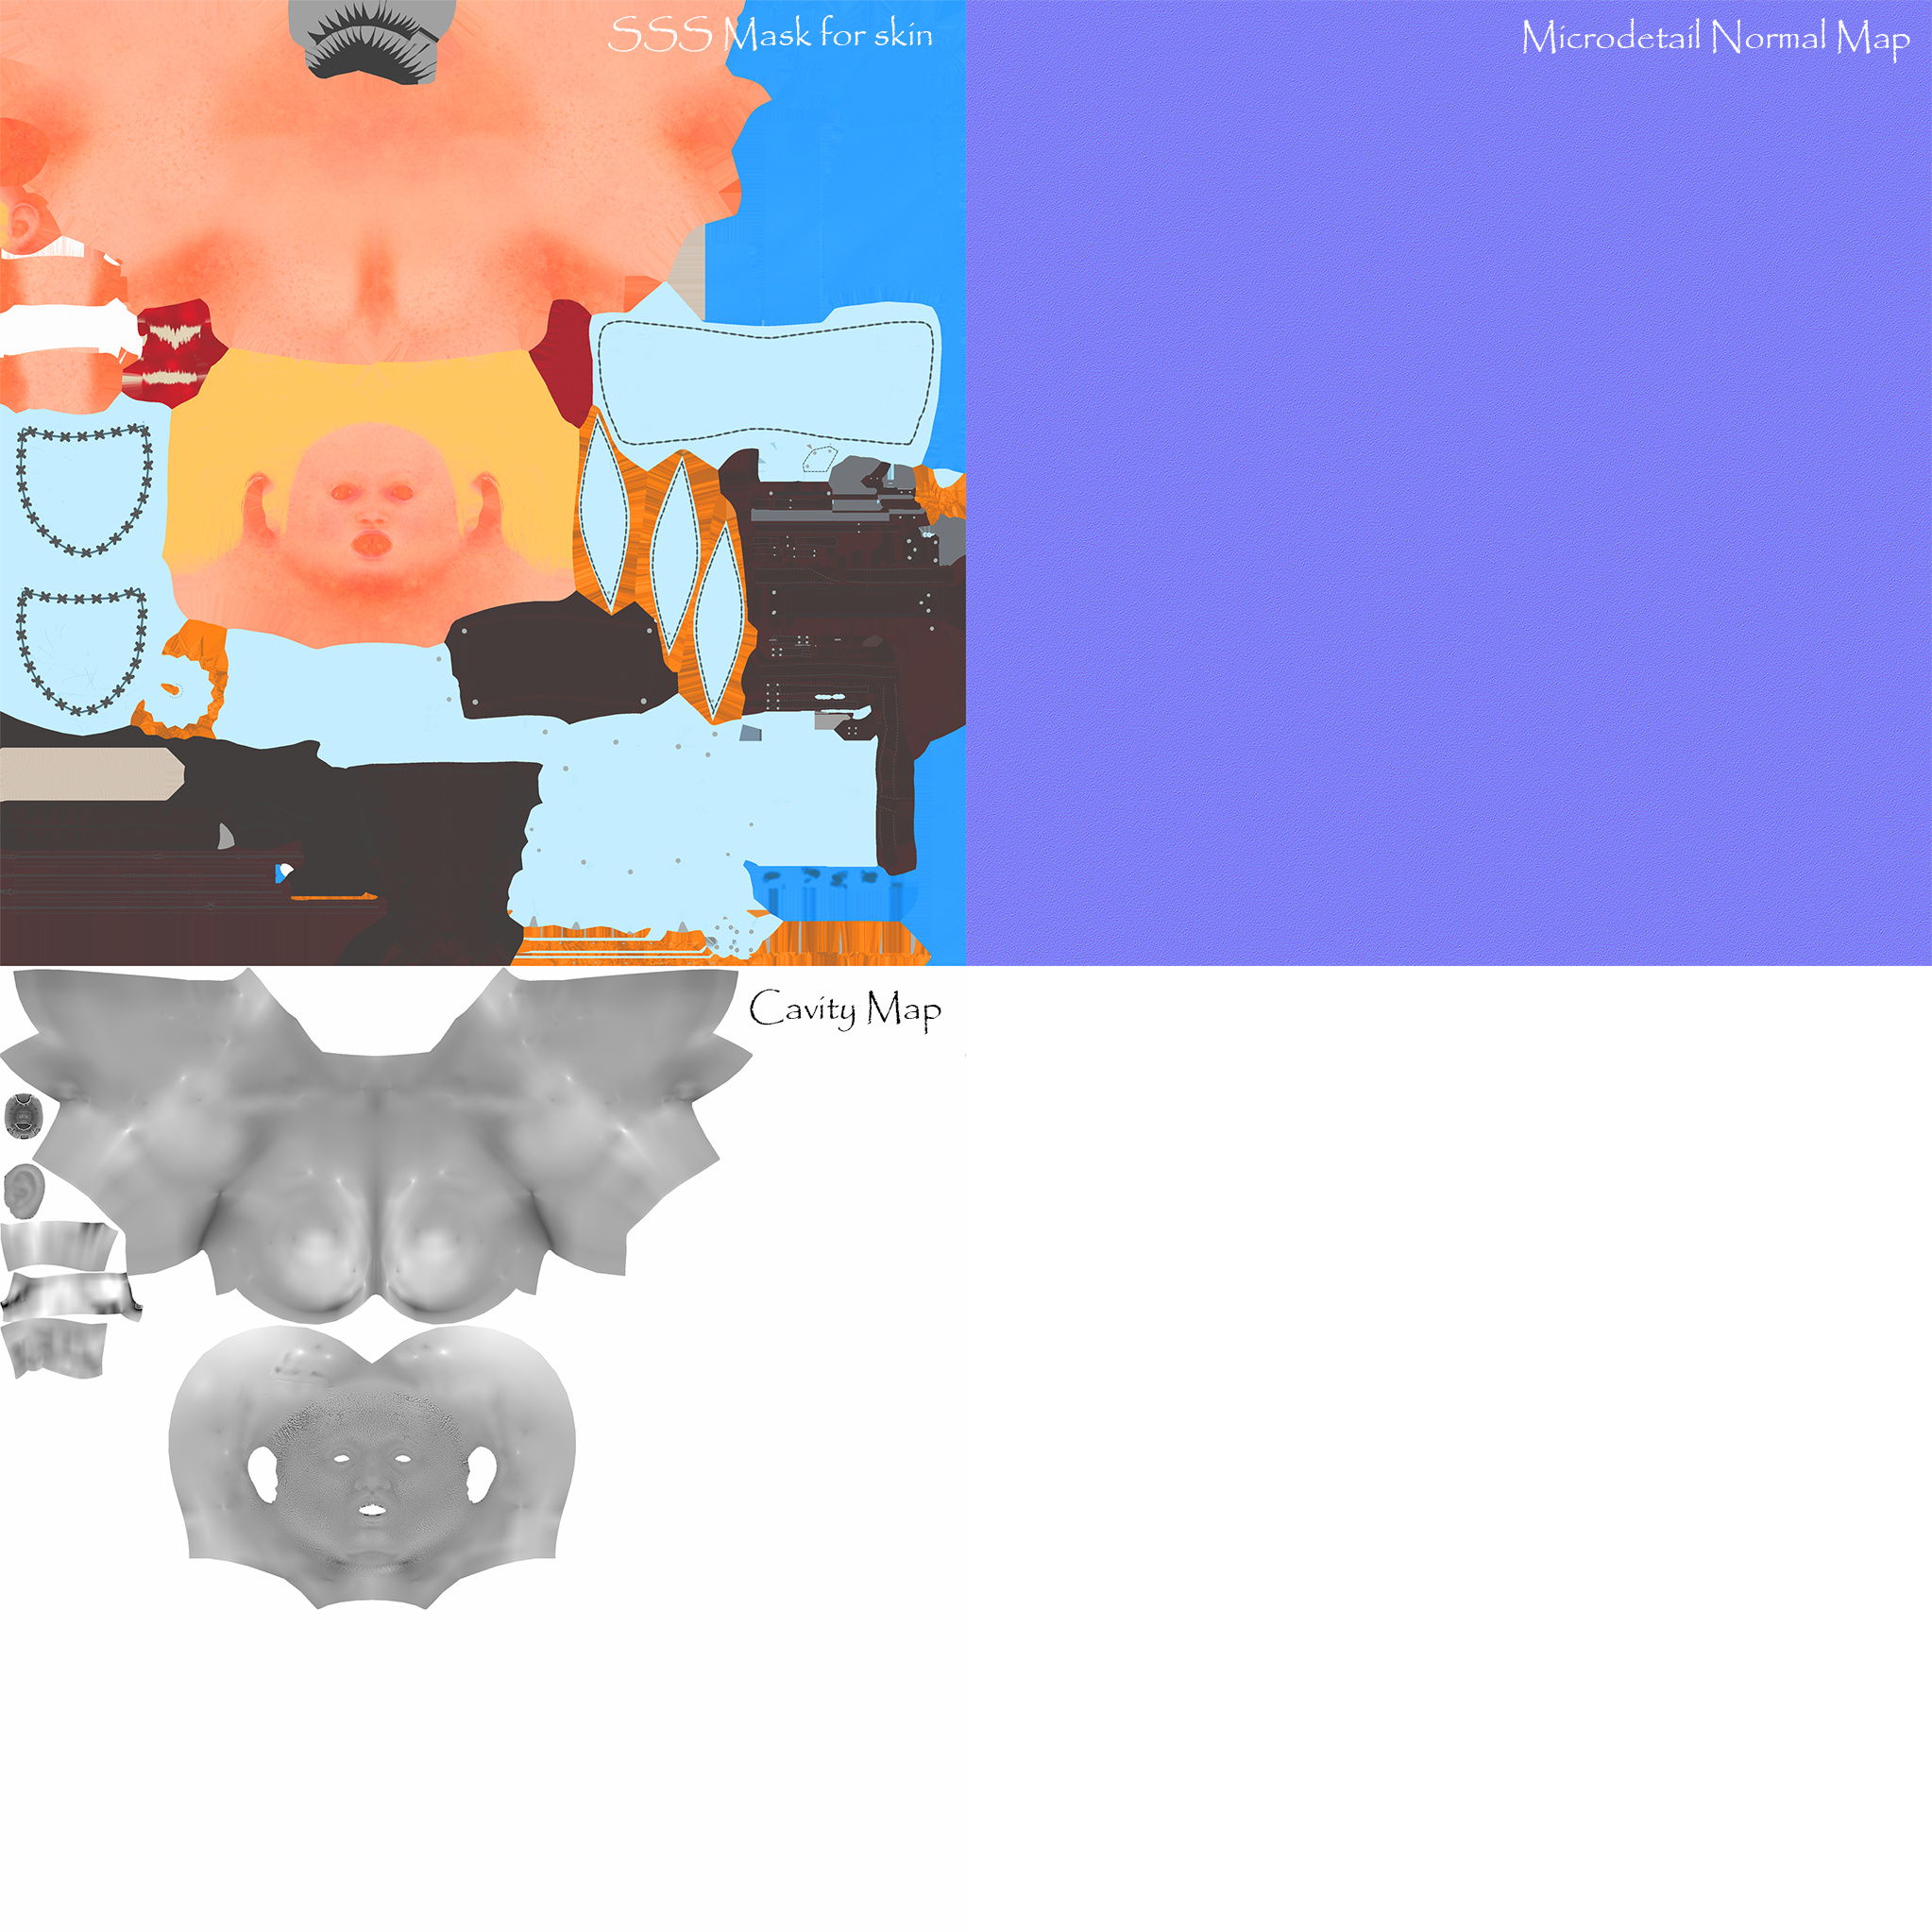
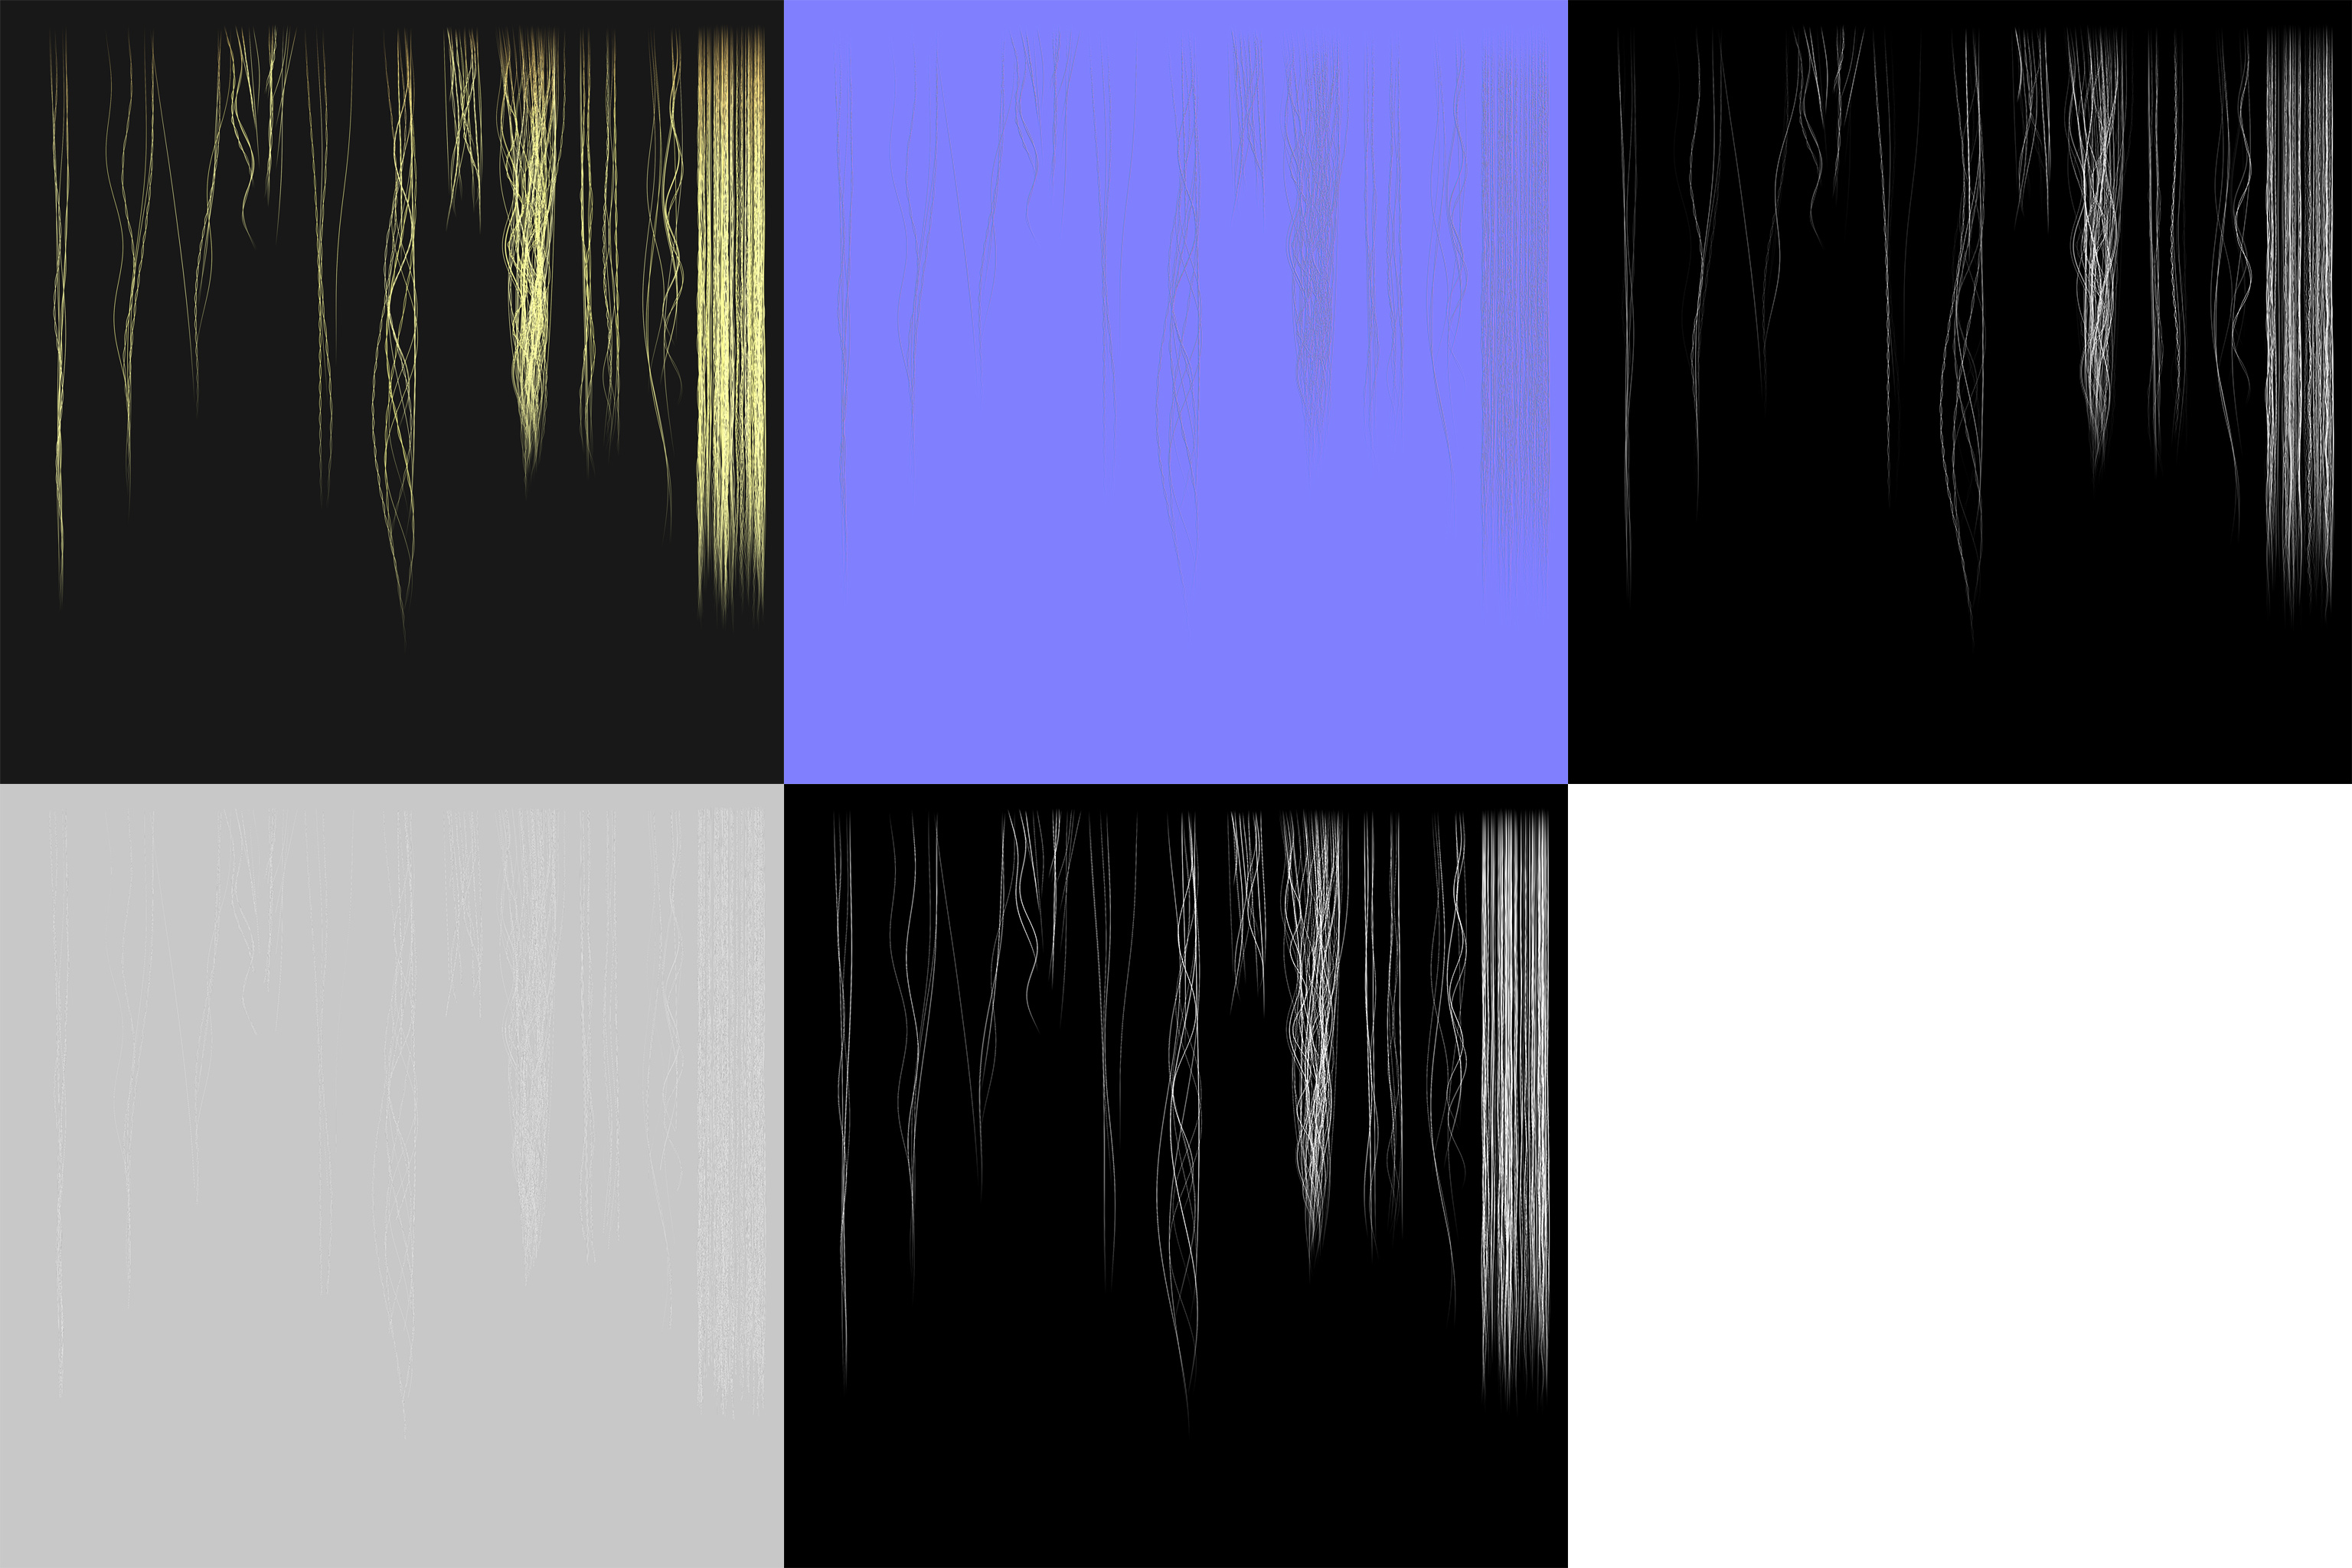
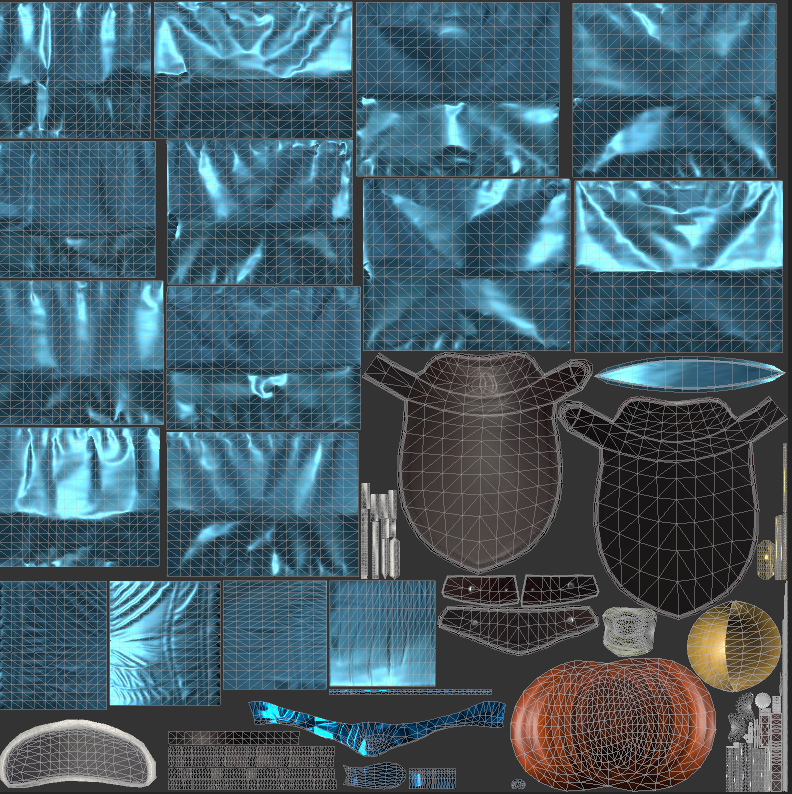
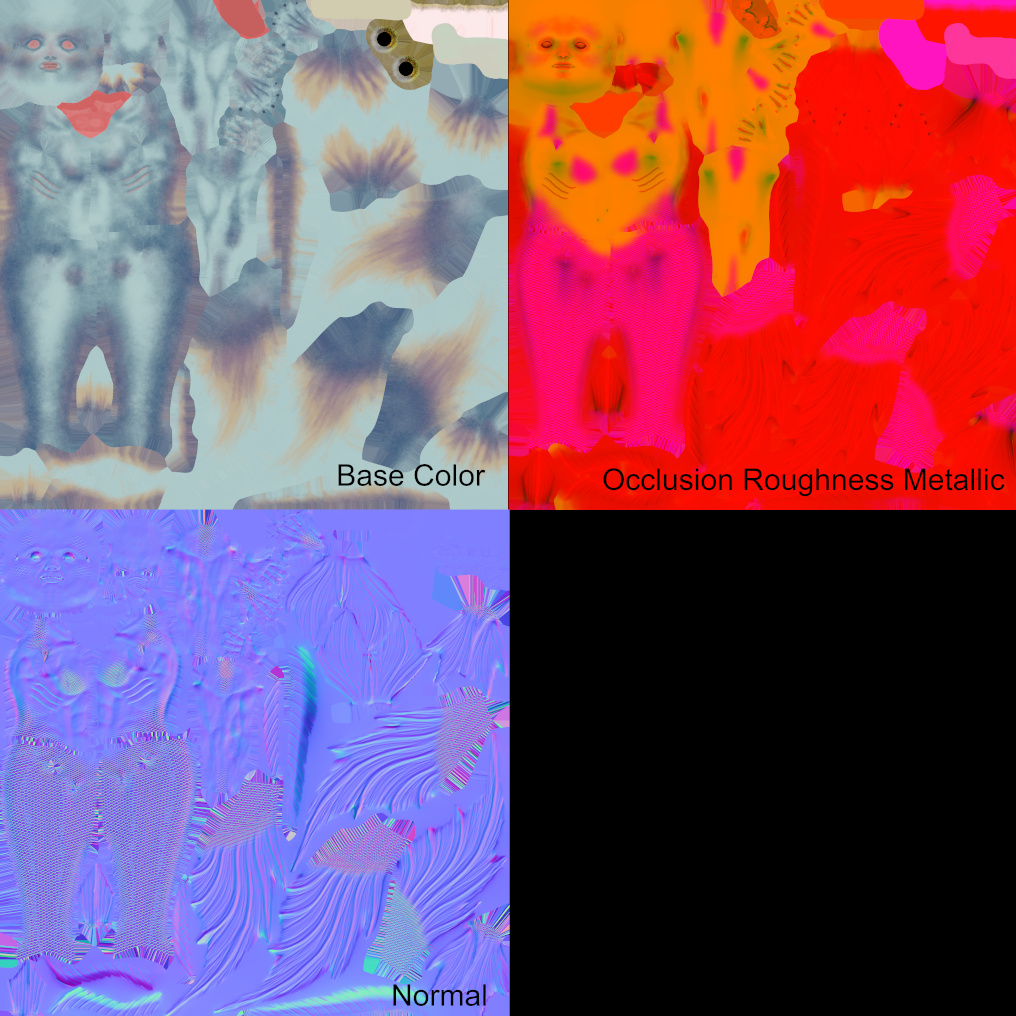
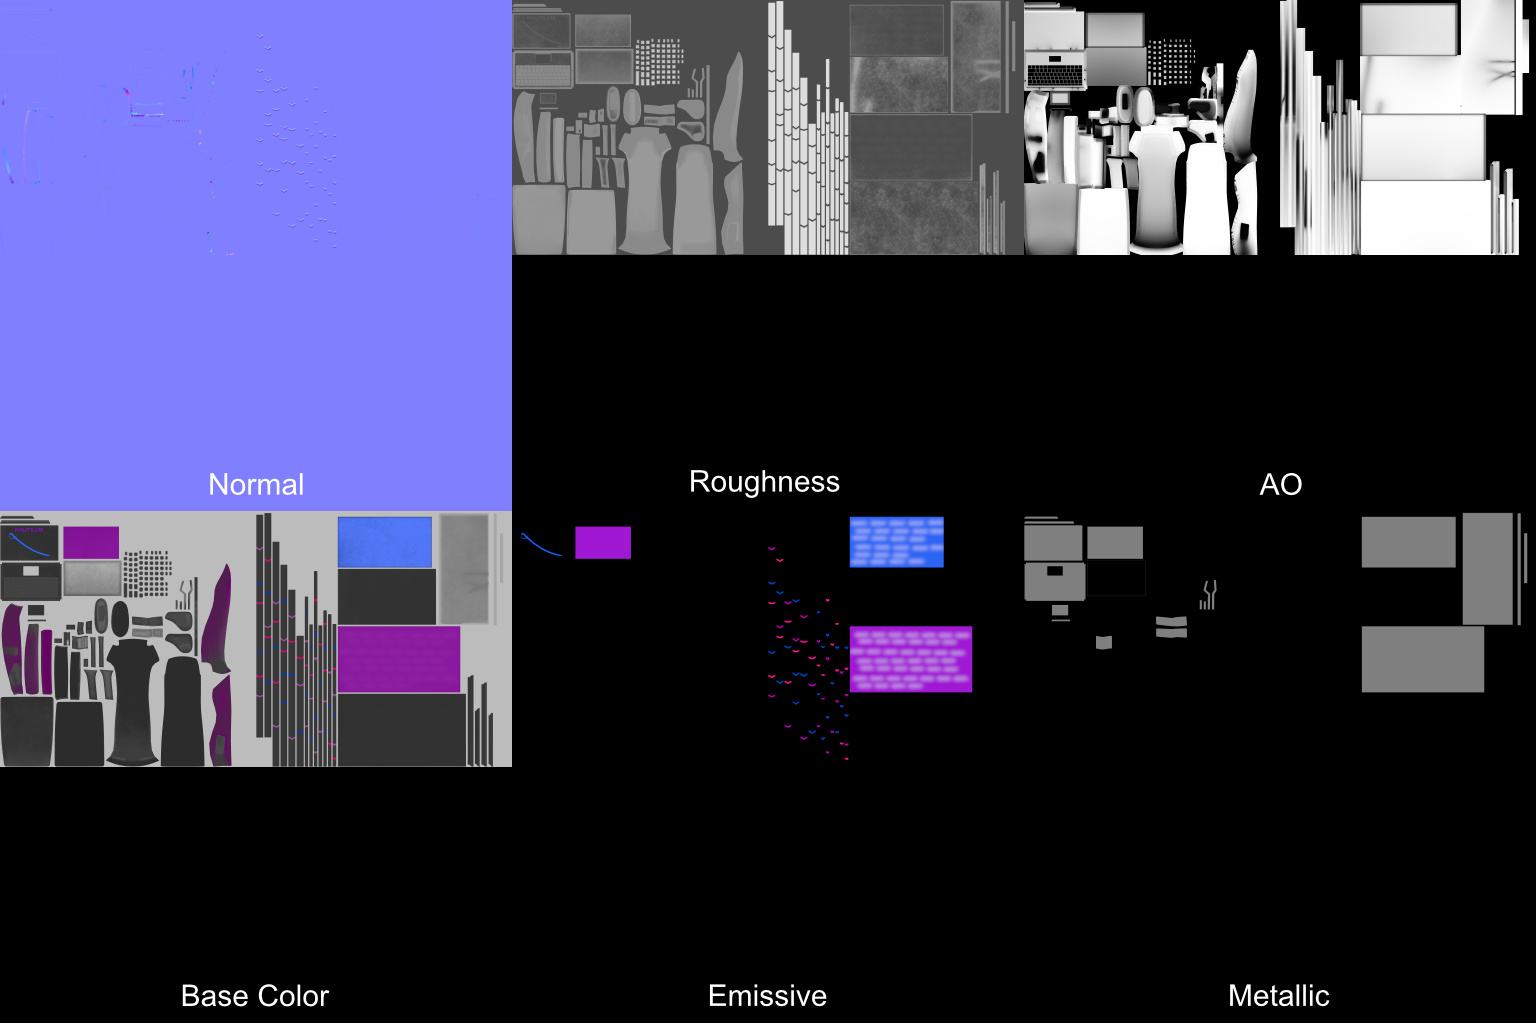
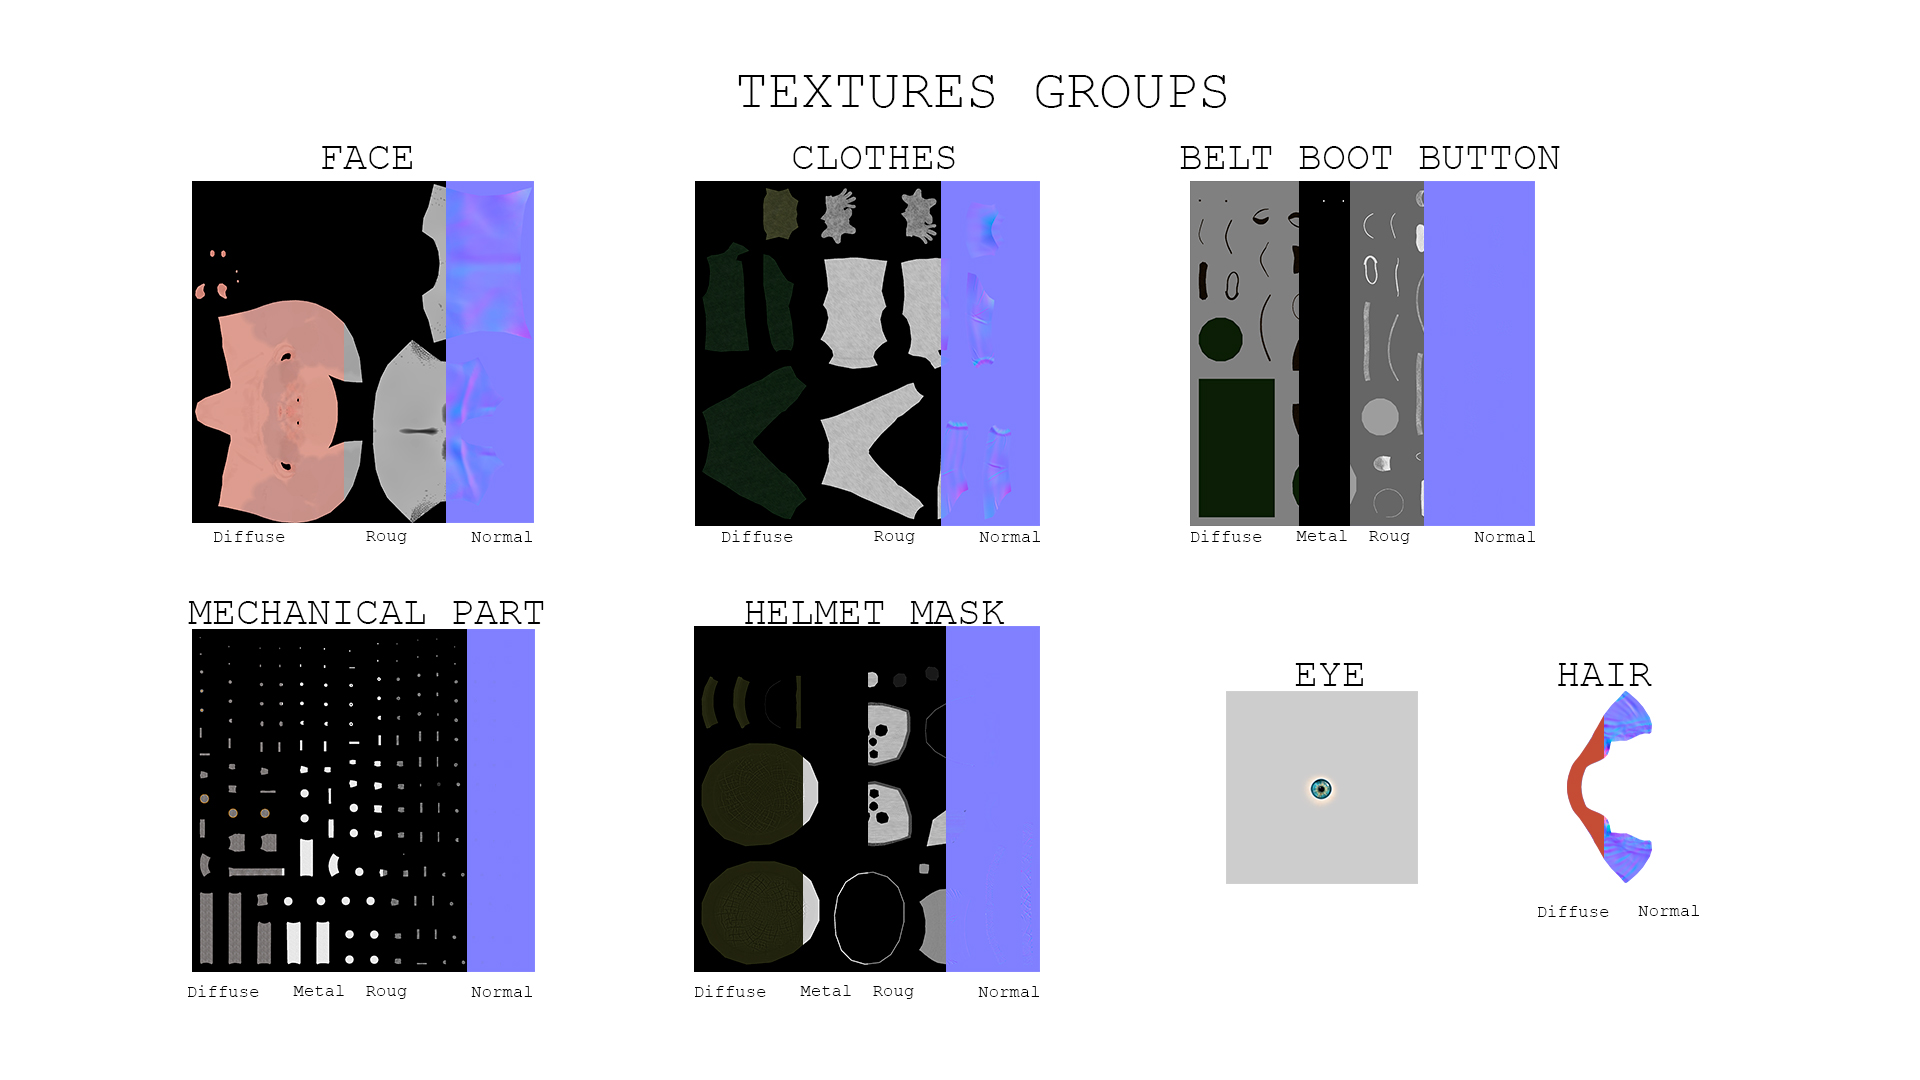
Textures

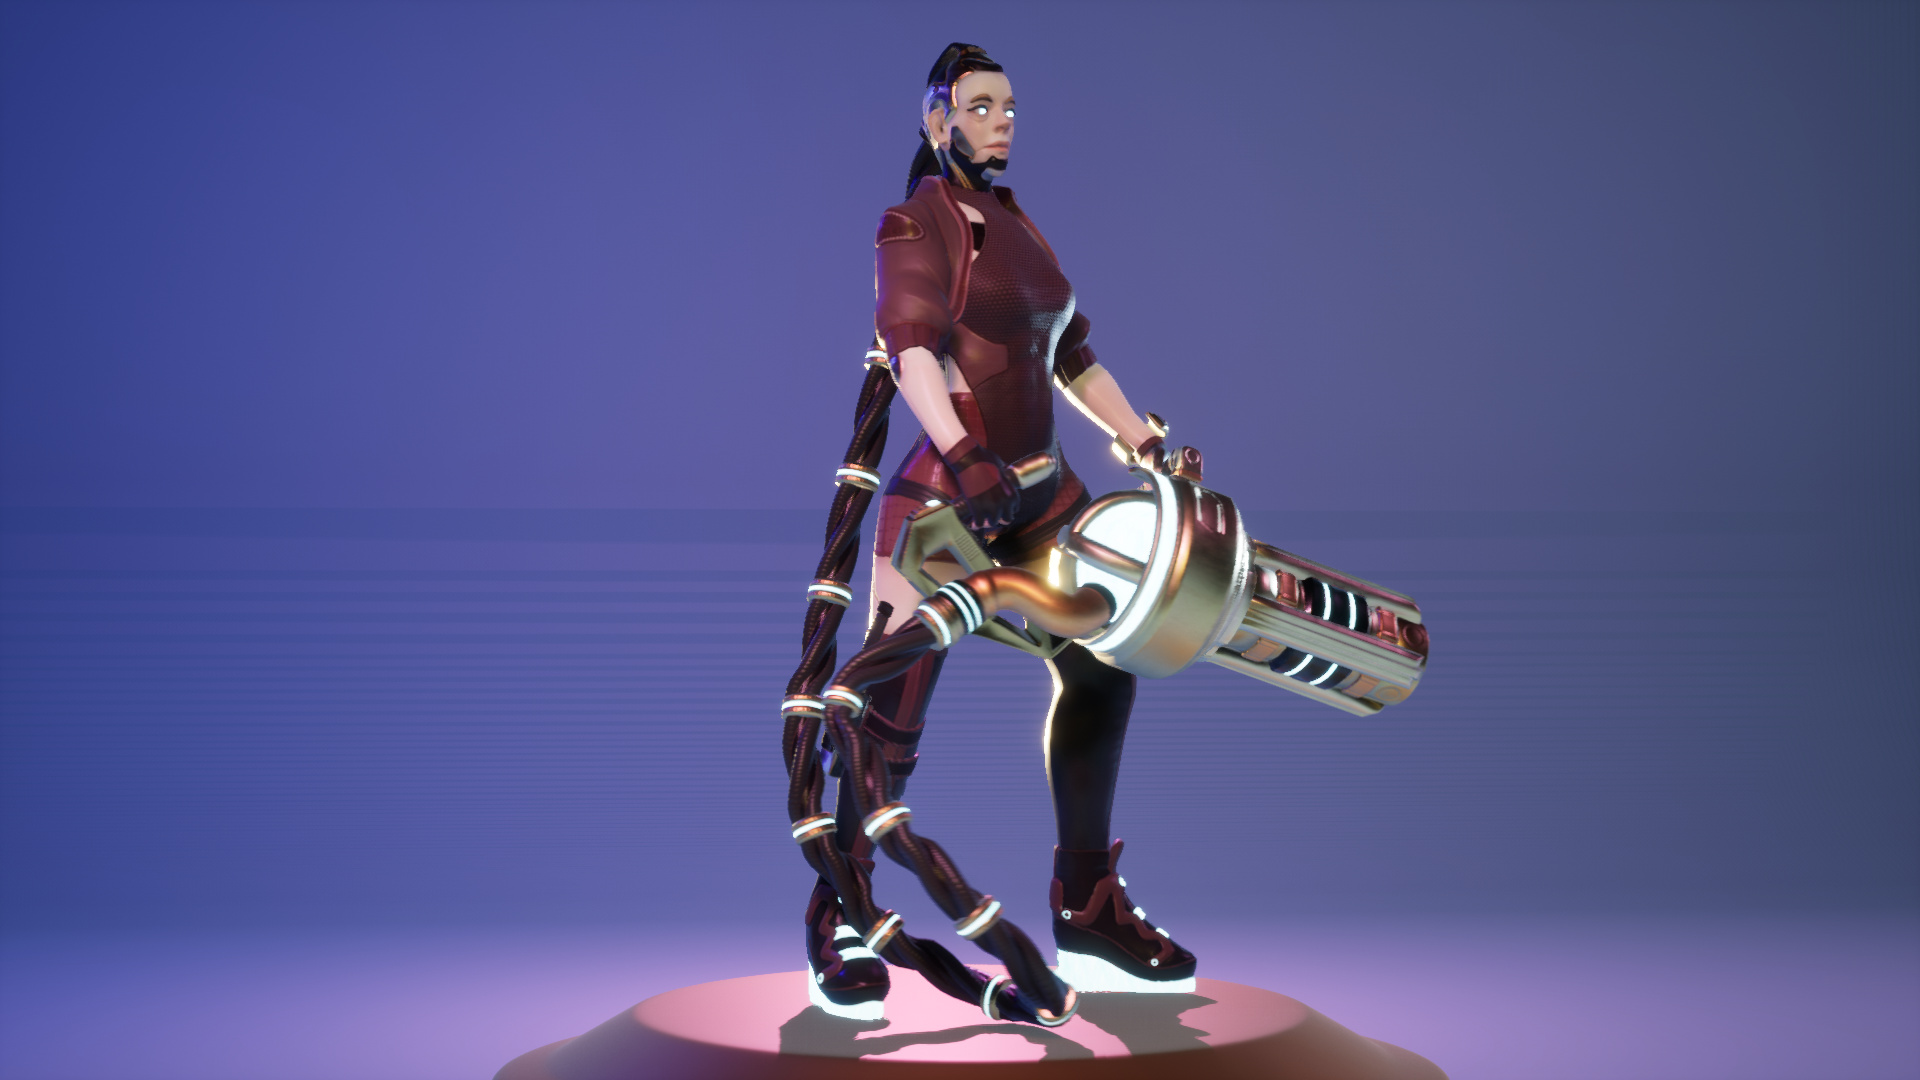
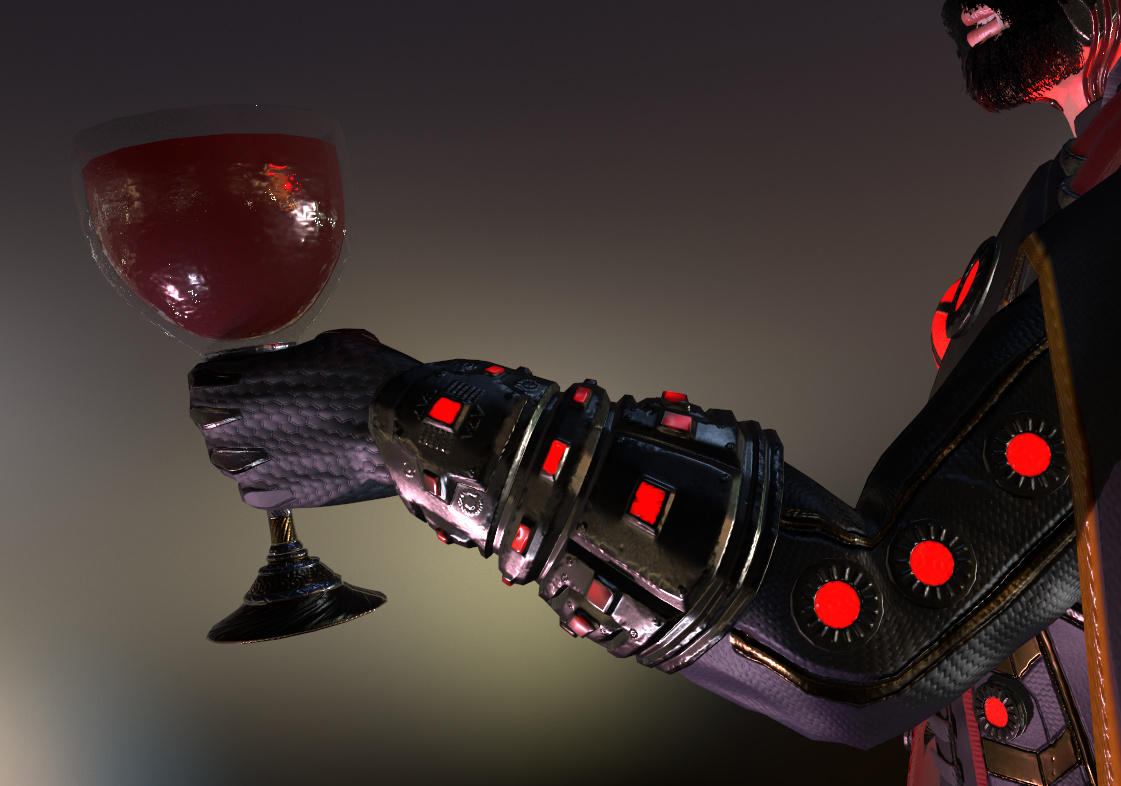
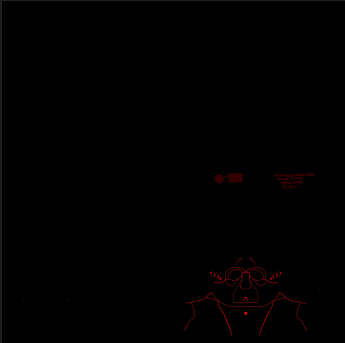
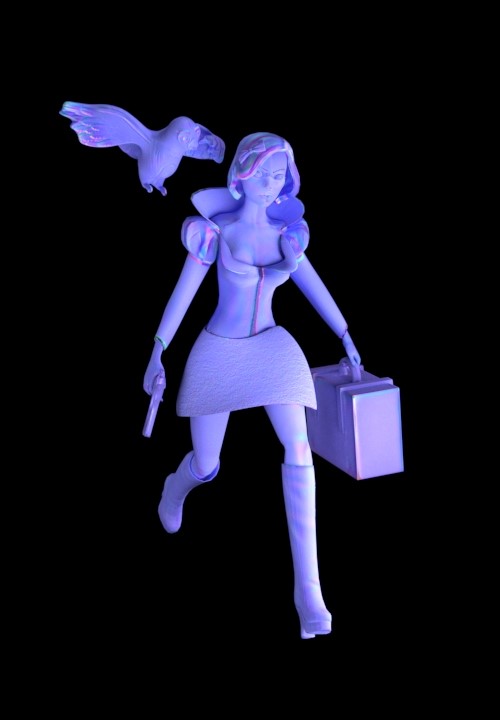
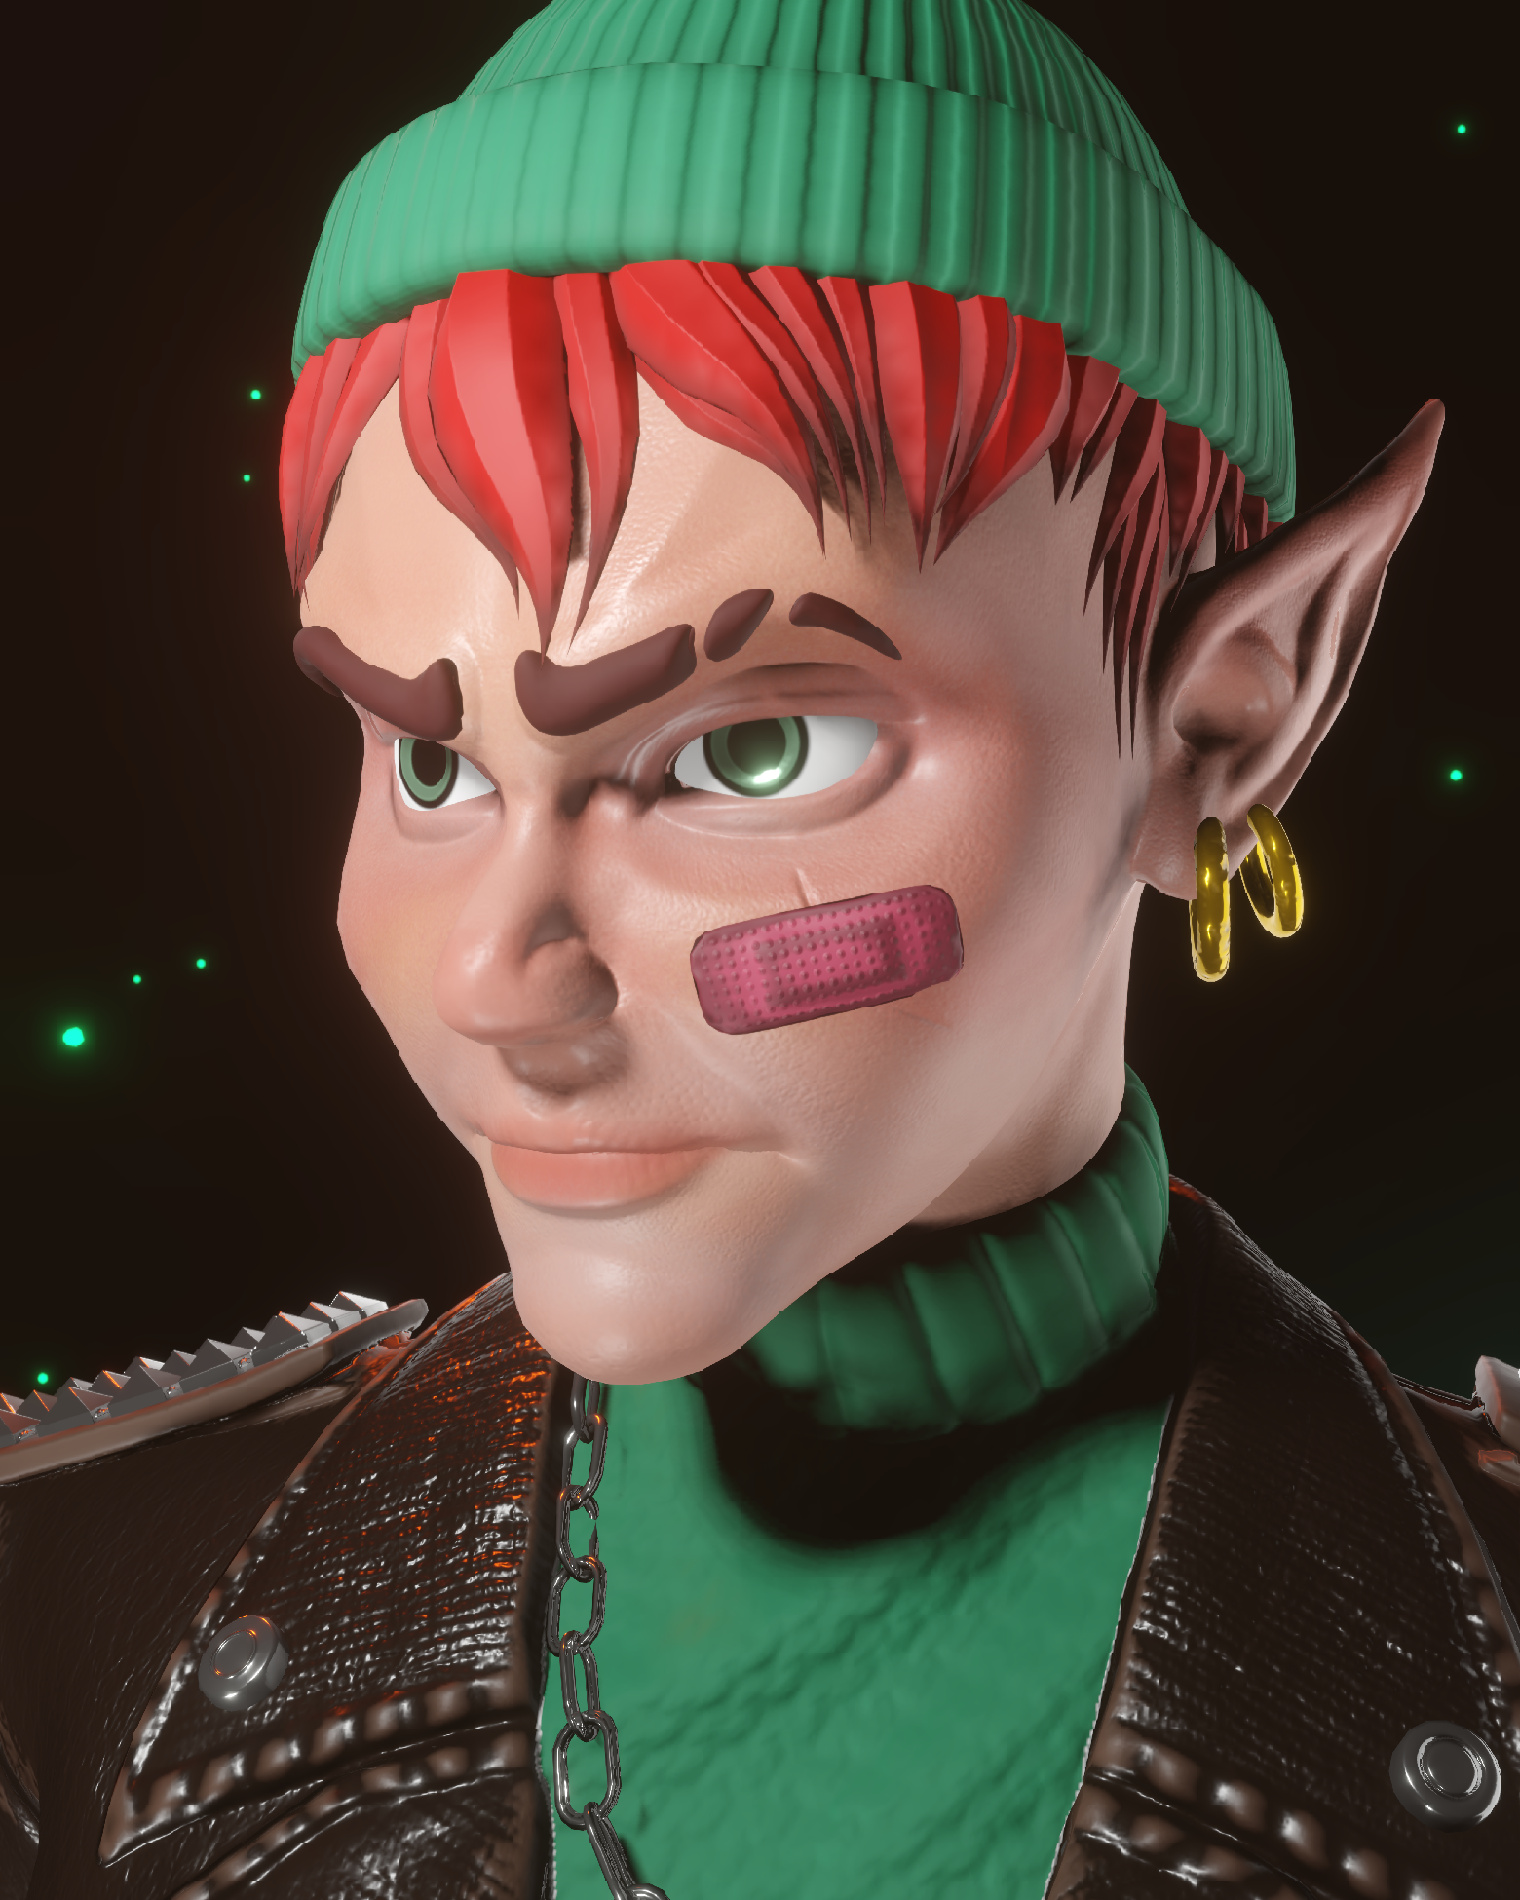
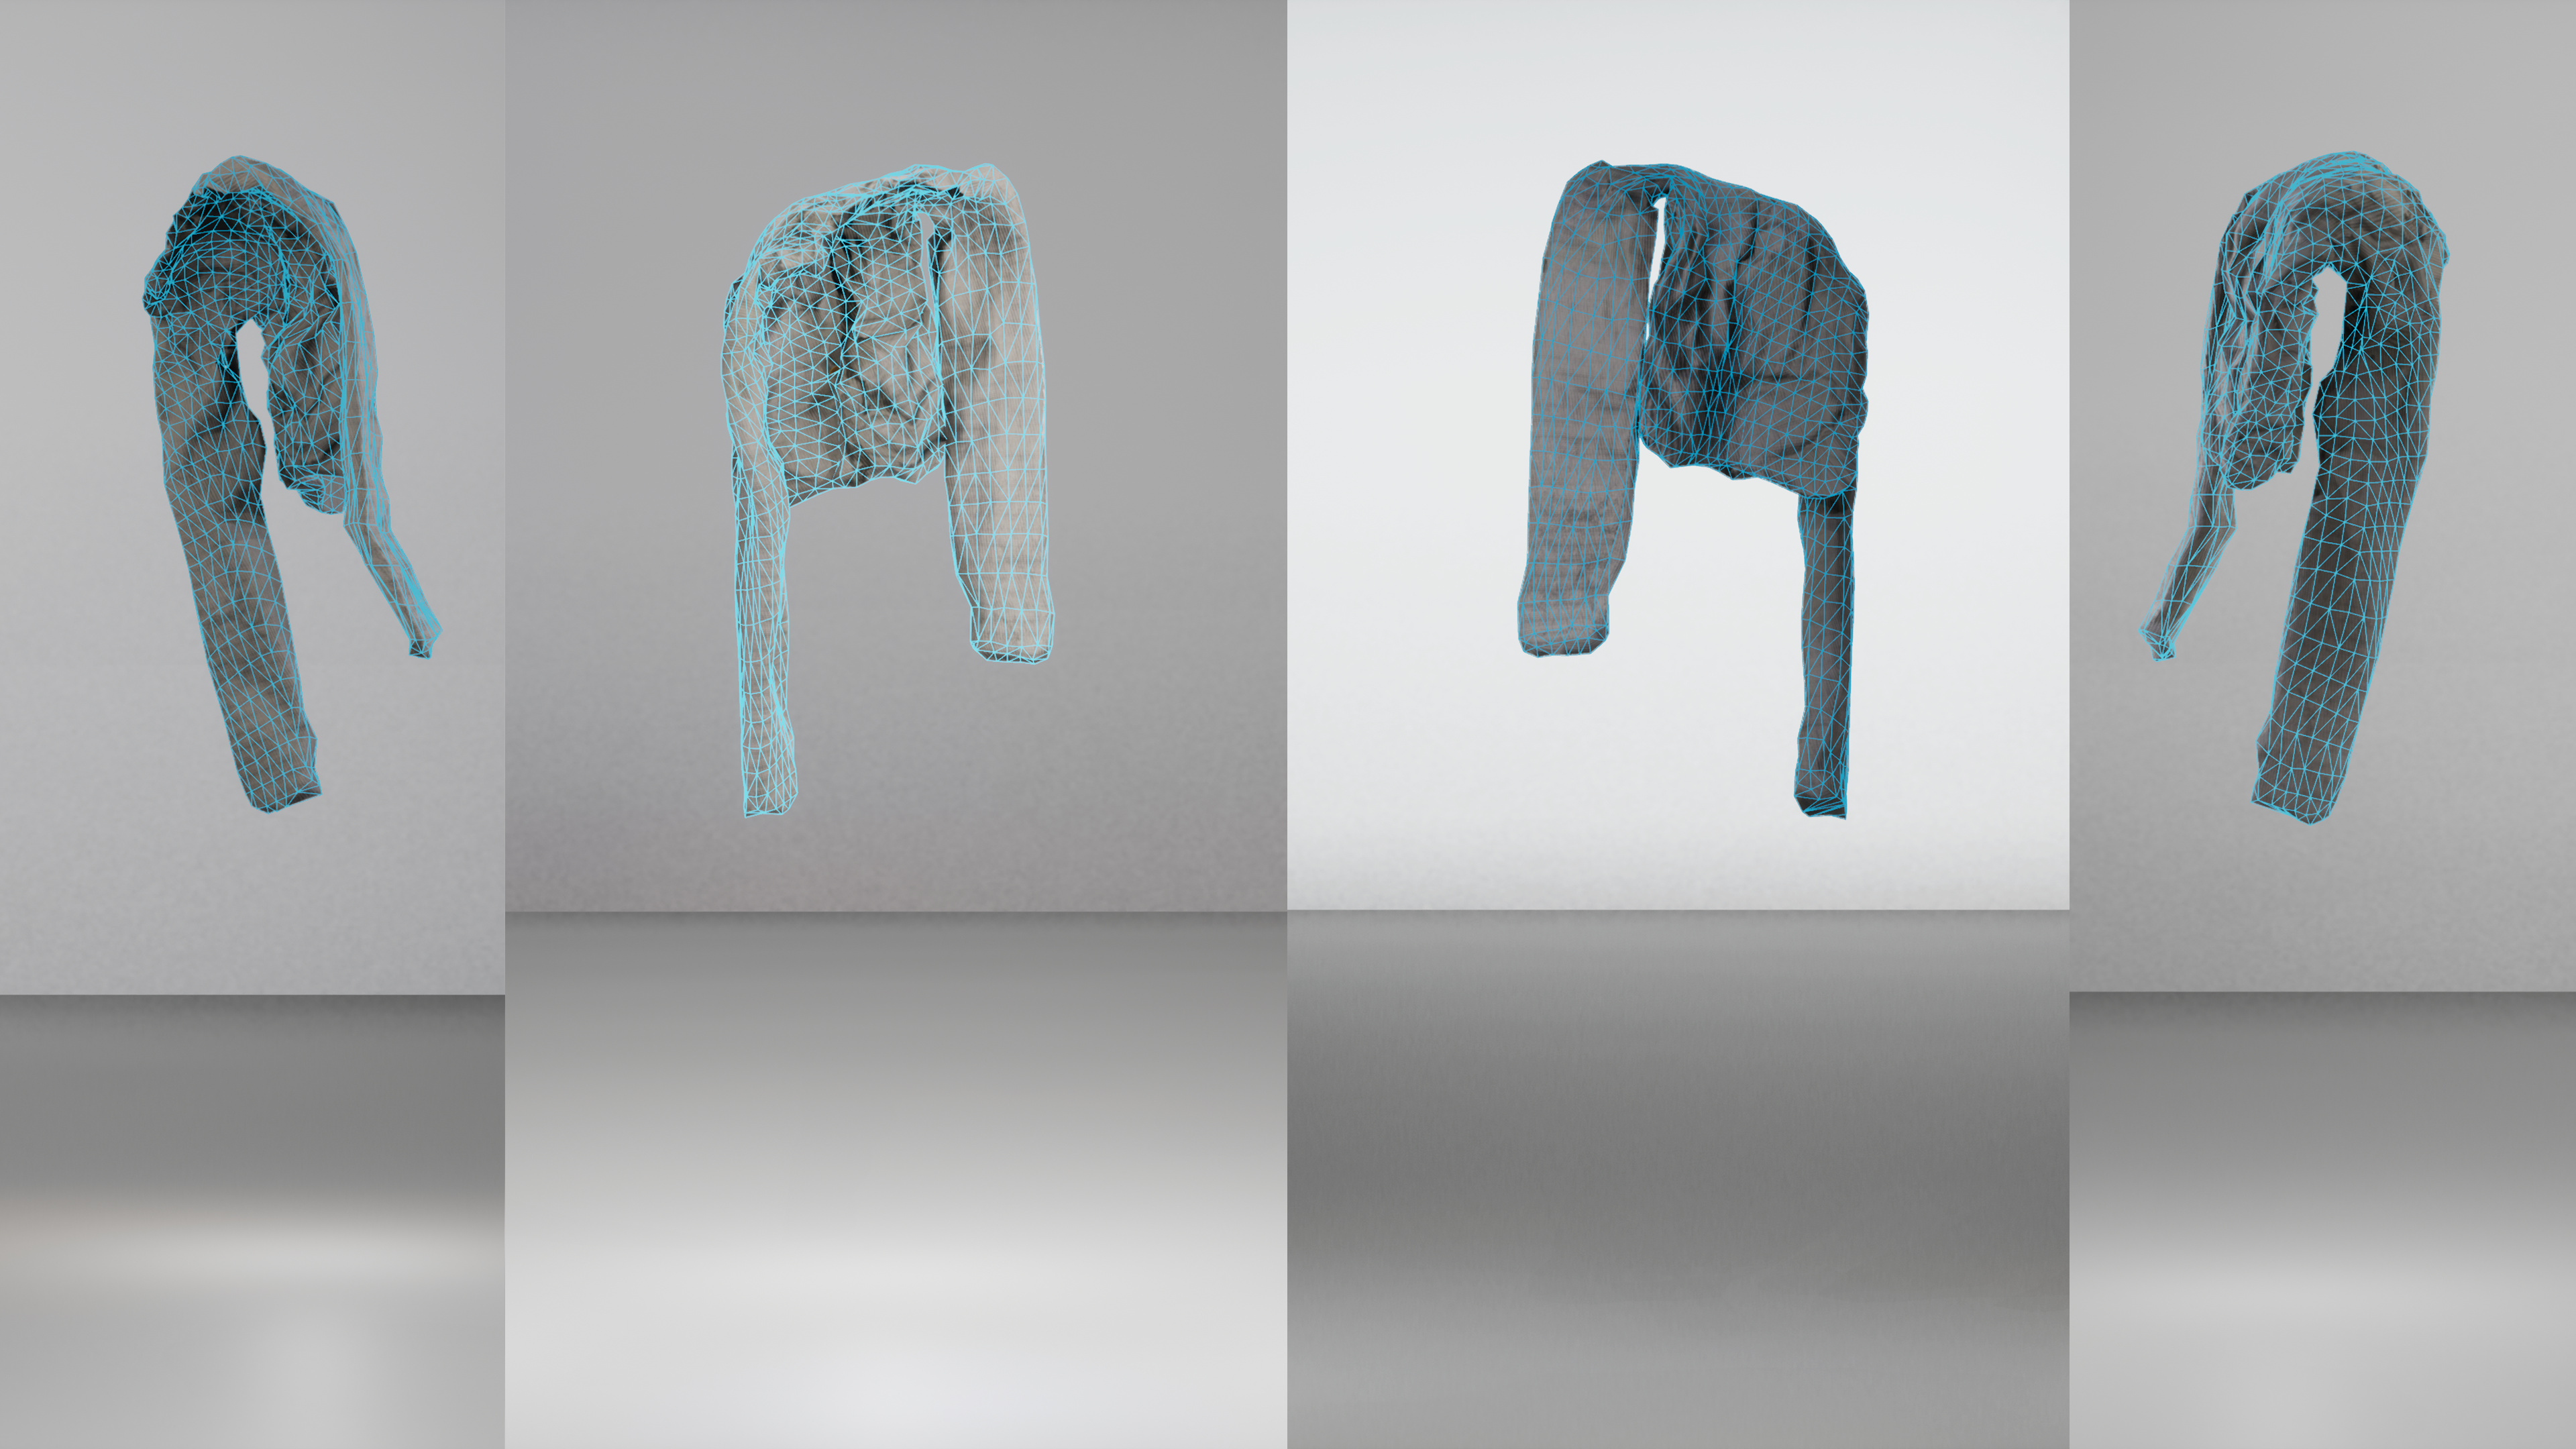
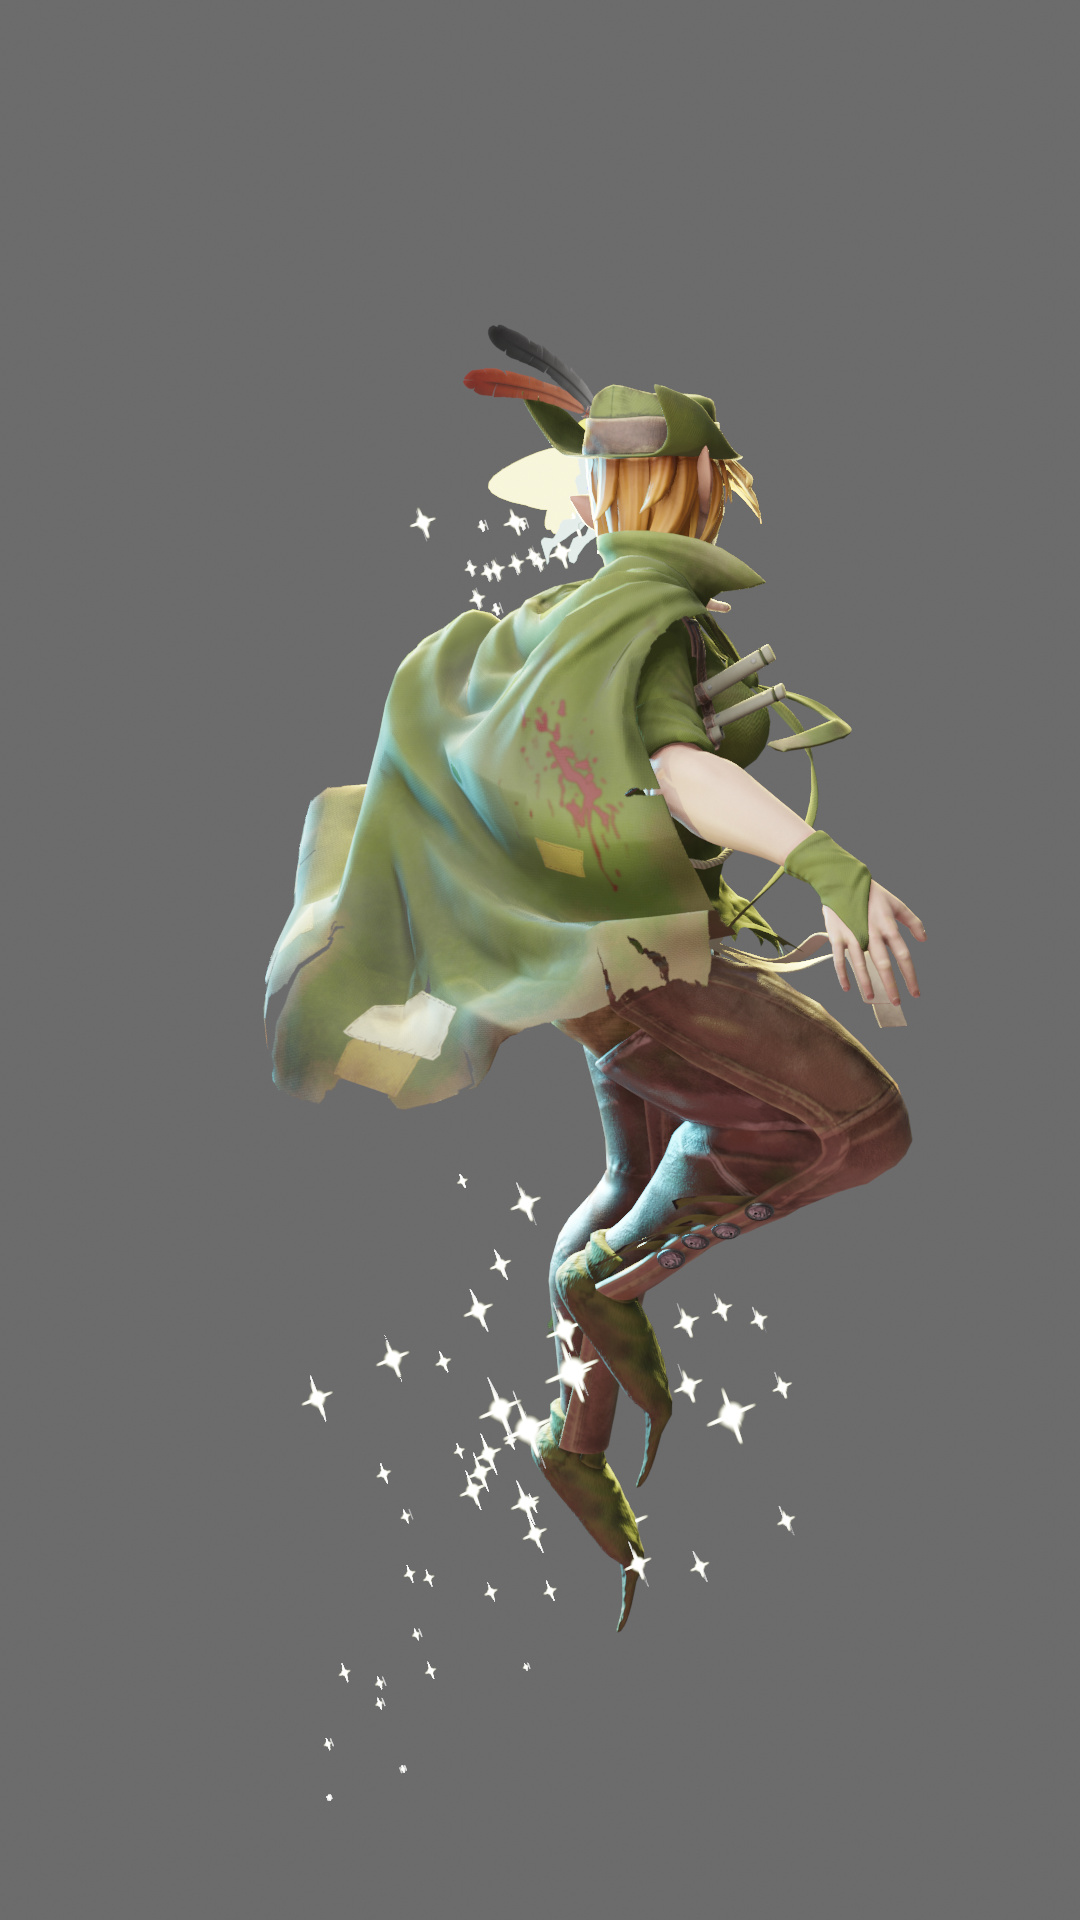
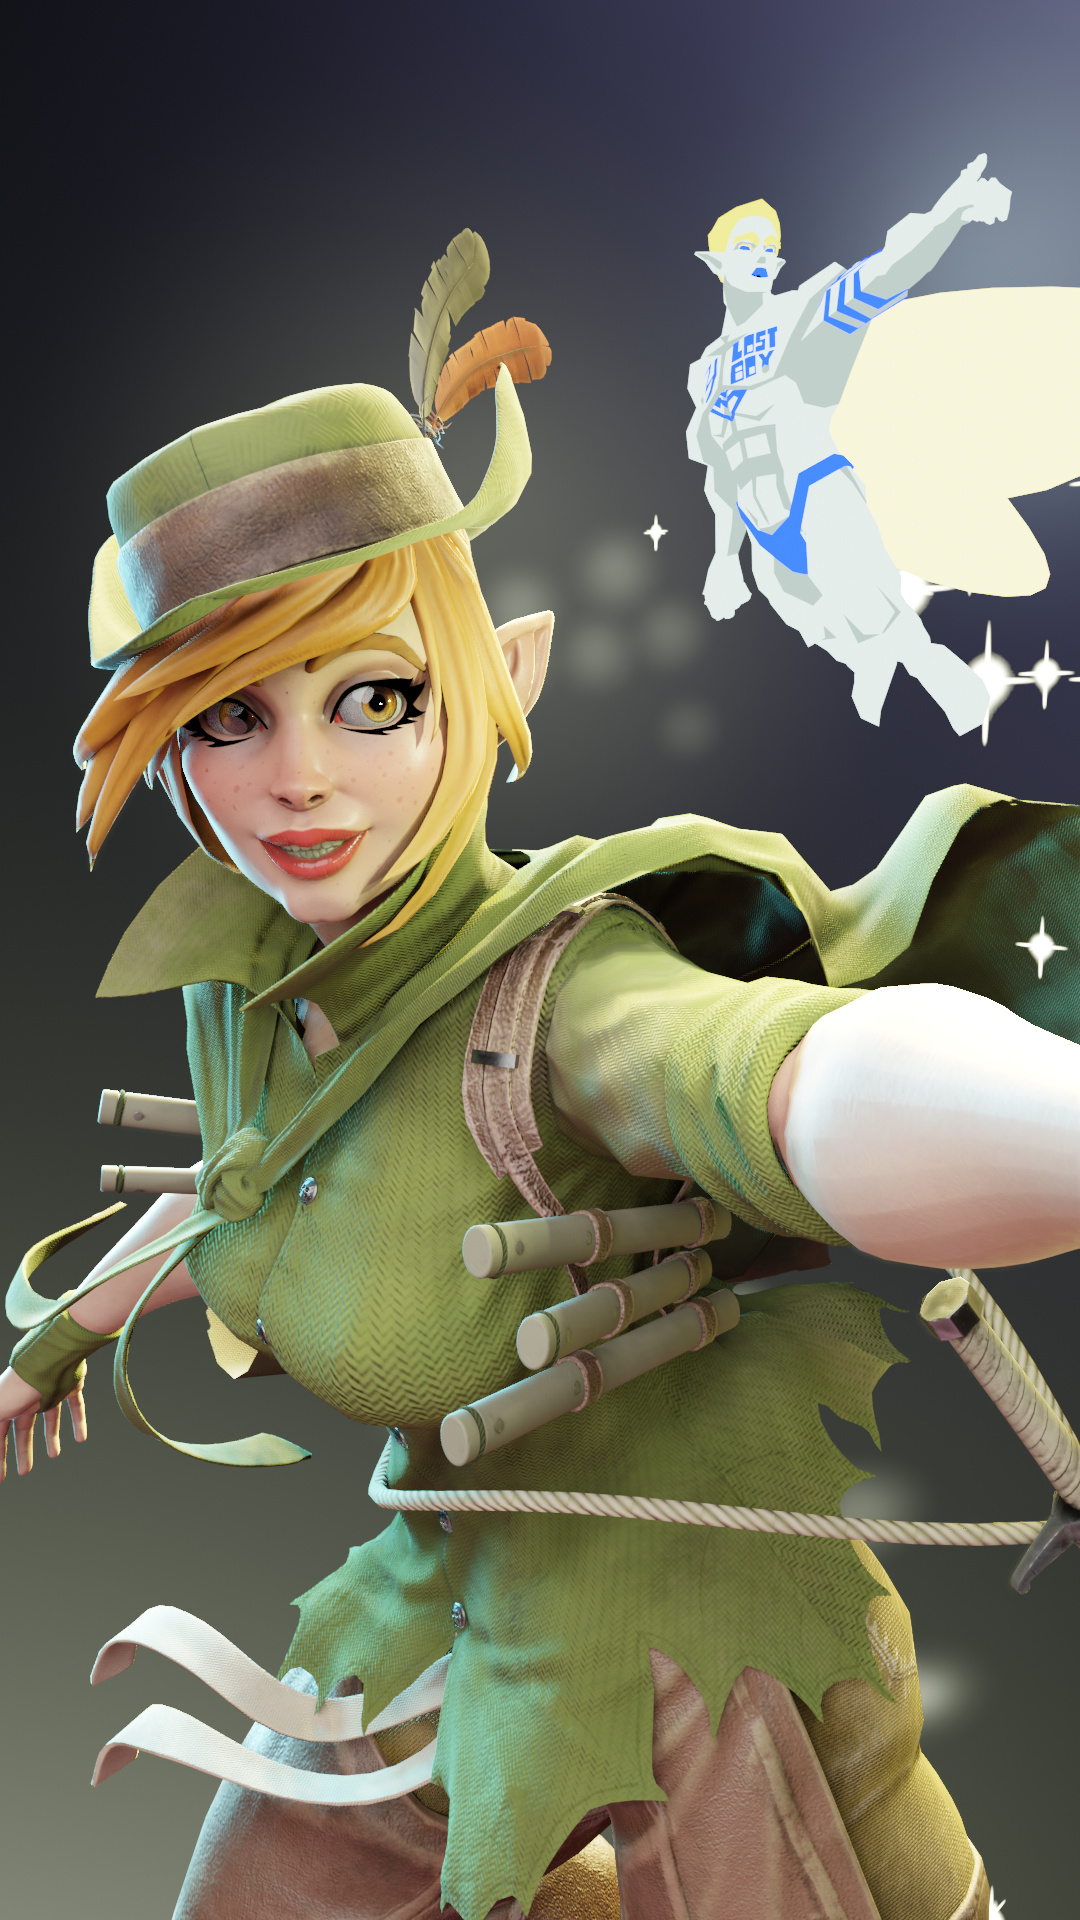
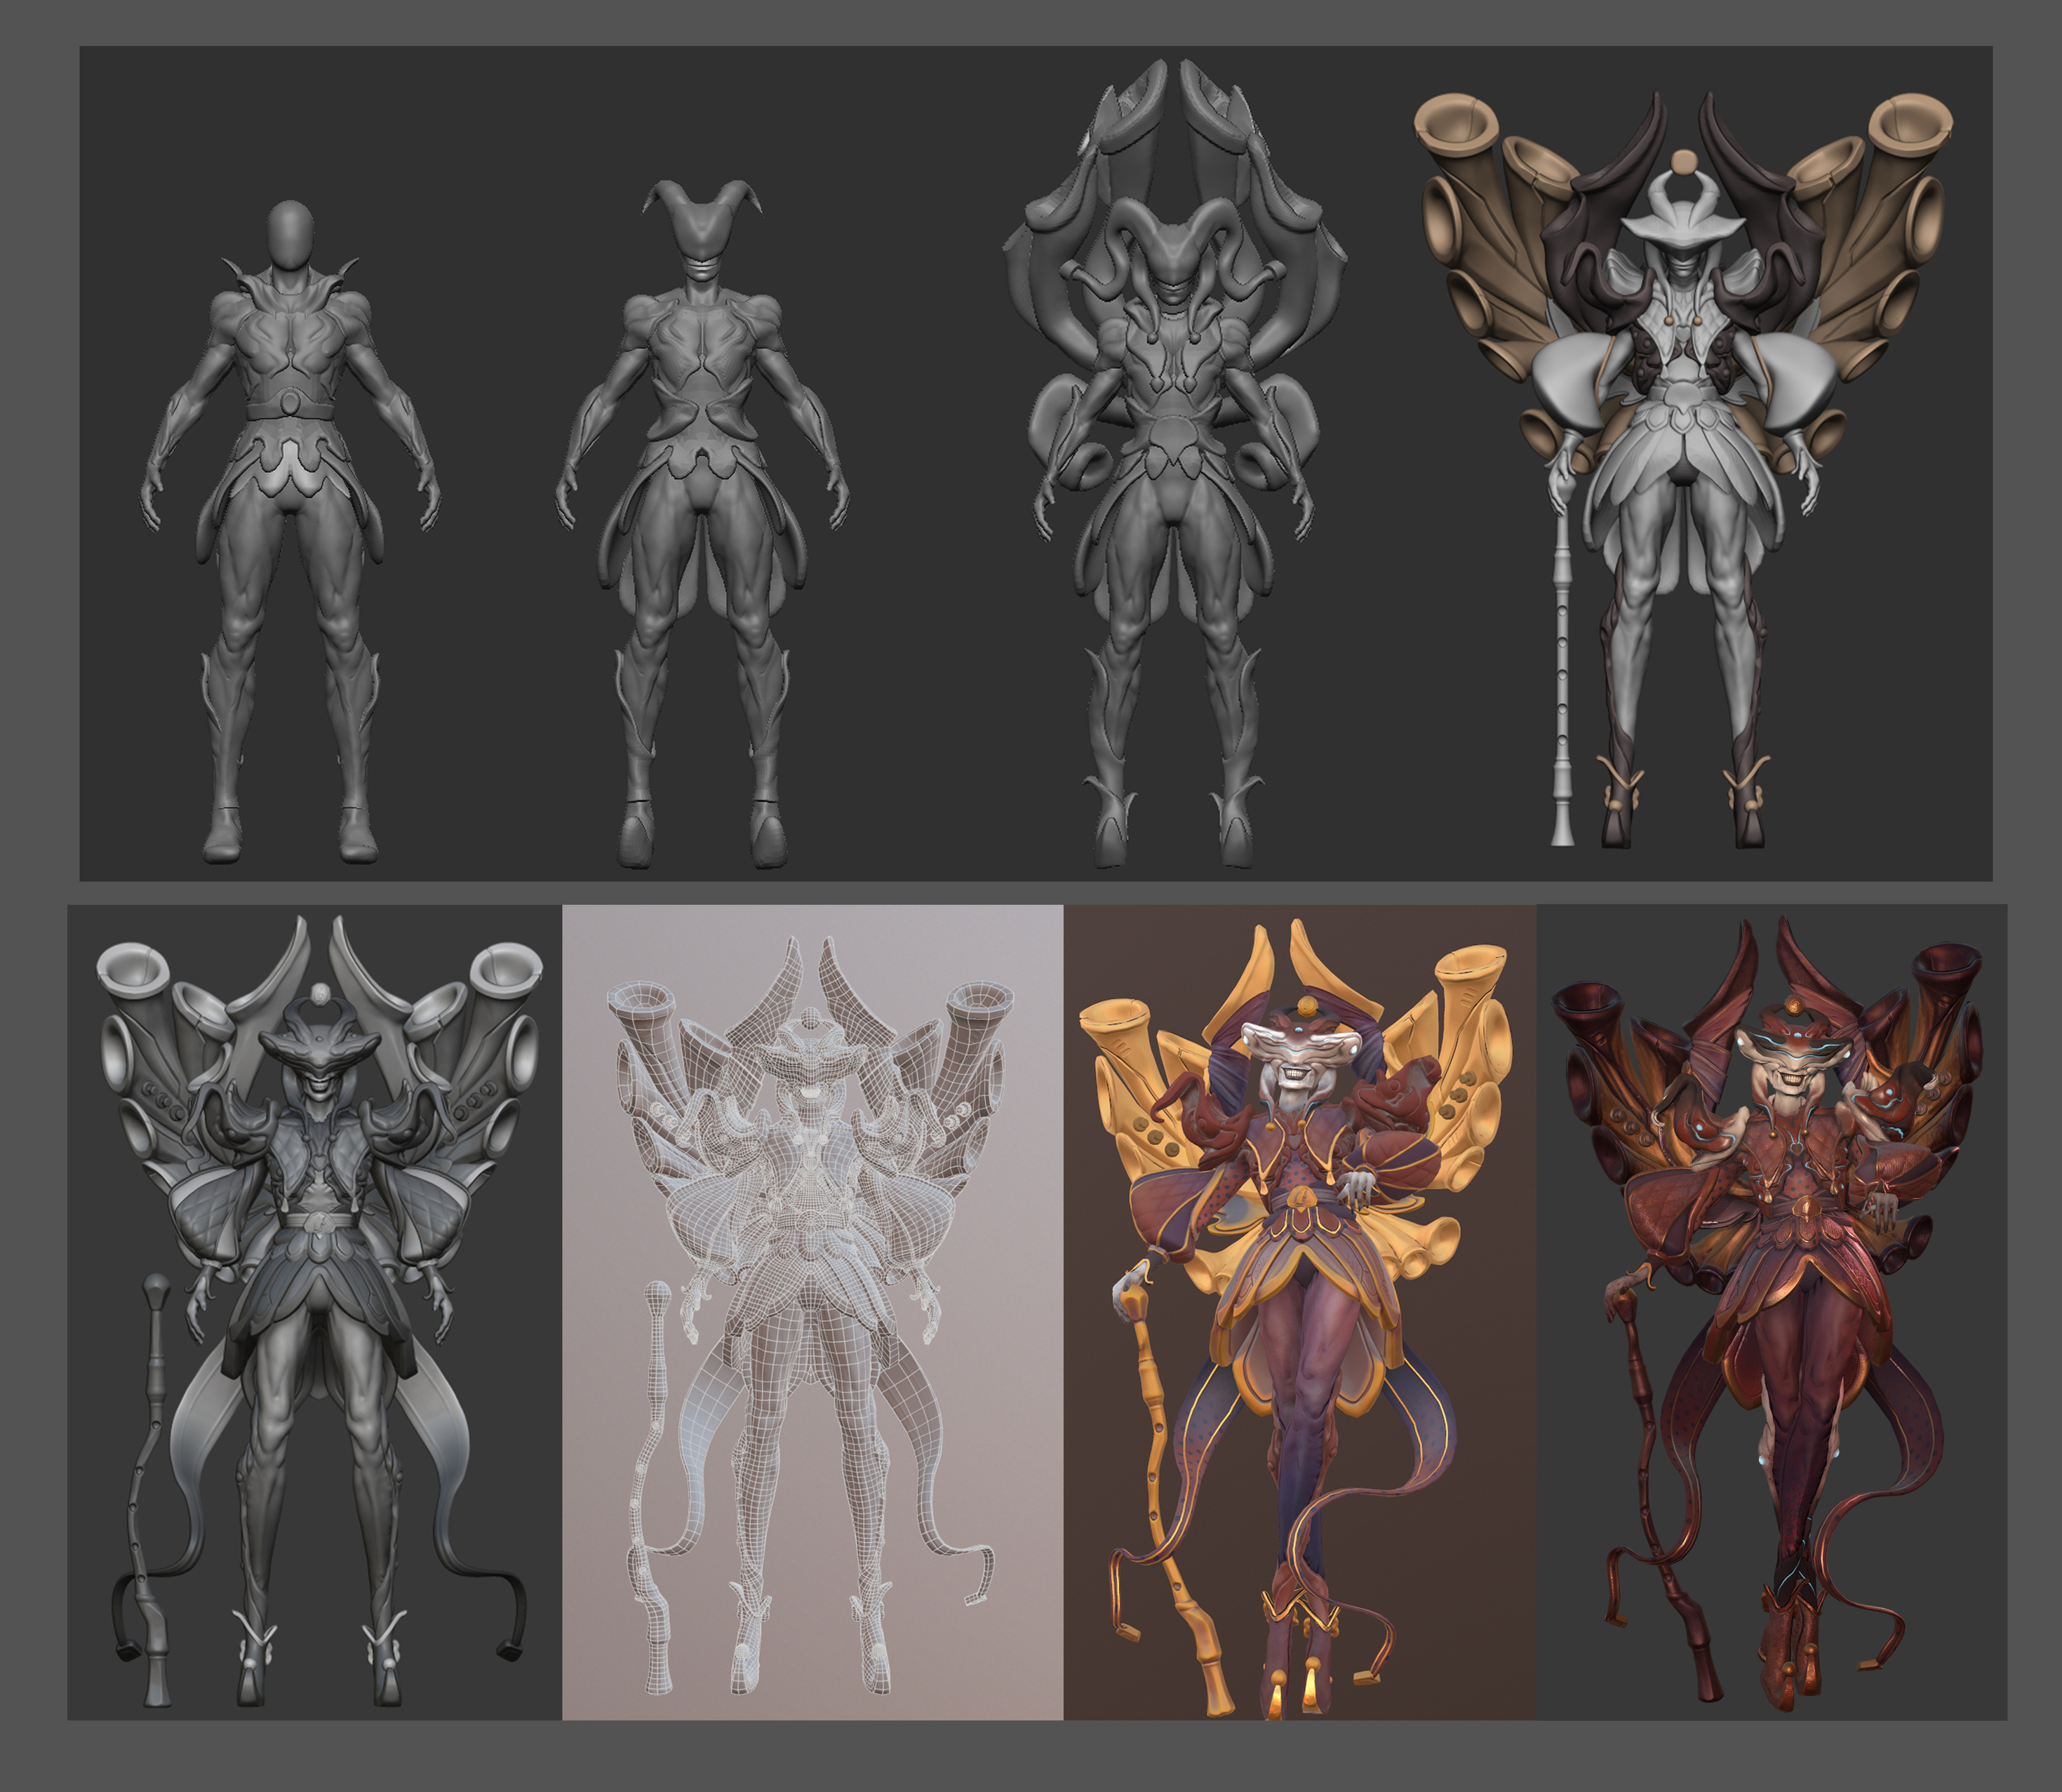
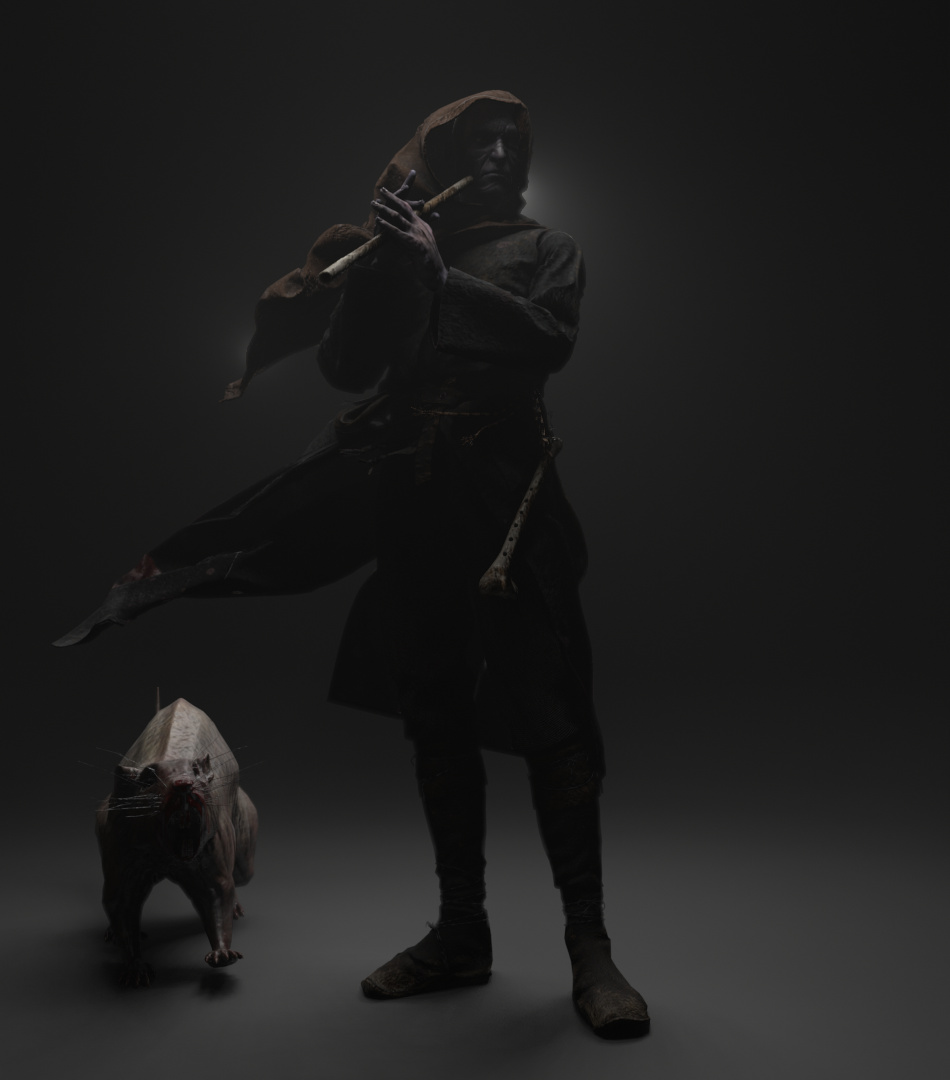
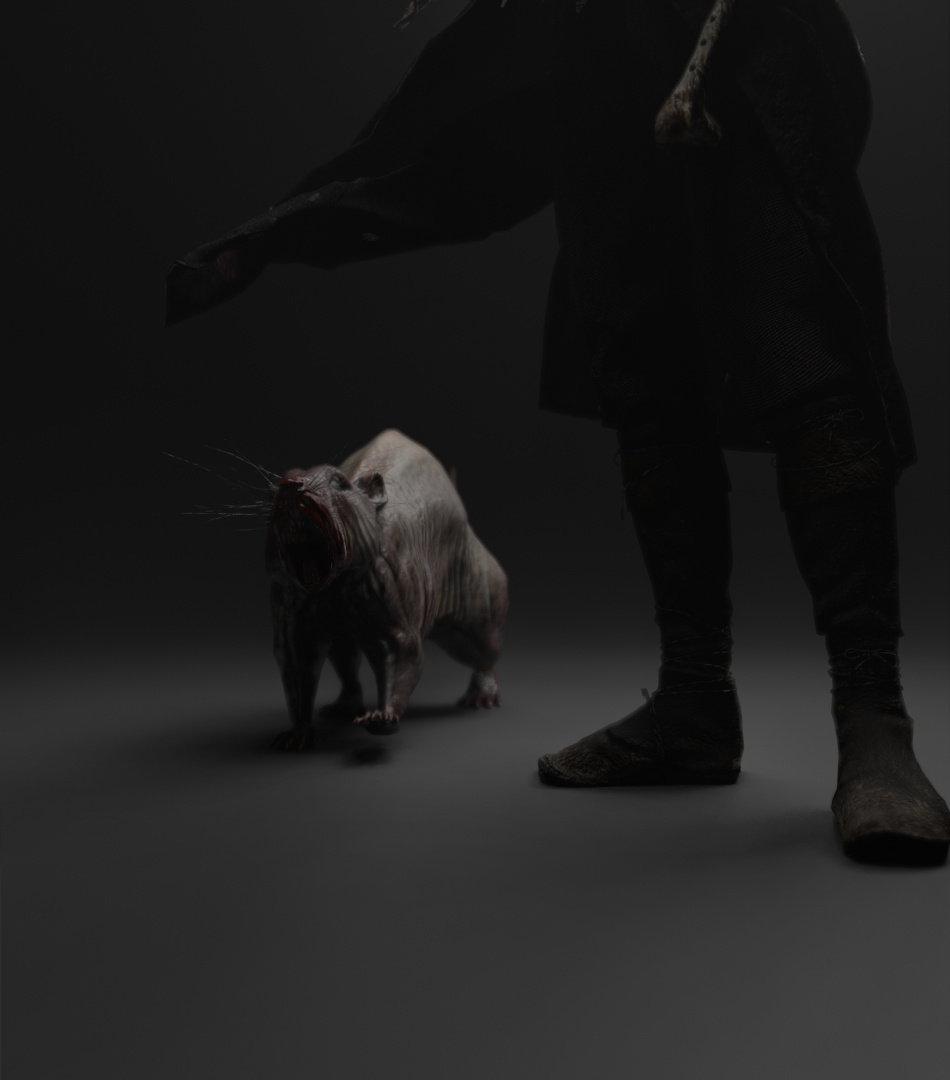
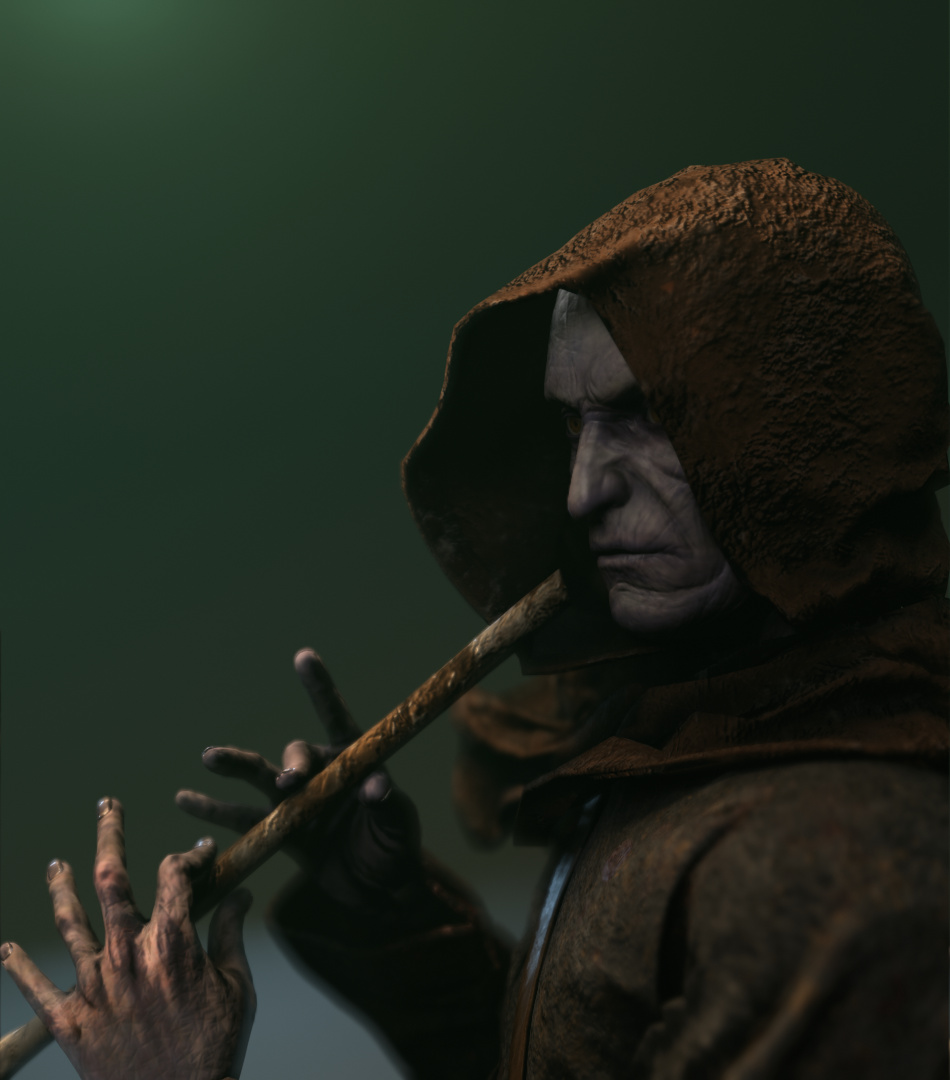
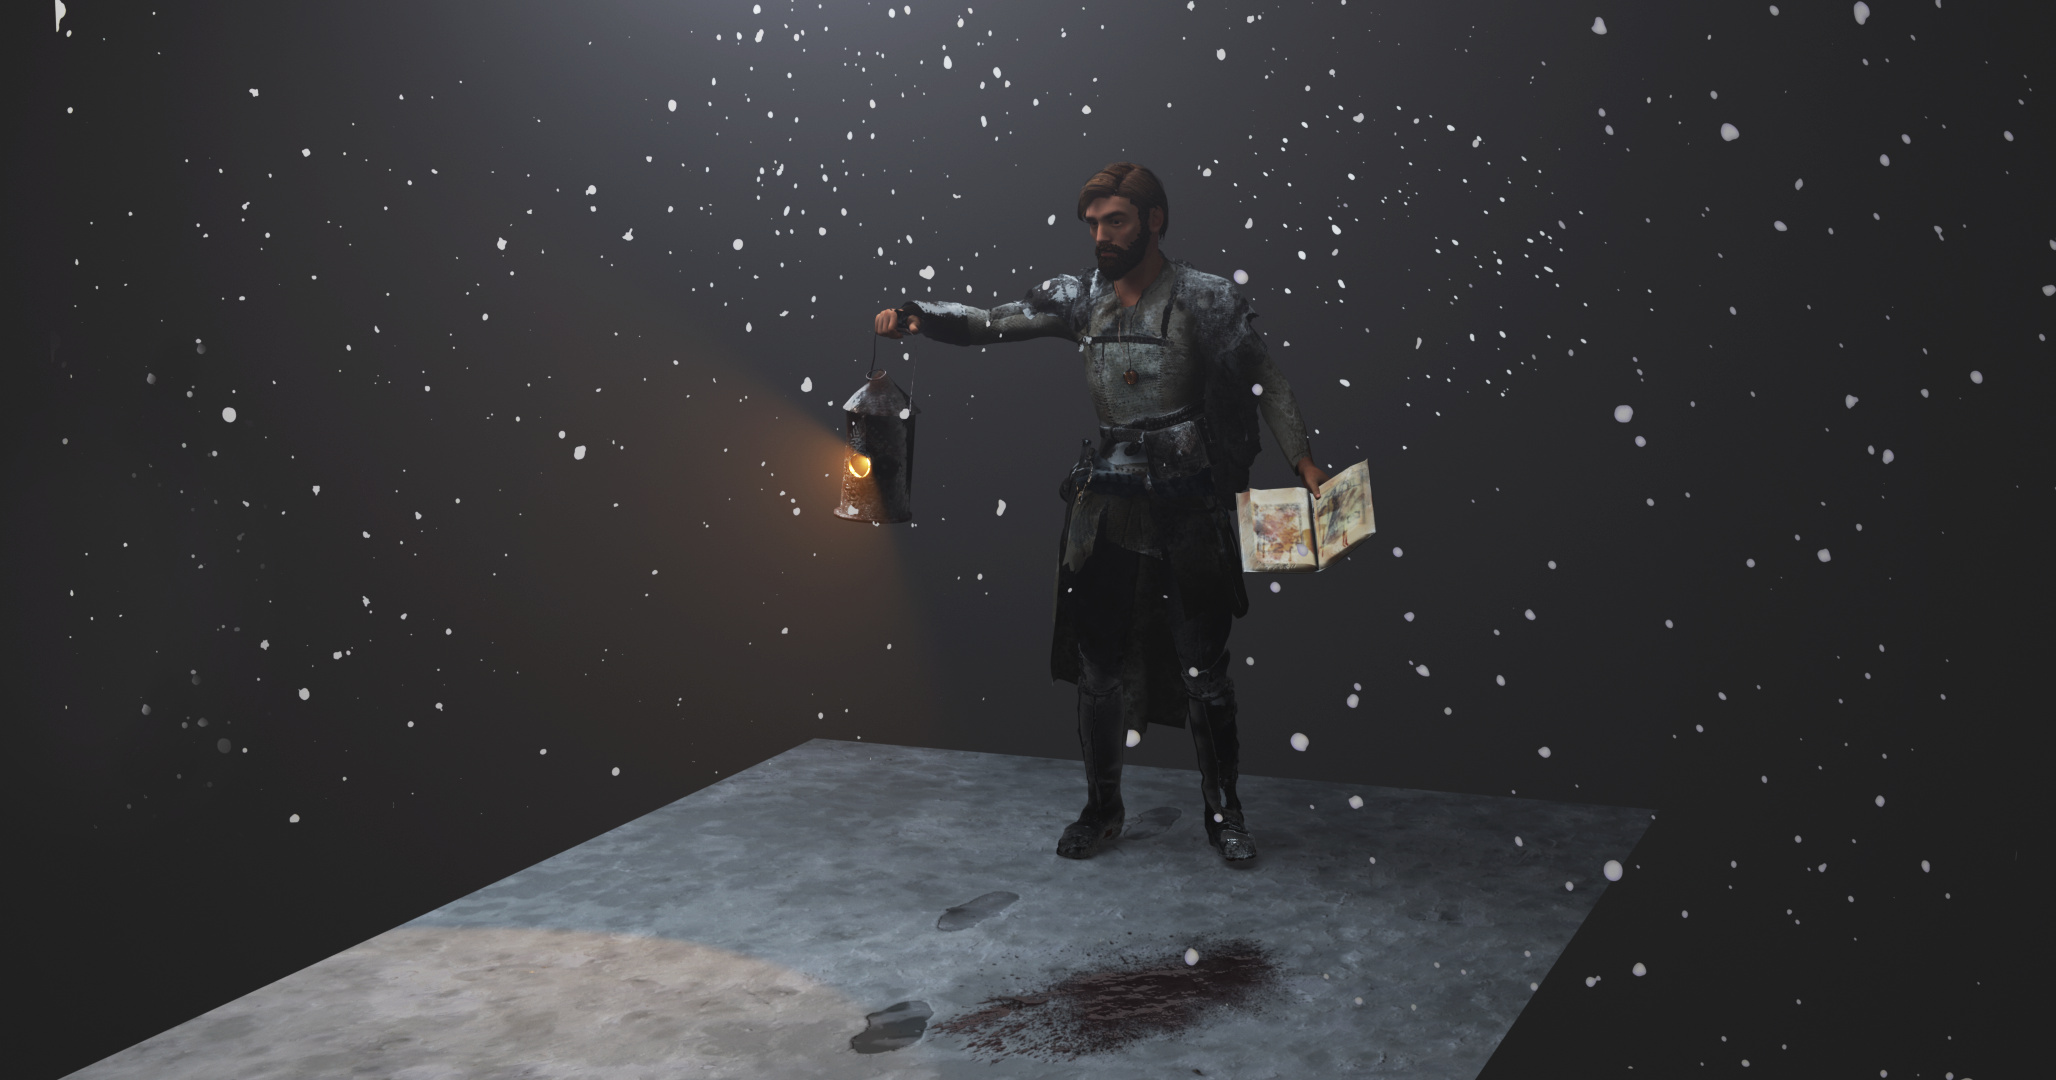
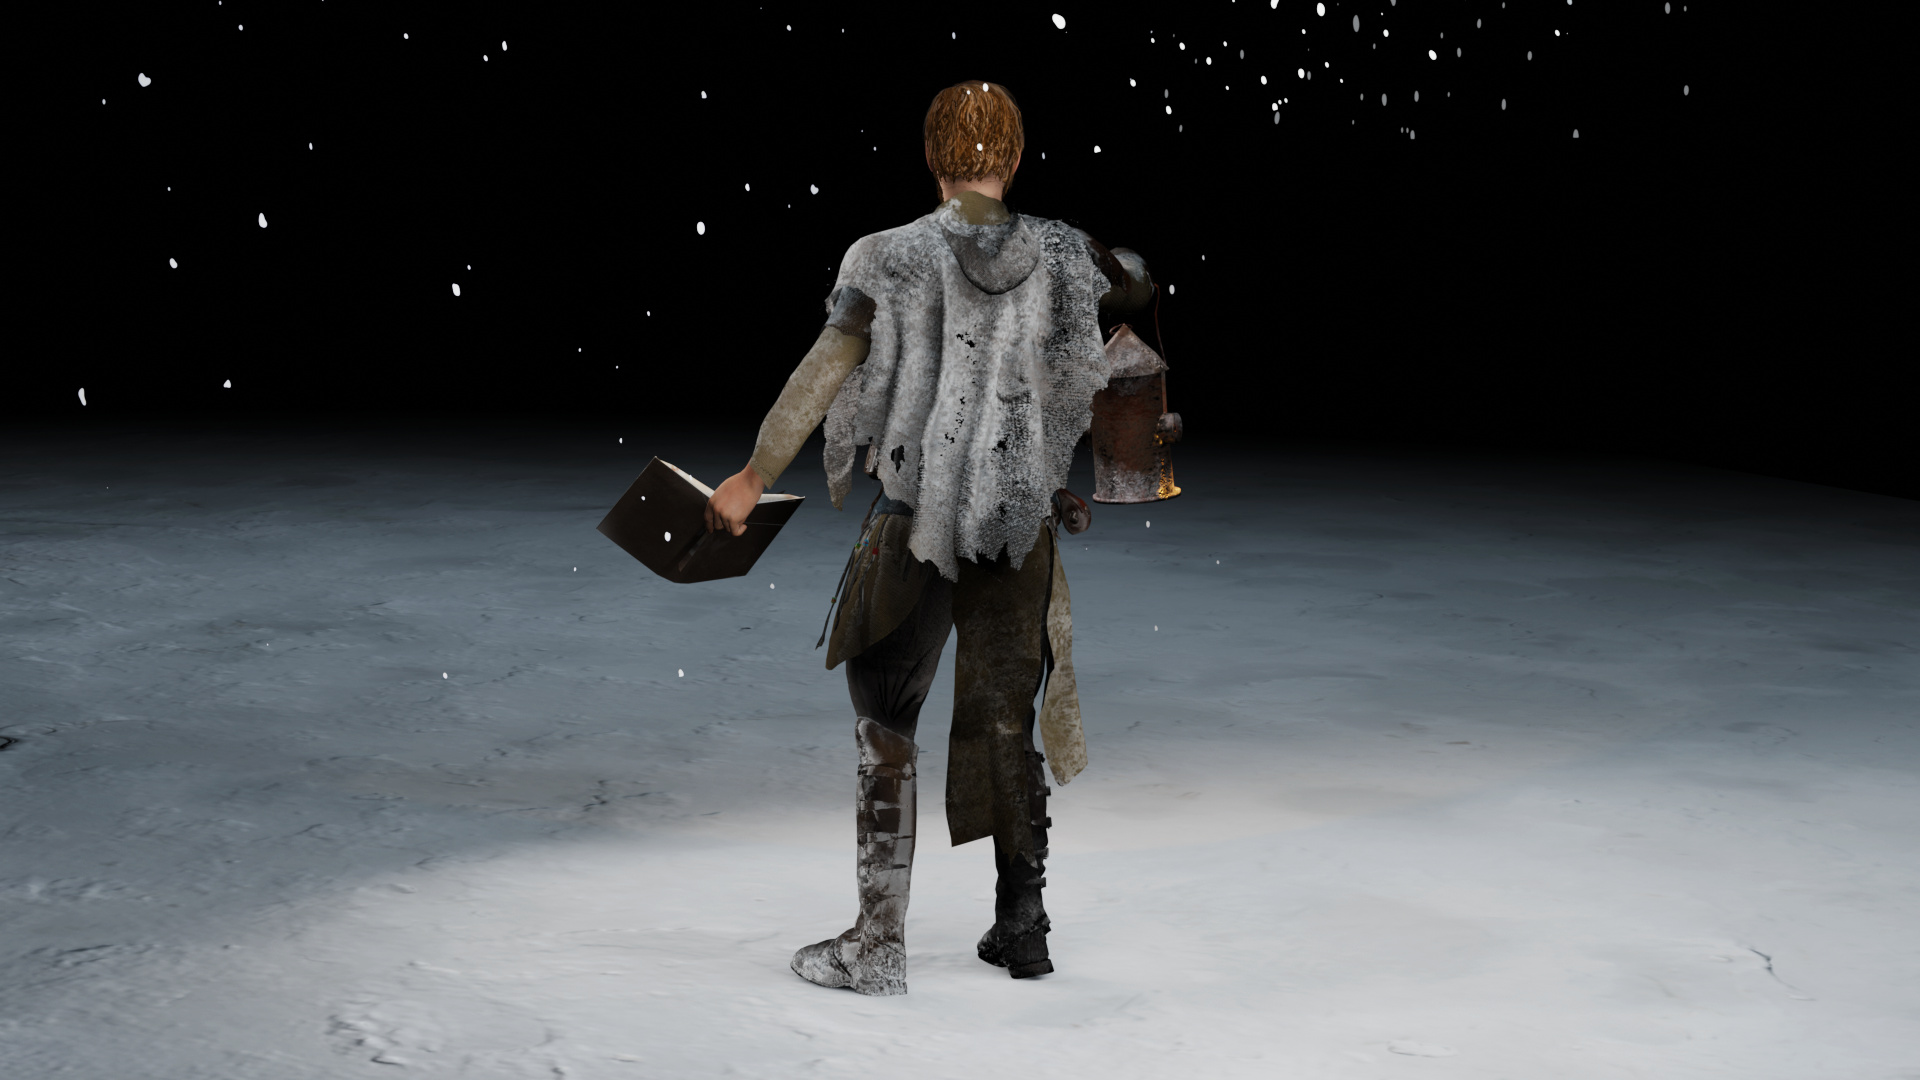
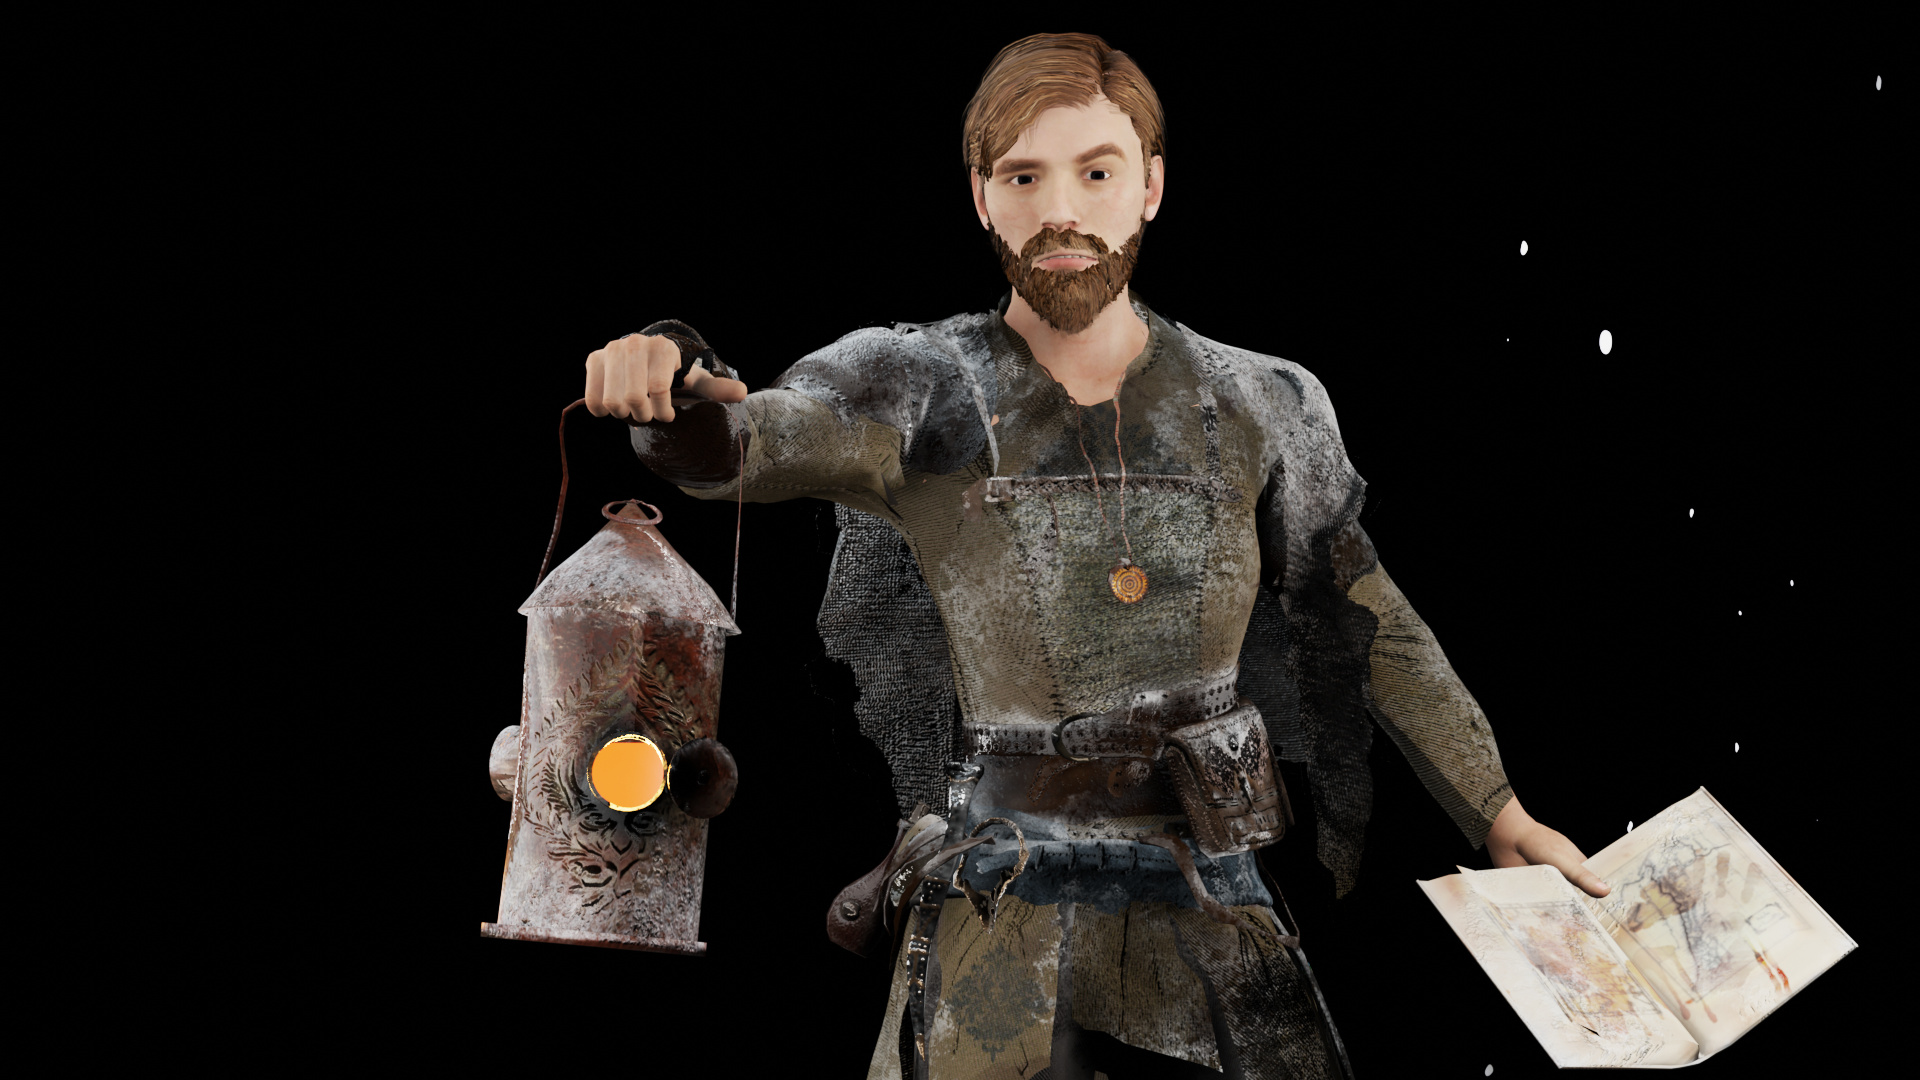
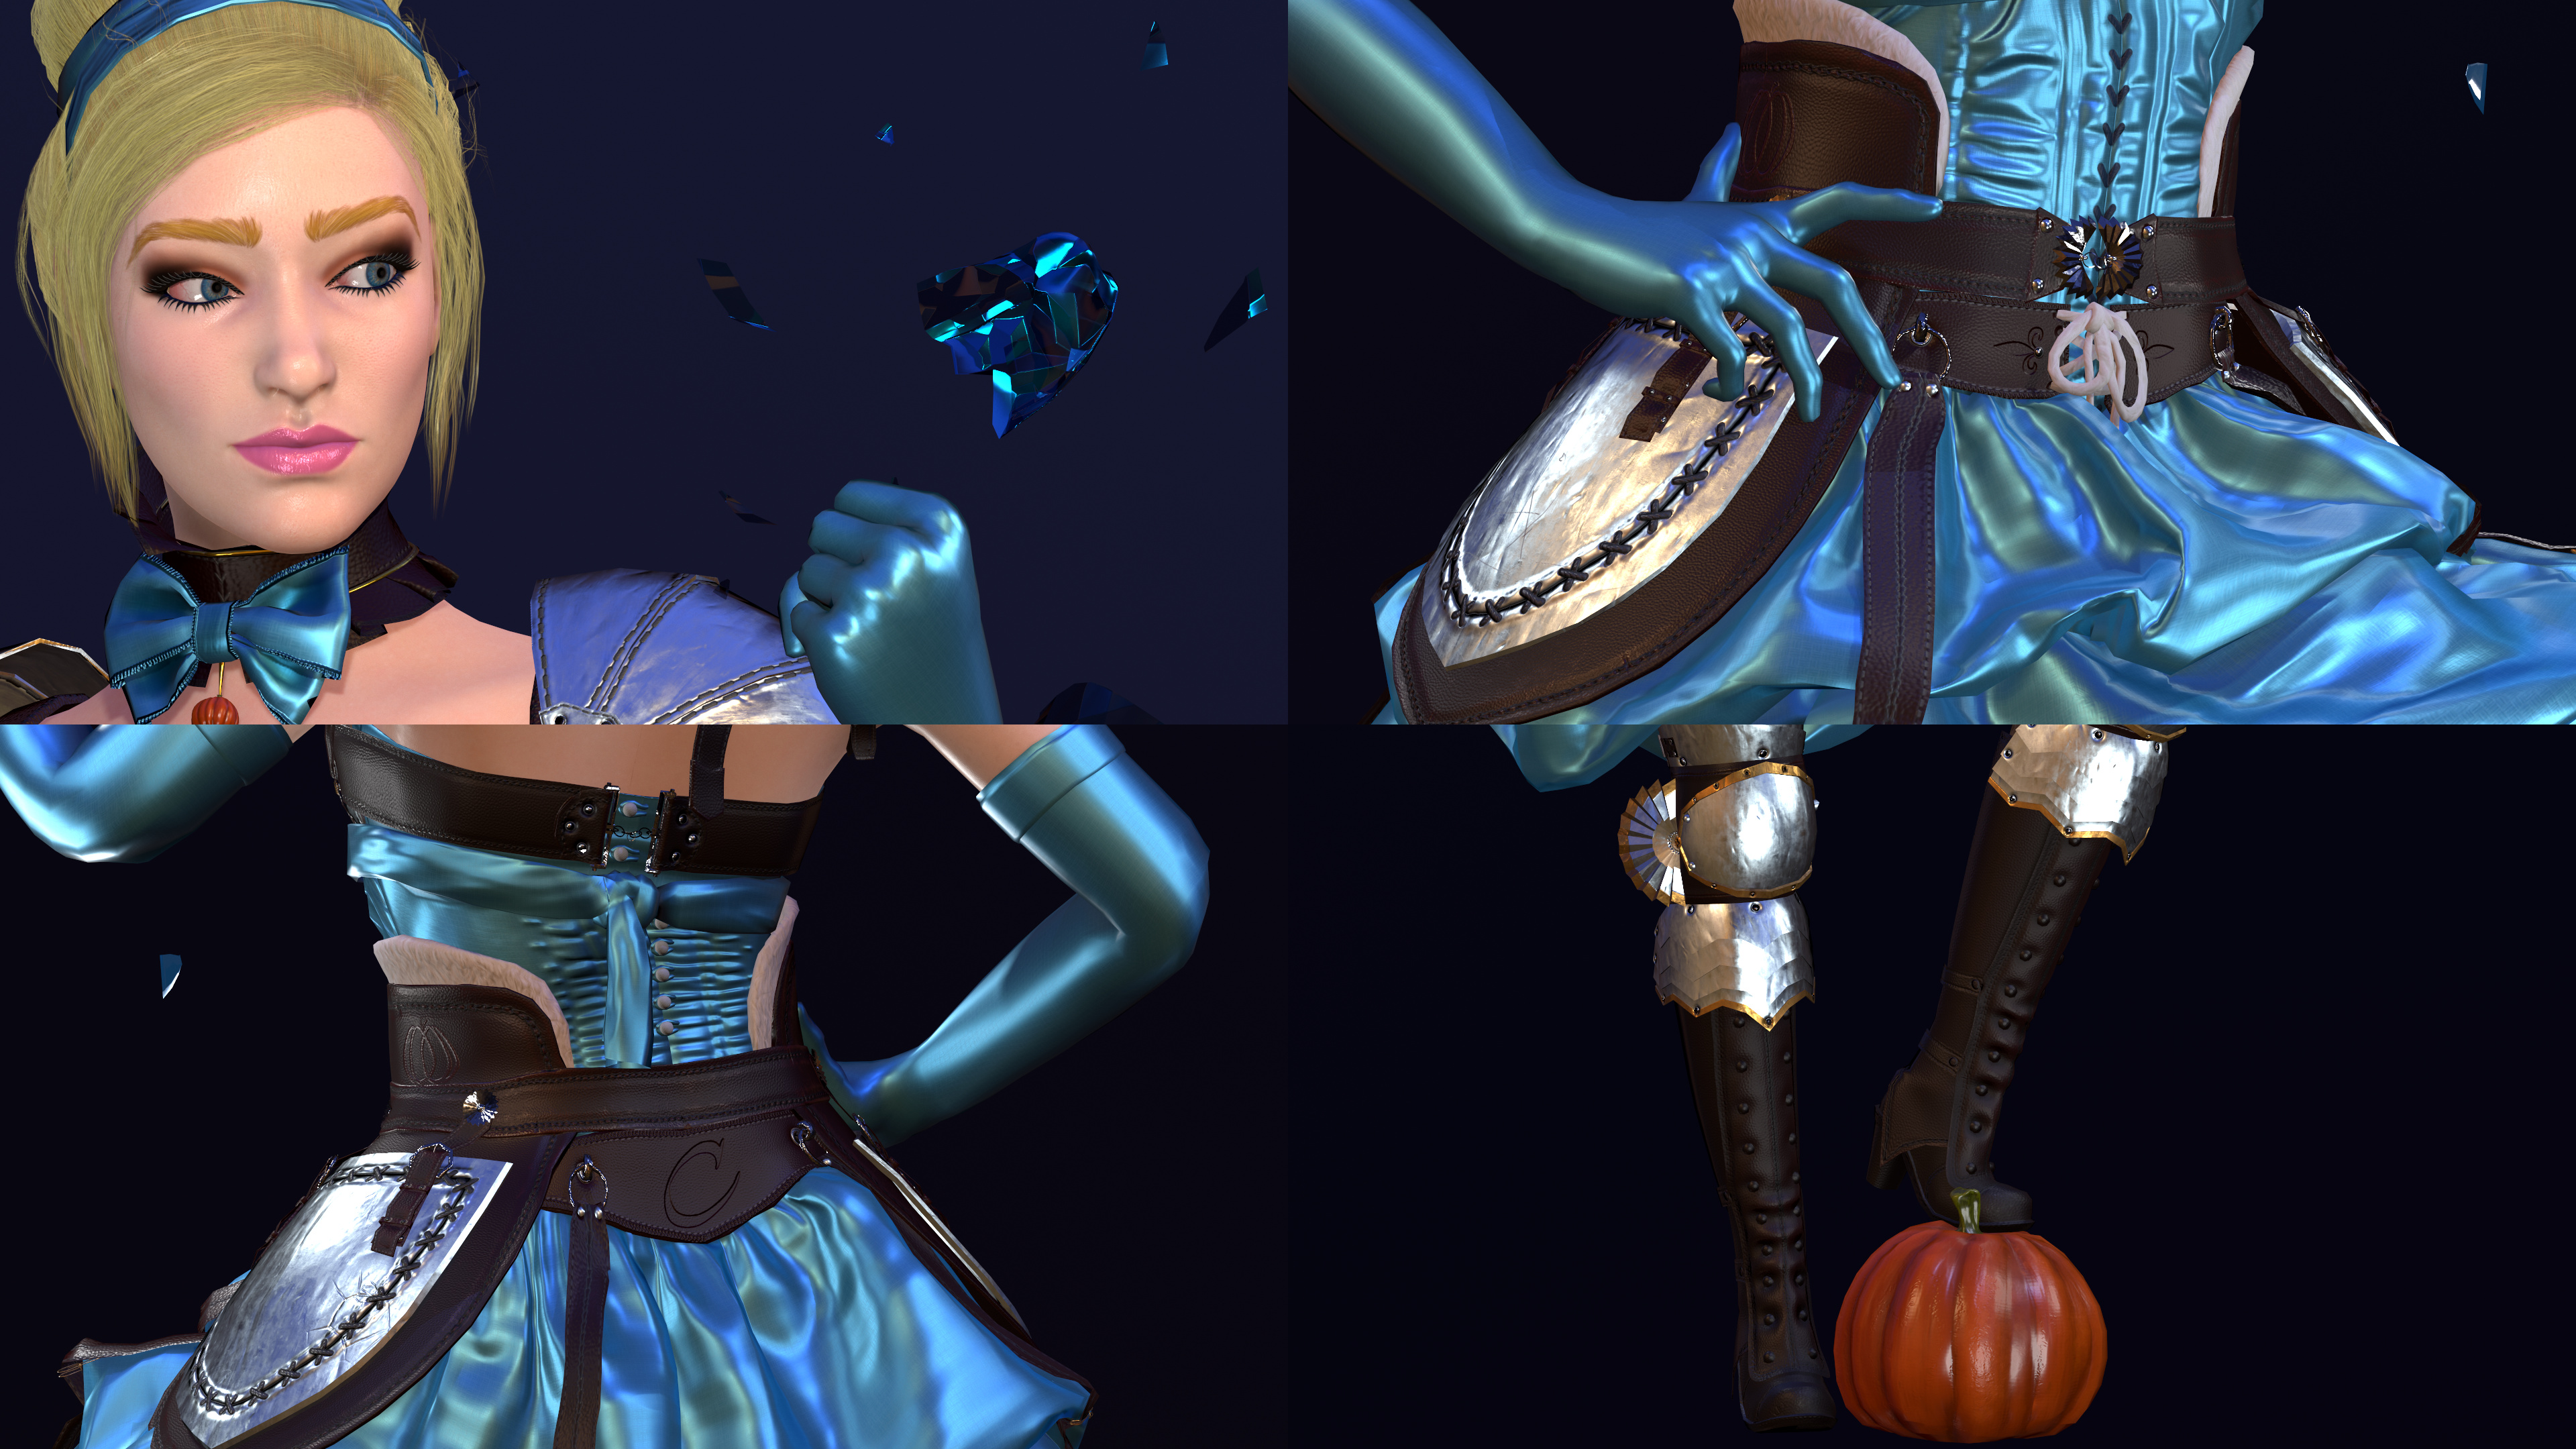
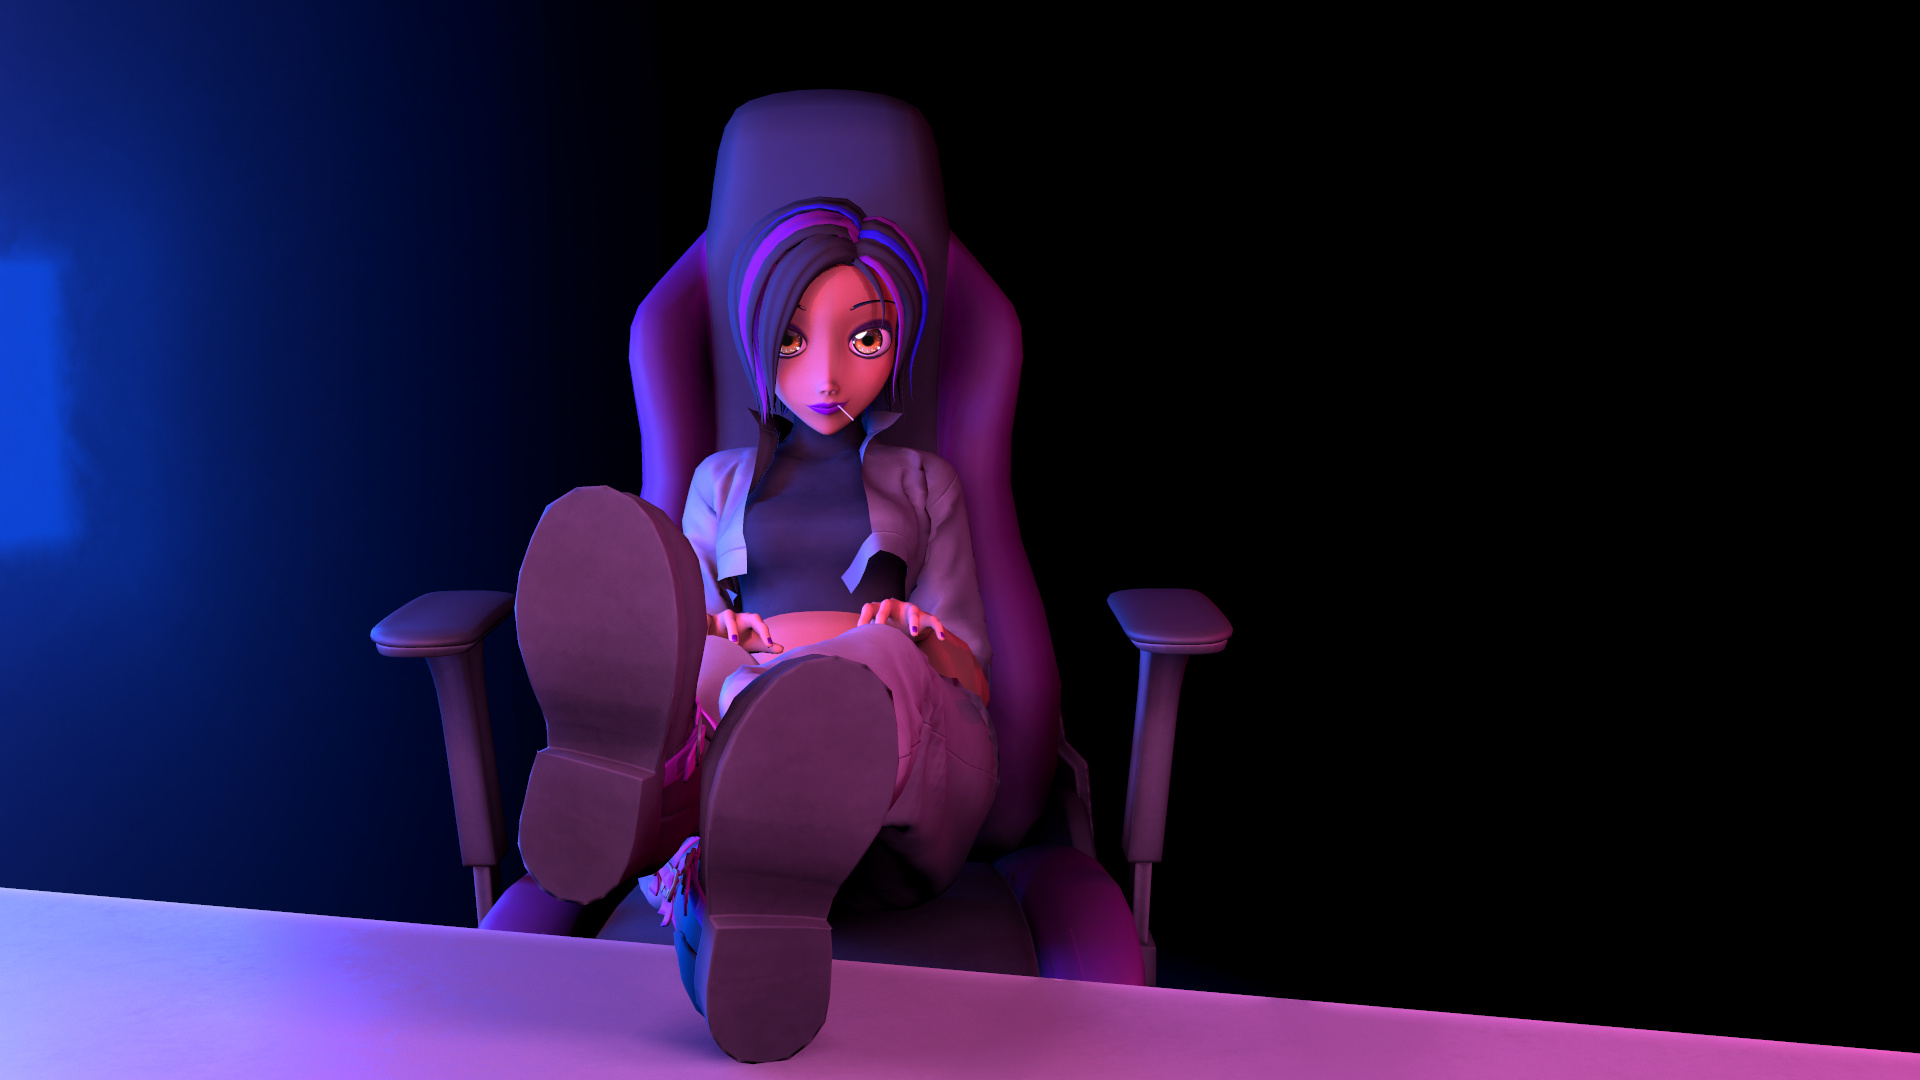
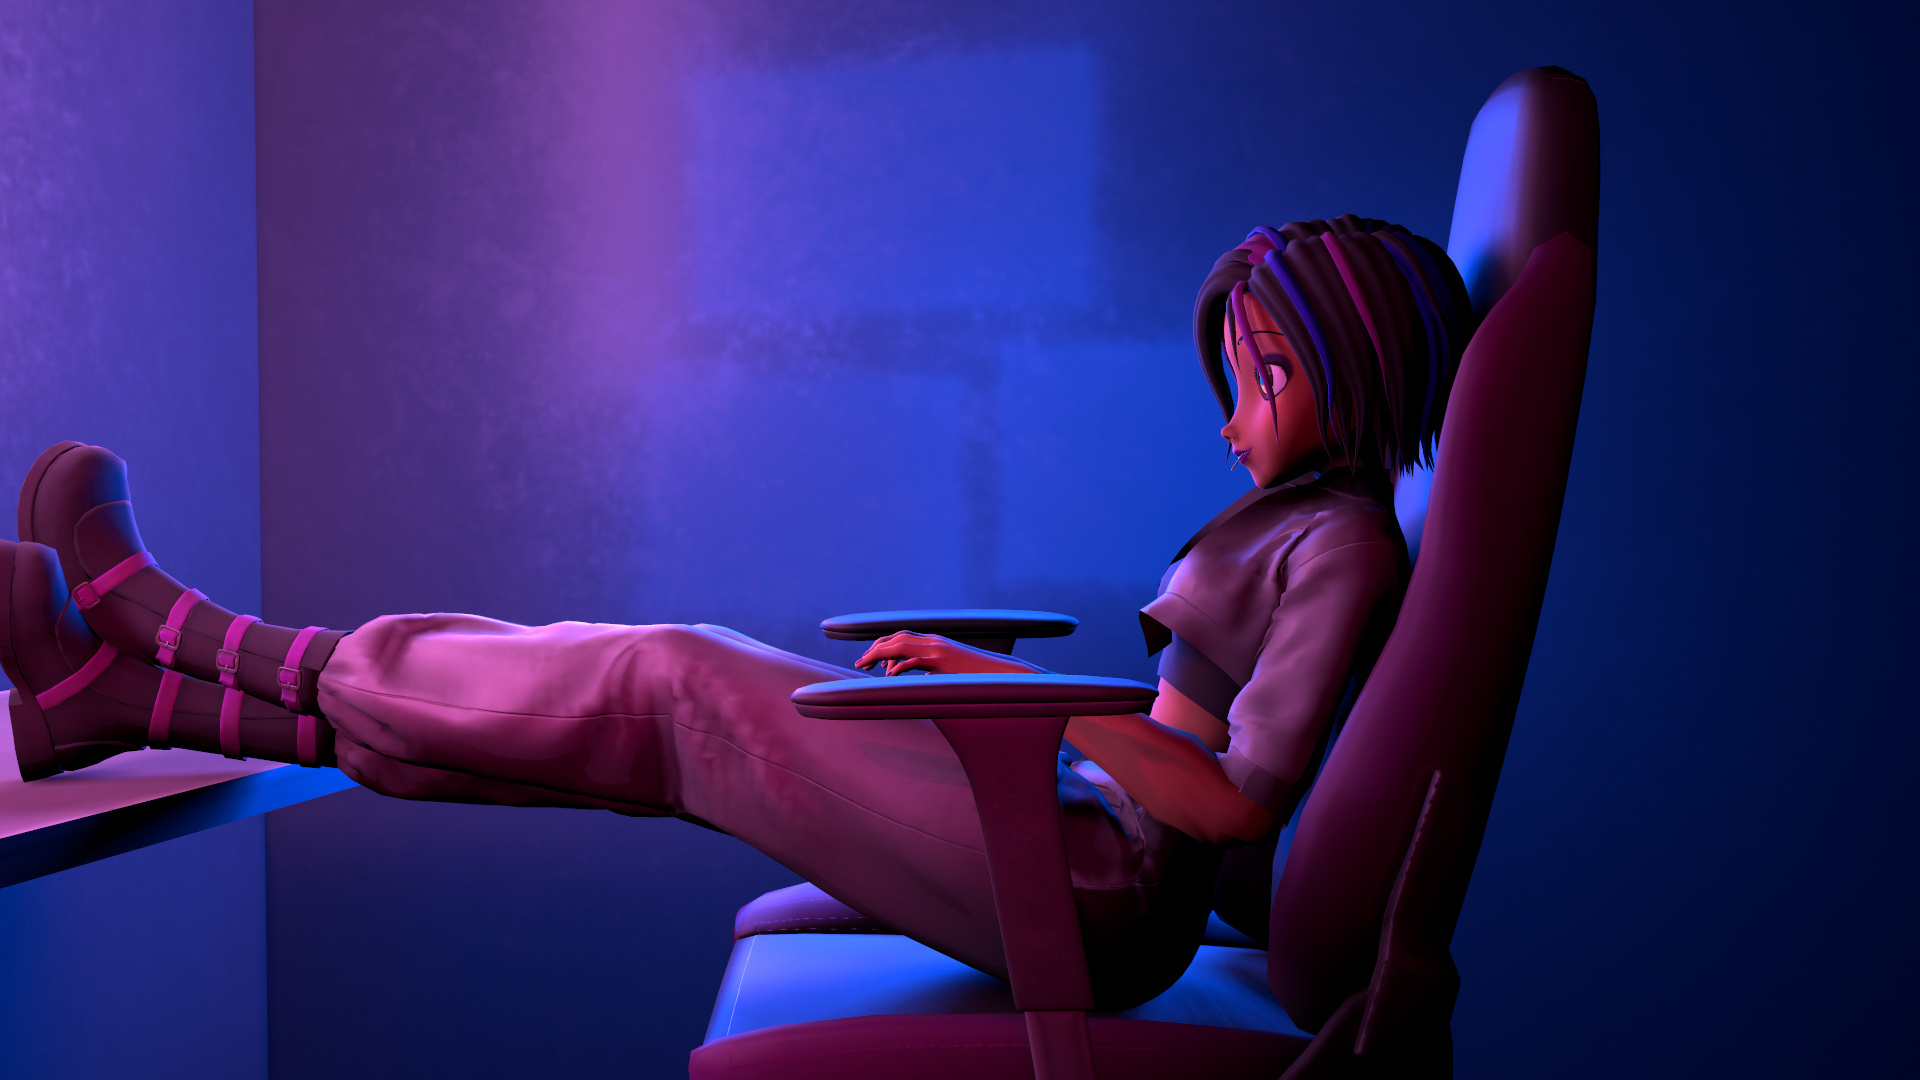
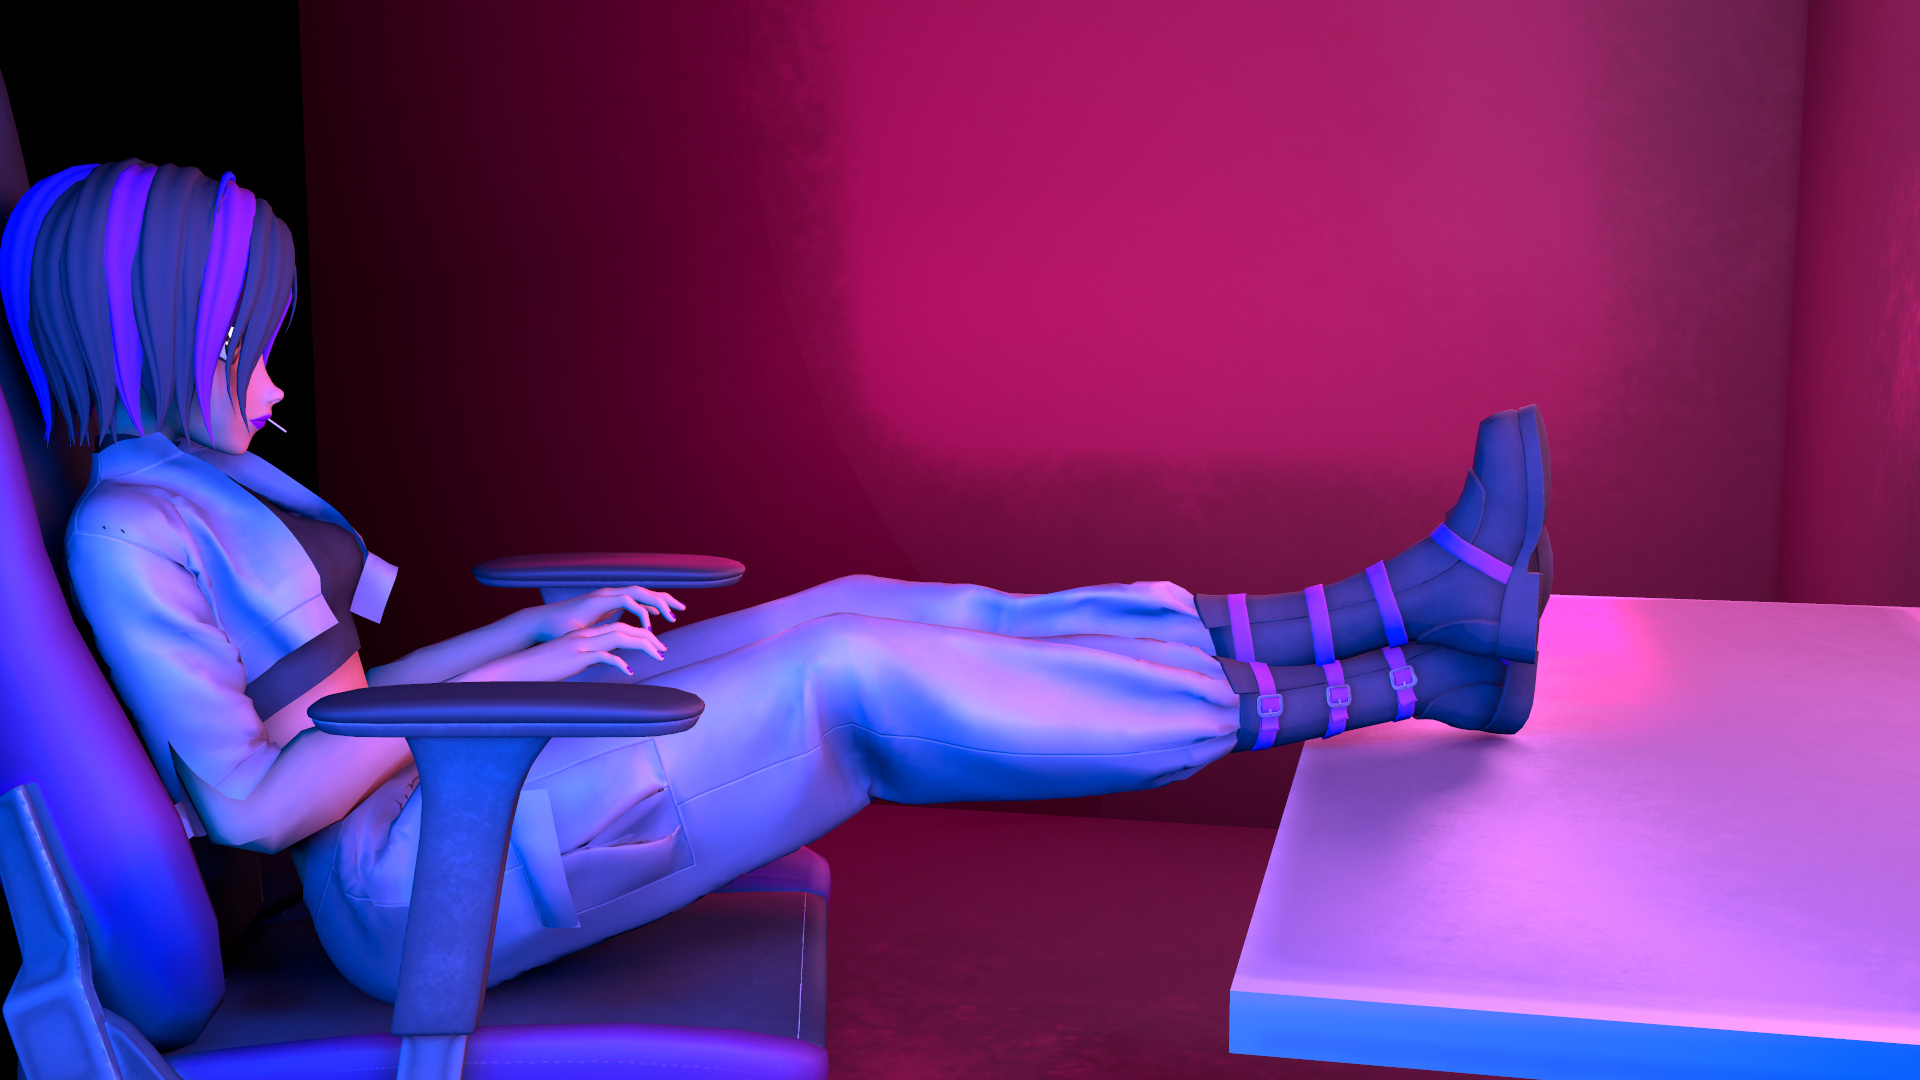
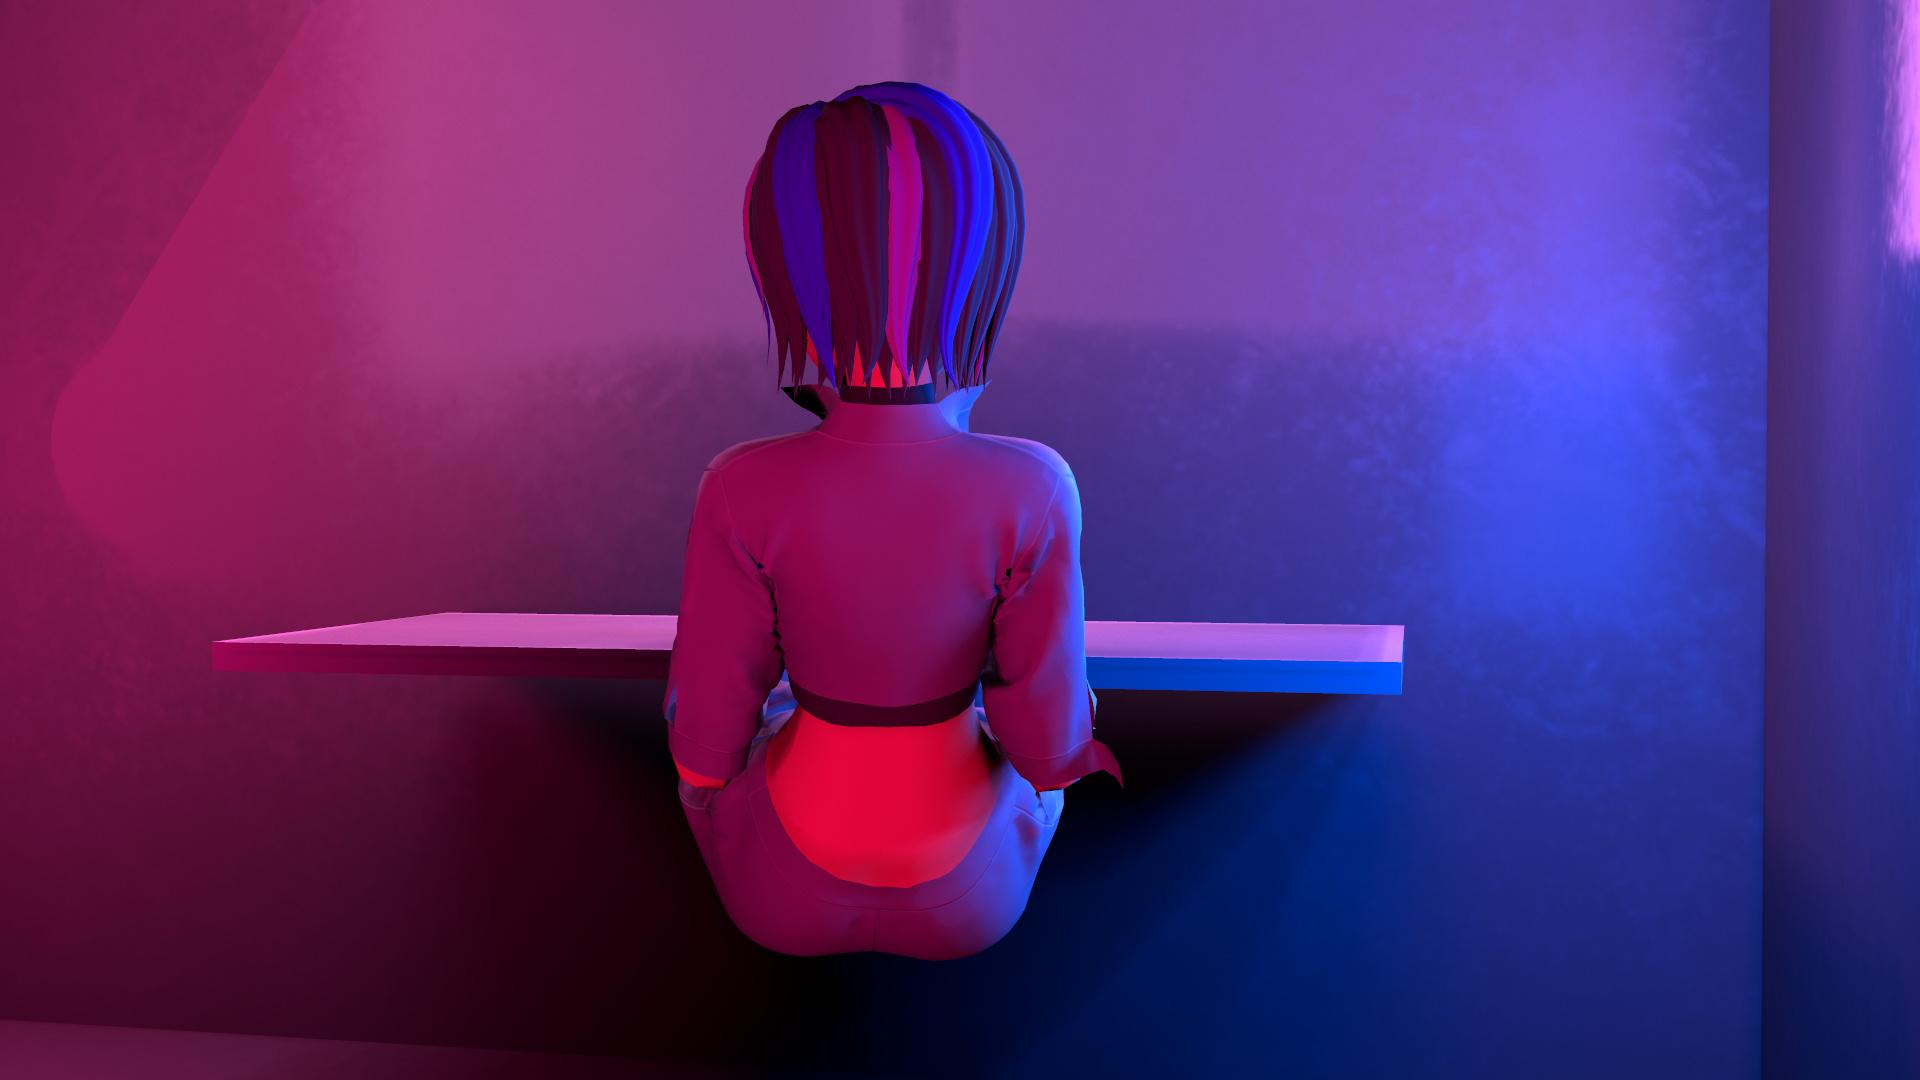
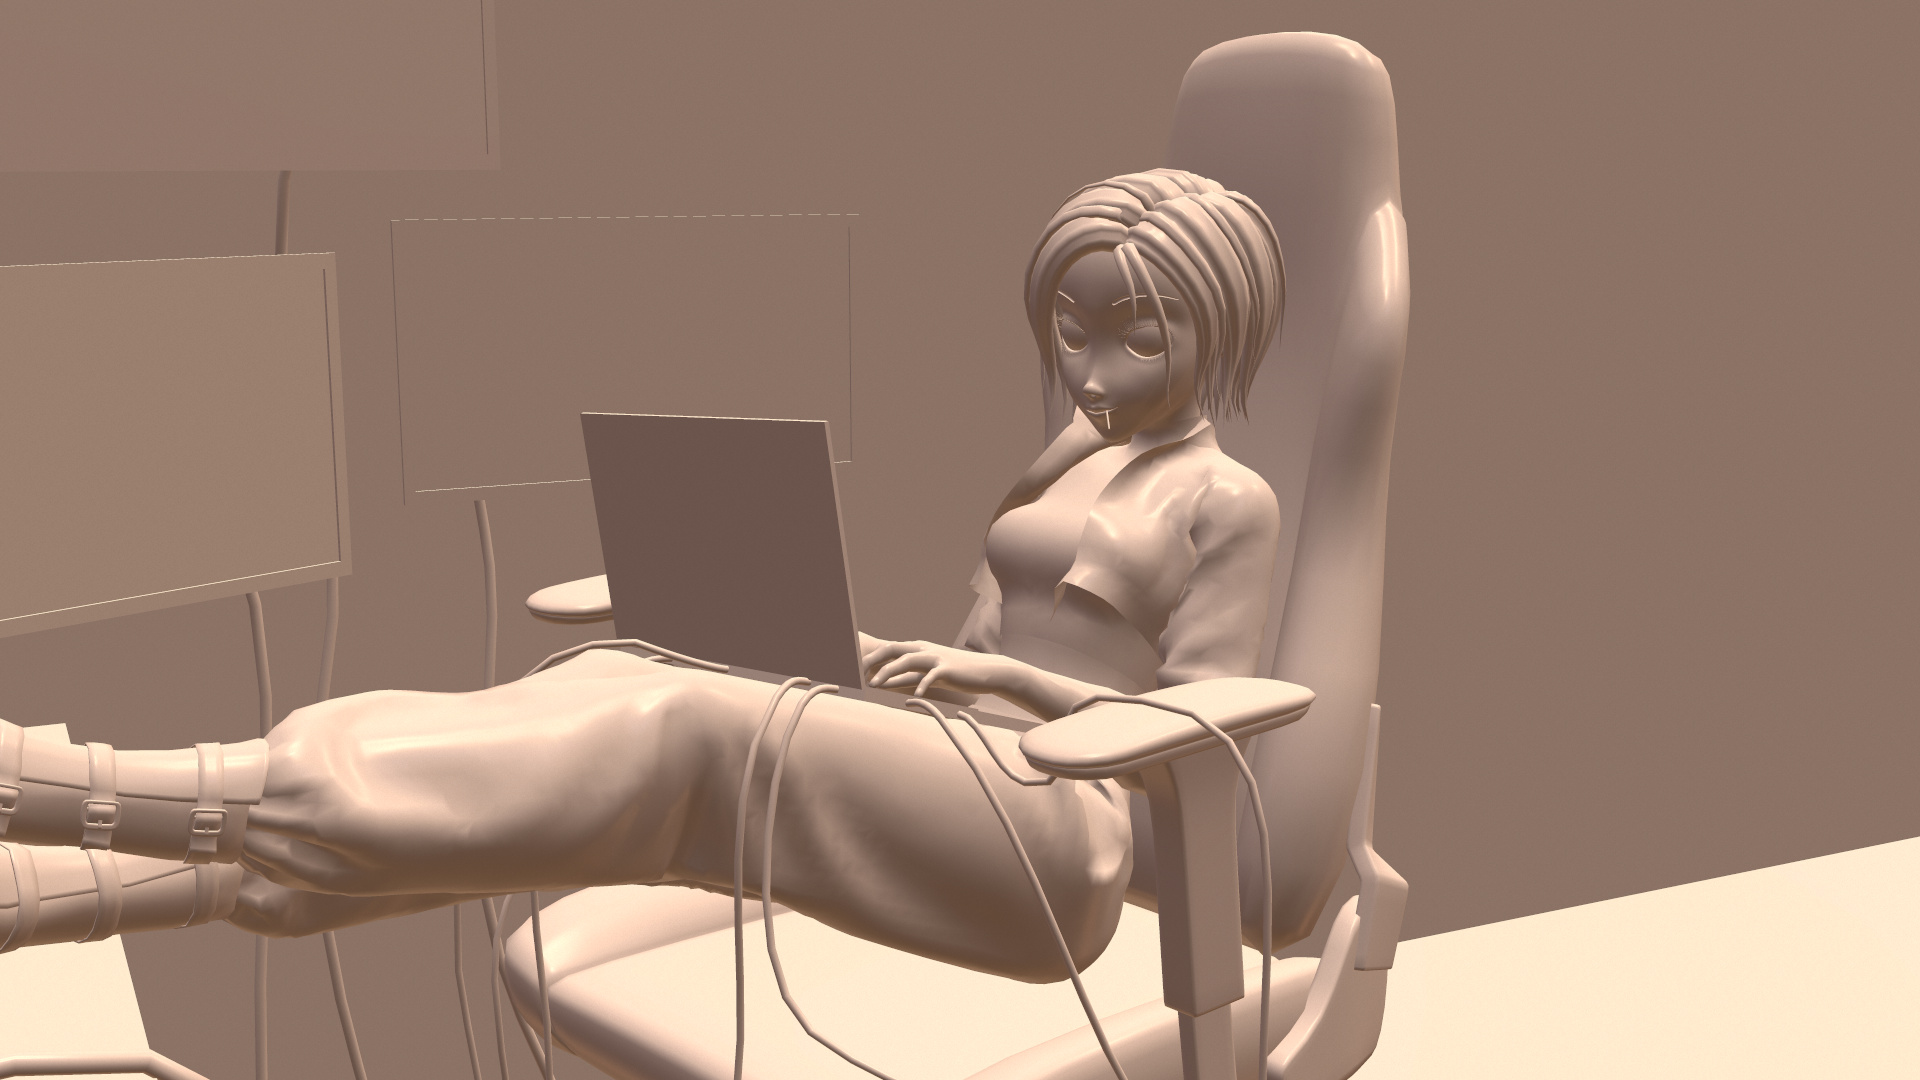
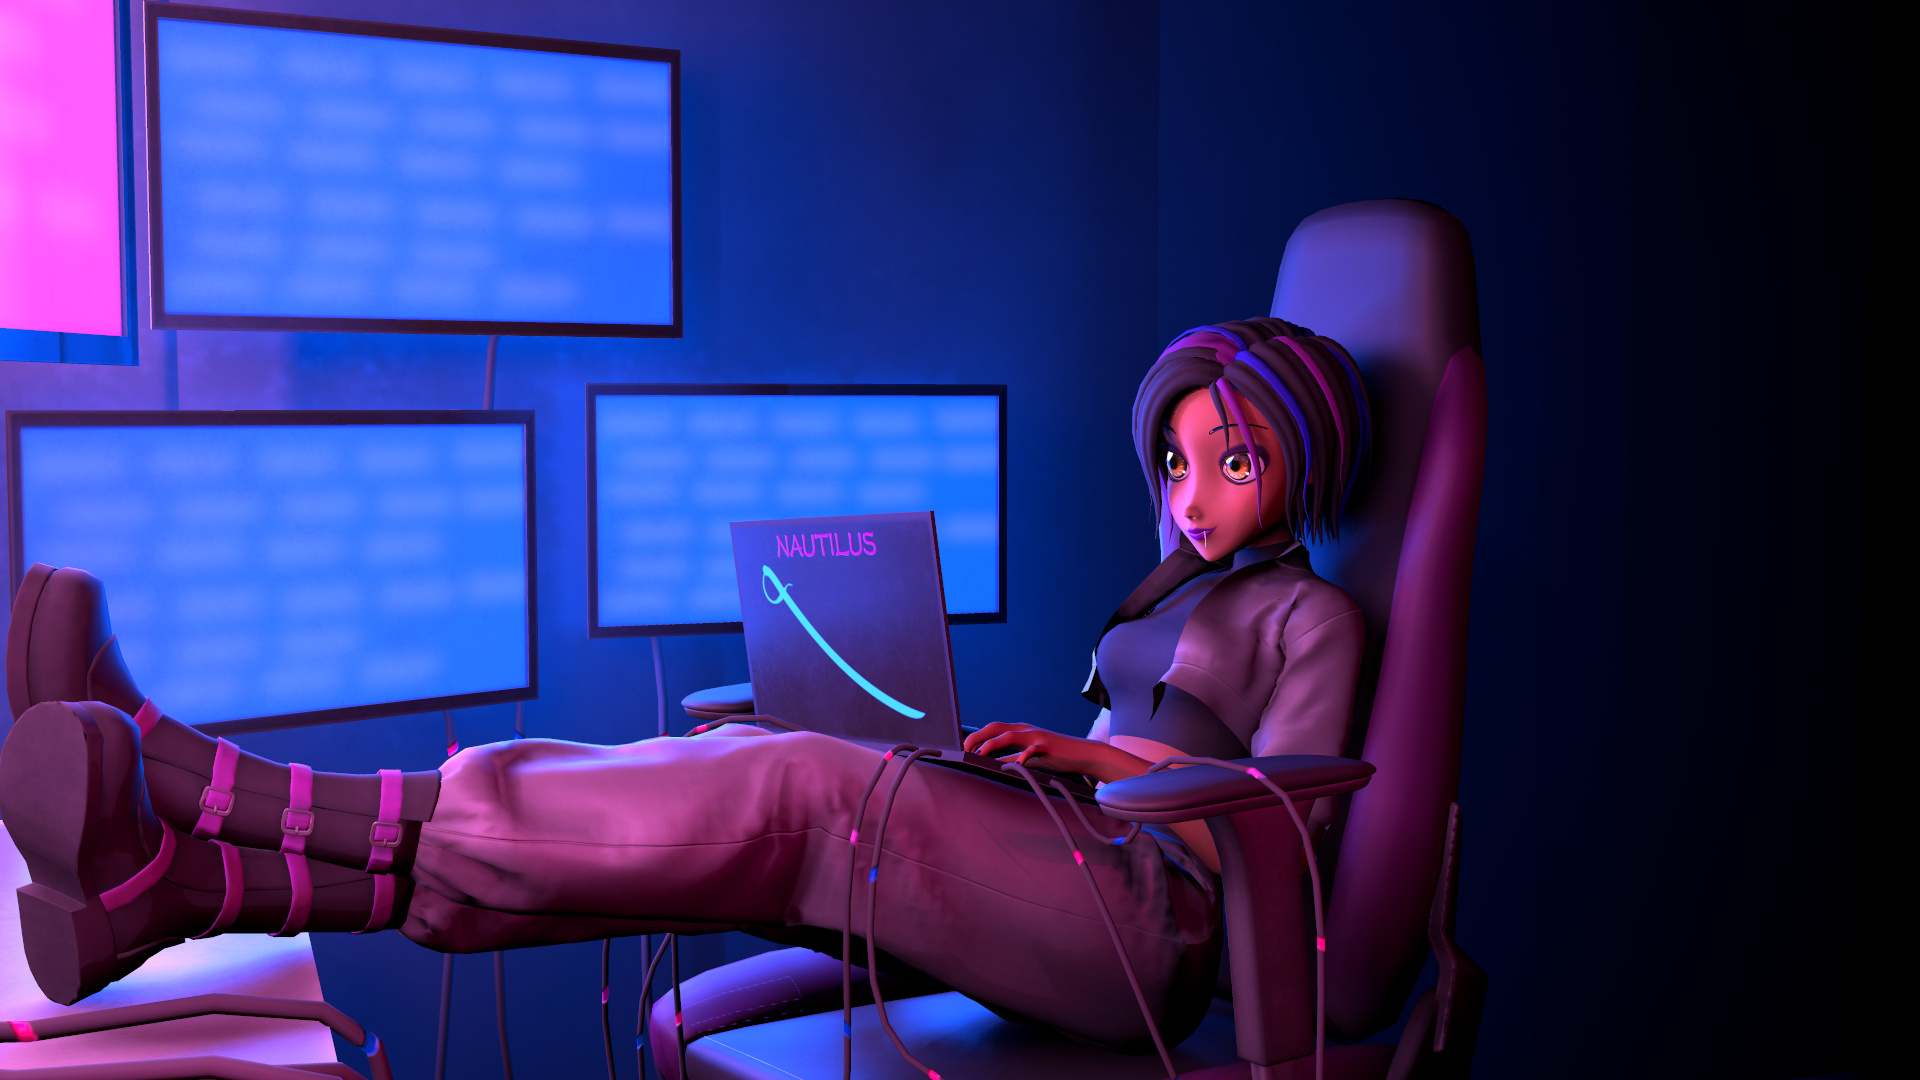
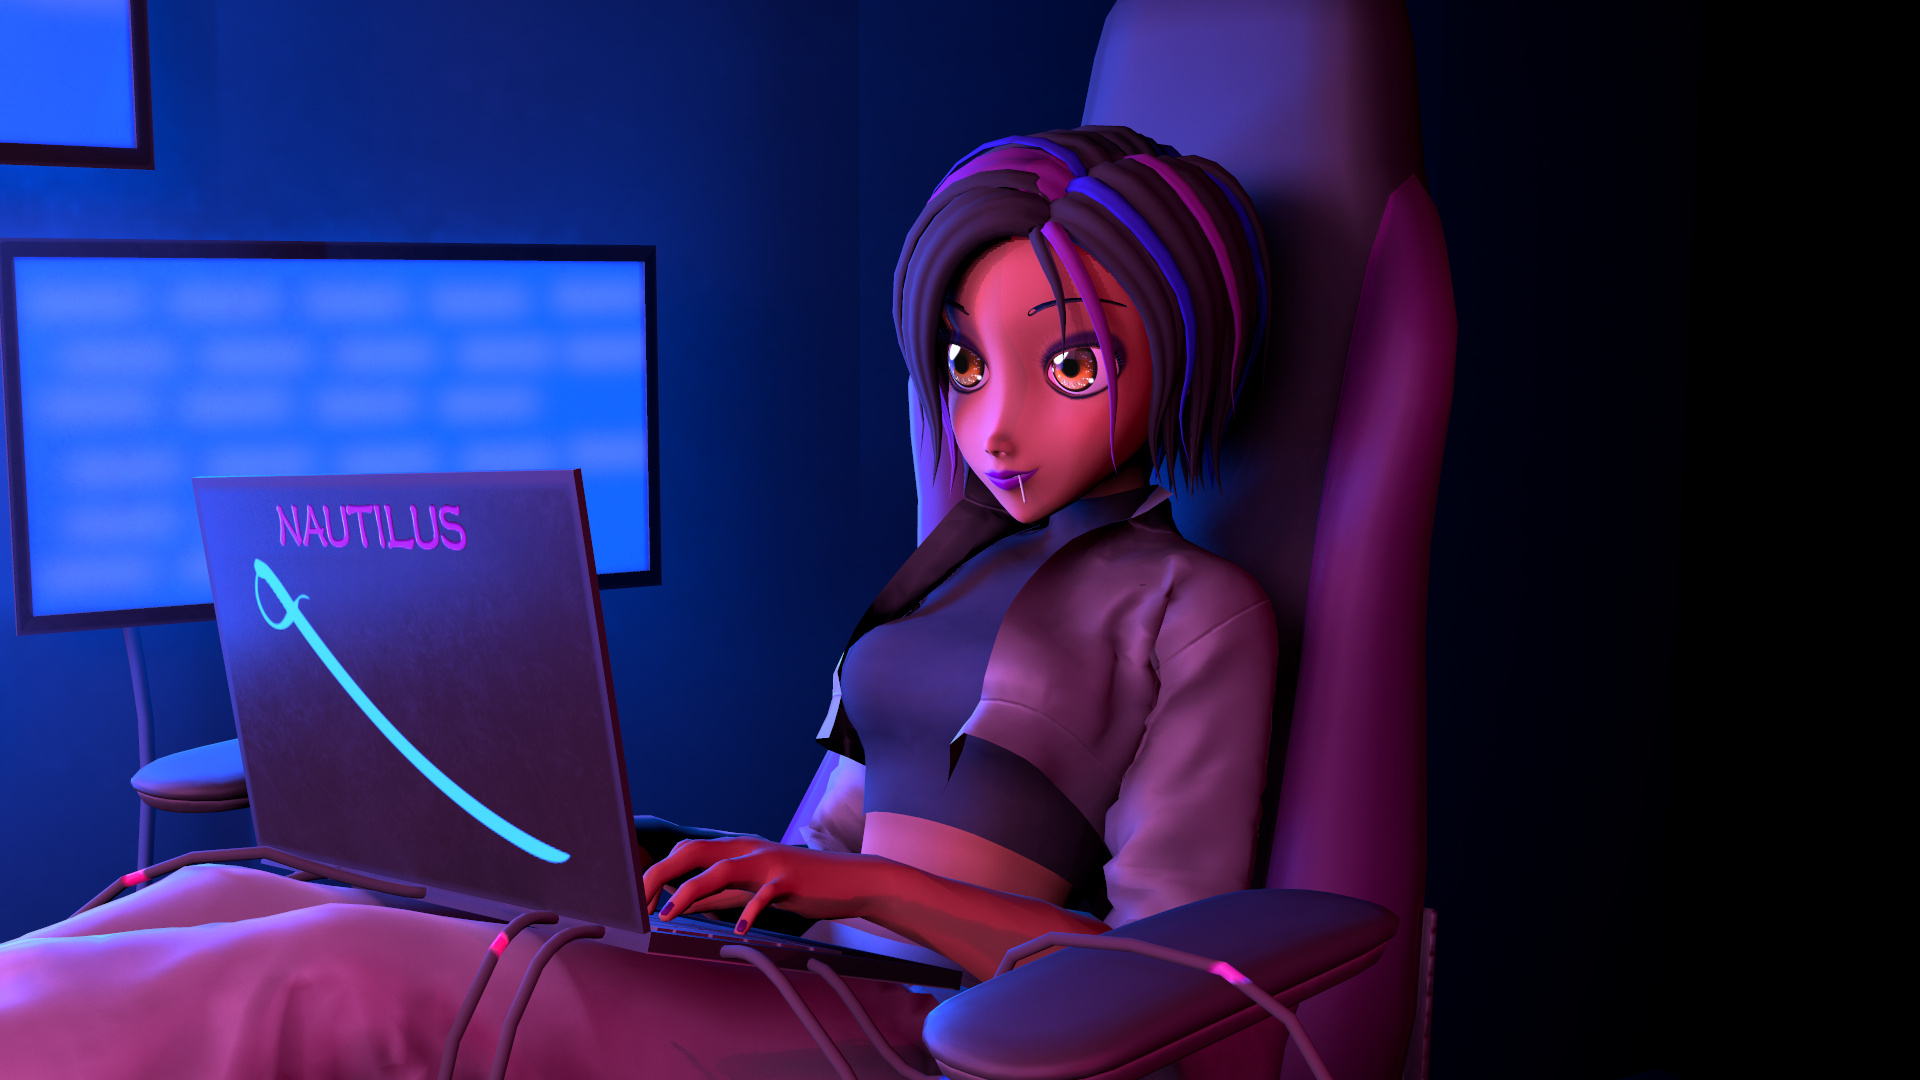
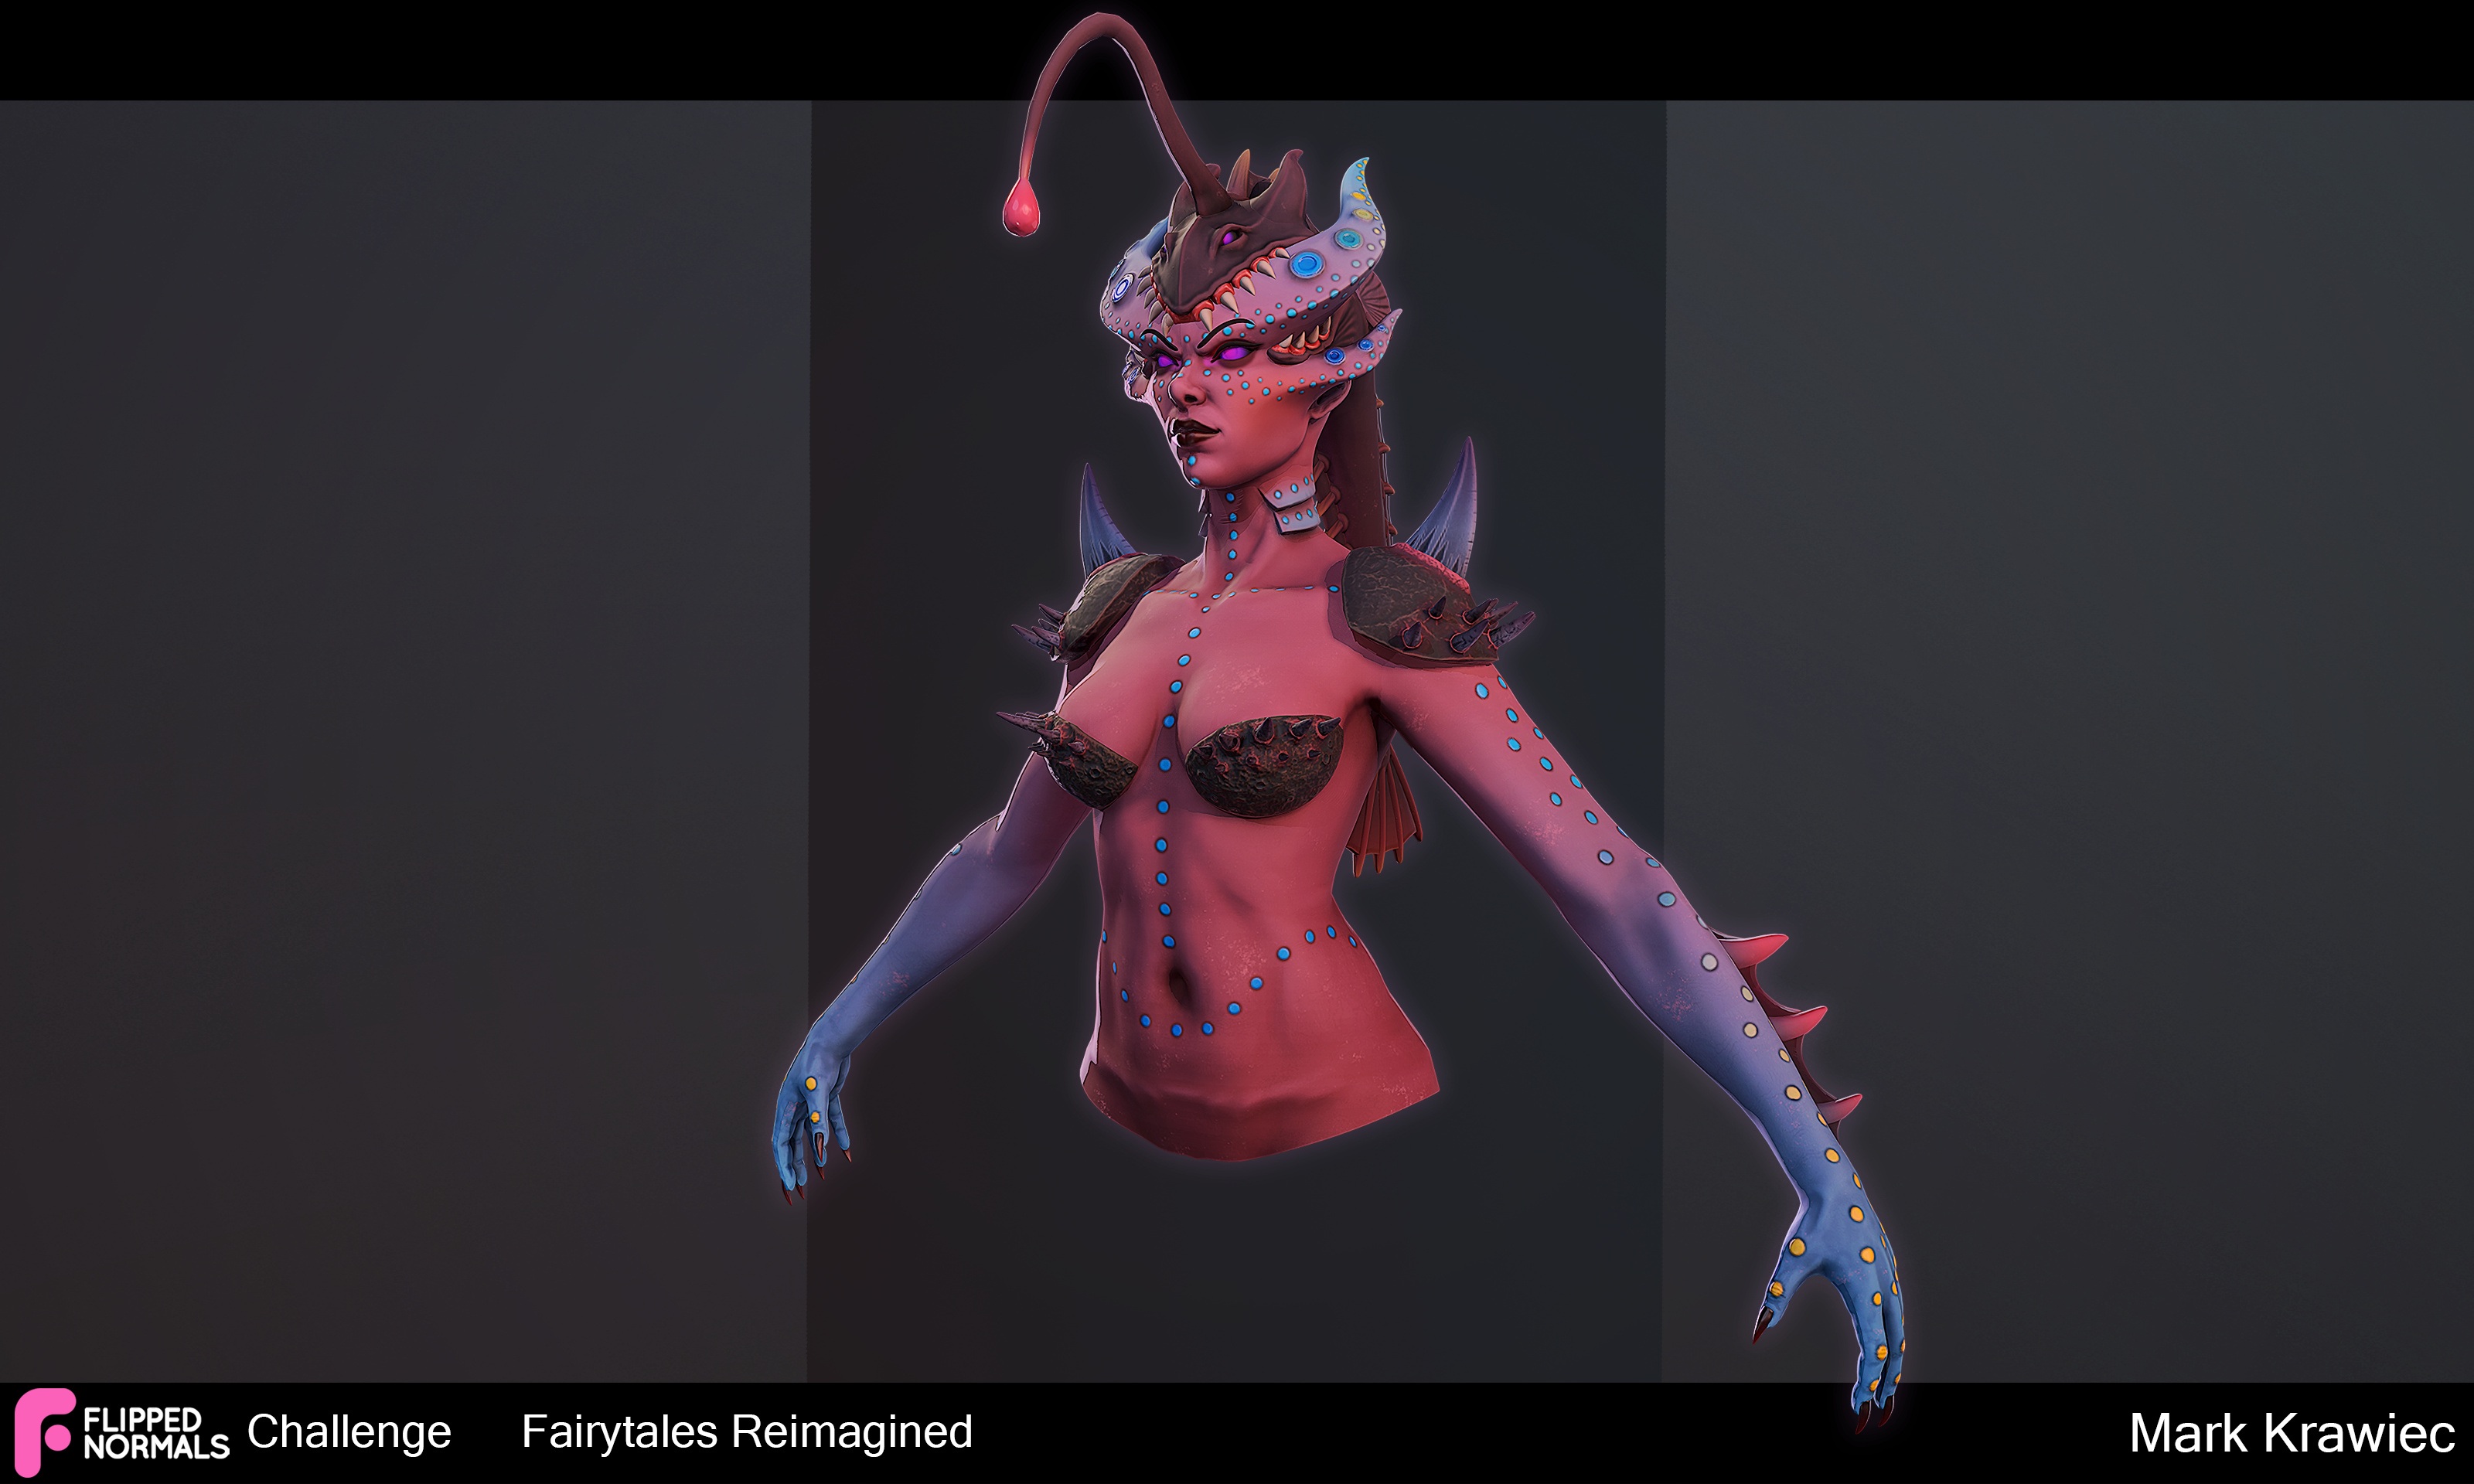
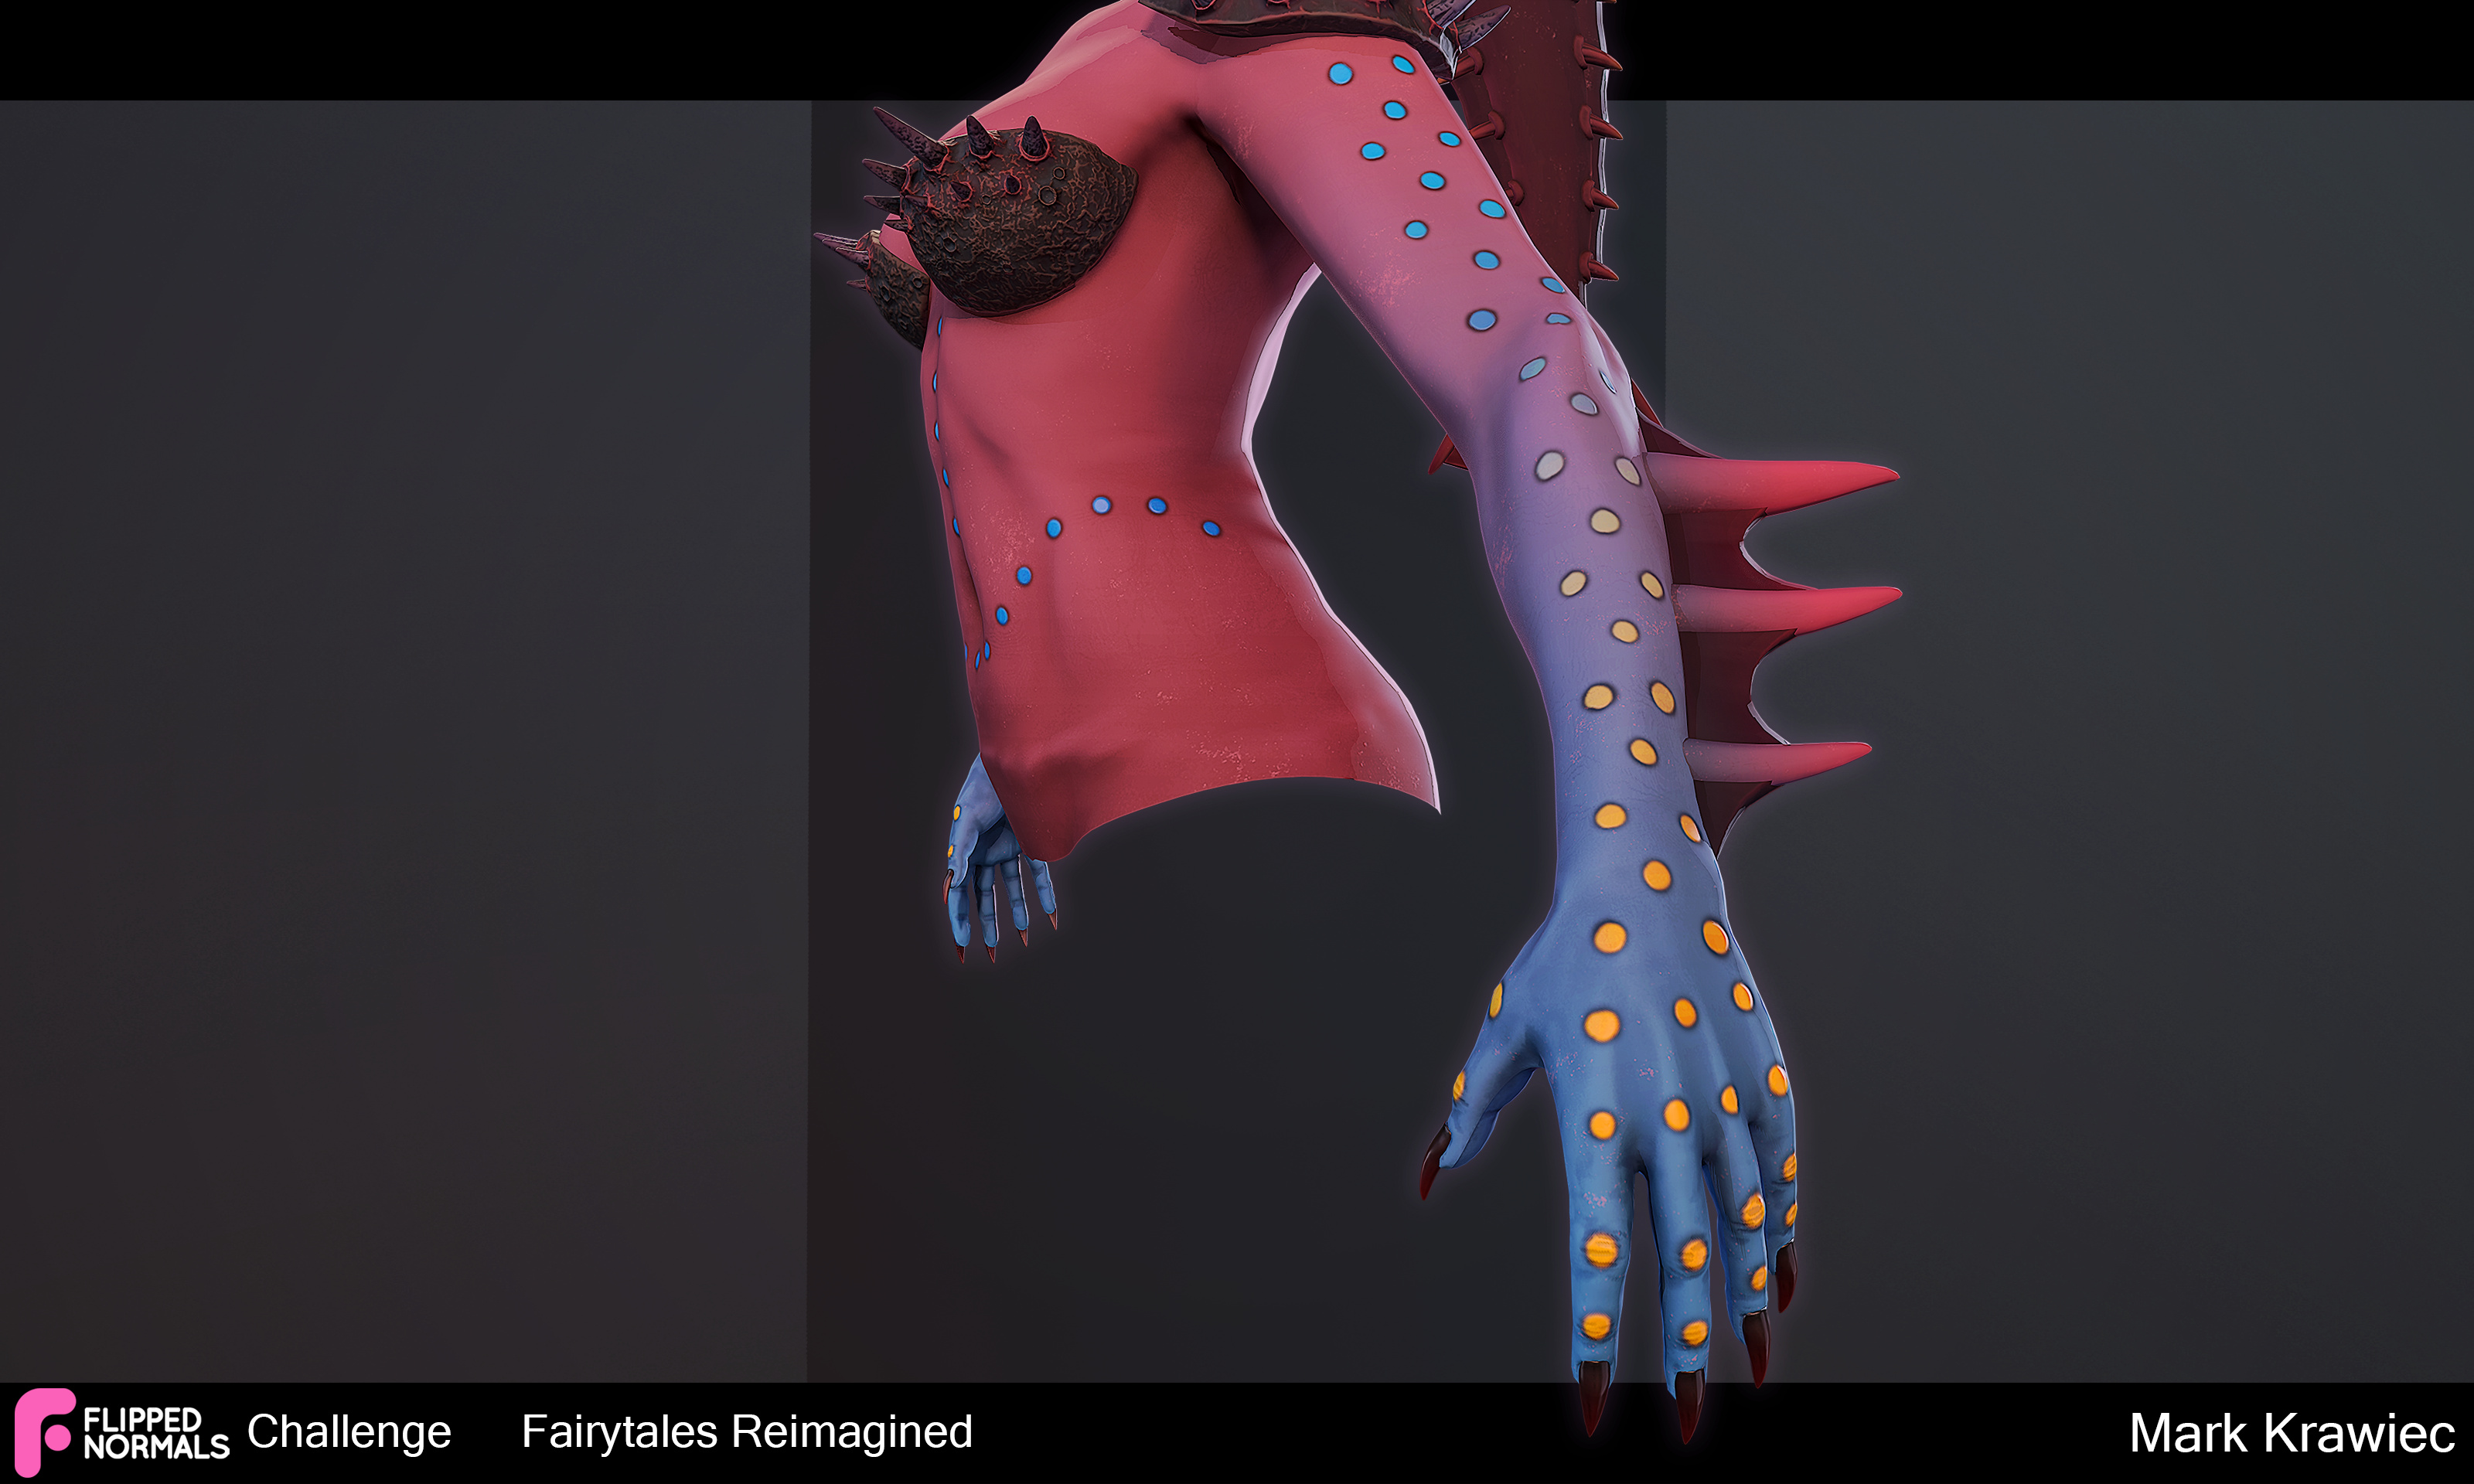
Extra shots :
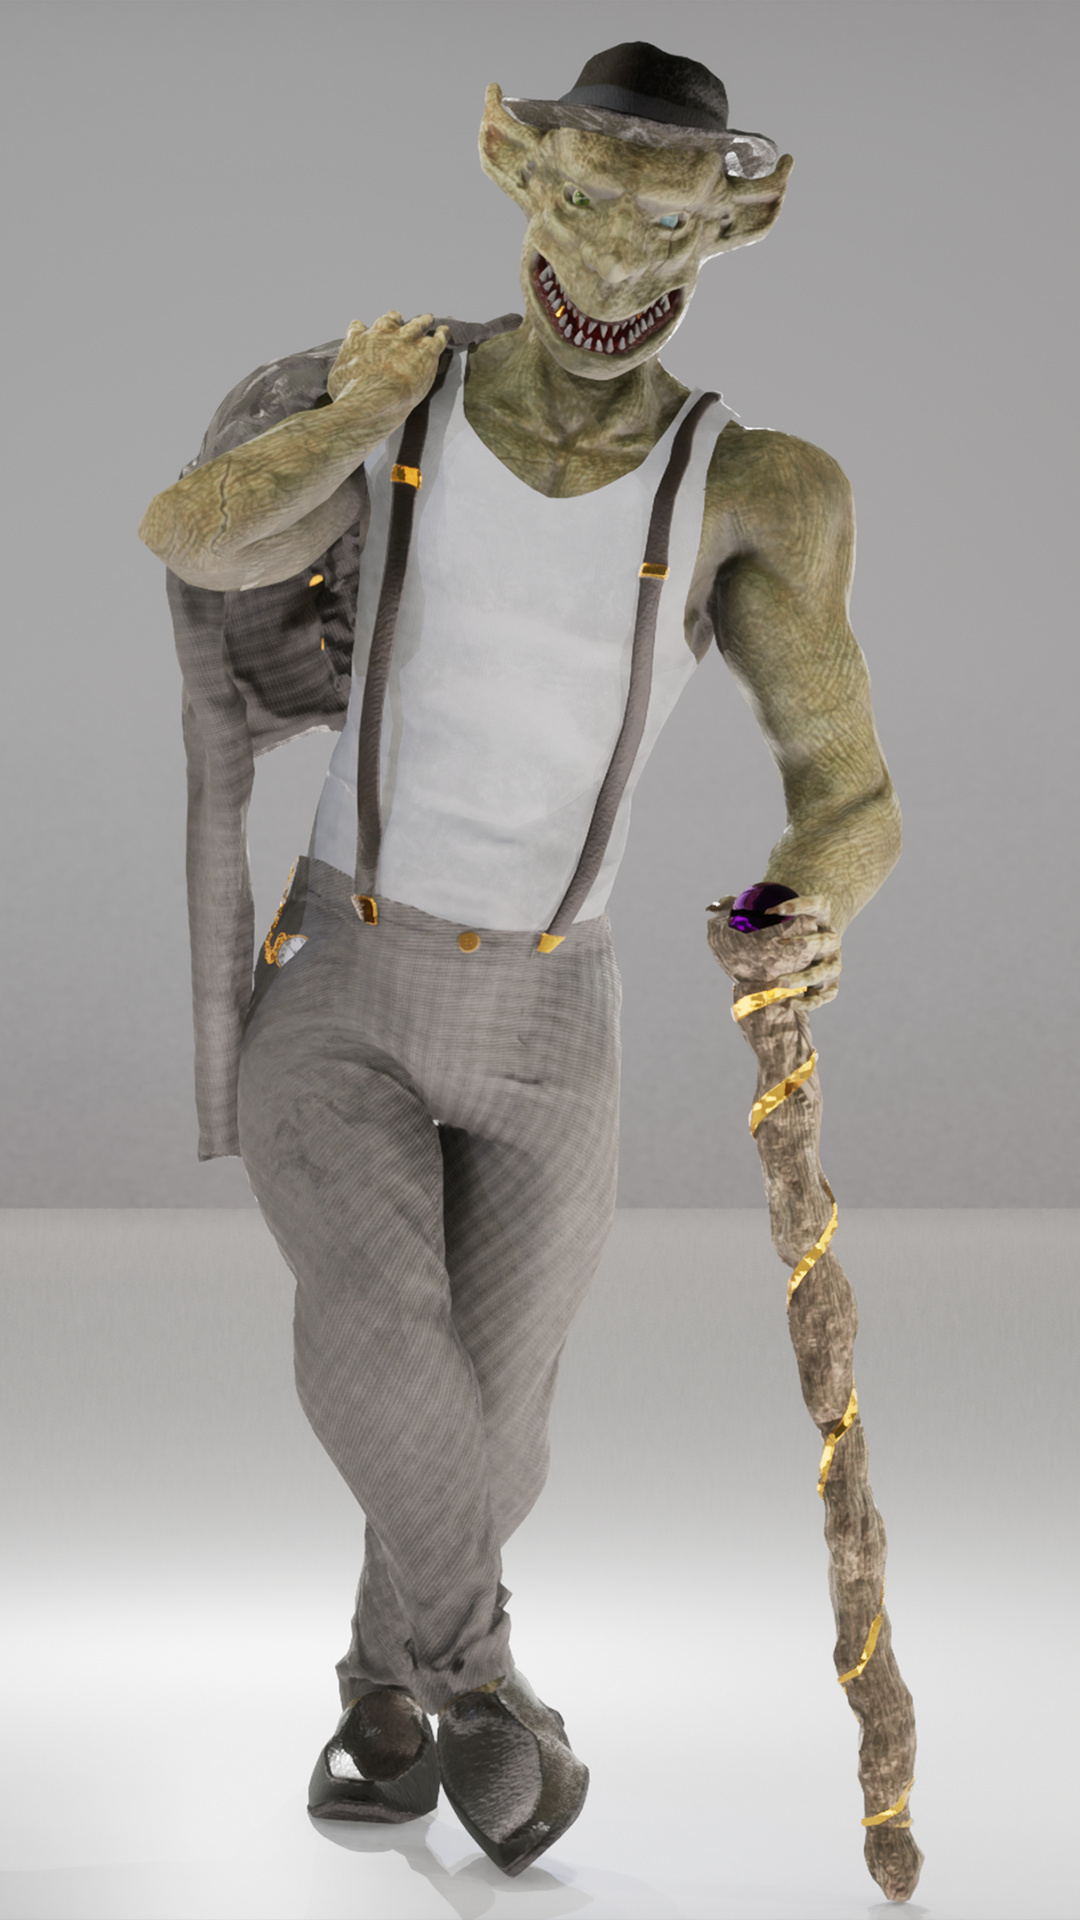

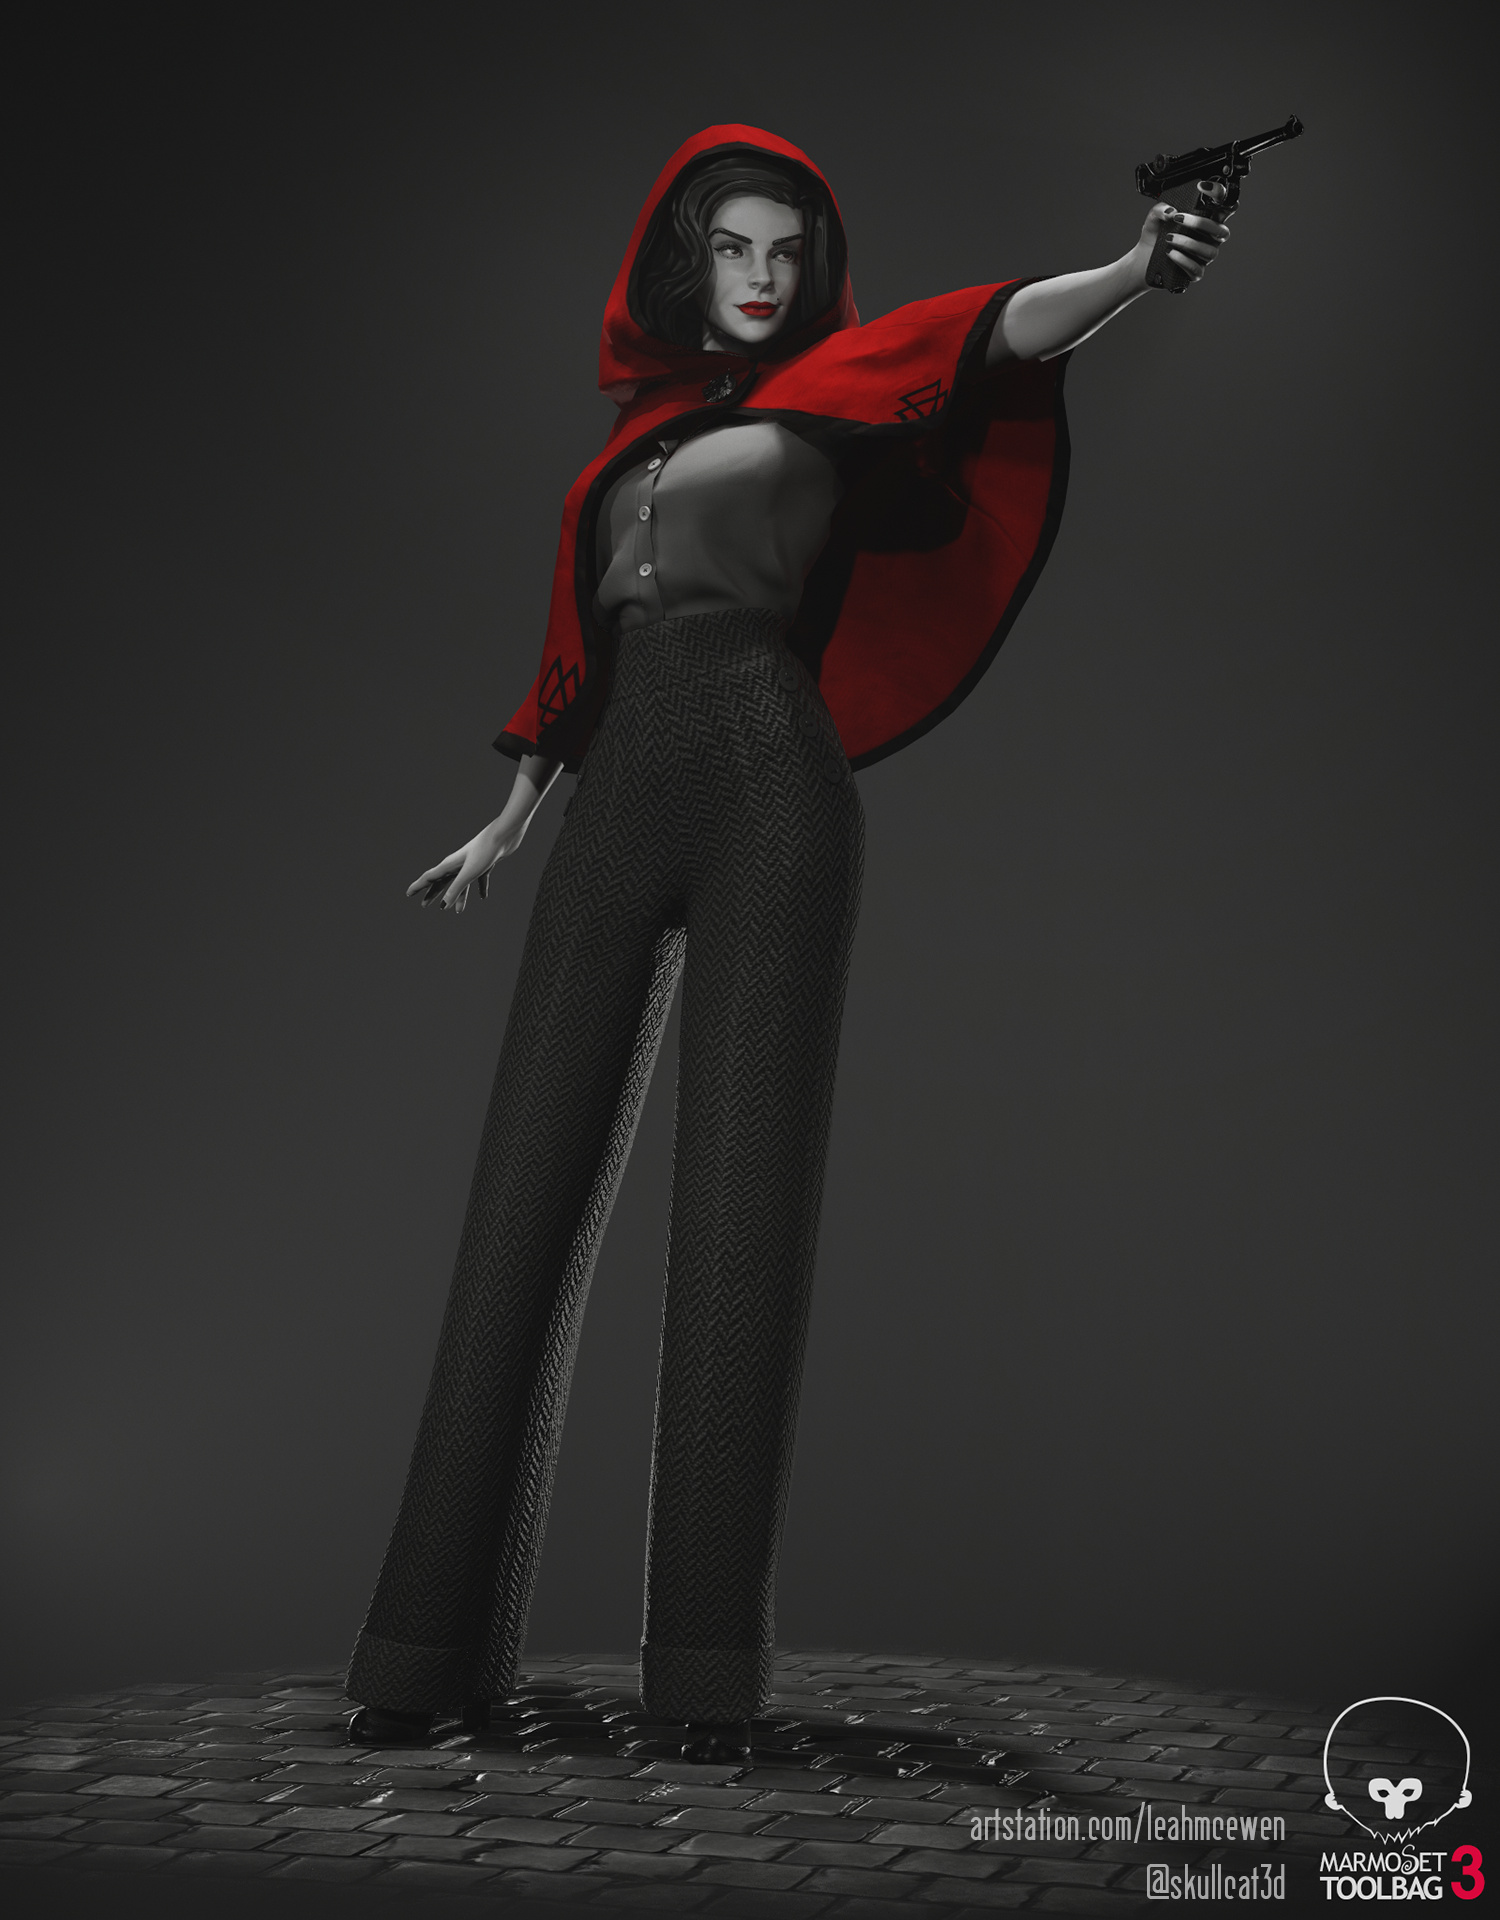
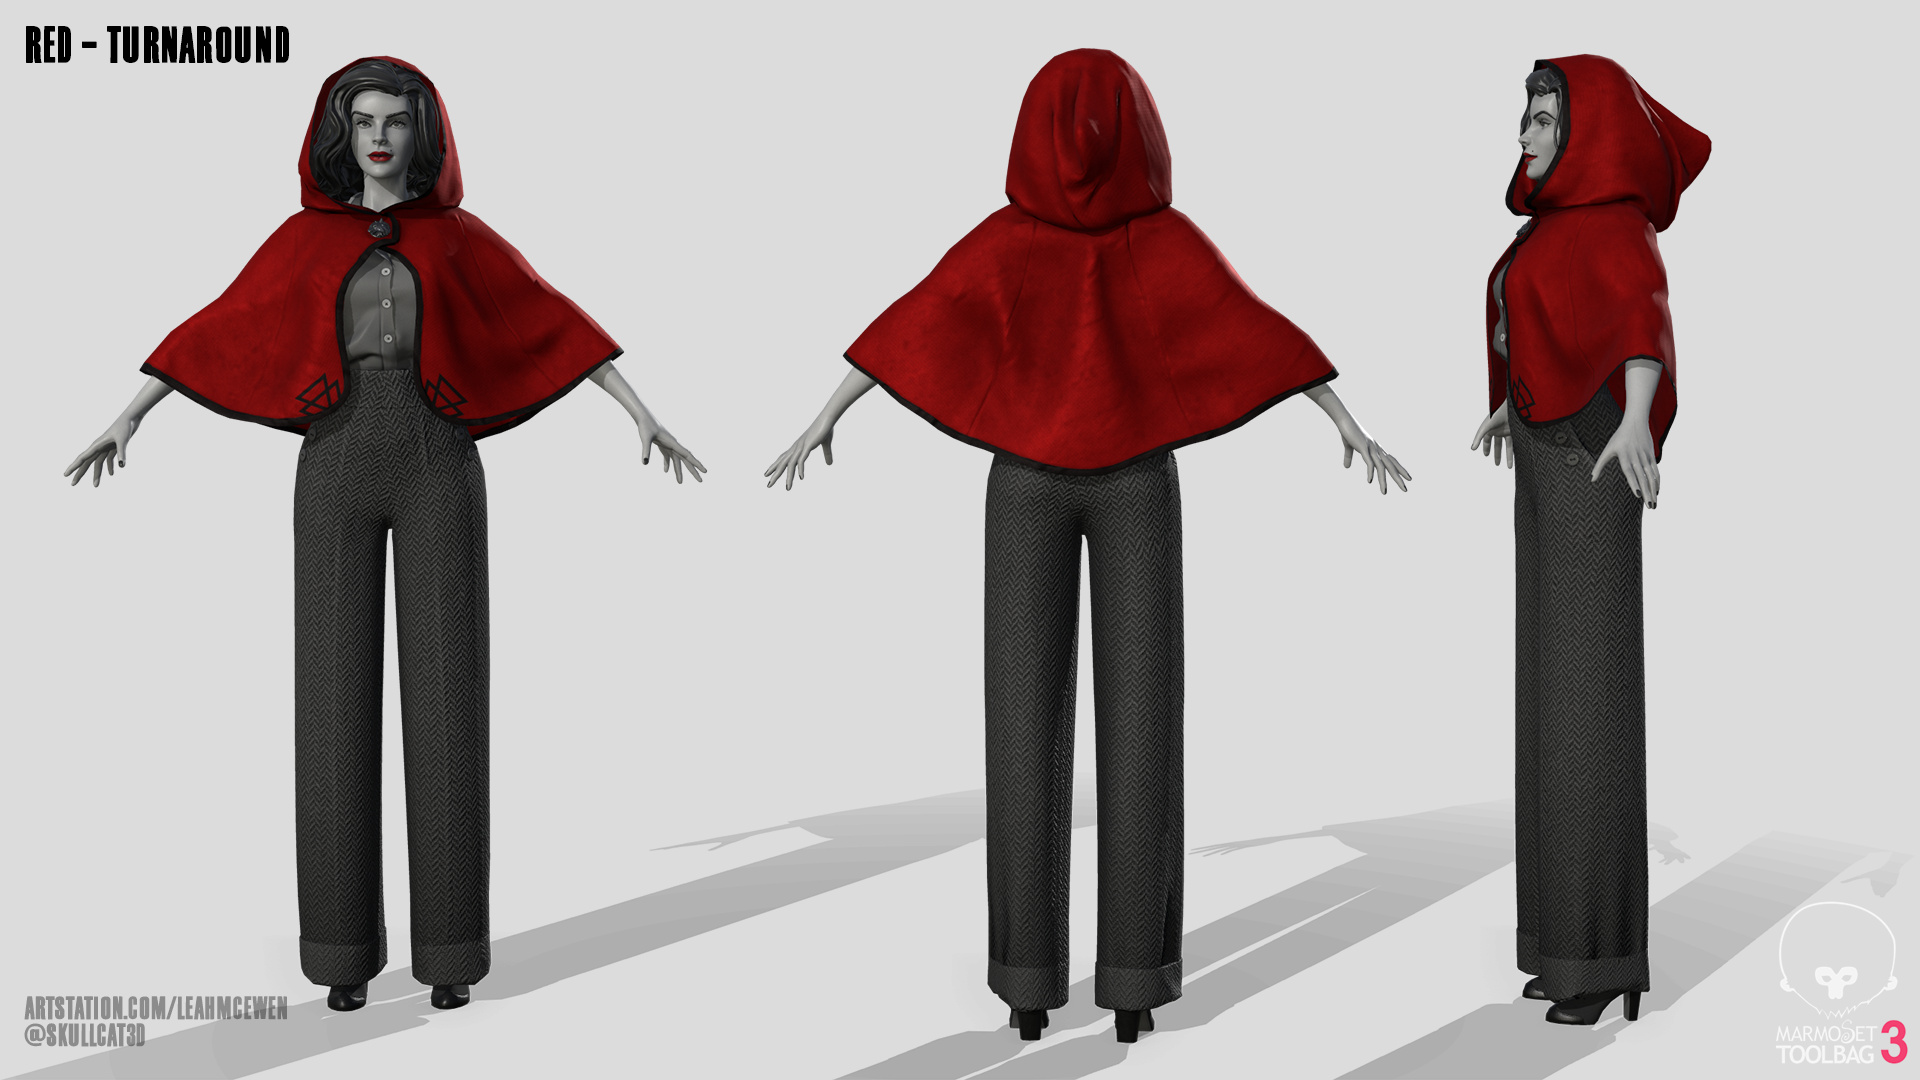
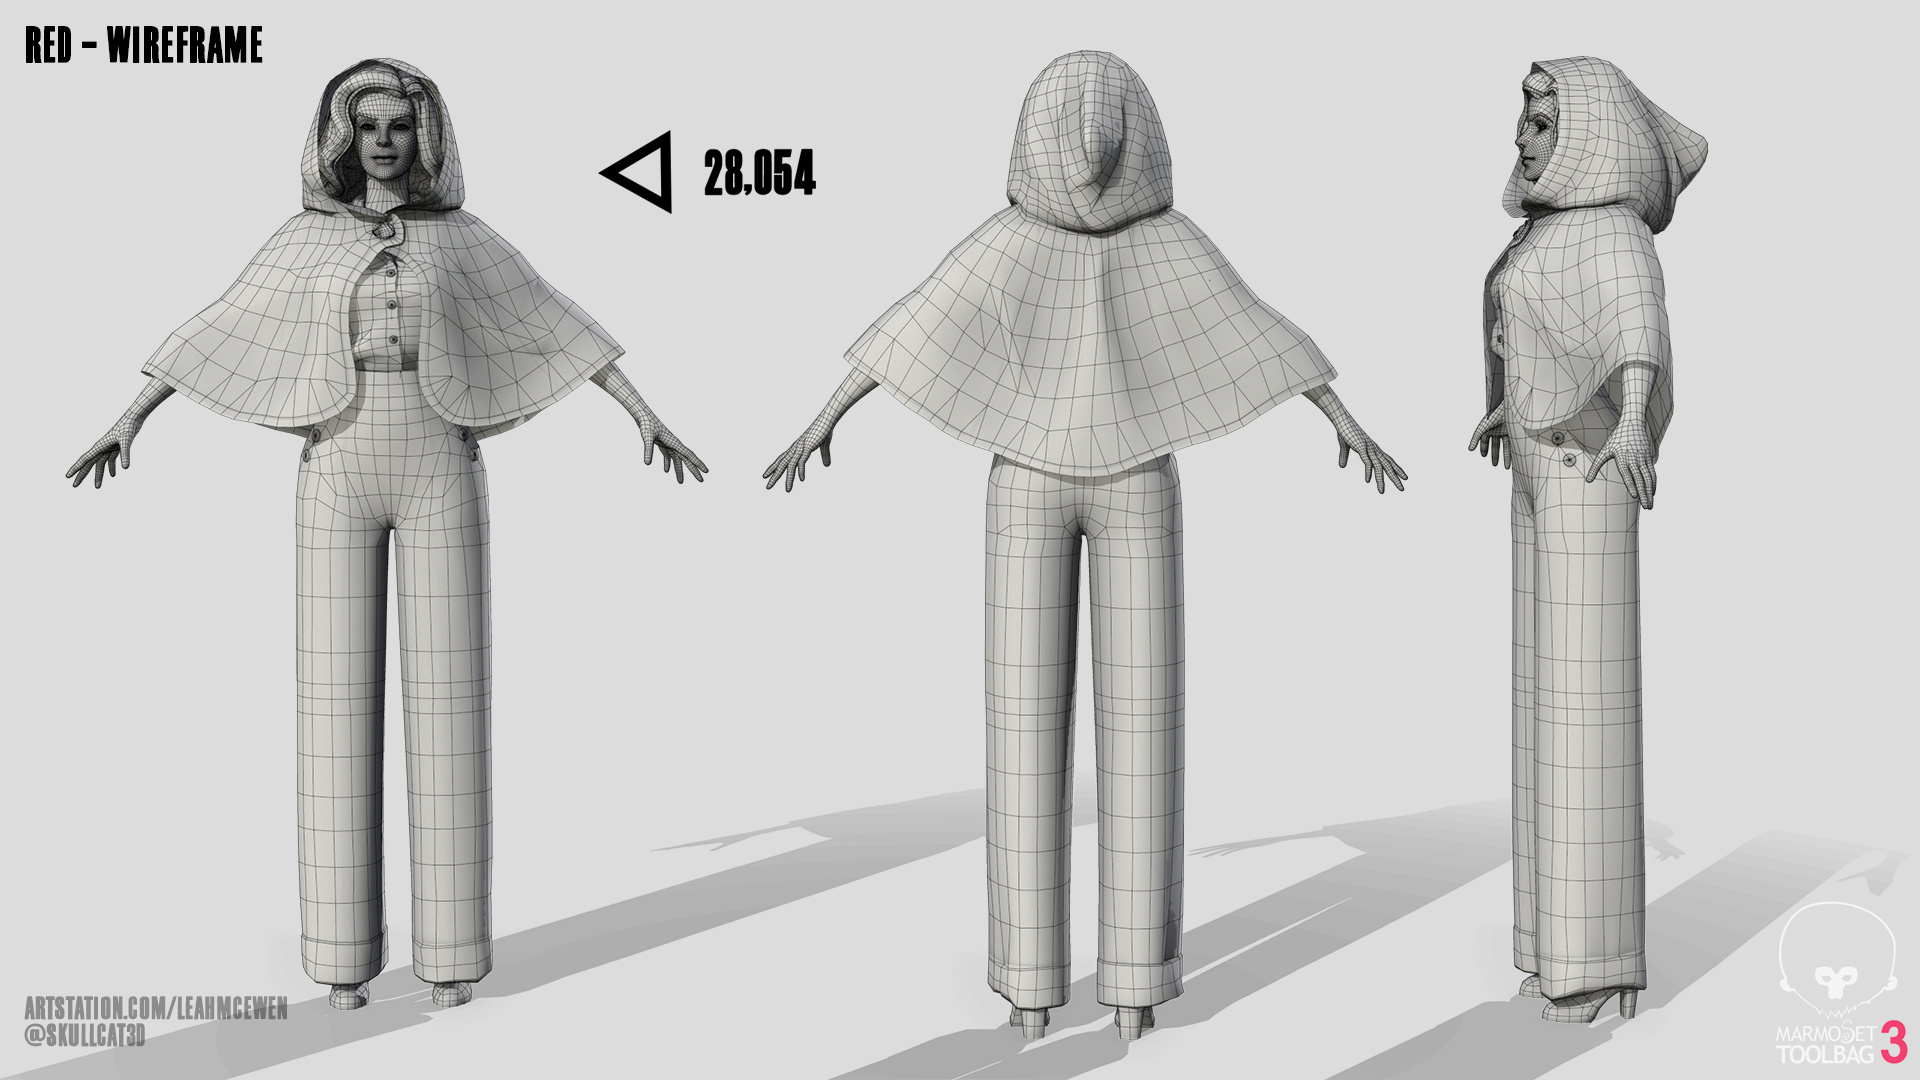
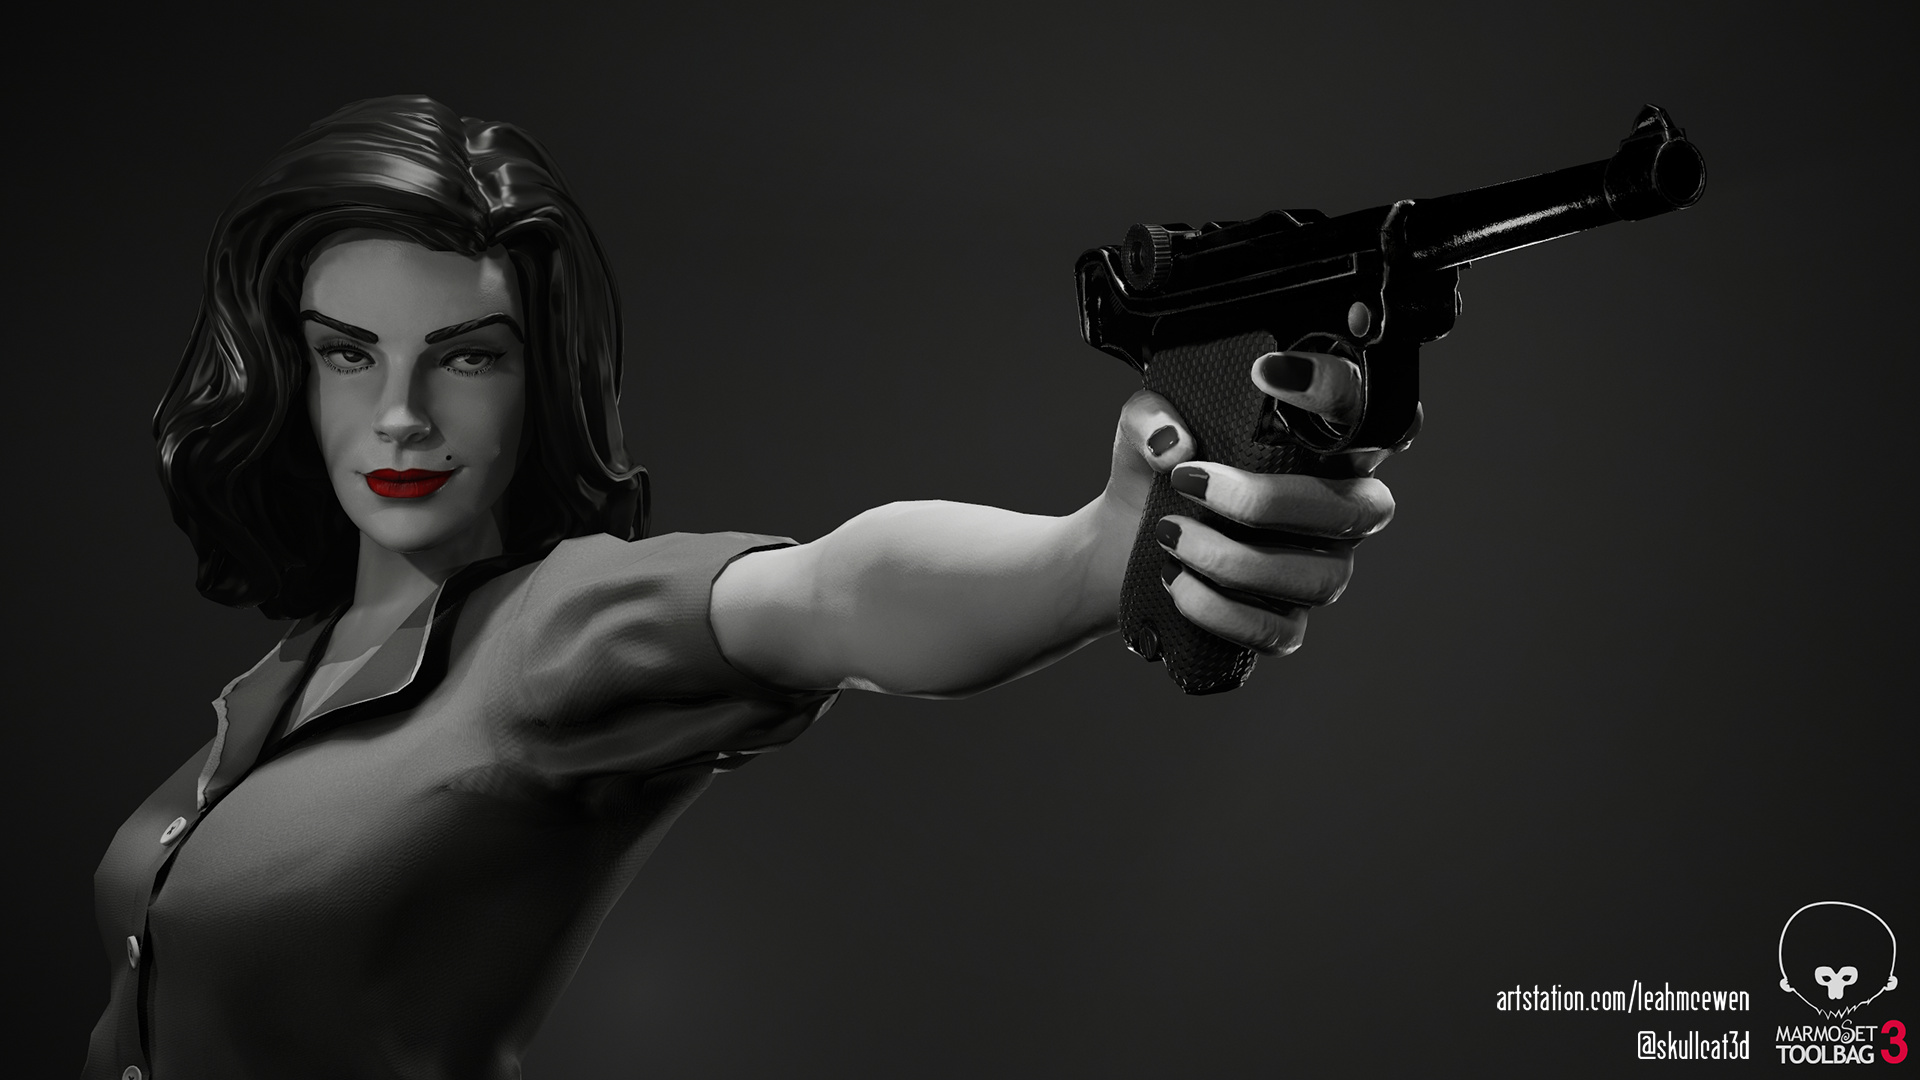
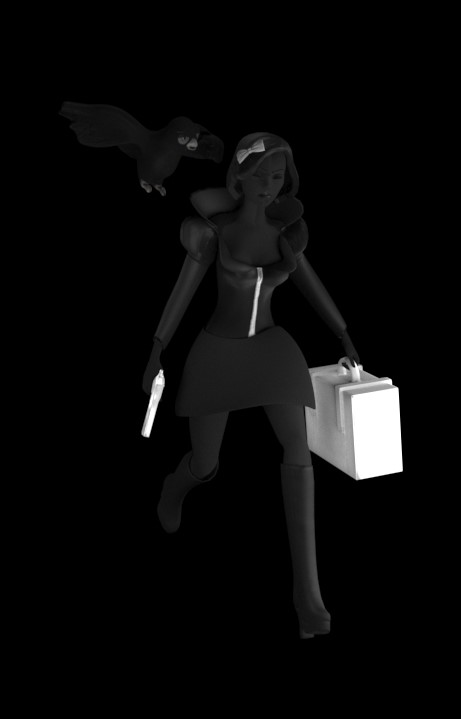
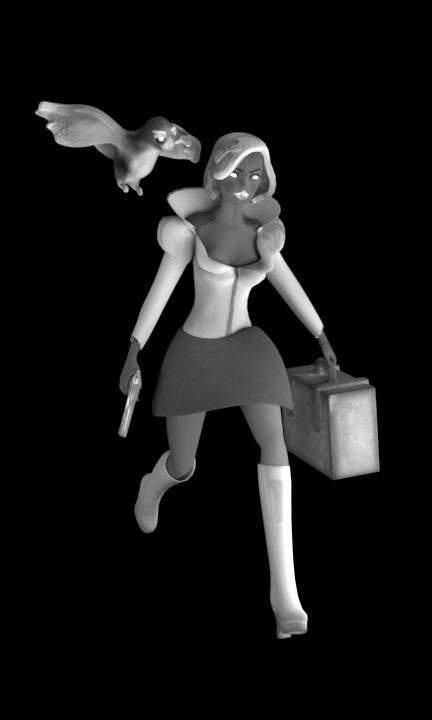
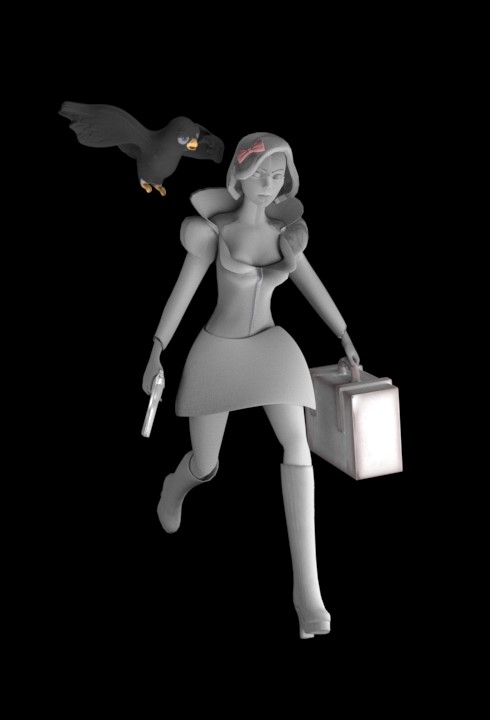
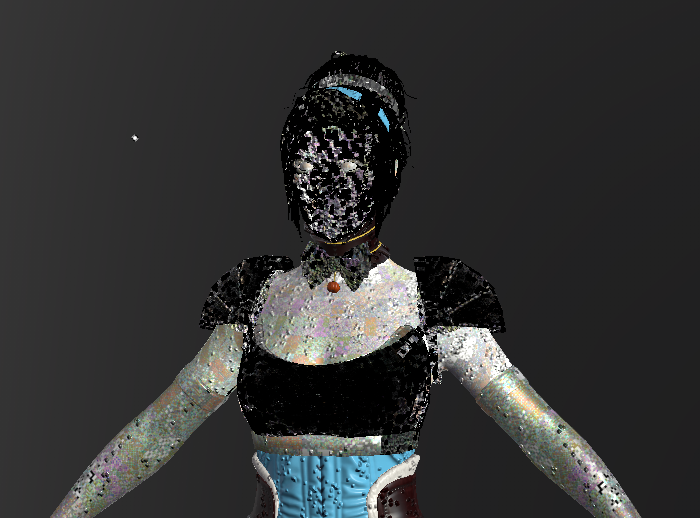
 The Brides of Dracula - Noir style
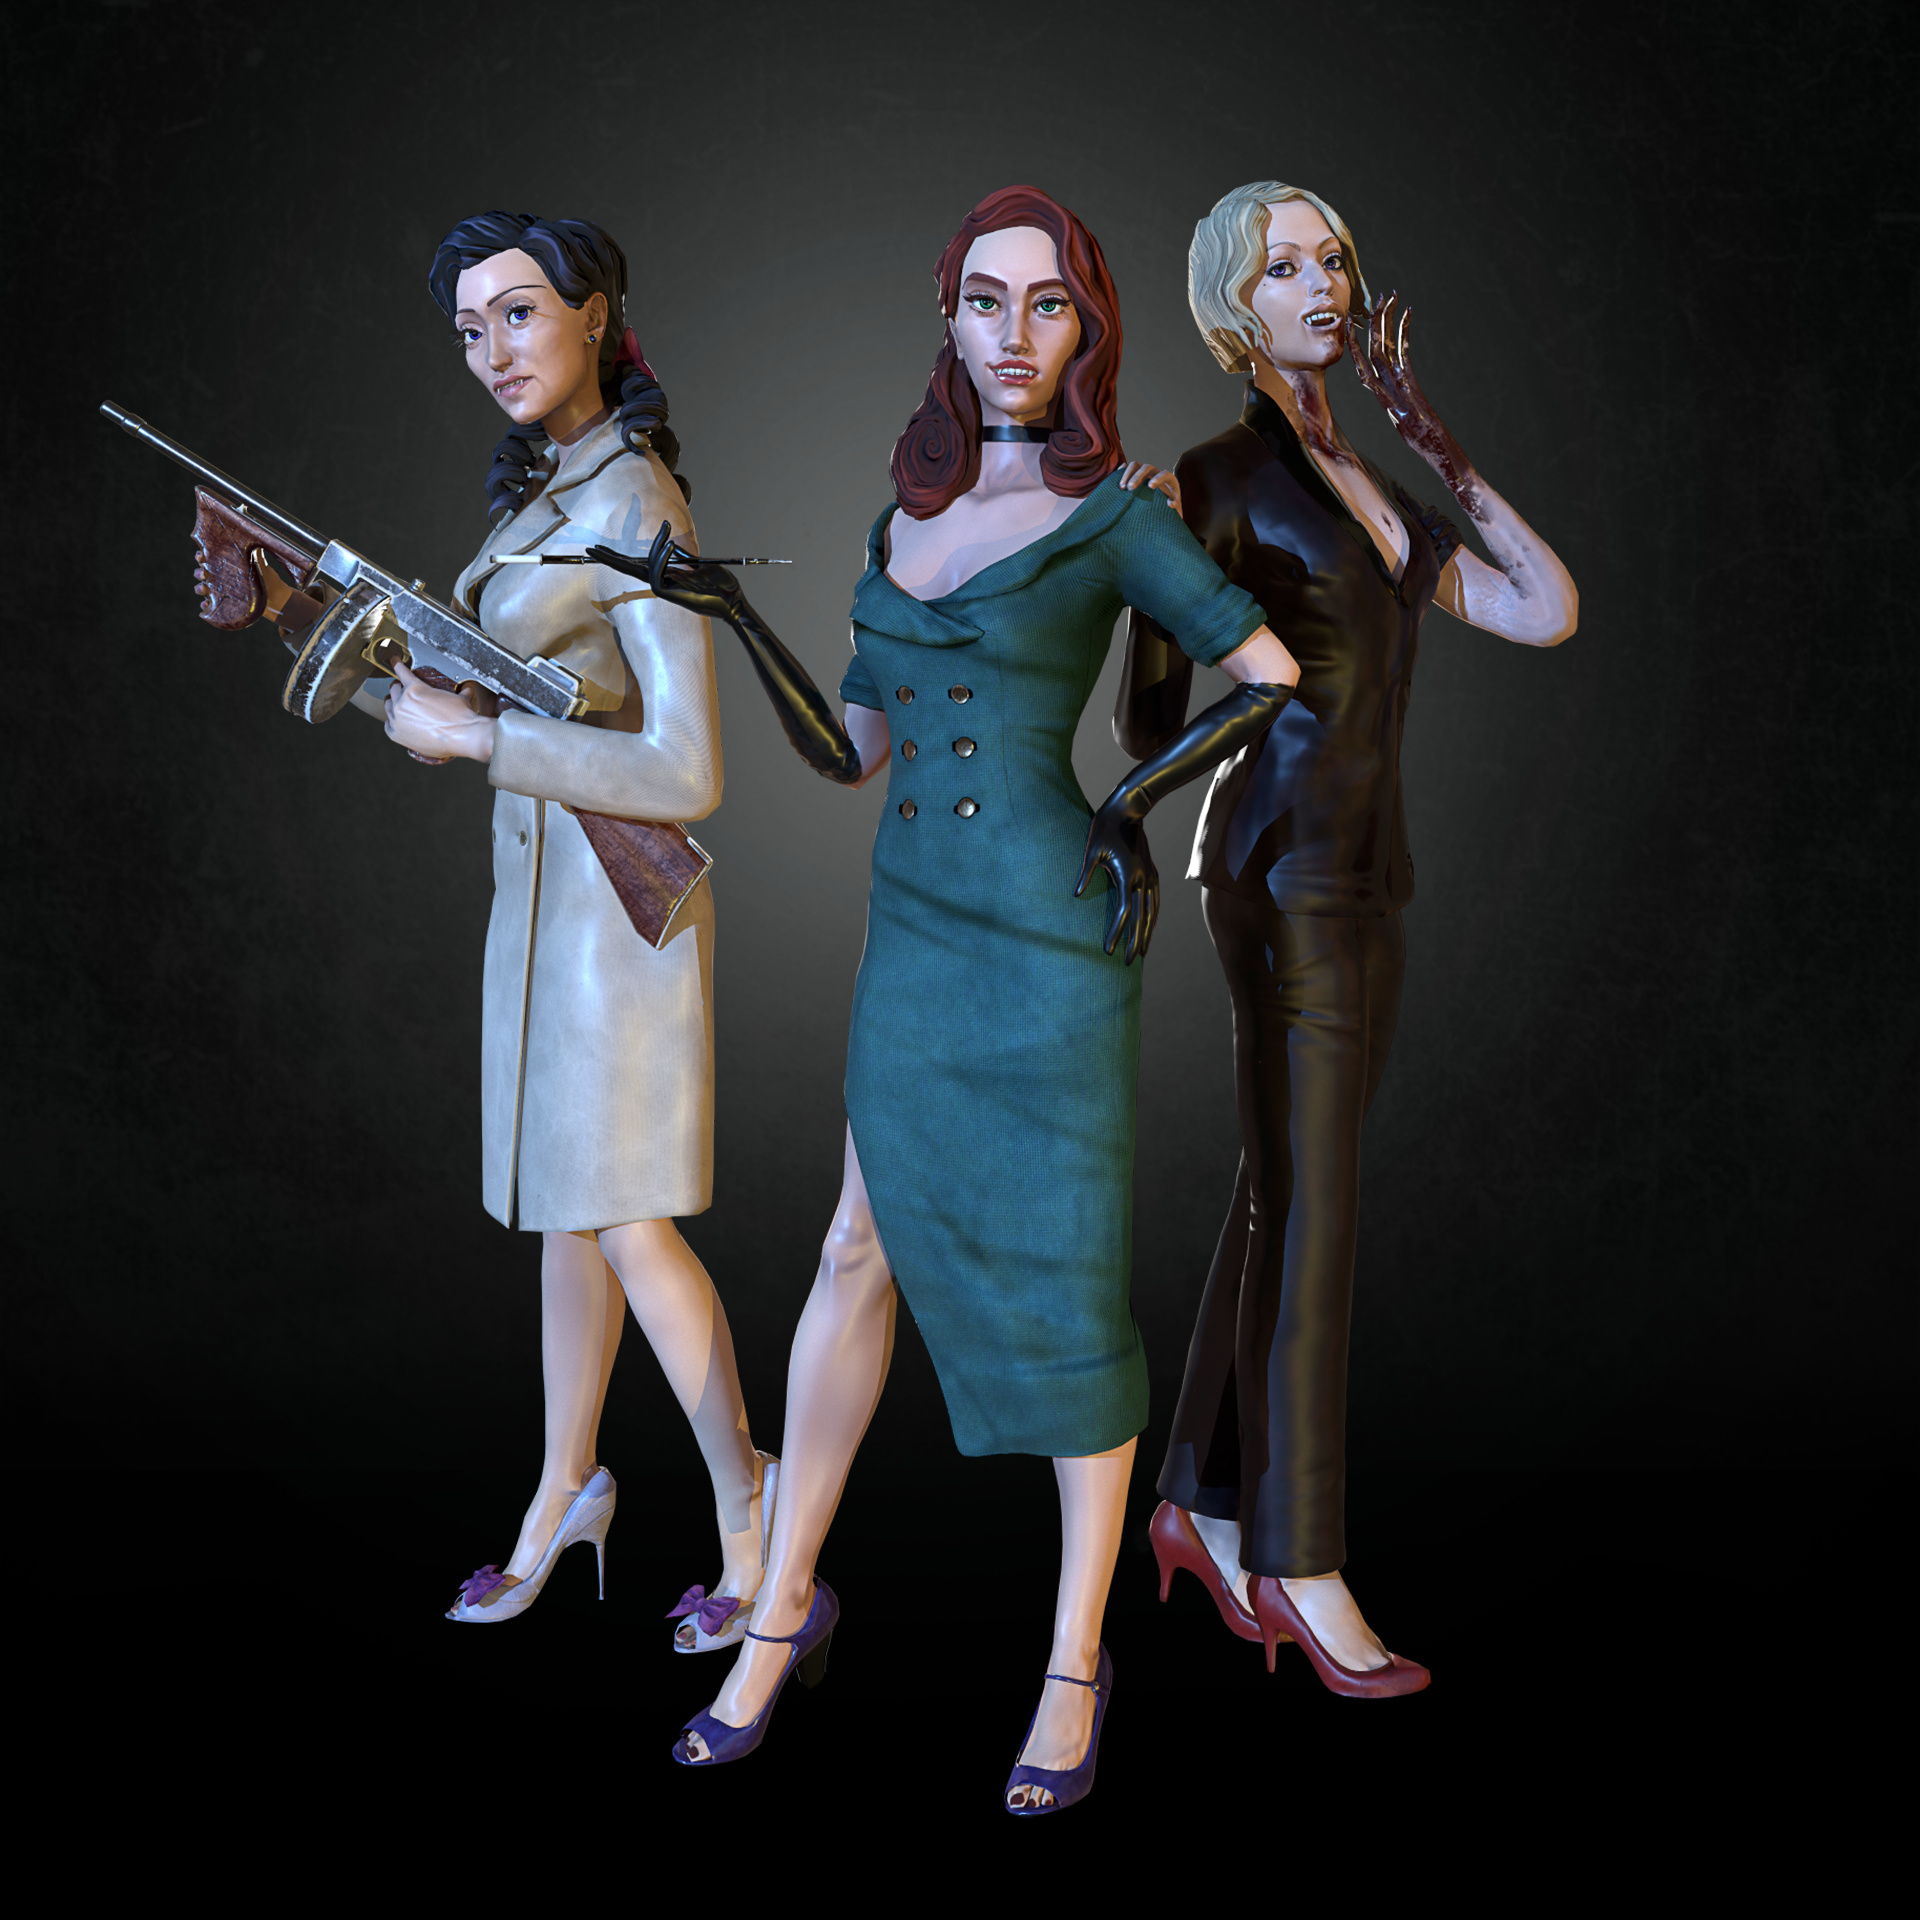


 I maybe will try and animate her one day…maybe.


")