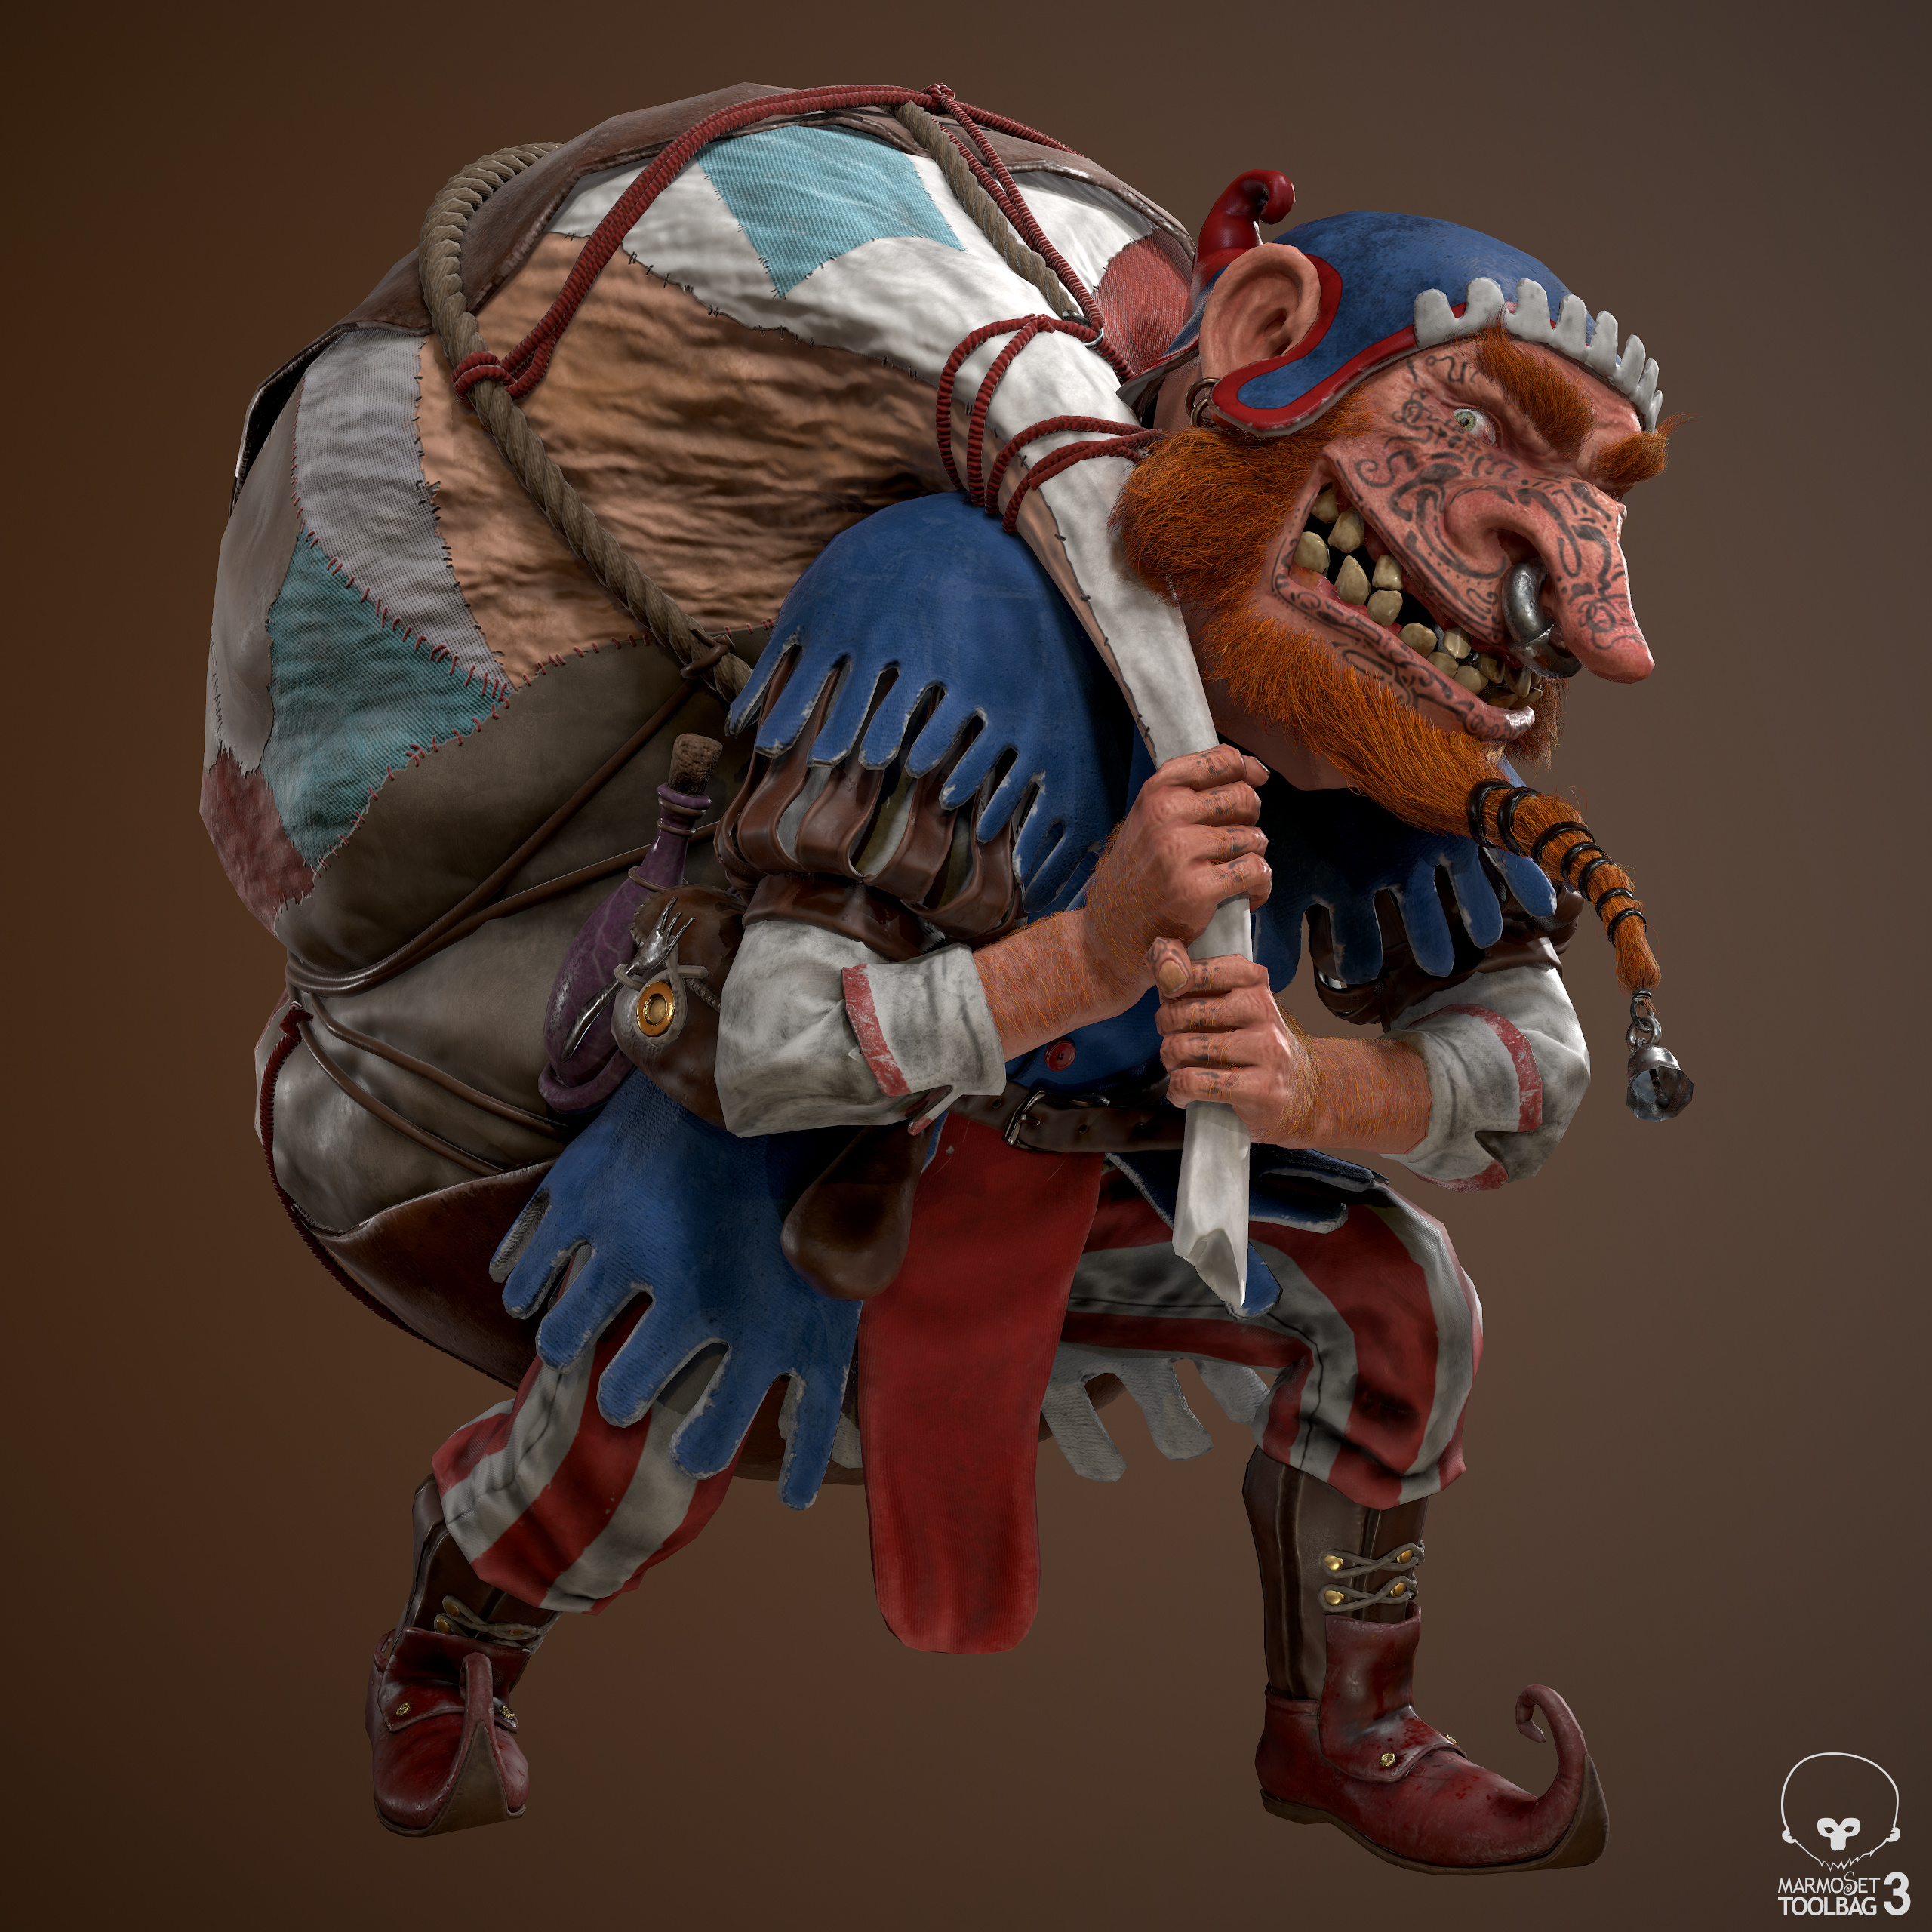
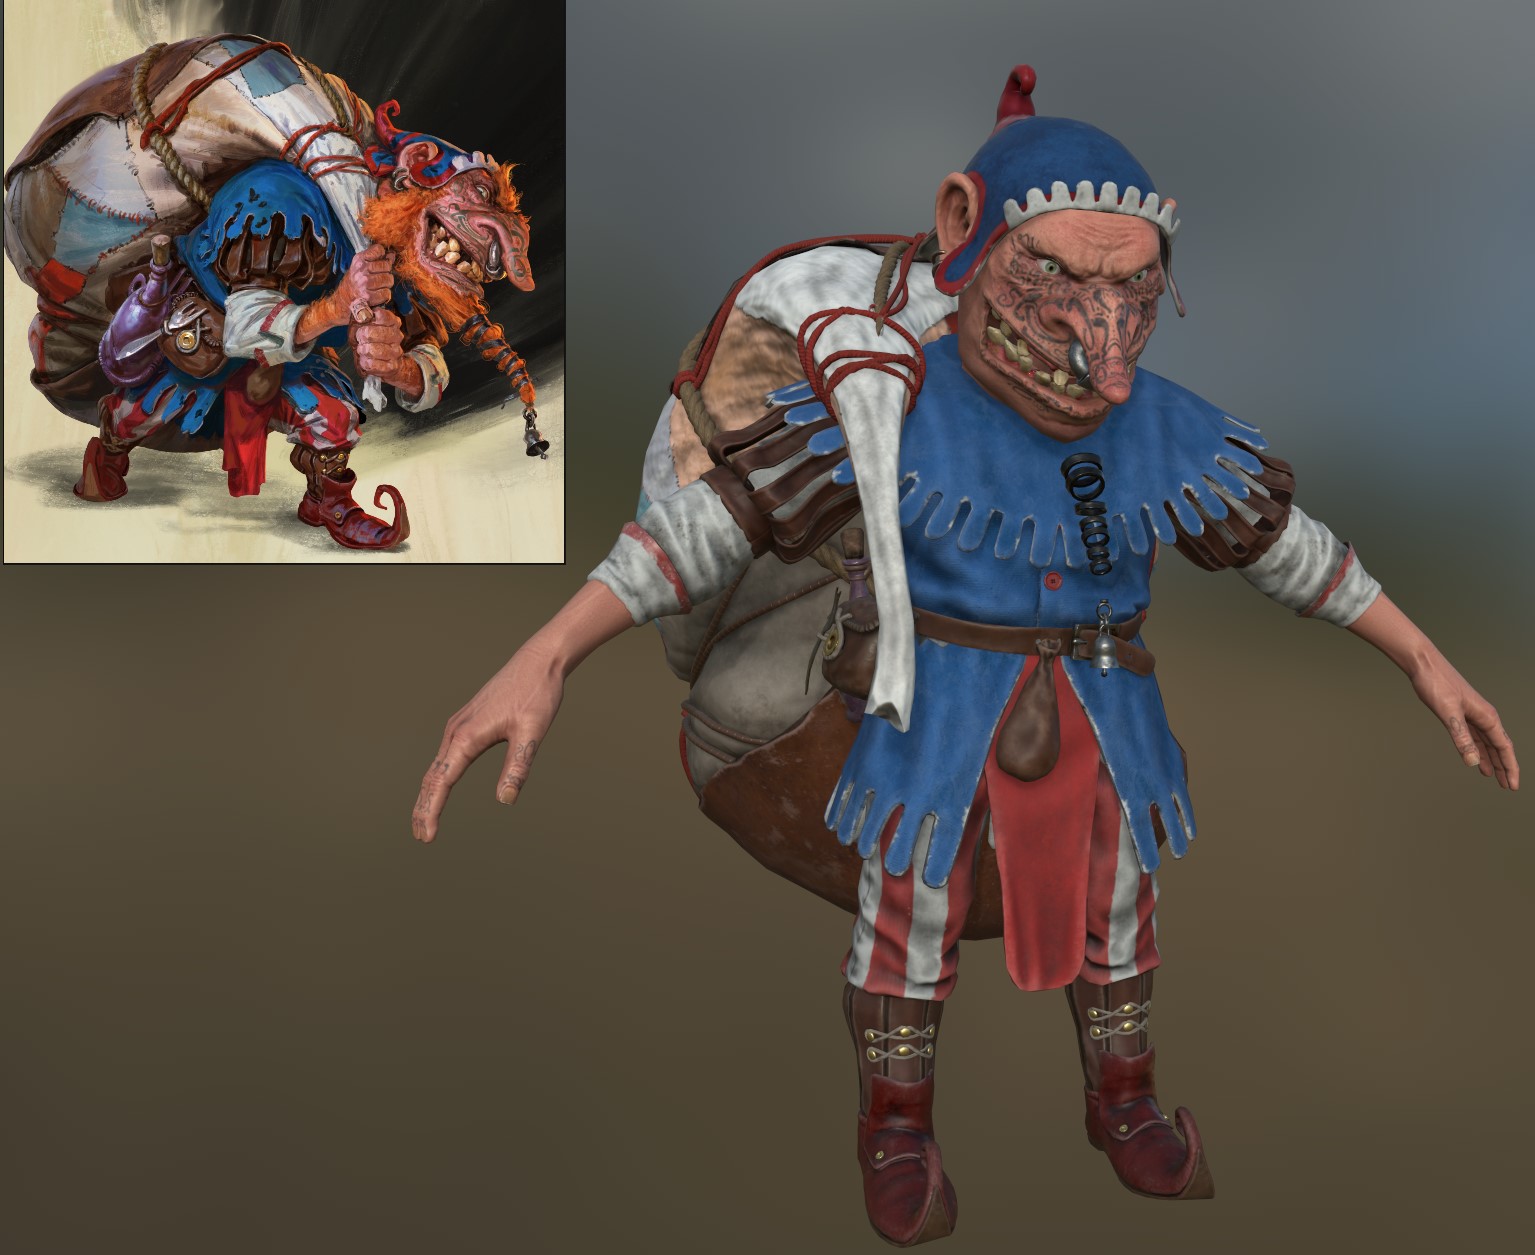
Wanted to share a little bit about some of the texture work.
Tattoos
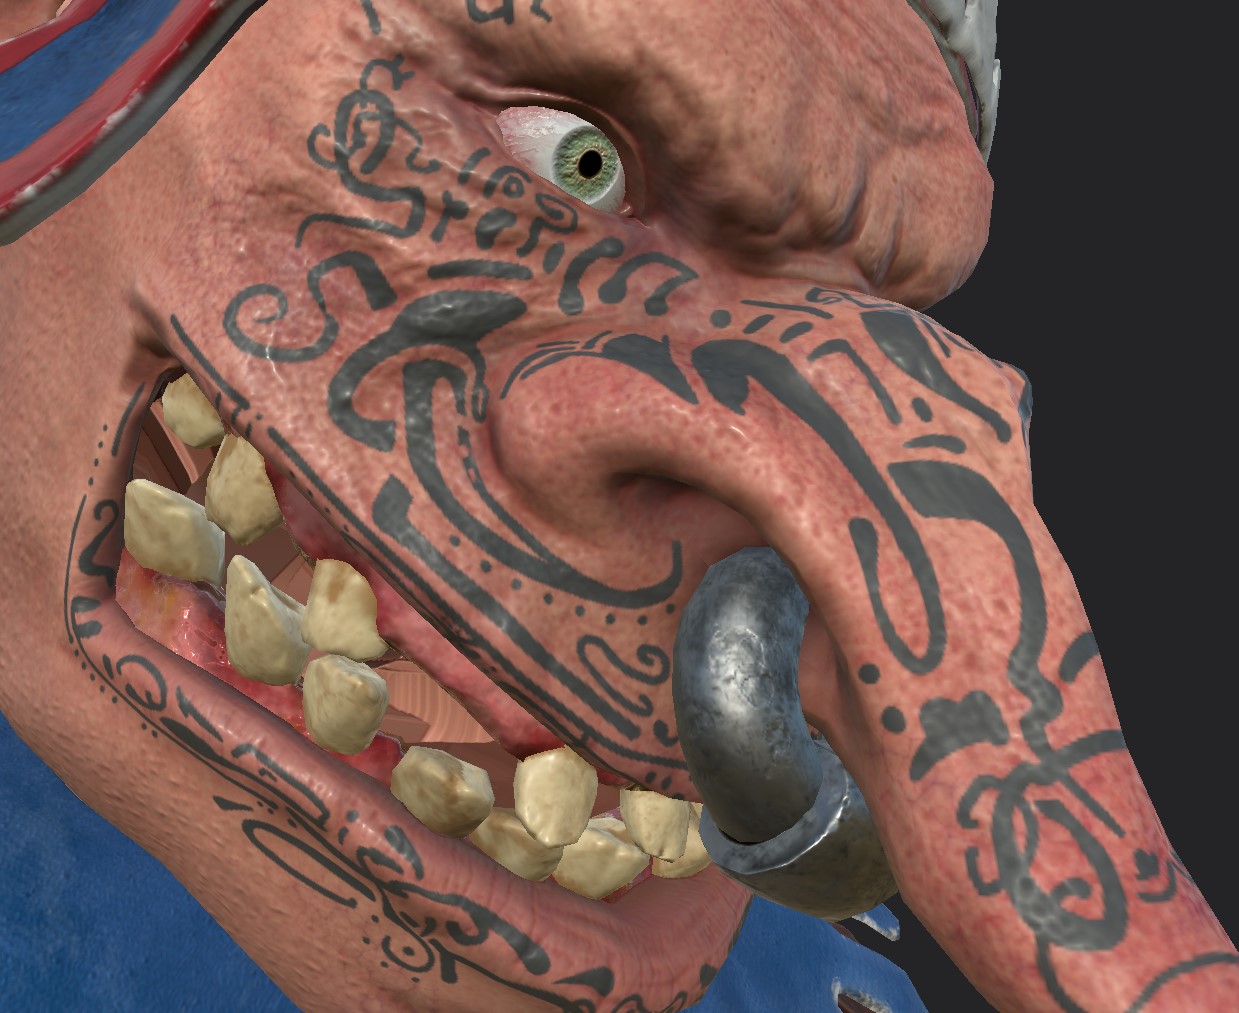
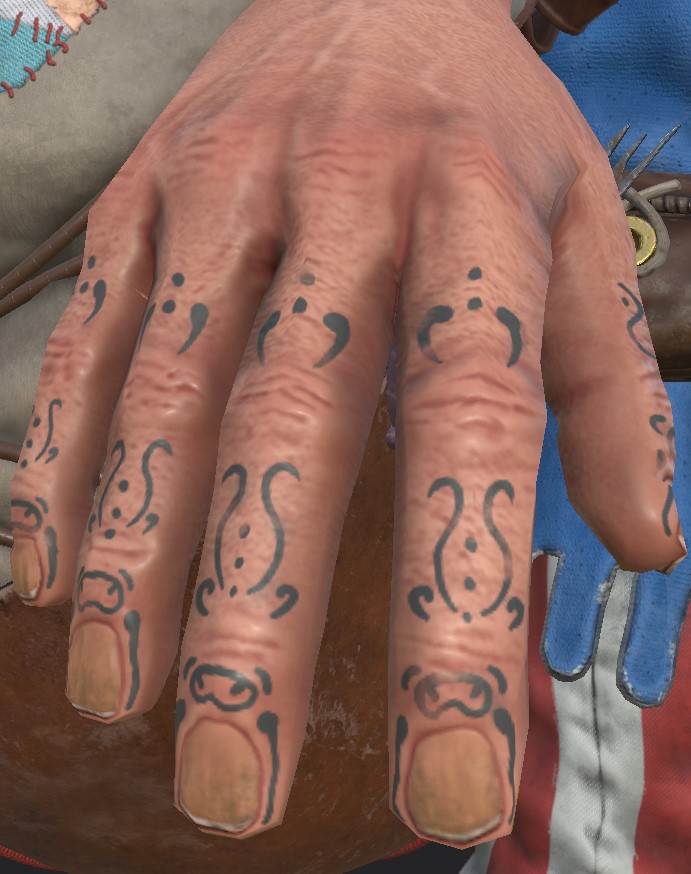
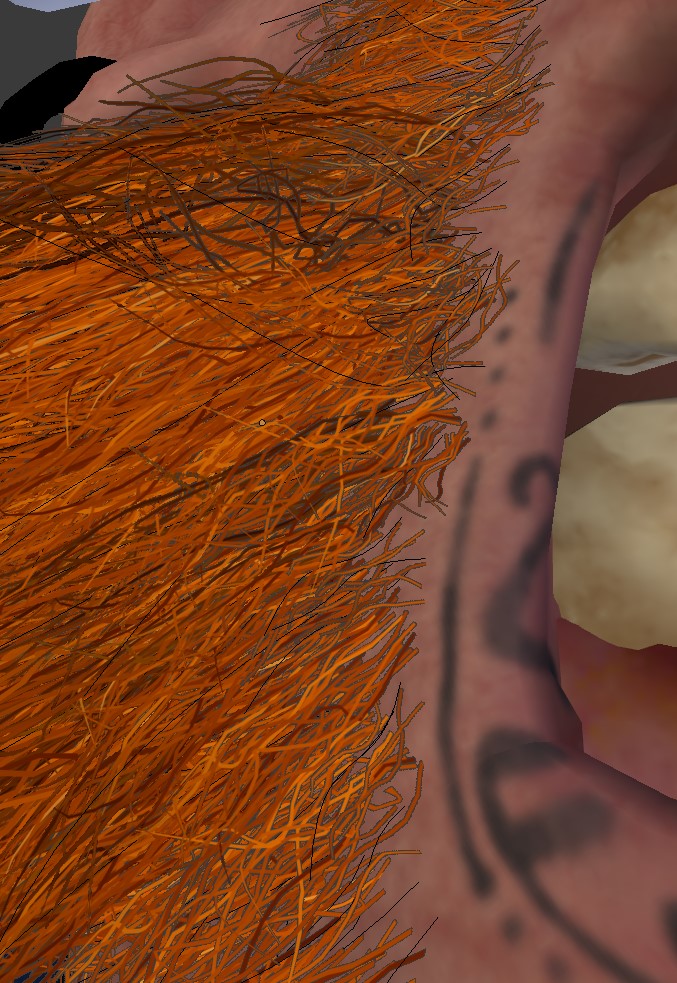
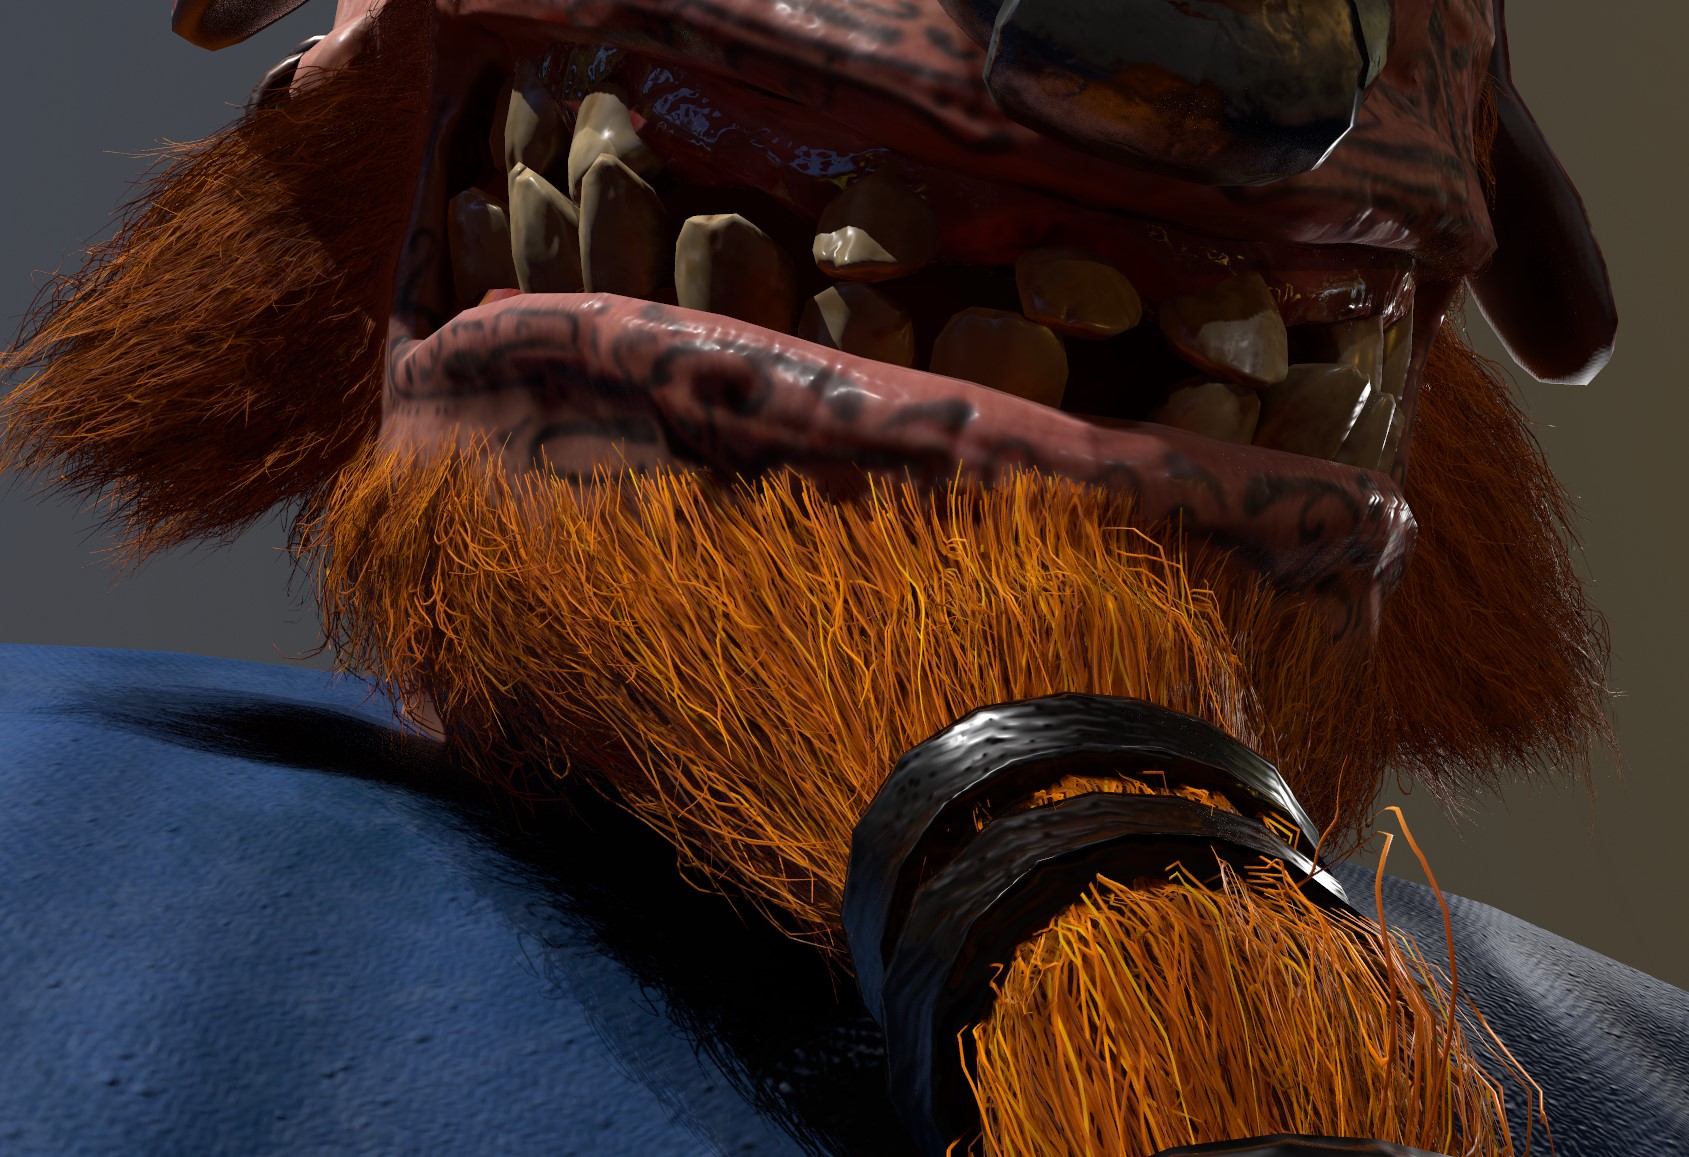
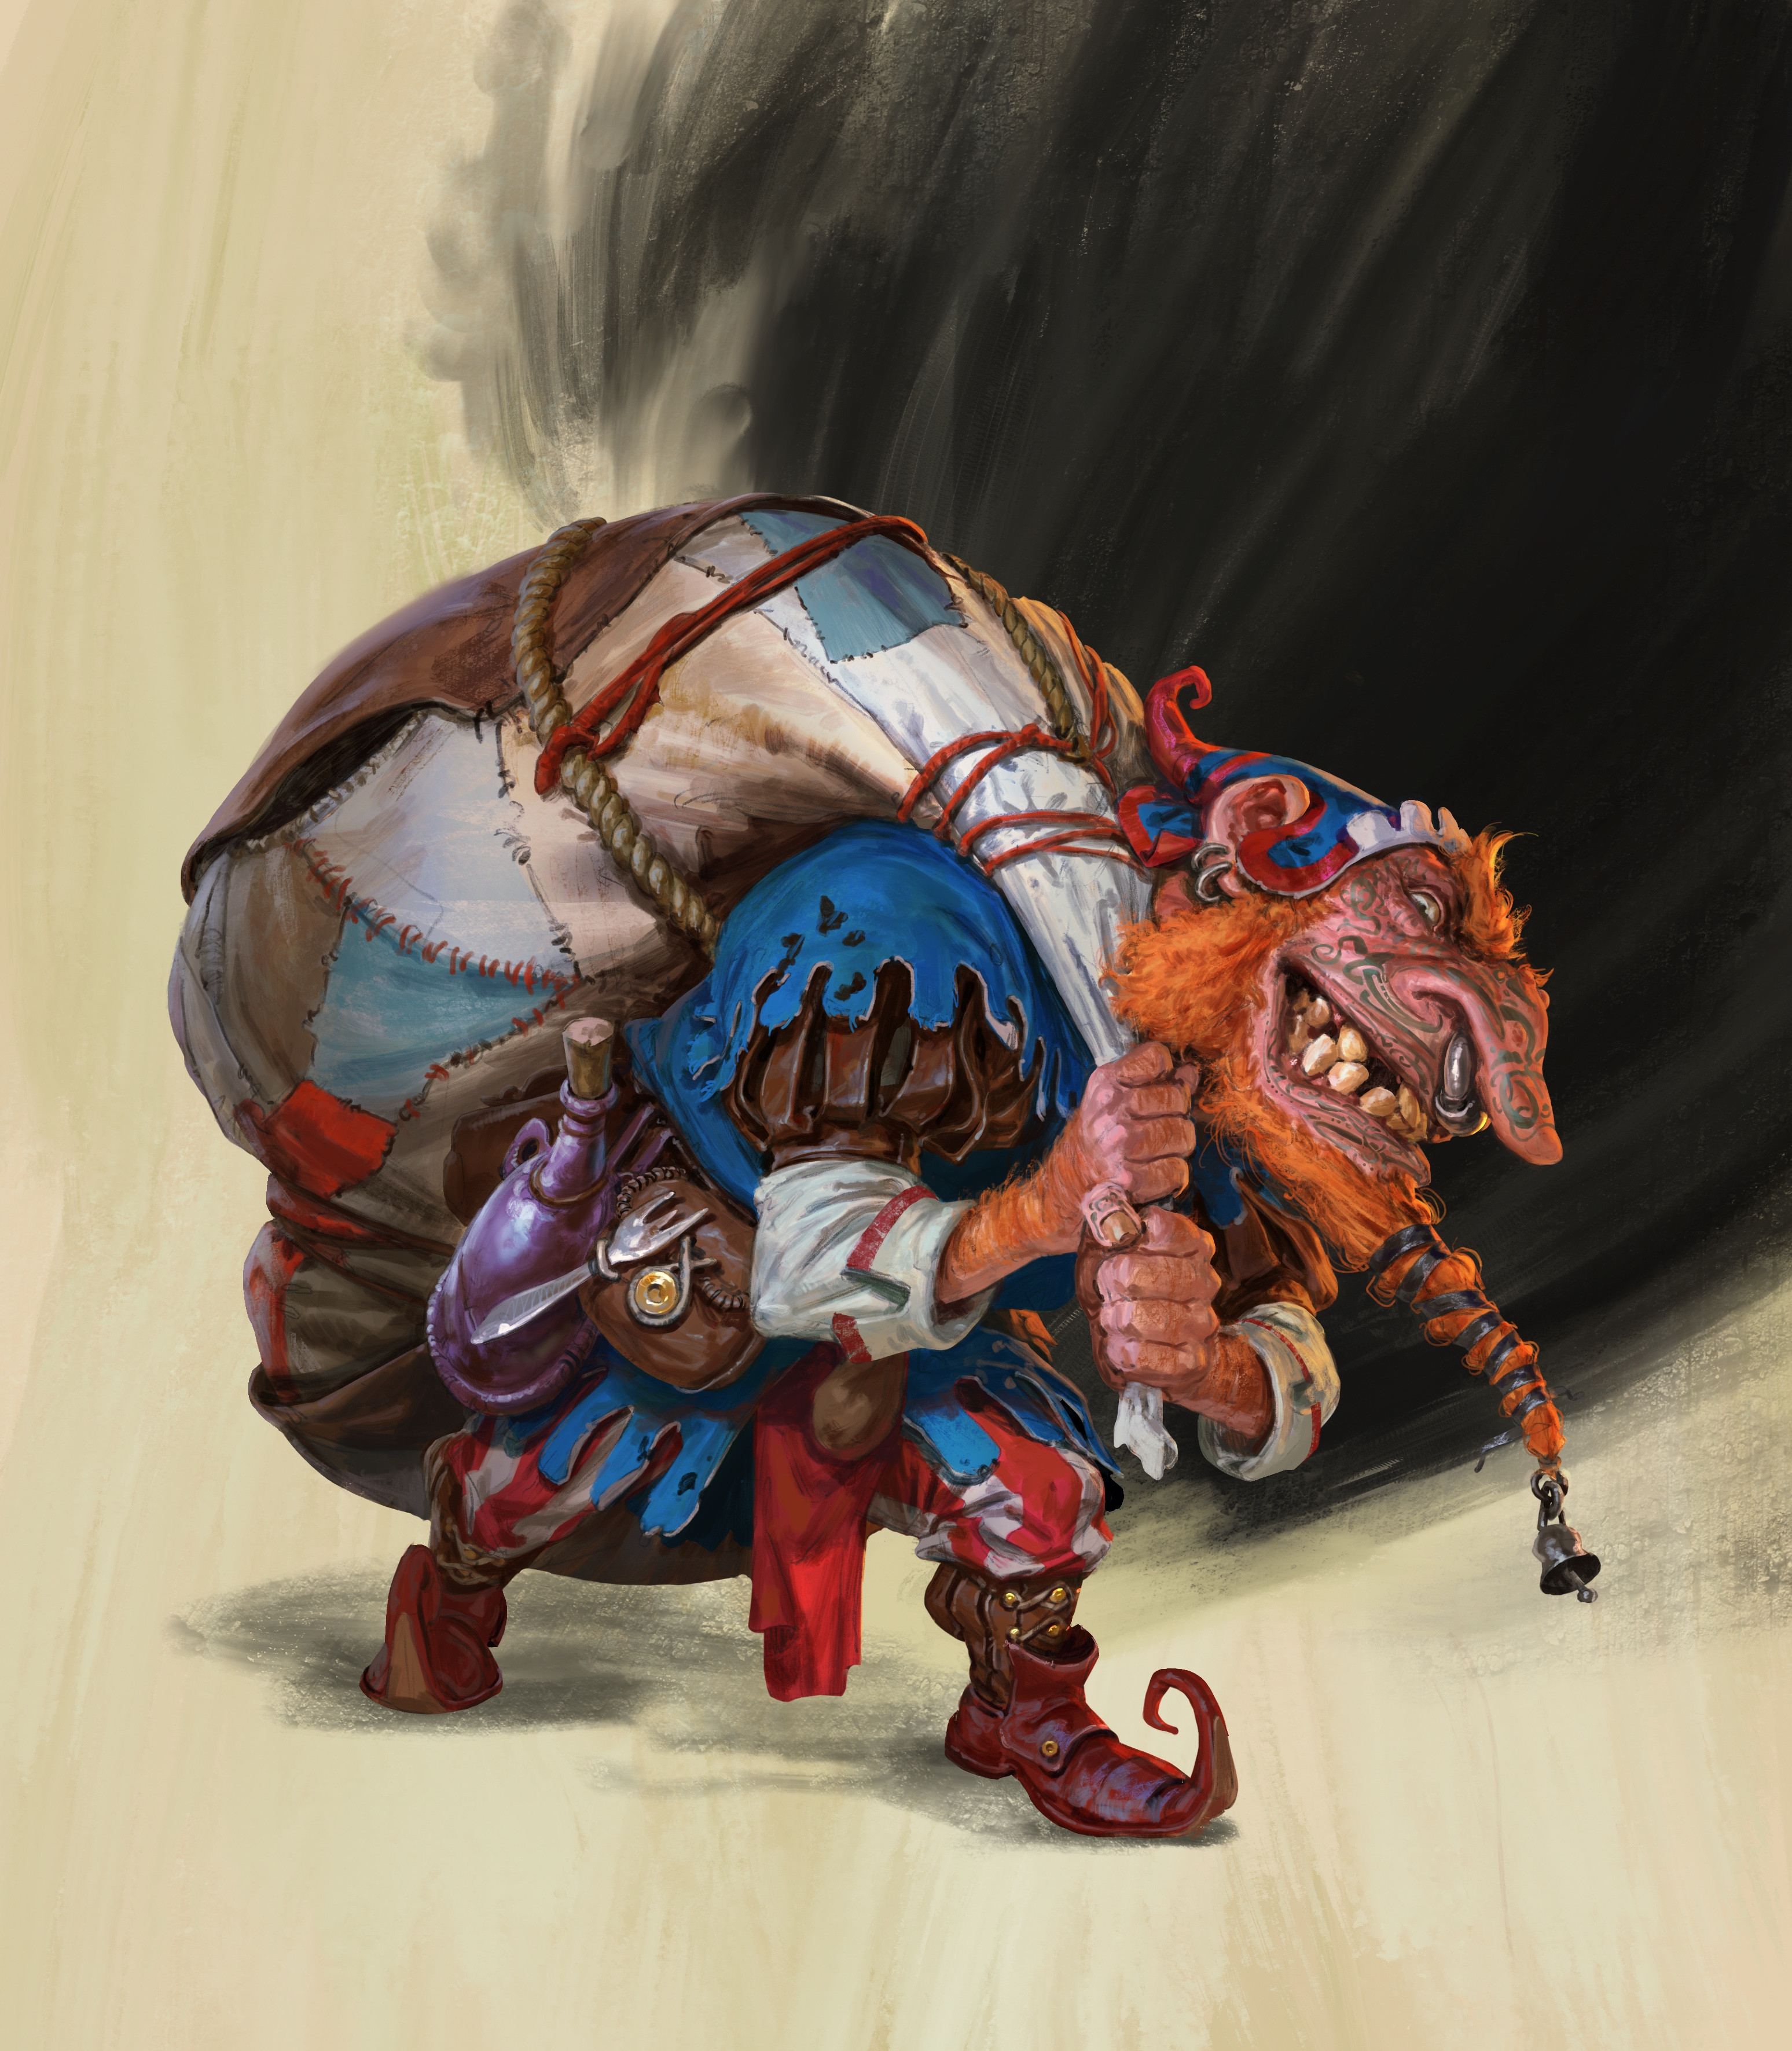
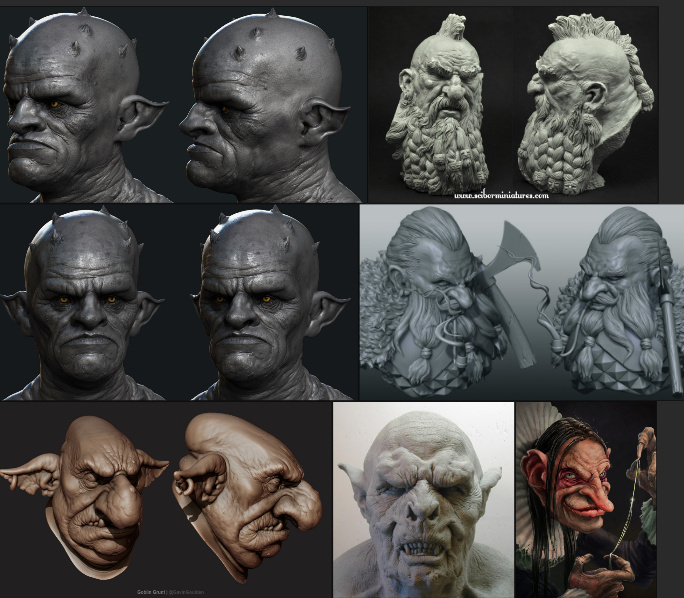
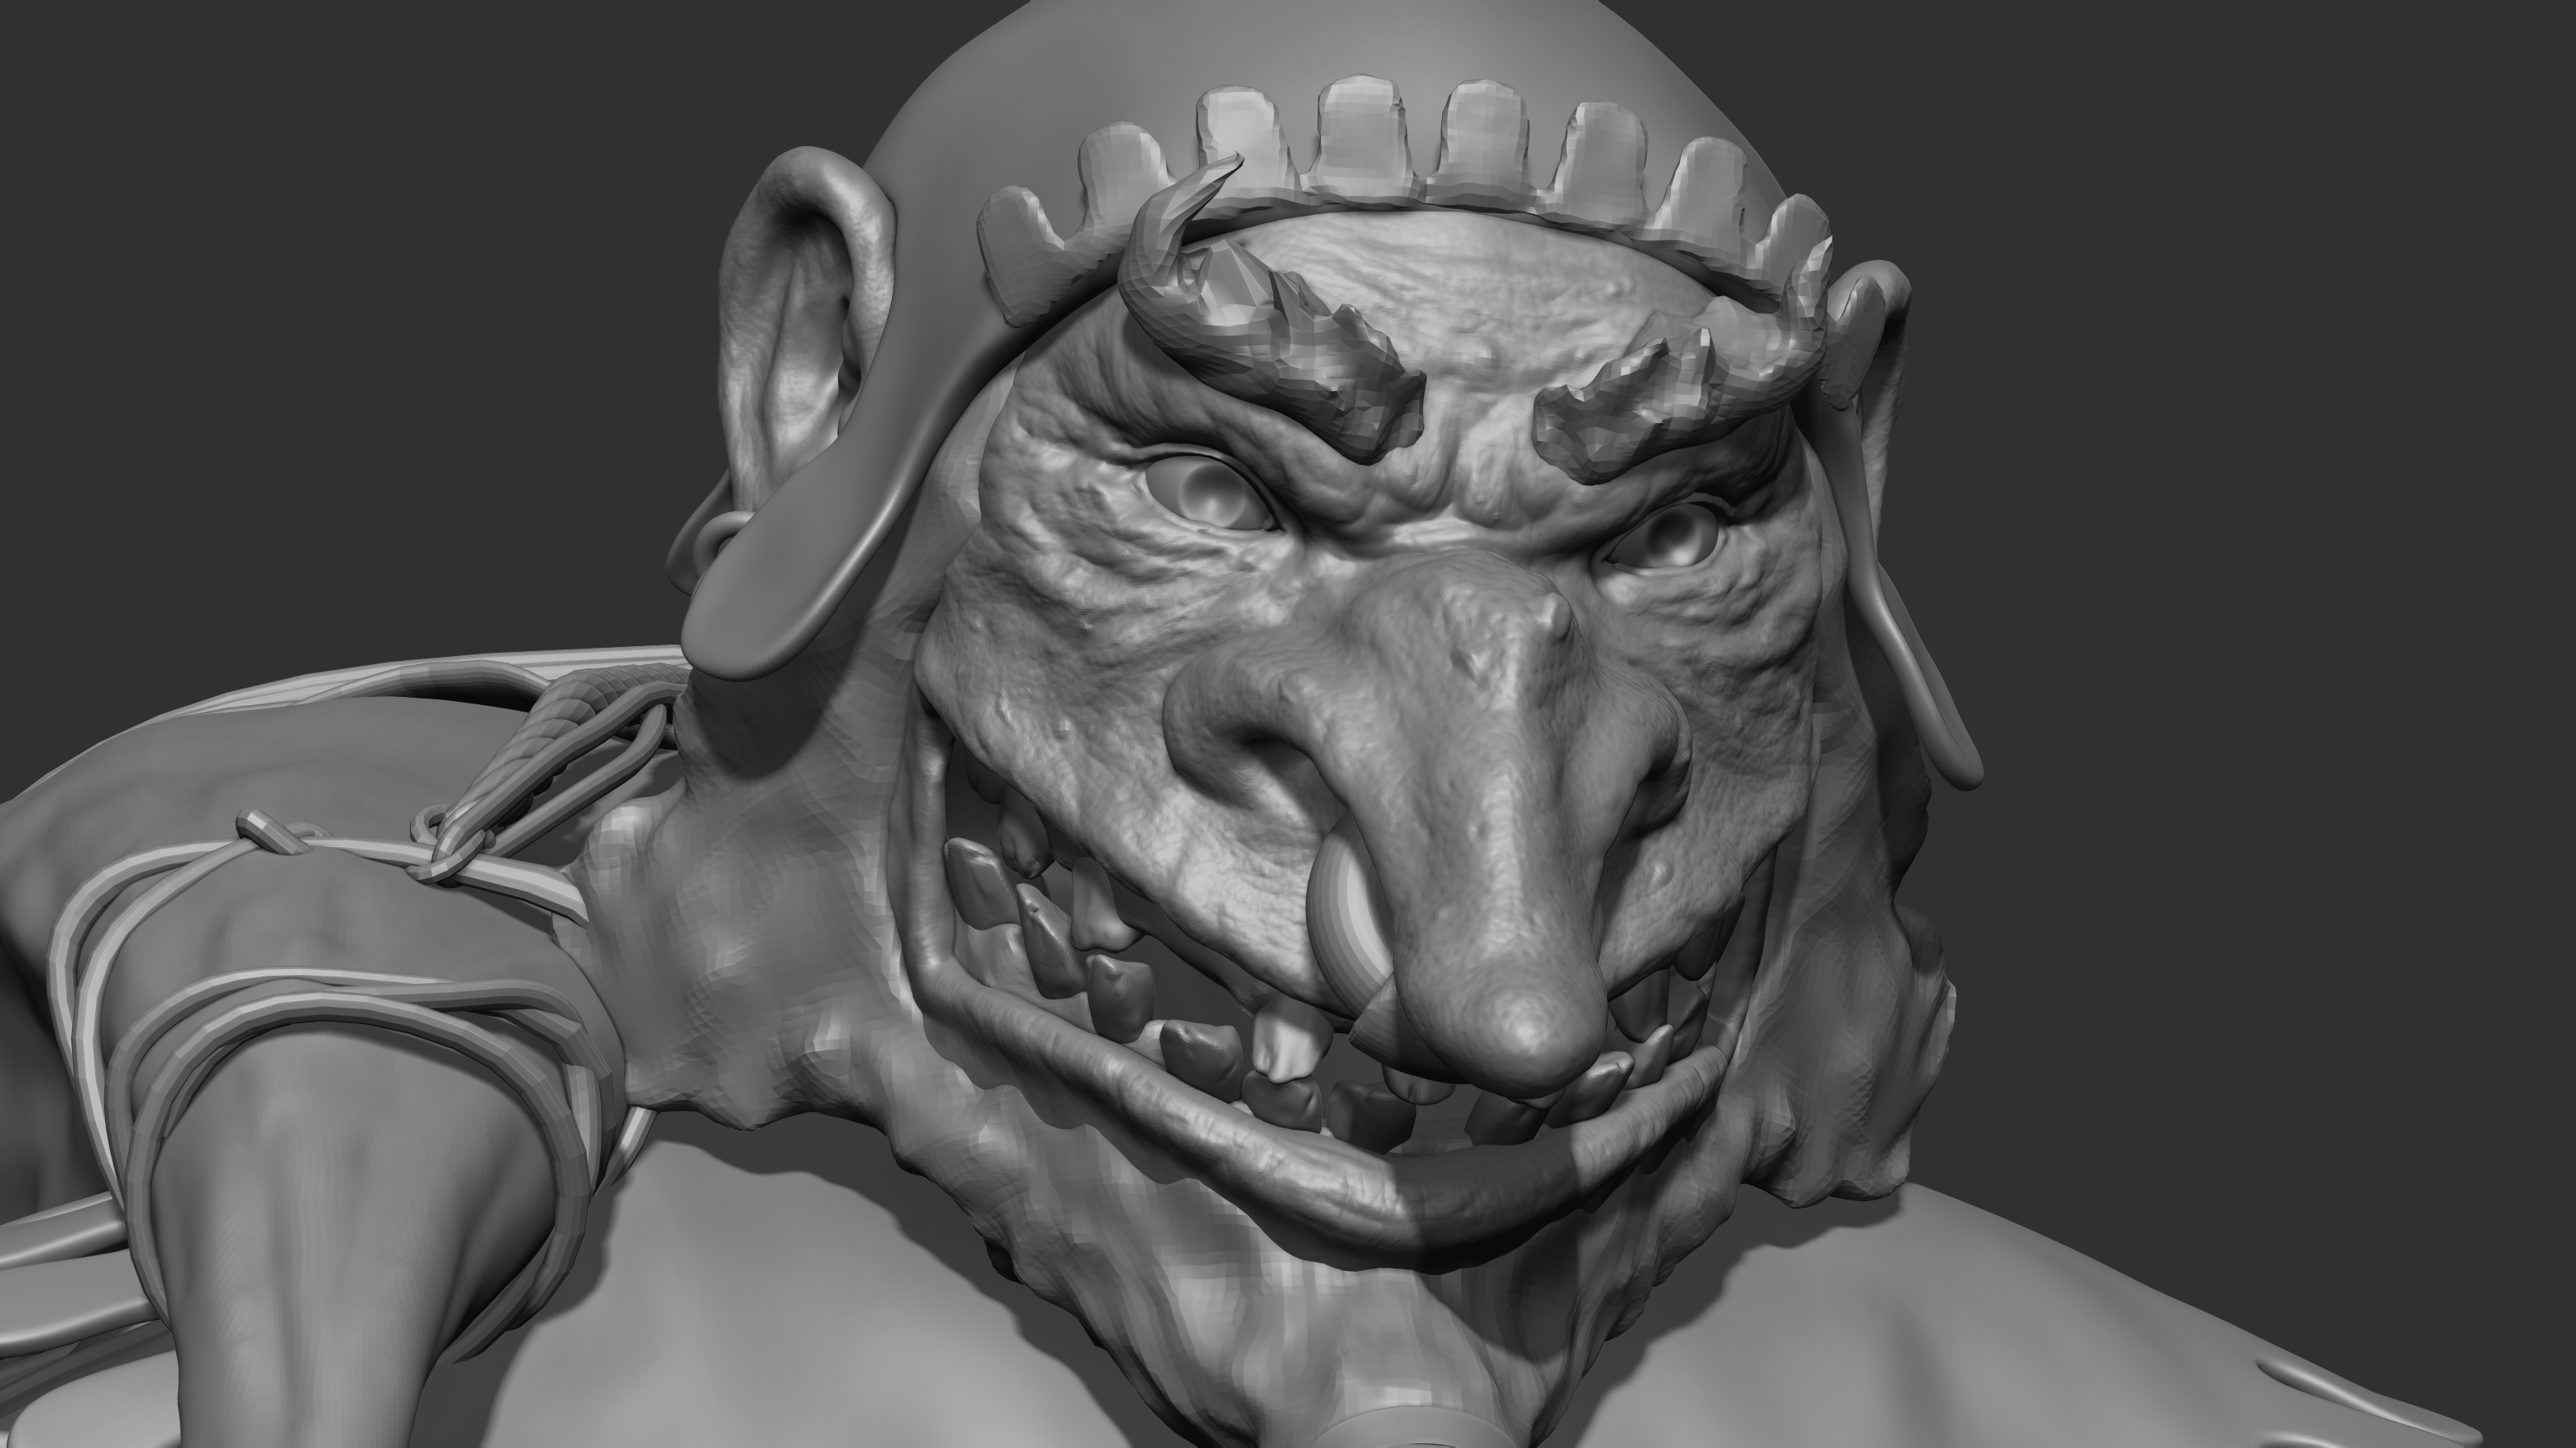
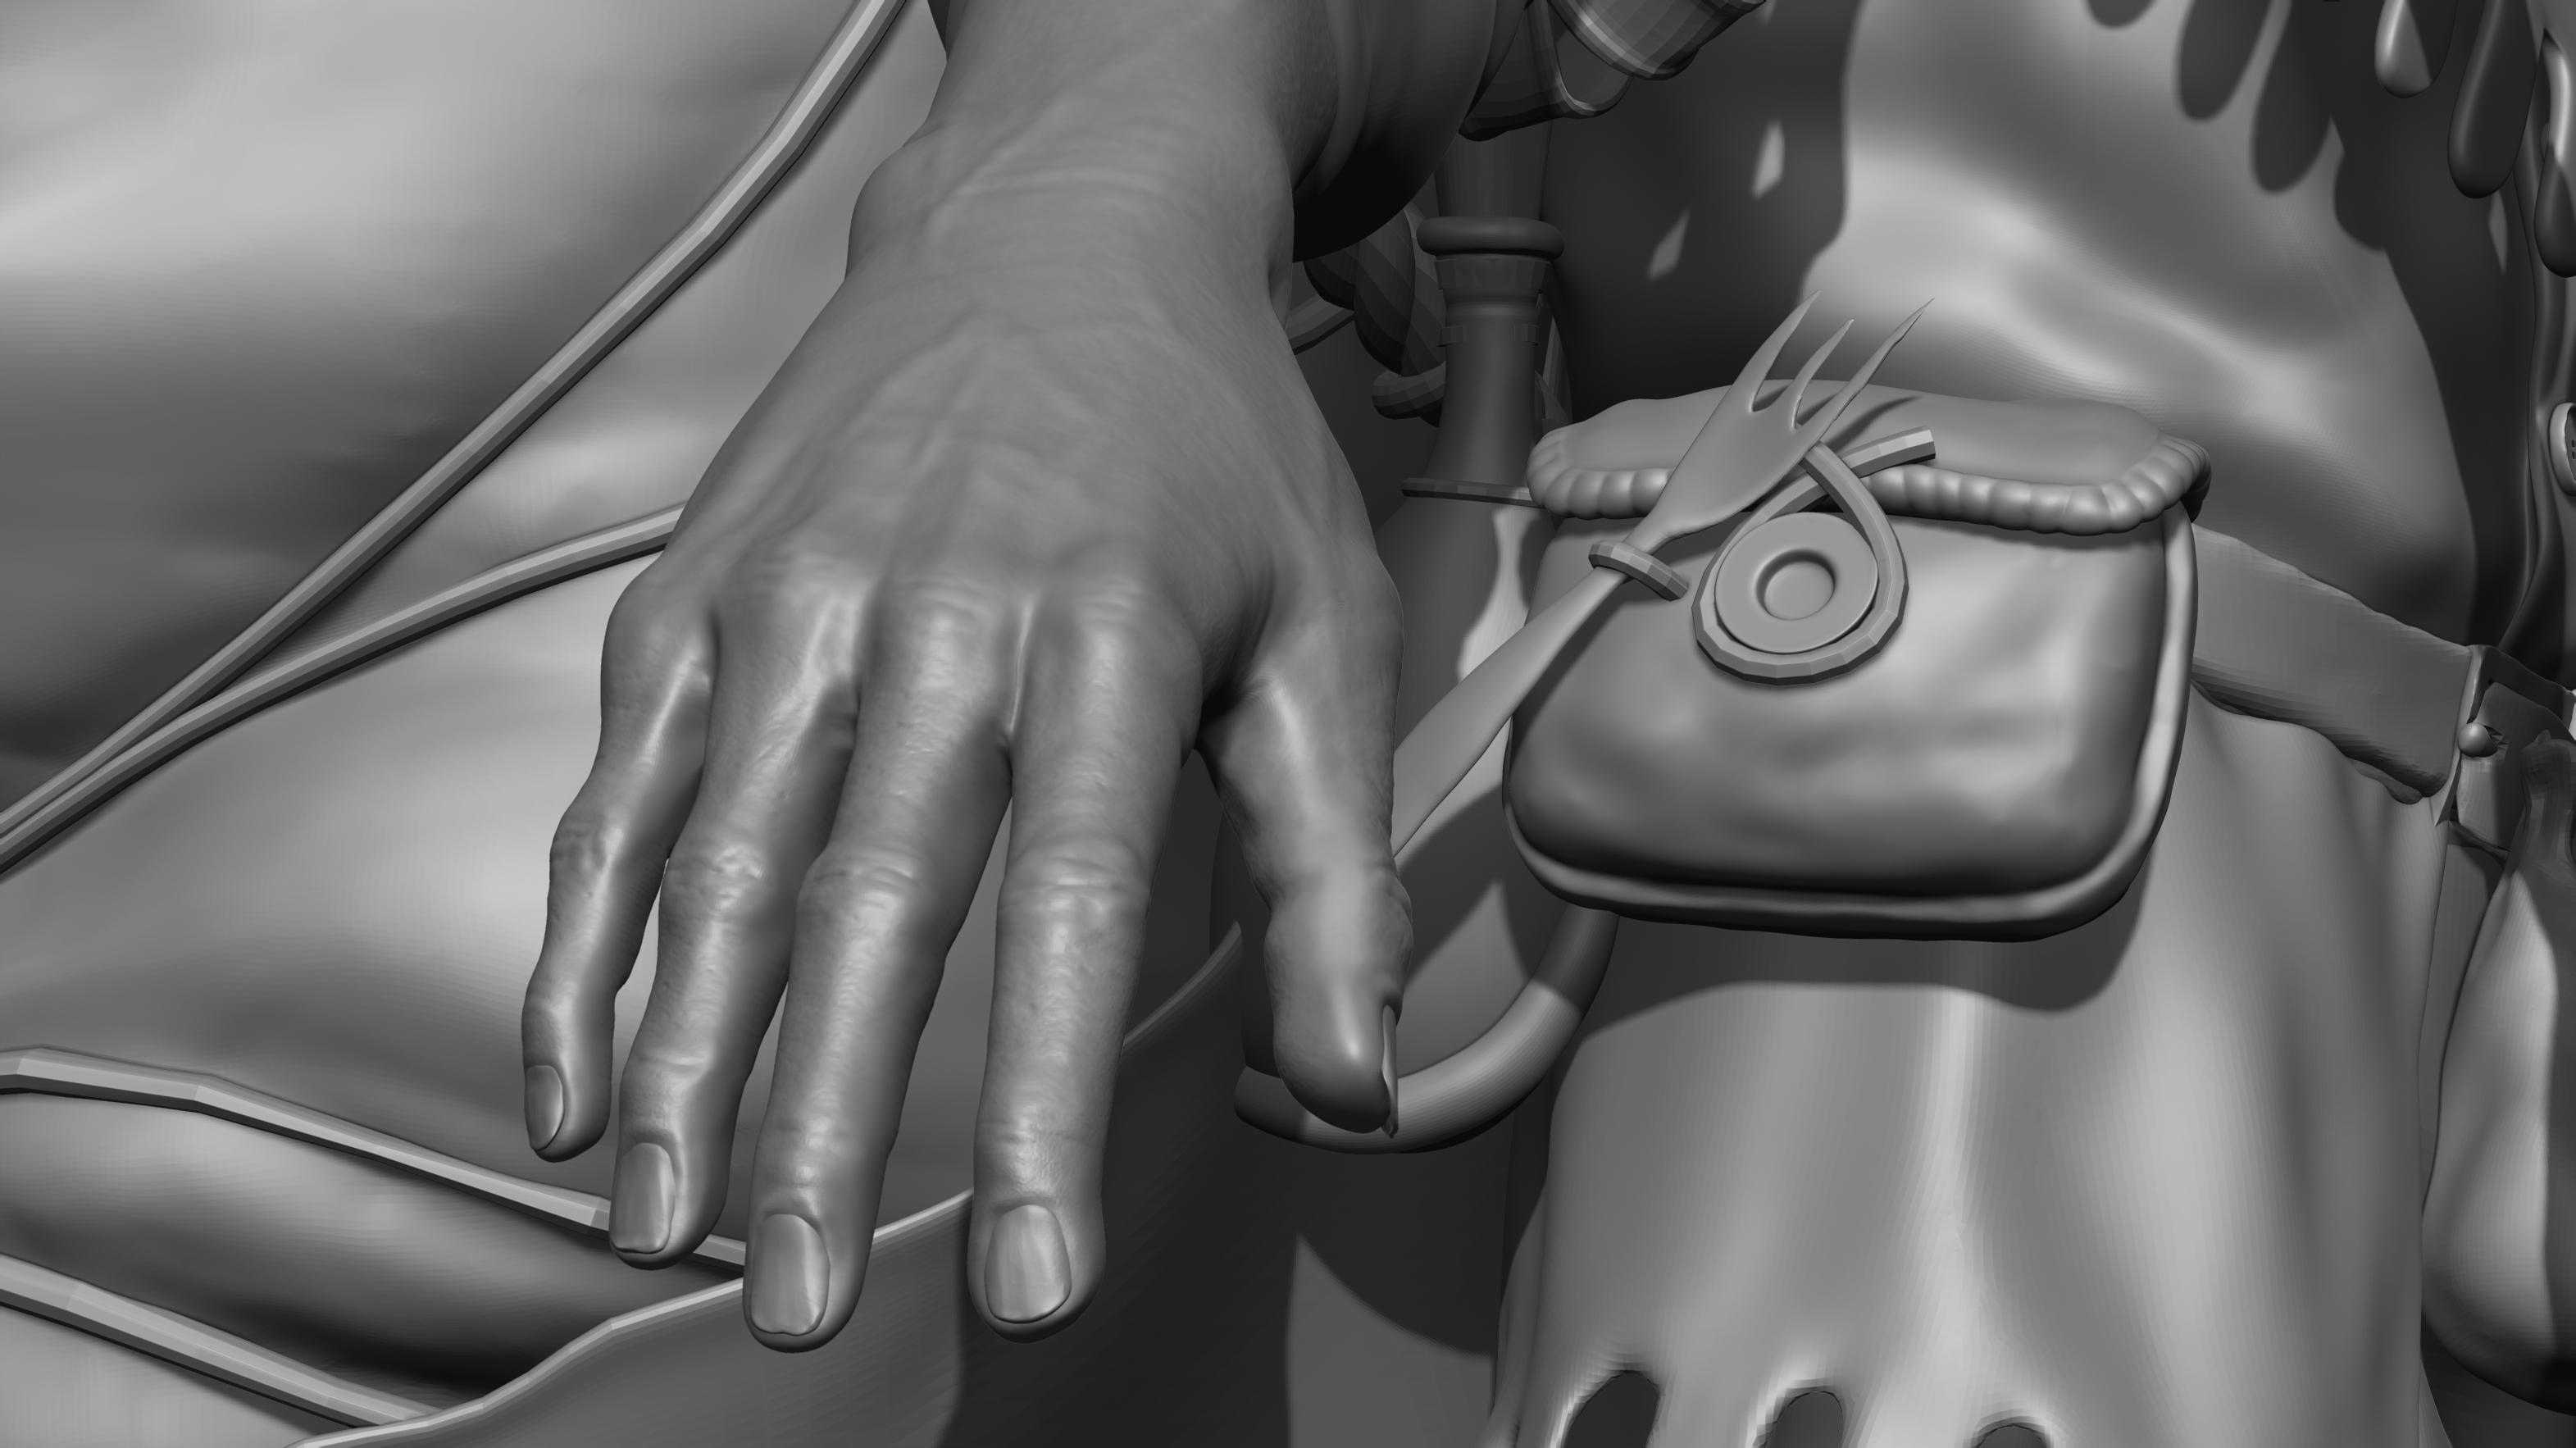
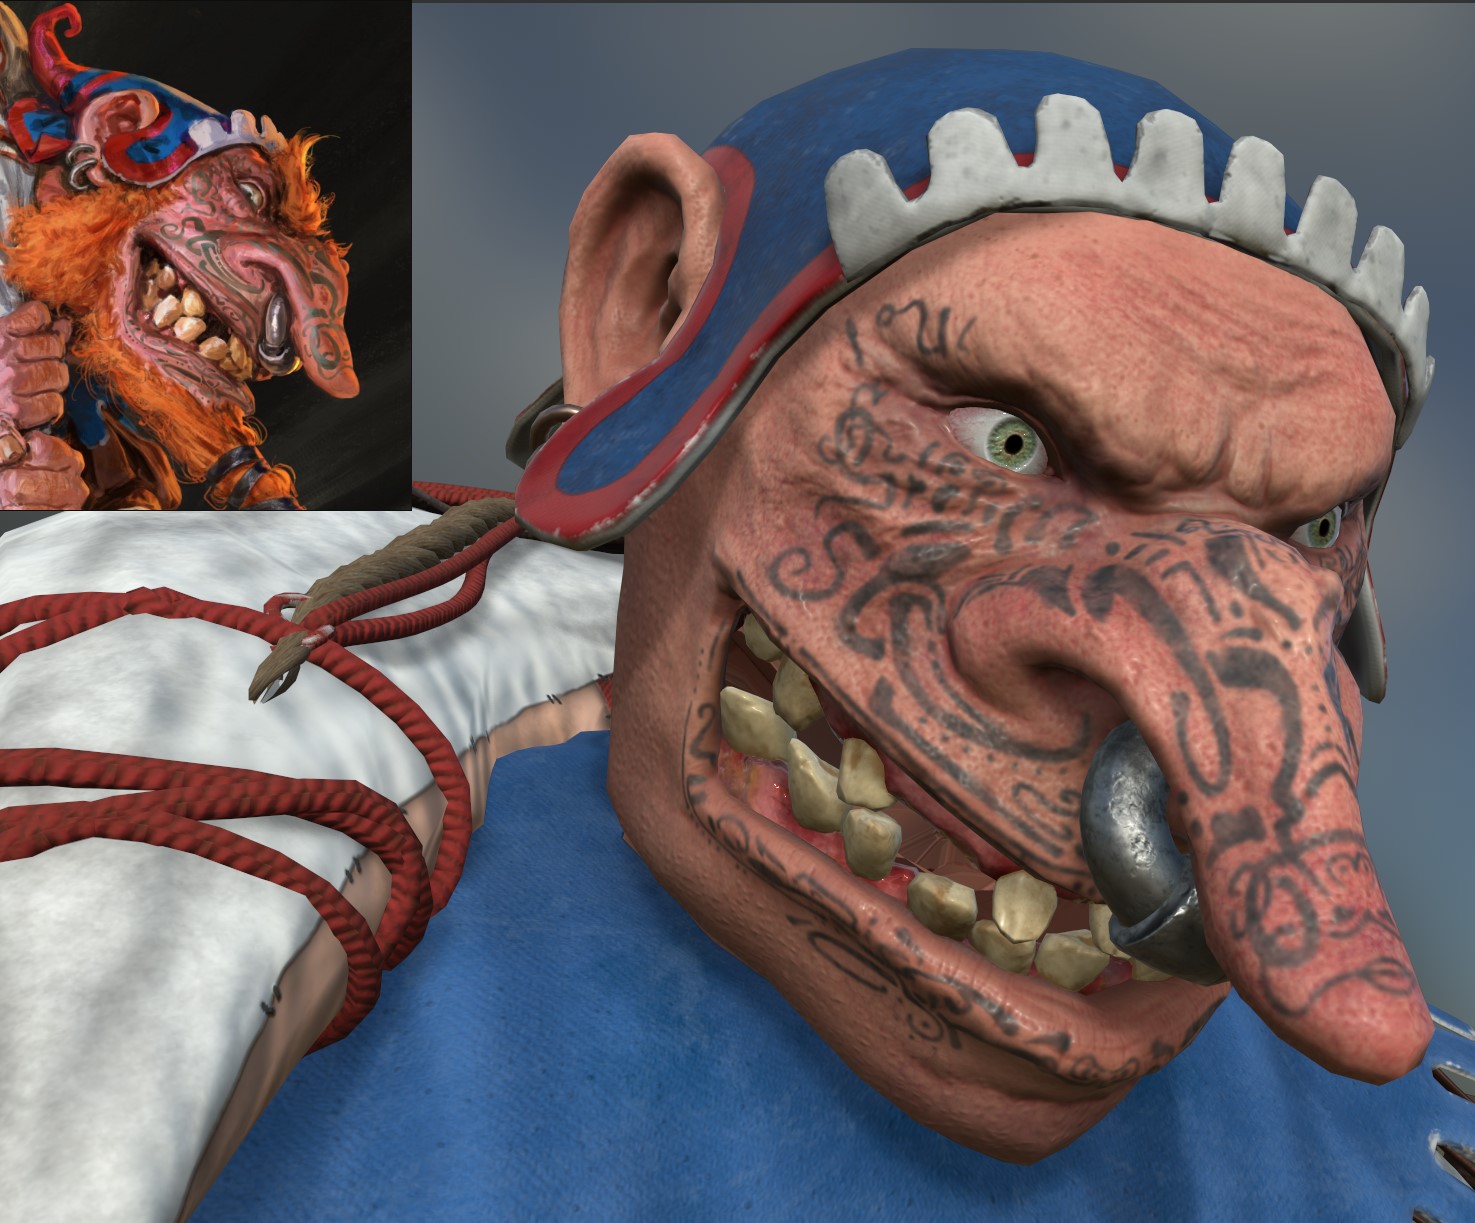
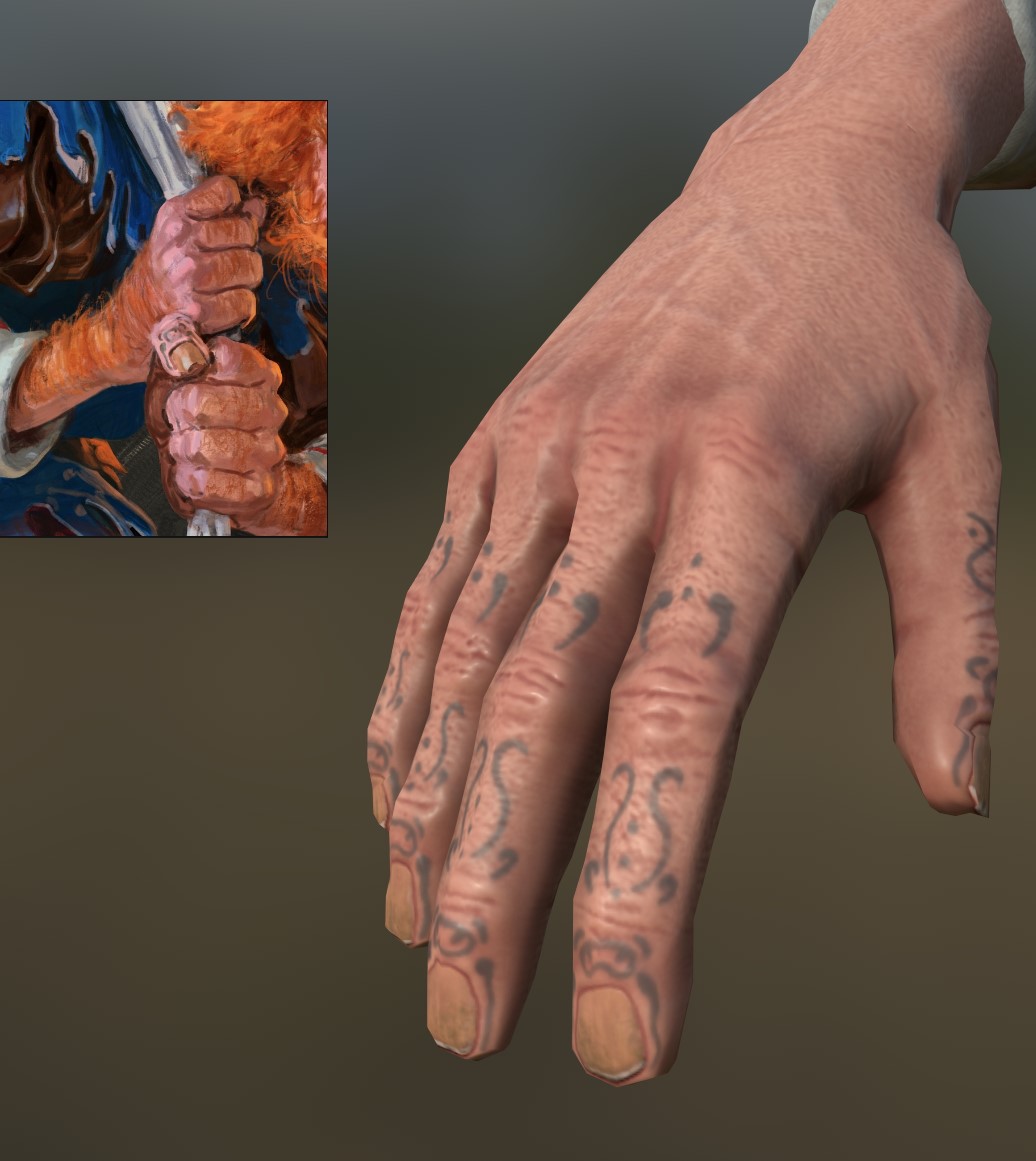
A major feature of this character is the tattoos on his face and fingers. I knew I wanted the tattoos to look like they were under the skin rather than painted-on and also aged, so I had to find some good reference.
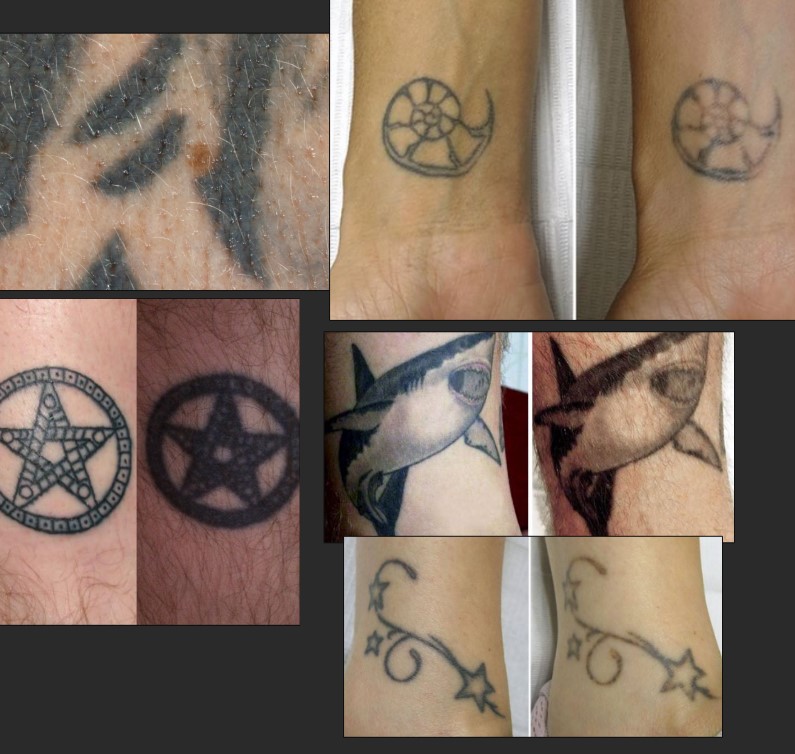
Here are a few of the tattoos I wanted to emulate the look of - mainly the faded, blurry and spotty look.
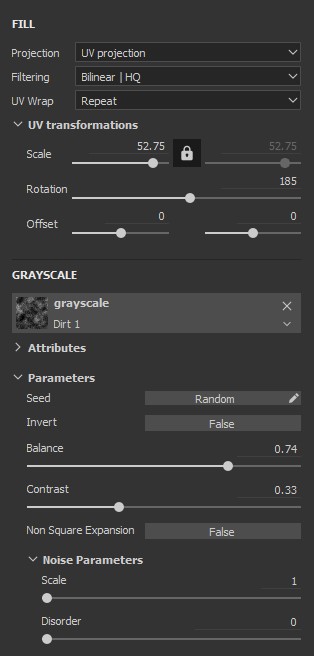
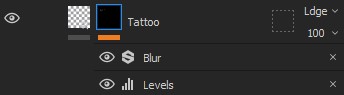
I started by sketching out the facial tattoo using a dark saturated gray colour, referencing the concept as best as I could. For this base layer of the tattoo, I painted directly on the mask. I would only use the Diffuse option since the tattoos didn’t need any height, specular or gloss information.
There were a few places were the distances between the symbols didn’t match so well since my 3D intepretation of the concept doesn’t add up 1:1, however, I made up a few symbols as I went along to compensate.
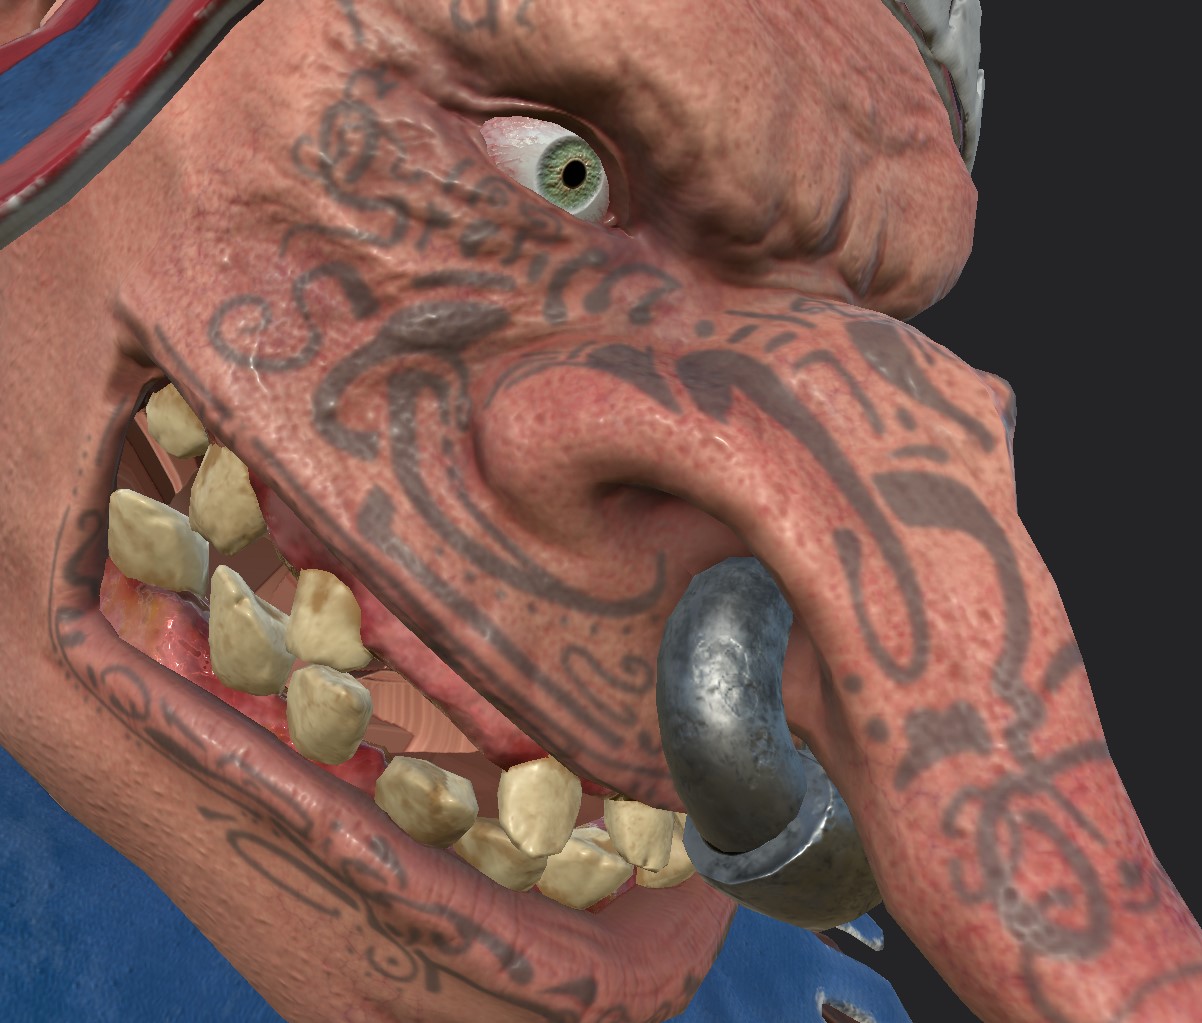
After finishing up the base layer on both face and hands, I added Levels to fade out the tattoo a little bit, and Blur to get the smudgy appearance around the edges.
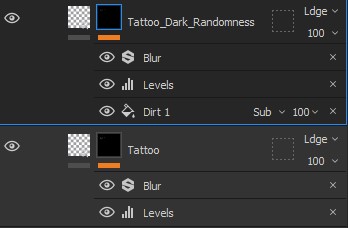
Next, I duplicated this Tattoo layer and changed the diffuse colour to a slightly darker gray. This new duplicate tattoo layer would be used to add darker splotches and more randomness.
In this same layer, I then added another Fill and switched out the grayscale with the Dirt1 alpha texture.
Easier to spot and adjust the random splotchiness when viewing the Mask.
If more tweaking was needed, I could always add a to each of these tattoo layers to fade out or add more randomness to the tattoos.
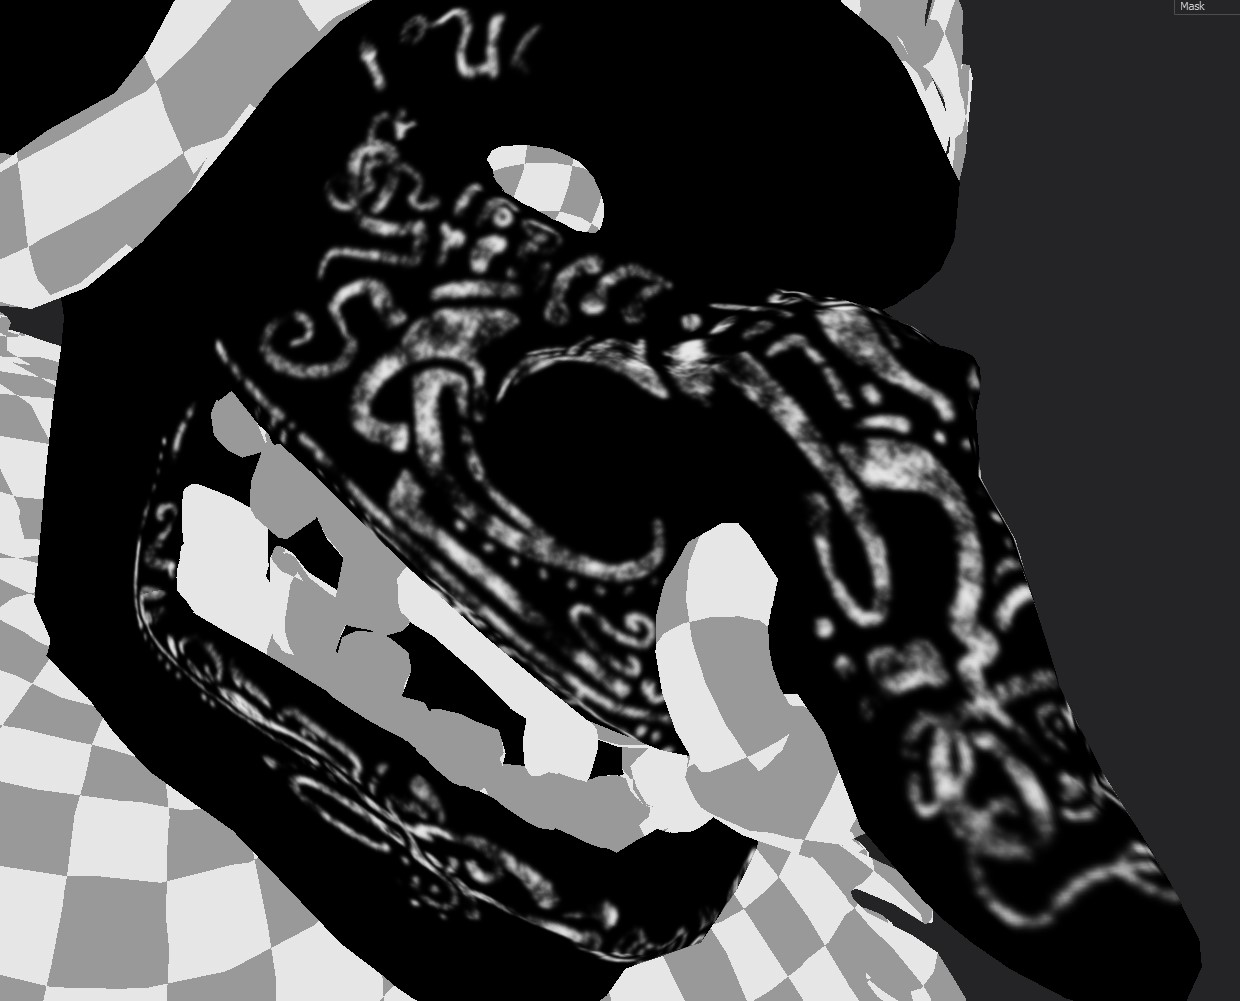
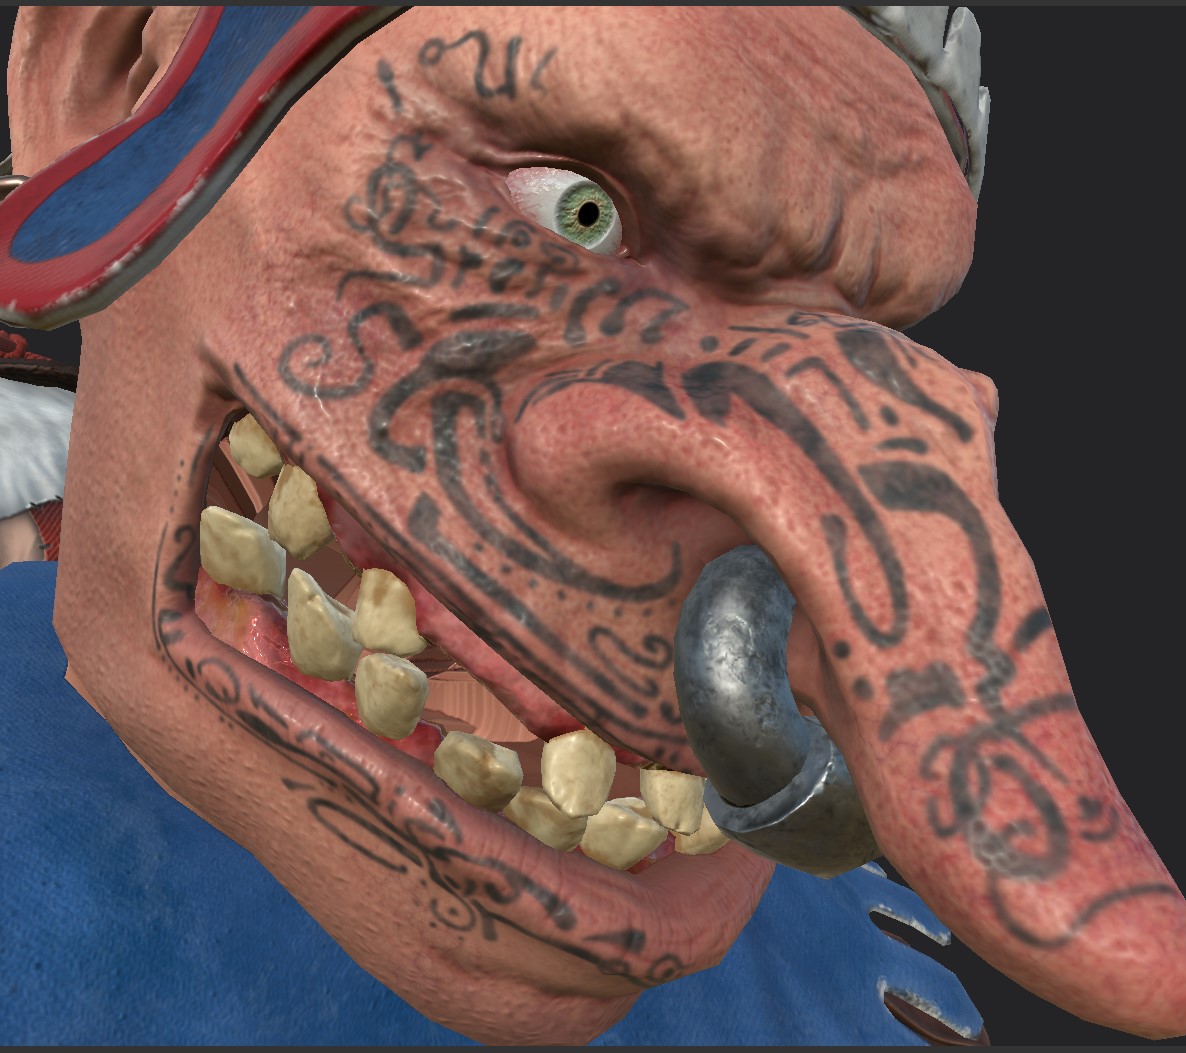
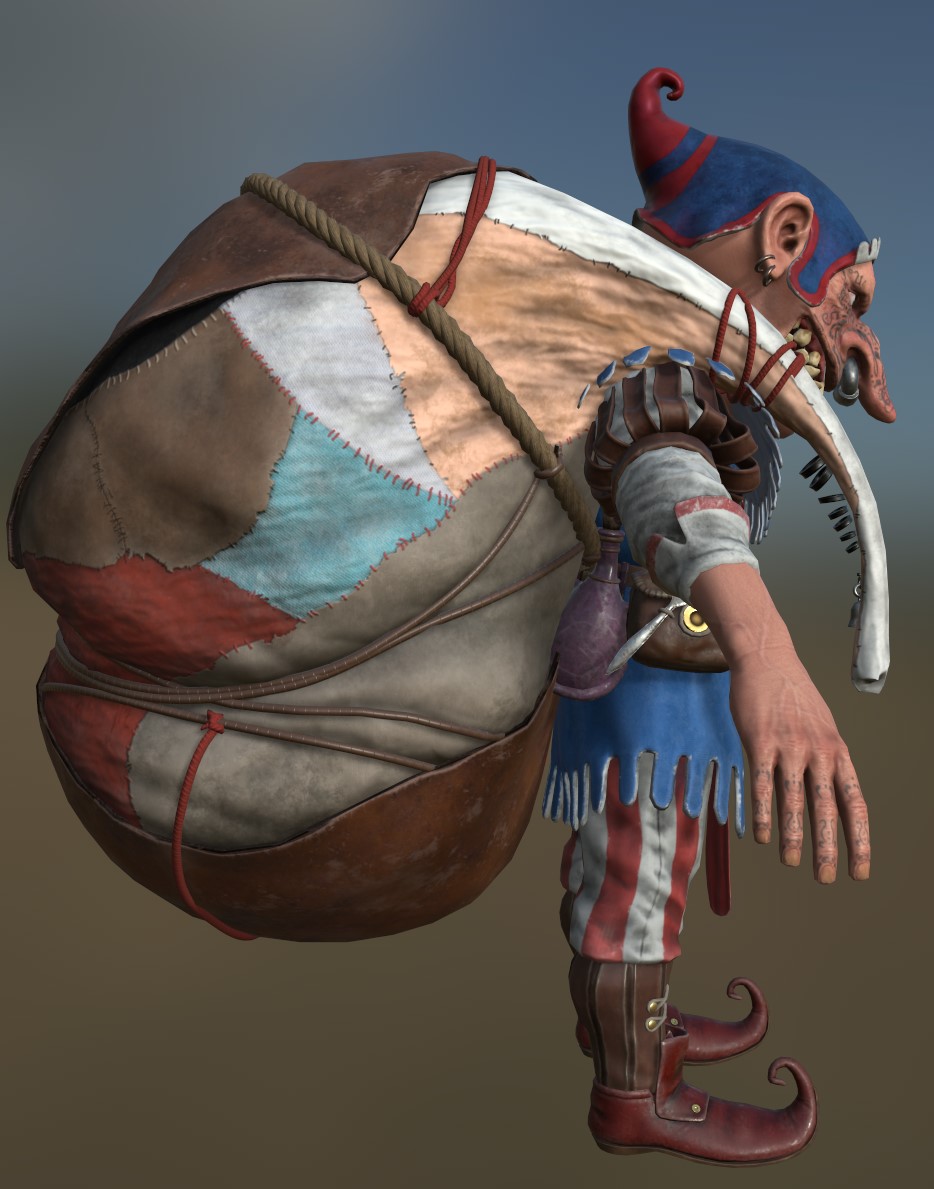
The final look of the tattoos.
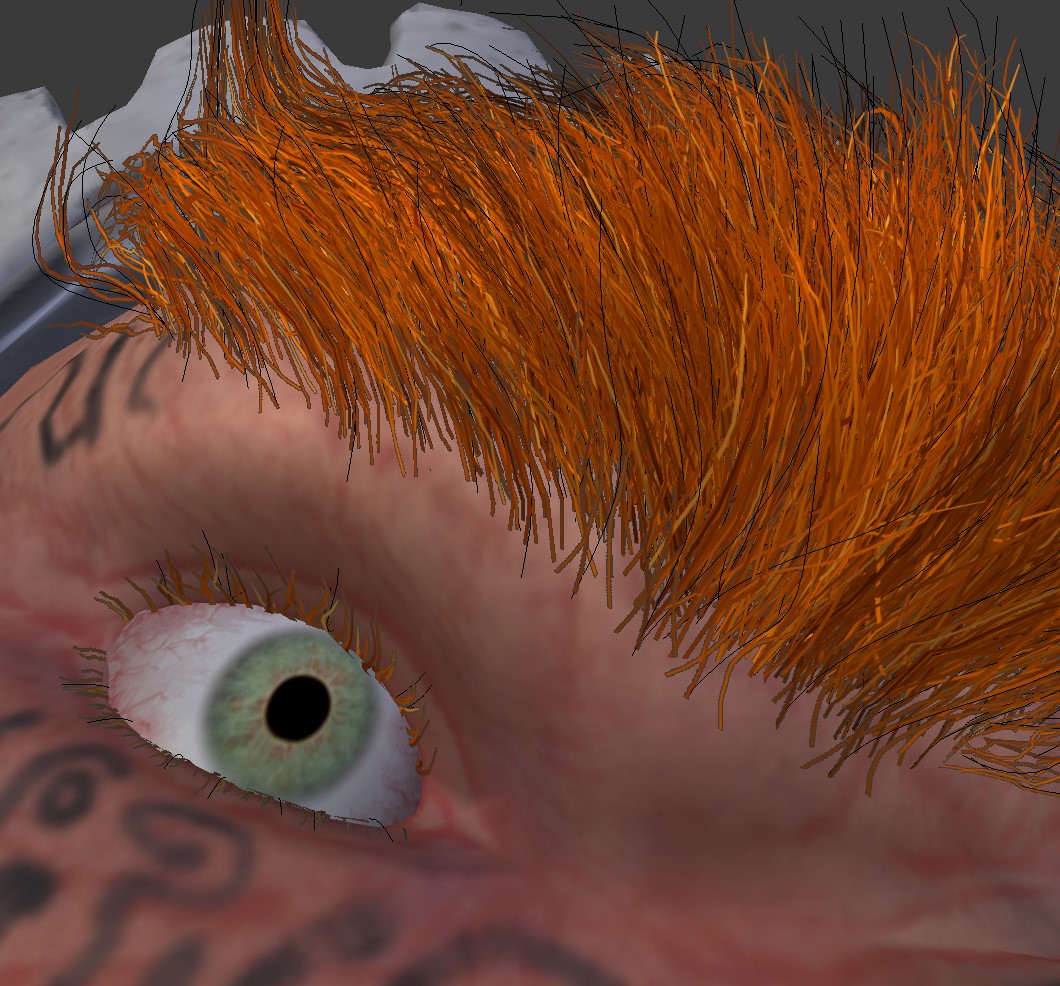
Since I still needed to add hair to both face and fingers I did not erase too much of the tattoos. They still needed to look old but not as old as they were illegible when the hair would be added.
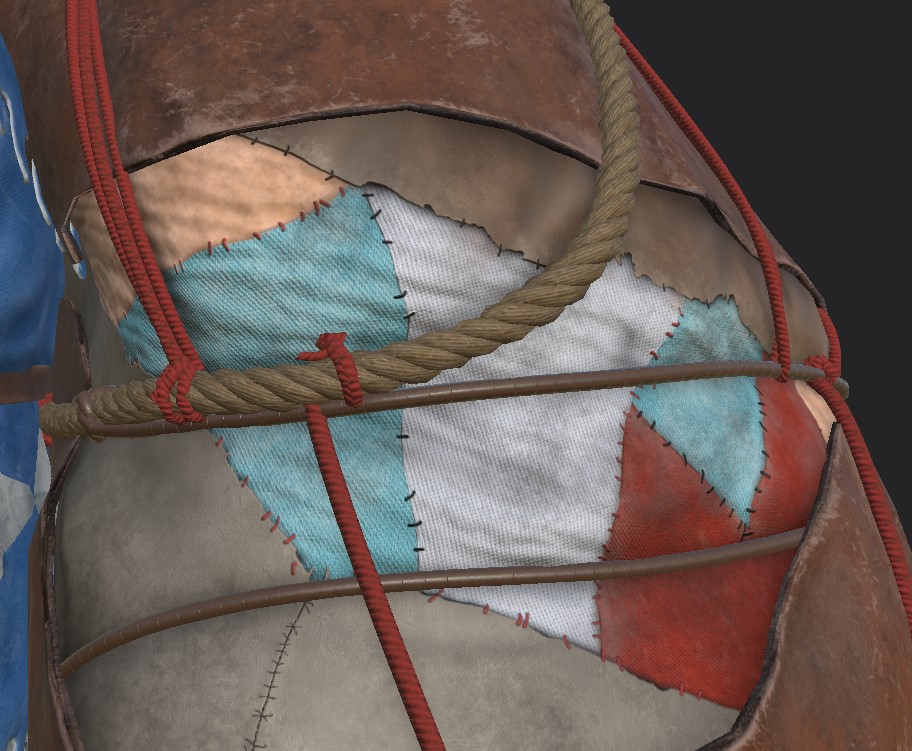
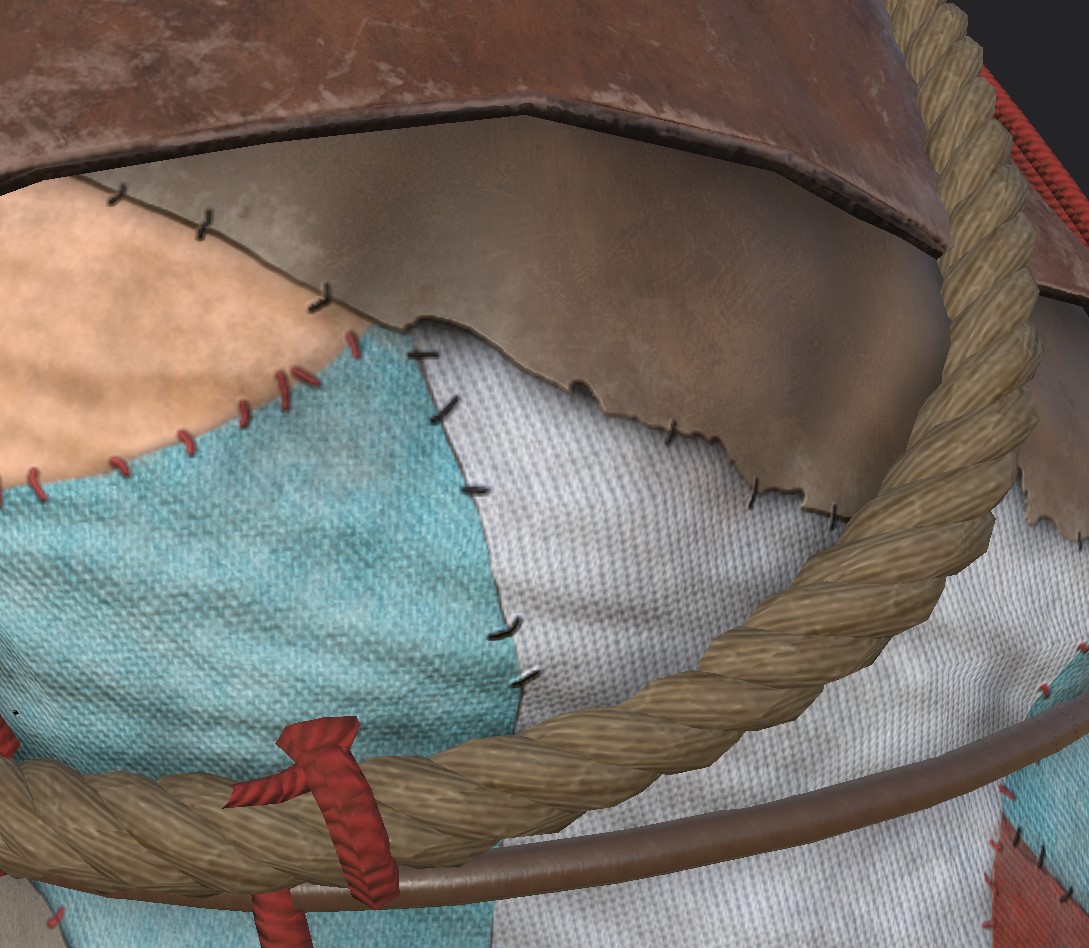
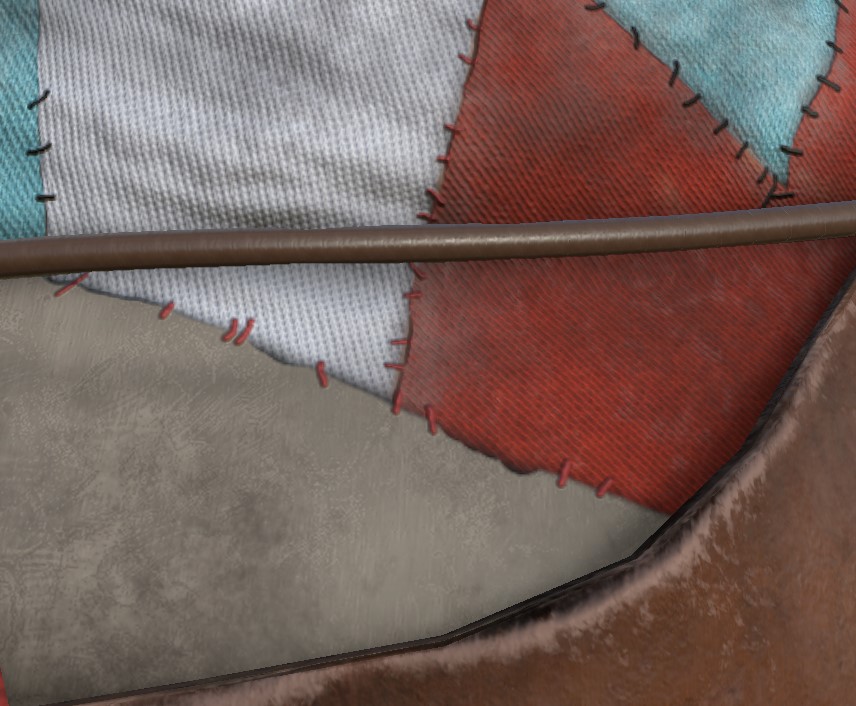
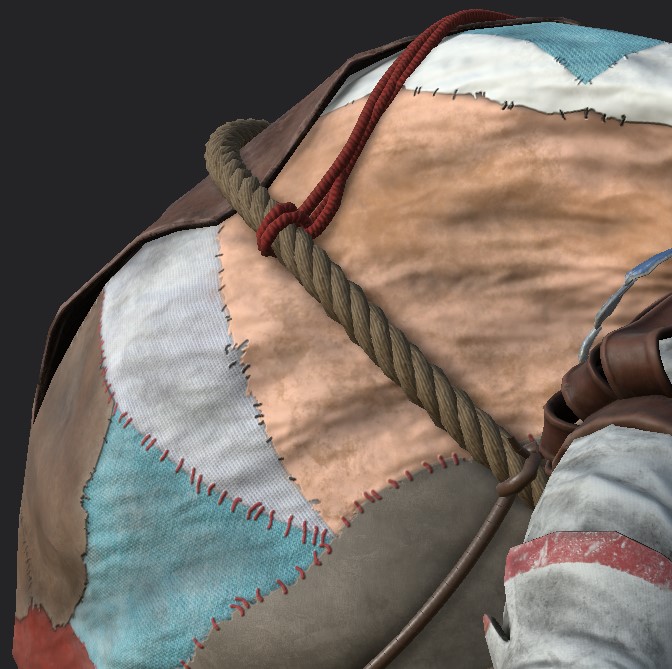
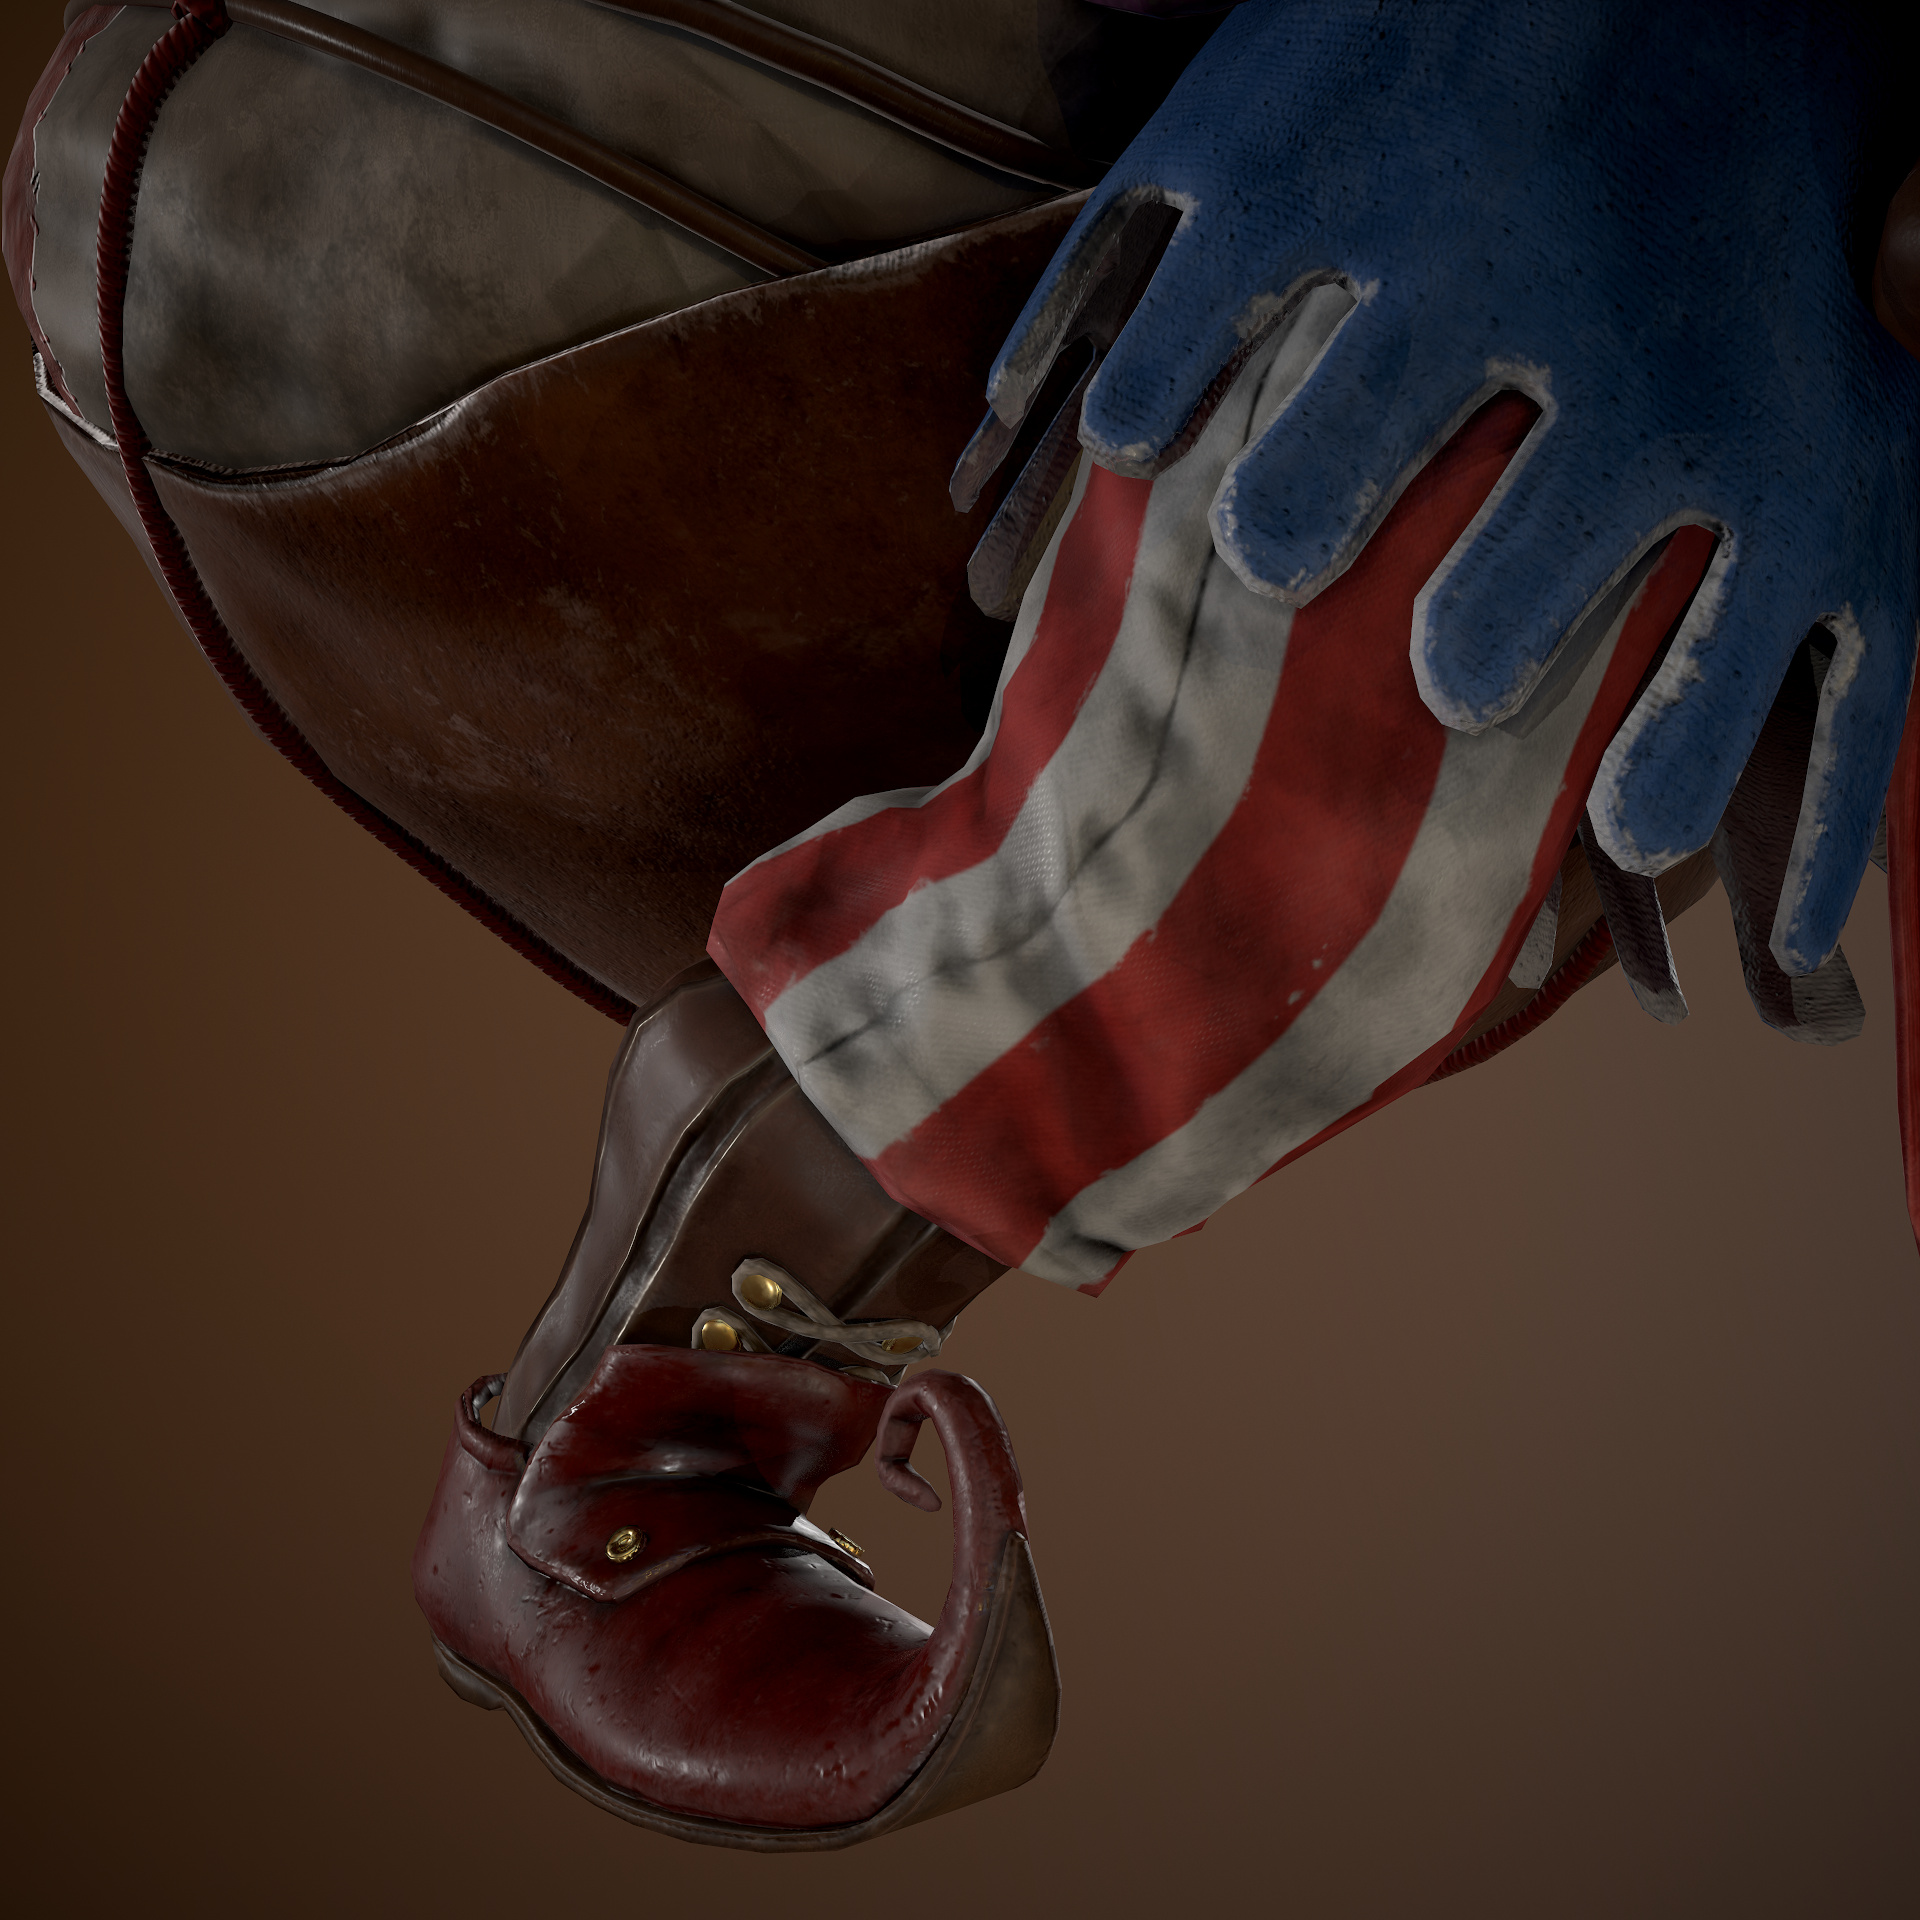
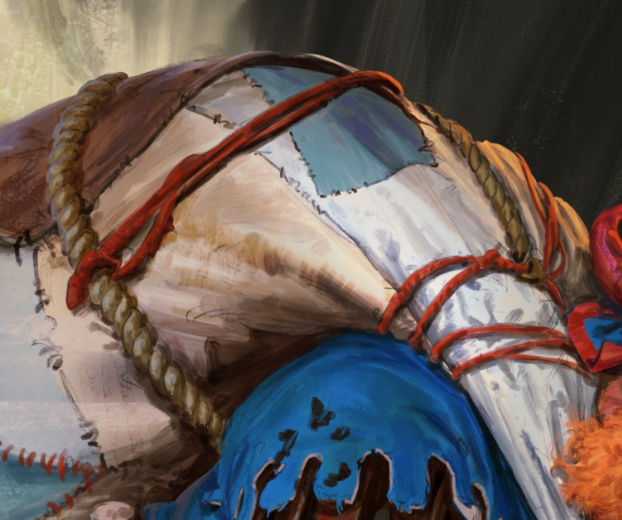
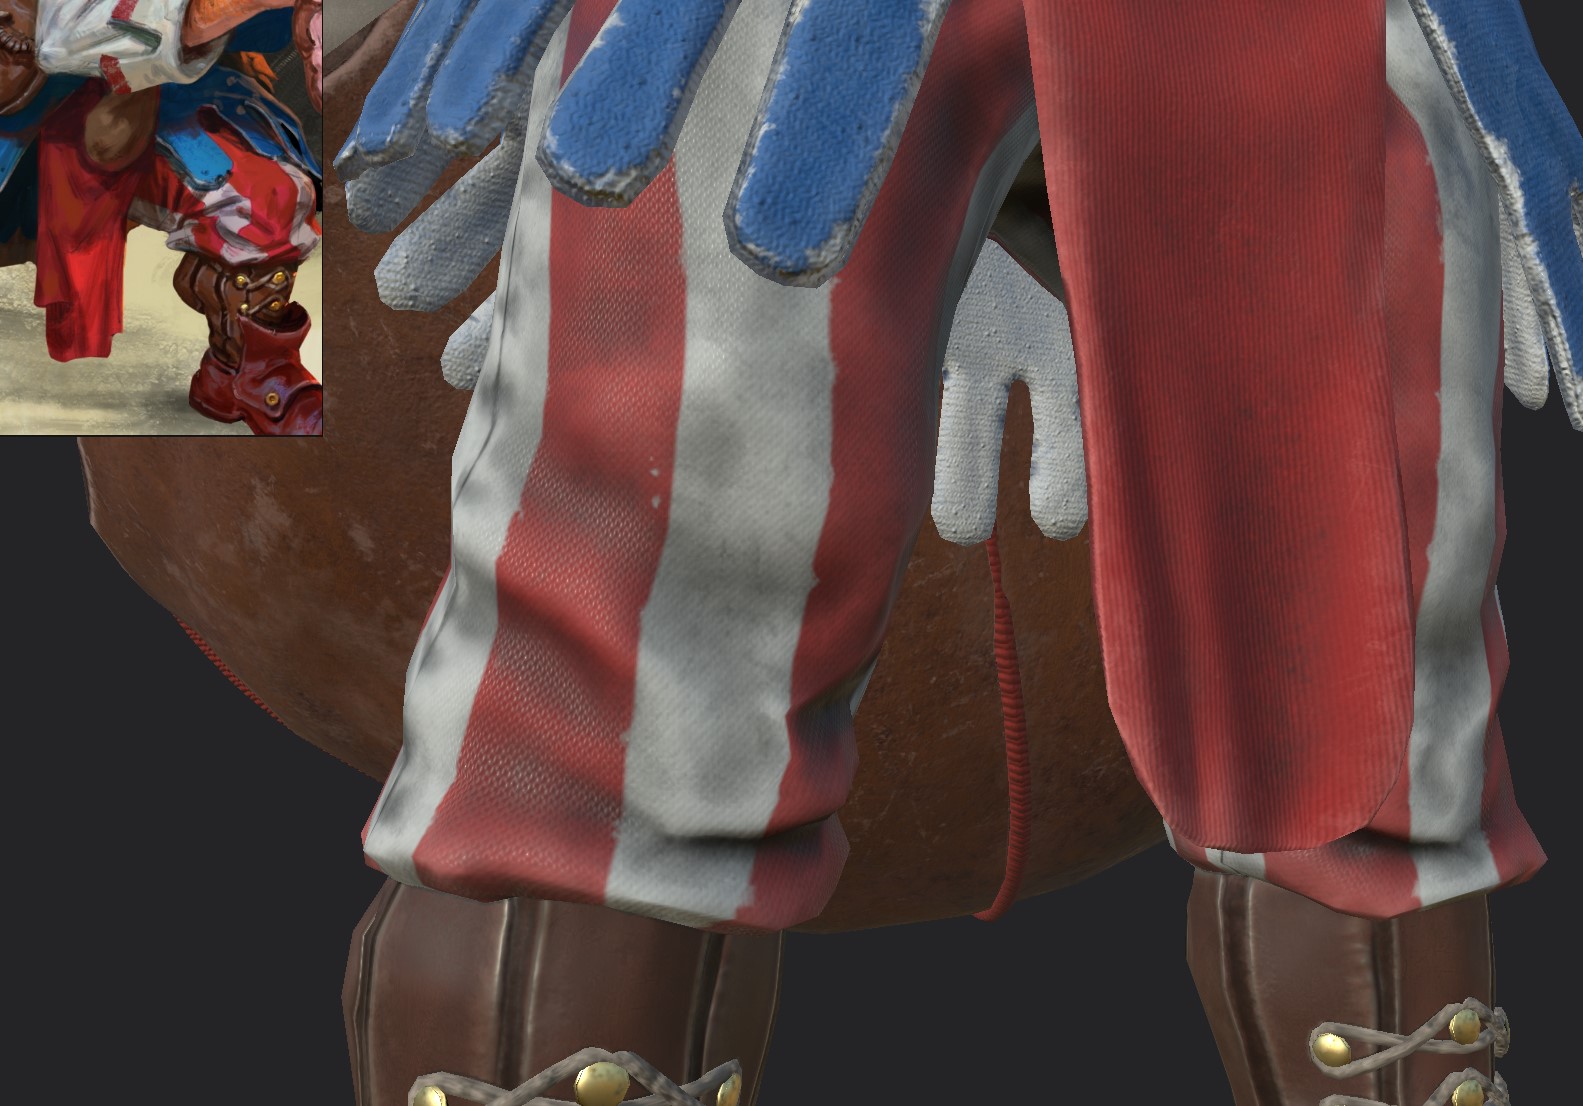
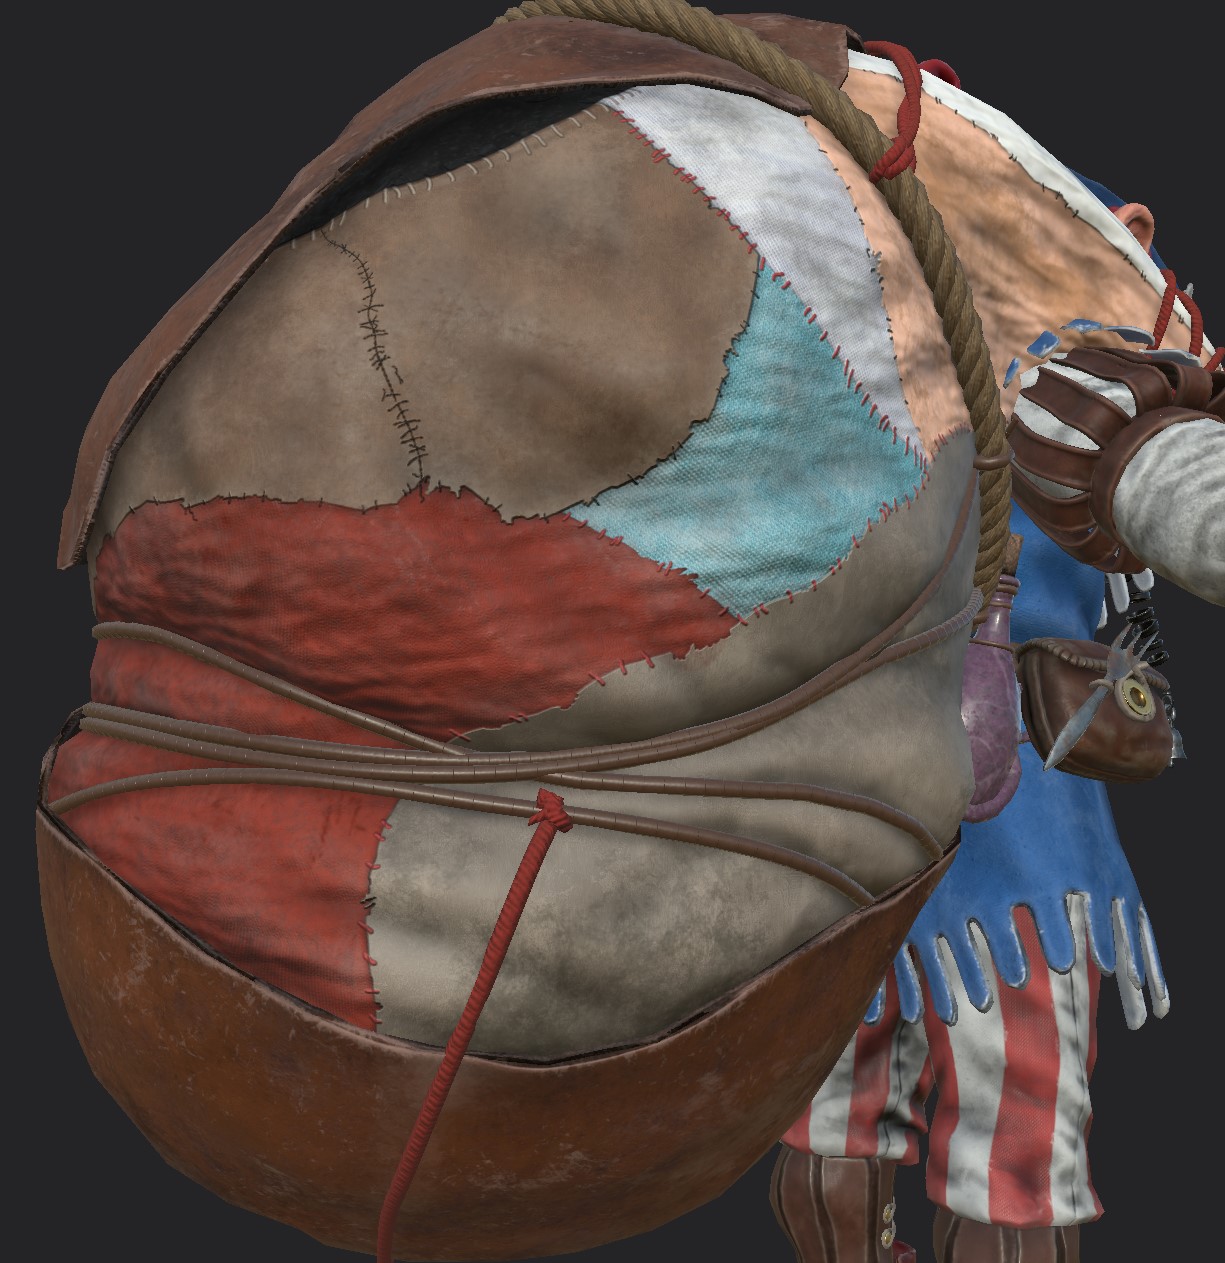
Patched Layers
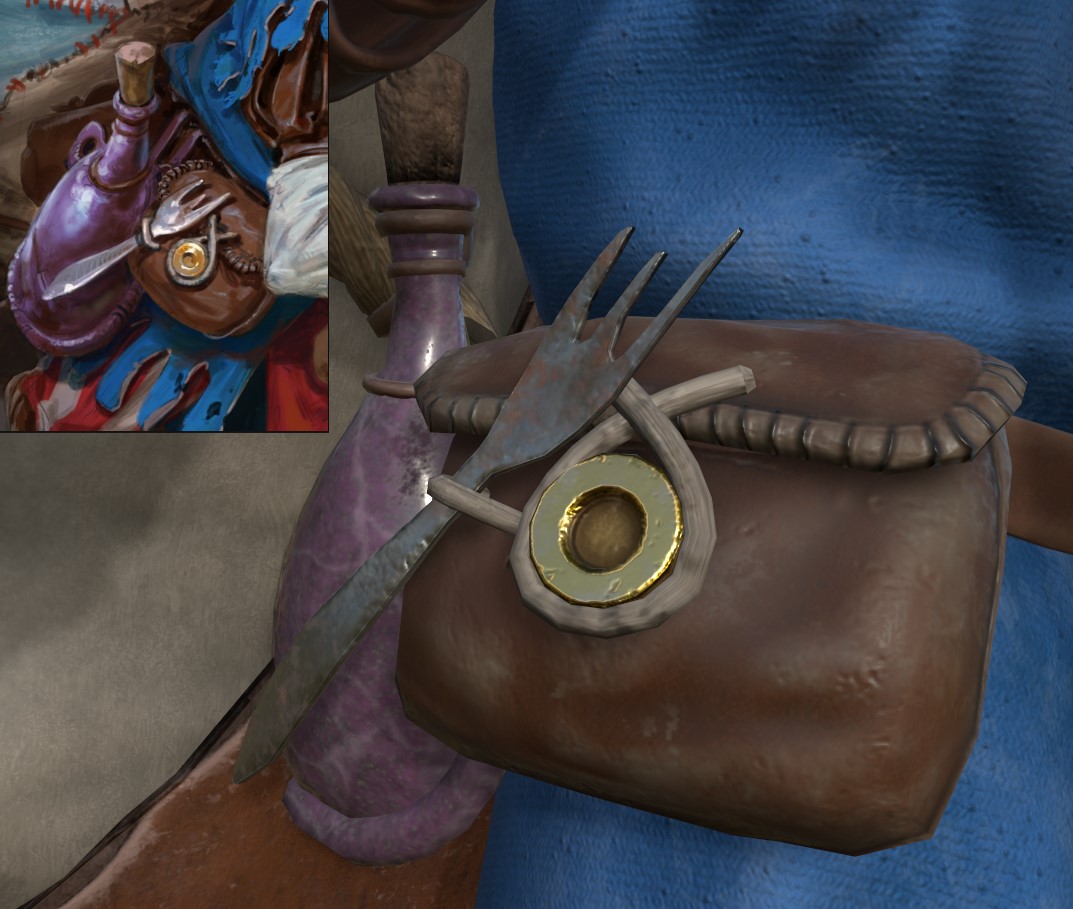
I’ve found a lot of use from the same layering method I used on the tattoos - mainly using a darker colour for the second layer with added Blur and Levels. I decided early on that making the patched-together layers would be easiest in Substance Painter.
I probably could’ve used ZBrush to get a similar result but considering how powerful Substance Painter is, in terms of all the layering and adjustment filters, I thought it would be easier to do it while I was texturing.
The flat diffuse look.
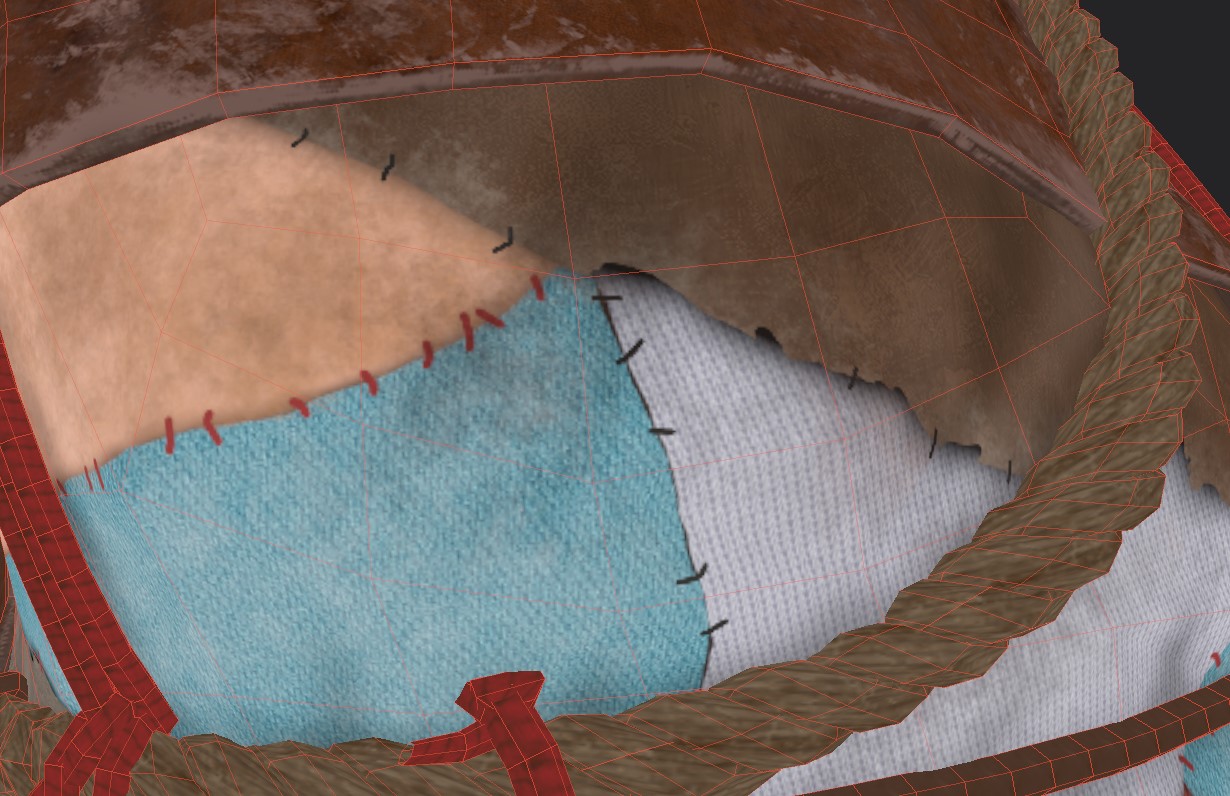
I started by adding a leather material to a folder and paint out where I wanted the overlaying leatherpiece to be. I used the folder’s mask to paint it out.
It’s important that this layer also uses the Height channel, since it has to appear like it’s above the rest of the geometry/texture beneath.
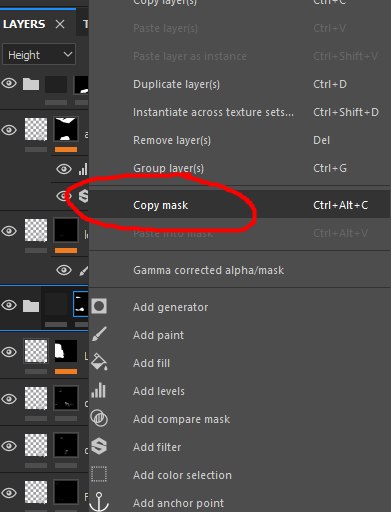
Once I had this painted out, I copied the mask on the LeatherOverlay folder which I had just painted out.
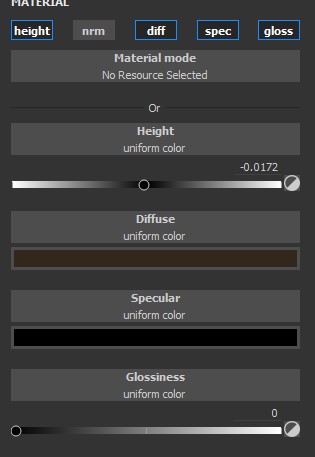
I then added a new layer beneath the LeatherOverlay folder. With this new layer, I added a black mask and pasted the previously copied mask into this new mask so both this layer and the LeatherOverlay folder above it use the same mask. This layer should only use the Diffuse channel with a black colour.
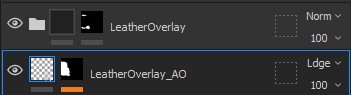
To simulate ambient occlusion, I then added Blur and Levels to the mask of this layer, to control the blurriness, opacity, and tightness of the spread.
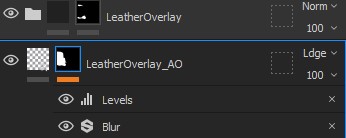
Together, this simple two-layer trick can be effective. I woulden’t recommend it for larger things, though.
The same process was used for the other patterns around the sack.
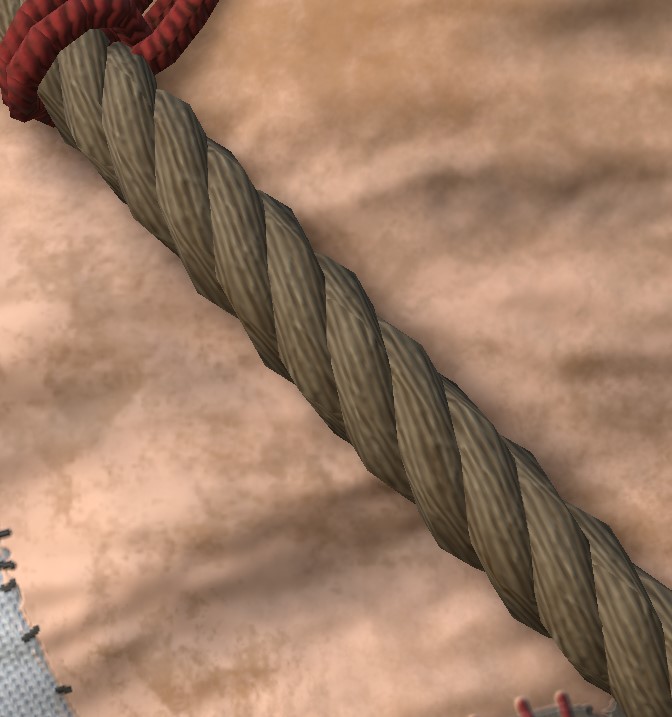
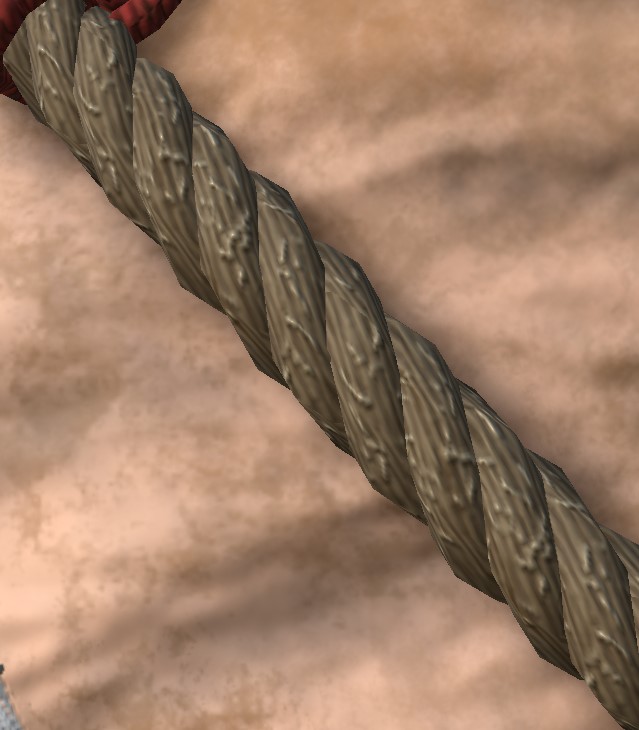
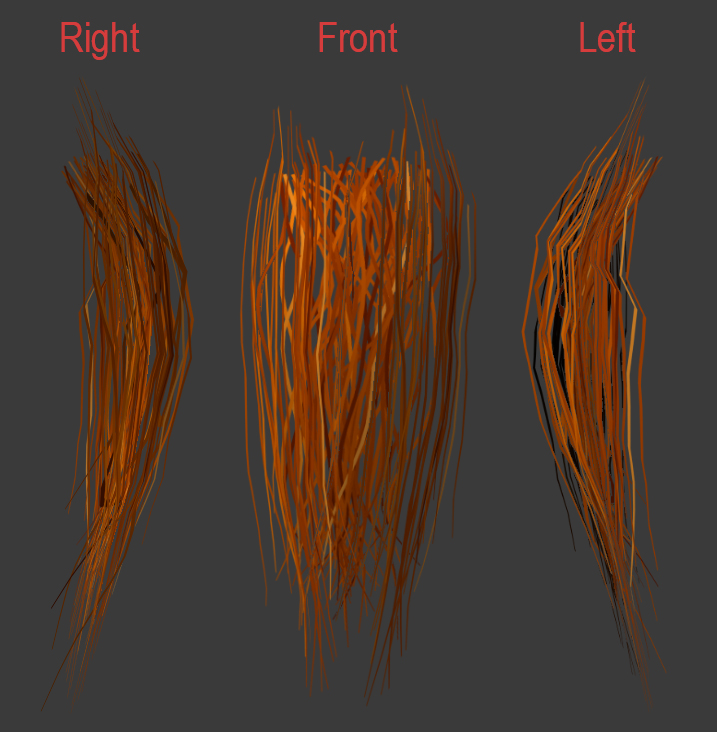
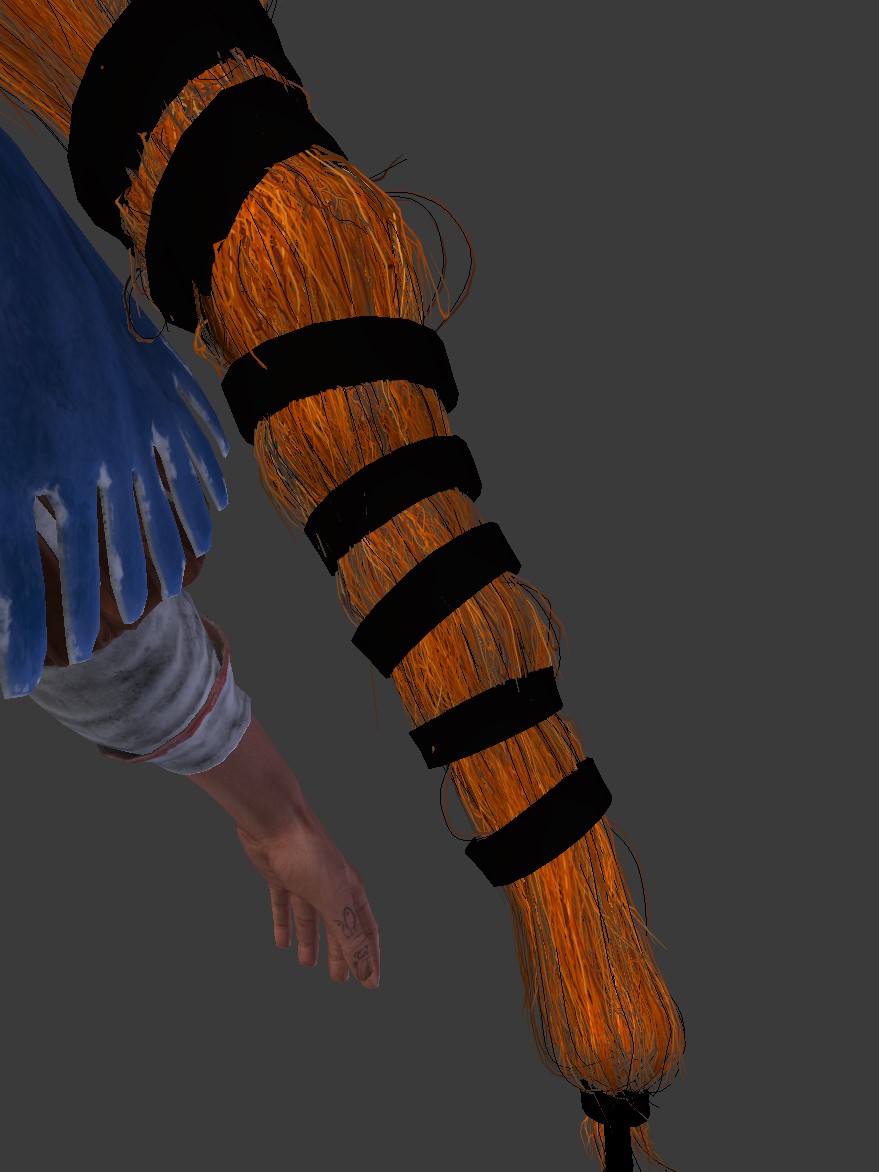
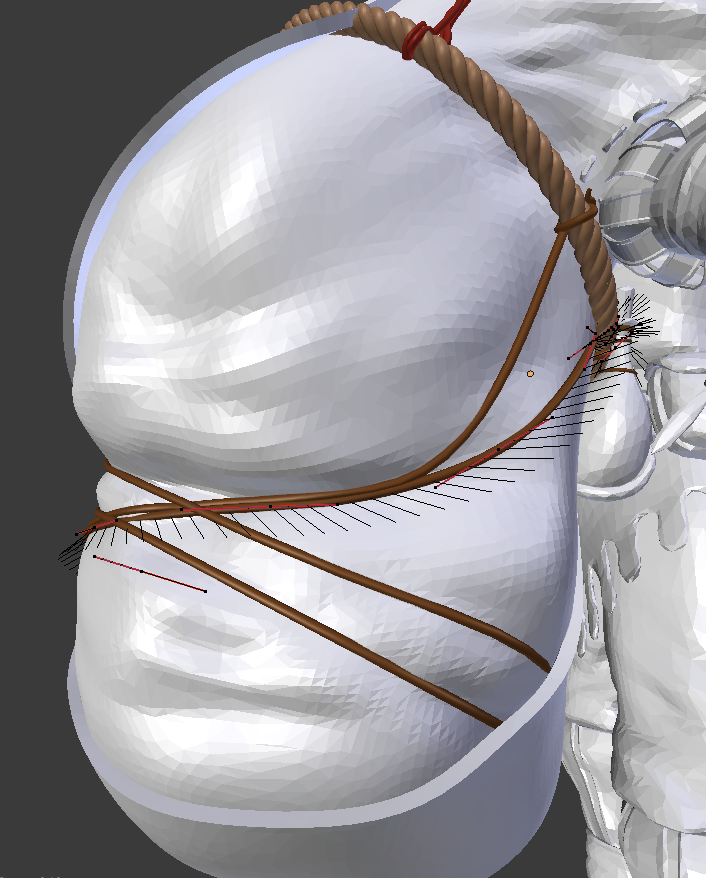
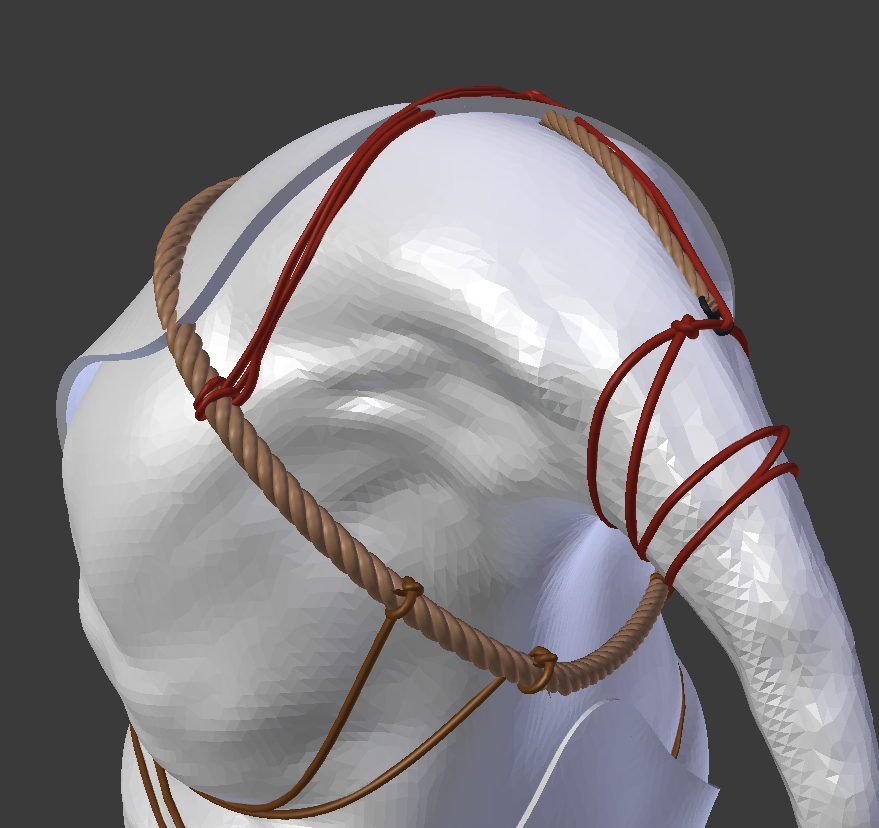
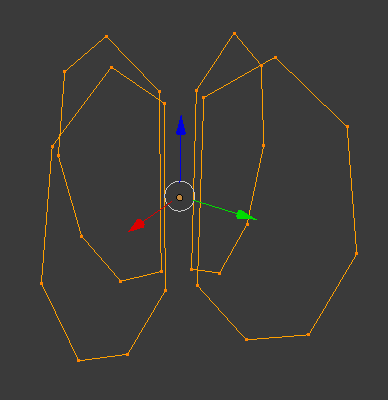
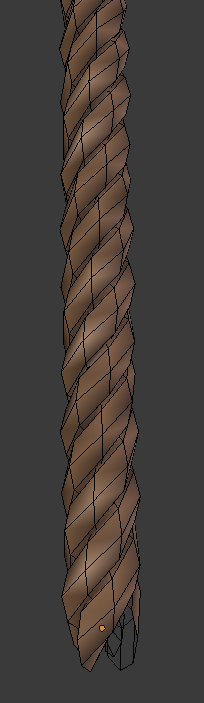
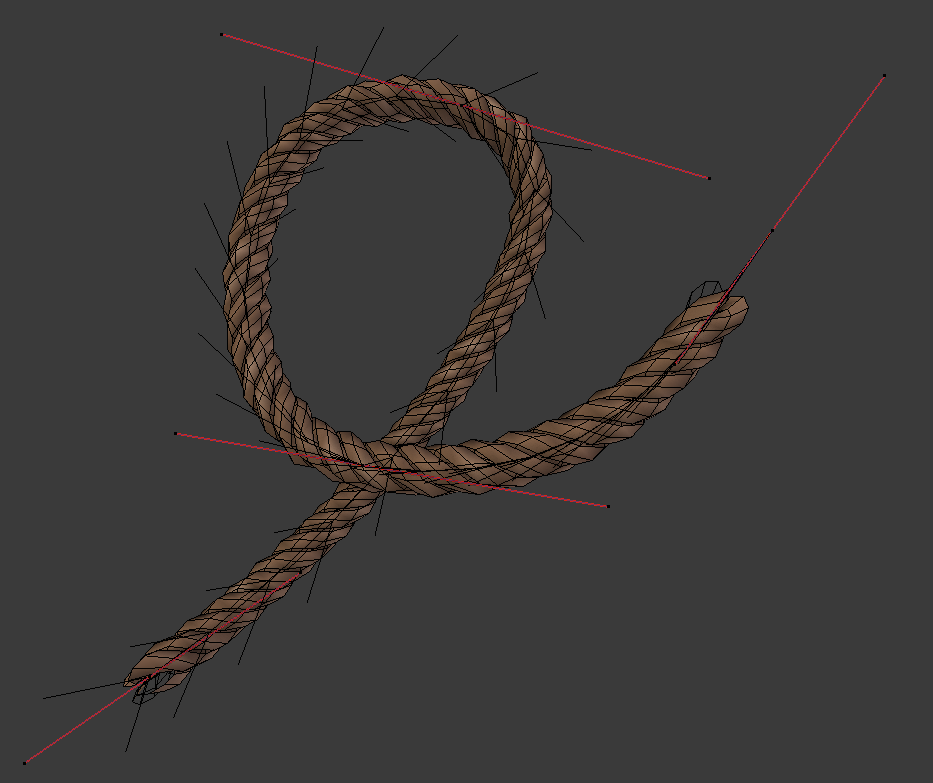
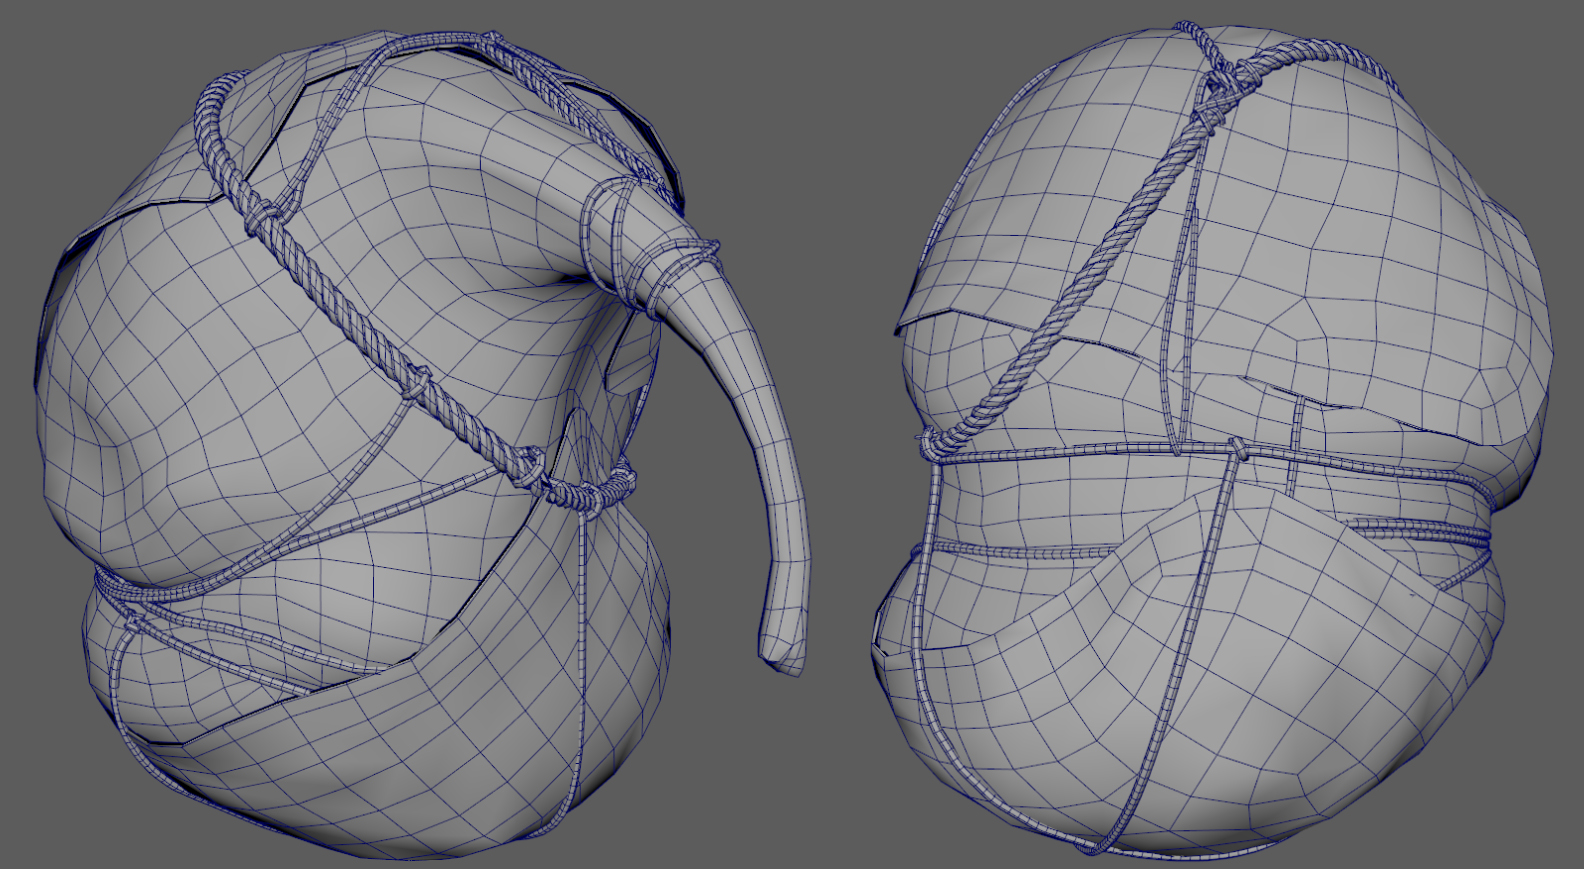
Hemp Rope
Last bit I wanted to share is about my process for creating the hemp-rope.
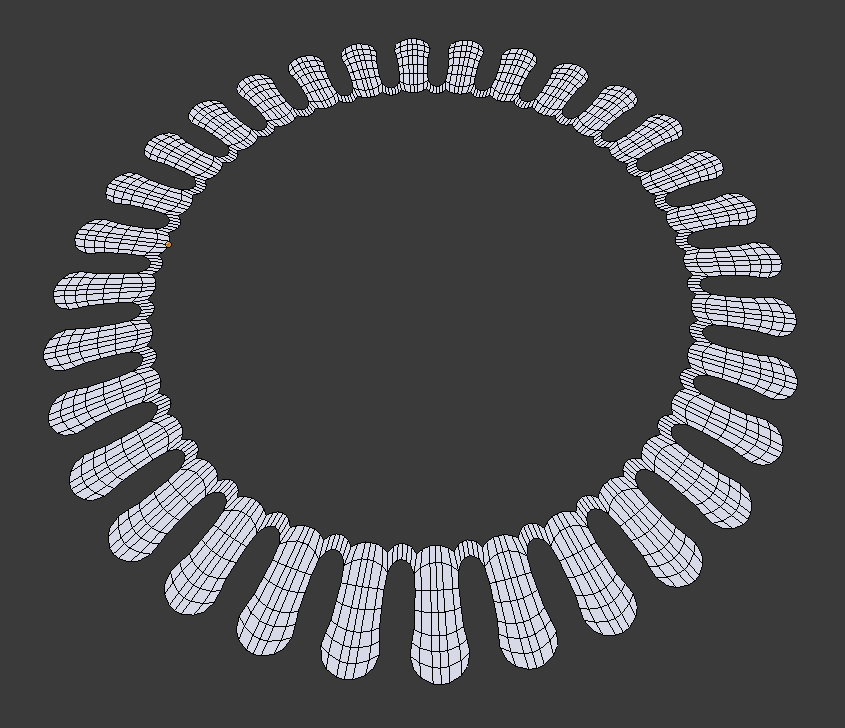
Even though I didn’t have much resolution for them, the ropes are still readable as rope from a distance.
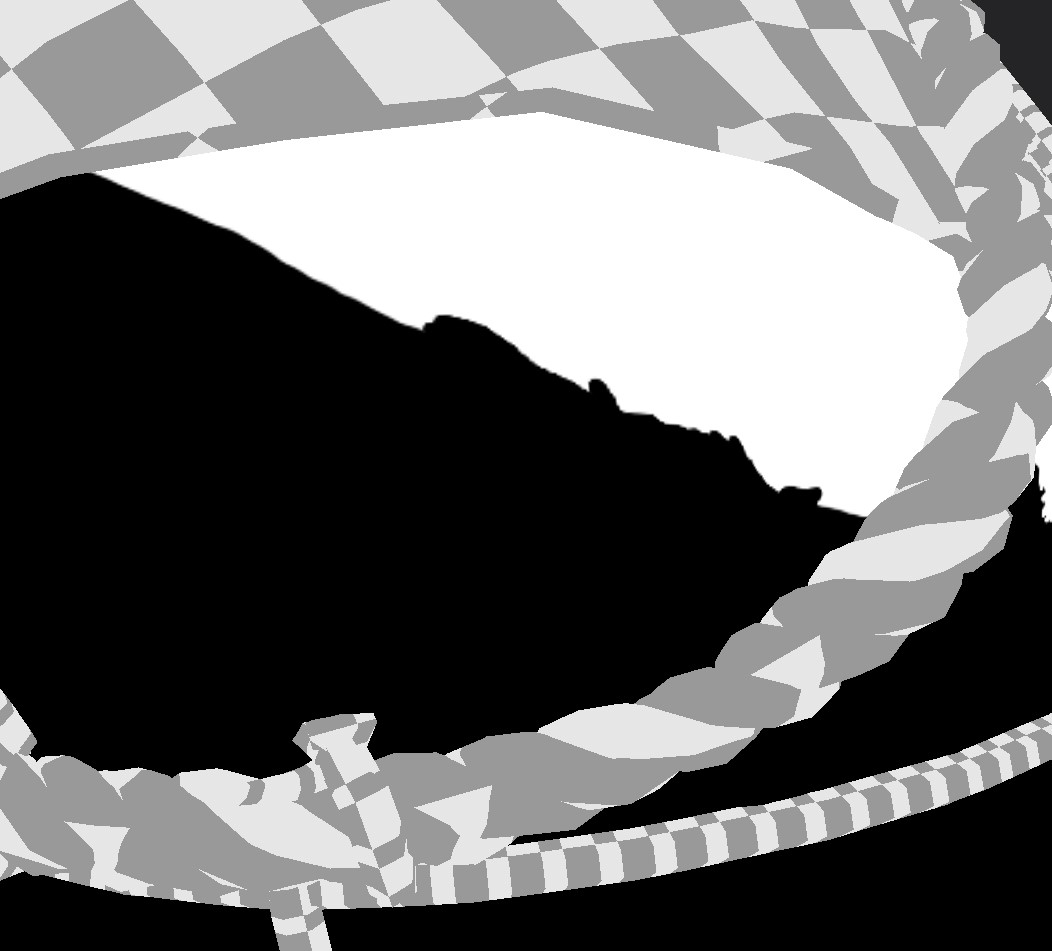
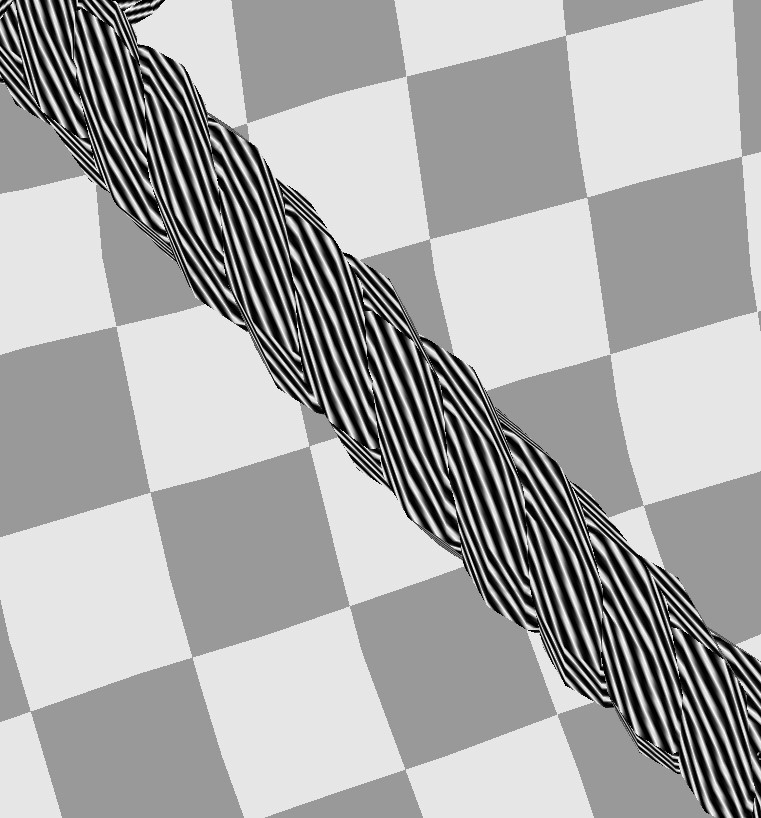
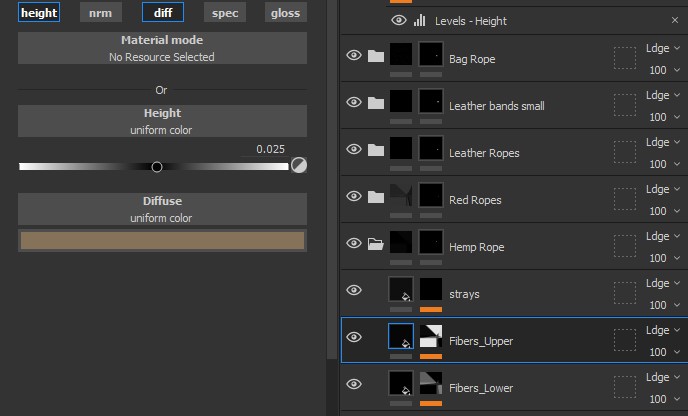
To start, I created a layer which uses most of the channels available. This would be the space between each fiber of the rope, so a darker colour and a bit of lowering of the height was needed.
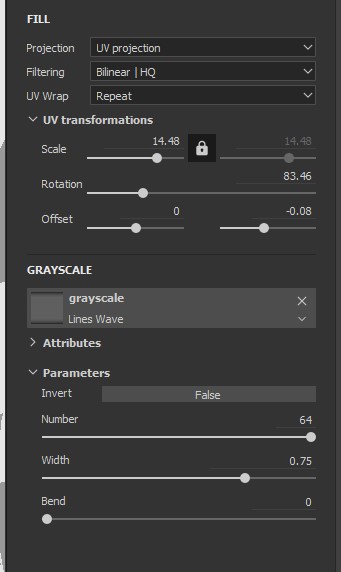
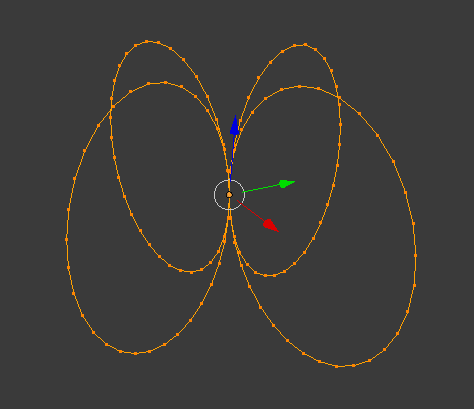
In the mask of this layer, I then added Fill with a Lines Wave alpha texture. This texture adds lines which you can control however you like.
For me, it worked perfect as a repeating bunch of fibers along the texture.
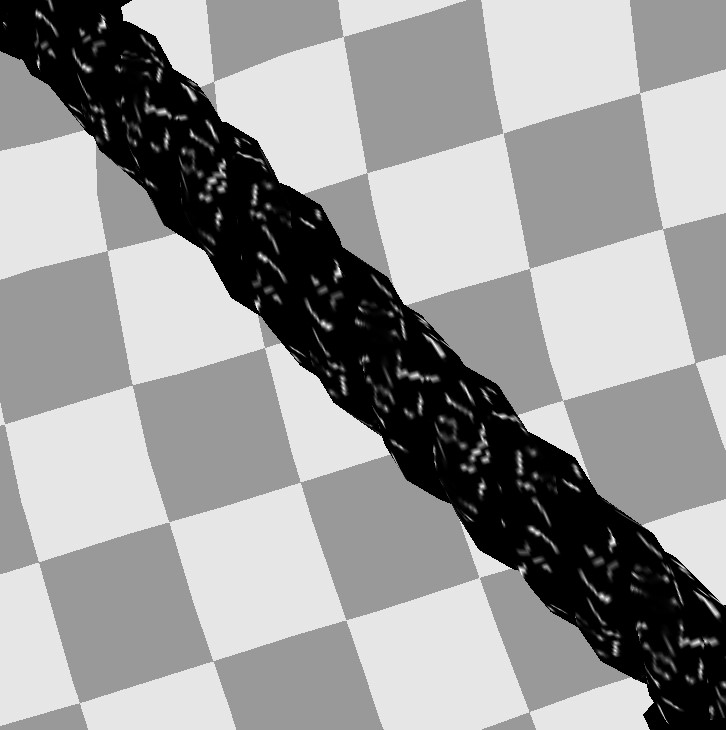
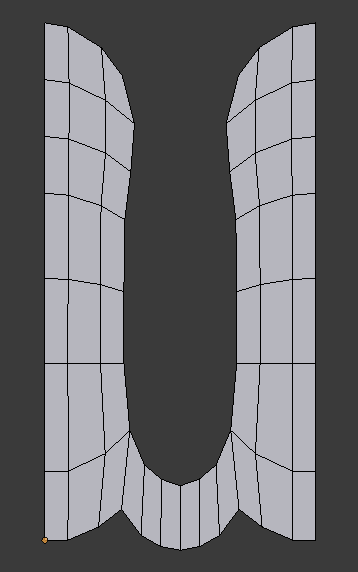
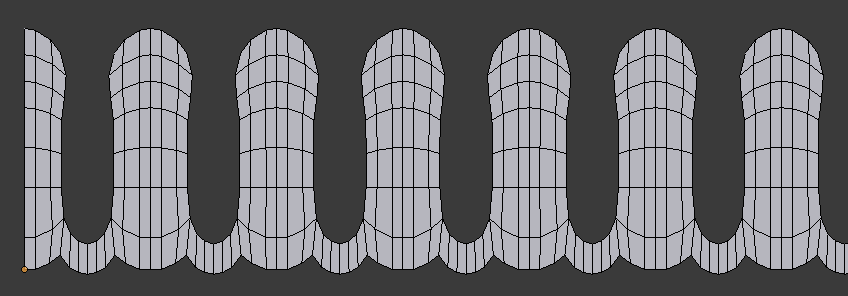
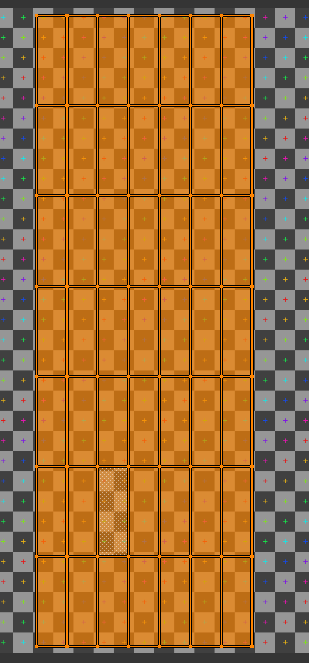
How it appears on the UV. The fibers will follow diagonally along the mesh.
How it appears in mask-view in 3D.
To get more variation in the fibers, I added a Blur Slope which is a sort of randomised-blur filter. On top of this I added Levels to adjust the intensity.
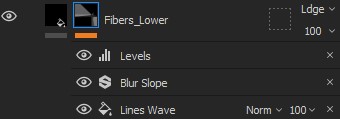
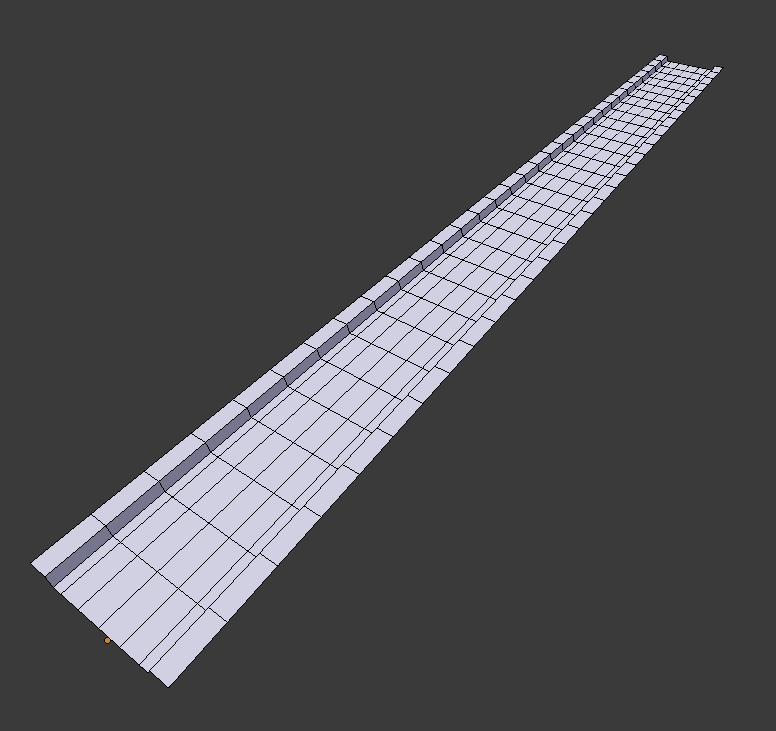
To make it appear like the fibers actually have depth and sort of bulge slightly over the base, I needed to have a layer on top of the base that would simulate the actual fibers.
I duplicated the Fibers_Lower layer and added a Height channel with a little bit more added height than the previous layer.
This new layer also has a lighter diffuse to make the fibers stand out more.
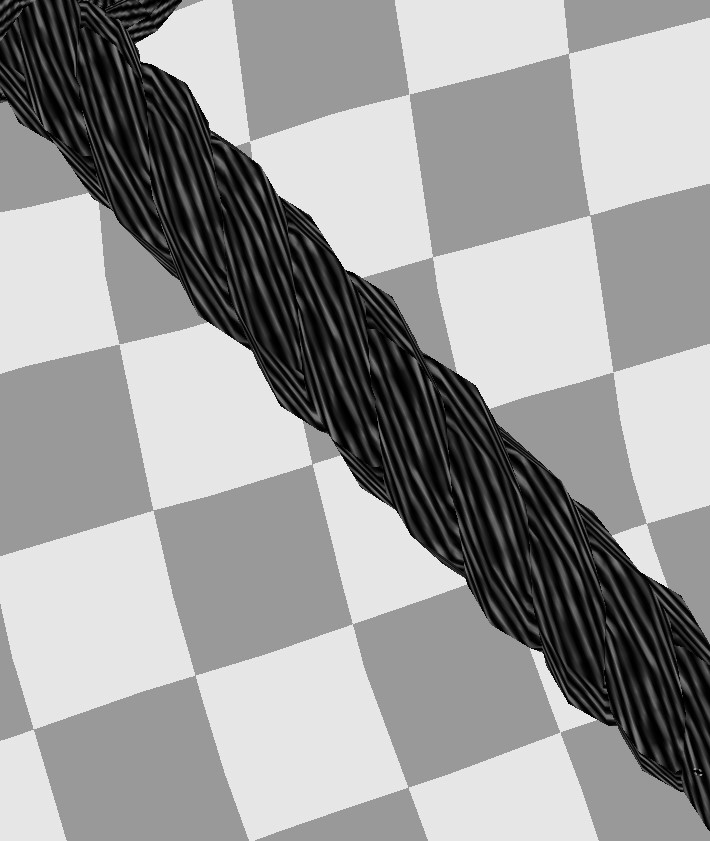
I renamed this new layer to Fibers_Upper. I then inverted the Lines Wave Fill component in the mask to make the fibers appear where the previous layer didn’t have fibers.
View in mask.
To add more of a disheveled appearance to the rope, I added a “strays” layer which has random painted fibers going in different directions.
This helps to make the rope look more used. This is another layer added on top of the fiber layers.
Exaggerated for visual clarity.
How it looks in the mask.
I also added dirt layer to add a little more colour variety to the rope, but since it’s a repeating pattern across several meshes linked together, I can’t have too much variety, otherwise the rope will look strangely repetitive.
It’s also a quite simple way to put together a rope texture yourself, so I am pleased with the result.
Thanks for reading!

 W
W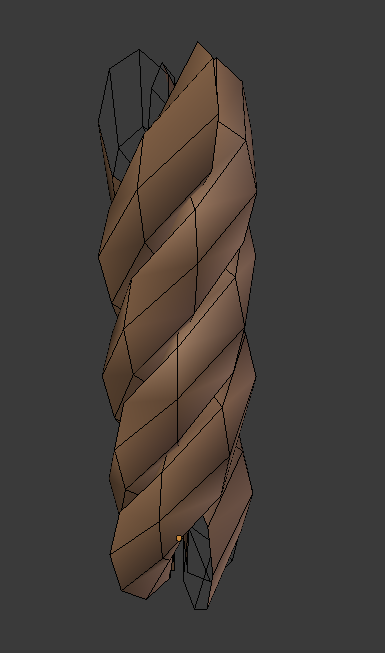


 I think for the ropes, just a cilinder shape would work for the lowpoly model. I’d count on normal map for the twist details and save some polys for the beard, like you said. Good job so far!