Rumpelstiltskin the Sly 'Salesman'

Character breakdown

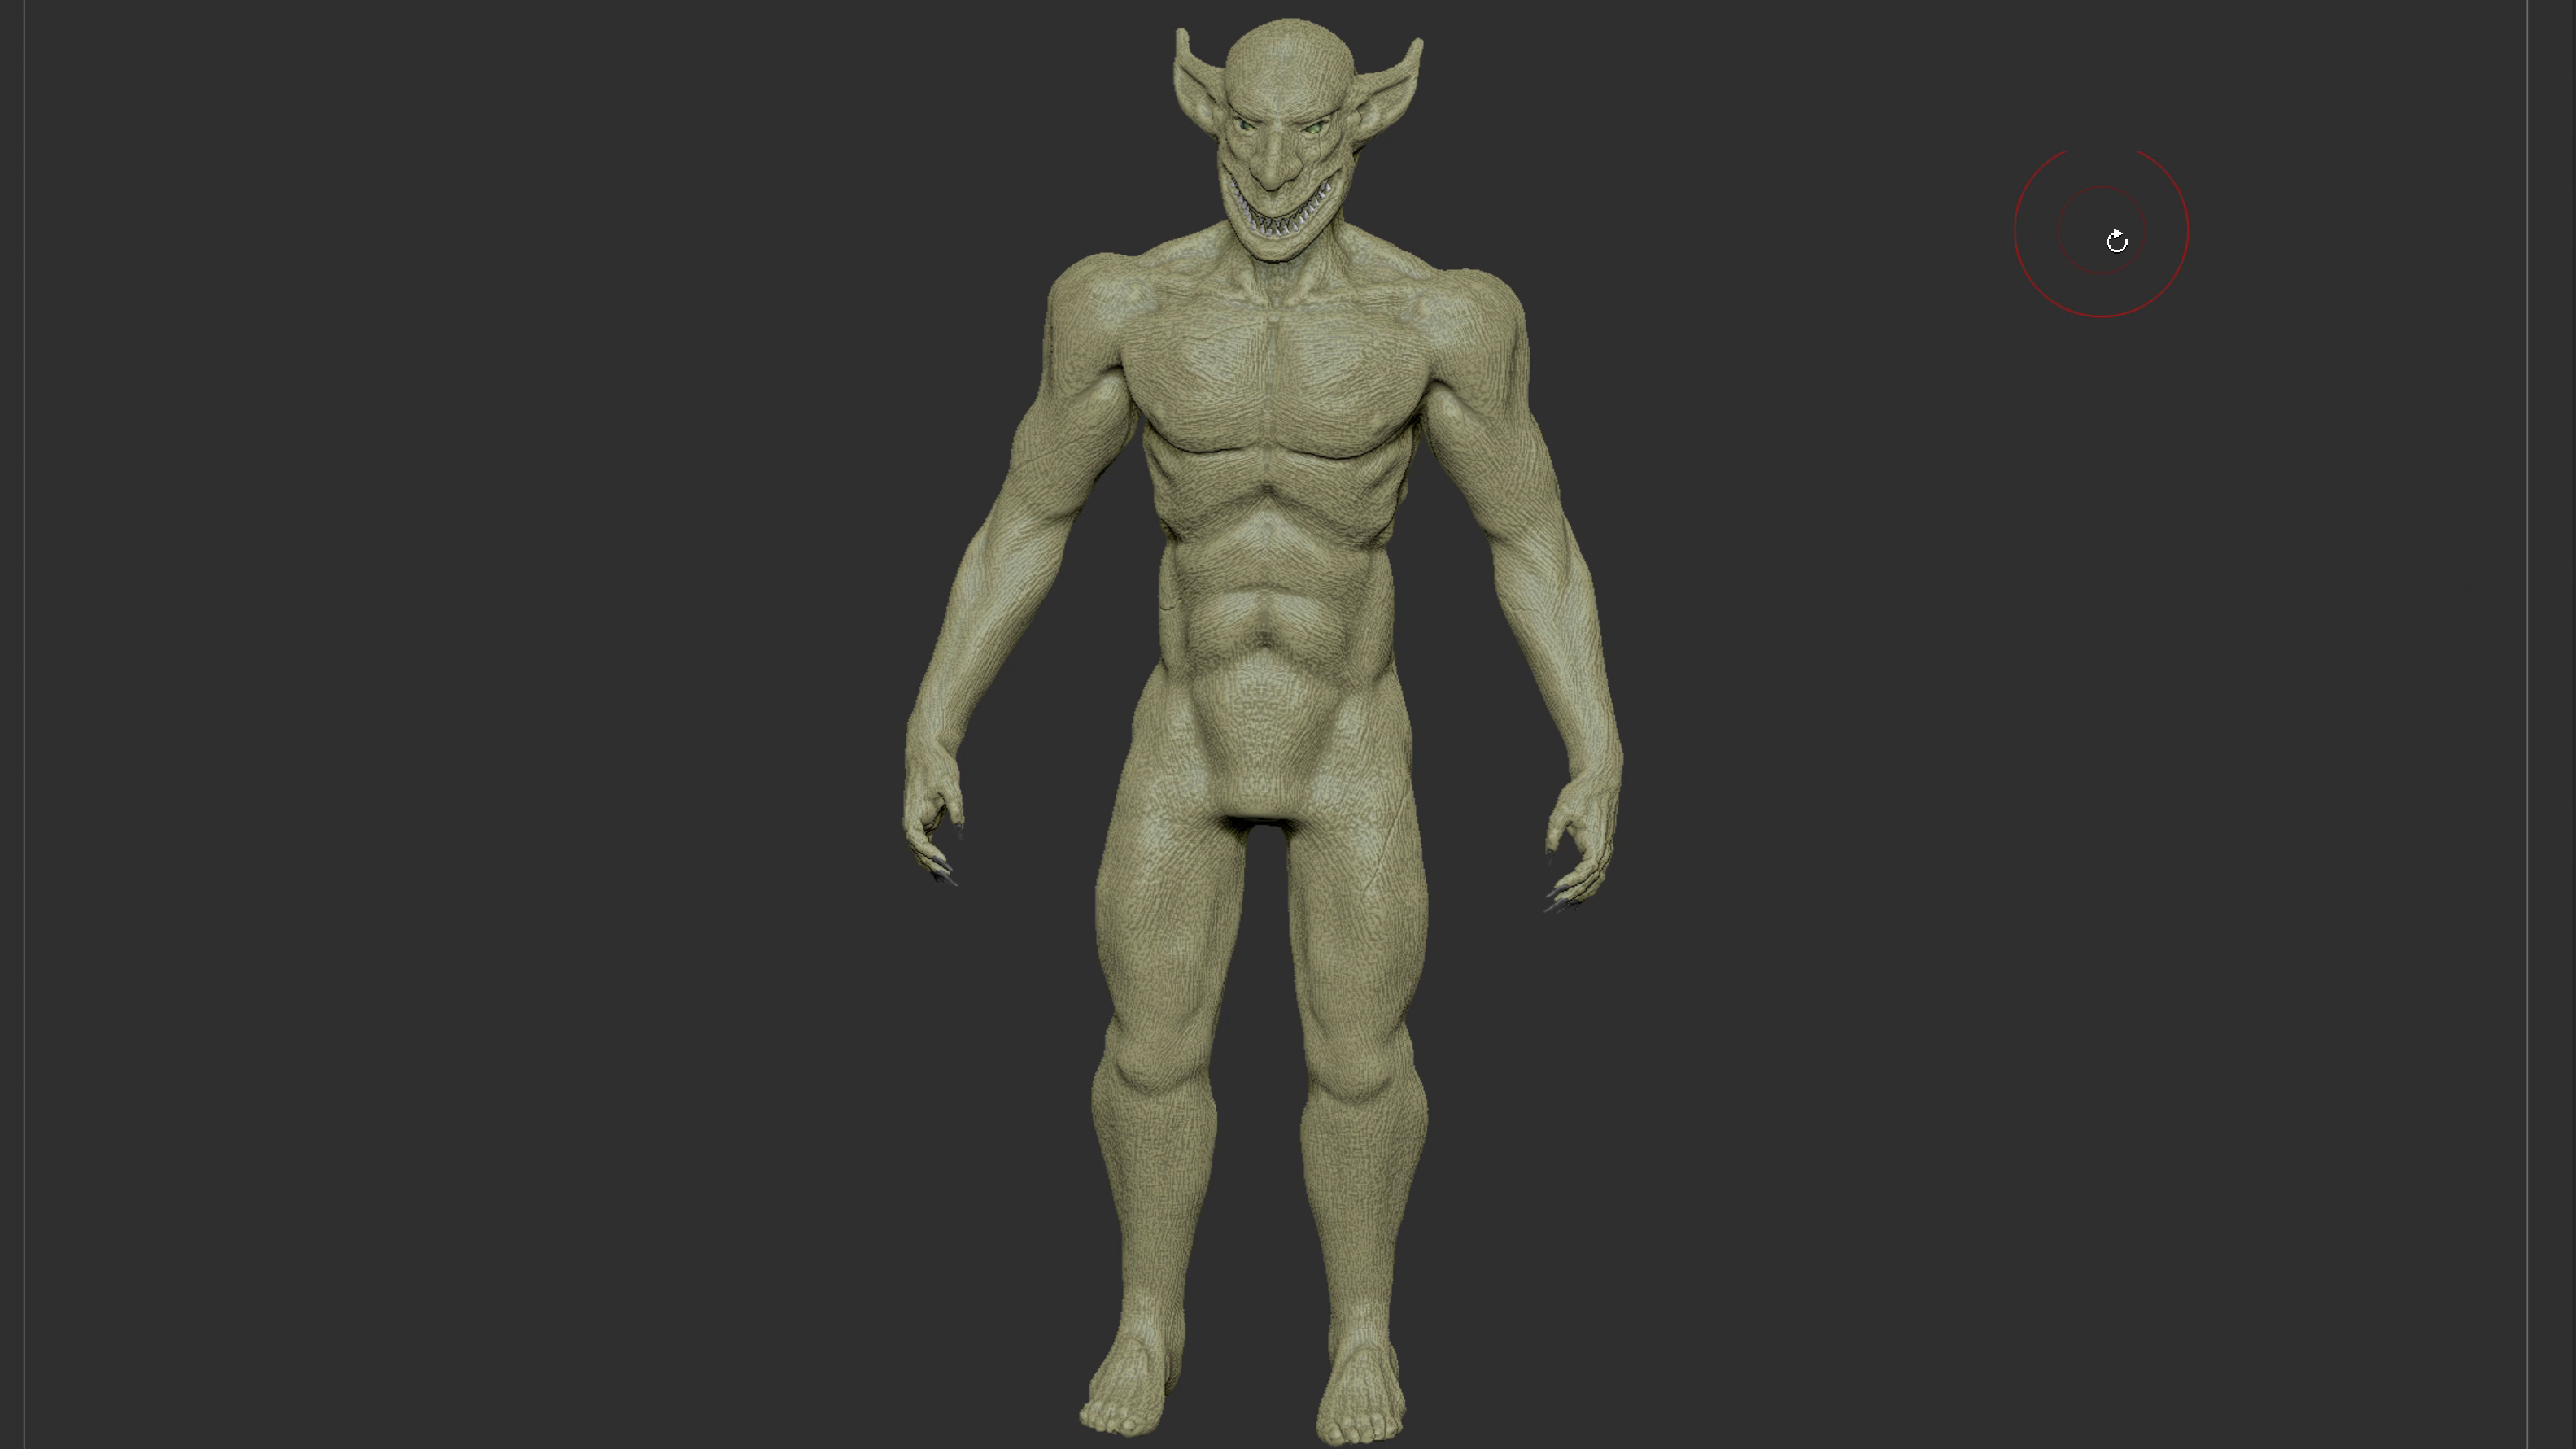
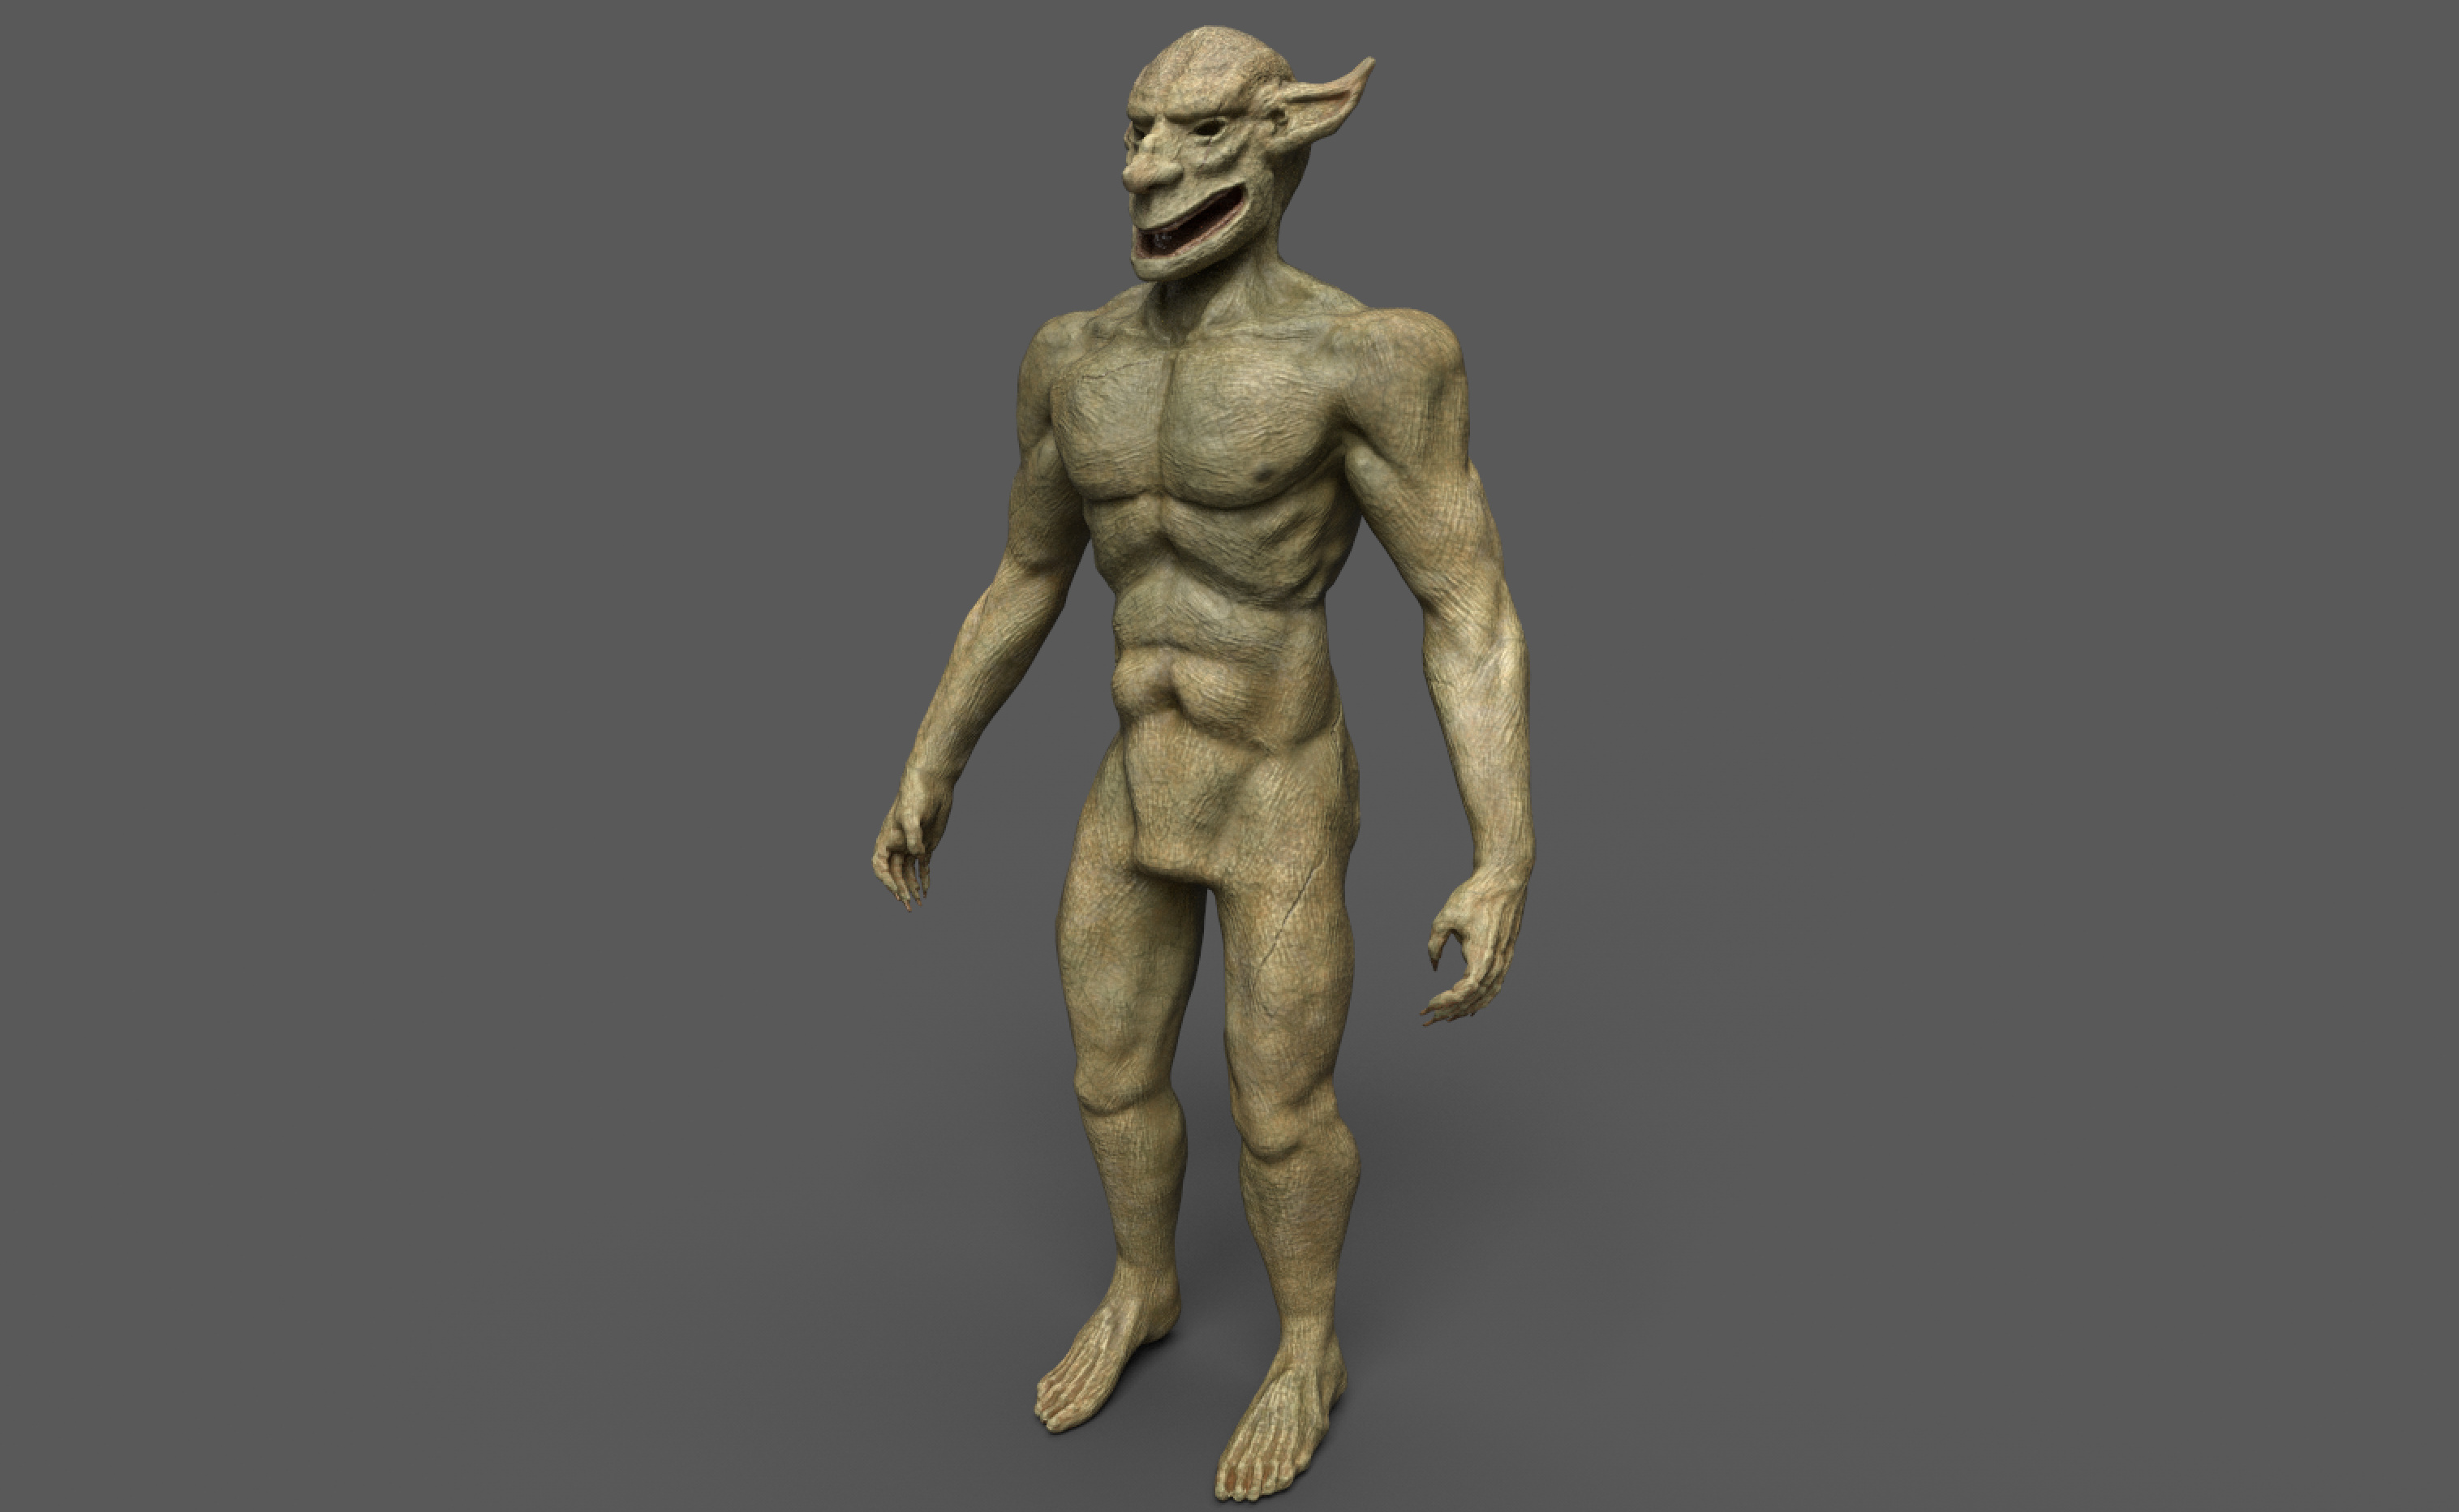
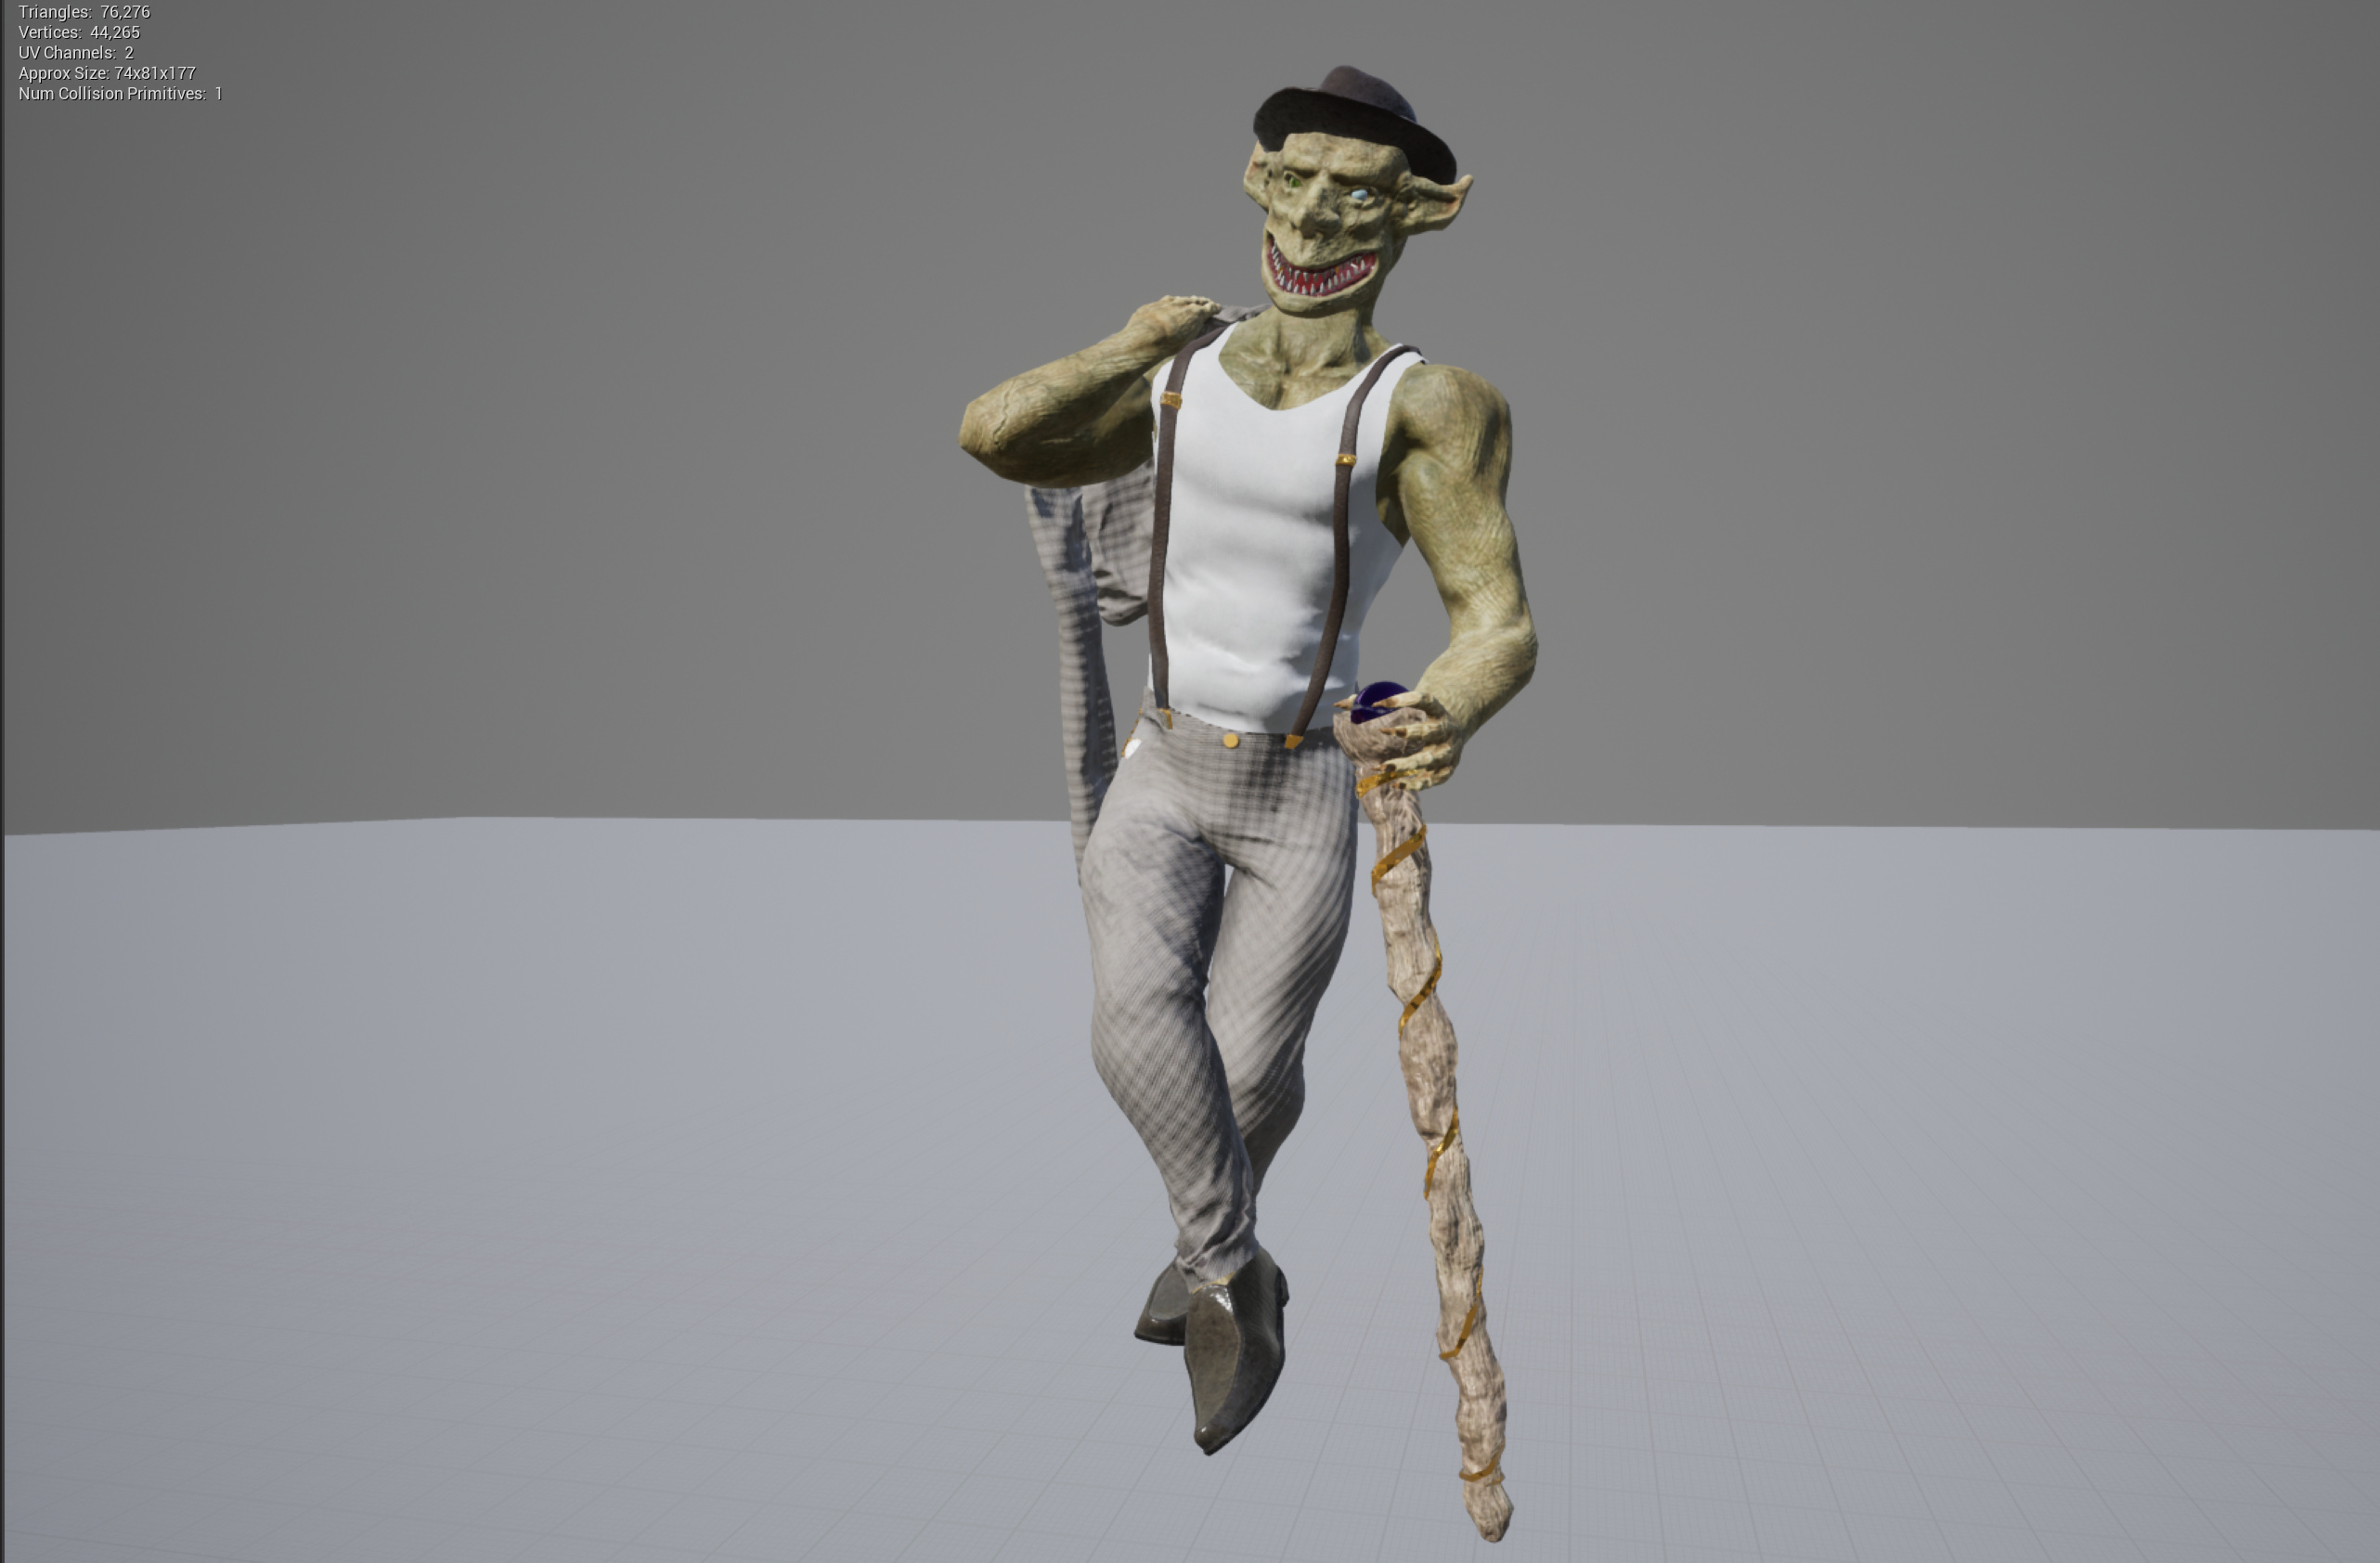
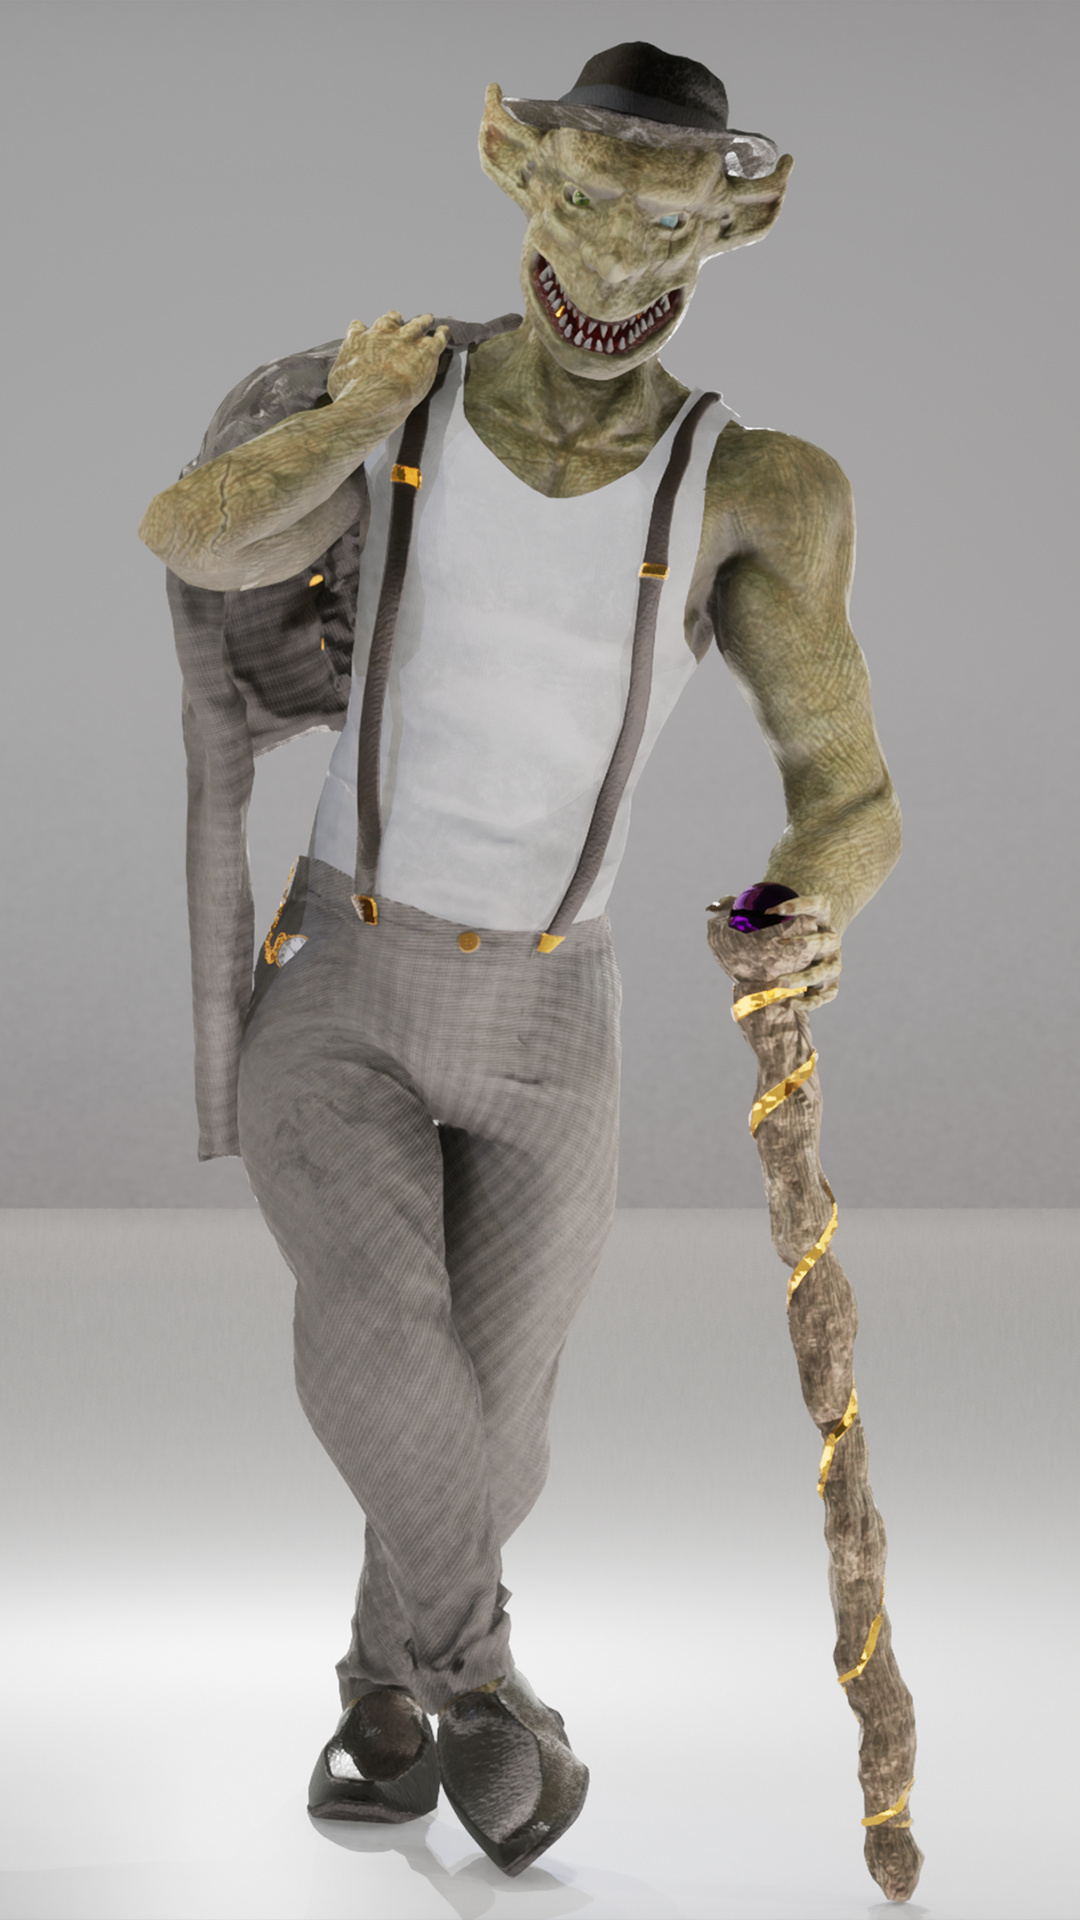
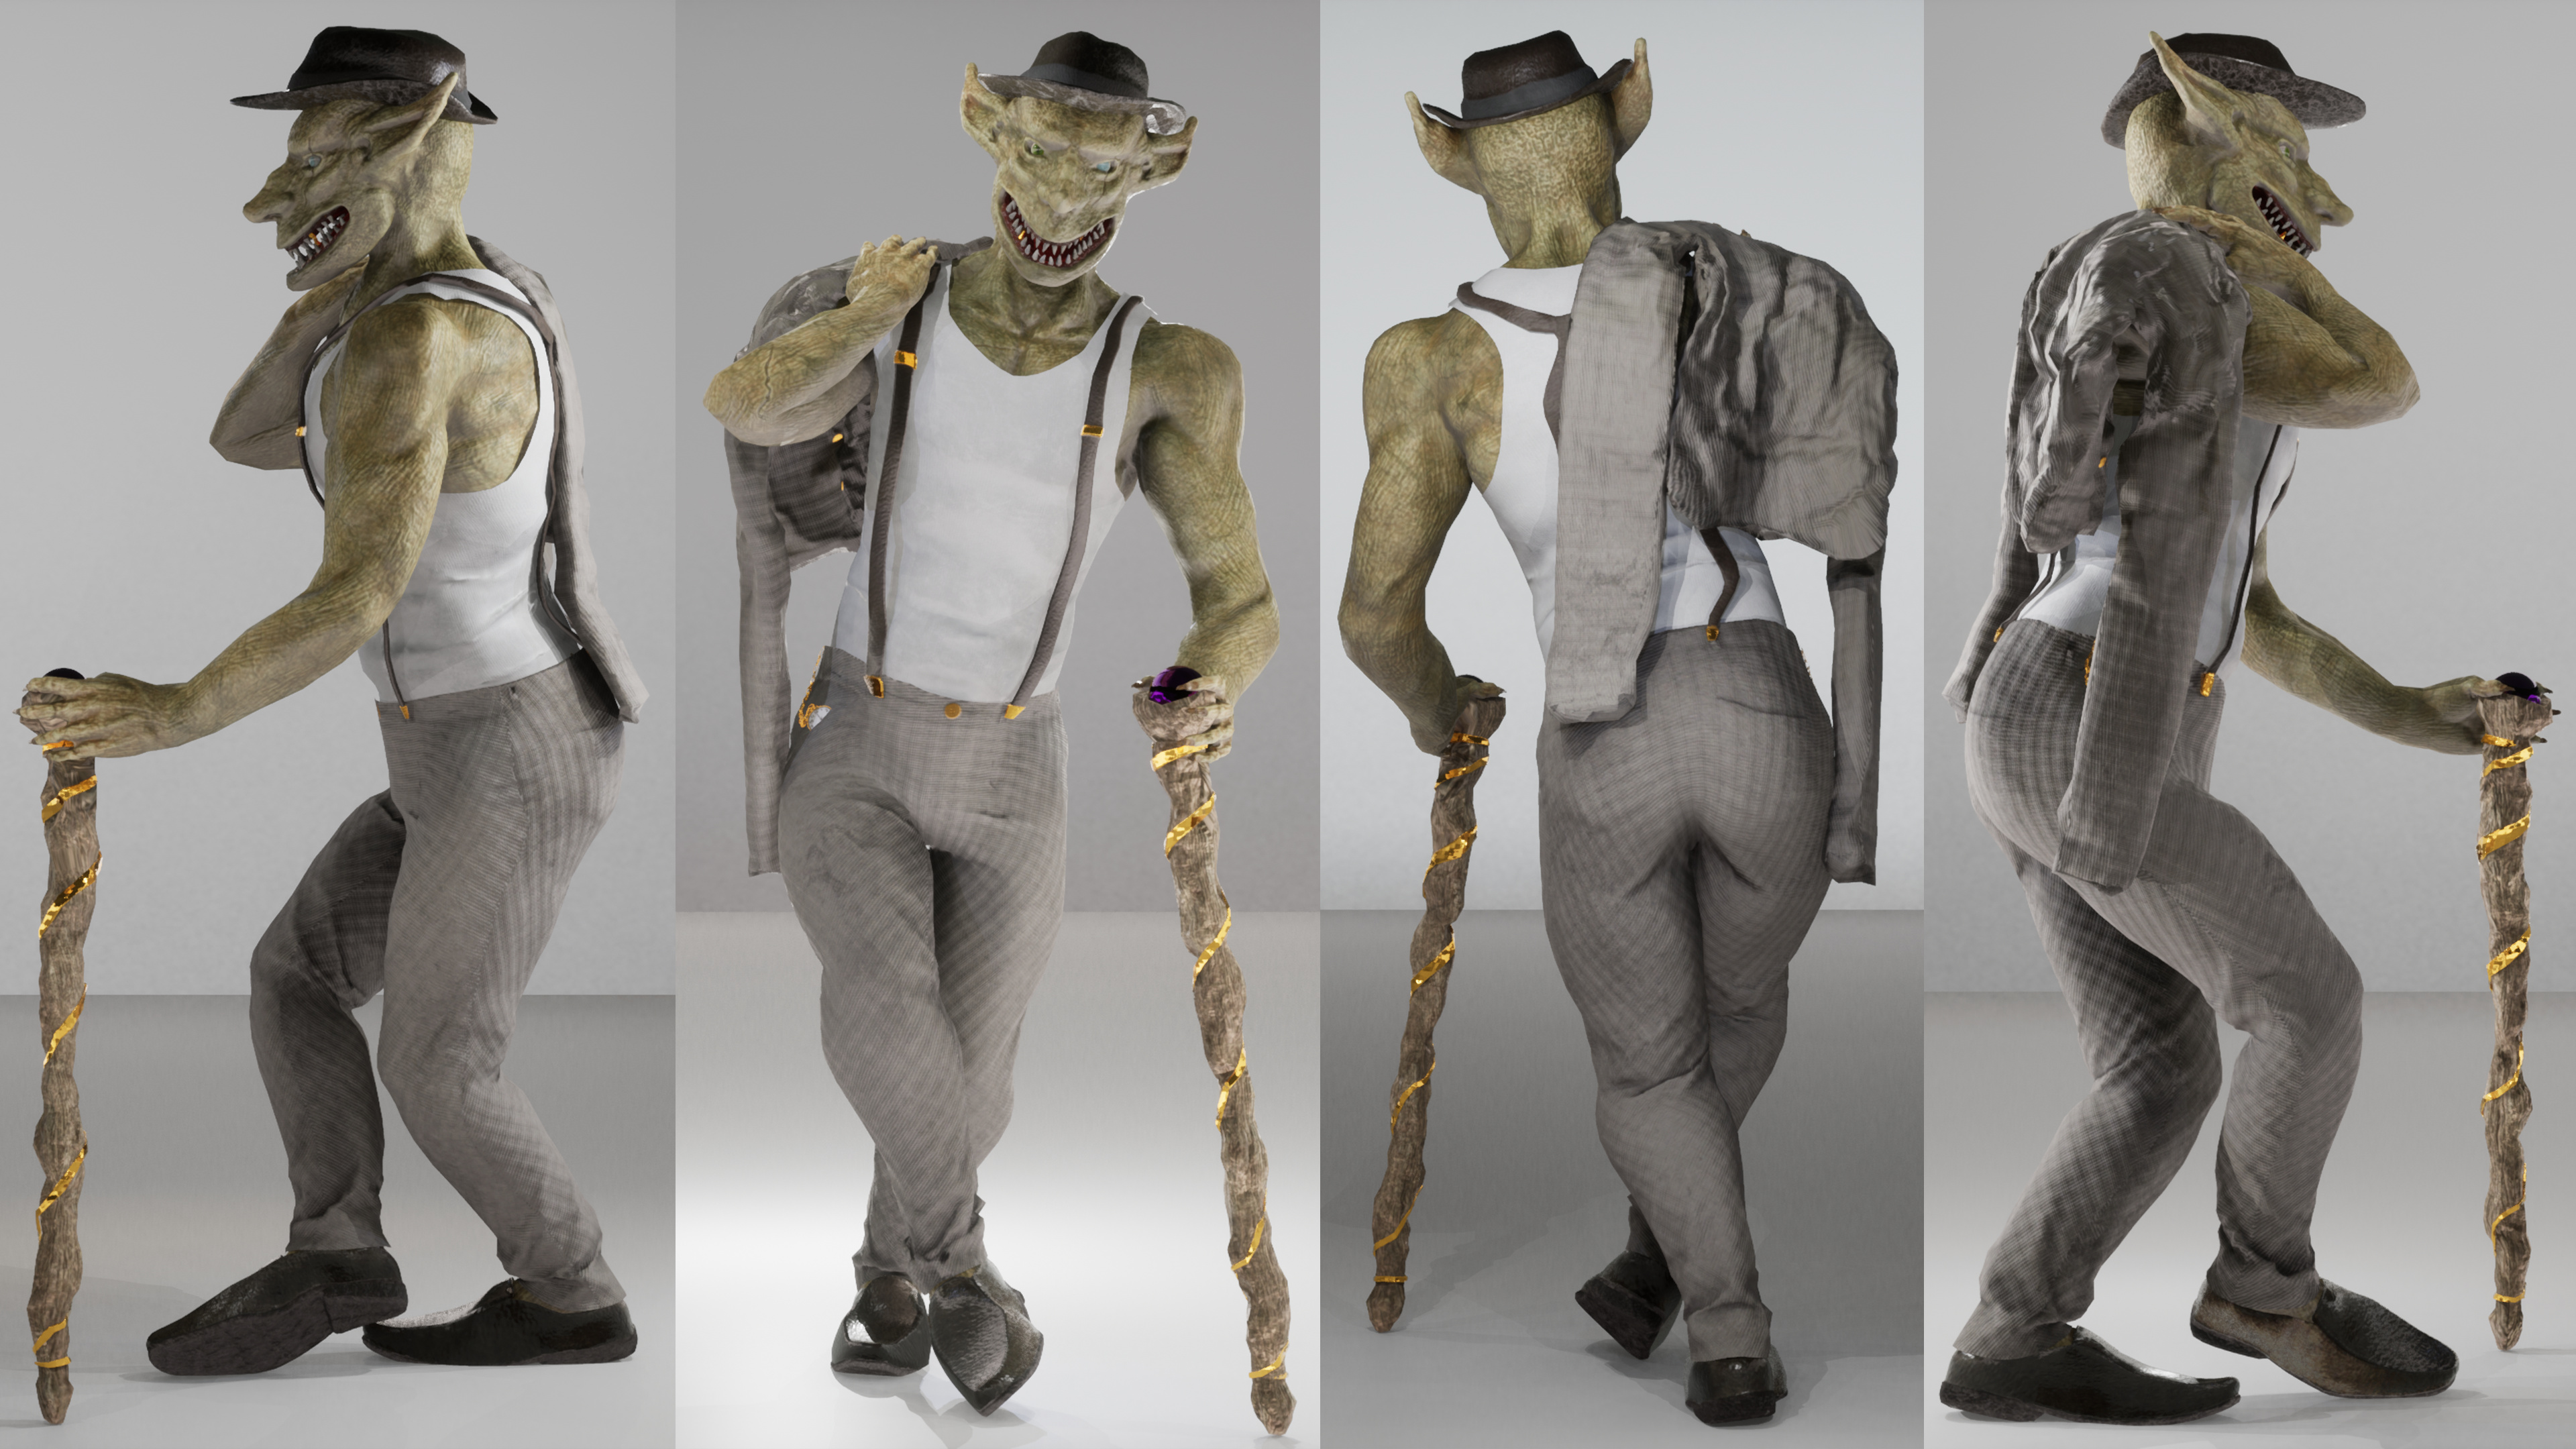
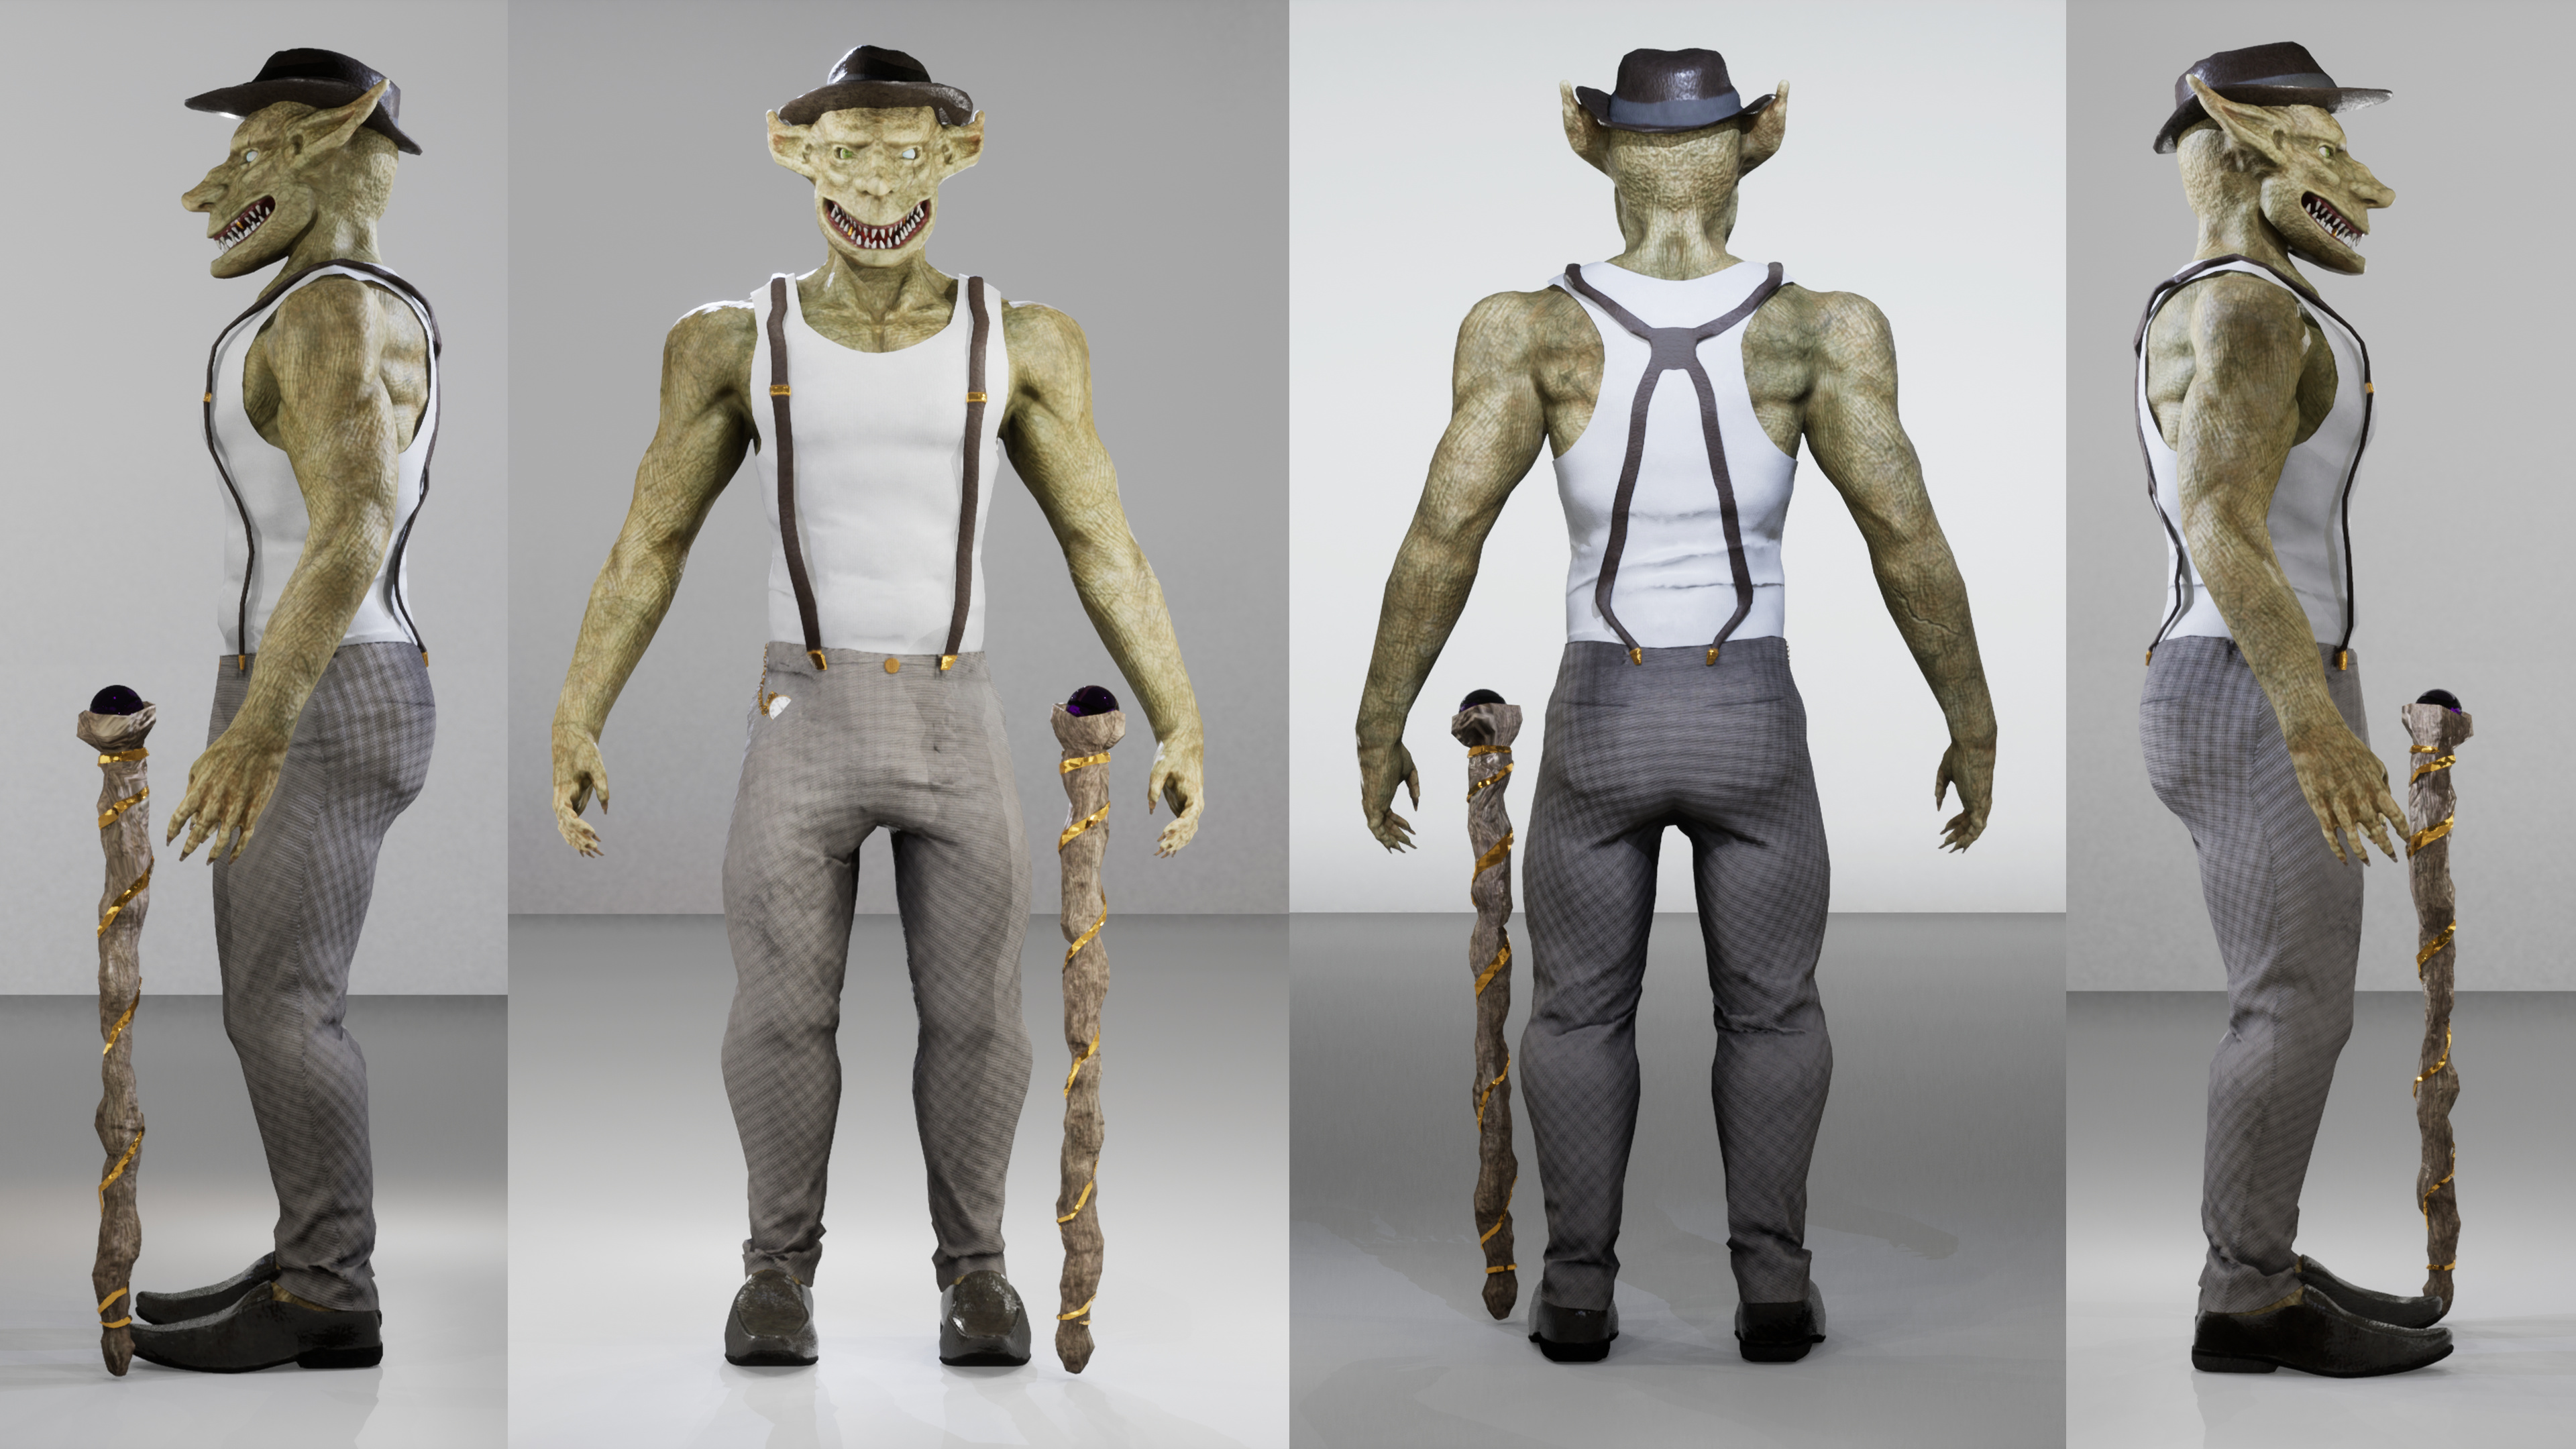
The character I have chosen for my design is from the story Rumpelstiltskin and I have chosen the one and only Rumpelstiltskin himself. He is known as a mischievous, snidey and conniving being which makes a compelling antagonist. He is commonly known to be a dwarf in size and has a similar appearance to a haggard old man, but this Rumpelstiltskin is different. His story has only begun but in a very different time zone!

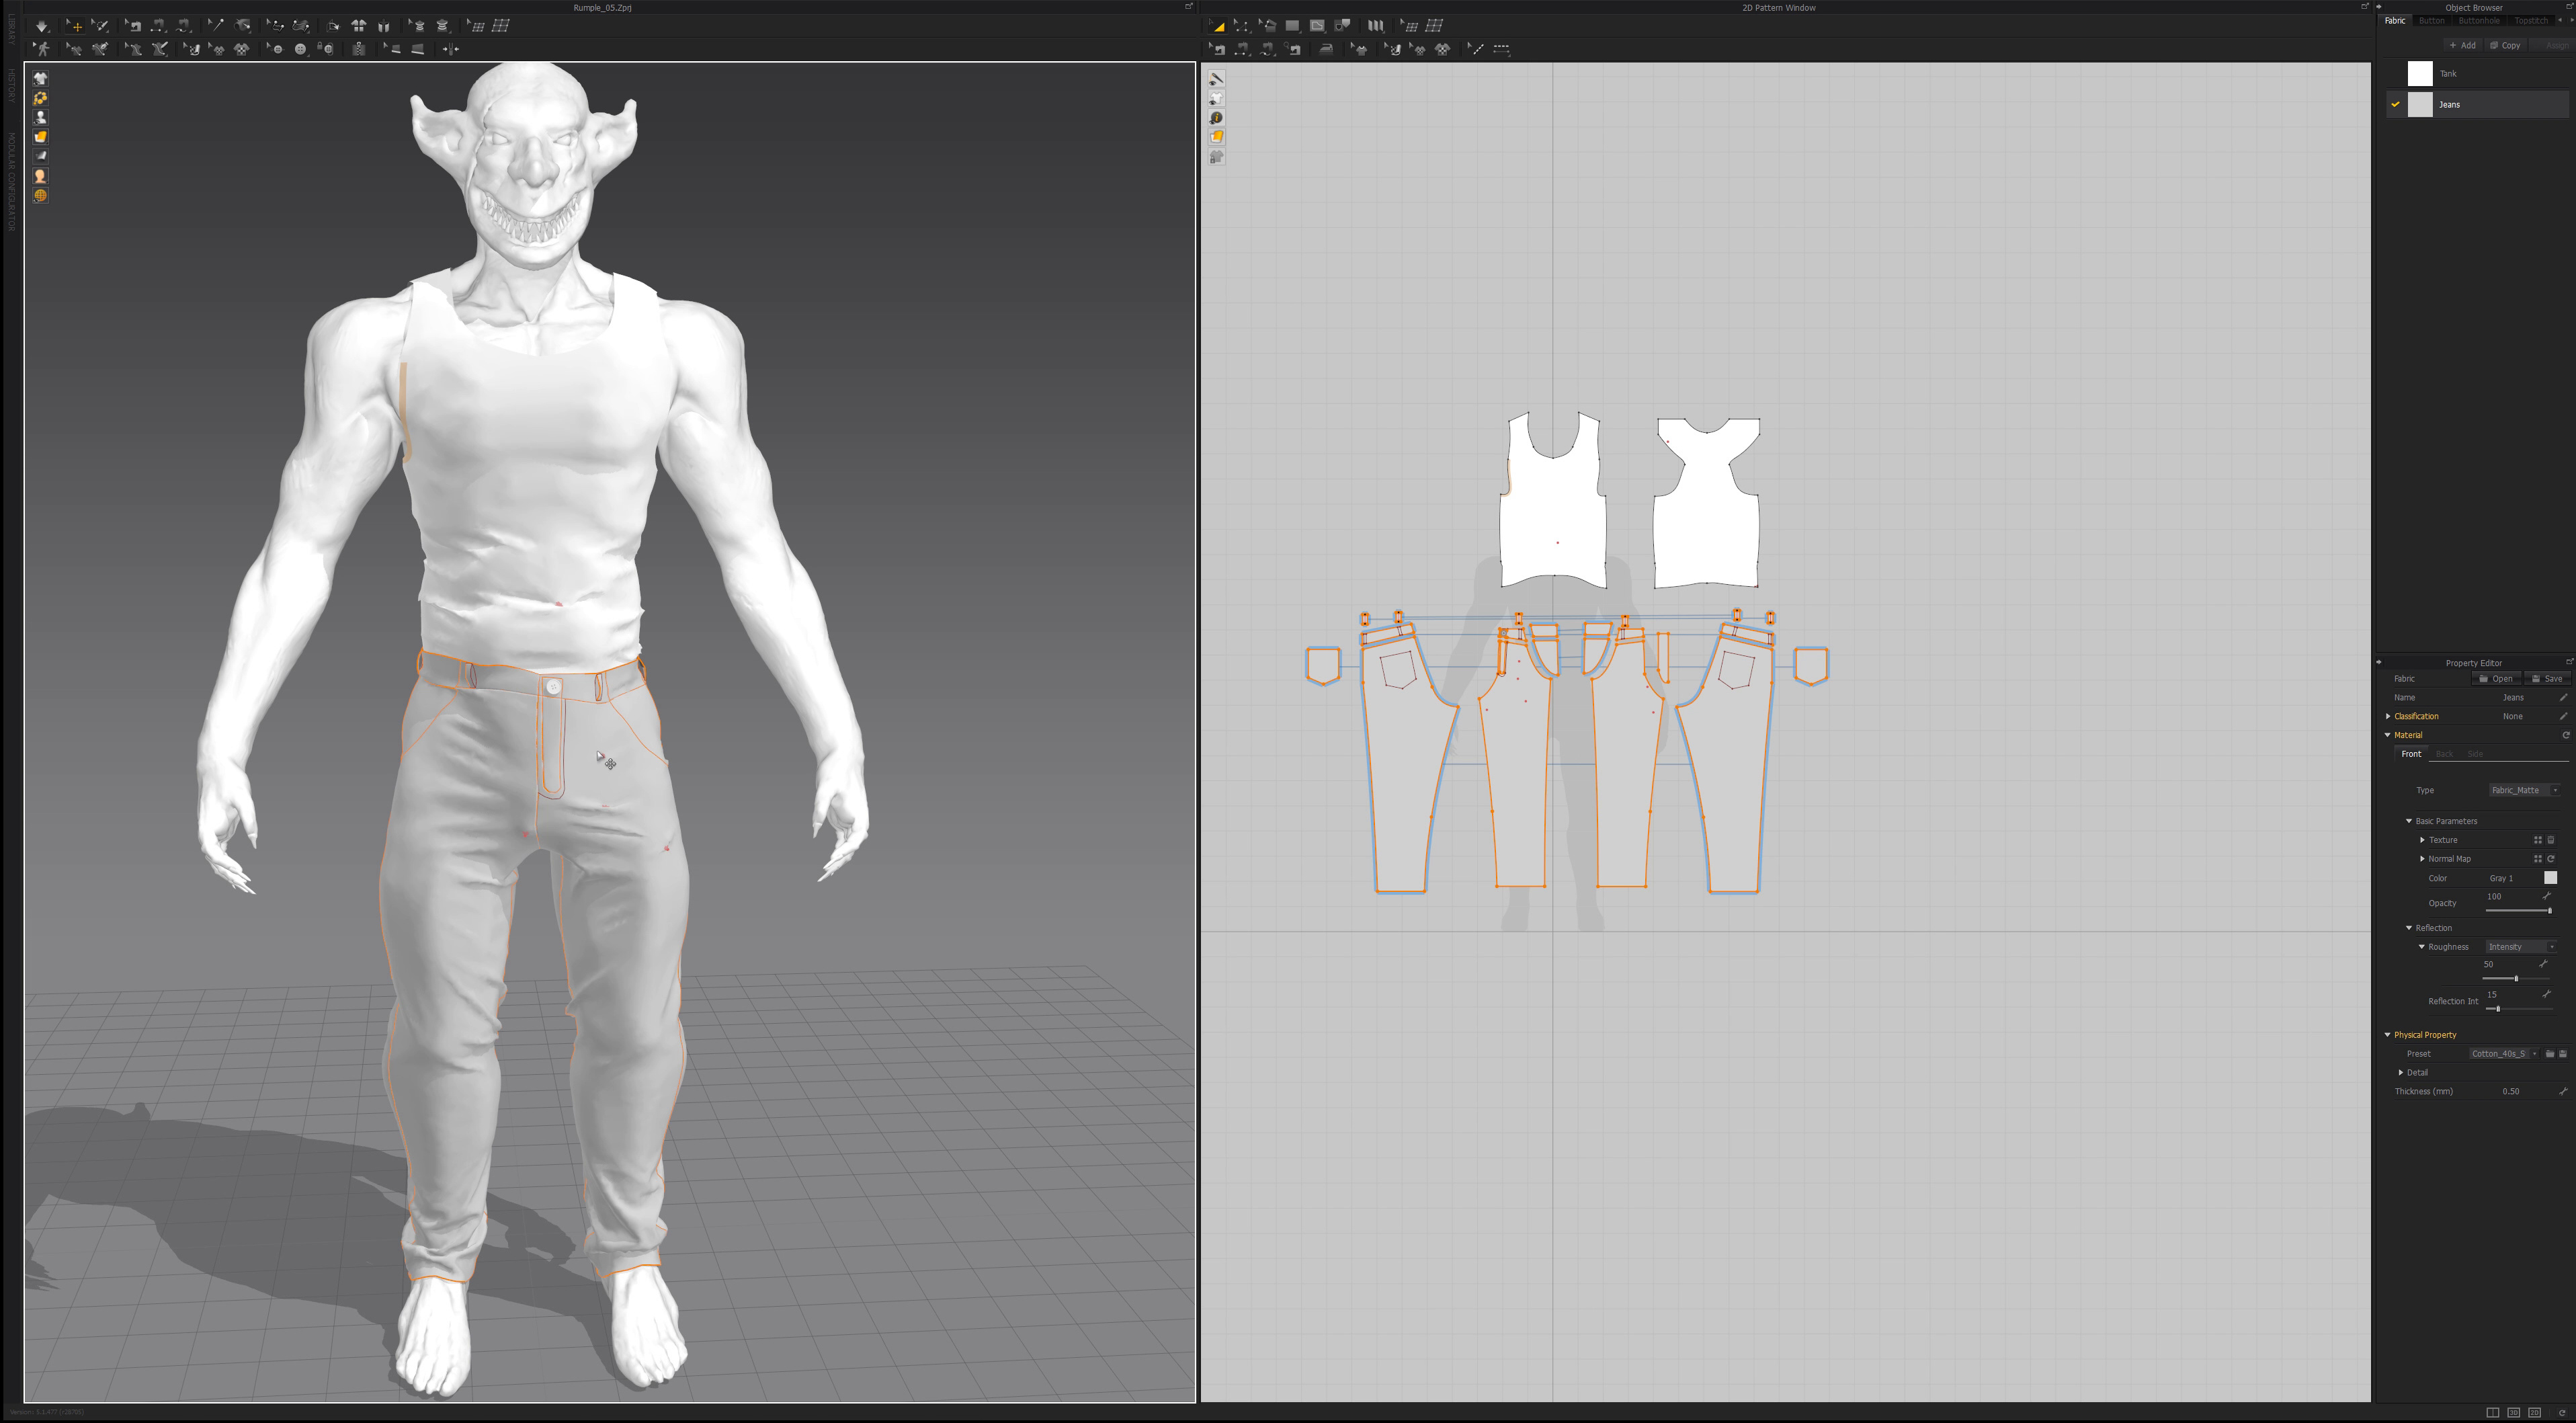
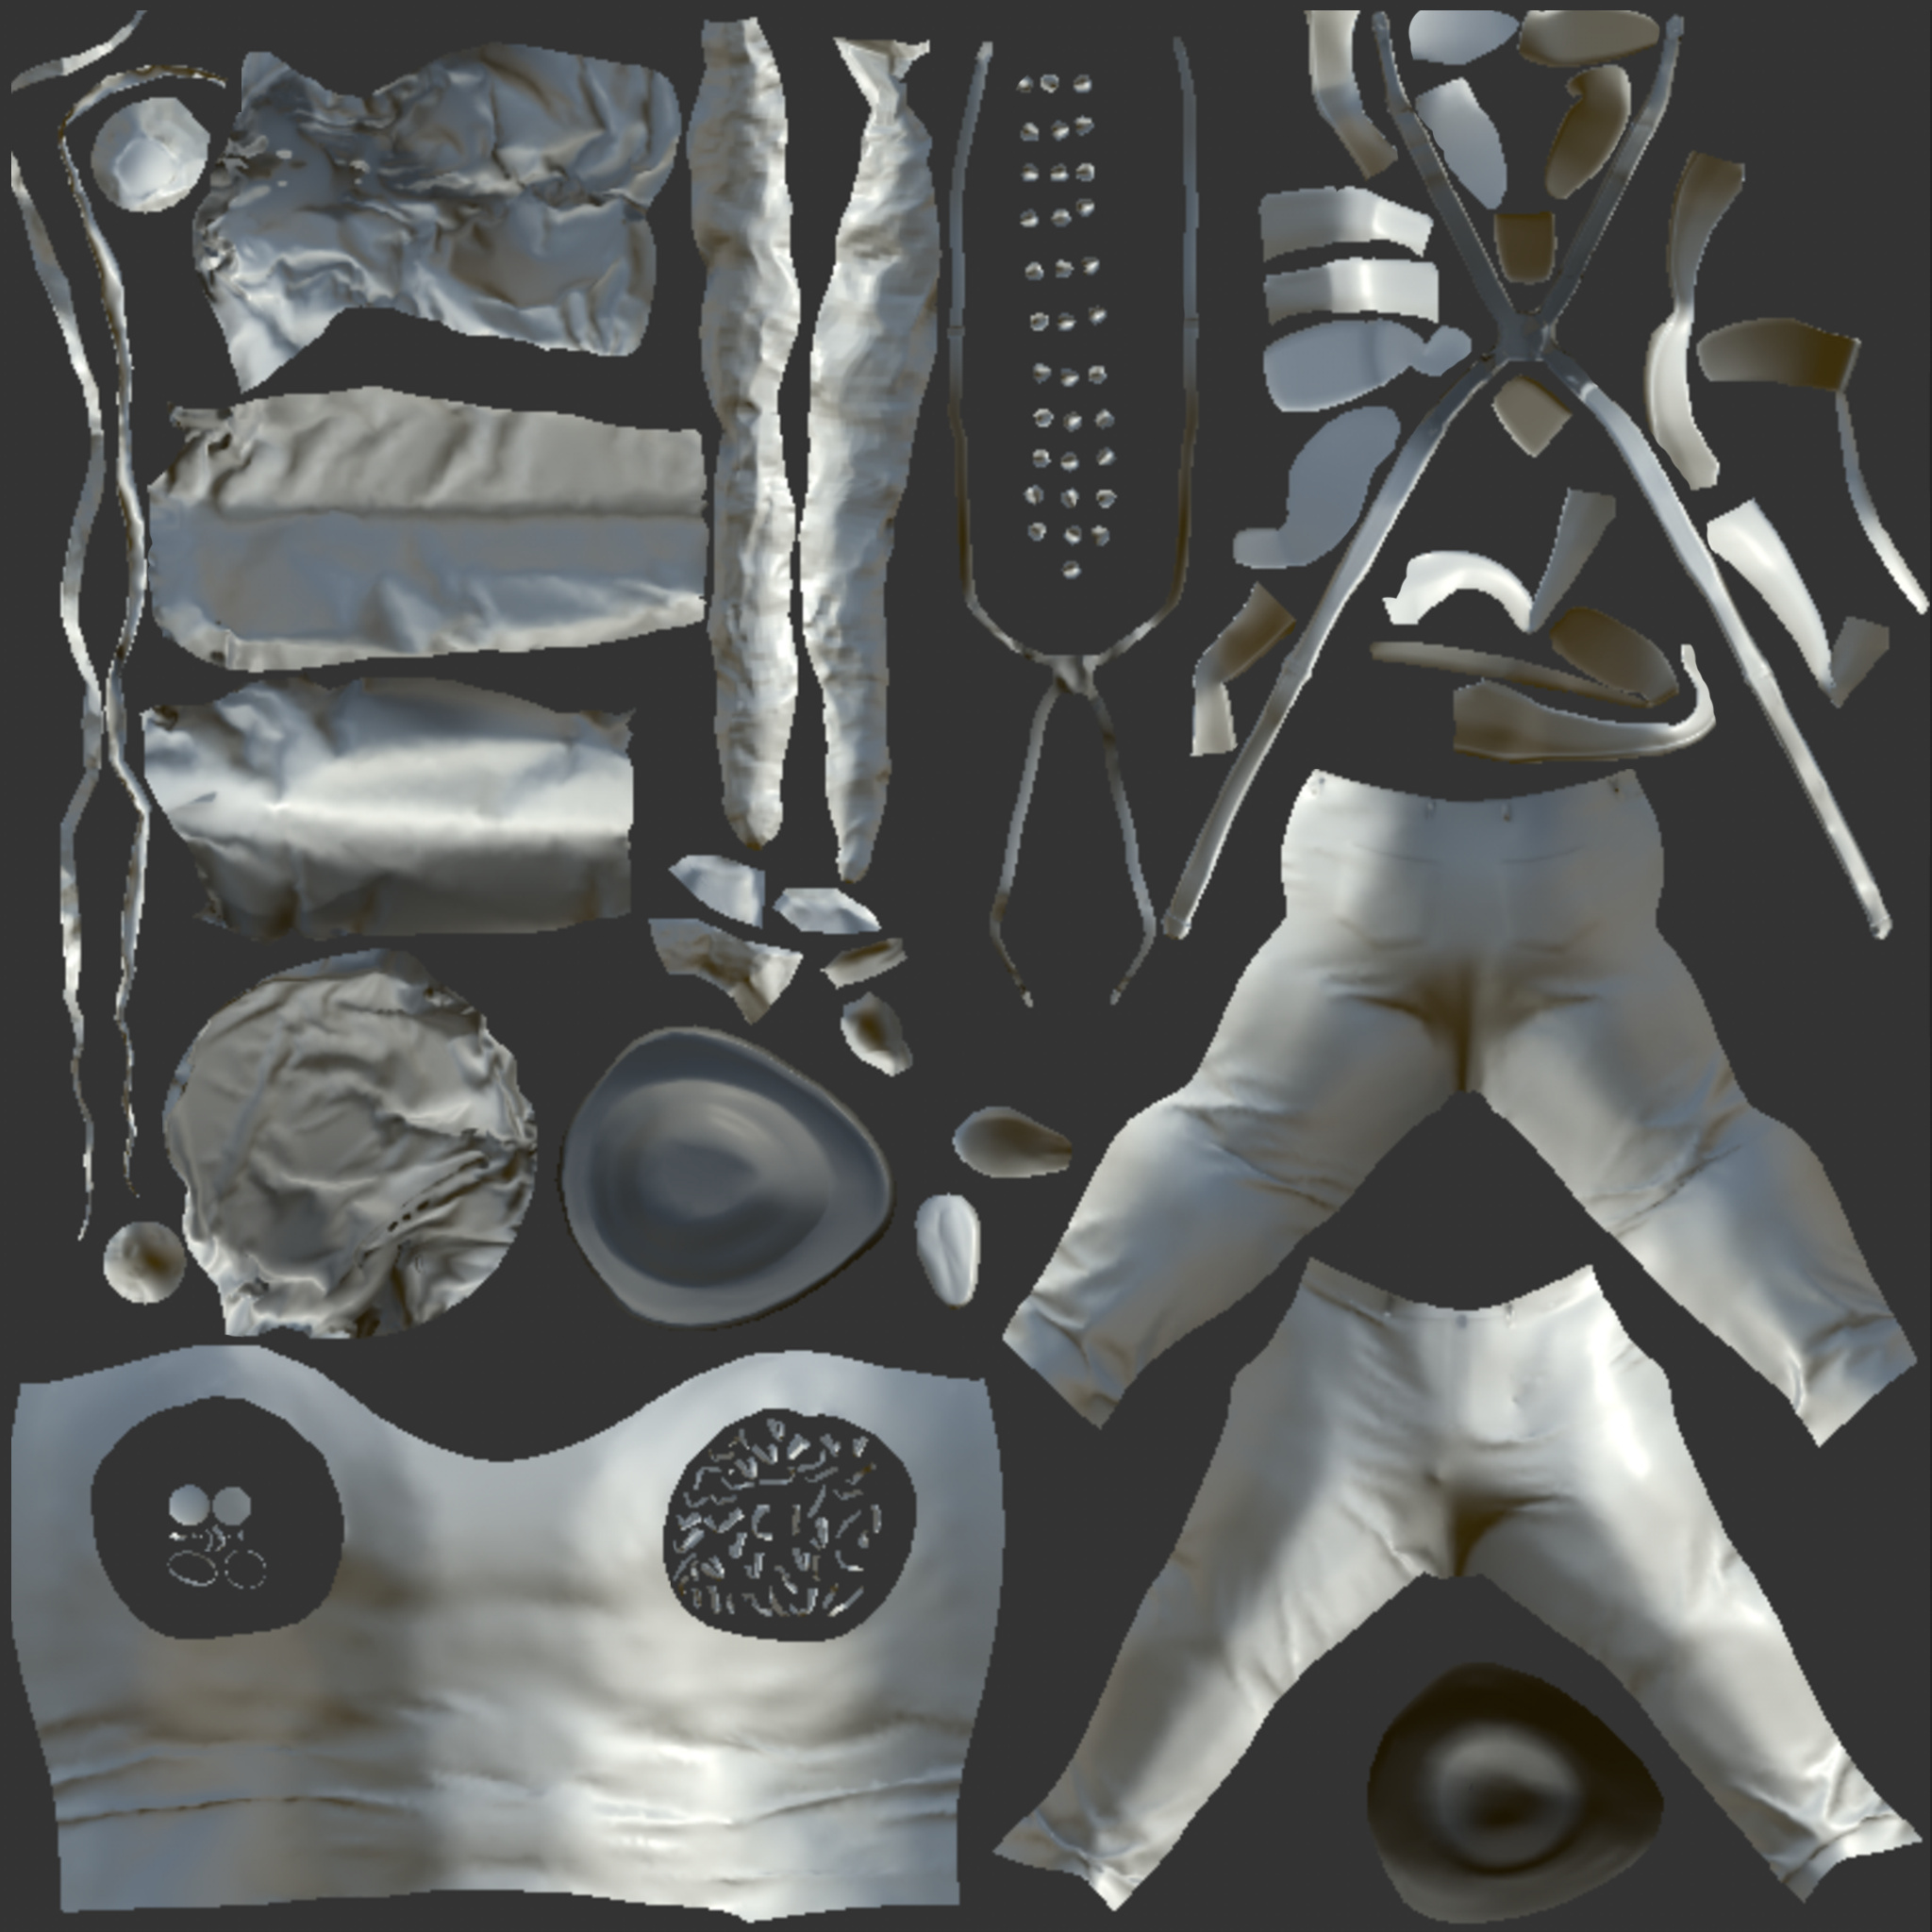
My plan is to set Rumpelstiltskin in a setting of more modern times from the tale but not too modern, preferable around the 1950s. This is where the suit and tie attire and the Greasers styles are both prominent fashion preferences. Around this time is a great time for this character to make deals as it is after the world wars and the great depression. Therefore, this allows my character to maneuver around a new and improving world as new technological inventions are being made.

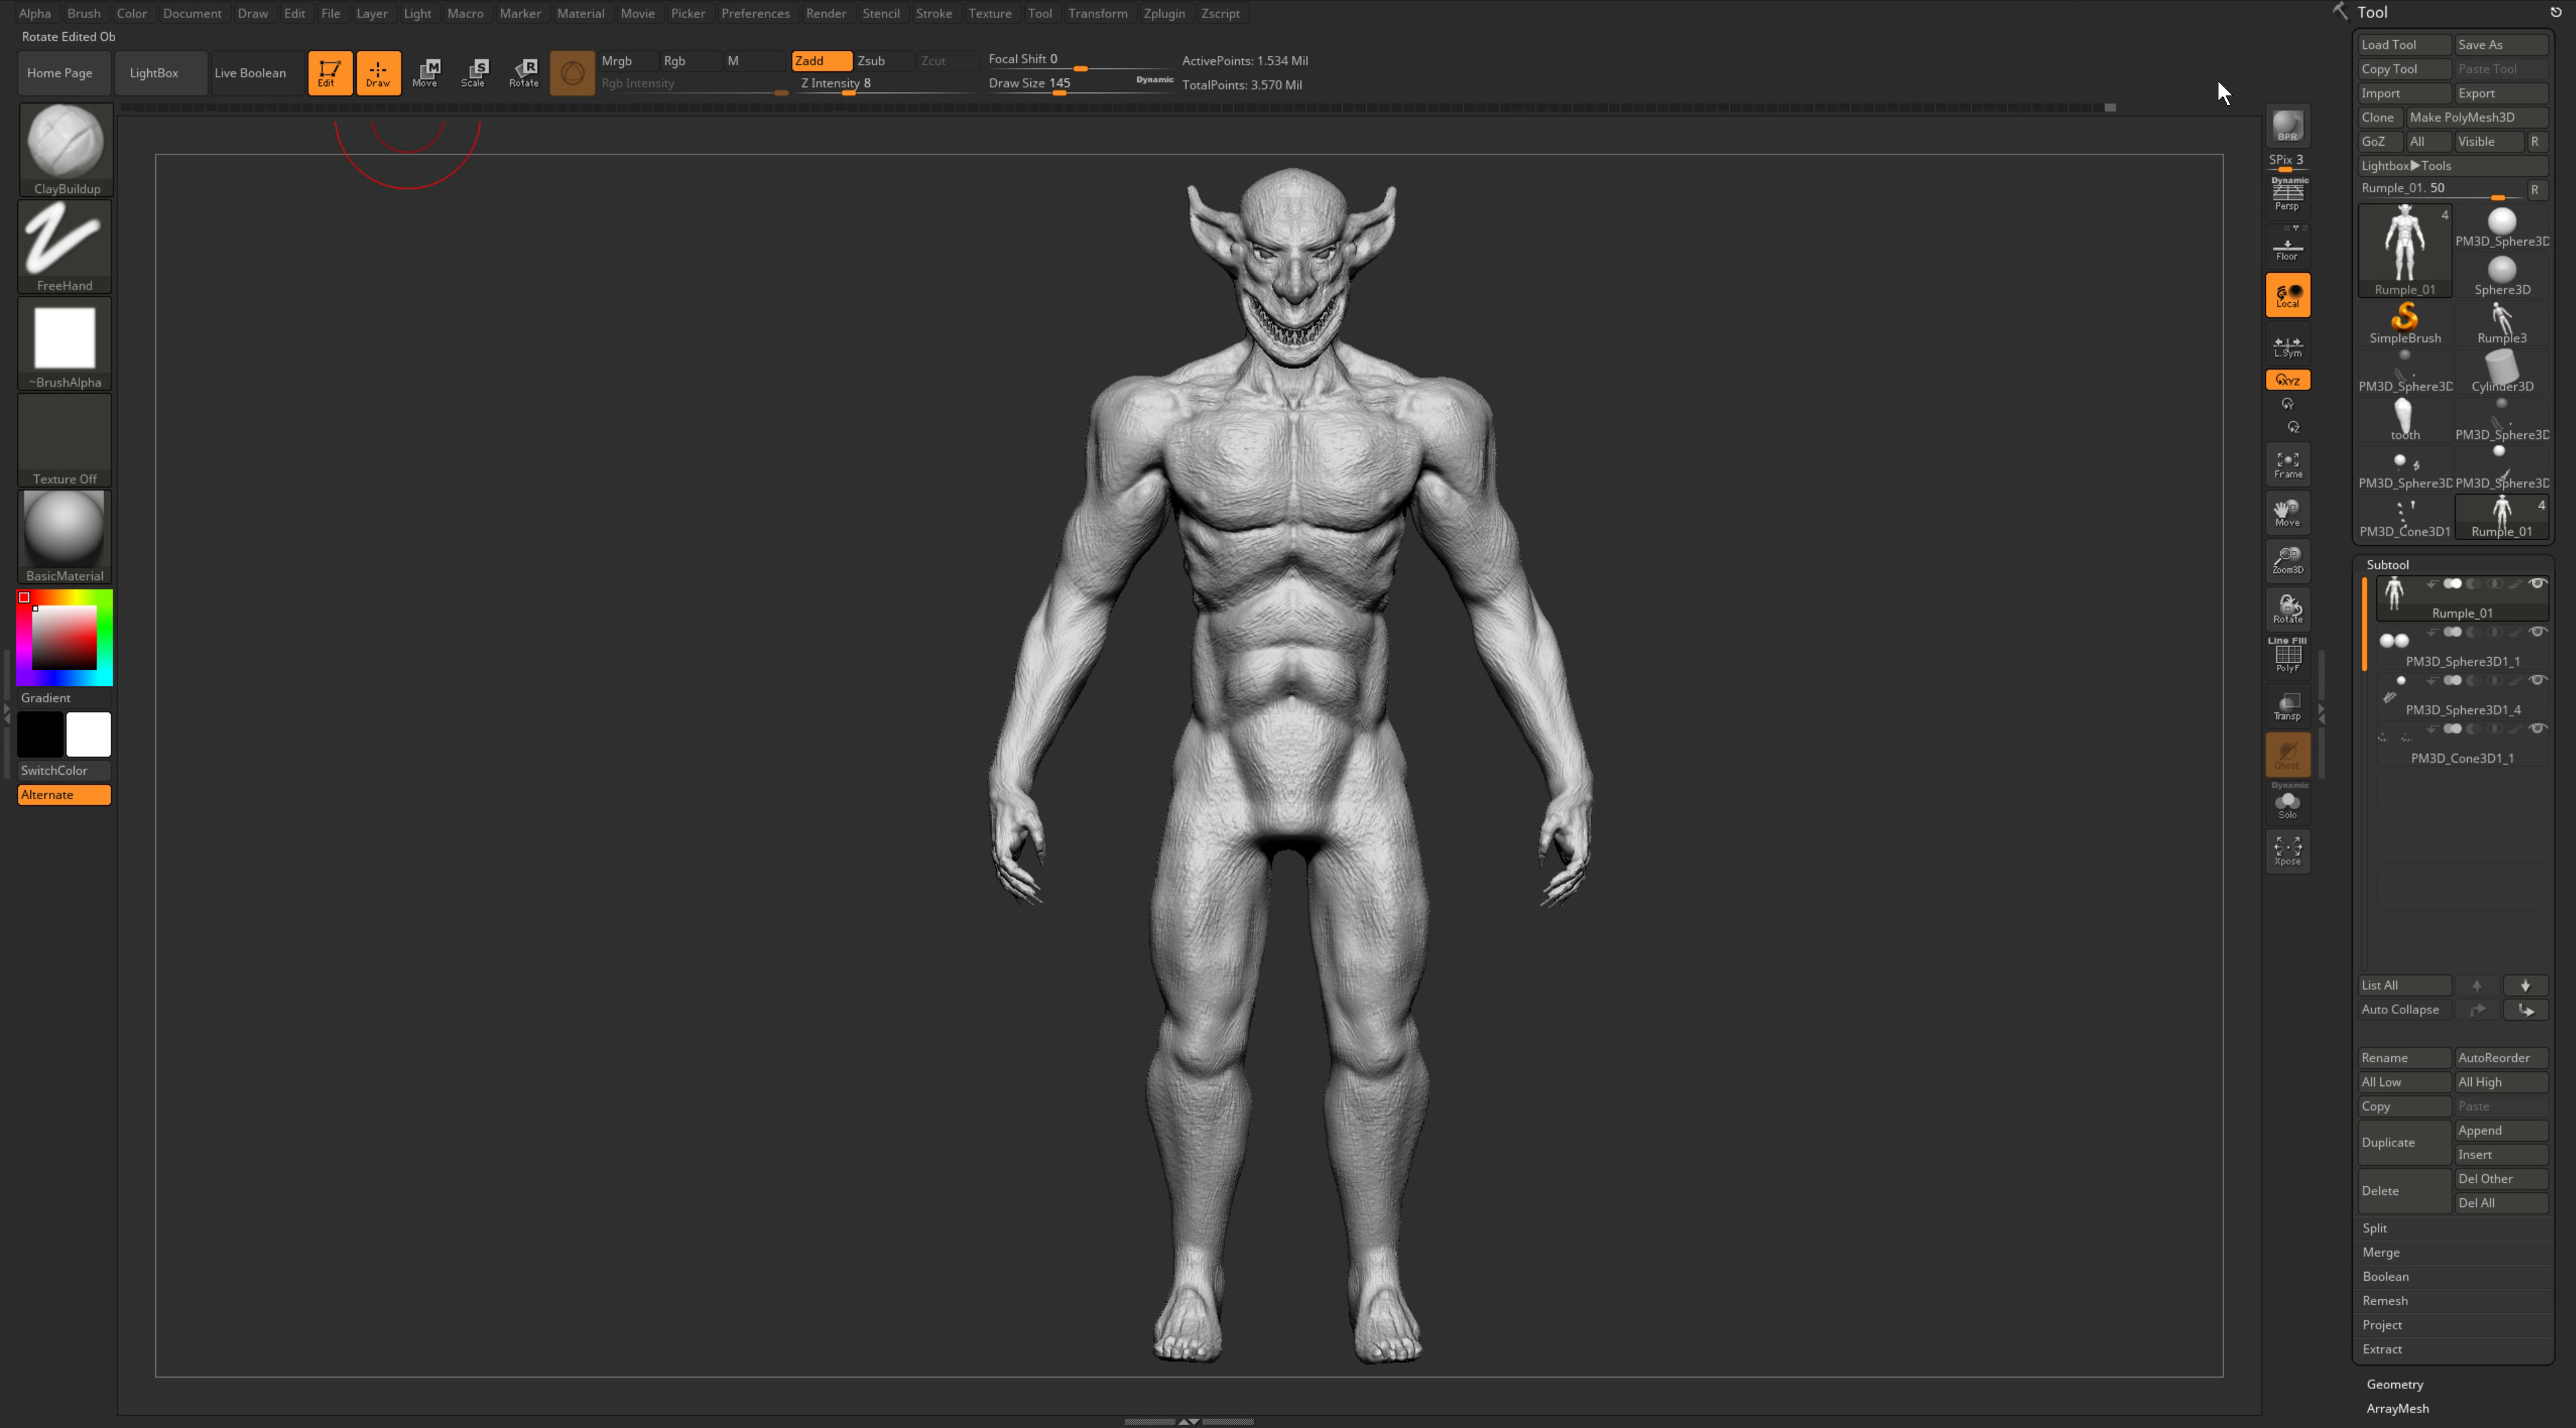
This will be Rumpelstiltskin who is still in his prime but we start to see changes in his character…

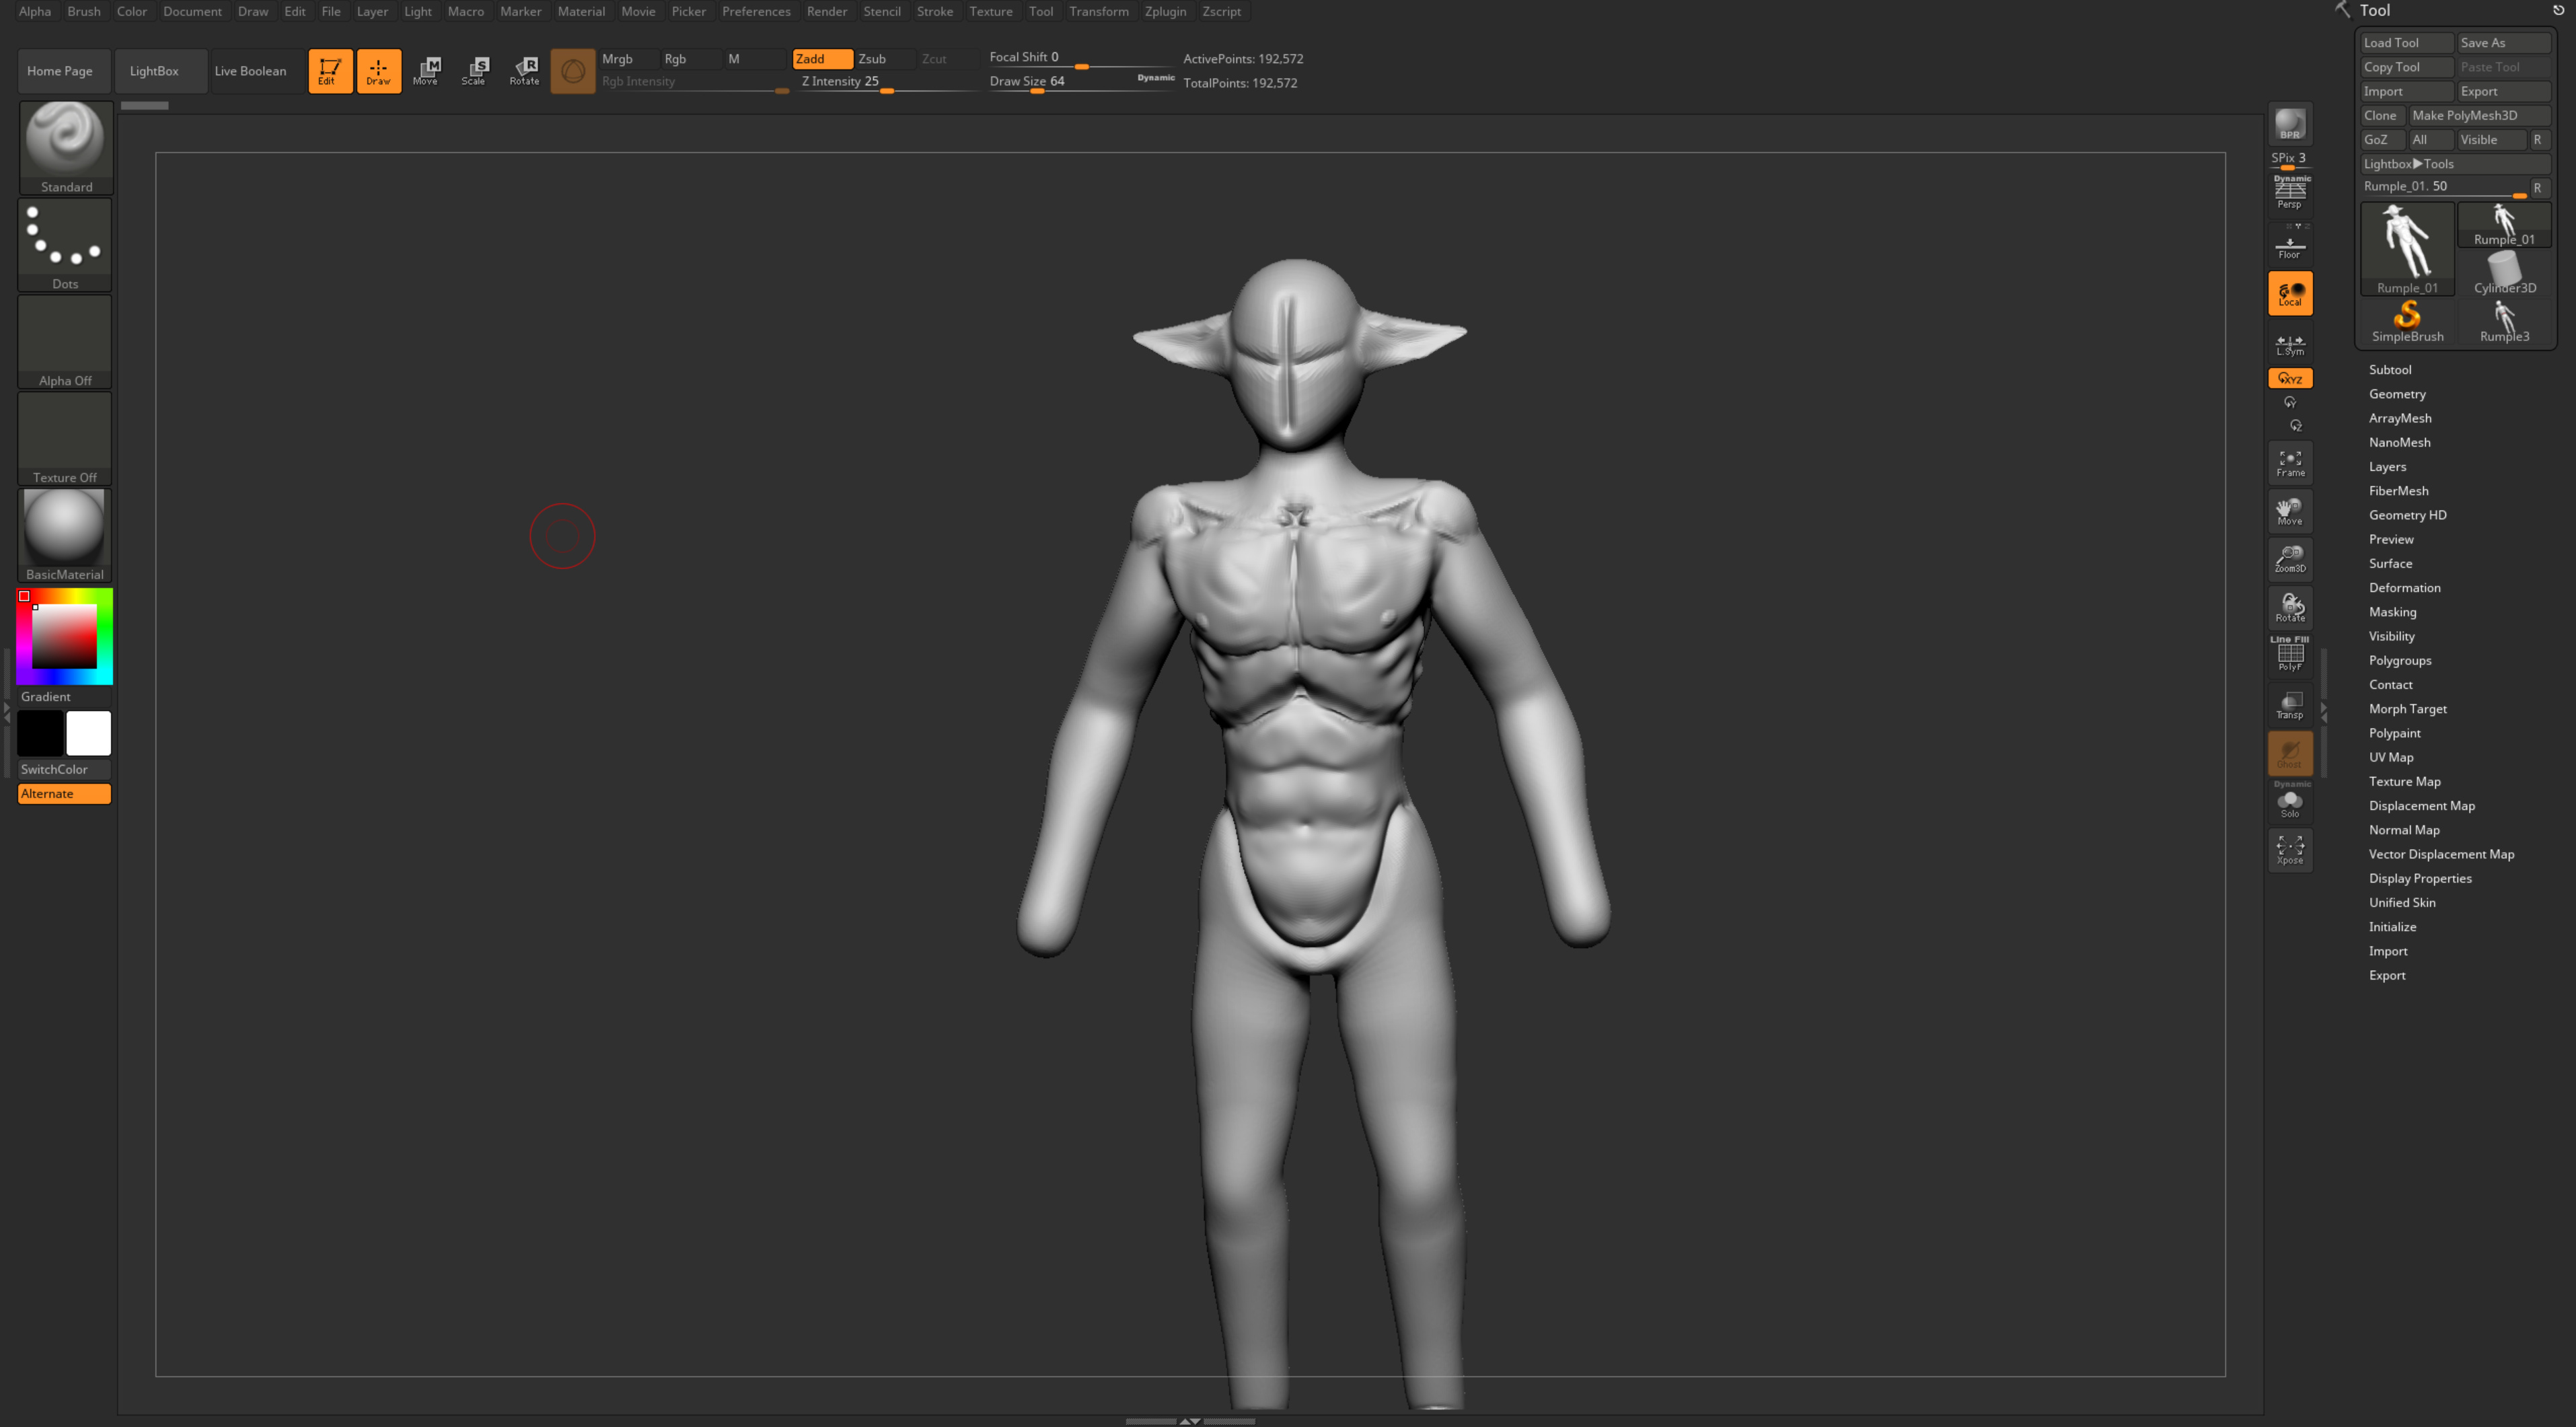
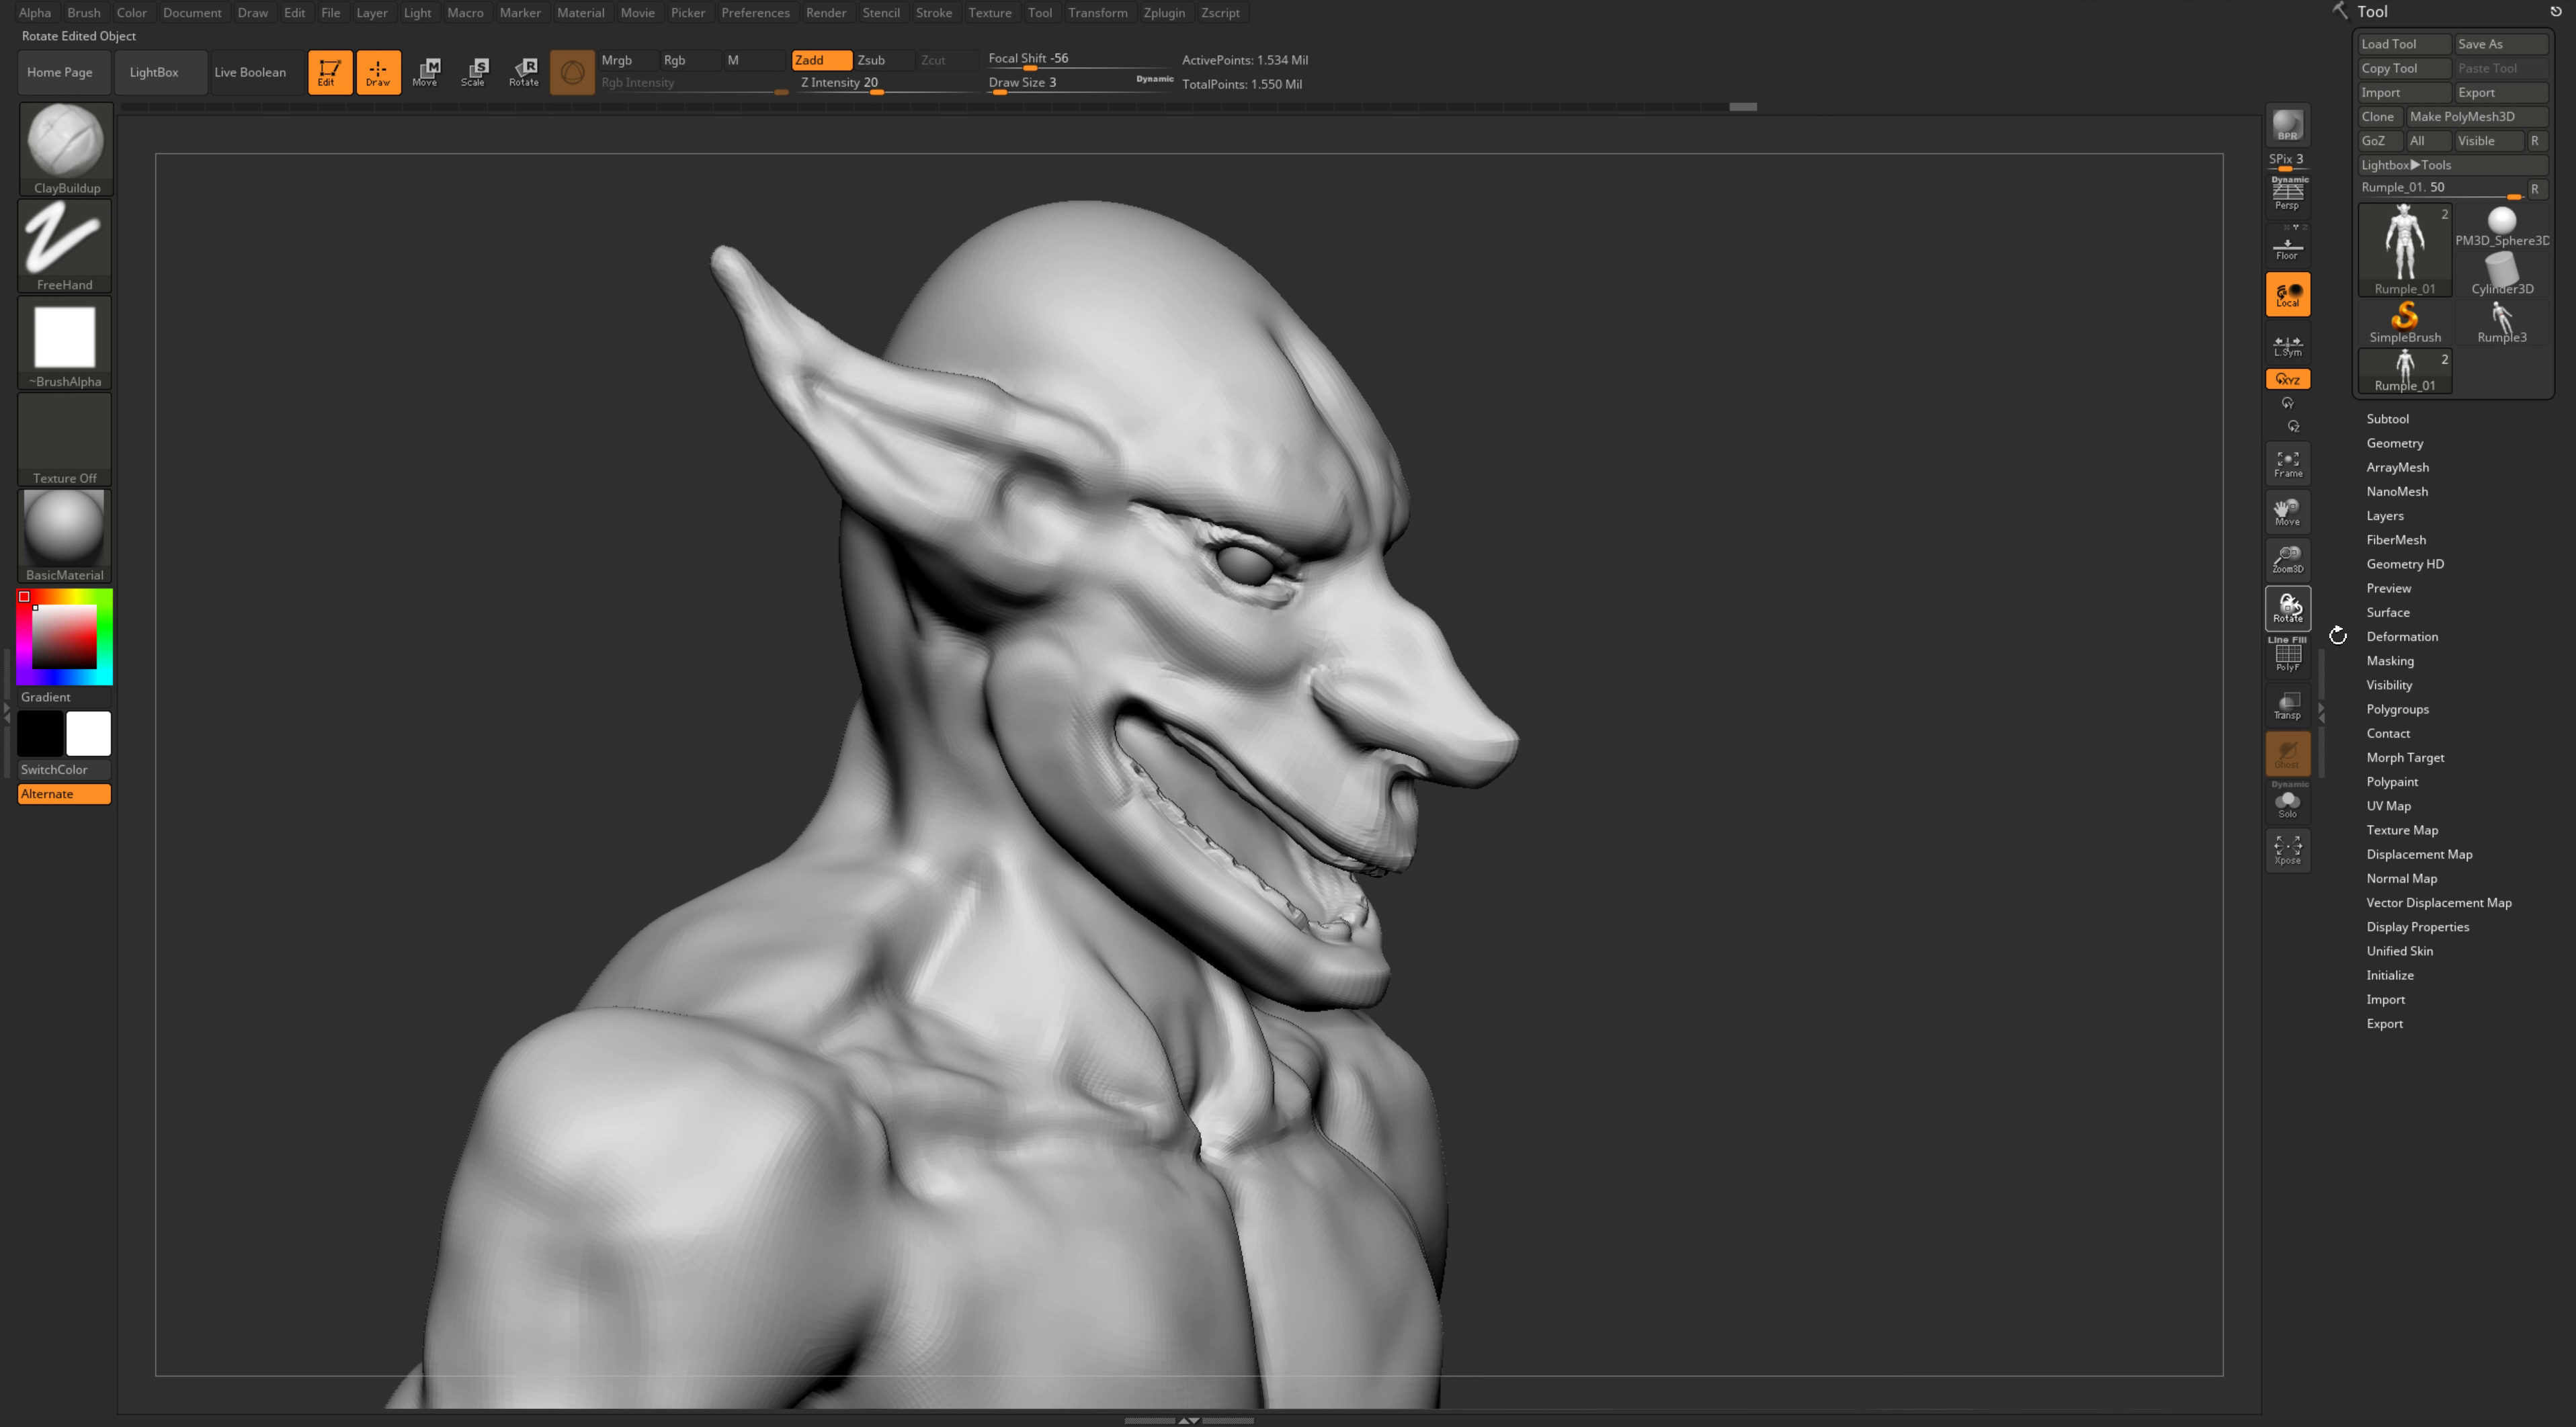
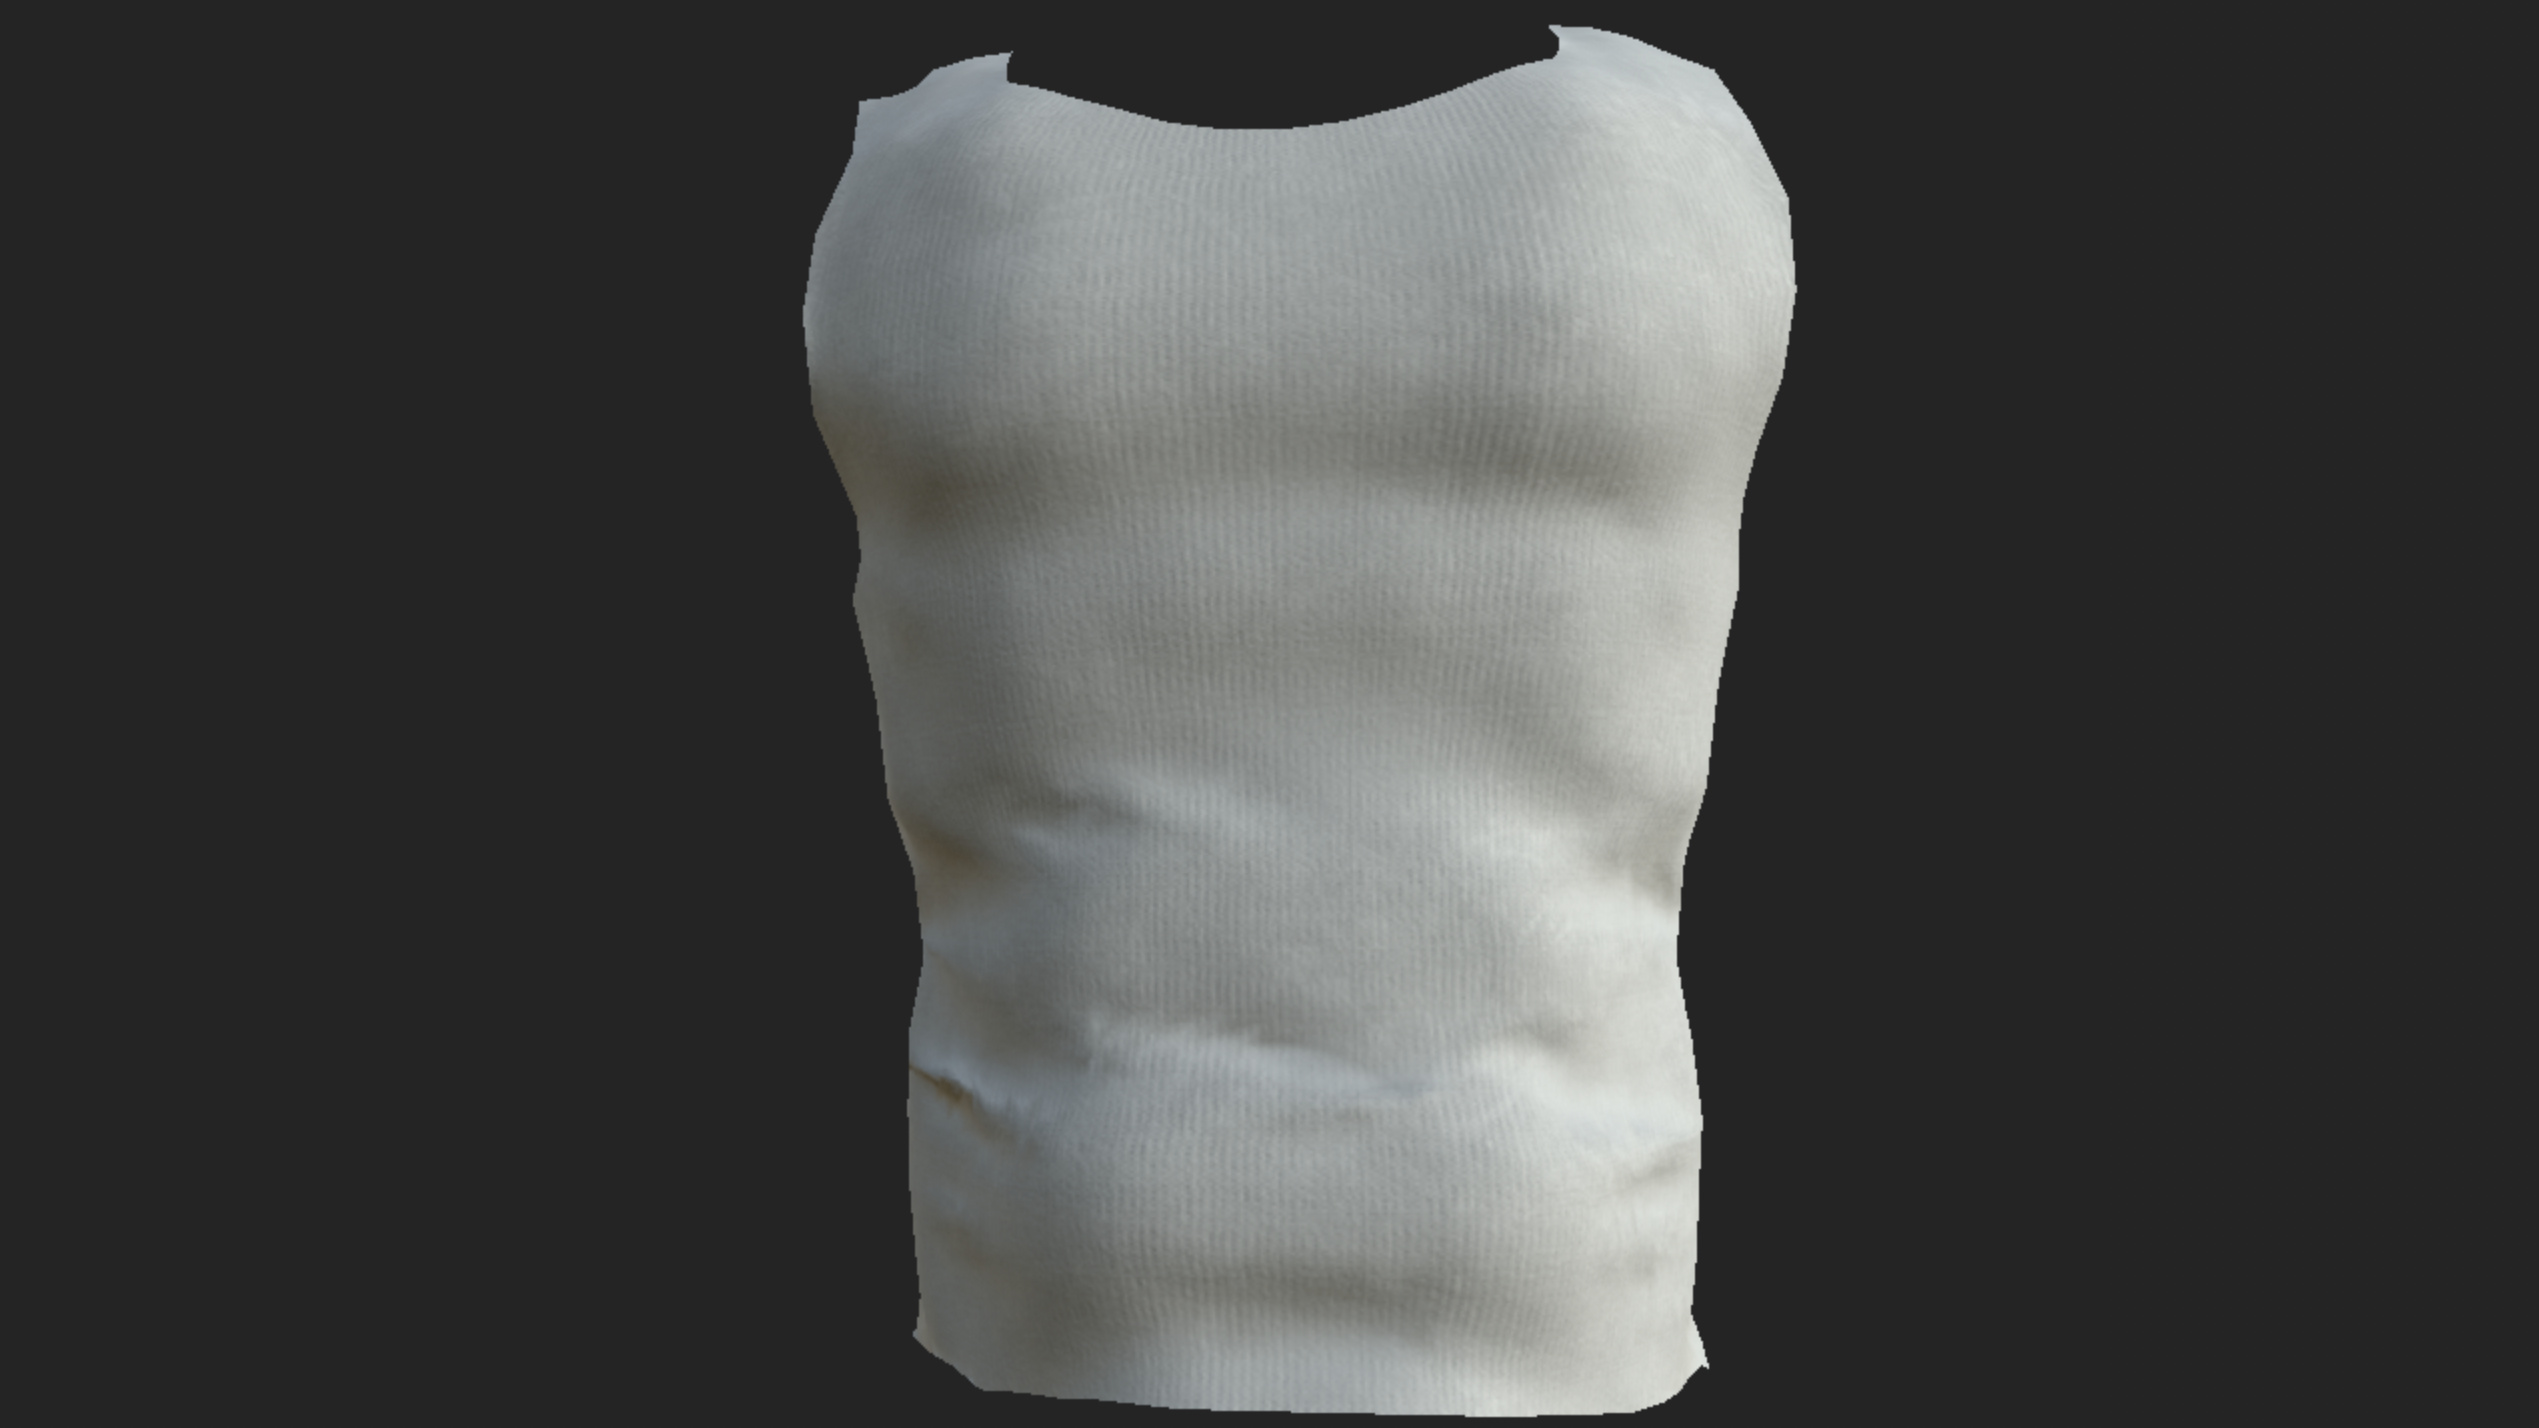
The concept for my characters is based around the role of being a door-to-door salesman. He charms people by approaching them at their door and offers them deals they can’t refuse. He flaunts his gold and his figure to people. His figure will show signs of fitness but not optimal. Rumpelstiltskin is usually a frail character, but this is when he starts the transition from his prime to his weak self. His muscles are going to be a little diminished and not as defined as he is slowly reverting to his small frail character with the more evil he commits due to his devilish deals.
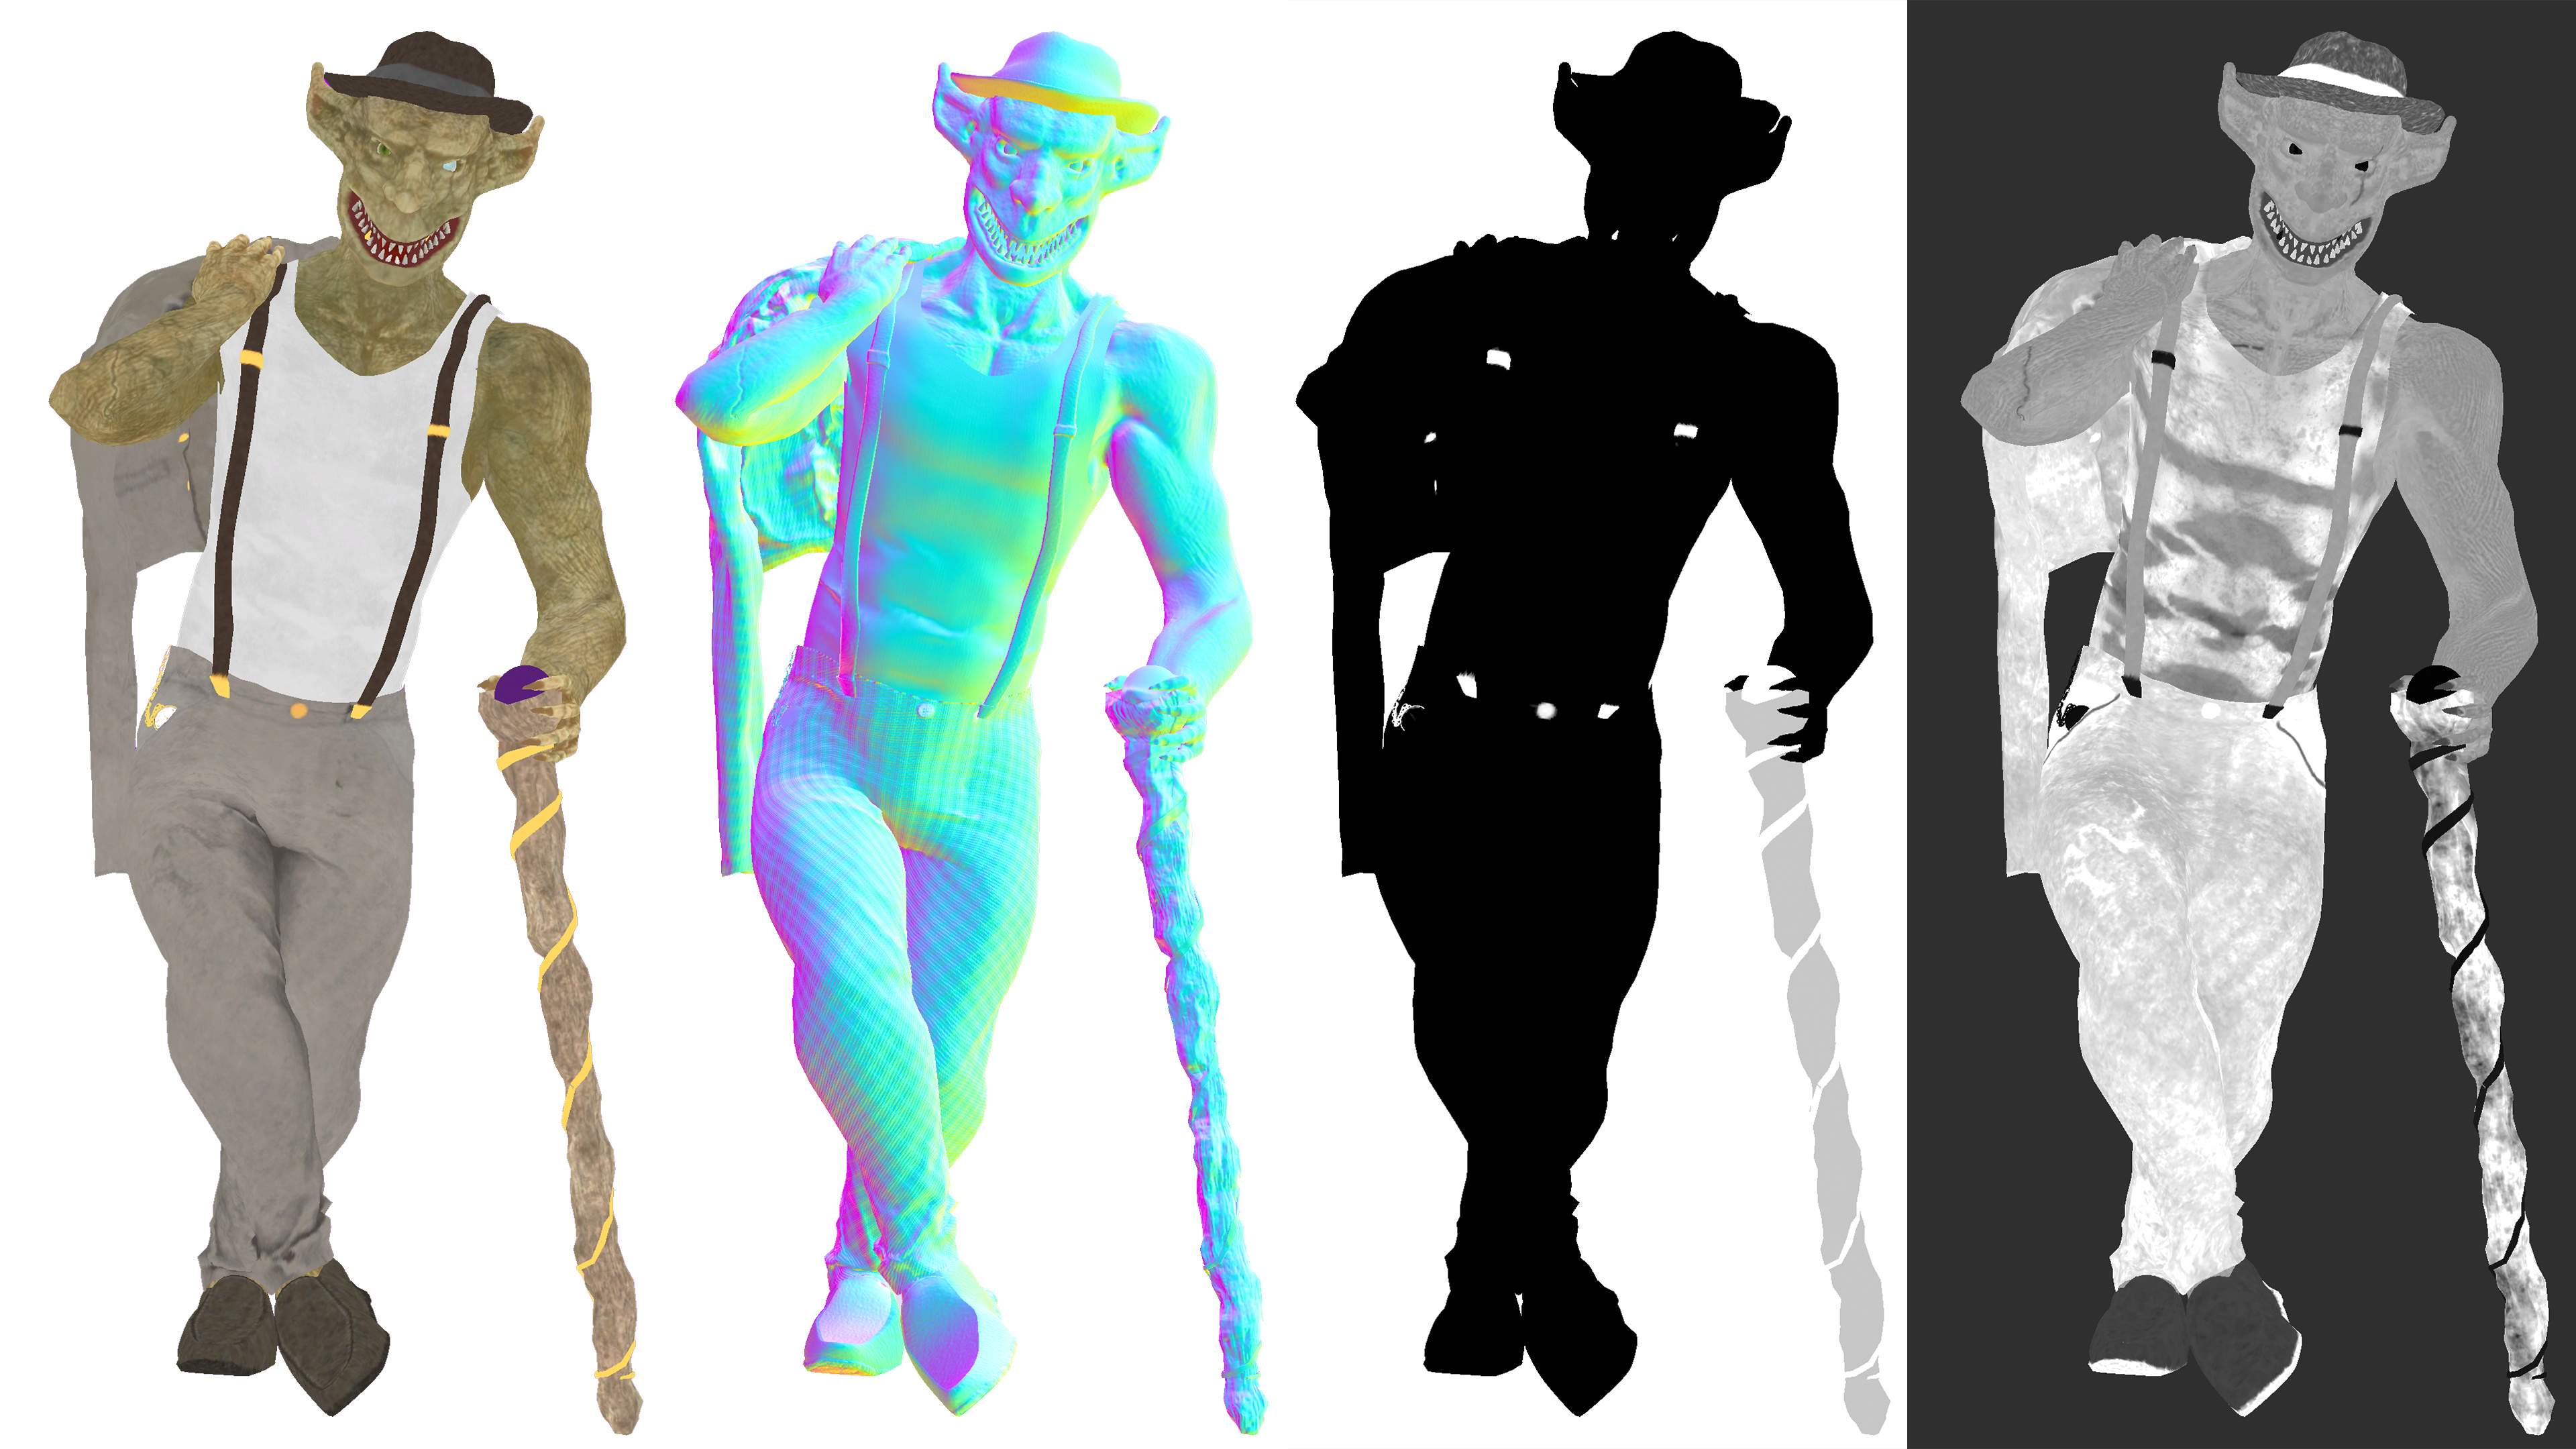
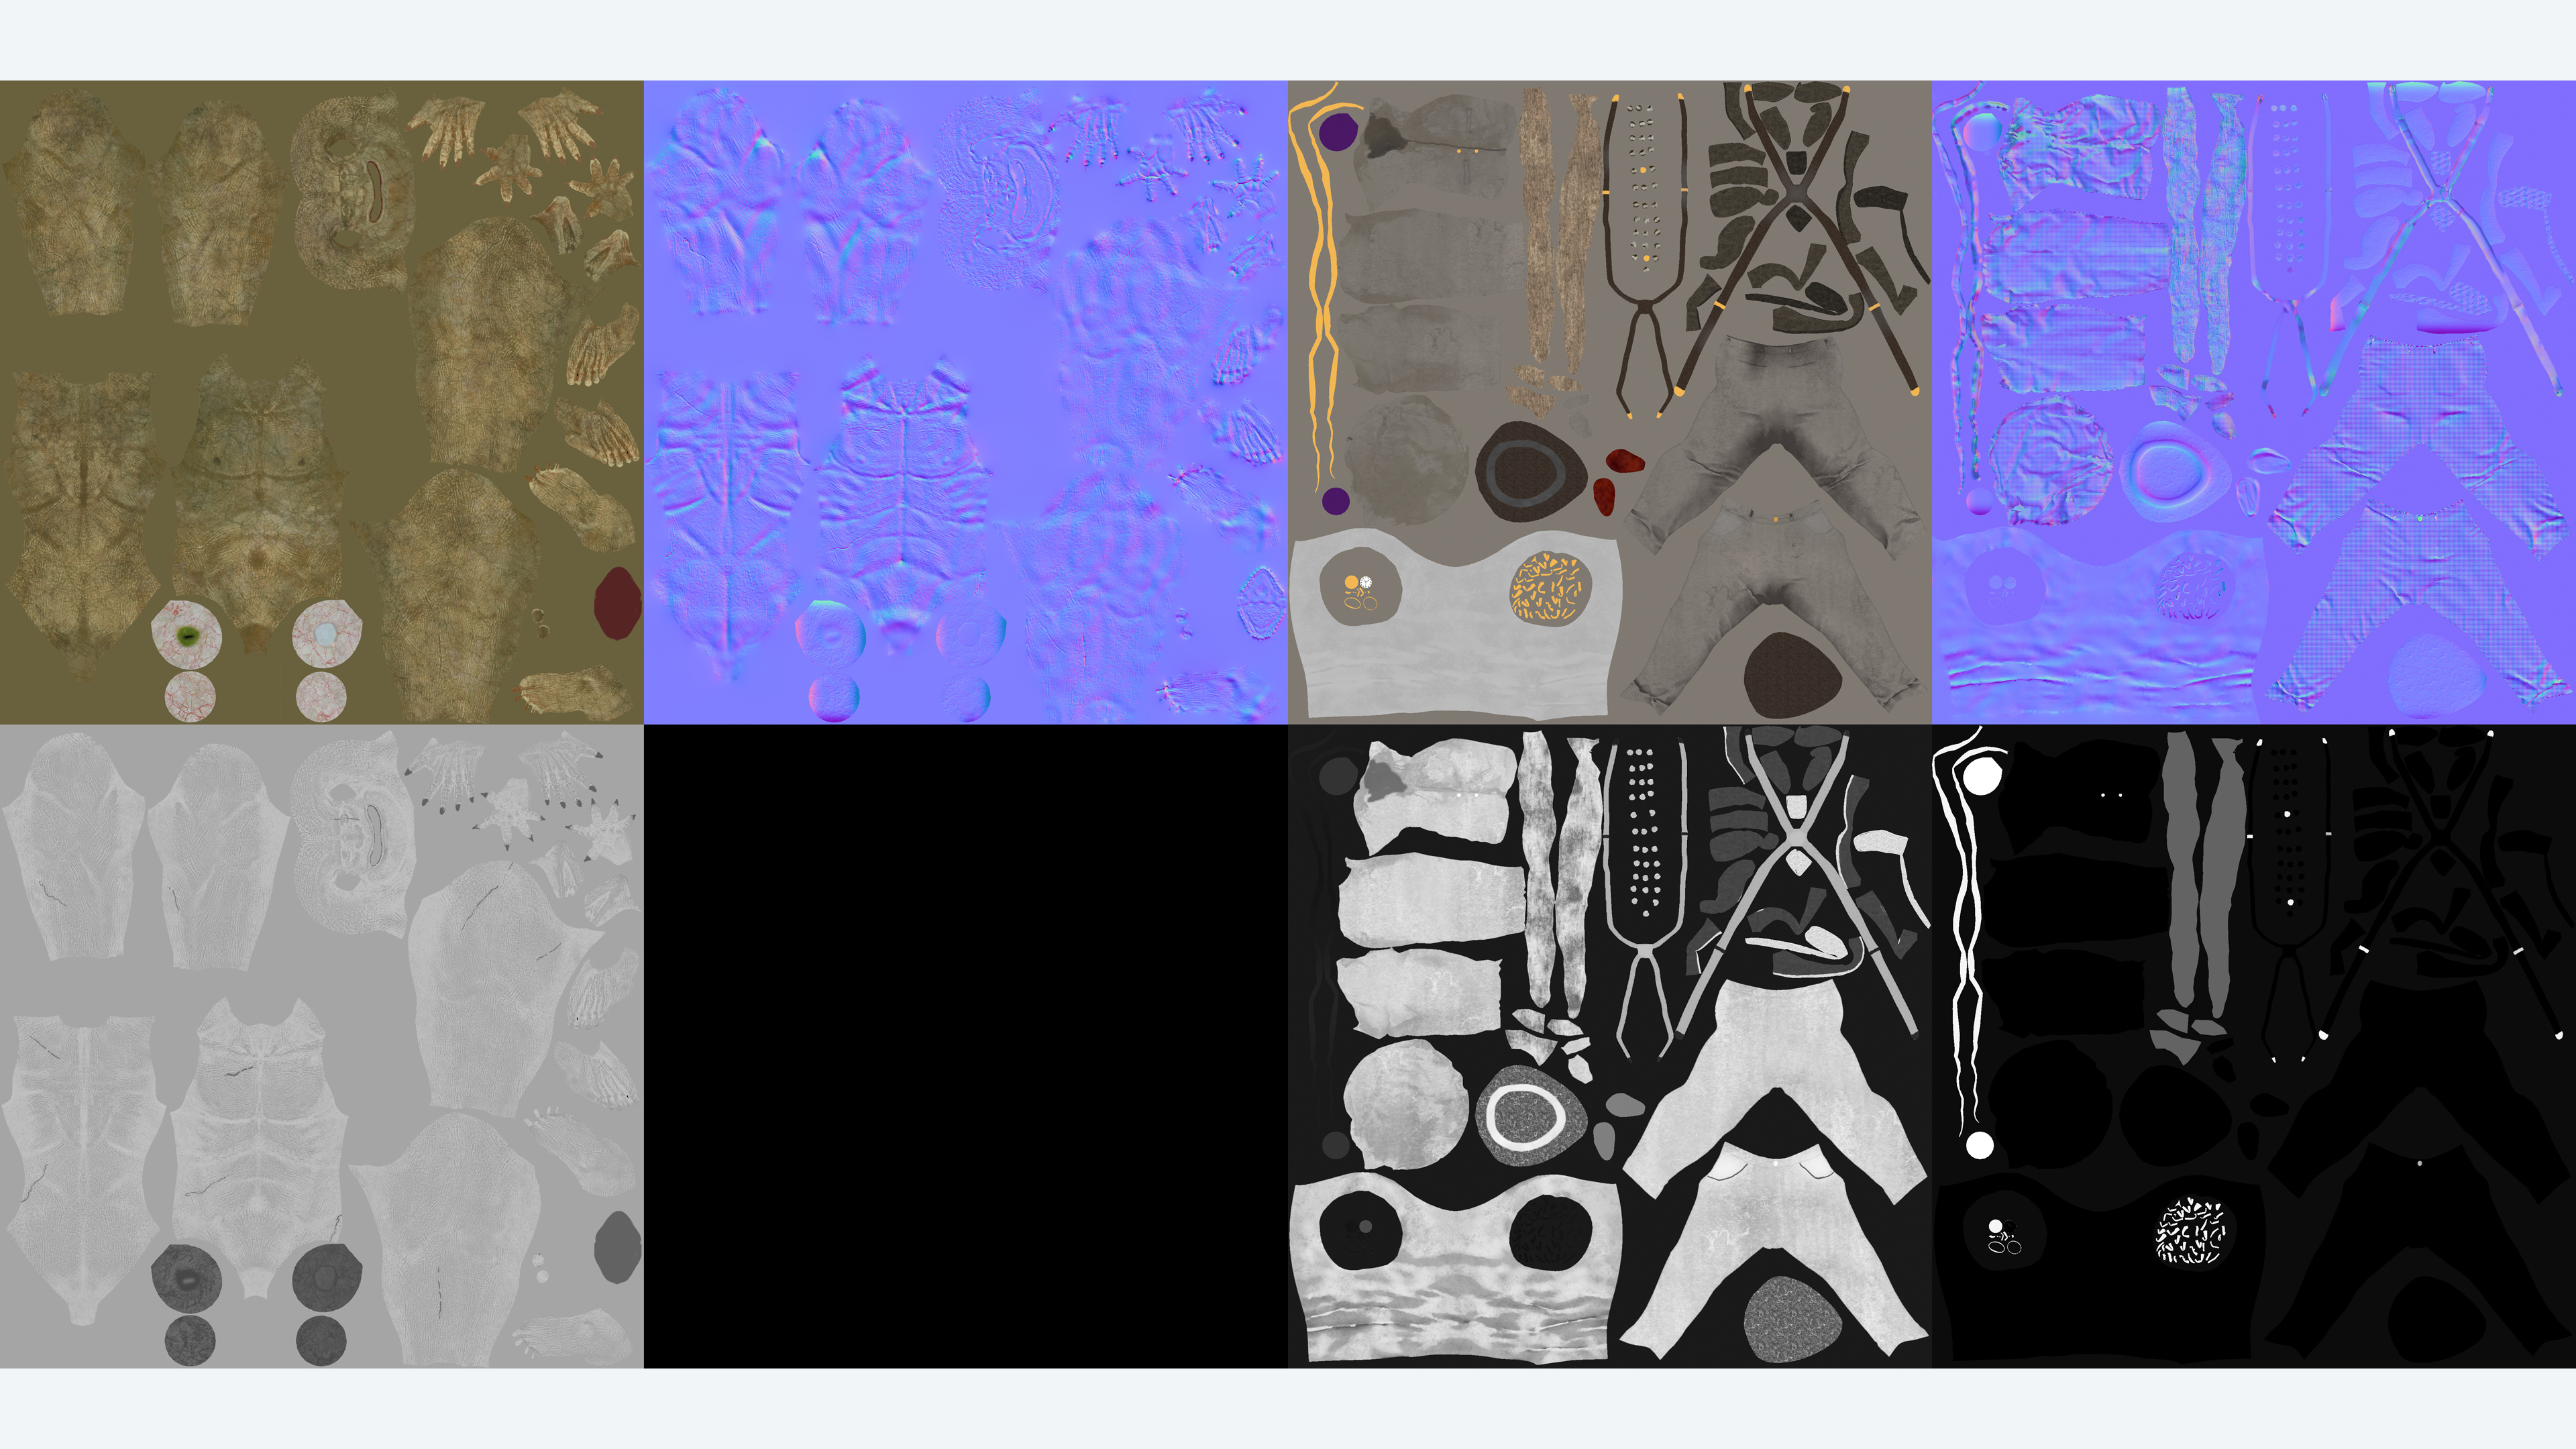
Sculpting

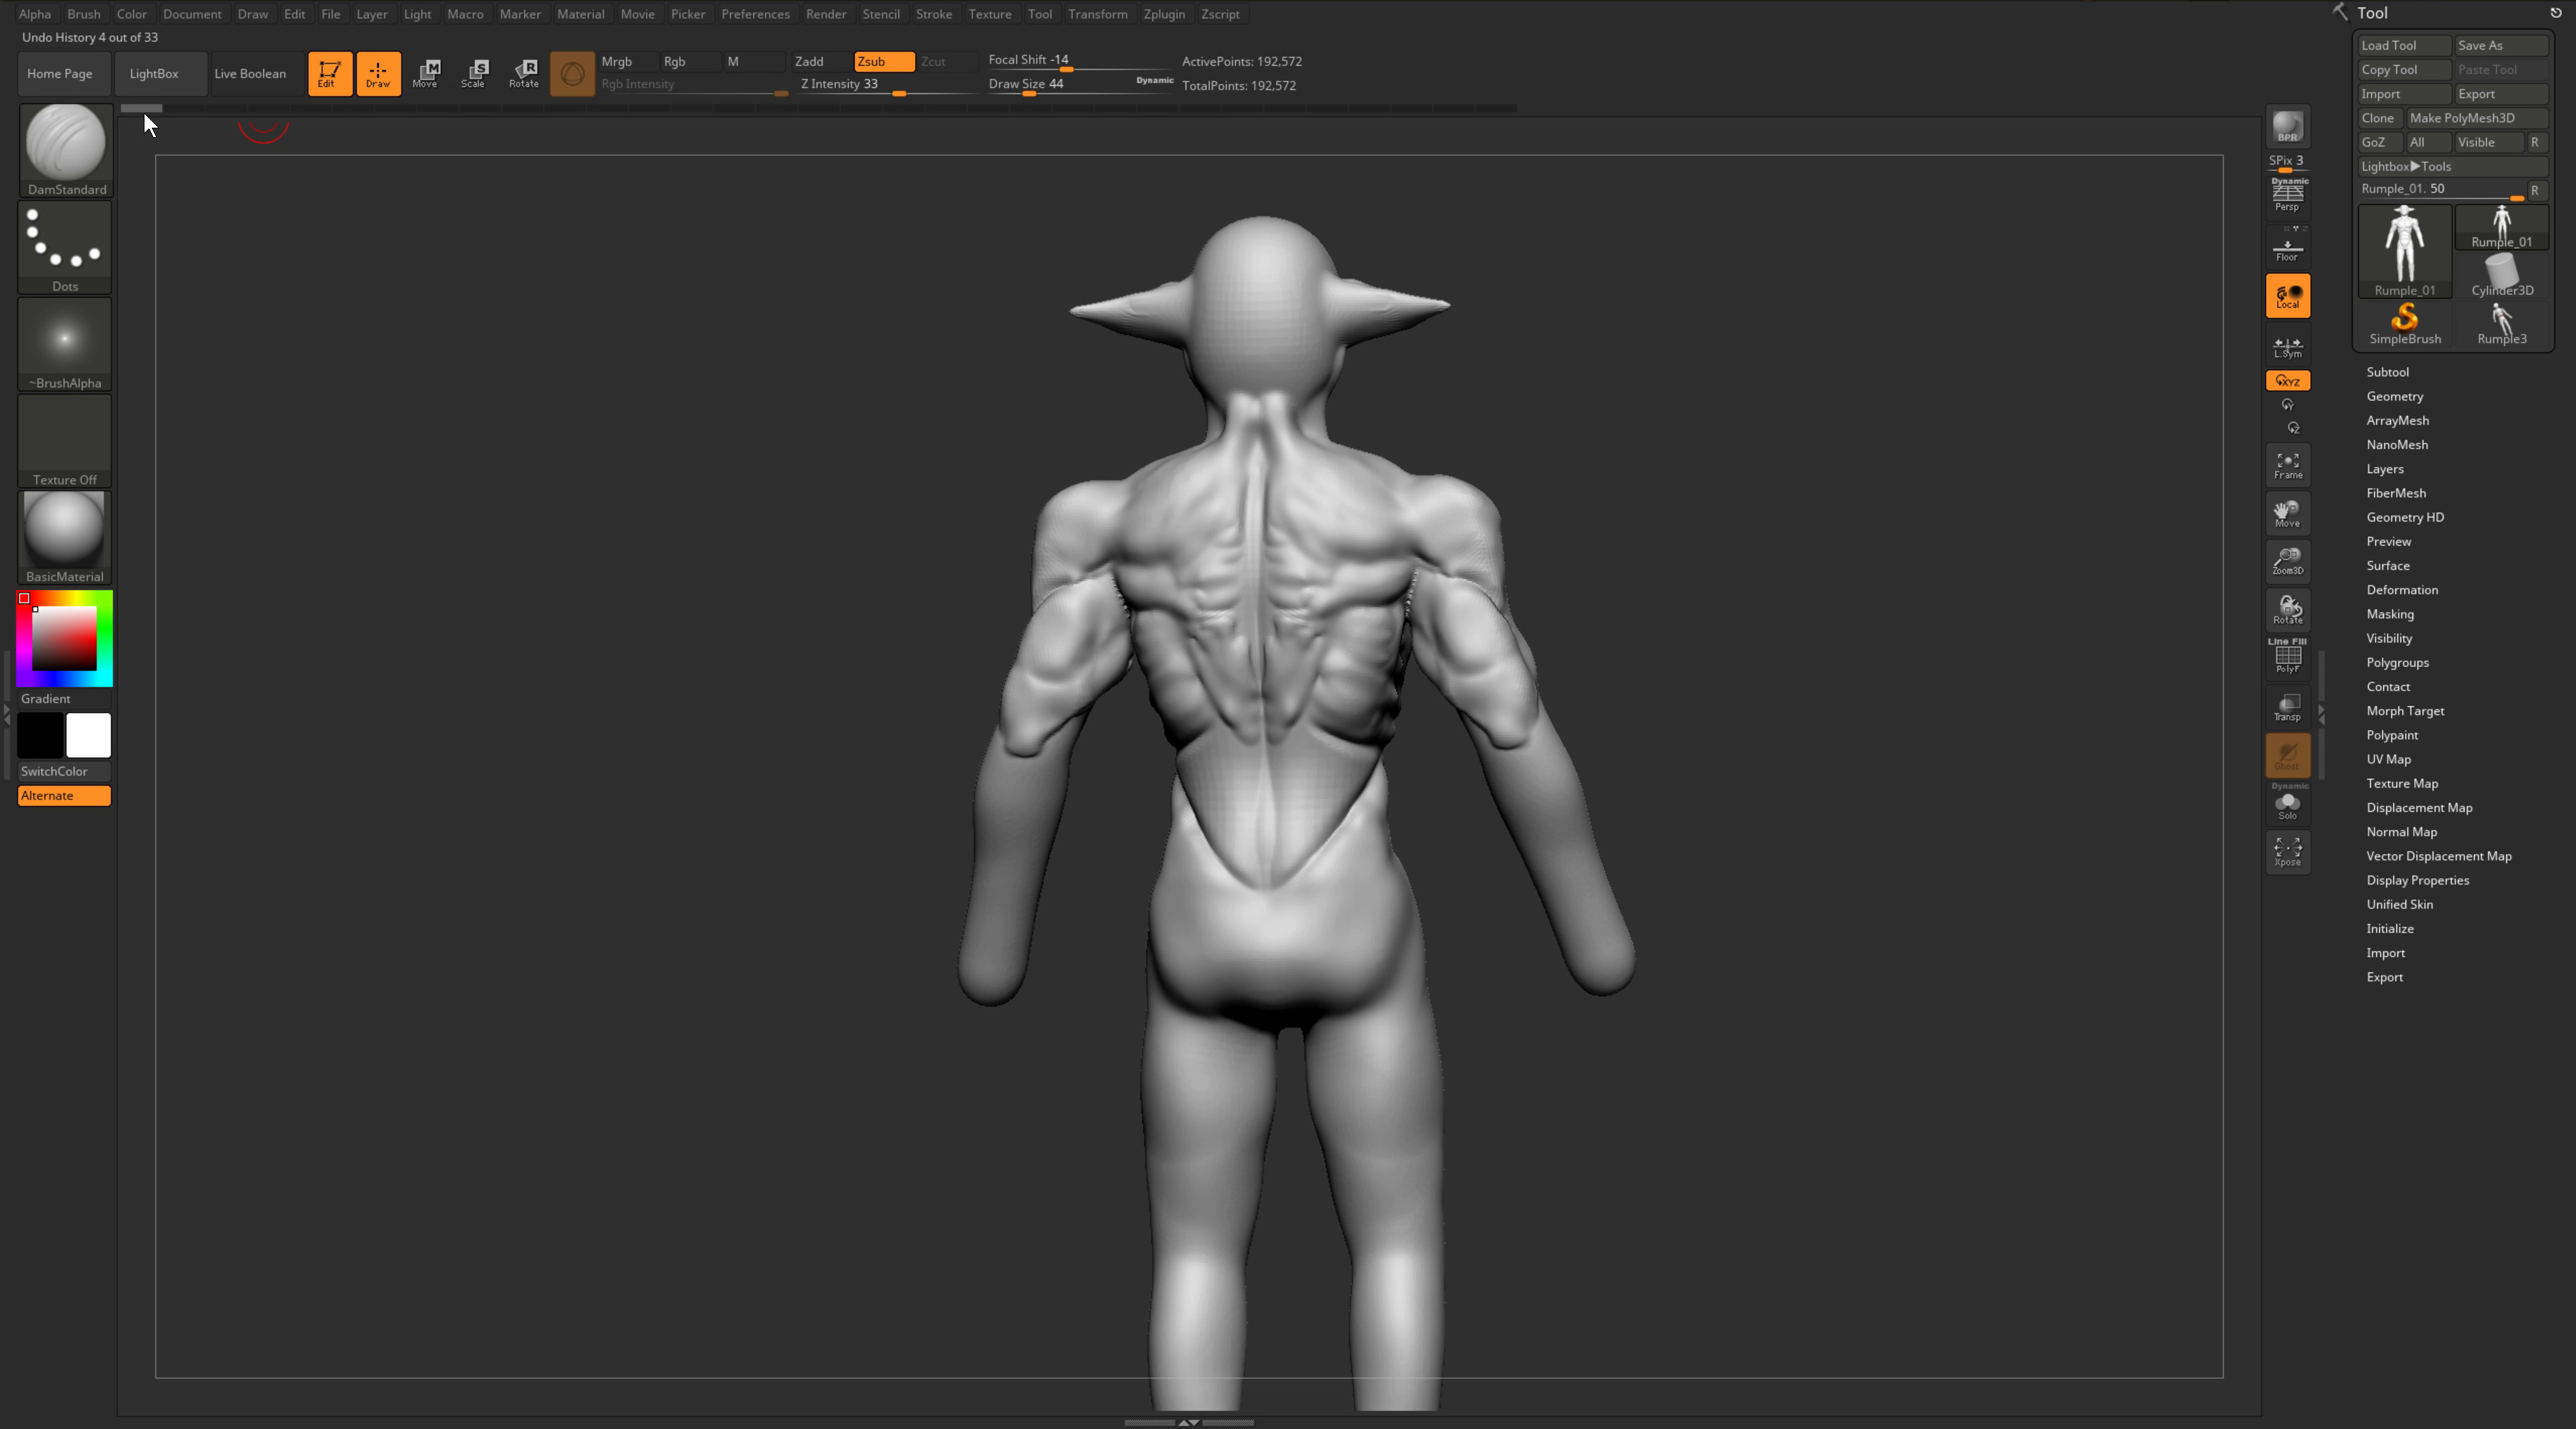
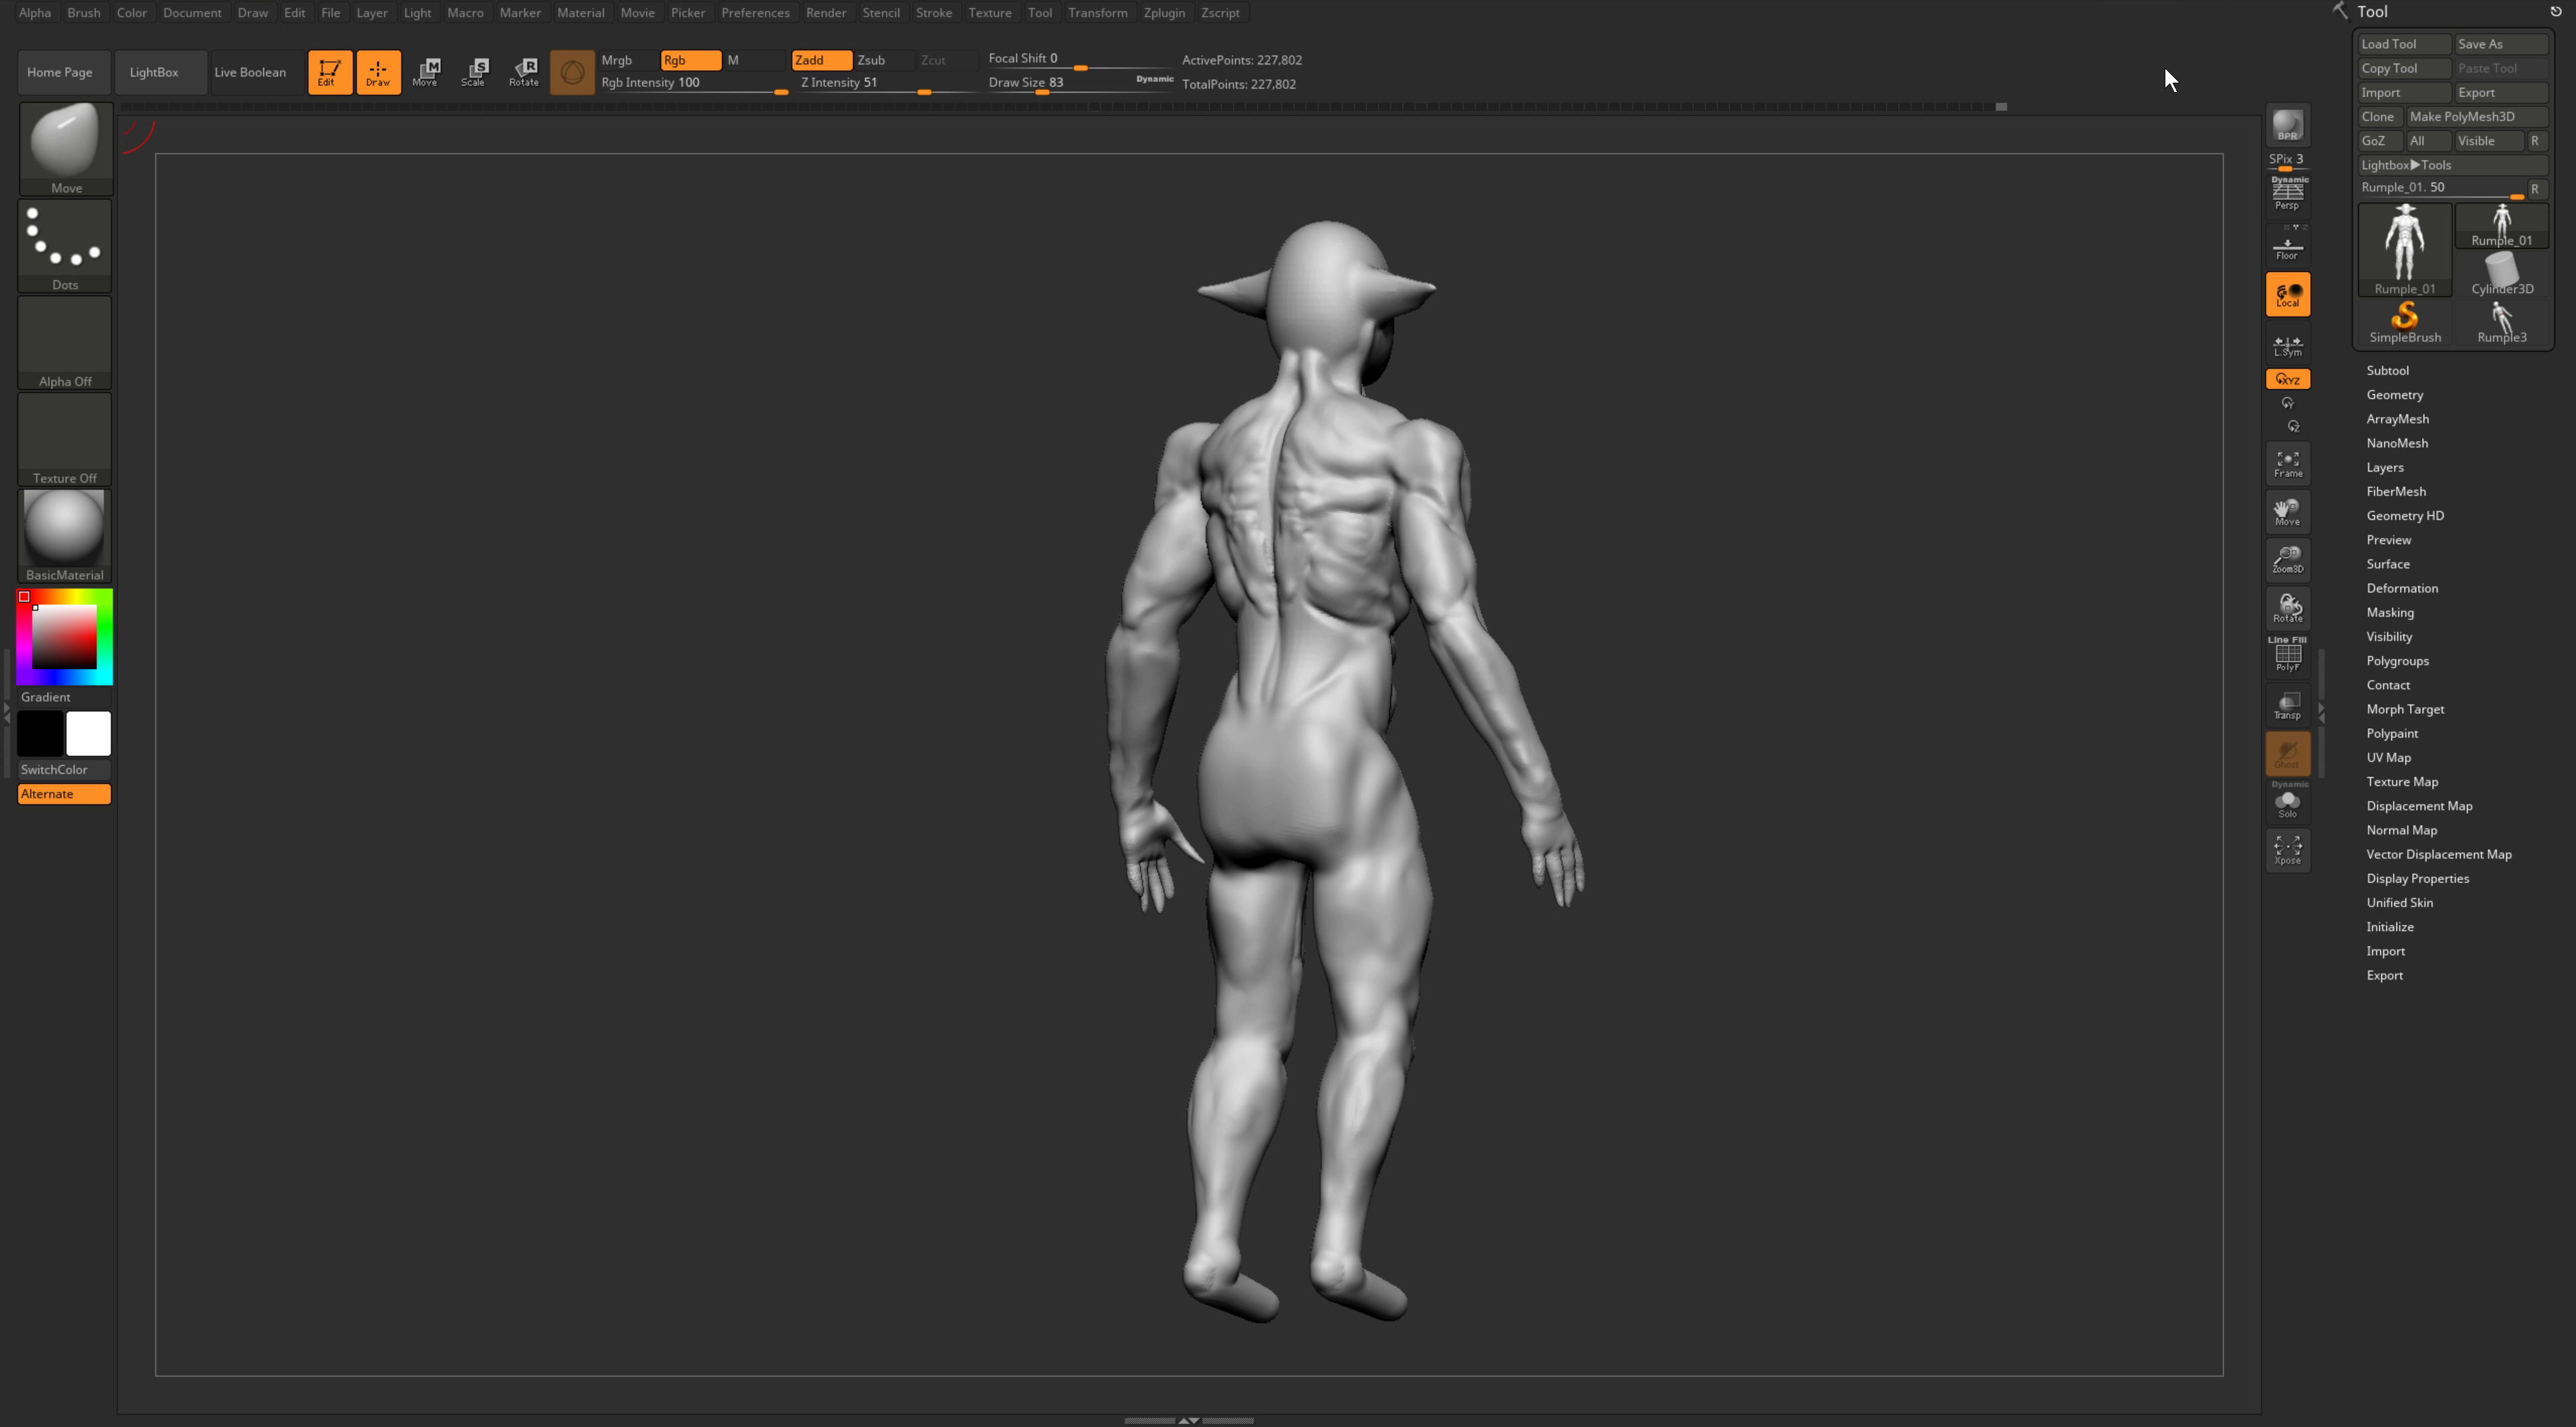
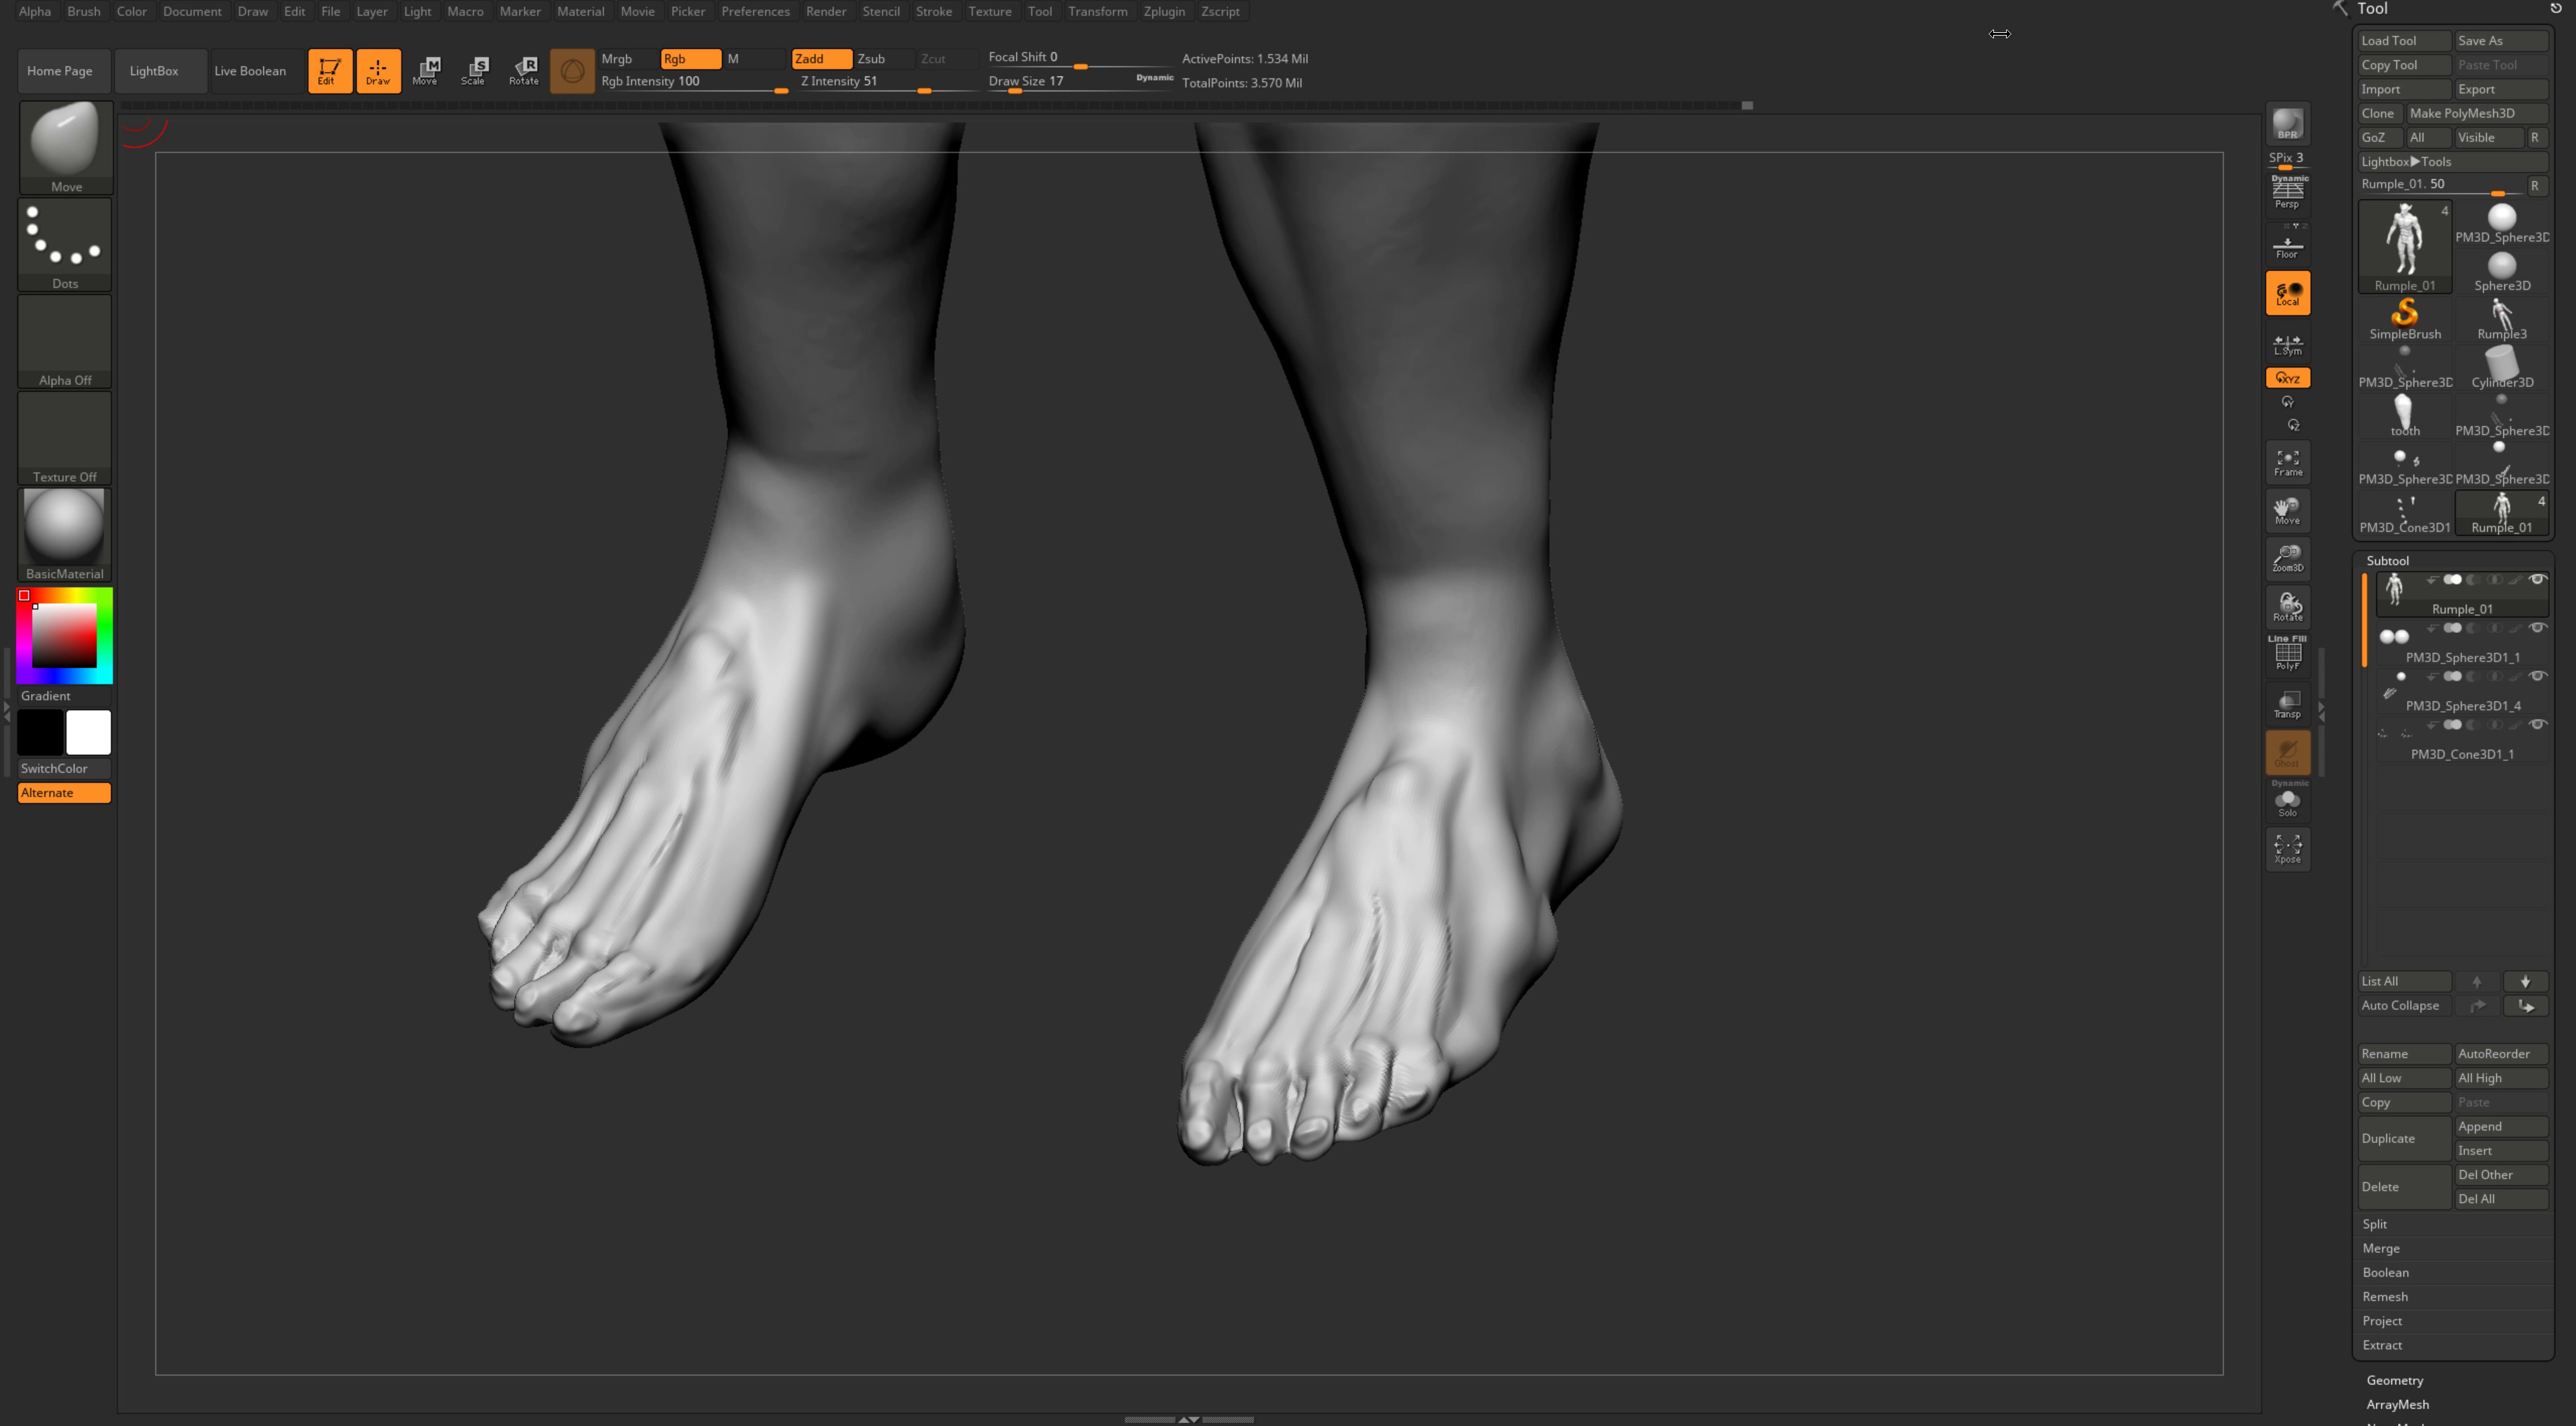
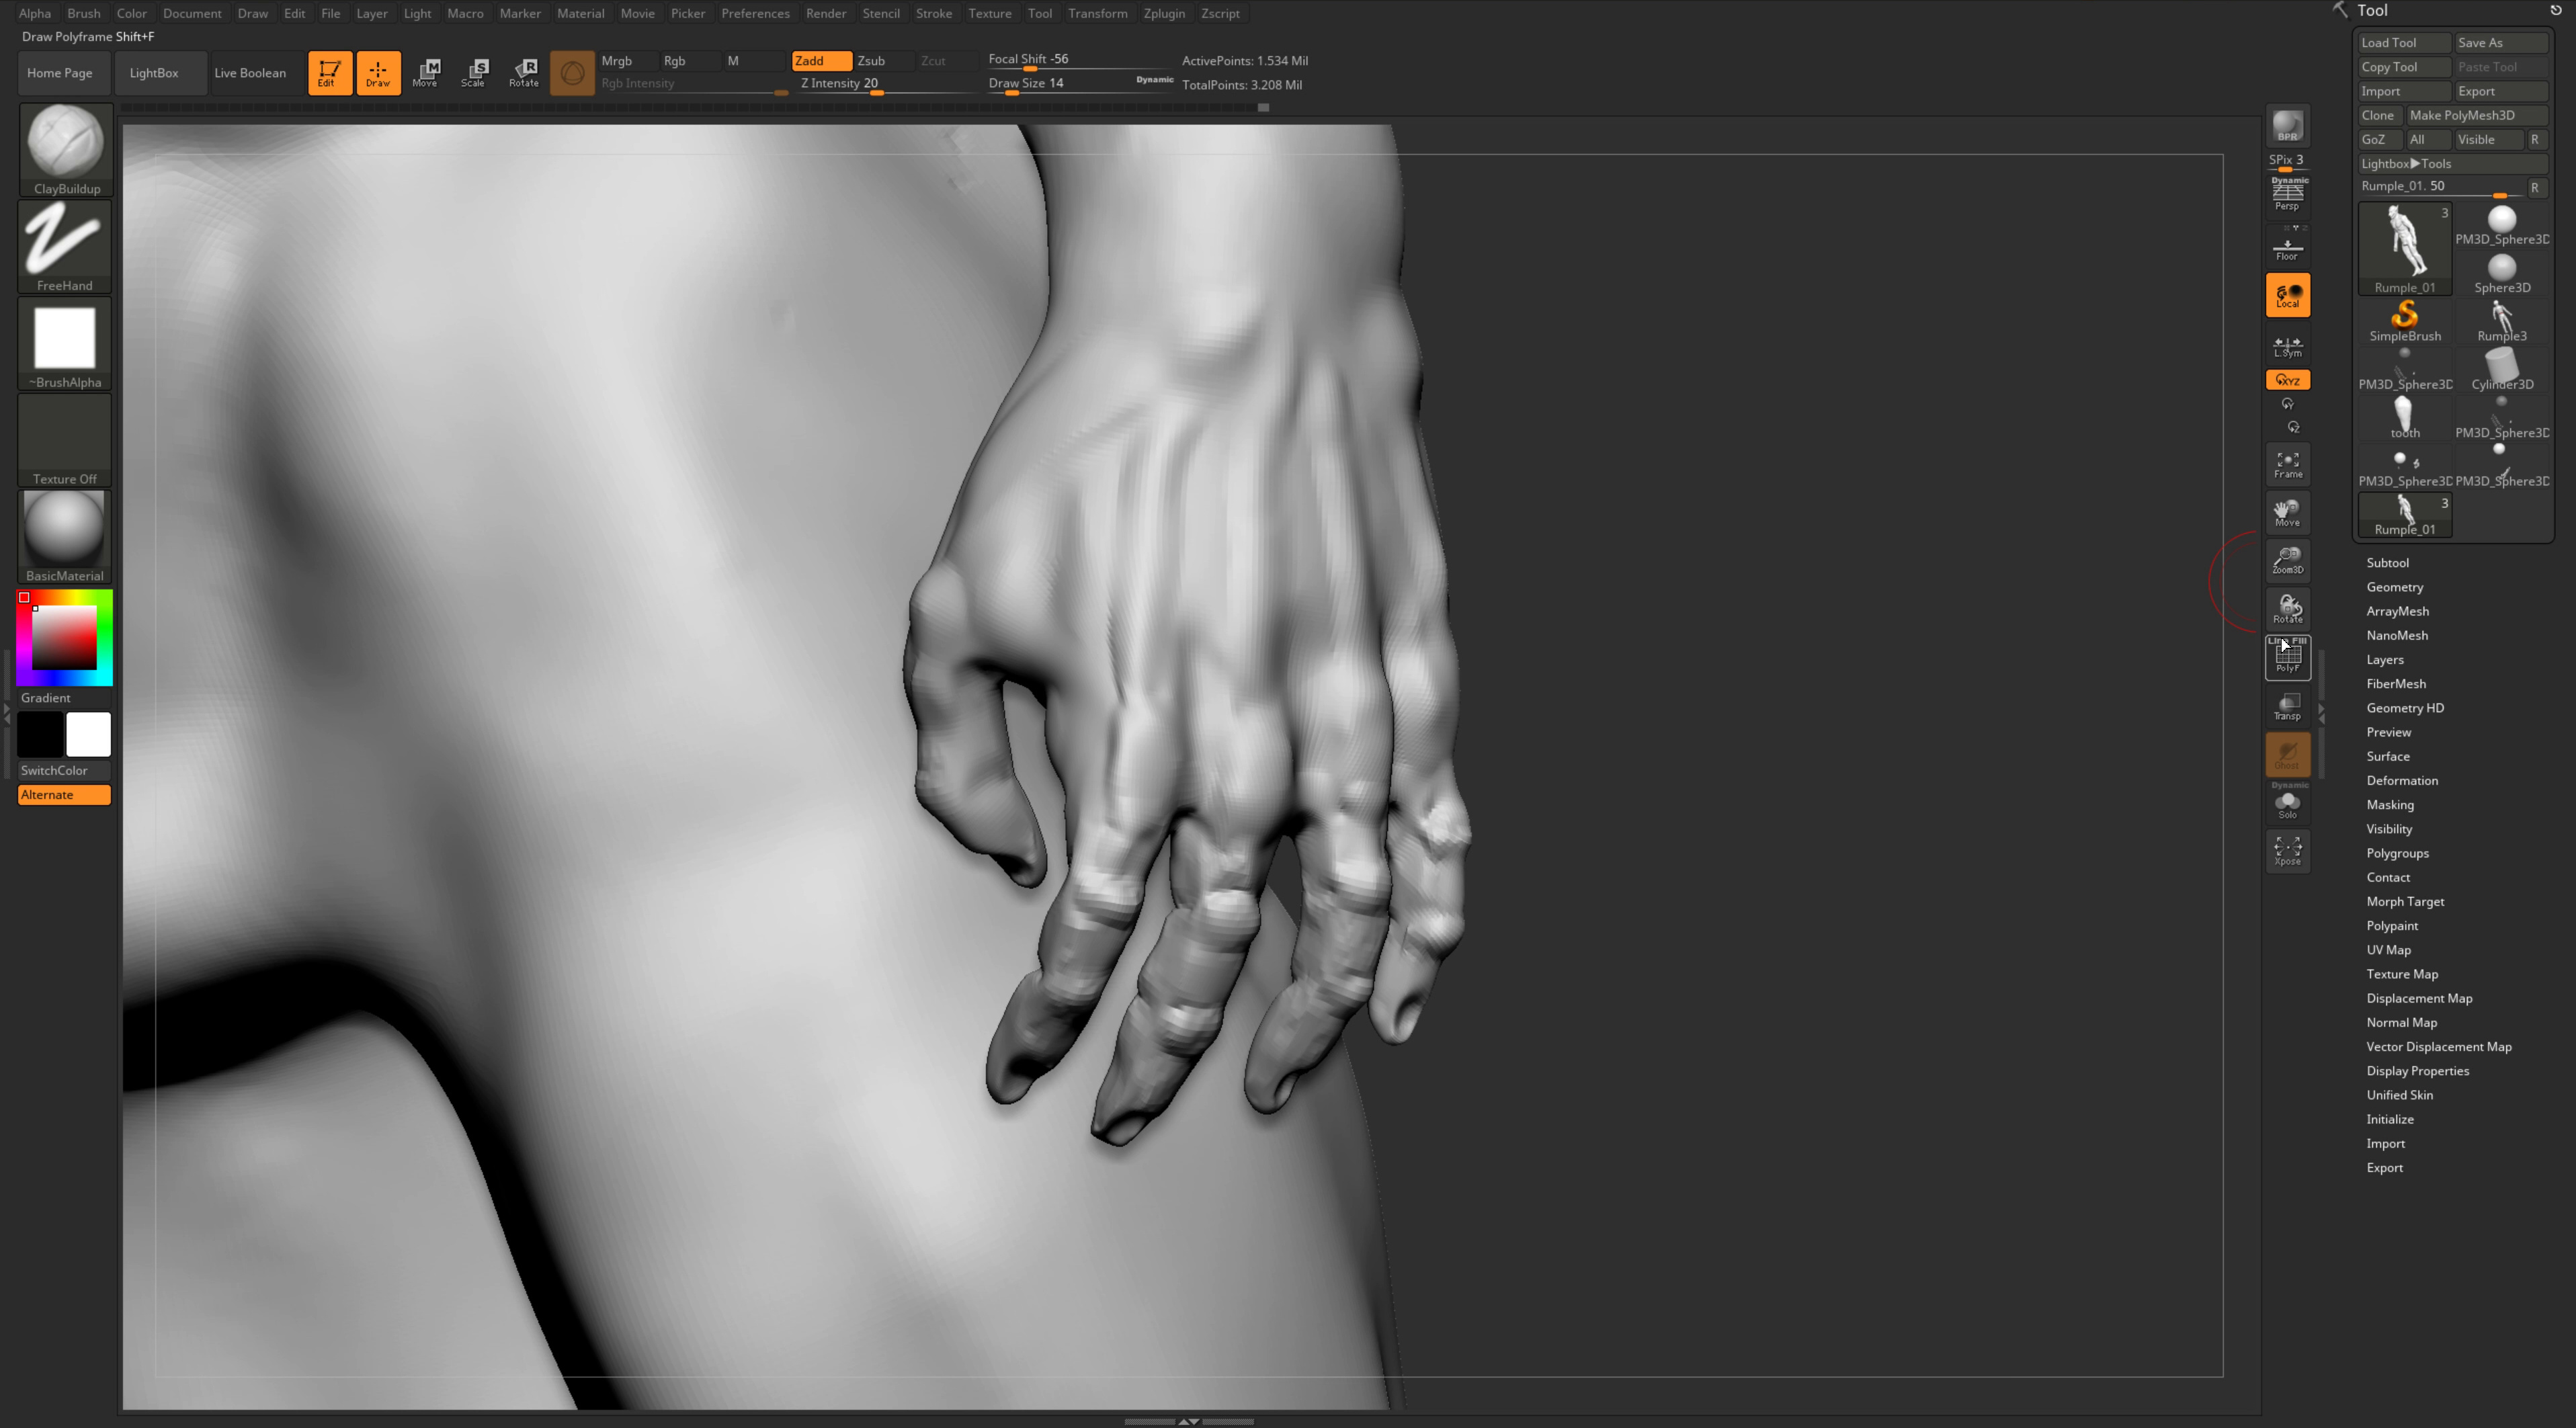
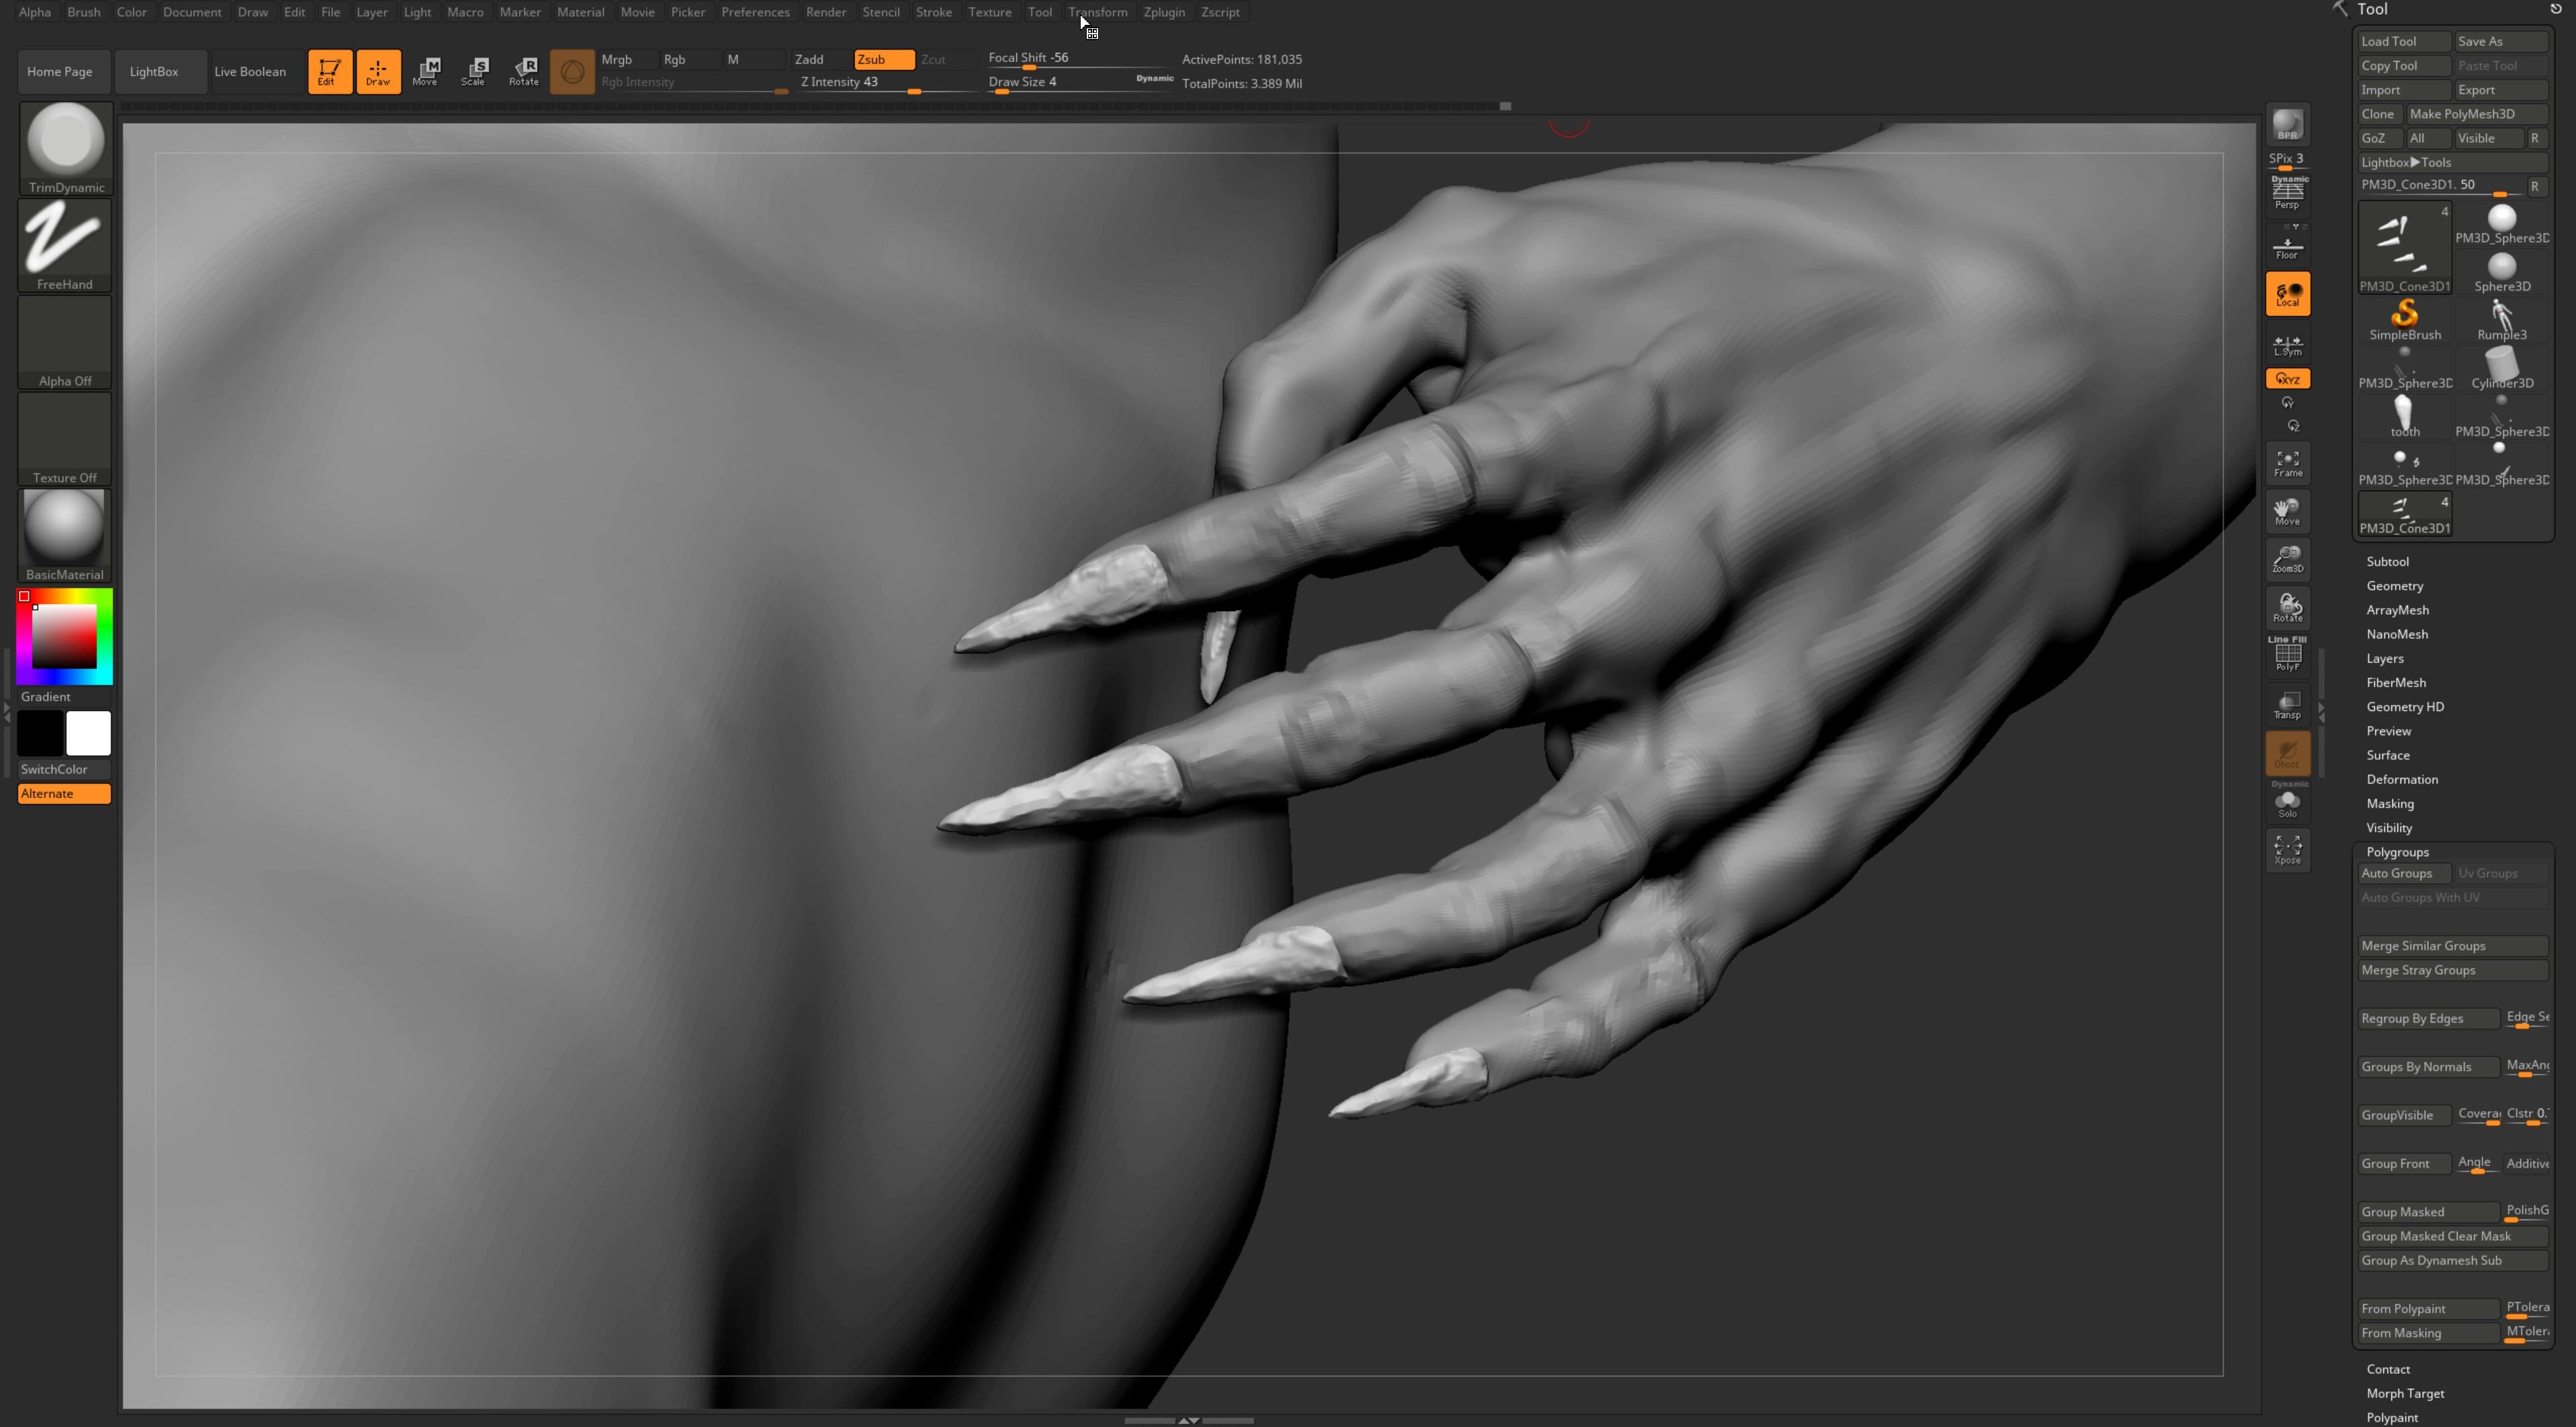
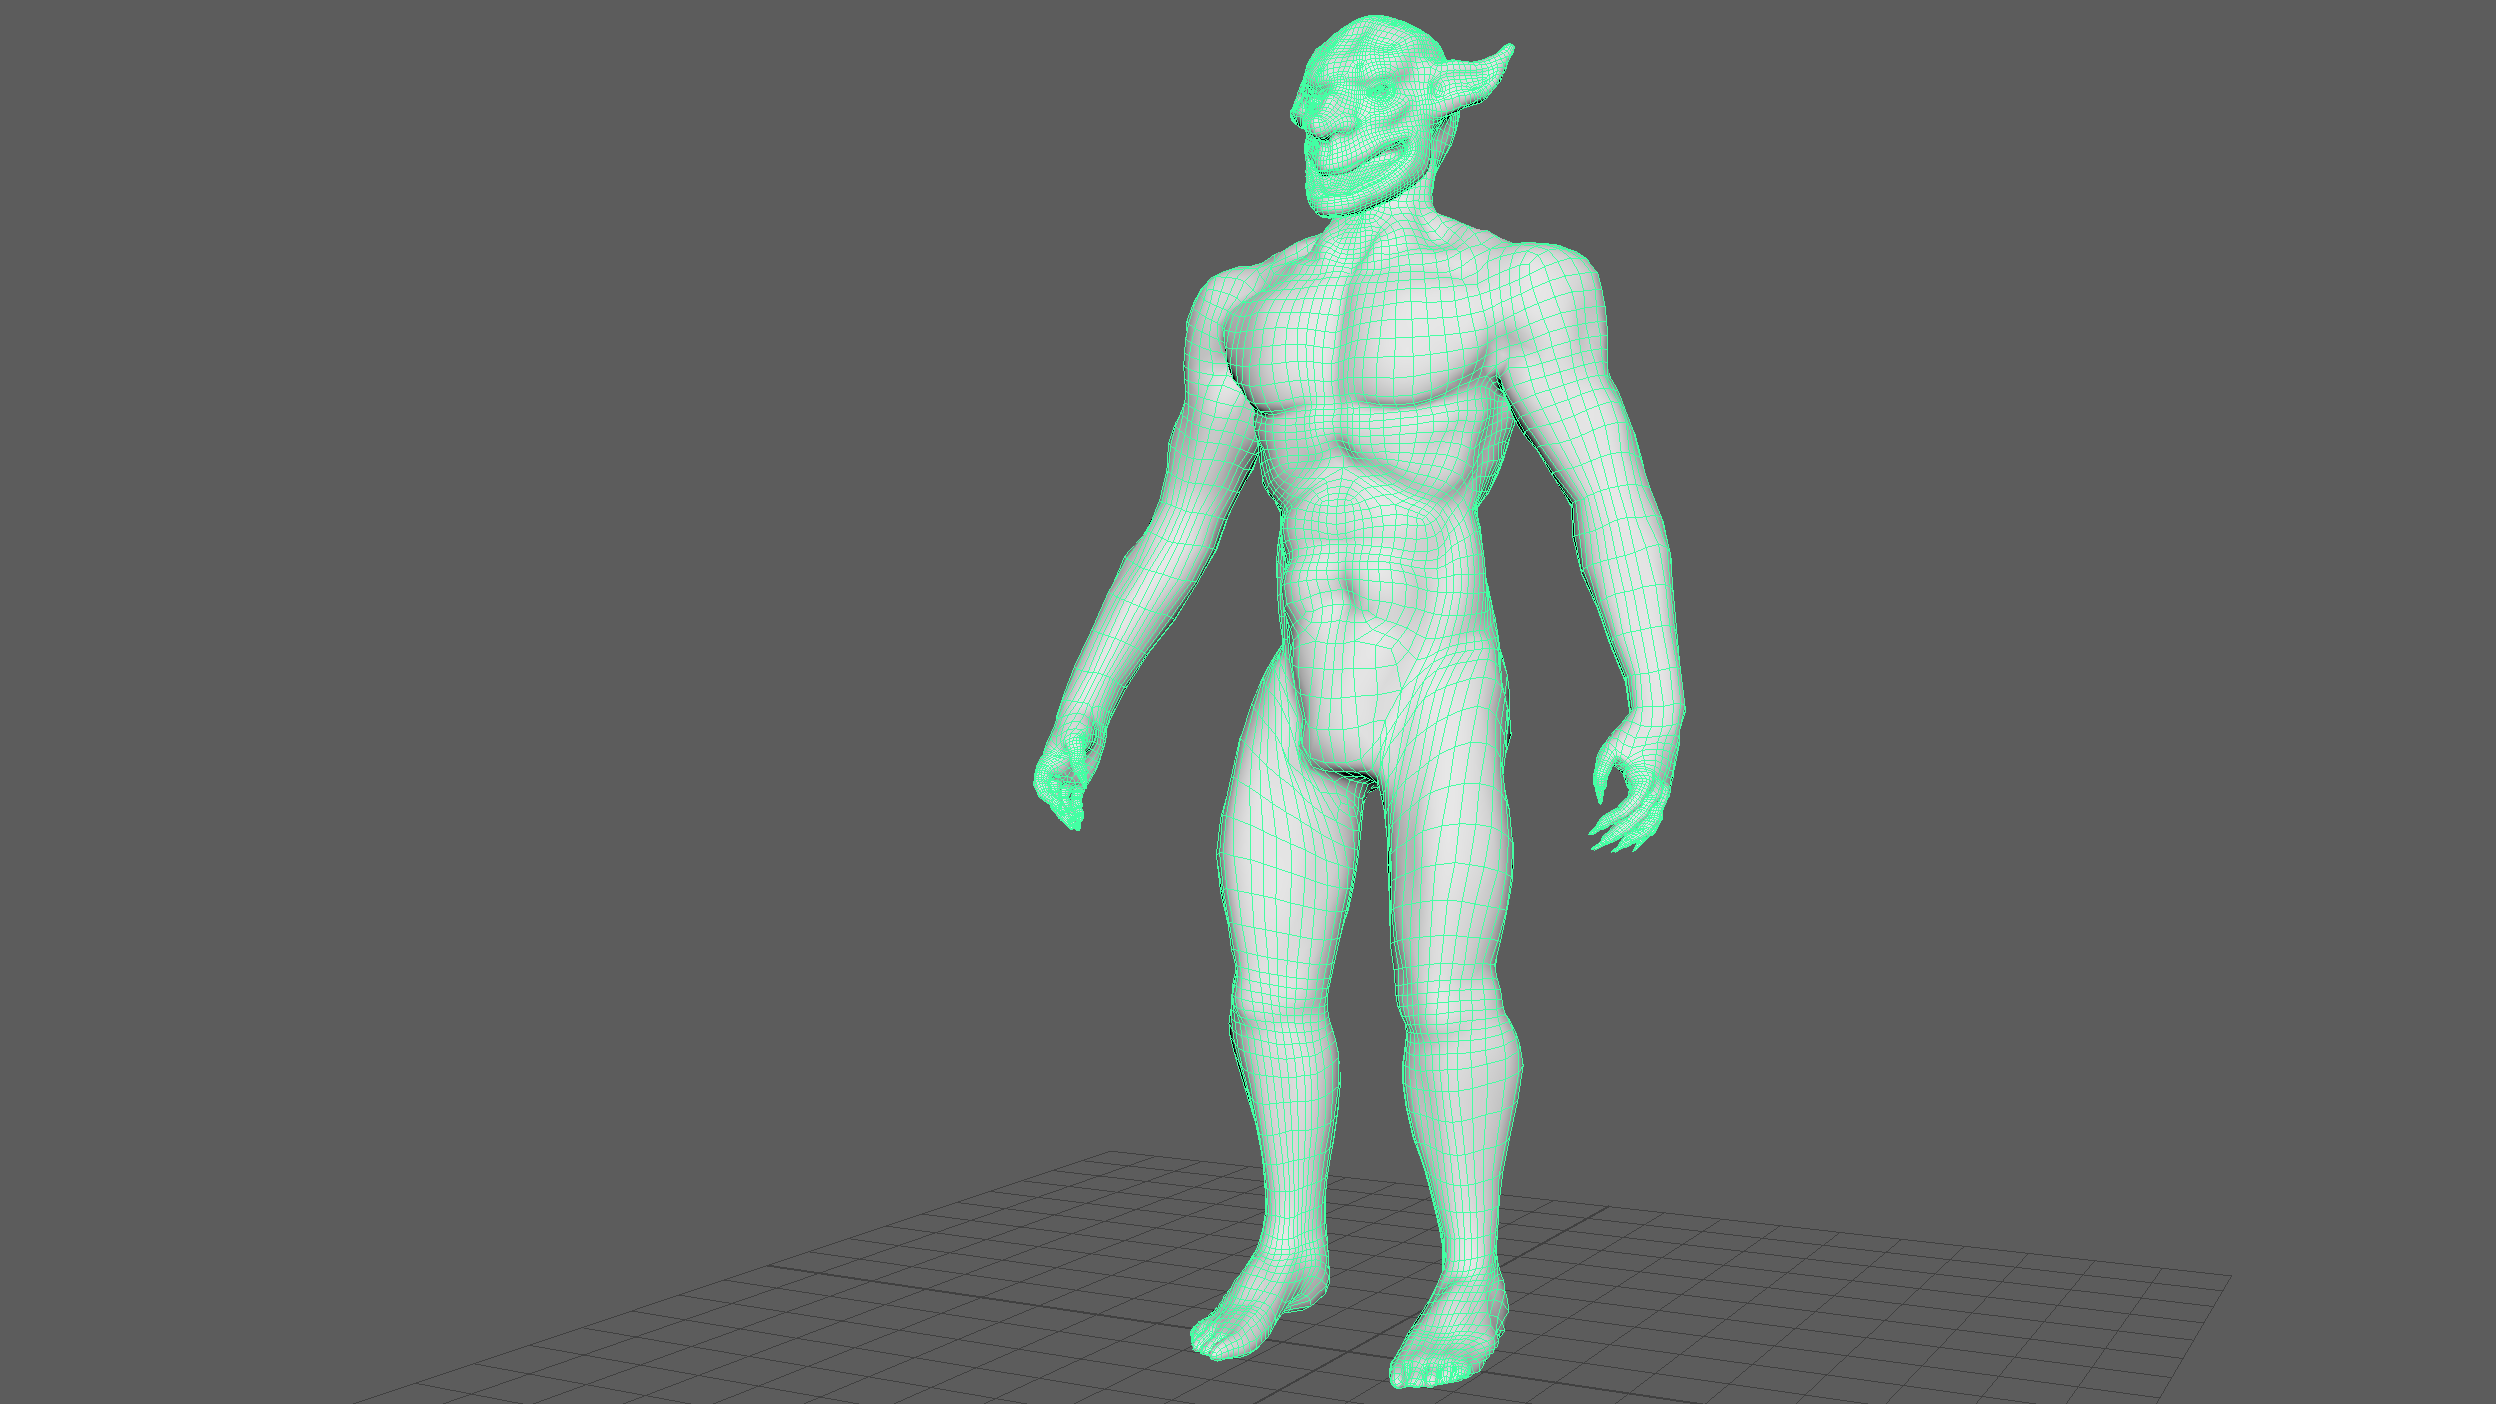
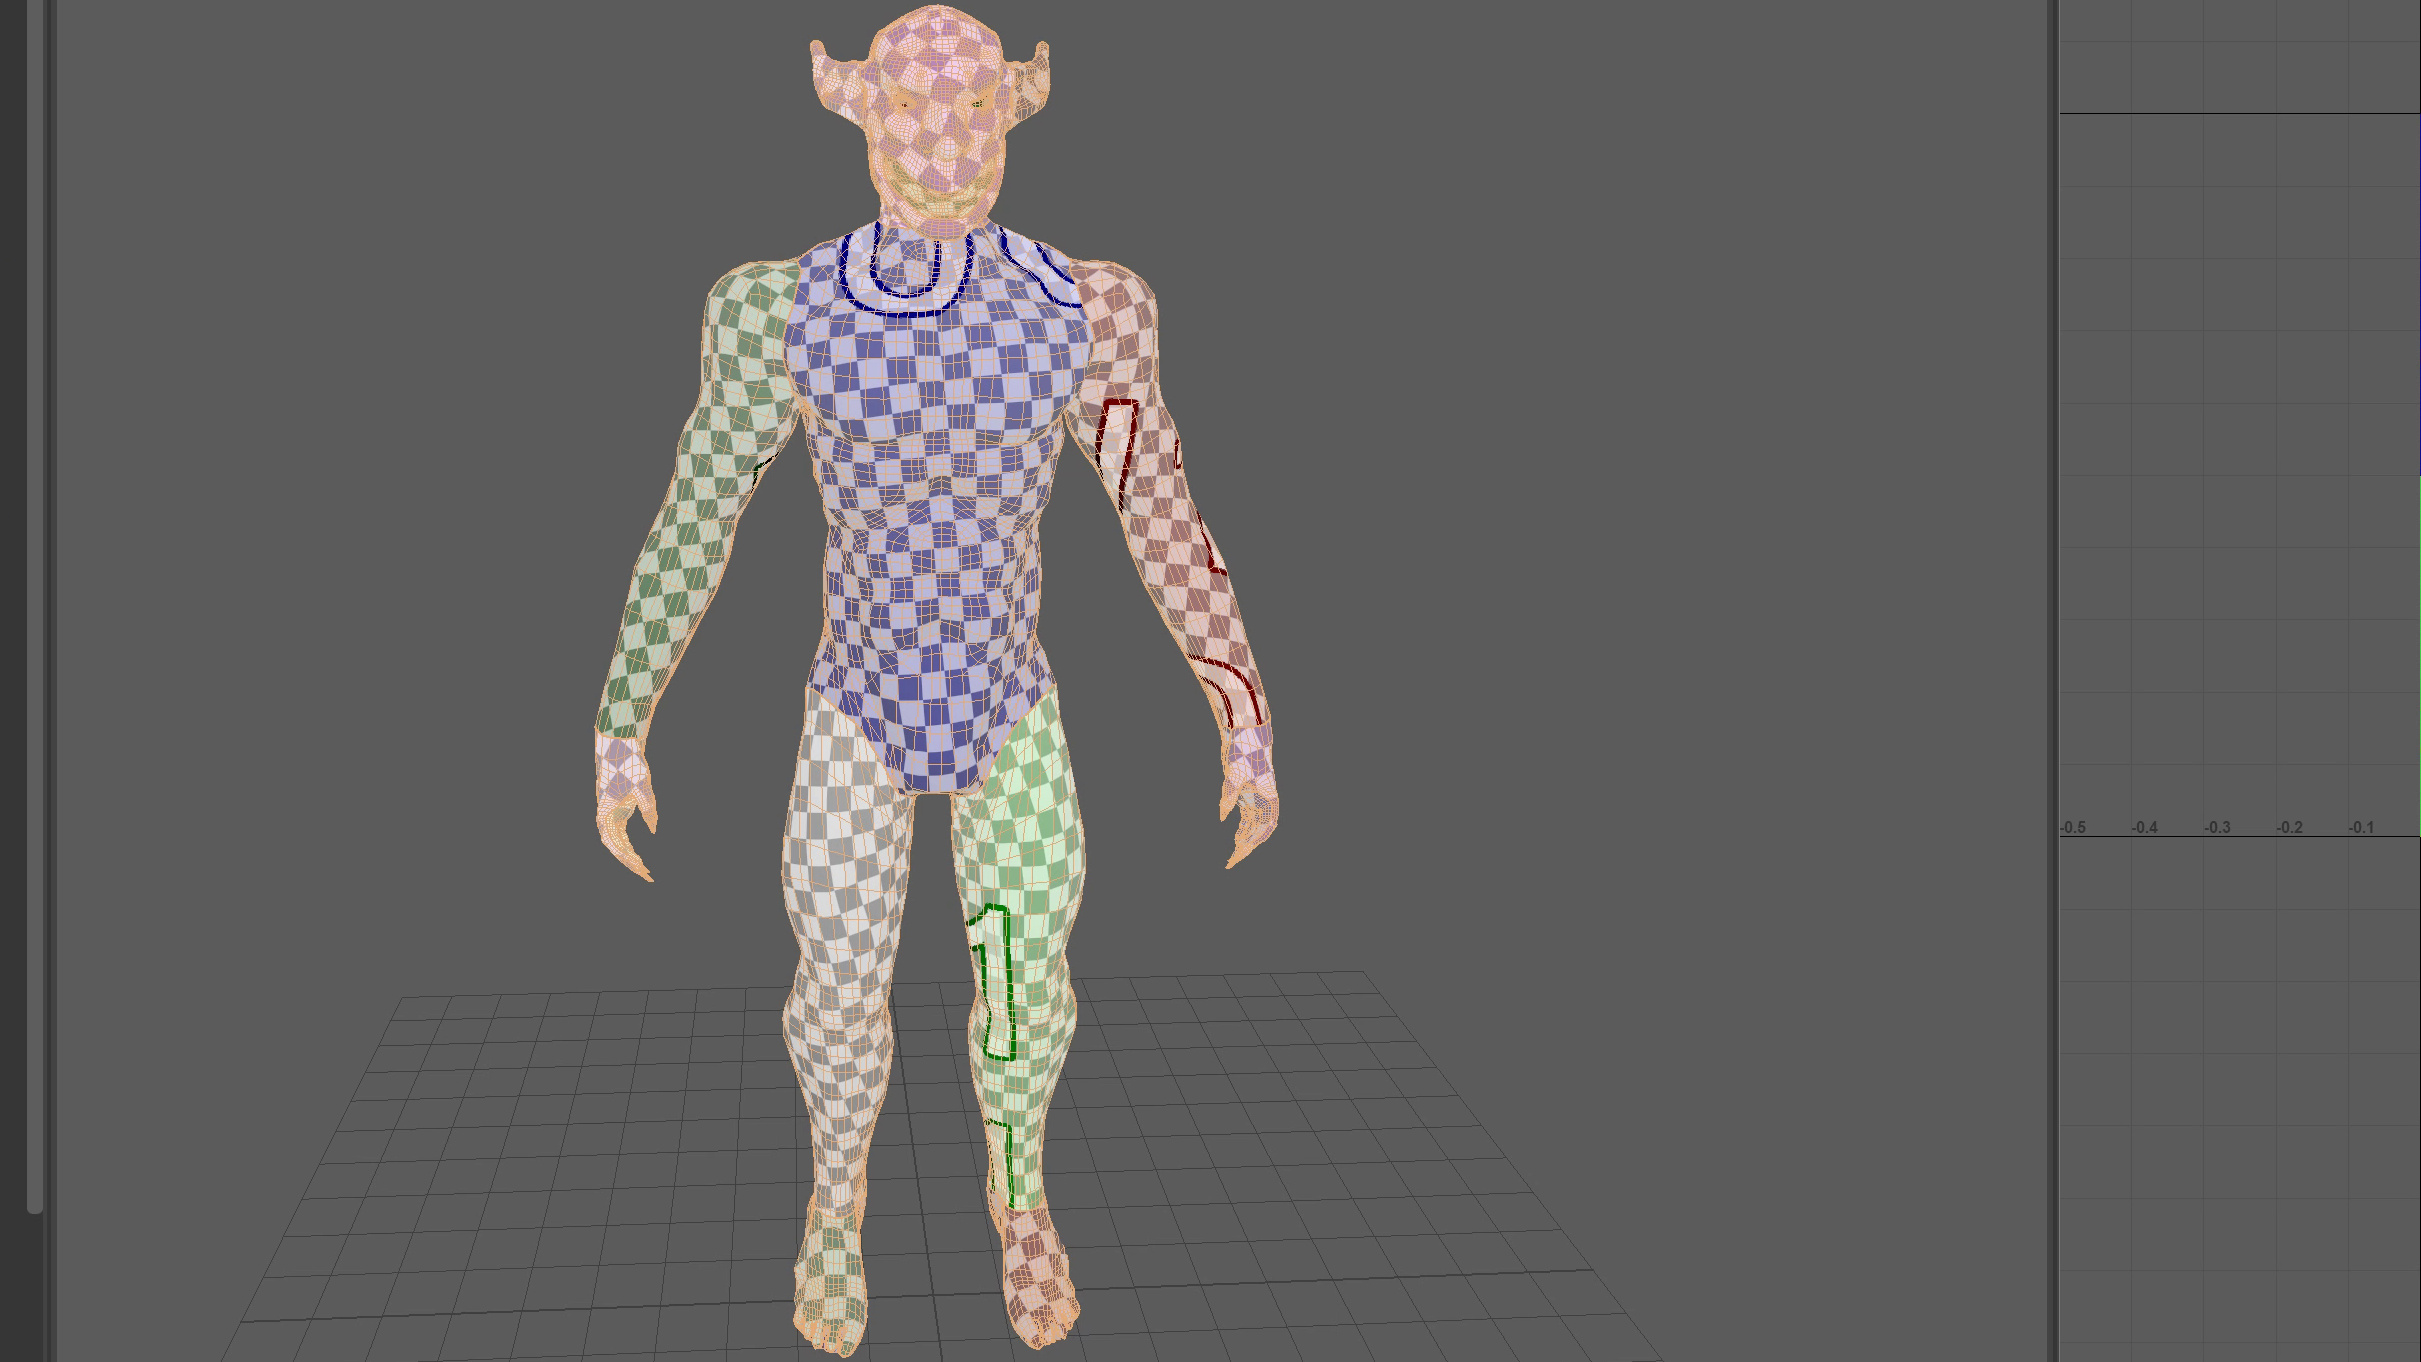
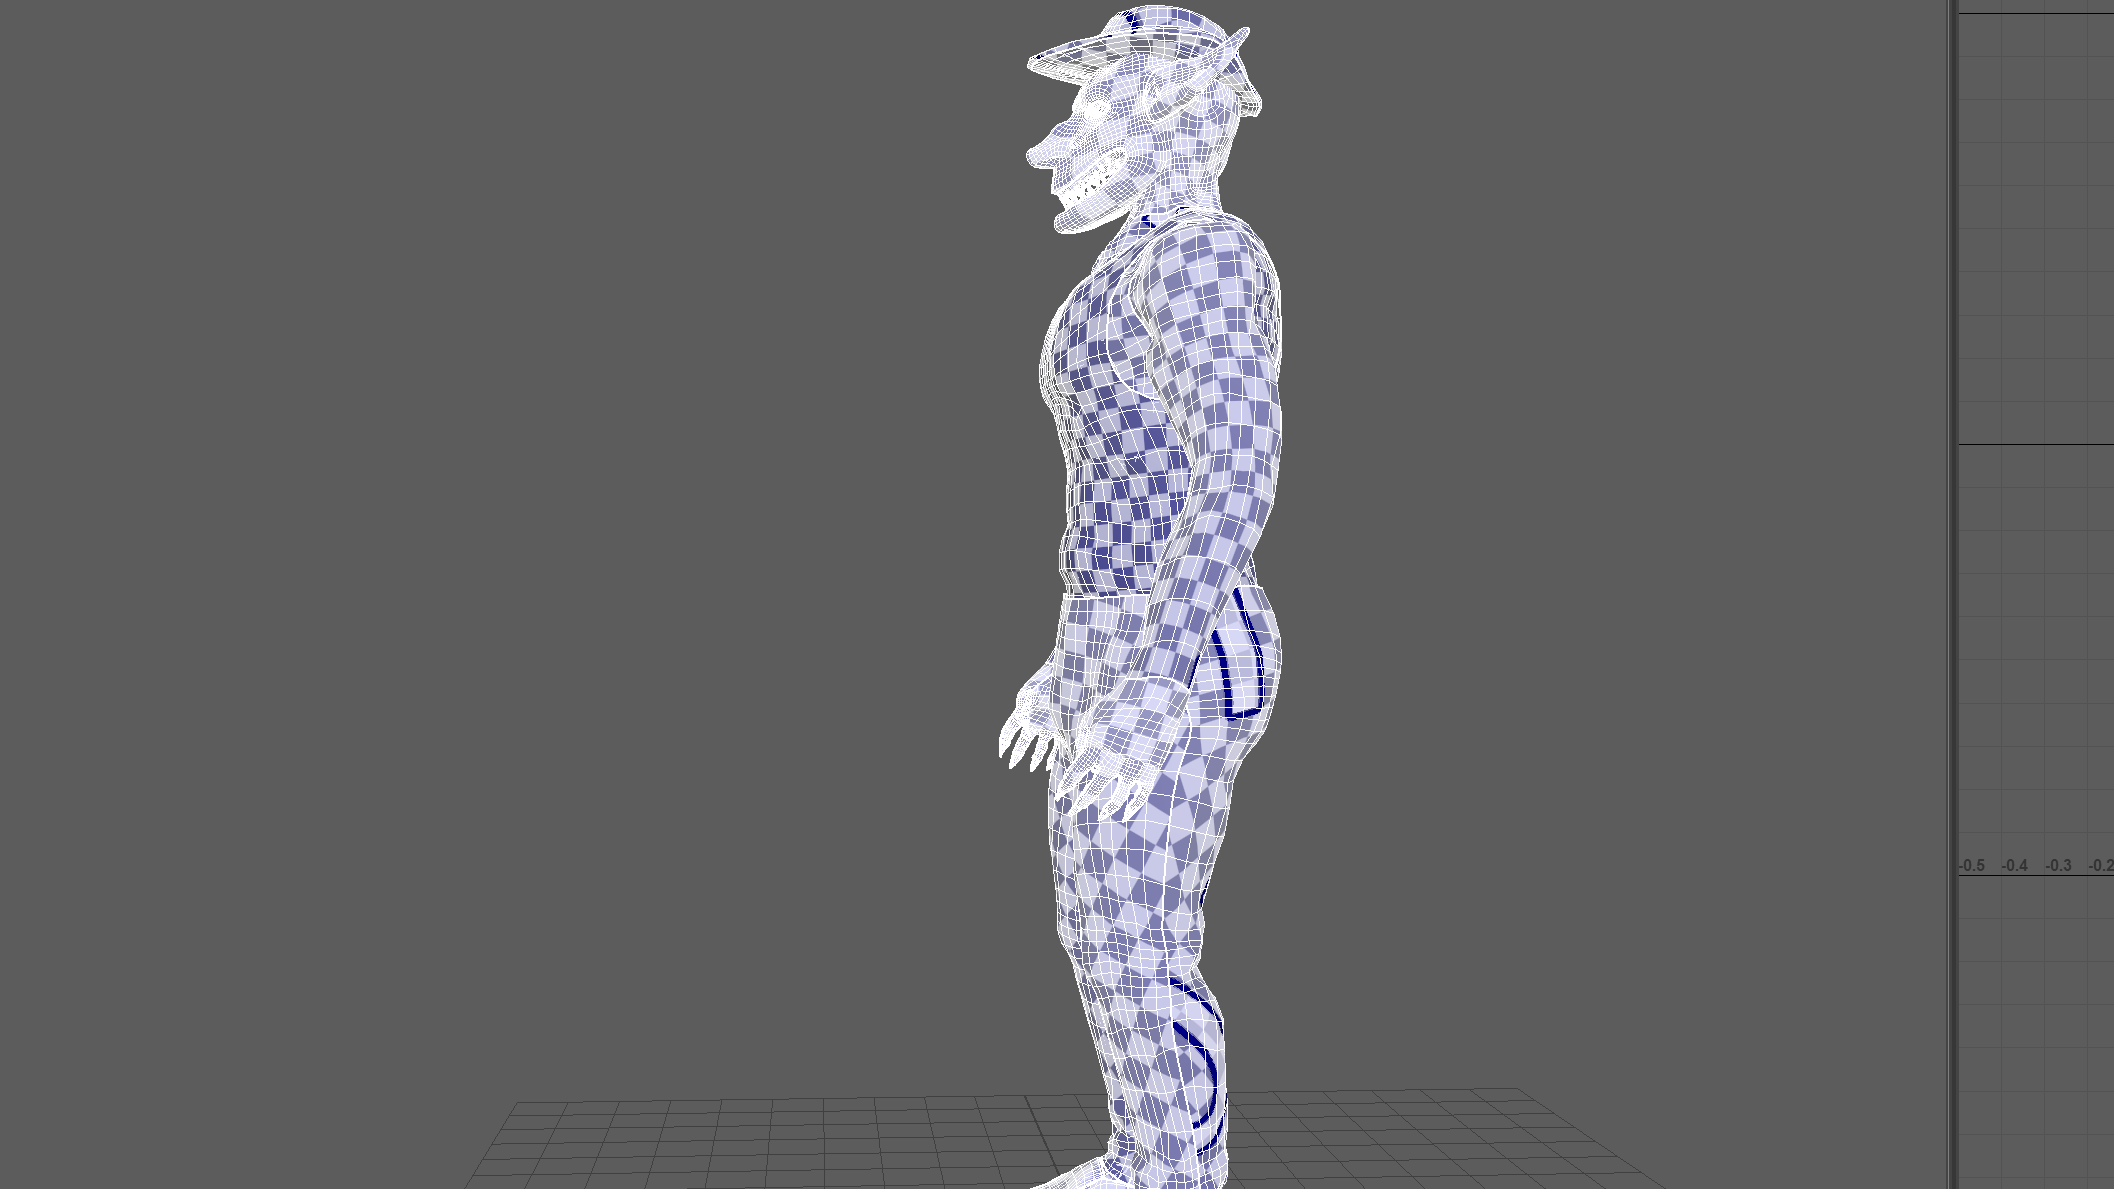
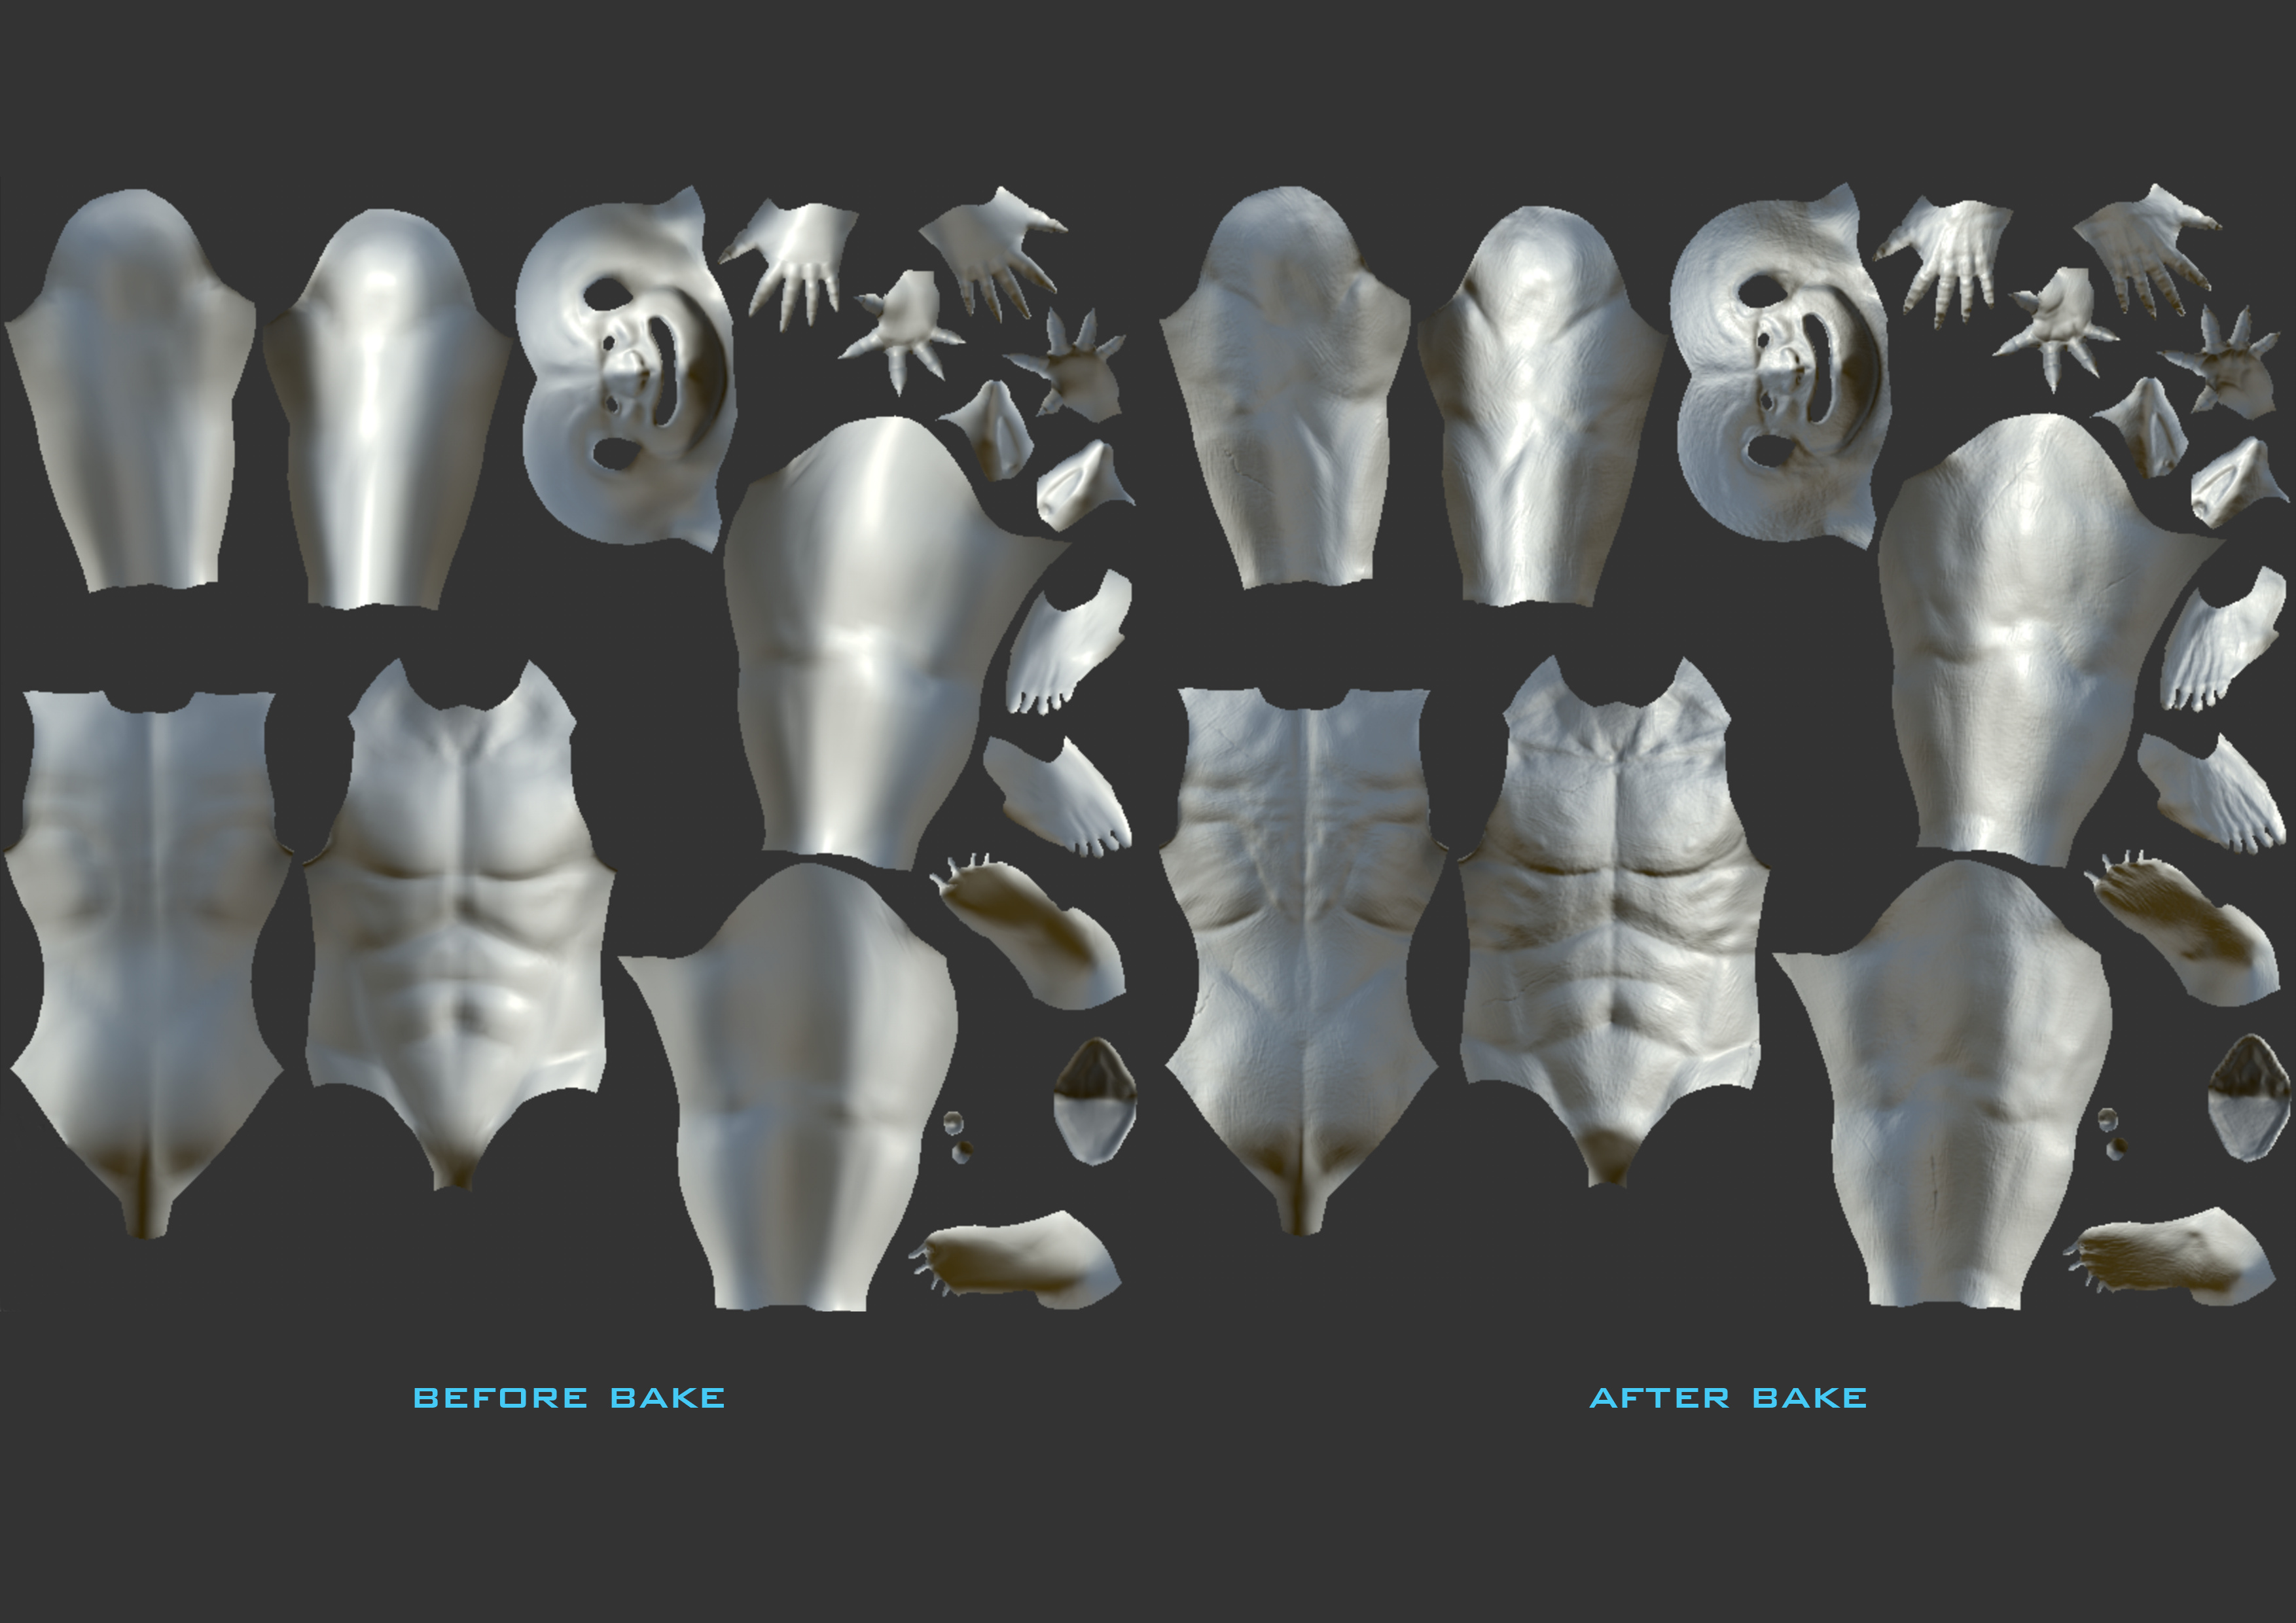
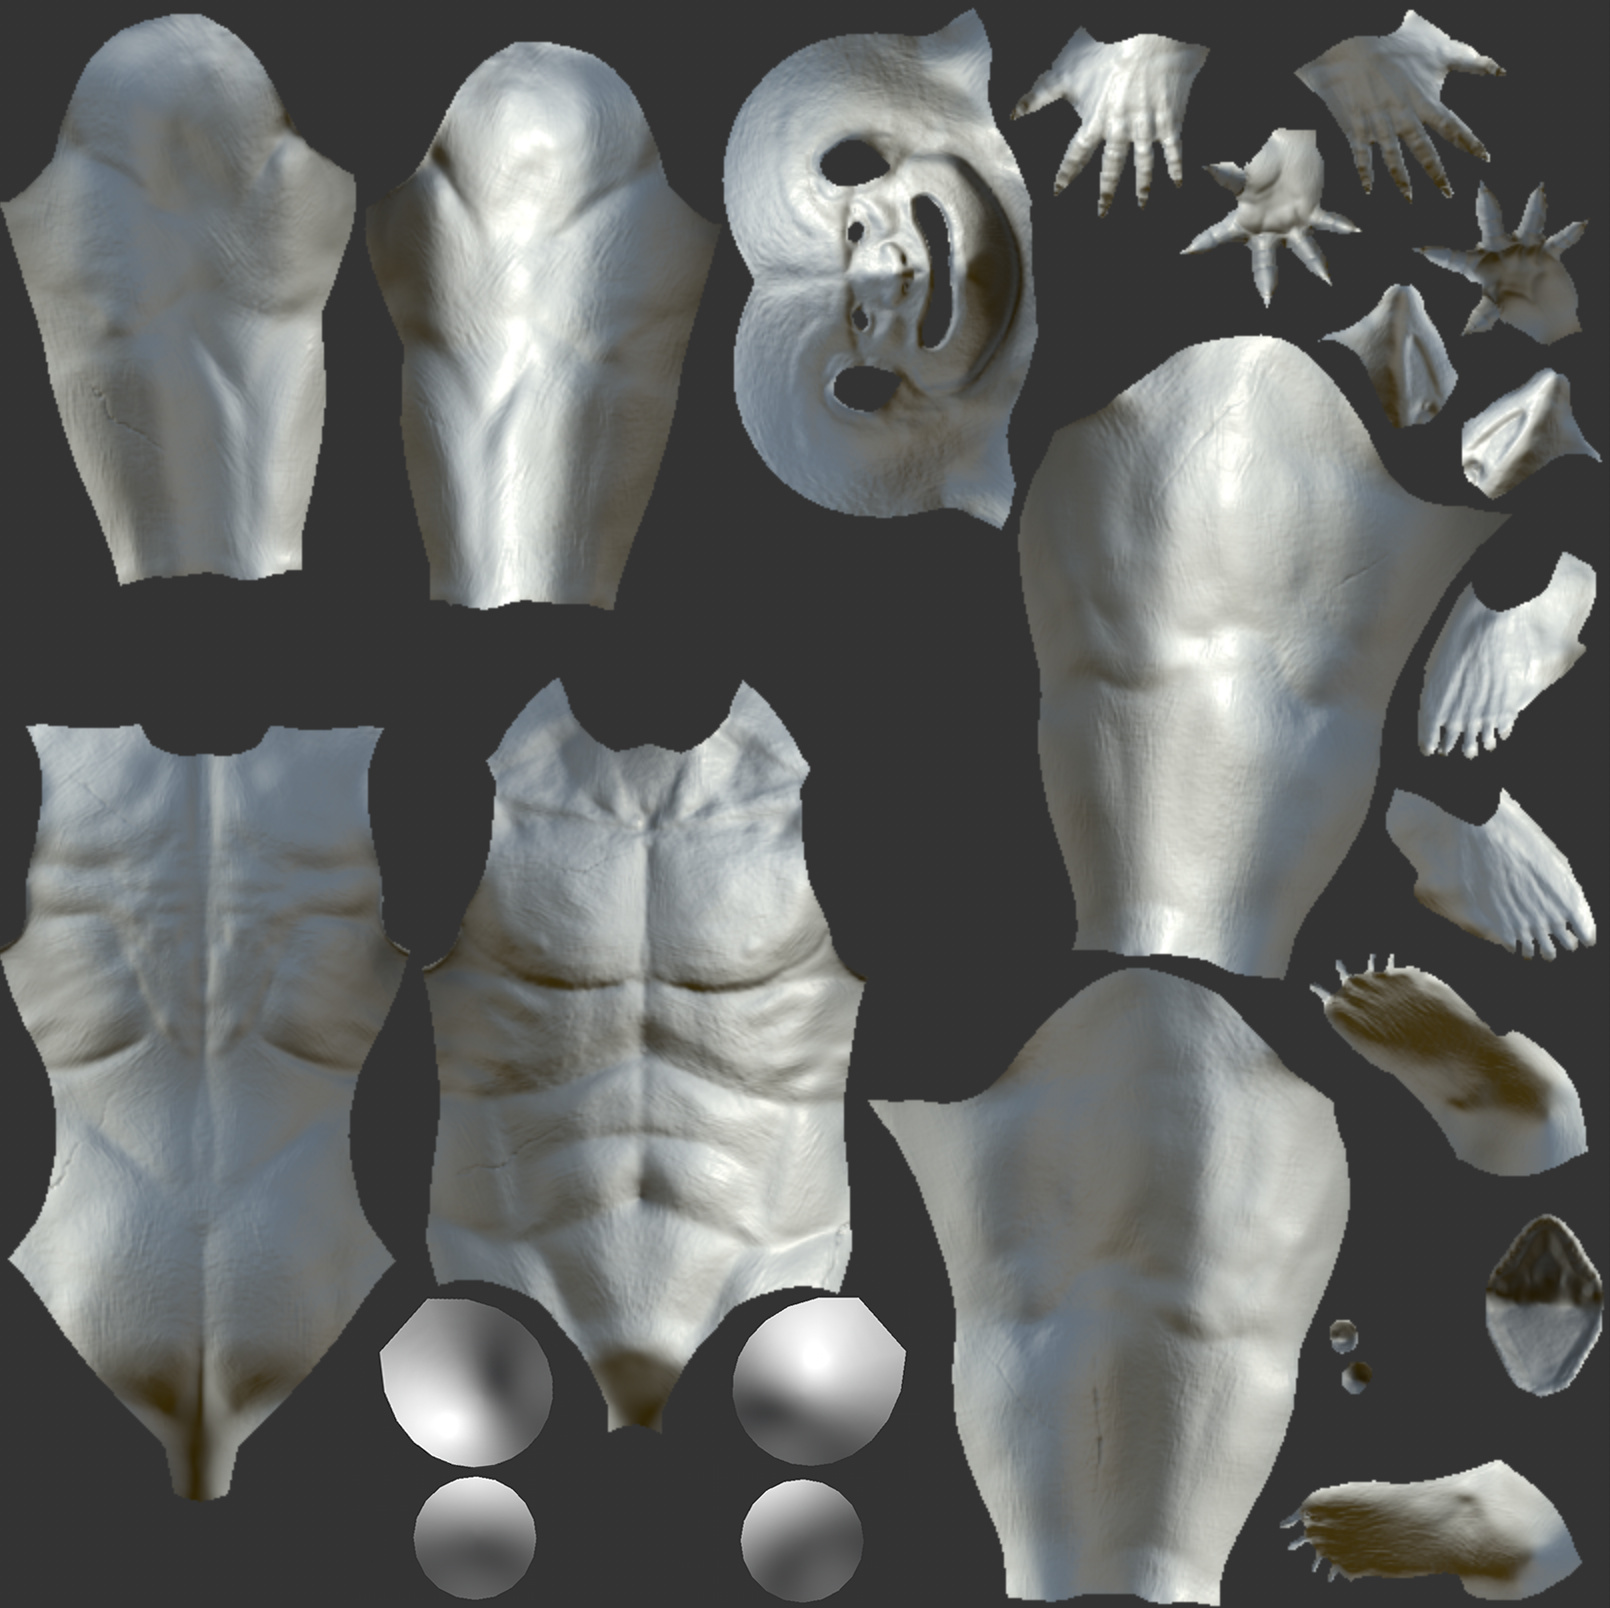
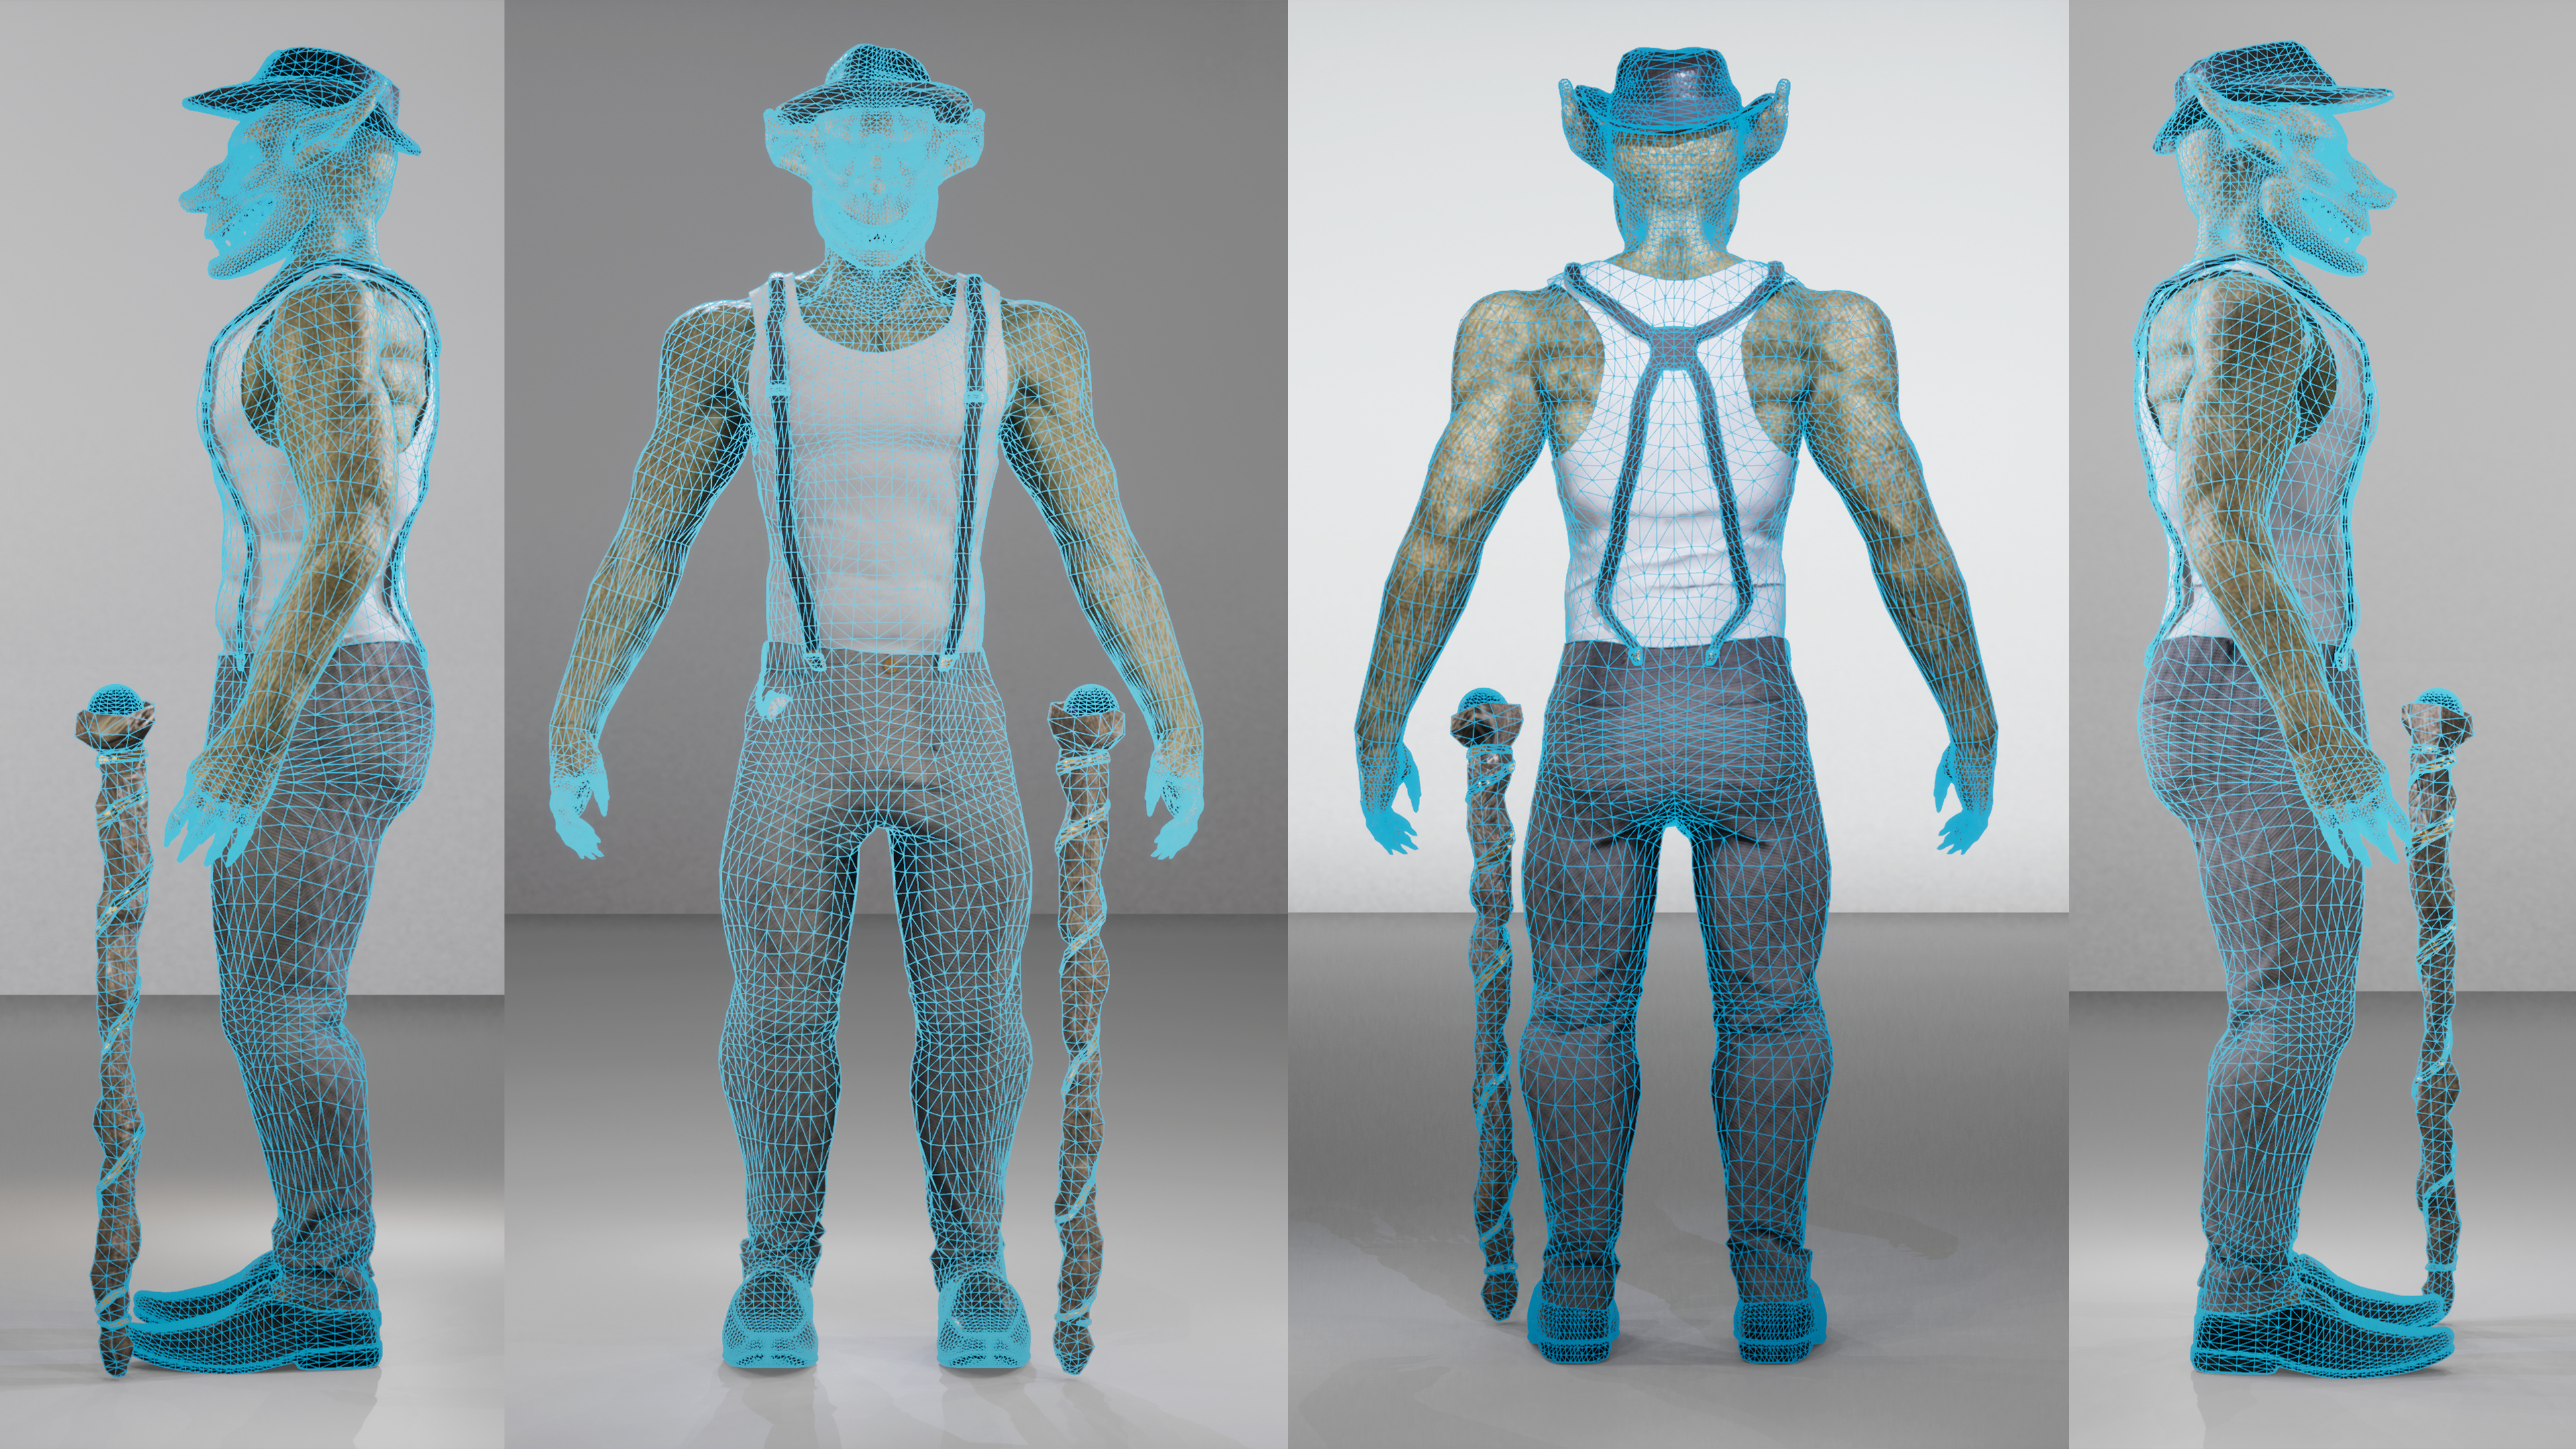
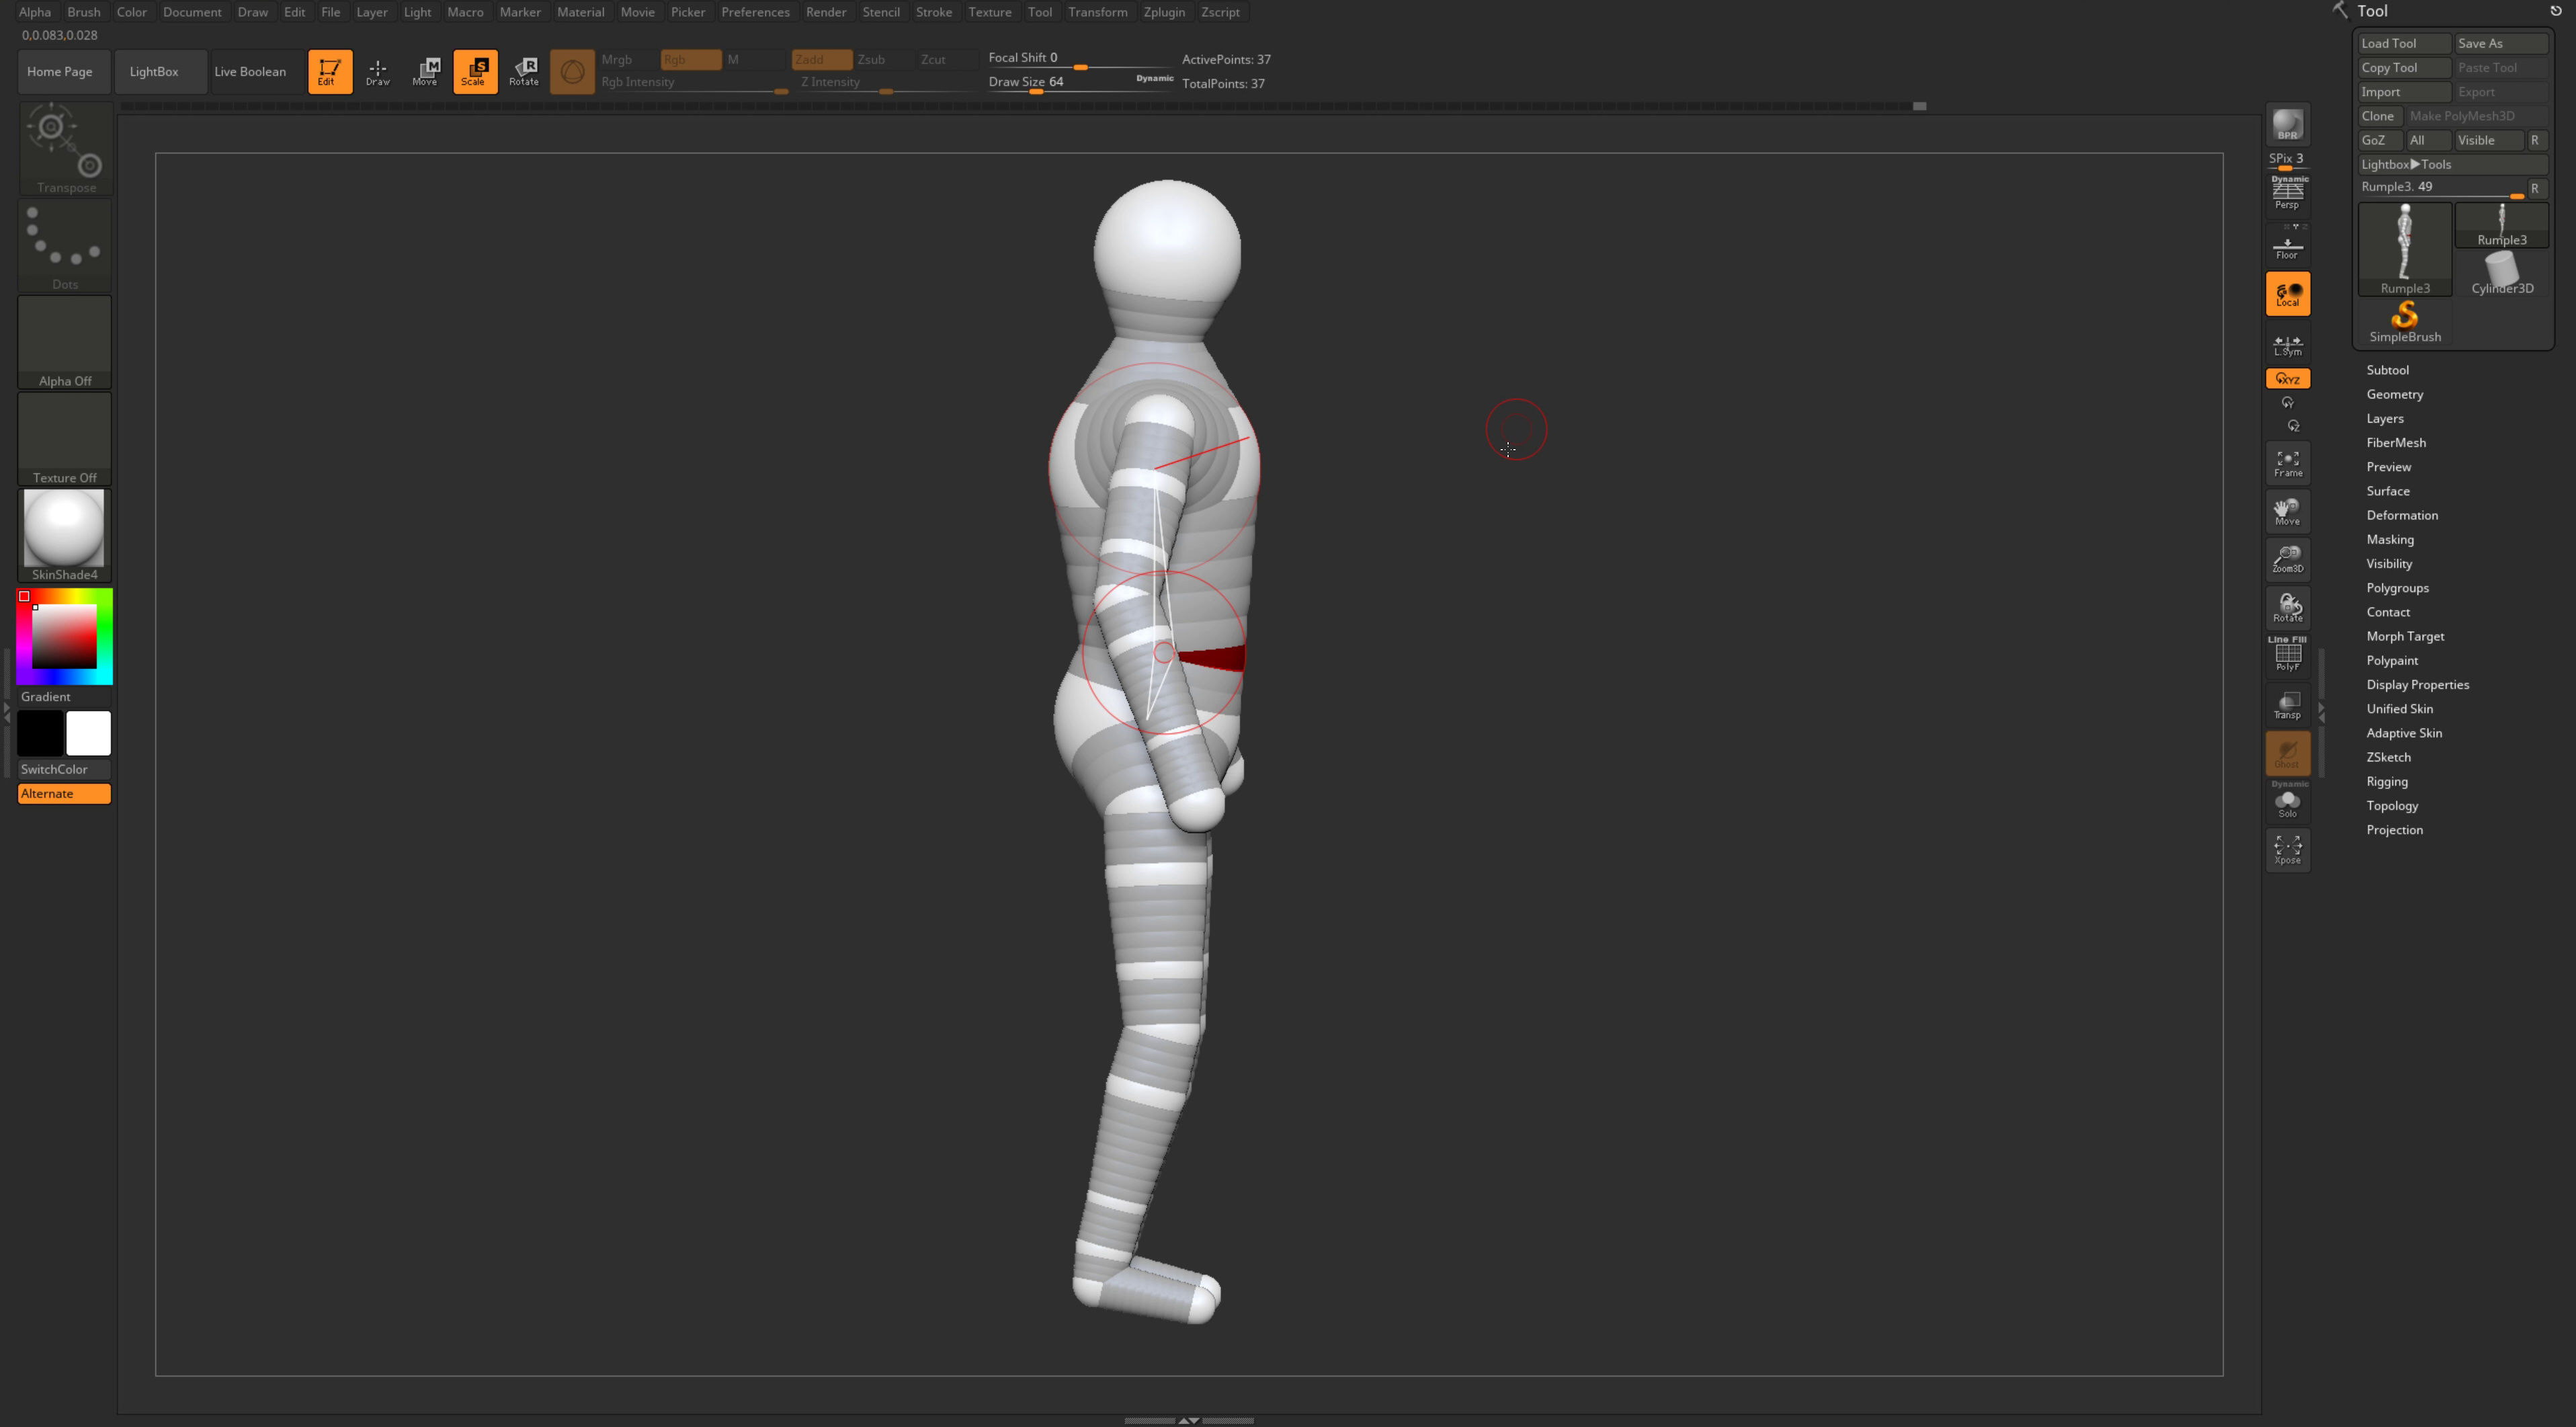
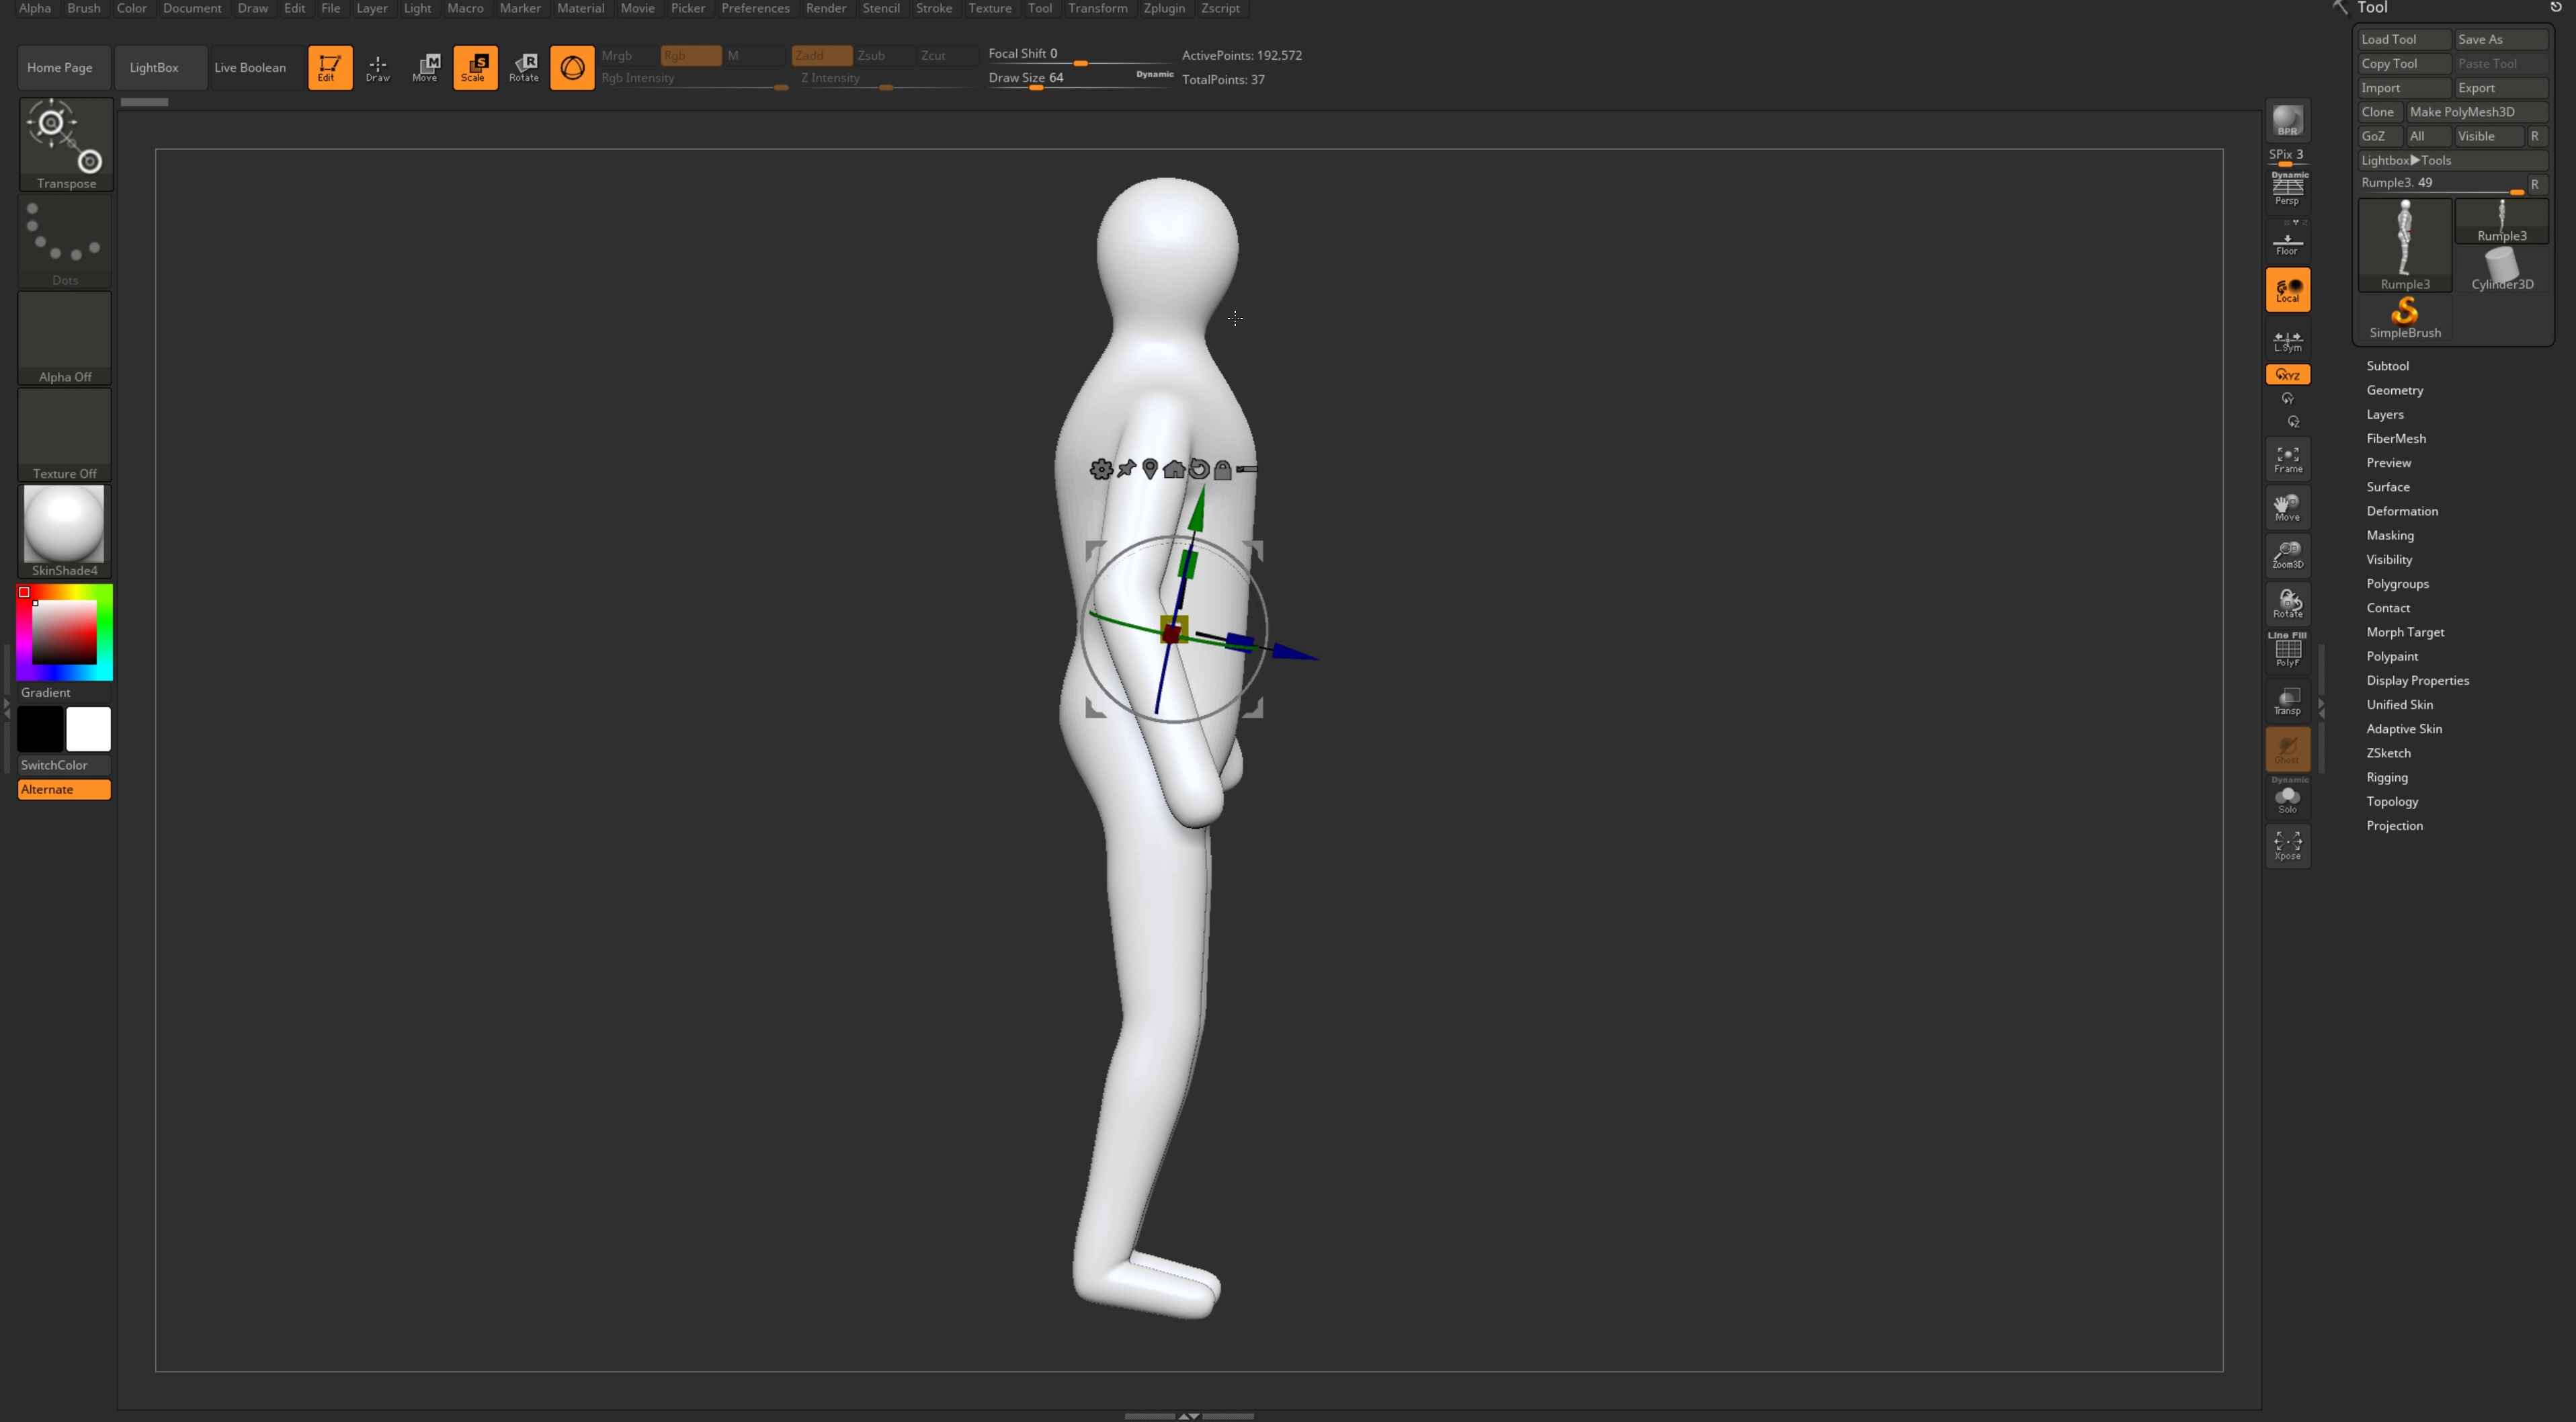
To being the sculpt I used the Z sphere method where I created a quick form of a bipedal character. I used reference images over the see-through feature on Zbrush to help sculpt anatomy along with muscle proportions in other references.

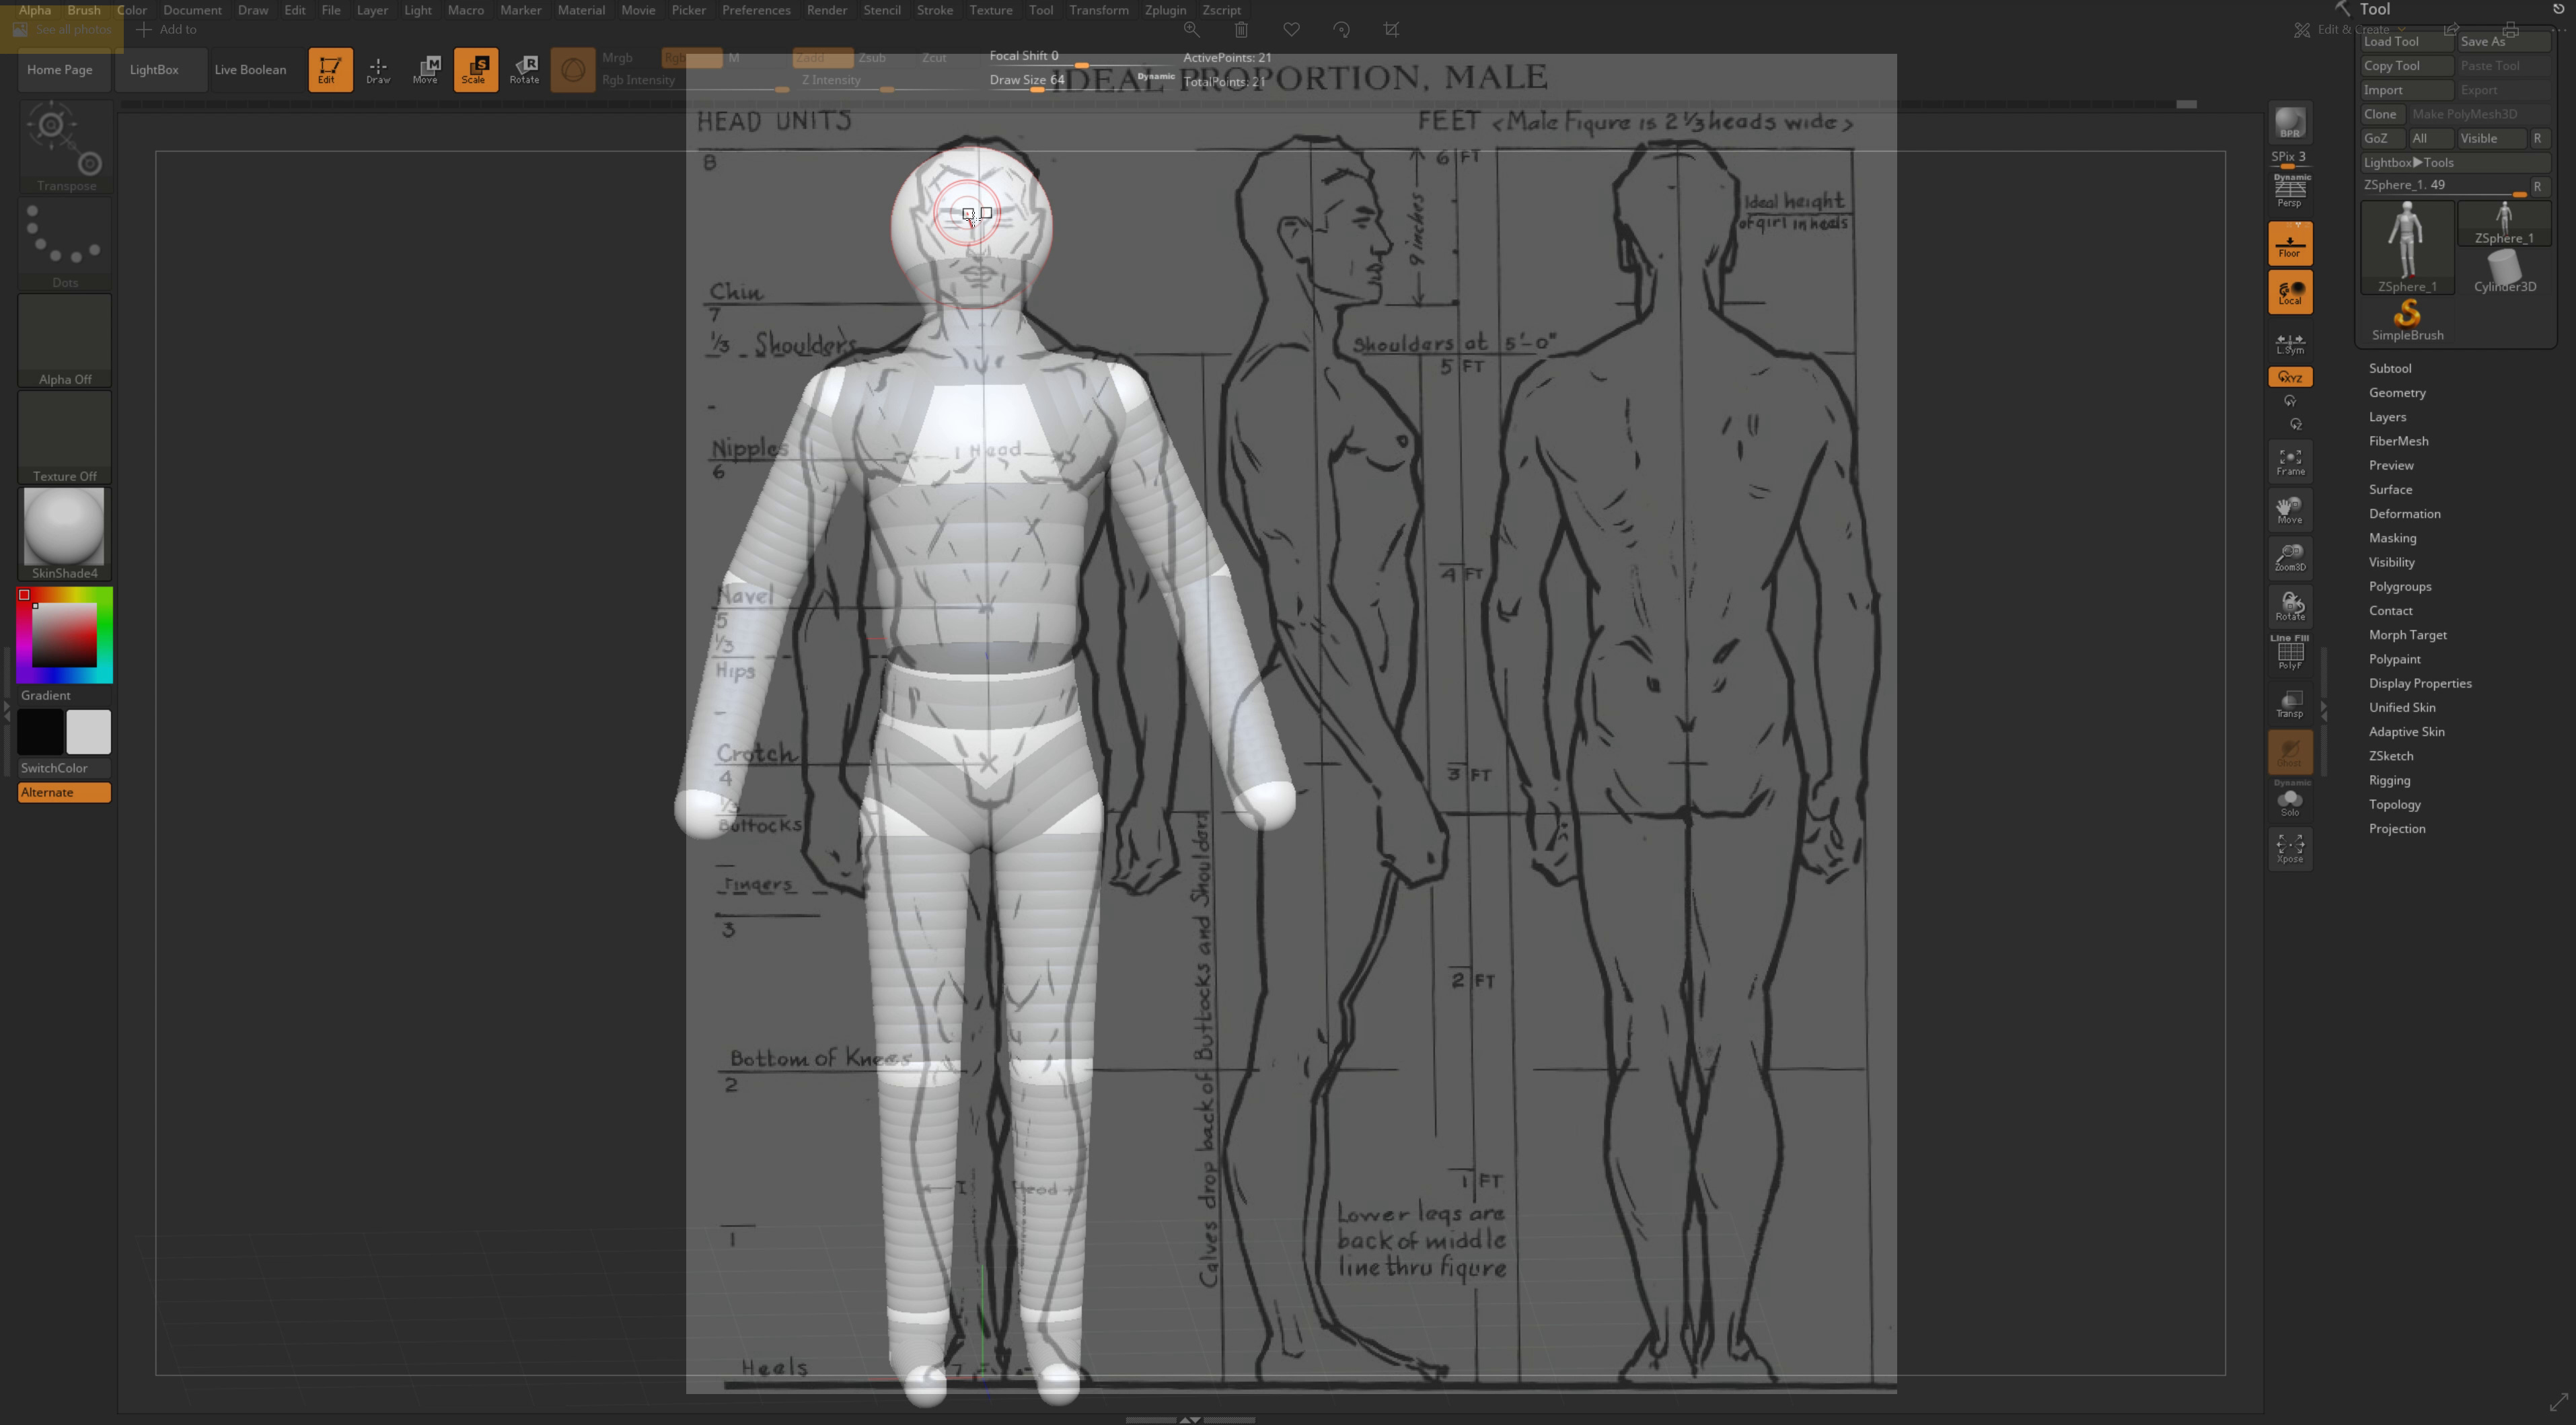
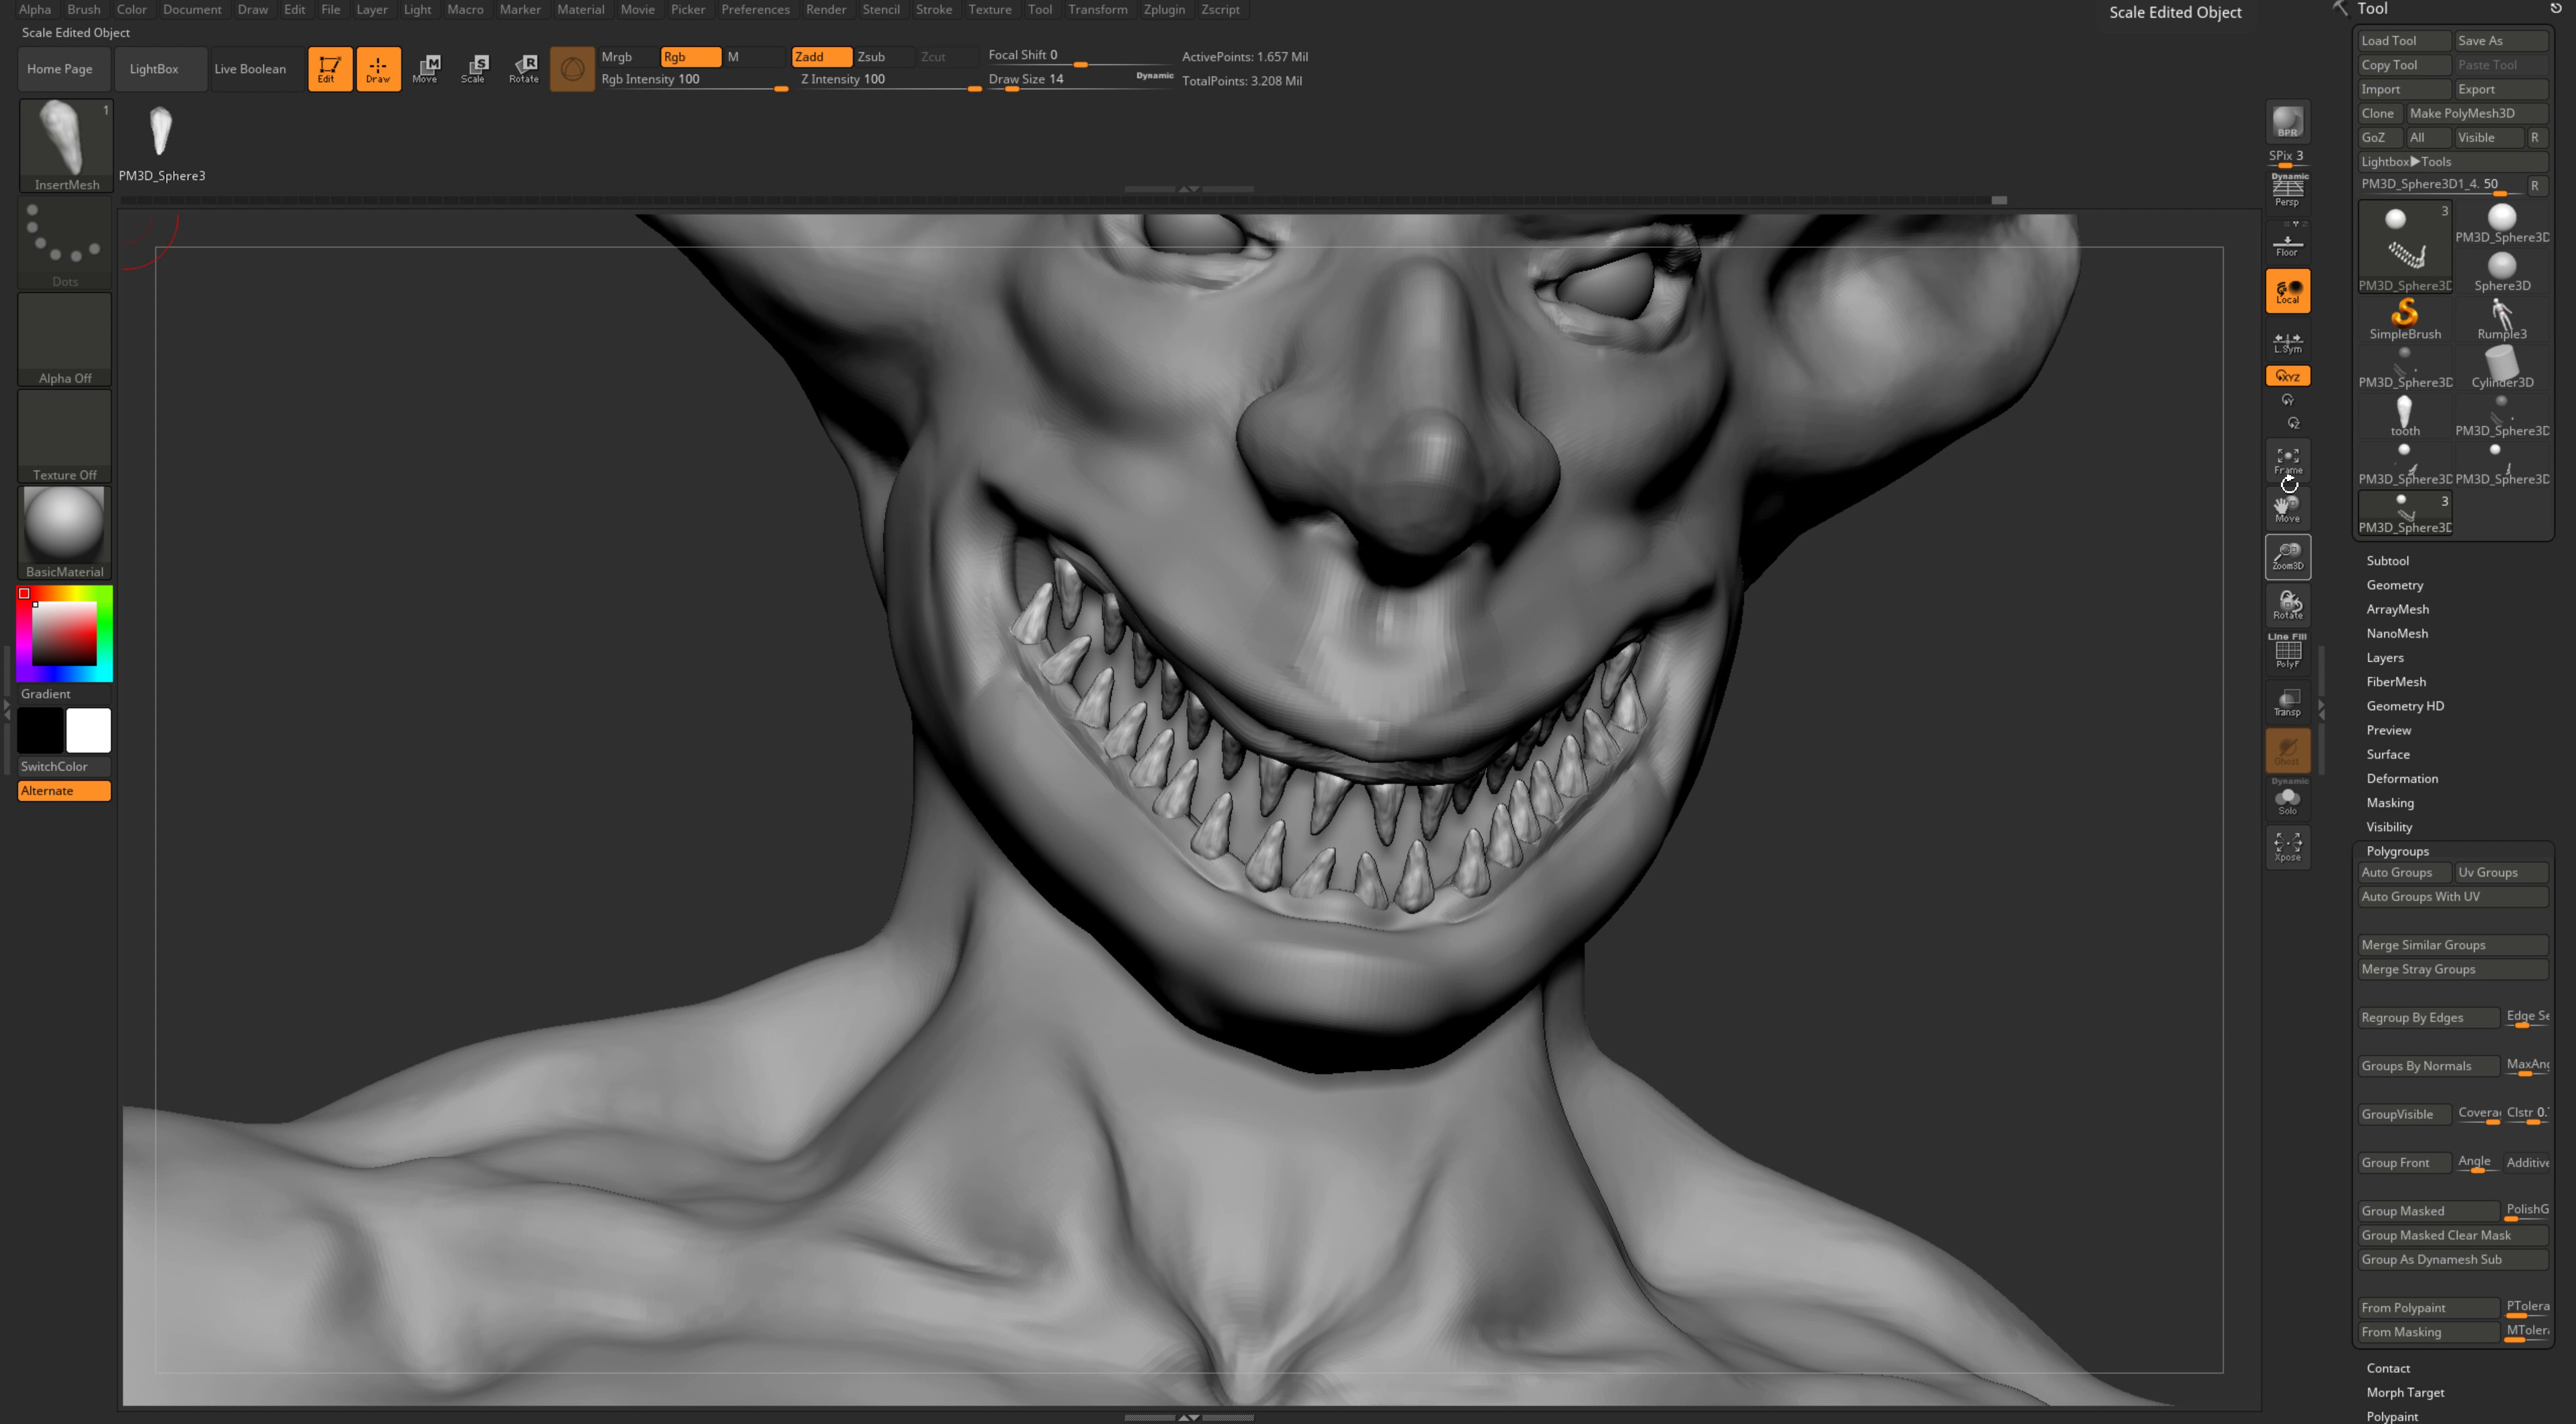
The character’s prime looks come from a combination of a lycanthrope/homo sapien crossed with a goblin. So, I then further began to block out and sculpt the anatomy of a human male on the figure along with the other creatures’ features combined into the design.

3 Likes

More sculpting

I’ve begun to add some more detail today into the sculpt. Especially to what I find to be the more challenging areas such as the hands and feet. These are quite intricate areas that consist of many joints. The feet may be exposed in my design so I decided to add a little more detail to them. They are not split into individual joints like the fingers; as that would be an unnecessary rigging nightmare!

I have also begun working on the face. I blocked out and sculpted features into it and I will further refine them later. As you can see from the face design I have gone with the mixture of a lycanthrope, Homo sapien and a goblin style of aesthetics (as stated before) because I envision Rumplestiltskin to be quite mythical in his looks but still recognisable and approachable among humans. I also think his appearance has to look compelling to those around him to intrigue them into knowing more, which draws them into his trap.

More detail

I have now created Teeth and nails for the character. I created them long, pointy and chiseled to suit his devious looks. I sculpted them as separate elements and then appended them after so it is easier to select, adjust or replace them if need be and it is also less destructive.


As I was refining the sculpt, I’ve added more definition and detail to the character. Whilst doing this I also used a couple of alpha brushes and layered some detail that went with the flow of the muscle directions and creases. With Rumpelstiltskin although he has some muscle it is diminishing, so I have layered and produced a style/look similar to wrinkles, worn leather, similar traits to reptilian skin, natural nature formations such as stone. Which created a new and different skin texture that suits his deteriorating look and how I see rumple looking, which will also help boost his aesthetic when it comes to texturing.

Clothing creation

I have stepped into designing clothing for the character, before retopology and UV’s I simply decimated a version of the sculpt and used that as a base to model clothing. I did some of the accessory items in Maya where I box modelled them and could then import them into Zbrush to add further details.

I also started creating cloth-based clothing in marvelous designer. I set myself the challenge of adding pockets, buttons and other details to the trousers, which I will later just bake onto them, it was extra detail that I wanted to add and can also emphasize later in texturing.

From research I found out around the '50s and before the tank top was not really worn especially around people and they didn’t start to become popular in fashion until the 70s. As a lot of people were still quite conservative on their looks, tank tops were usually associated with villains, as antagonistic characters in films would usually be dress in them. This is a reason why I wanted to make him wear one instead of the typical shirt. As Rumplestiltskin is someone who is outside the box, he is cheeky and makes people become curious about him. I like the reference as it embeds his evilness with the old stereotyped item of clothing.

More clothing/assets and research

During this time gap between posts, I have mostly been doing more research into techniques that can help me become a better 3D artist. I do not frequently model characters, usually I model prop assets and environments and that is why I thought I’d use this challenge to challenge myself. I have discovered a lot of techniques that help my workflow to be more efficient and a better understanding of other ones used in the process. My next update will be more detailed as this has been more about learning new skills to assist my creation.

I have however been working on making a jacket for him to hold which will assist his attitude and attire when posed. As you can tell I have gone for a style that looks both Conservative and devious he has the antics of a gang member similar to people in The Godfather for his antagonistic side. Even though his approach to people is that he is a salesman we know in the story you have to pay your debt and that’s where his evil thuggish manors come in.

I’m also working on a staff/cane as a prop he holds, since he is magical and loves gold I envision a warped wooden stick/log wrapped in his gold with a magic orb on top.

Refining and Retopology

I moved back to my character’s body sculpt and added more details. I also added some more scars from encounters which add more story to him in his journey. His left eye will be impacted by one of these wounds as it has slashed down his eyebrow and across his eye, which has resulted in making him blind in one eye. The colour is just a rough guide to his appearance as I plan to give him more of a mystical creature skin texture in the green tones.

I completed the retopology of the character and his item to clean up the models and drastically reduce the poly count. I used quads and drew them onto a high poly version of the character that was decimated slightly so my computer didn’t lag when rebuilding the sculpt. I also smoothed it a little and conformed it to the high mesh to get a clean topology that is accurate to the original sculpt. The additional detail that is presented in the full high poly sculpt will be baked into this clean one at a later stage.

UV mapping

So my next challenge was to create UVs for everything. Since I had previously done the retopology everything was on the right track to creating good UVs. I have used two 2048x2048 (2k) maps during my process of this character. The layout I chose was eyes and body on one texture set and the rest of the assets such as the clothing on a second. I also made sure to be aware of the texel density between all the separate elements while I was laying out the texture sets.

!

Baking and Texture creation

So I baked my full body sculpt onto the retopology sculpt in substance painter ready for texturing and these are the details it captured from that, which will aid in making detailed texturing for my character. I also did the same for other assets that had higher poly detailed versions.

I created materials in Substance Designer such as wood, clothing, gold. This character is known for always being in the presence of gold. Since he is also chauvinistic, he flaunts it on his person so I wanted to create a gold tailored to him that dazzles in the light. The wood for the staff needed to be very worn wood and the clothing needed to fit in the era I based it around. I created them using the node tree system and these are a couple of the results. Further details will be added in substance painter where I will paint on other details depending on the specific pieces.

Texturing

I now began to use my own .sbar files that I made earlier and began to design his looks. As well as the textures I created in designer, I used painter for what it’s for and painted many details into the character and its assets, for example the cuts and scars and I also paid attention to details like creases. I kept with the reptilian style skin that I was envisioning and due to his condition deteriorating I added veins, blemishes and wrinkle details to support that.

I also have two texture sets I kept the teeth and tongue separate with the attire texture set as these are elements I felt are designed dependent on his look/outfit that would be altered in the future if he changed his style. Whereas I felt keeping his eyes and skin would look the same if I did other versions, making it easier for potential adjustments.

Texture sets:

1- Body Sculpt, Eye

2- Clothing, Assets, Teeth, Tounge

Rigging

I used Maya to rig the character. I created the joints for his fingers also, which would allow me to let him grab the components he is going to hold such as his jacket and staff. Since I modelled his mouth open that would allow me to do a facial rig but I made his final model with his mouth open for also the purpose that I liked seeing all his teeth and how menacing it looks.

I am also posing the character in a way that I believe conveys his sly attitude. I’m posing him leaning some weight onto his staff with his legs crossed over and his jacket thrown over his shoulder. This stance makes him look smug, which openly showcases the attitude and approach he has to his victims.

Real-time render

I have decided to use UE4 to render my project, although D5 is another option I looked at. D5 is a good option for quick access/setup to preview work in Real-time. However, UE4 is an industry-standard option, and I prefer to go with what professionals use on the job so my skills/knowledge that I learn in the software can be easily transferred if a studio/company hired me. I created an isolated room with planes so I could have full control of the lighting on the character like a studio. This is just a shot outside without a wall to show you the setup and lights to be added inside.

I have also Included the Polycount as seen from this image in UE4 from the viewport of the character. Which totals at 76,276 Triangles.

Bonus

Since I had rigged the character, I decided to create a very basic walk cycle and idle and bring my character to life in UE4. I wanted to see what he would look like alive and to test how game-ready he could be. I have included a hyperlink to where you can see a quick shot of him circling around my render scene.

Movement test

Renders

This is my favorite shot that I have selected to be my final showcase image as I feel this best shows his uncomfortable yet intriguing menacing stare. I also chose to pose him leaning on his magical staff in a sly, overly confident and thuggish manner as I believe this shows his devious nature in a compelling way.

Wireframe

Texture Layers

Texture sets

Software breakdown

These are the software’s I used and for what stage of the project

ZBrush: Sculpting

Maya: Modelling, Retopology, UV mapping and Rigging

Marvellous designer: Clothing

Substance painter: Texturing

Substance Design: Texture creation

Unreal Engine 4: Scene setup and Rendering

Photoshop: Layout of images for submission

Conclusion

One of my main goals was to gain more confidence in my abilities by refreshing on what I know but also to under what I need work upon. This was a perfect challenge to test my skills but to also get my brain into gaining more knowledge in my field. I tend to do more hard modelling but this gave me the chance to go back to do some more organic/soft body modelling. I’ll link my Artstation If you wish to check out my portfolio that im building.

Thank you for reading/viewing my WIP, all the best, Mia.

1 Like