Hello everyone!
Here’s my entry for the VFX Challenge.
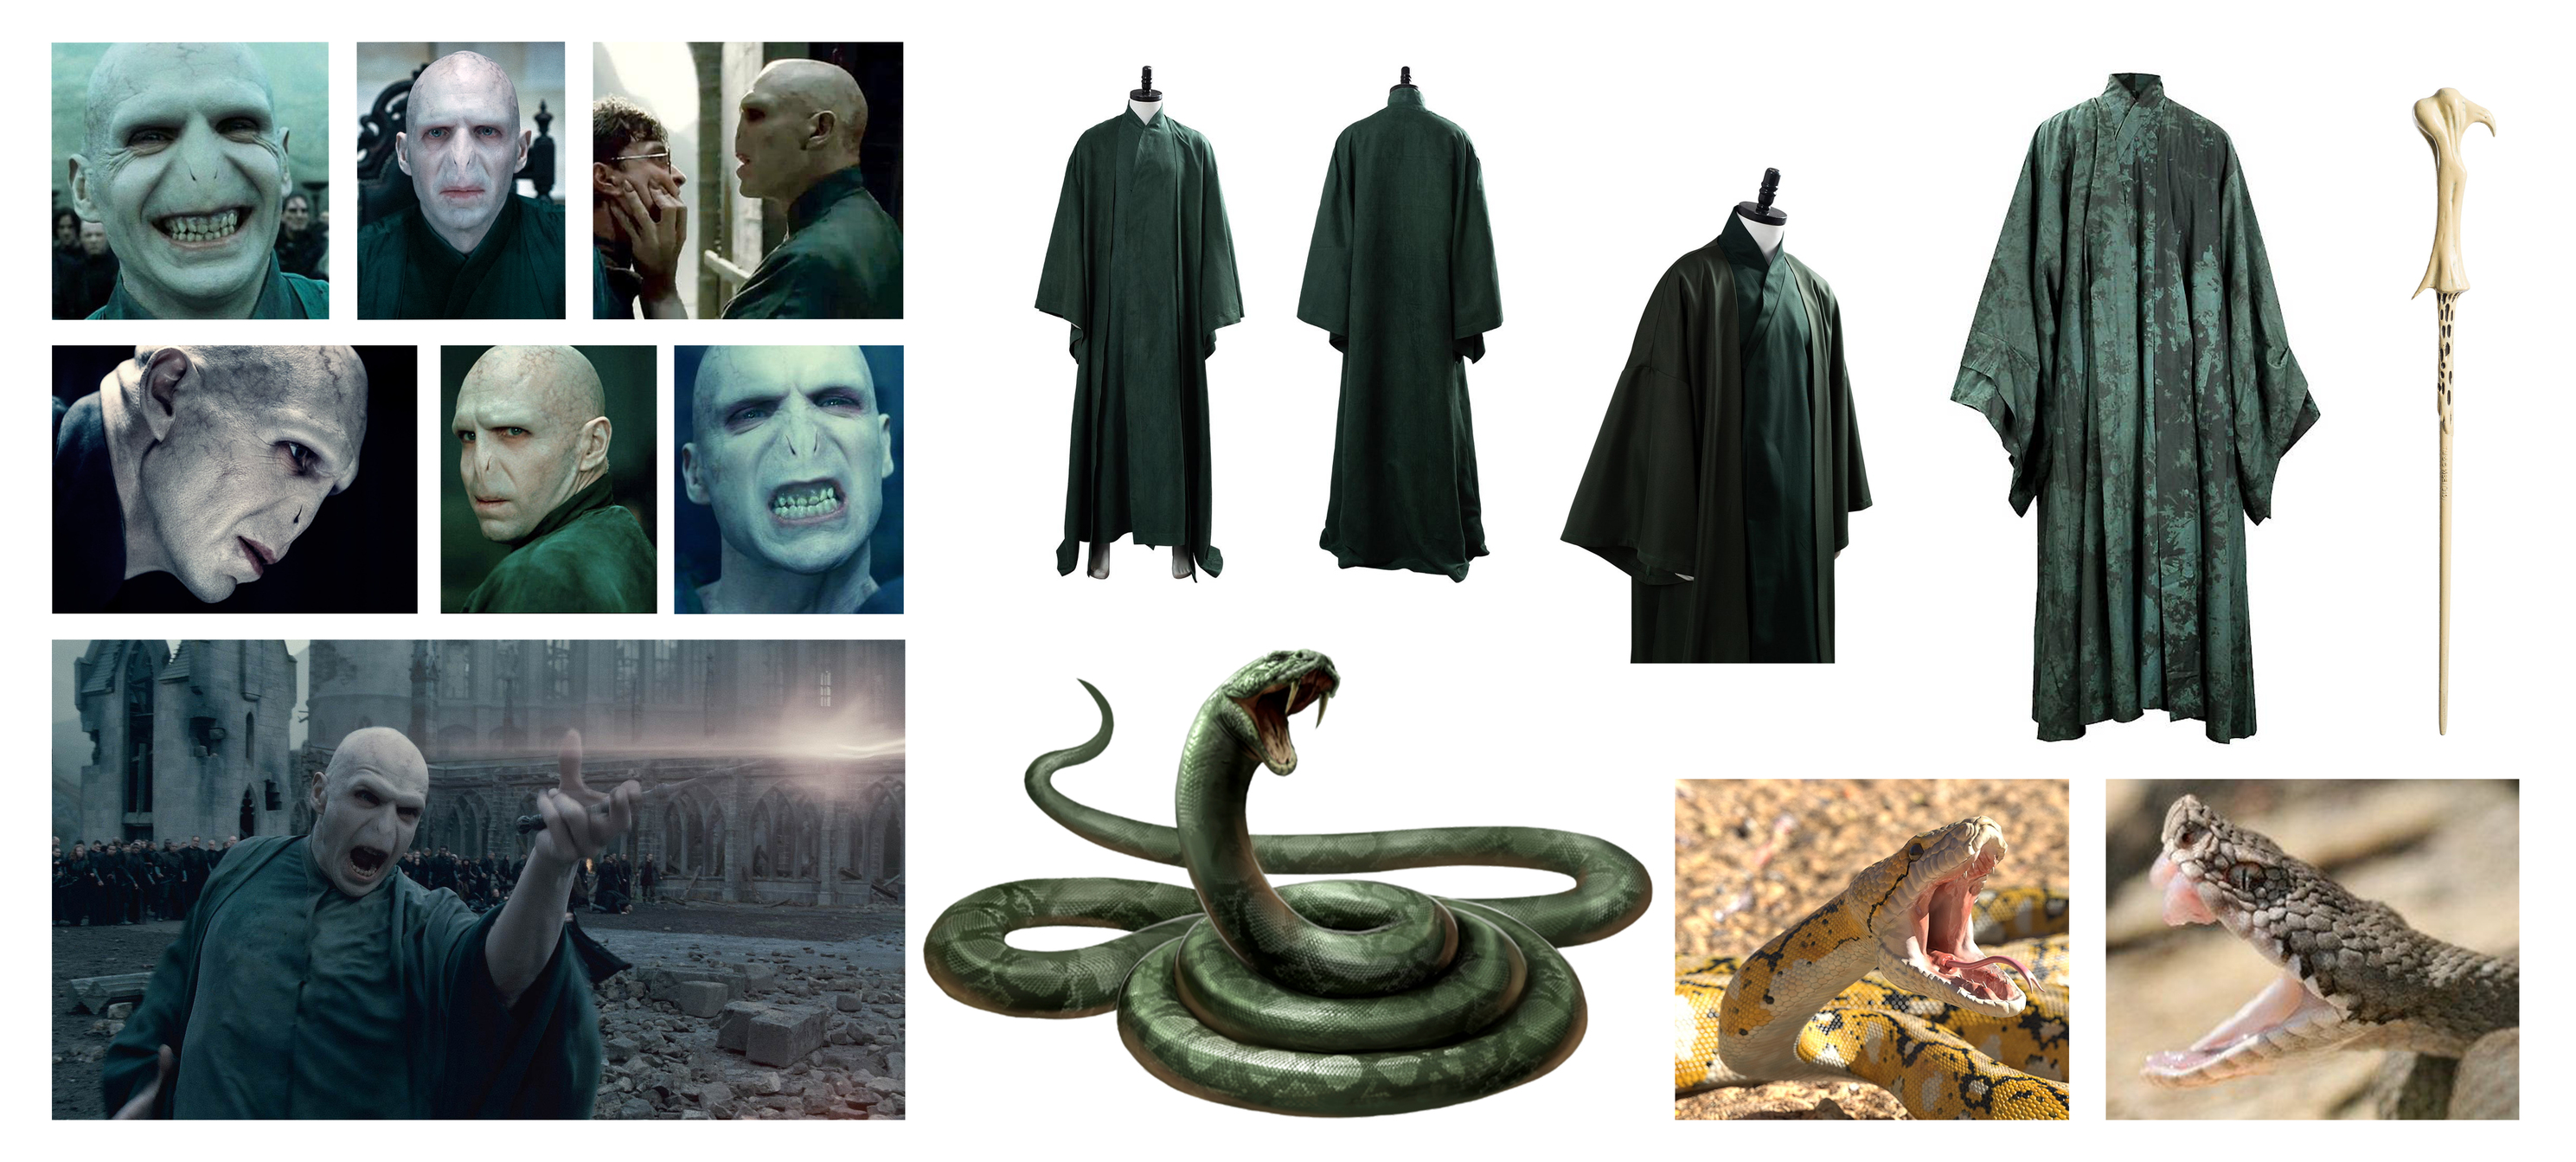
My goal is to create an high detailed sculpture of Lord Voldemort battling alongside with Nagini. I’ll focus on sculpting and texturing with the aim to be photorealistic as much as I can. Also, I intent to take my time to present the final sculpt in the best way possible.
I’ve started collecting some reference images.
In the hope to see everyone in the Final Submission Thread,
Good luck to you all,
Sincerly,
G.
2 Likes
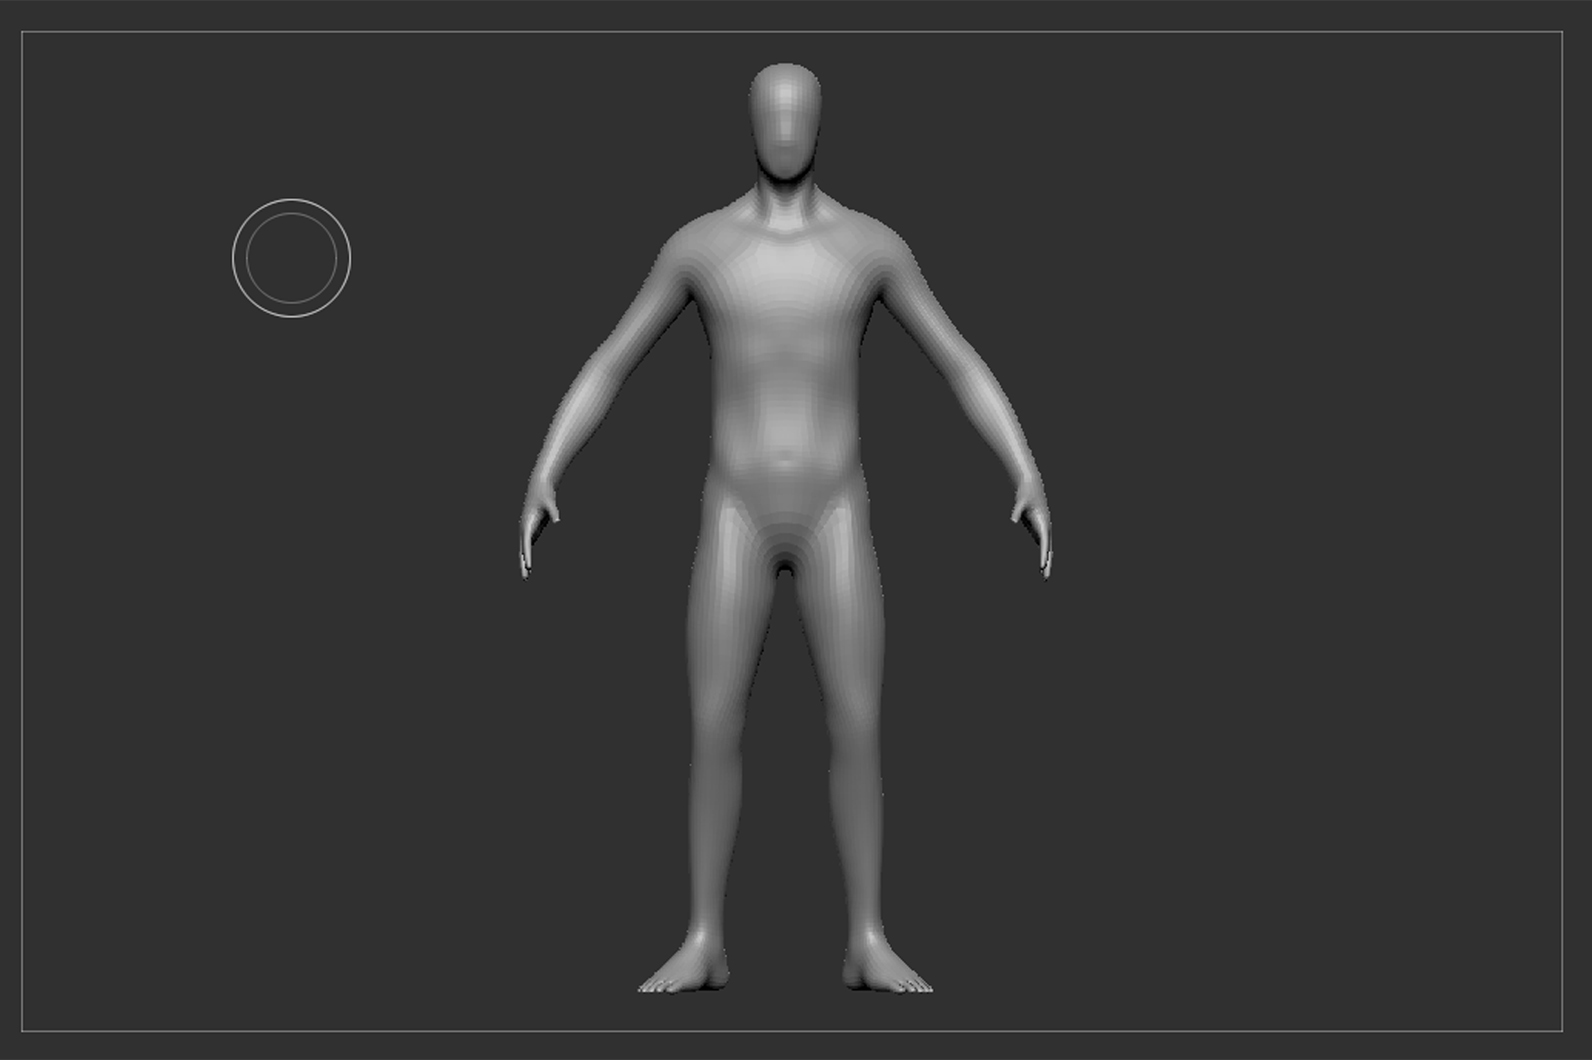
I’ll be sculpting the body of Voldemort starting from the basemesh provided in the course “Concept Sculpting for Film and Games” by Henning and Morten.
1 Like
Hey! This should be fun to watch. Good luck with the challenge! I cant see your Voldemort.
1 Like
Thanks Henning! Hopefully it will turn out to be okay! 
Hi everyone, I’ve just finished the concept for the sculpt.
This should give you an idea of what I’m planning to do.
As you can see I would love to sculpt Voldemort while performing the “Fiendfyre” enchantment.
3 Likes
Cool concept, it’s a nice painting! Looking forward to seeing how the fire effects turn out.
Thanks! At the moment I’m finishing sculpting the body. After I’ve retopologized it I’ll start think how to approach the fire. Stay tuned!
Hi guys, here’s an updates on the project.
Hope you’ll find my workflow useful somehow.
-
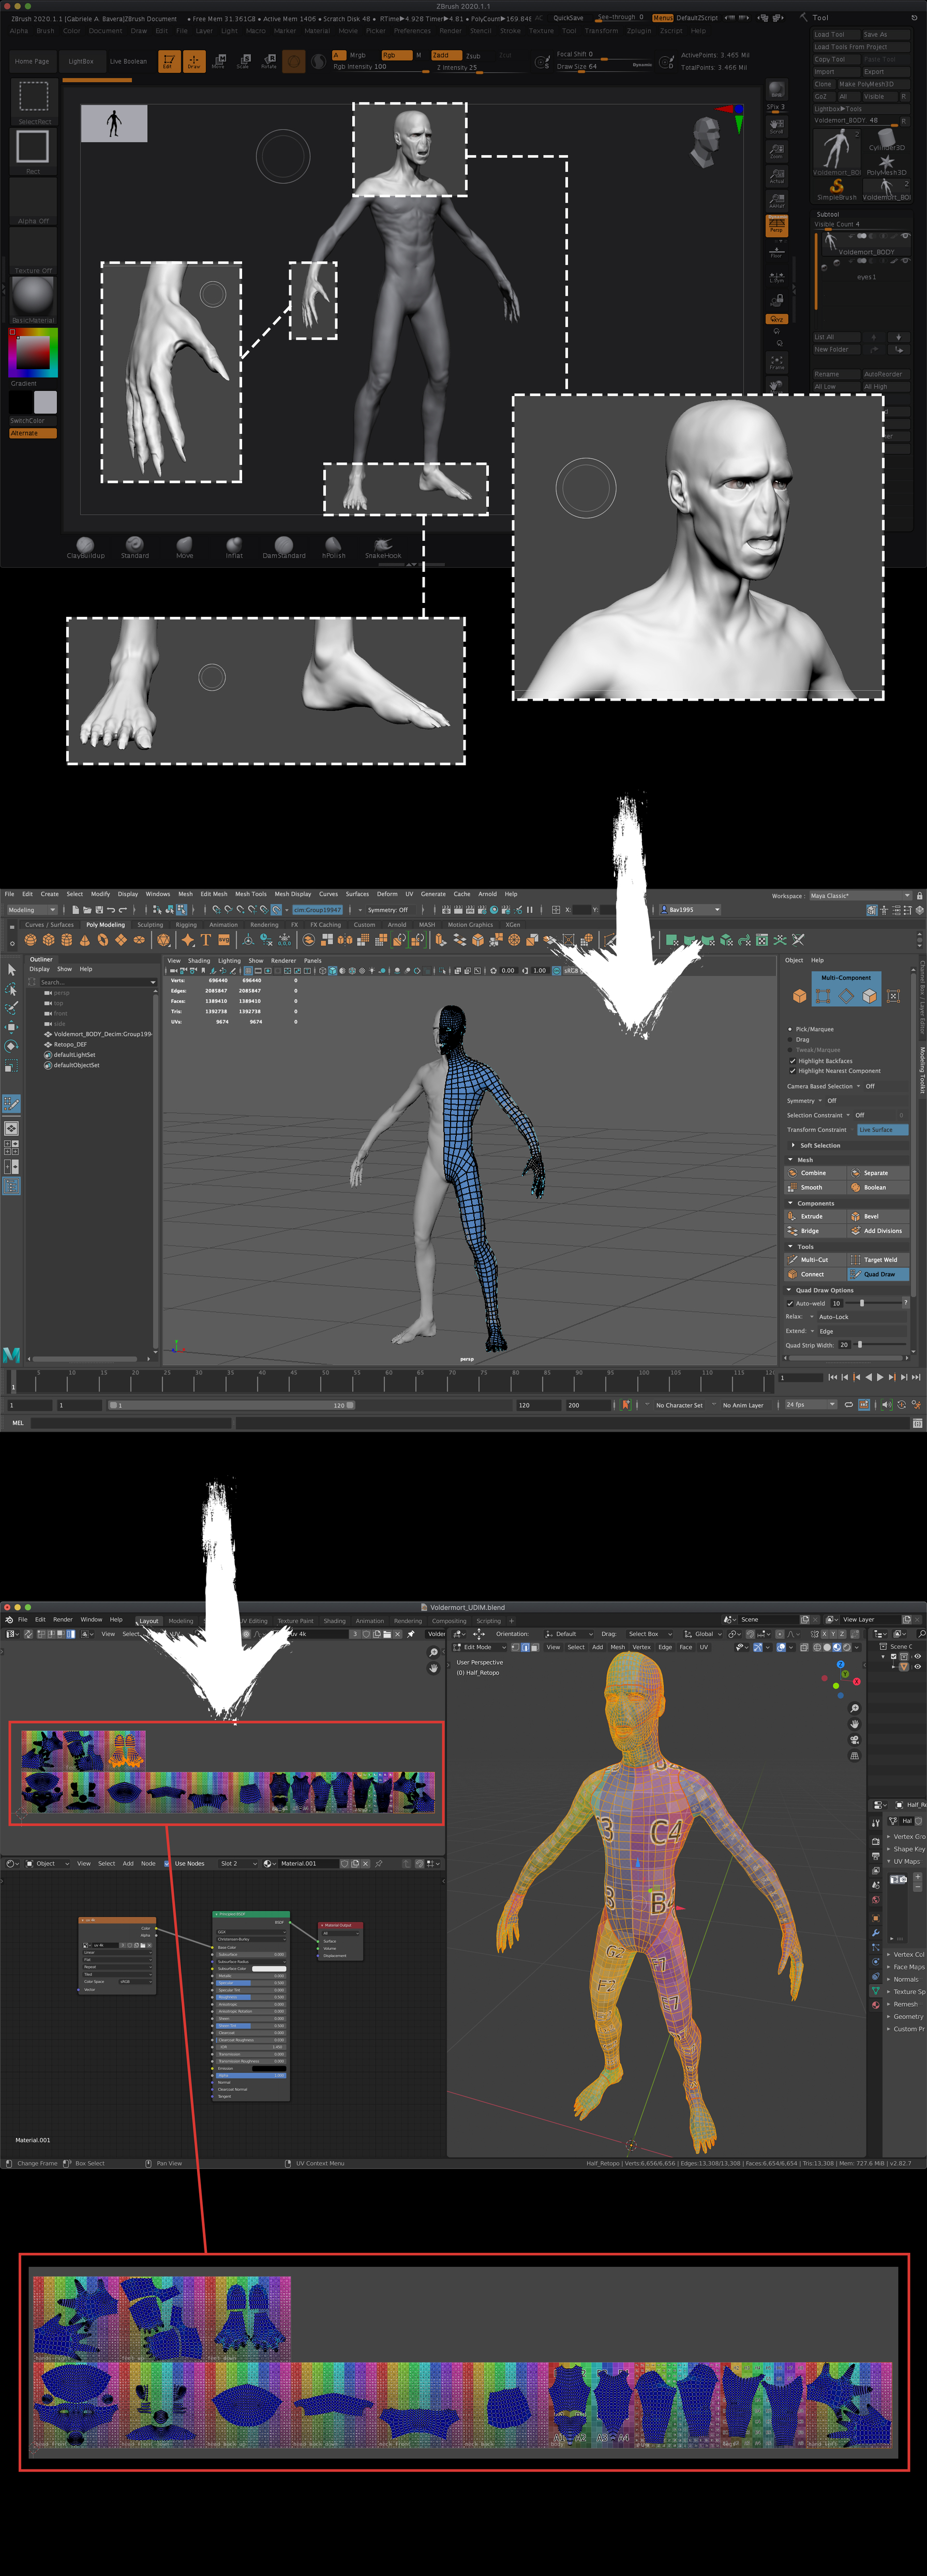
As I previously posted, I’ve began modifying the generic basemesh found in the course of Henning and Morten. Dynamesh help me achieve an overall good definition of the general shapes of the entire body.
-
When I was satisfy I’ve decimated the model and imported in Maya where I’ve retopologized it using the Quad Draw feature.
-
After having retopologize one side I’ve decided to switch to Blender because I wanted to try the new UDIM feature that the developers have added in the latest updates. Being a VFX Challenge I also thought it would be a good idea to UVing this way. Having in mind the final sculpt, I decided that I would give more definition to the head, hands and feet (the rest being covered by the costume). In this way I ended up creating six tiles for the head (1001-1006), one tile for the torso and back (1007), one for the arms (1008), one for the legs (1009), two for the hands (1010-1011), and another two for the feet (1012-1013). In this way I was able to have the head, hands and feet tiles in 4K, the arms and legs in 2K and the body just 512.
Hopefully I didn’t annoyed anyone
Next I’ll start roughing out the costume, the wand and Nagini,
Cheers!
1 Like
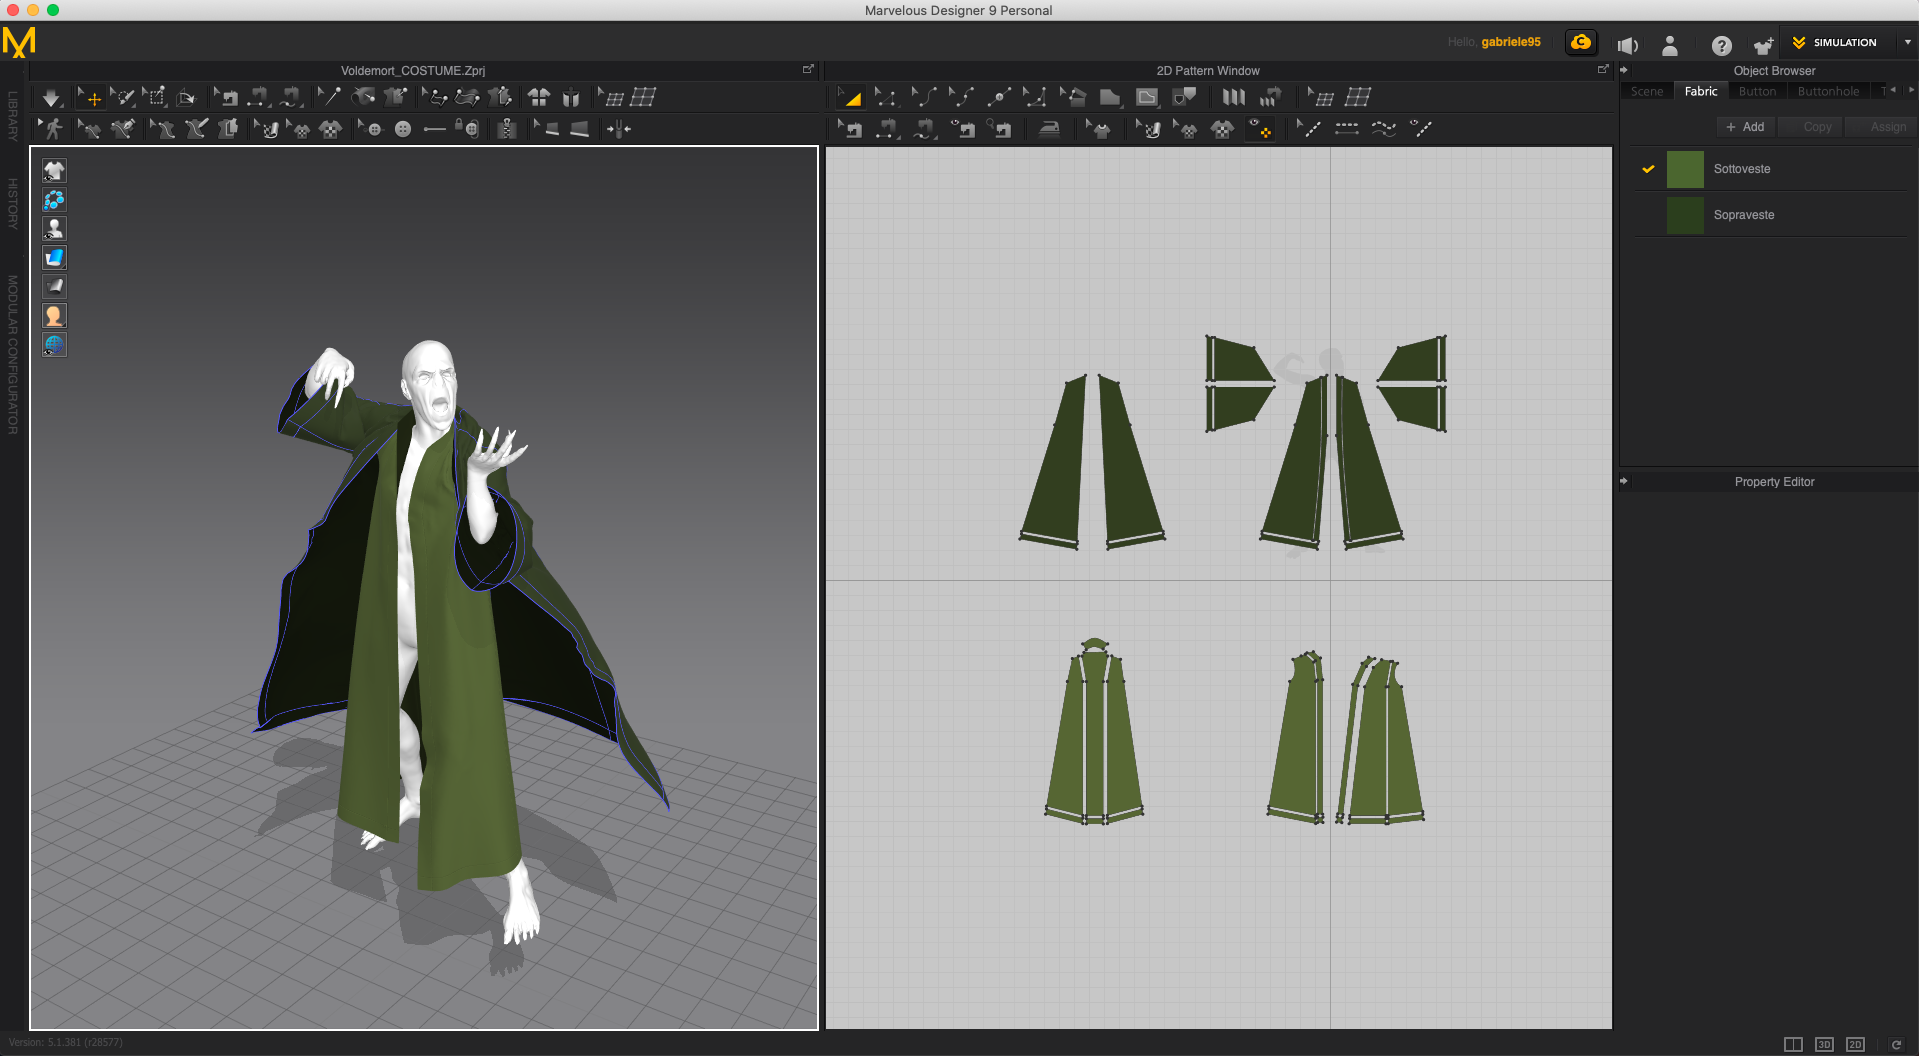
Hi everyone,
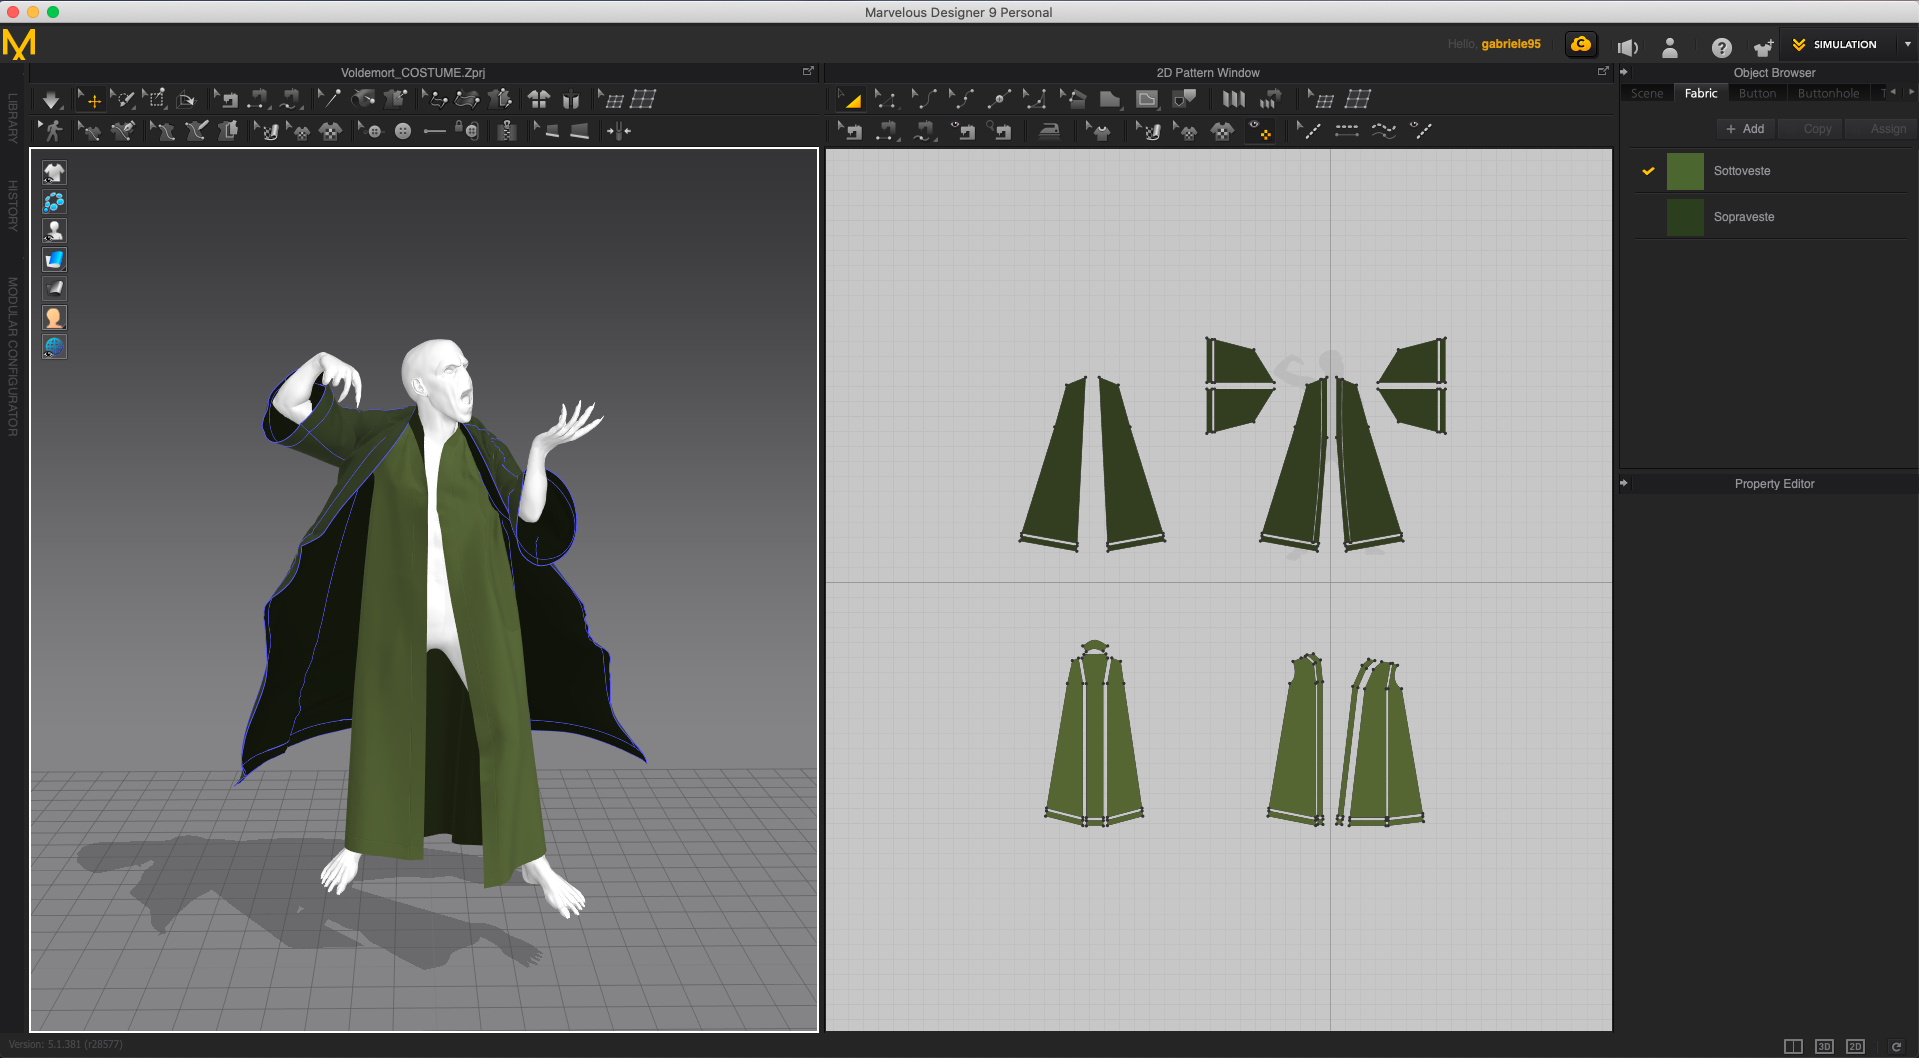
Here’s just a quick update on the current state of the project. I’ve created the costume in Marvelous Designer and as you can see I’ve composed it of two large tunic. I’ve also layout the UVs inside MD and then I’ve rough out the shape of the wand and added the teeth and tongue in Zbrush. Next I’ll start posing Voldemort and also I’ll begin to sculpt Nagini.
To next time!
1 Like
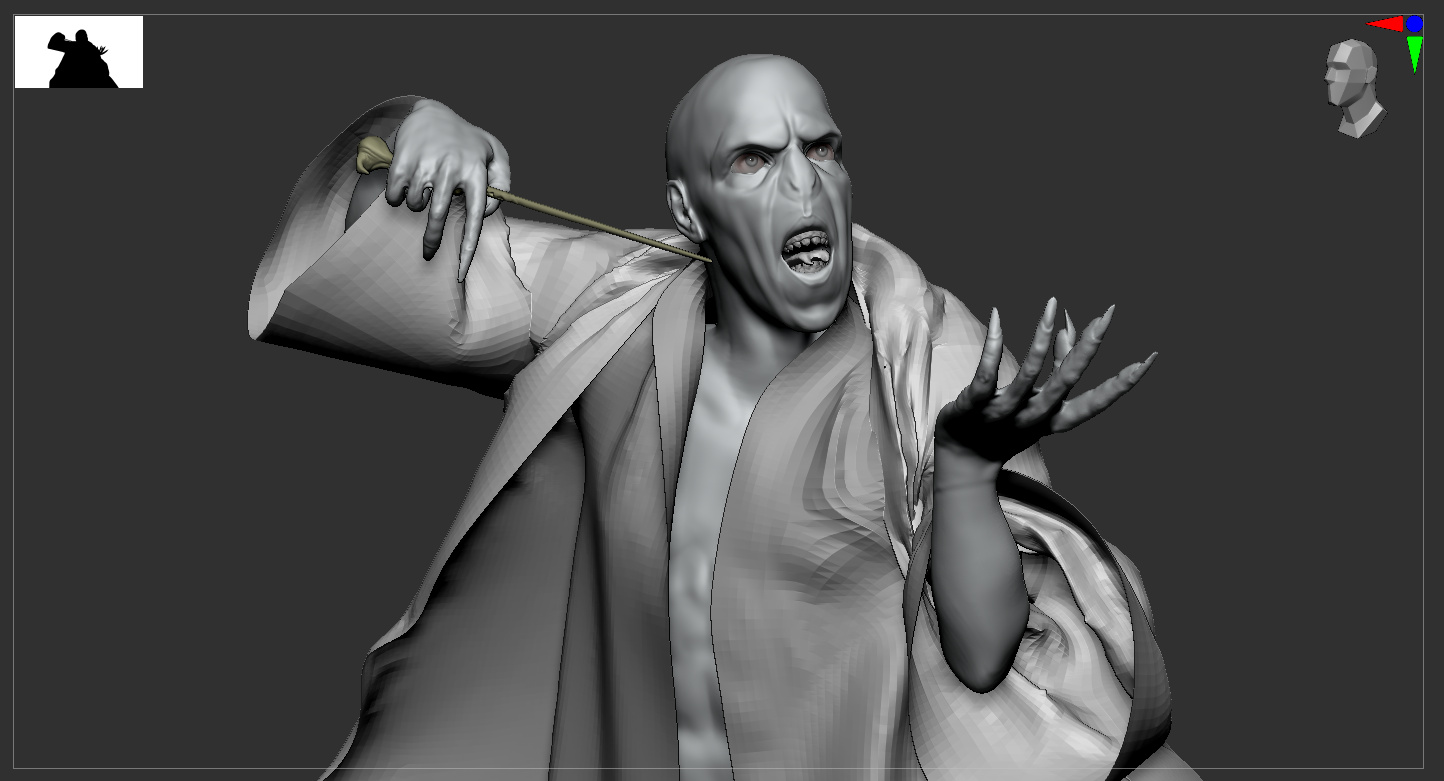
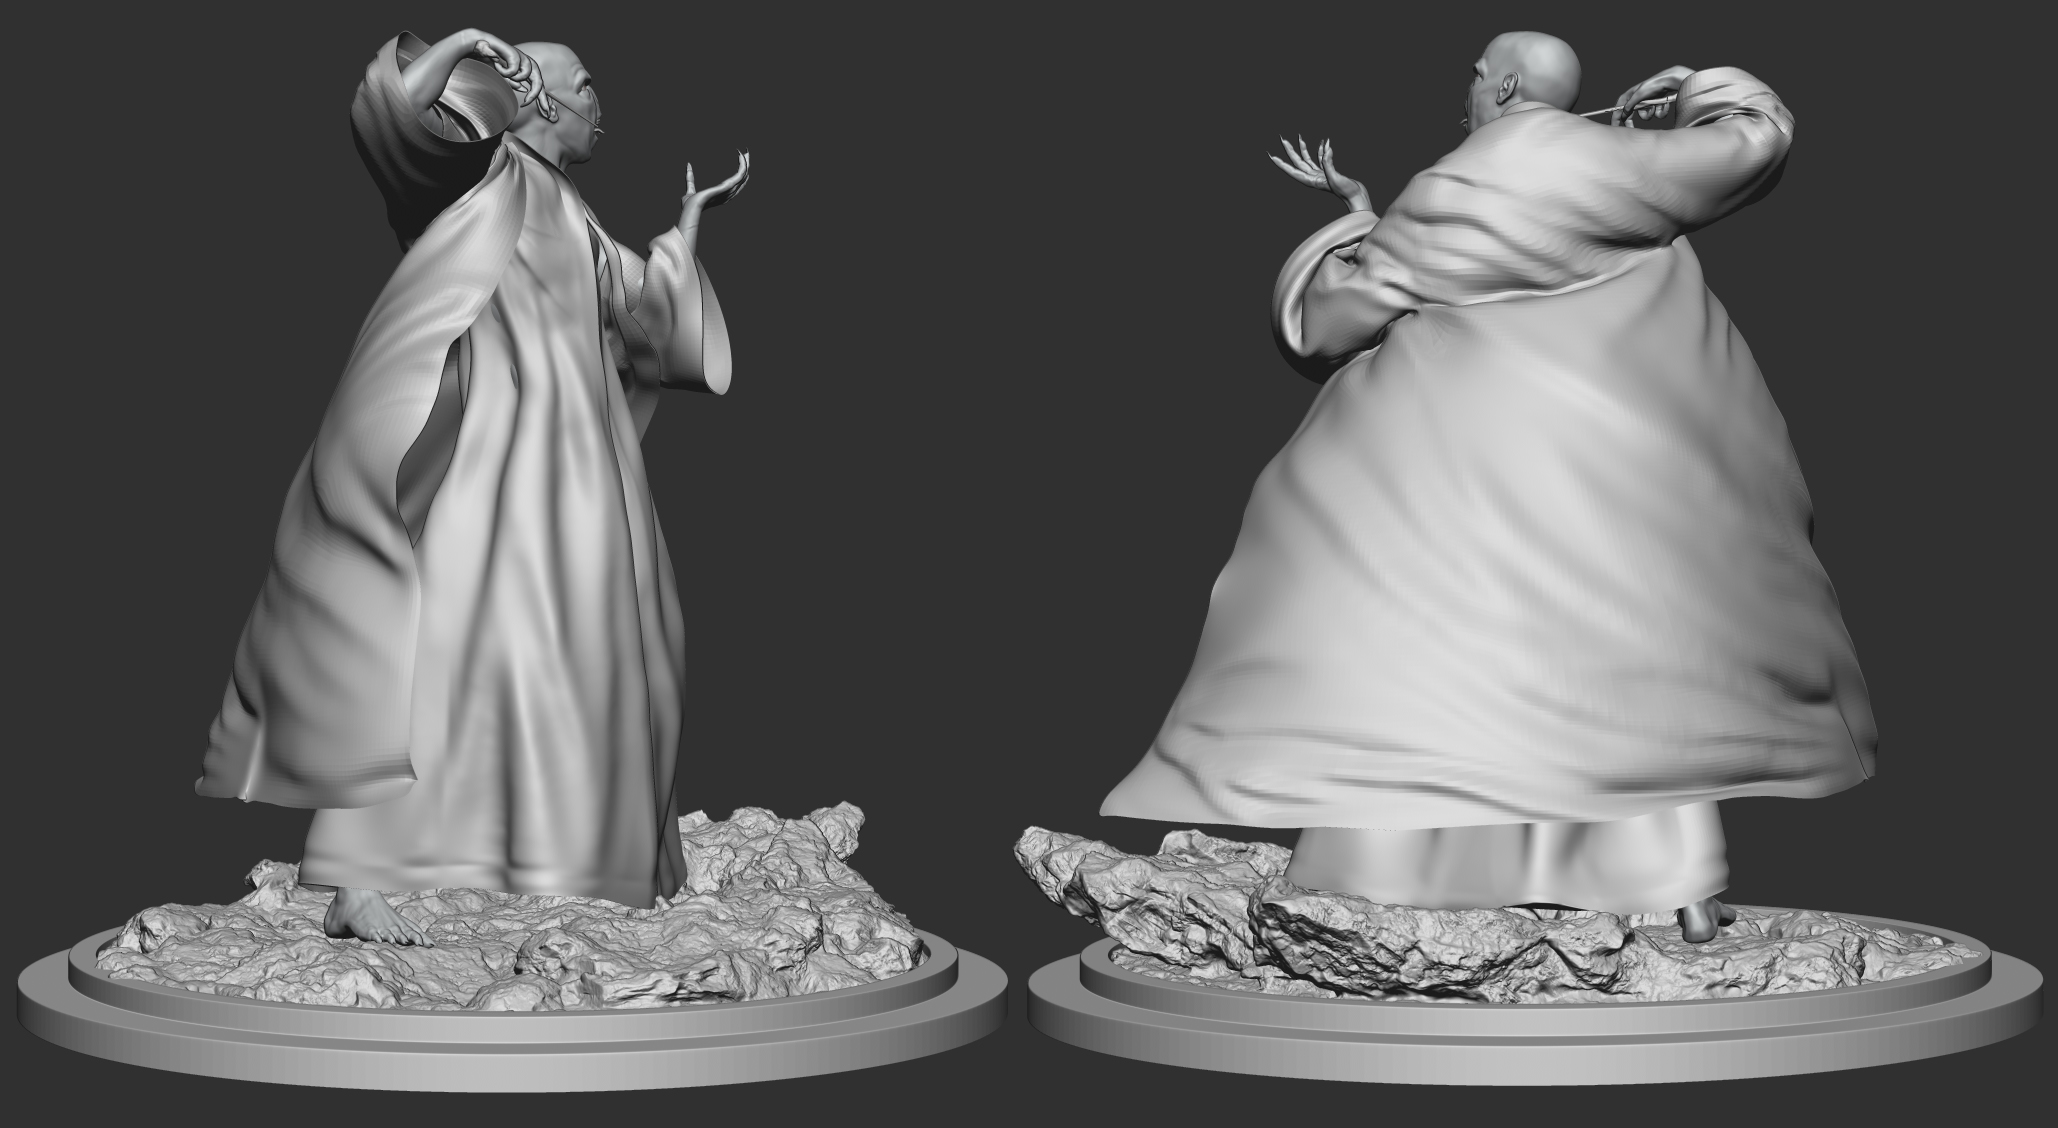
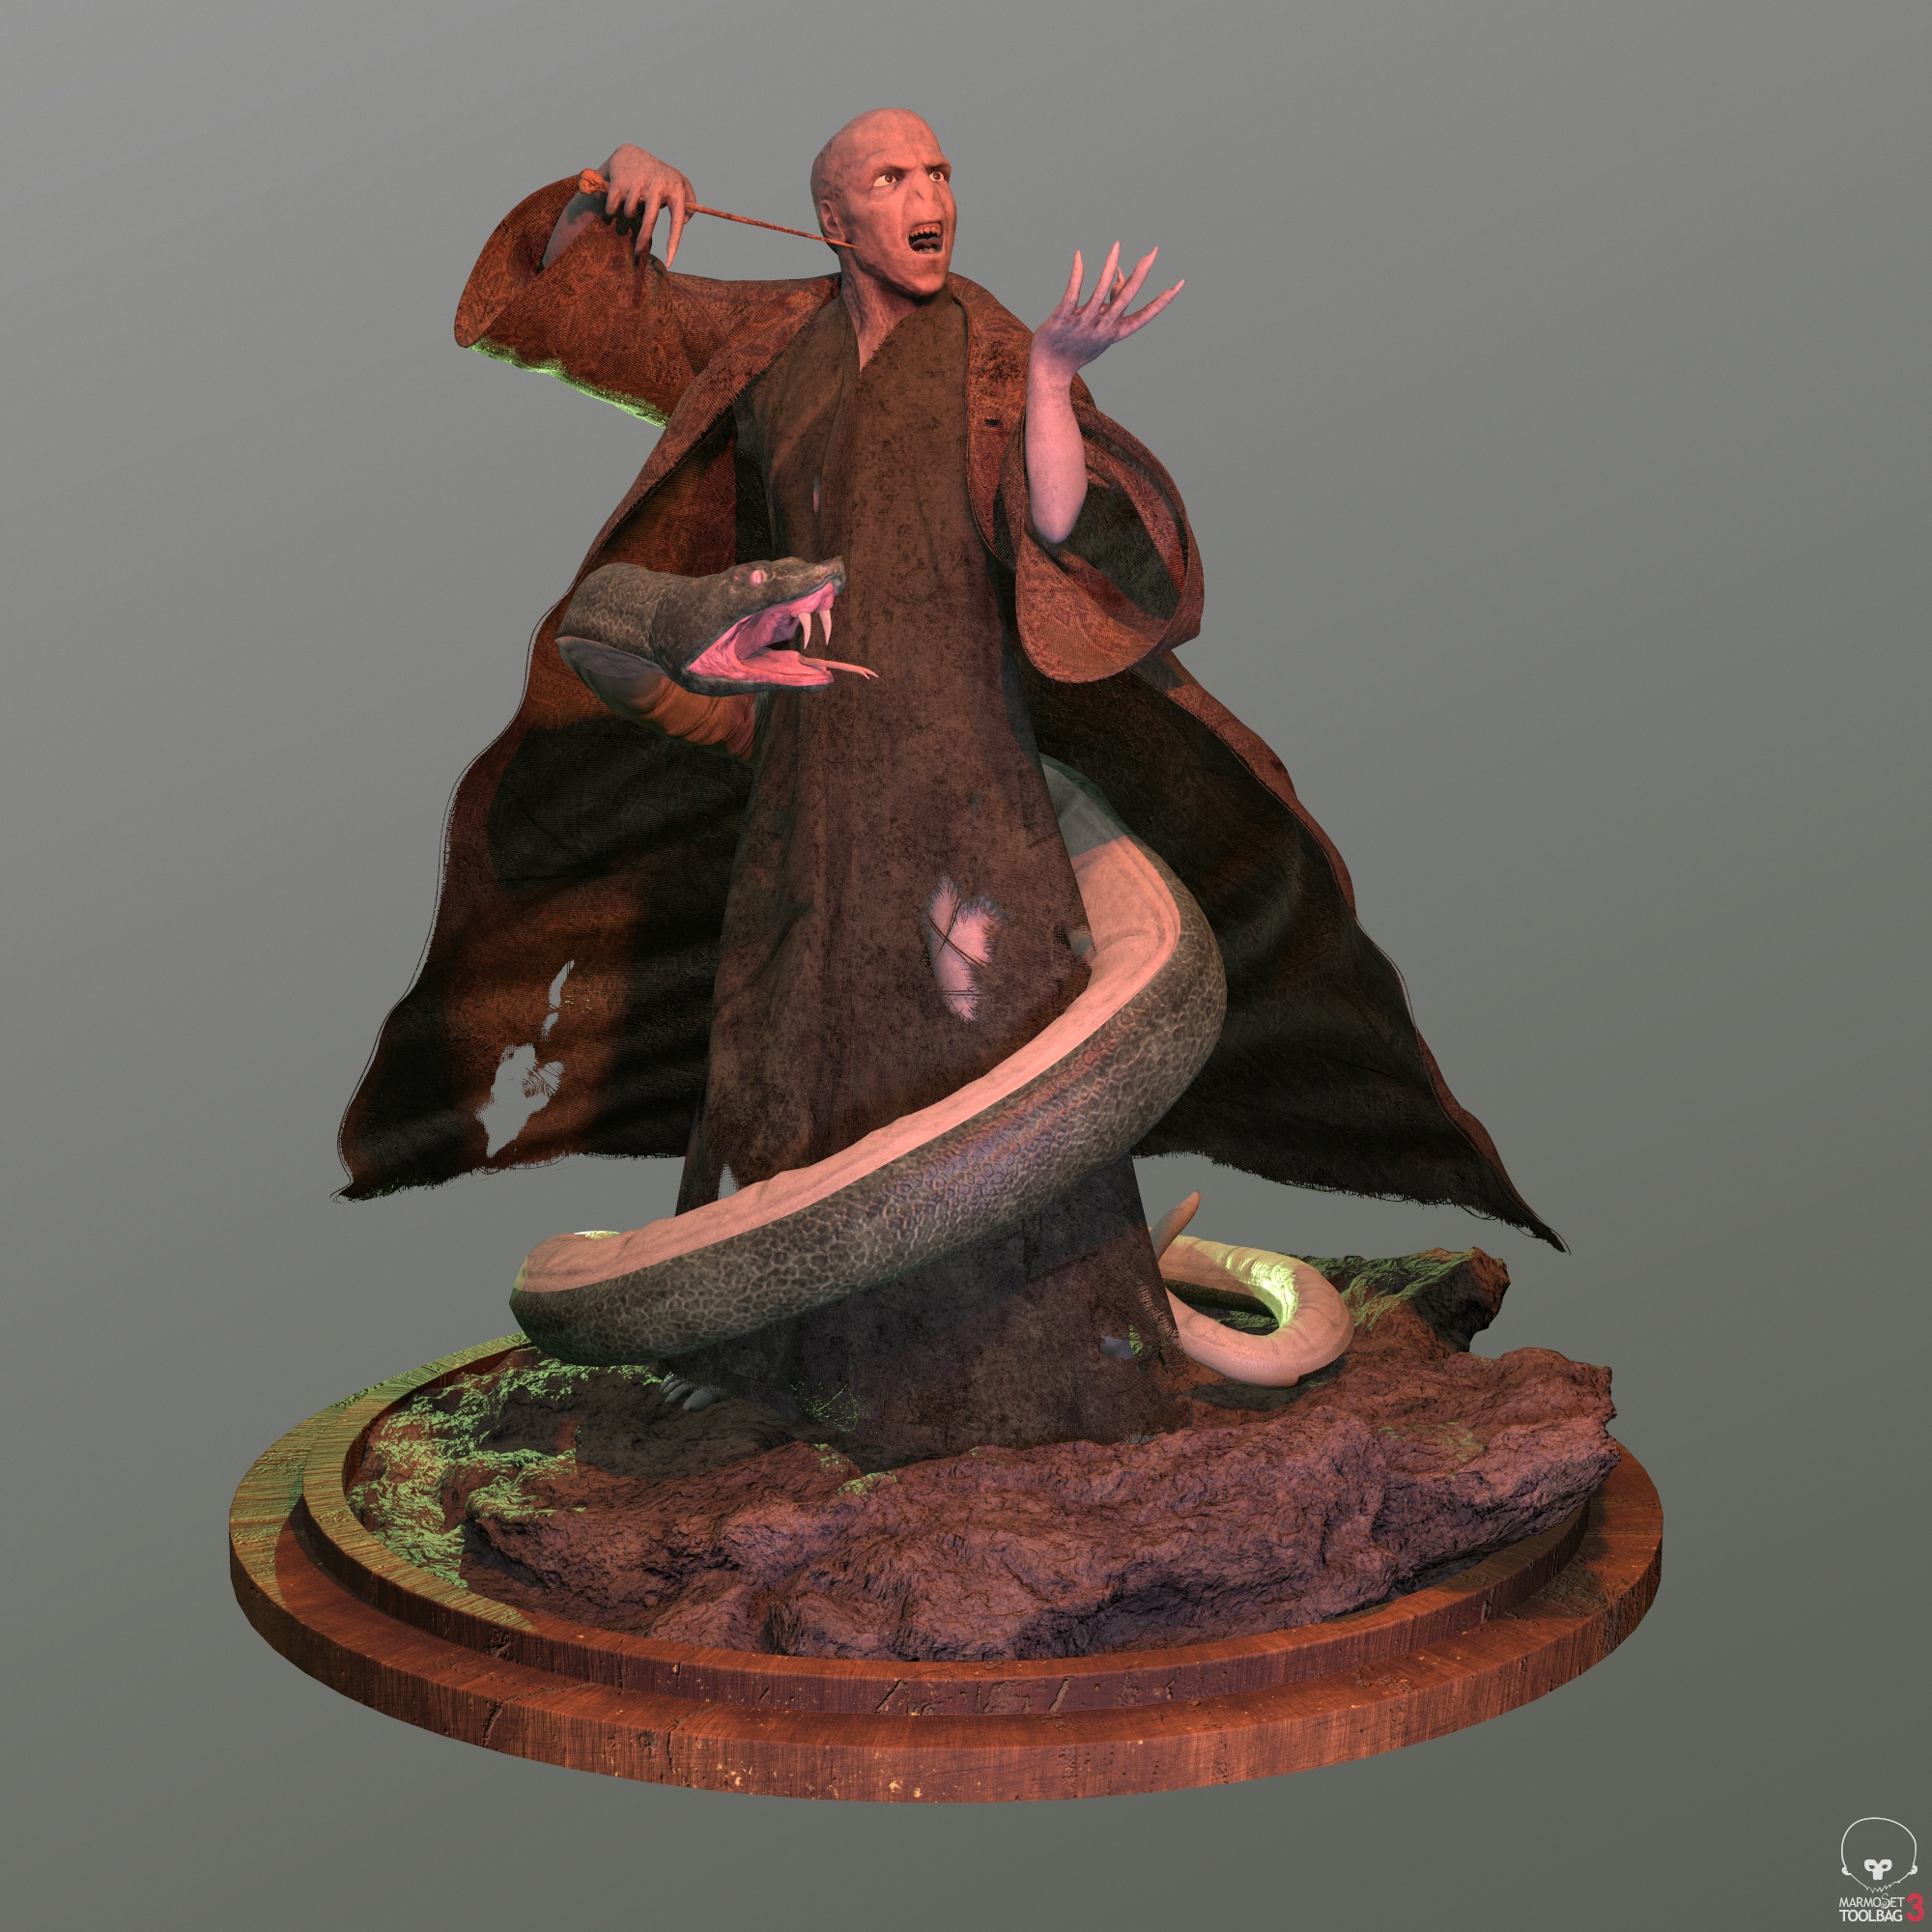
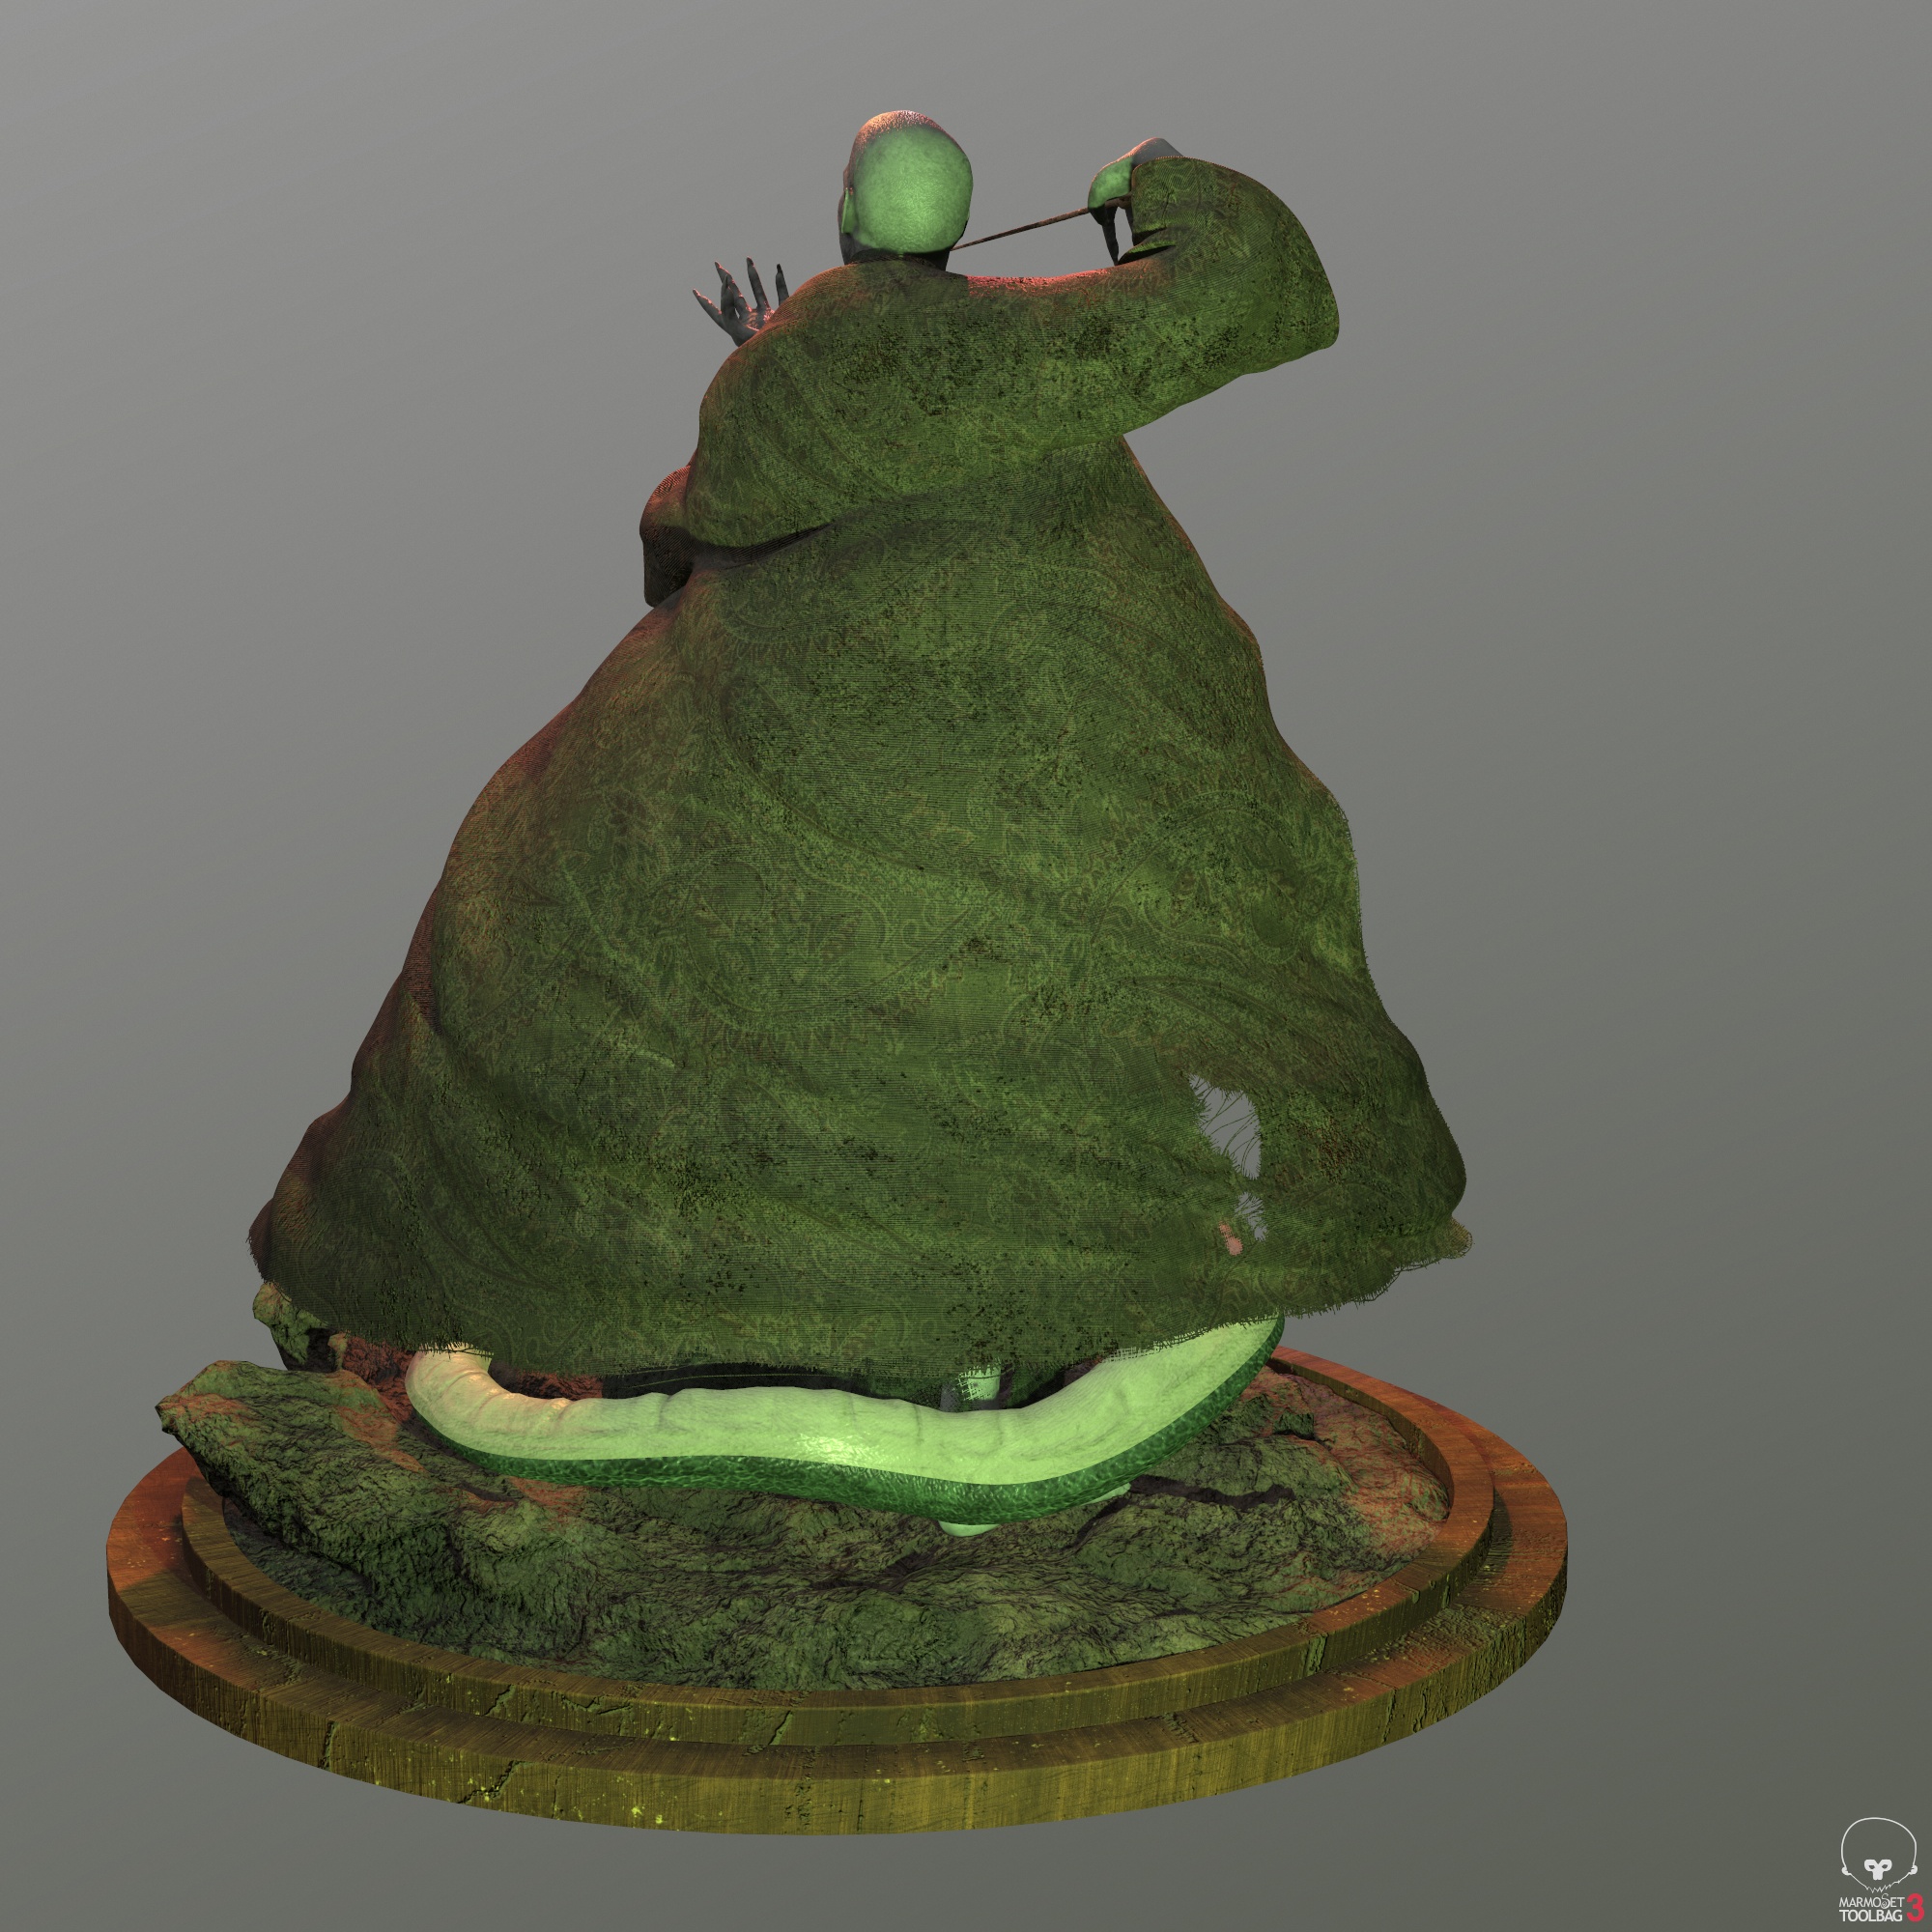
A quick follow up to my previously posted costume test.
I’ve imported in MD the final pose and run the simulation again.
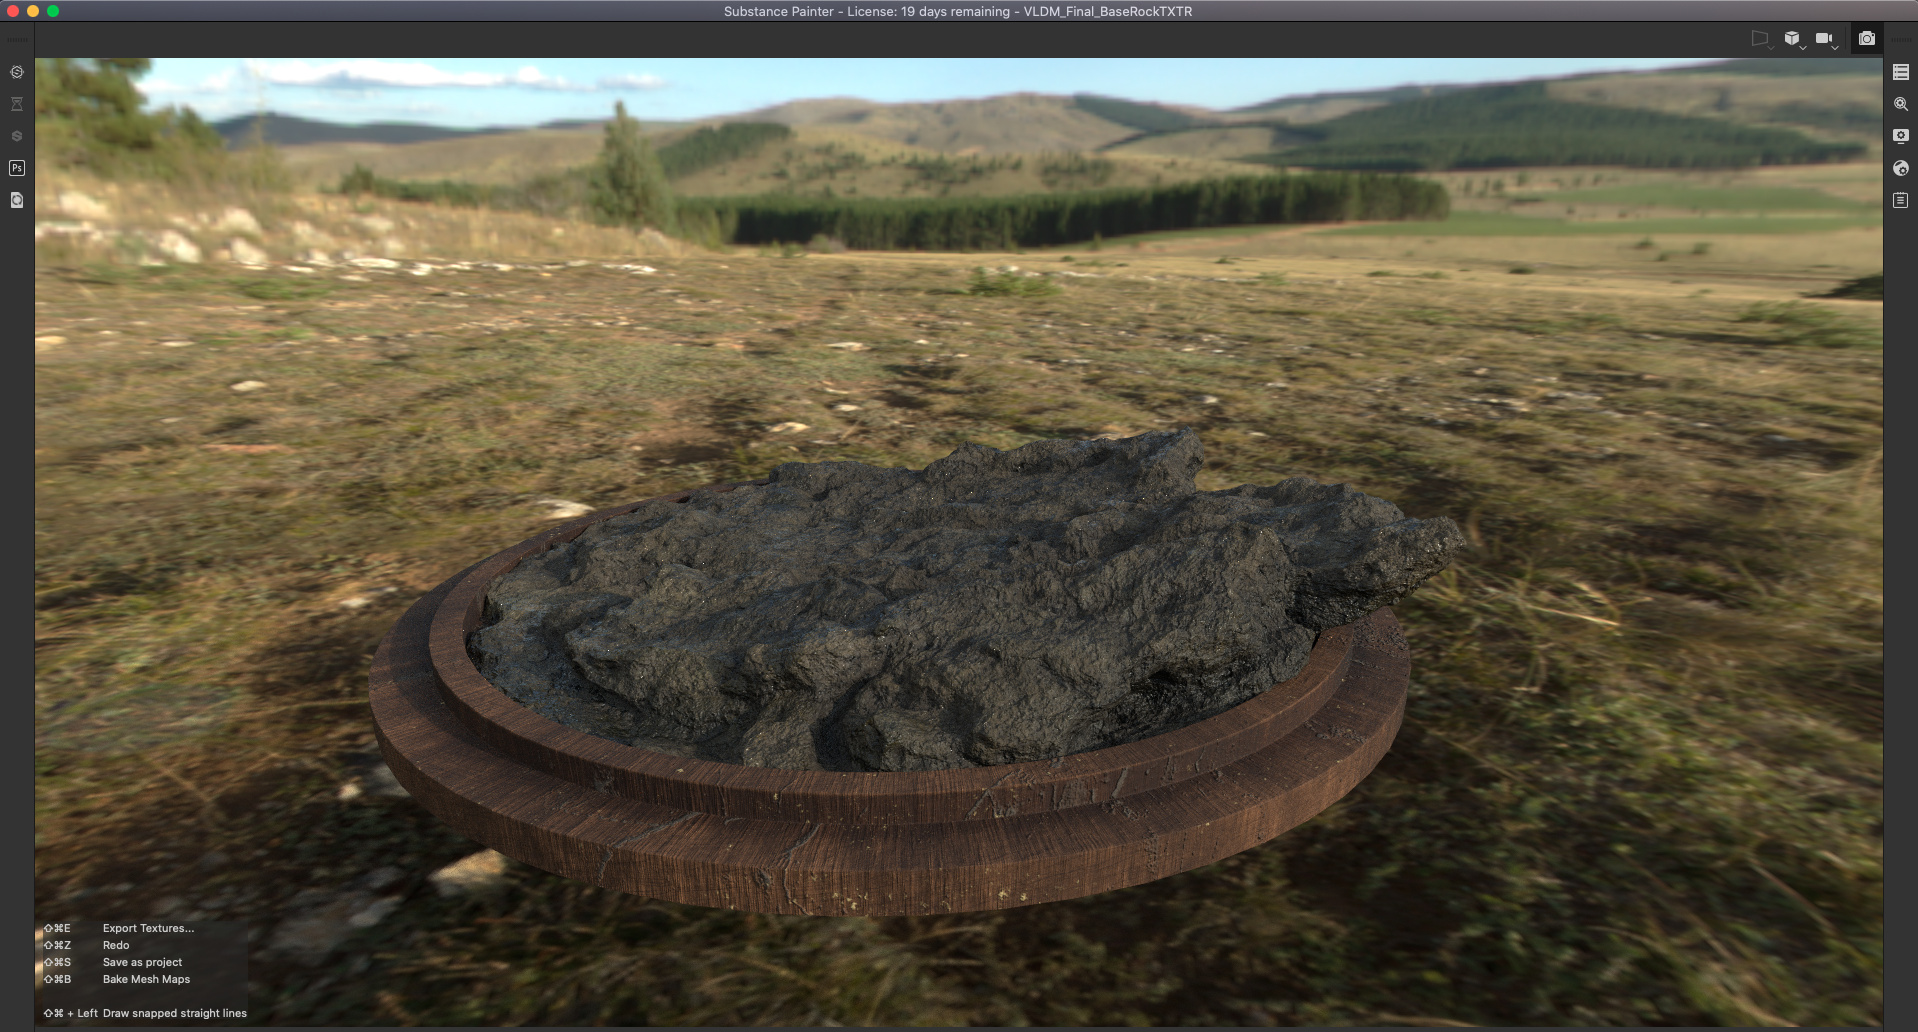
I’ve just imported everything back in Zbrush and added a simple base.
The pose was done using the Transpose Master feature in Zbrush, if anyone is interest I suggest you watch Henning and Morten’s video on YouTube (link at the end of the post).
Next I’ll start sculpting Nagini and after everything is in place I’ll begin detailing the full sculpt. I’m not quite sure on how to approach the fire. As soon I’ll have a more clear idea I’ll post some test.
Cheers!
Transpose Master YouTube link:
3 Likes
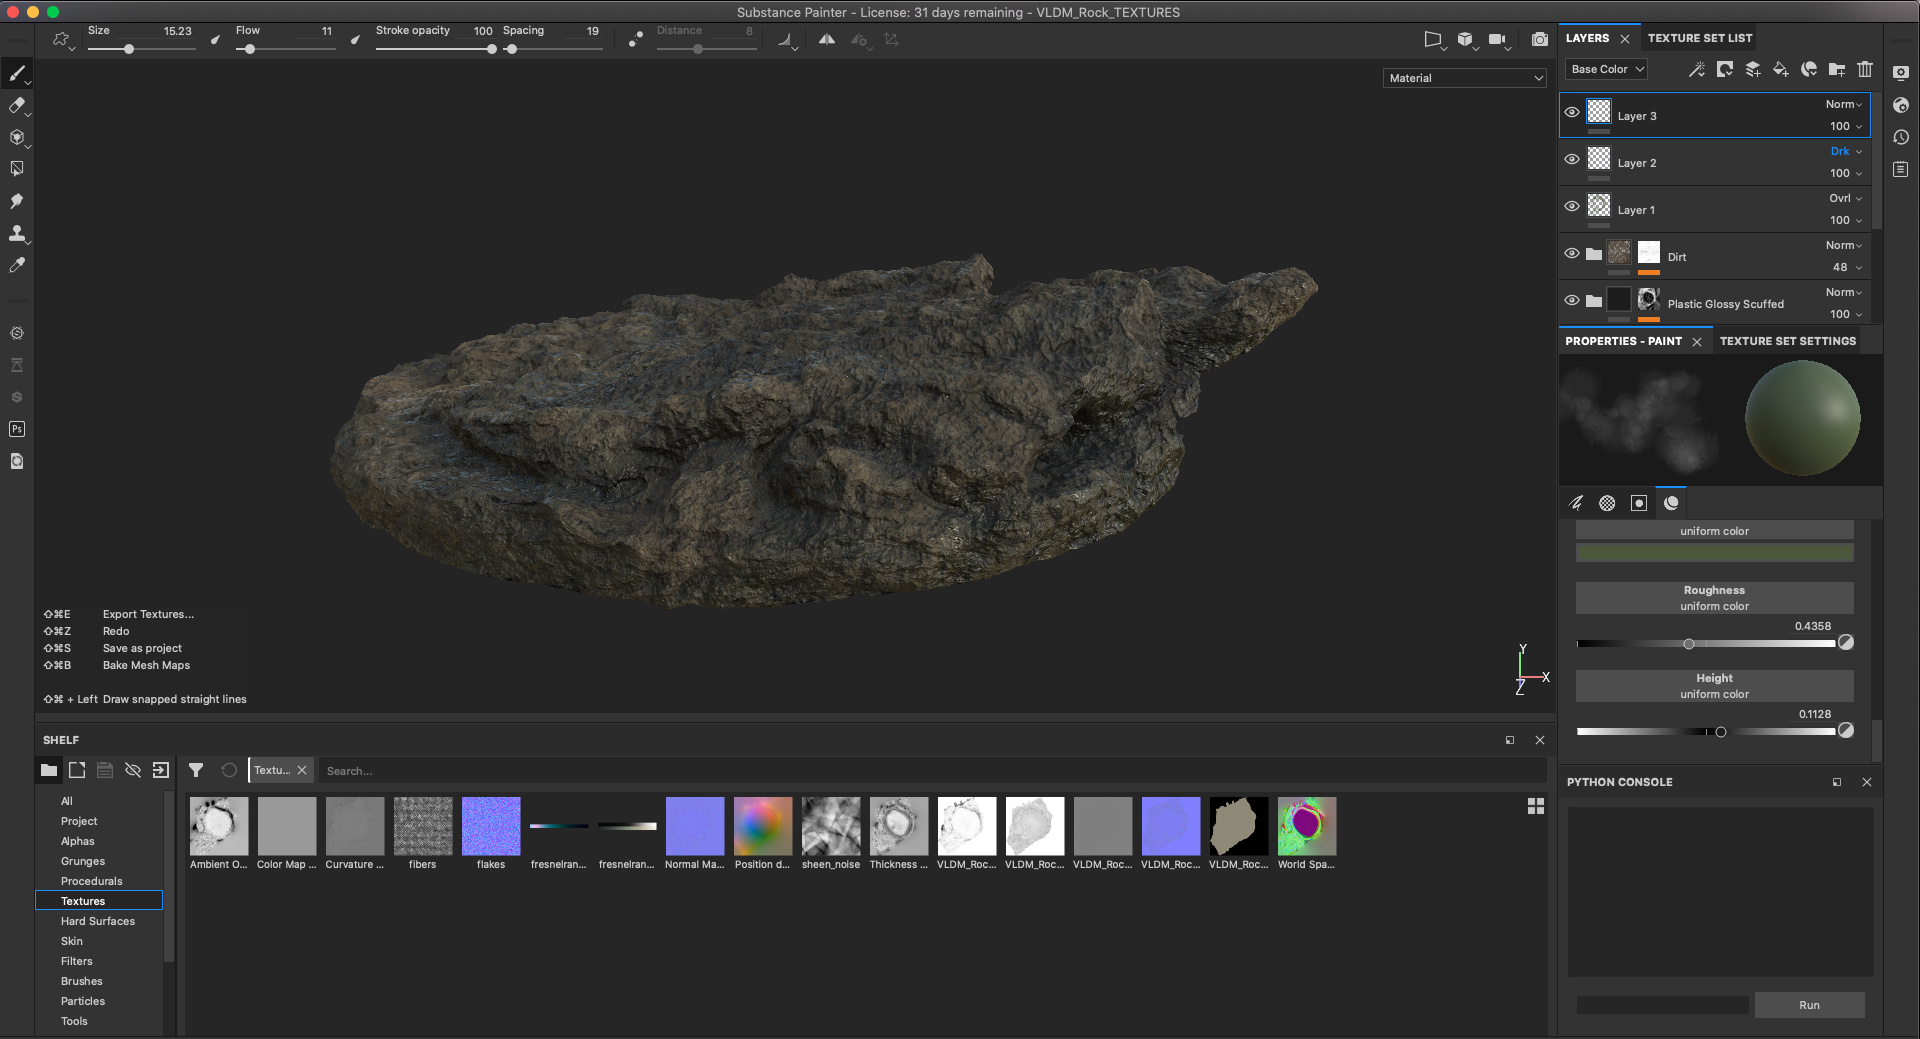
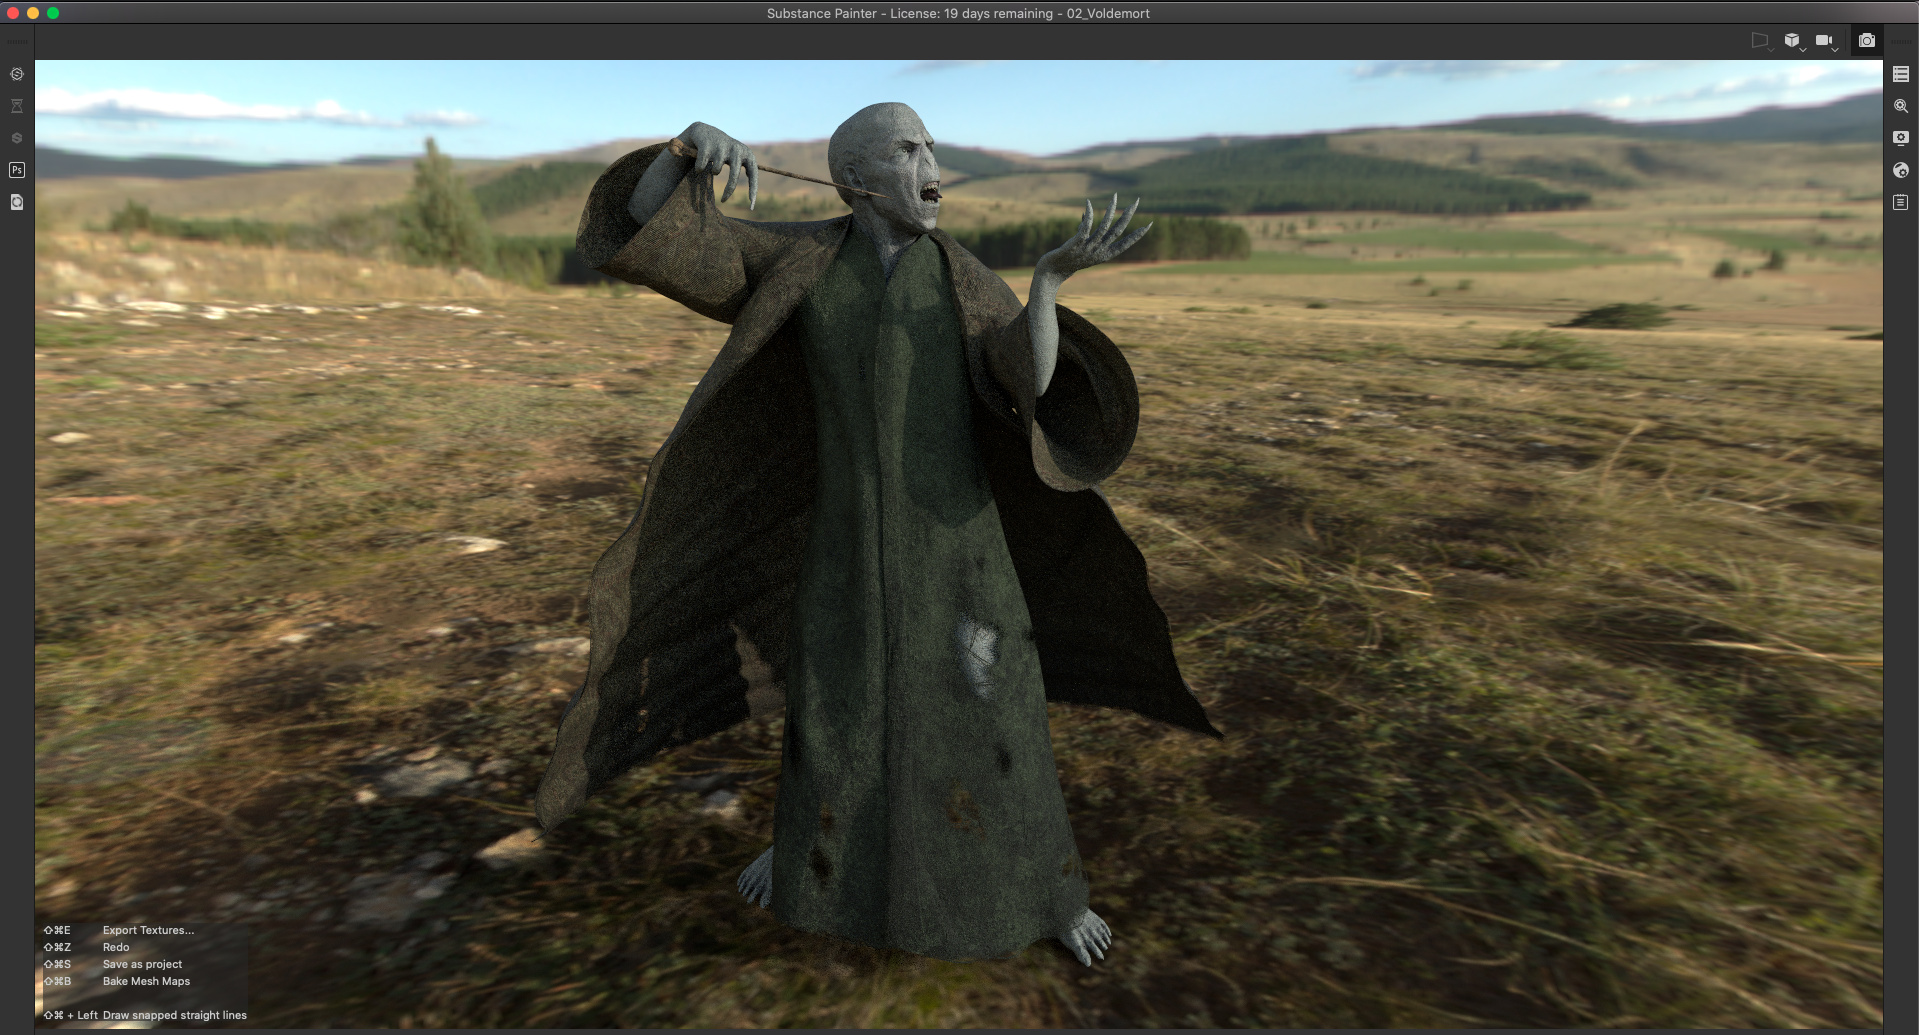
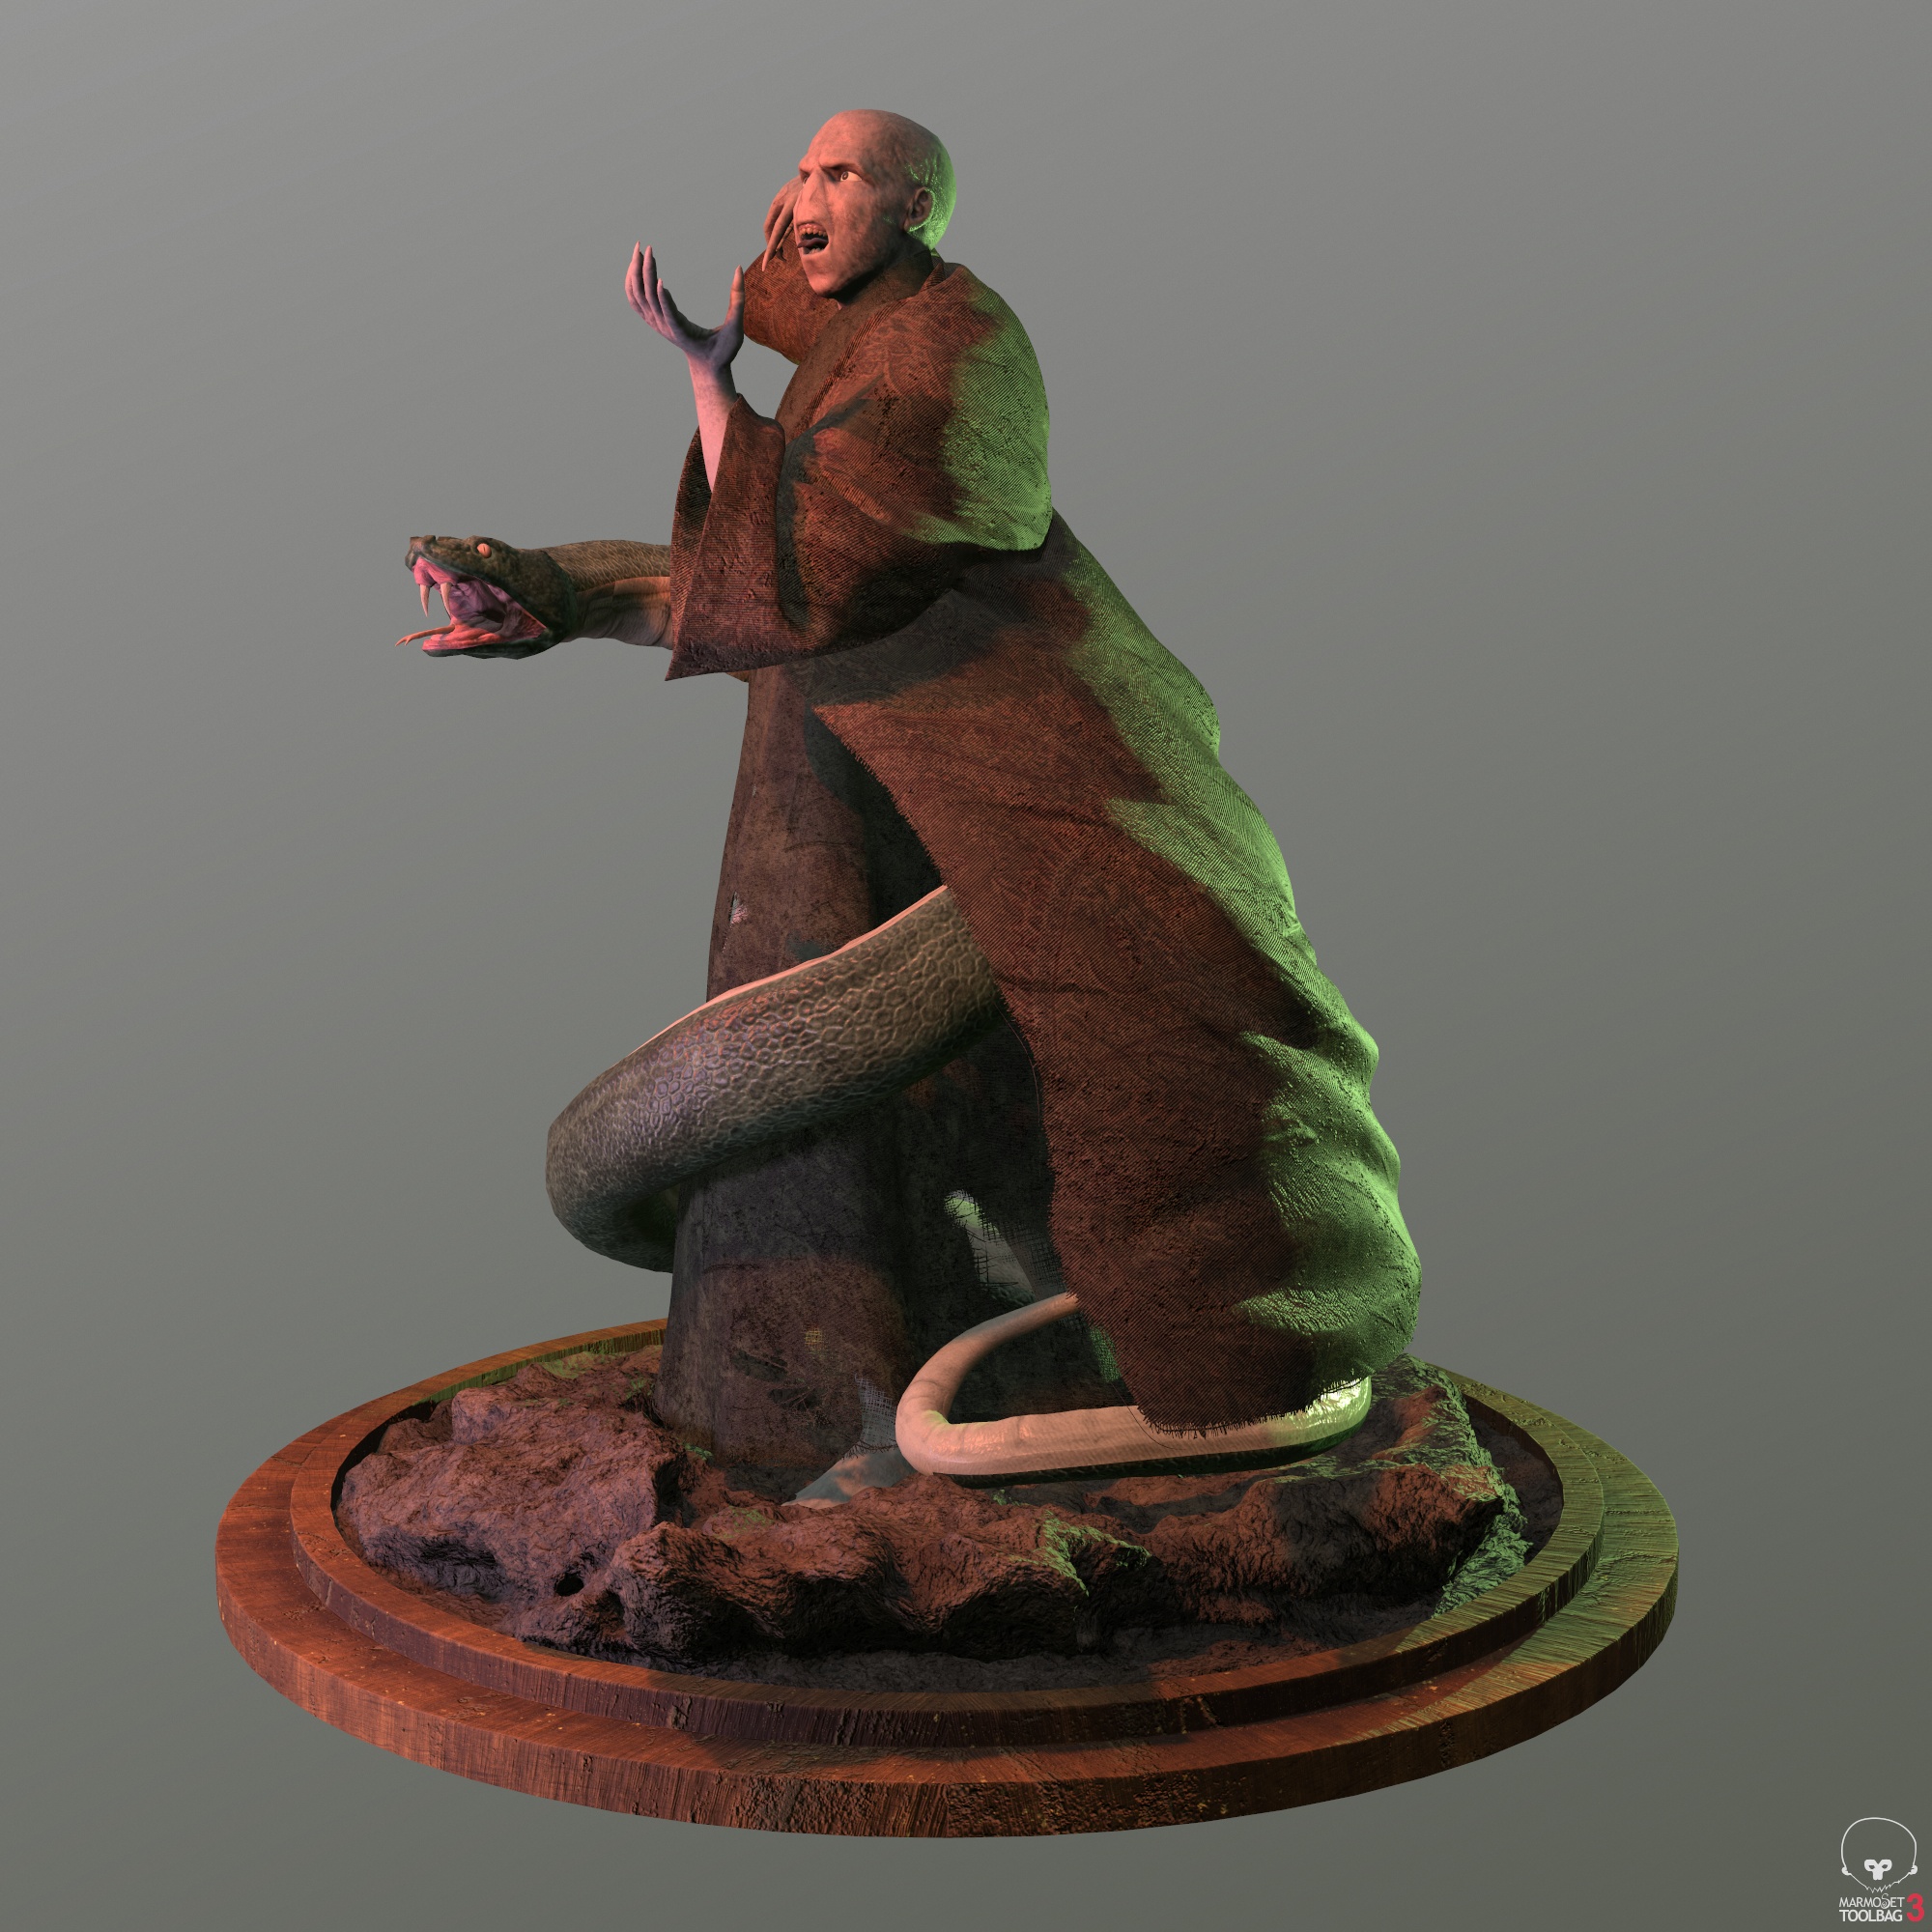
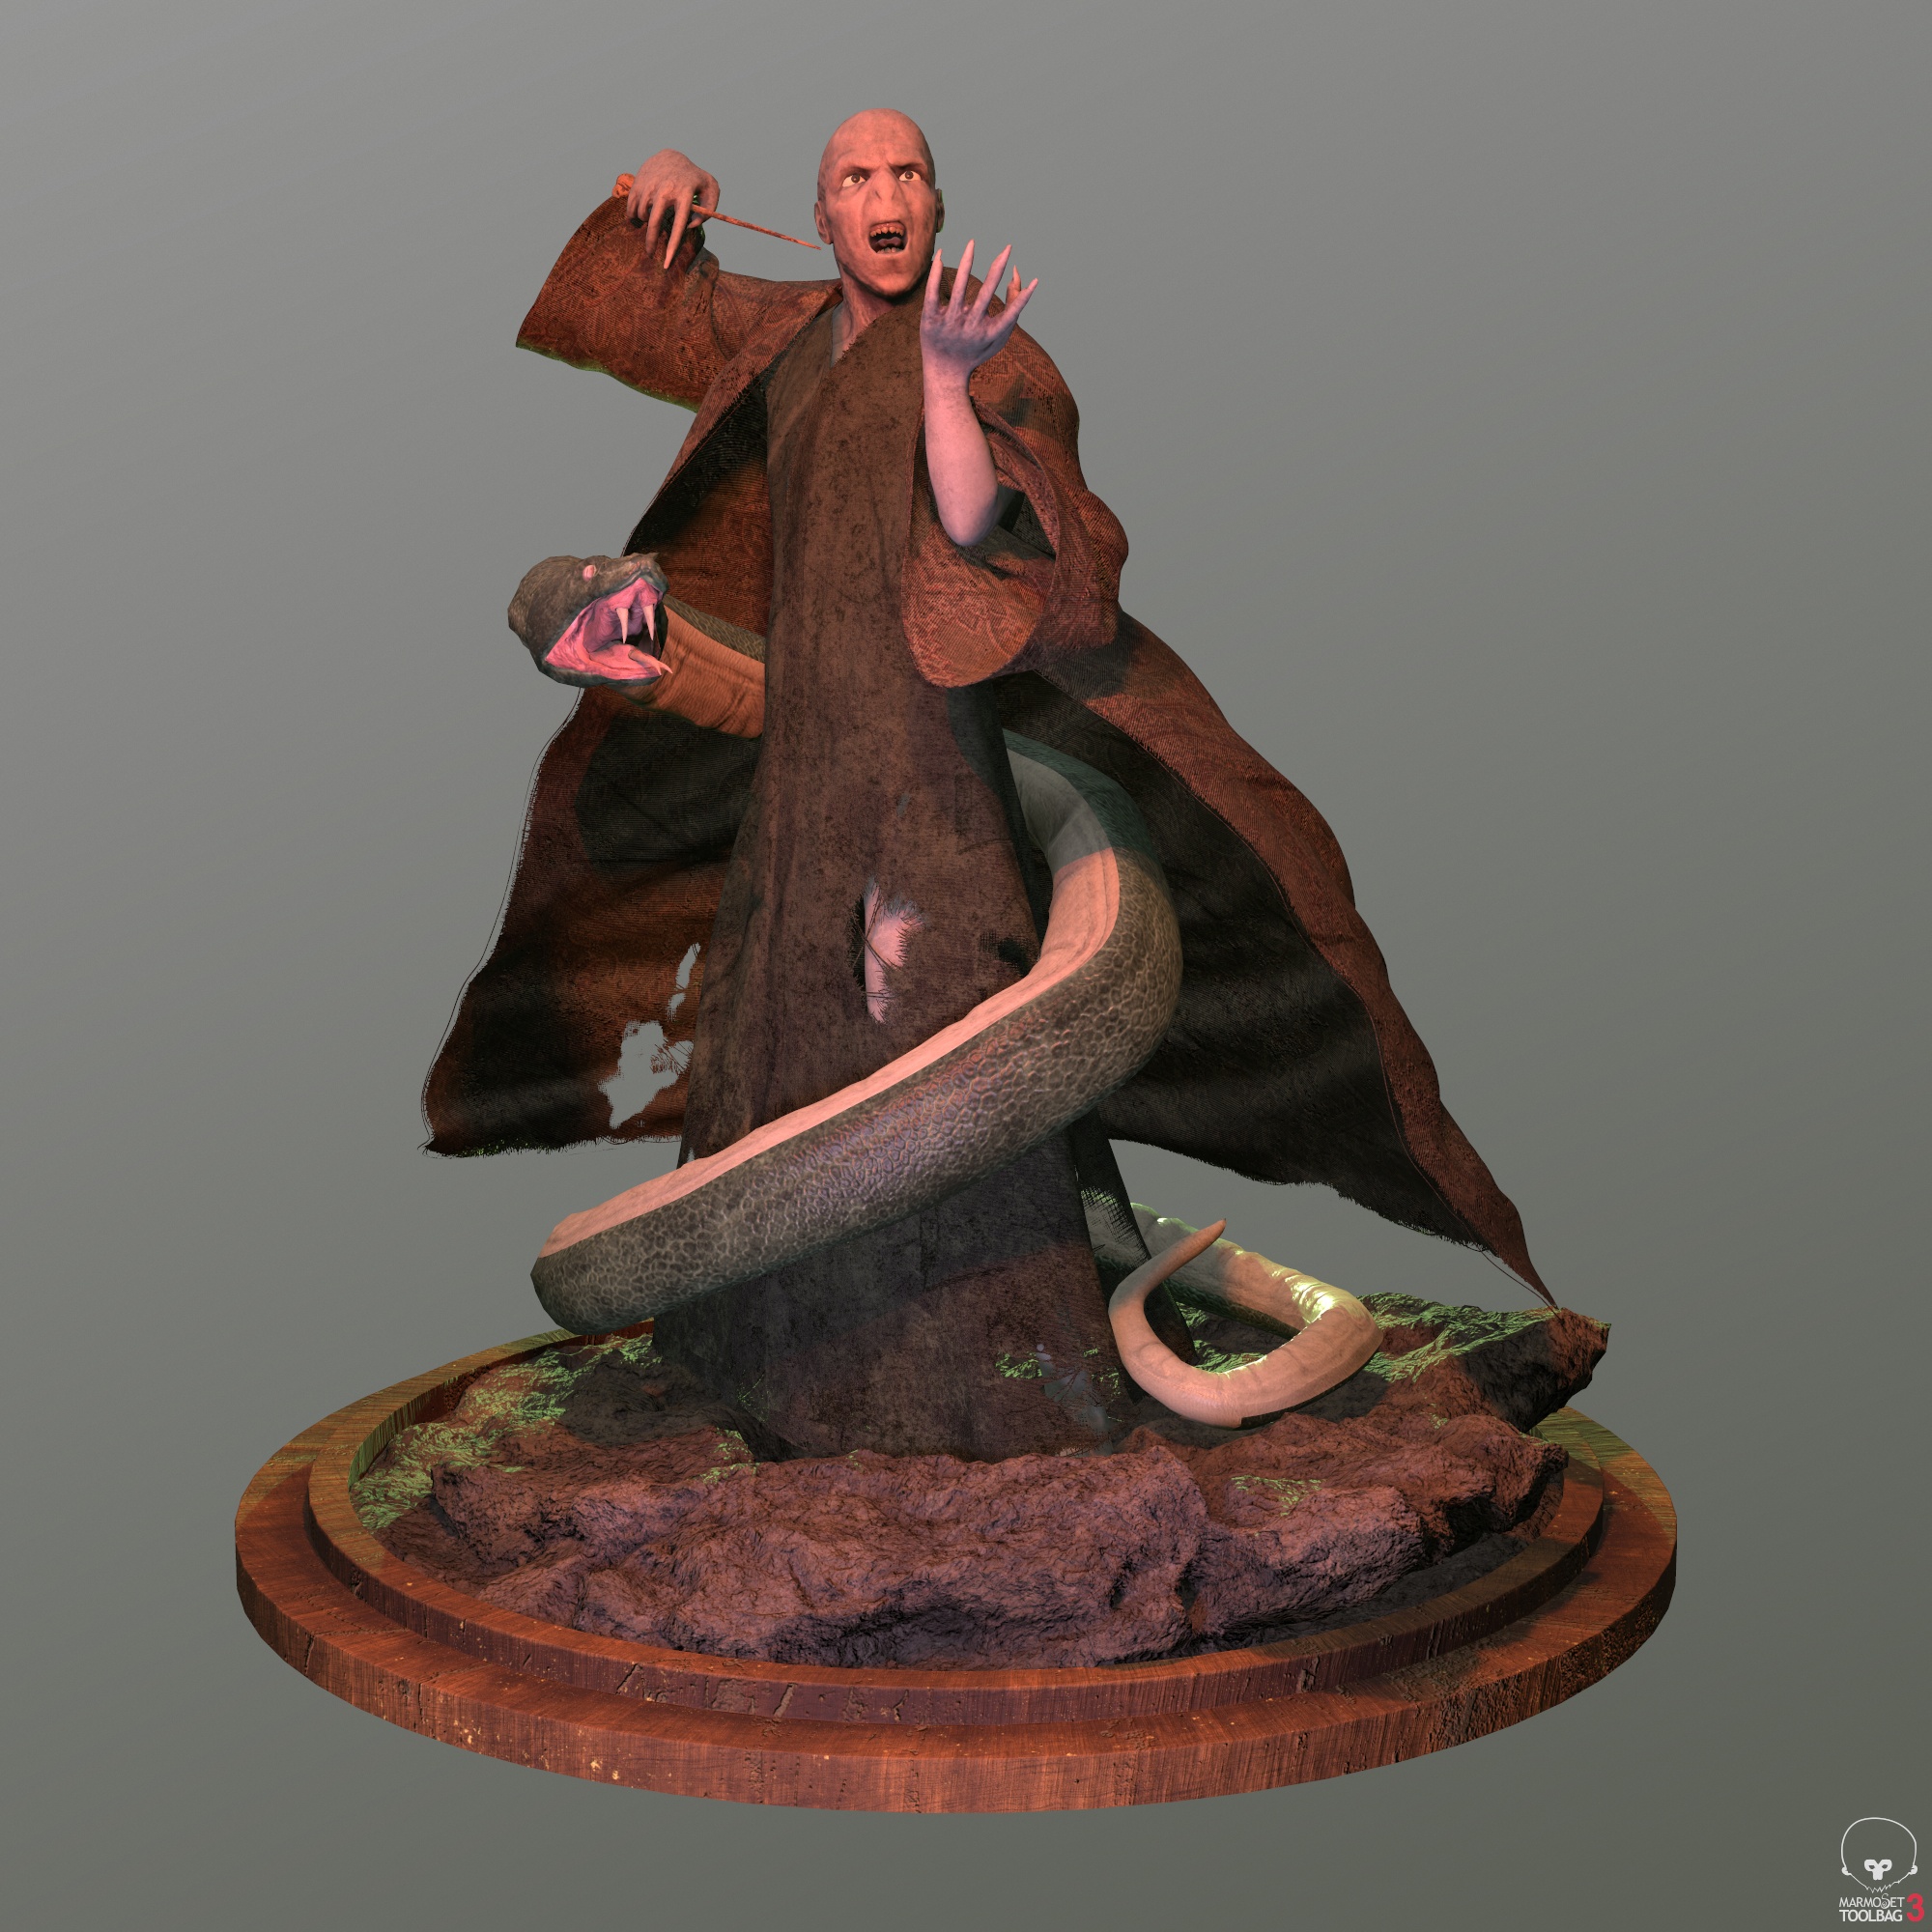
Other updates, hope you’ll like them!
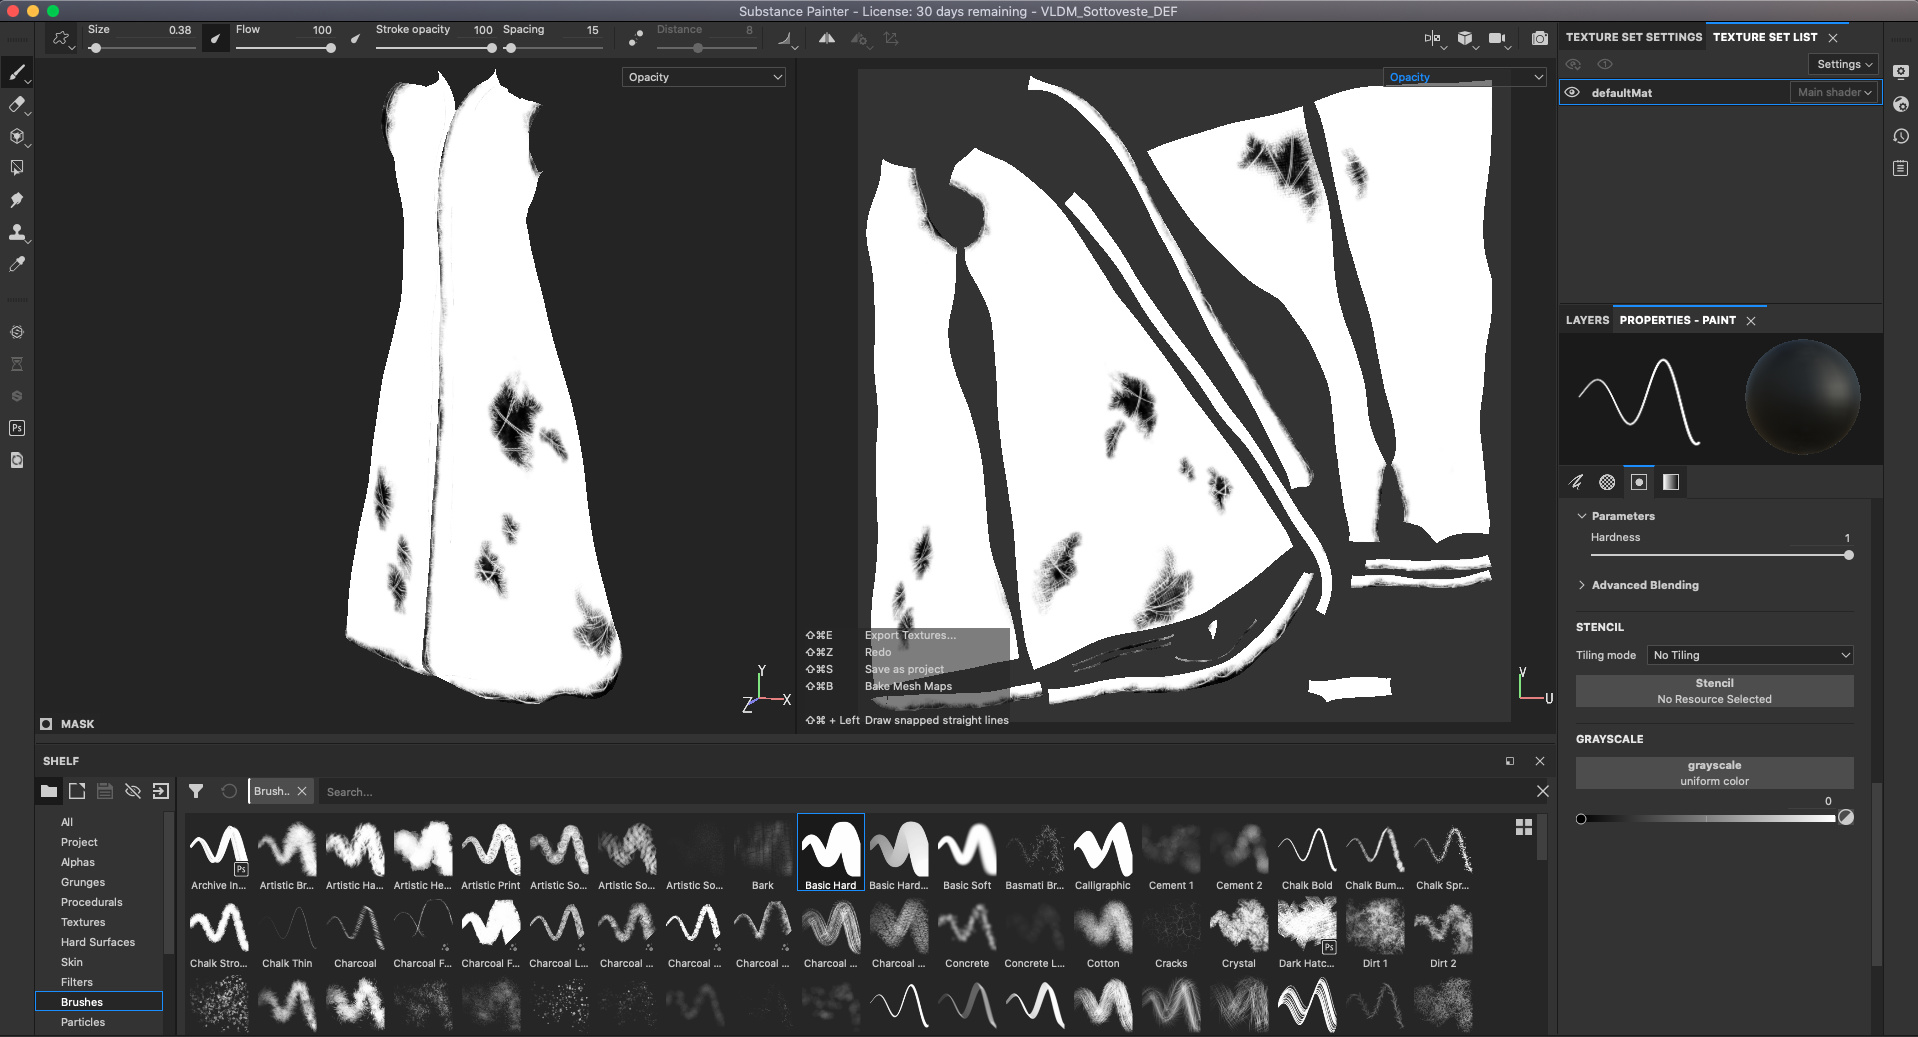
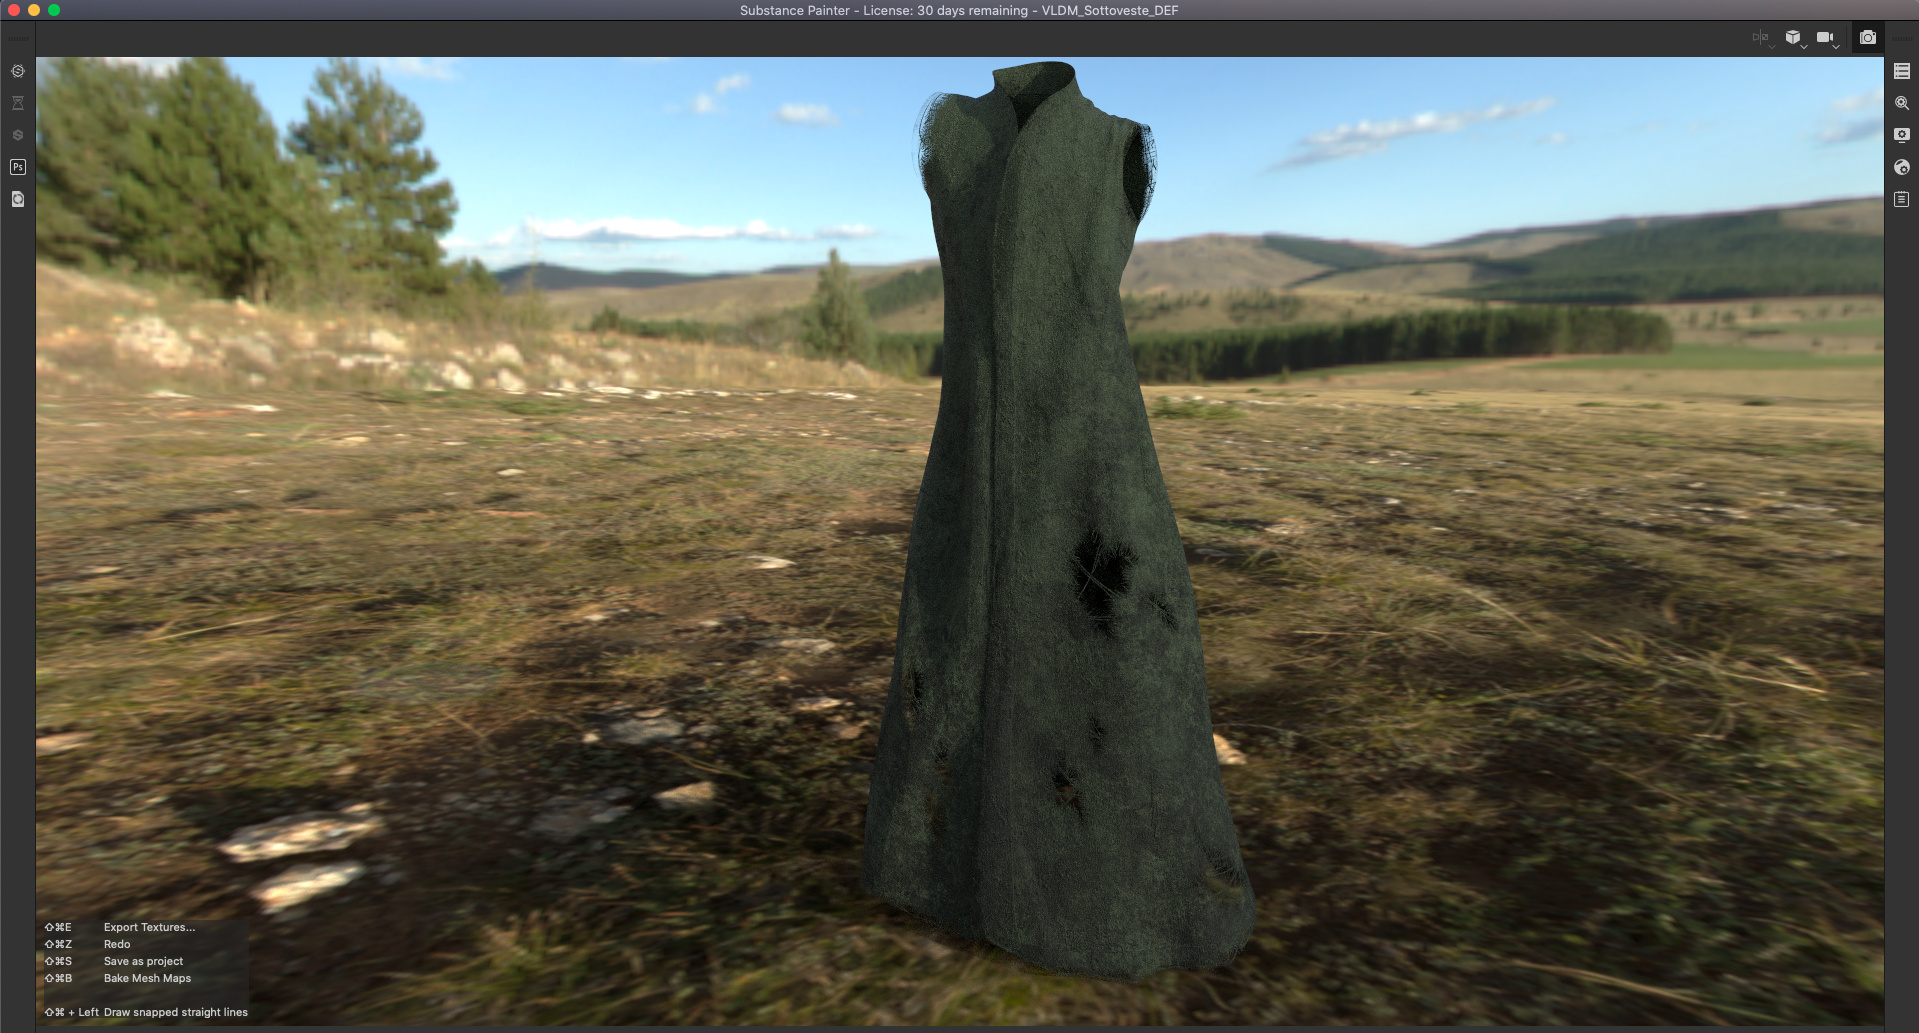
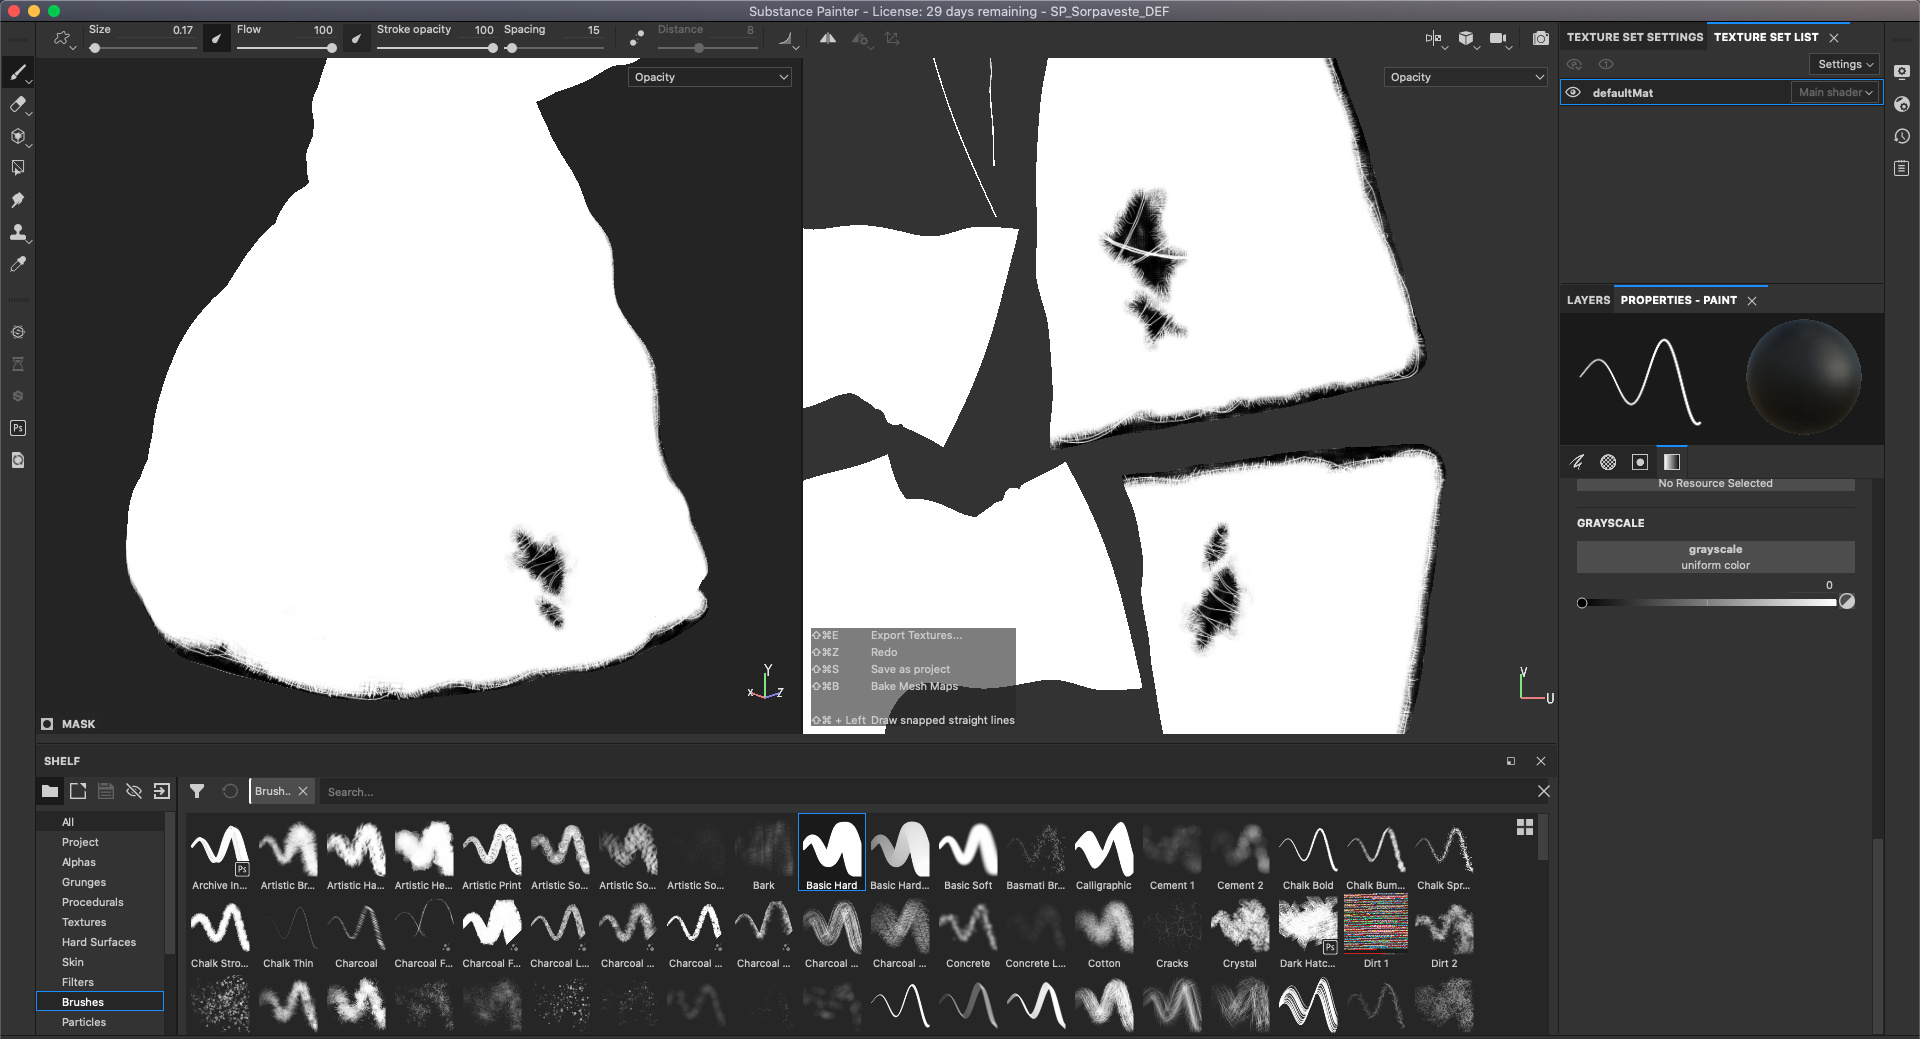
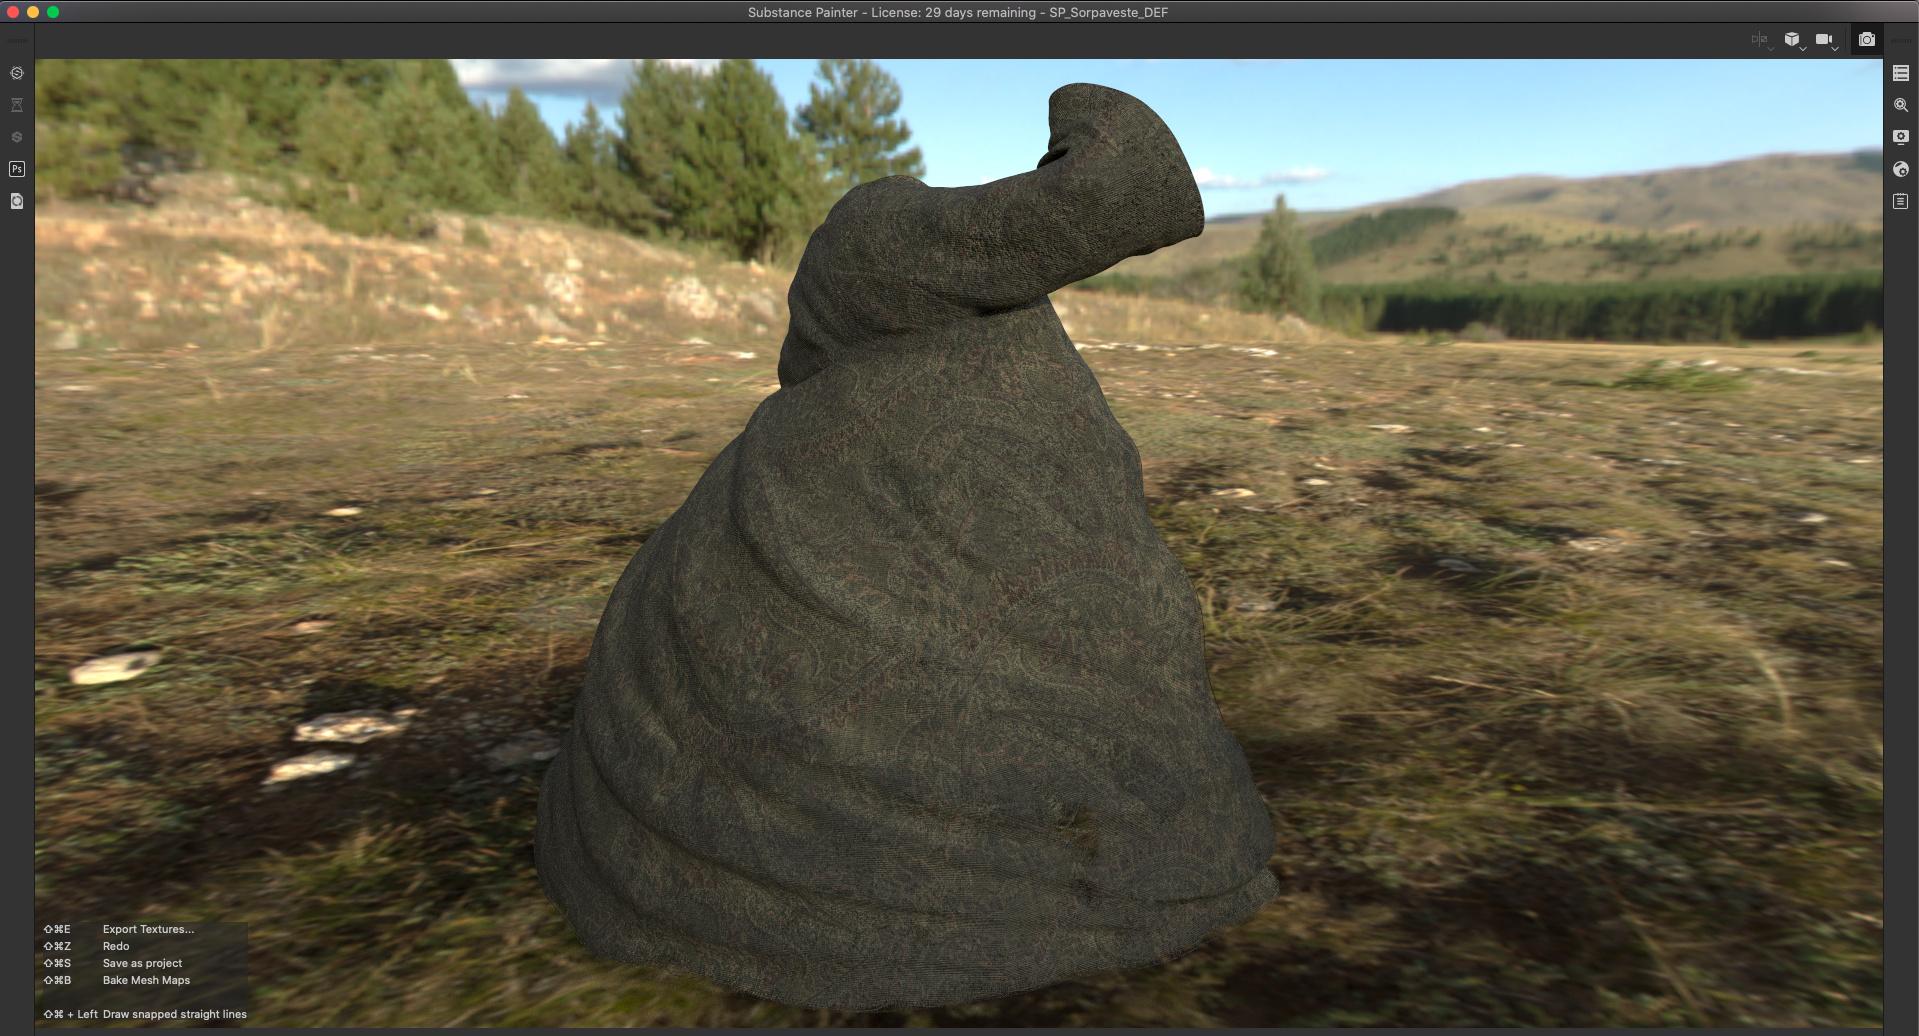
Here you can see how the clothing is looking.
On top of the textured layers I’ve added an opacity map in order to have a more realistic look for those ripped parts in the costume.
For anyone interest in the workflow I would suggest you go watch the following videos, they have been of great help!
Cheers!
https://www.youtube.com/watch?v=yELNQnveIMw&t=471s
https://www.youtube.com/watch?v=CY_jjmHosqw&t=1748s
1 Like
another work in progress, trying to figure out the shape of the fiendfyre spell…
This is looking really good. Nice job!
1 Like
Thanks man!
I’ll be posting some more progress soon, don’t miss out!
Cheers!
Hi guys, here’s other updates on the project hope you like them!
I’ve corrected some models and adjusted the textures.
As you can see I am now setting up the scene in Marmorset…
1 Like
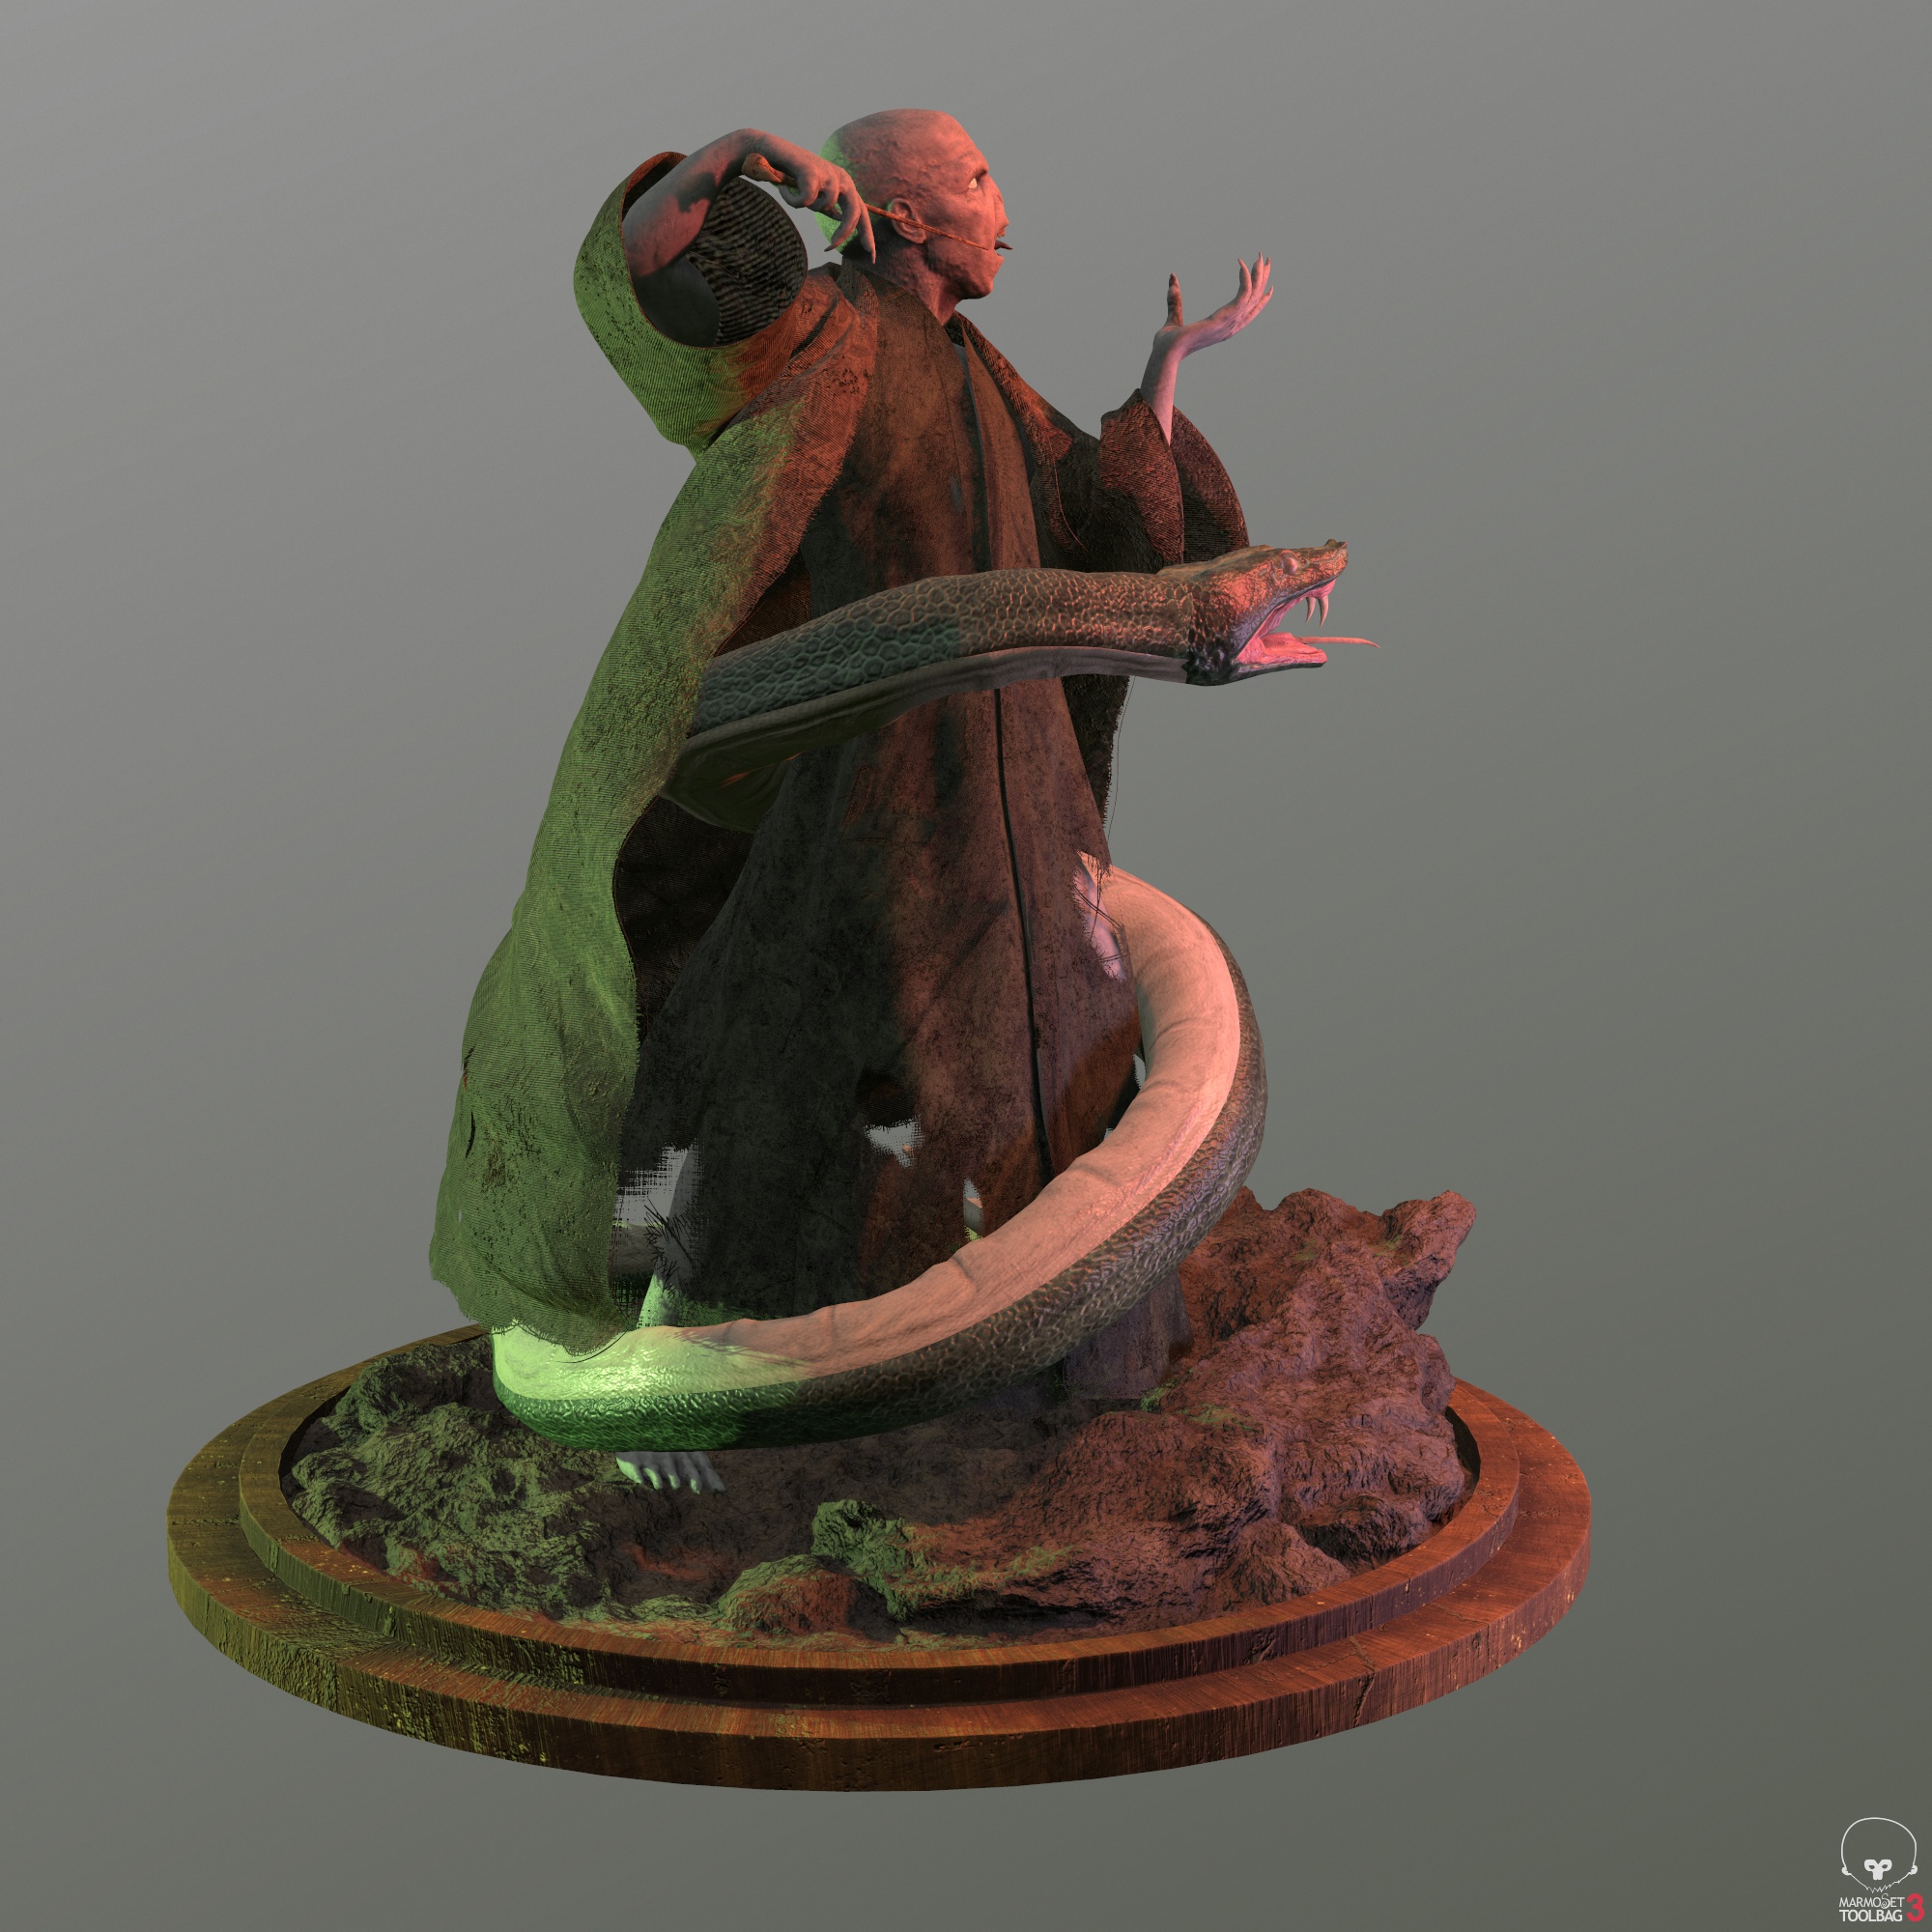
Other updates to the project!
1 Like
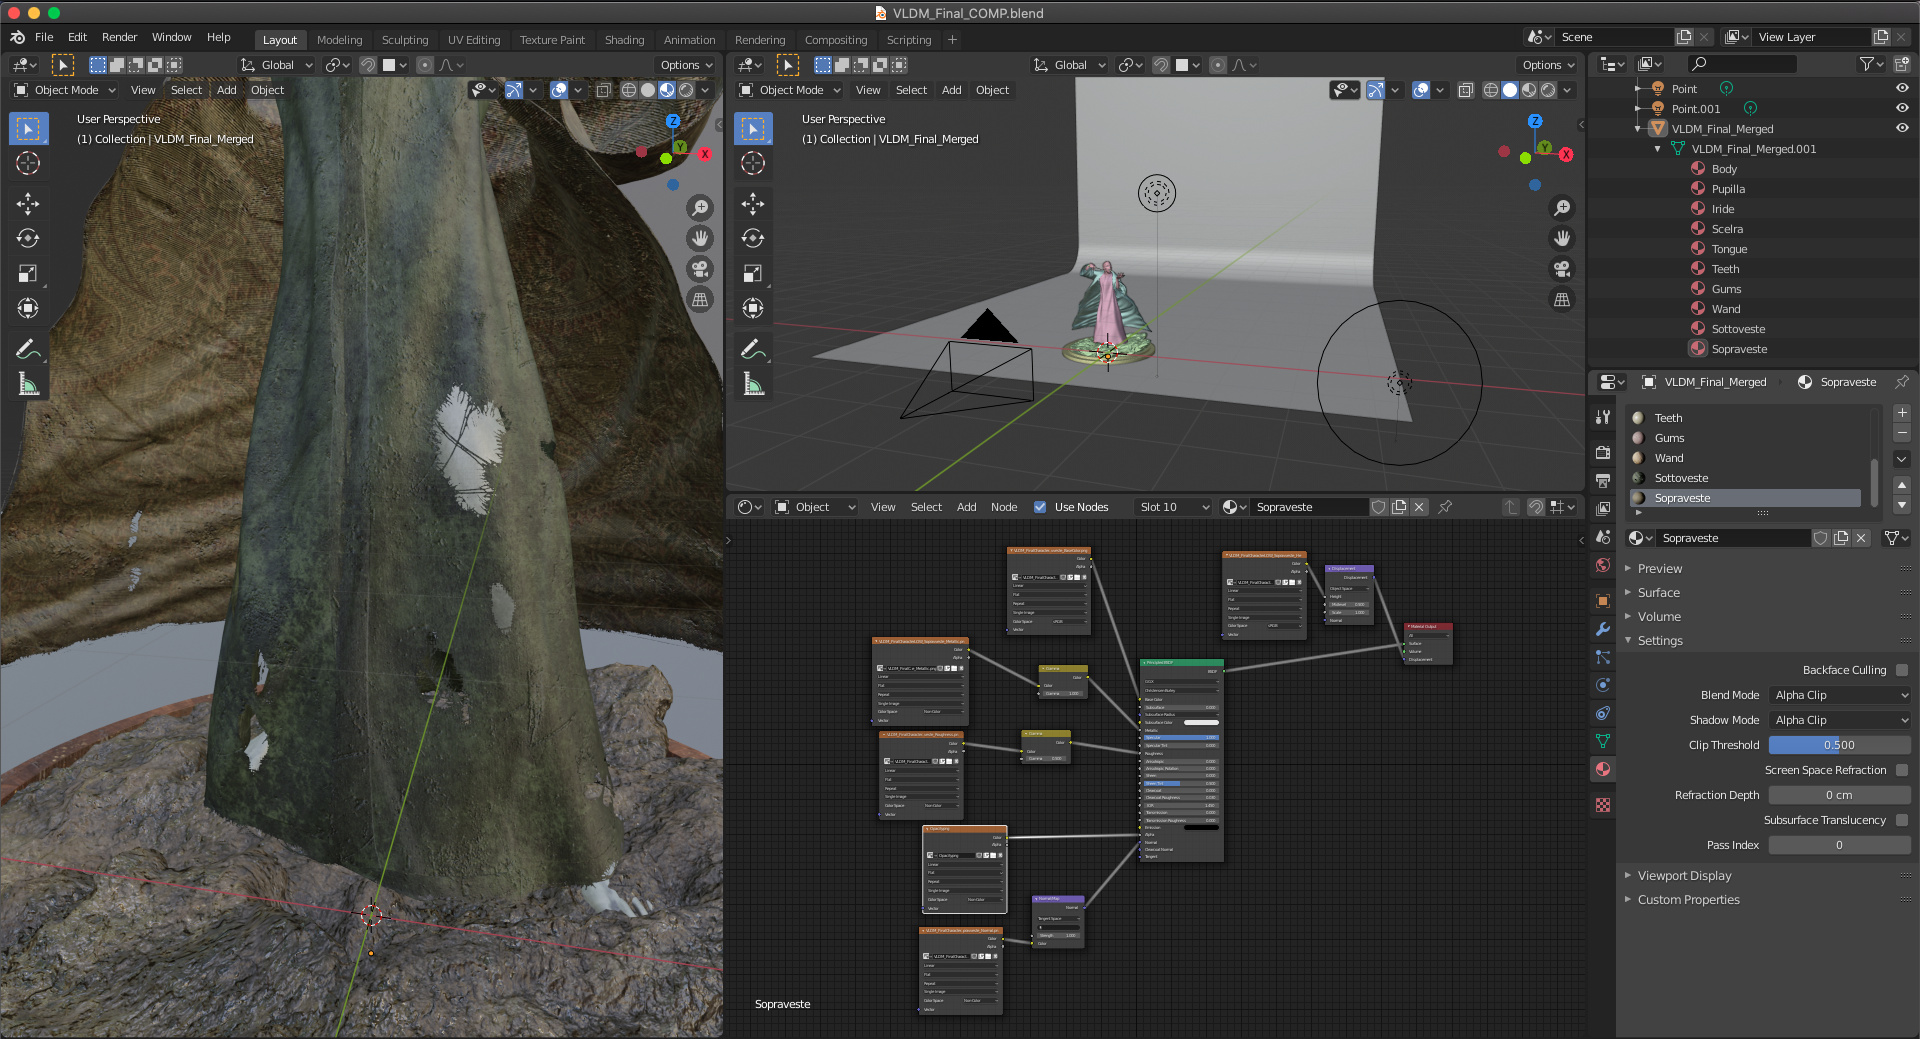
Other updates…
A tip for anyone that wants to render a transparency in Blender.
When you have set up all your maps make sure to connect the Opacity Map to the Alpha Channel on the Principle BSDF shader and set the Color Space of the image texture to Non-Color. Then go to the material tab and under “Settings” make sure to change the Blend Mode and Shadow Mode from Opaque to Alpha Clip, Alpha Hashed or Alpha Blend. In my case the Alpha Clip gave me the best results.
Cheers!
1 Like
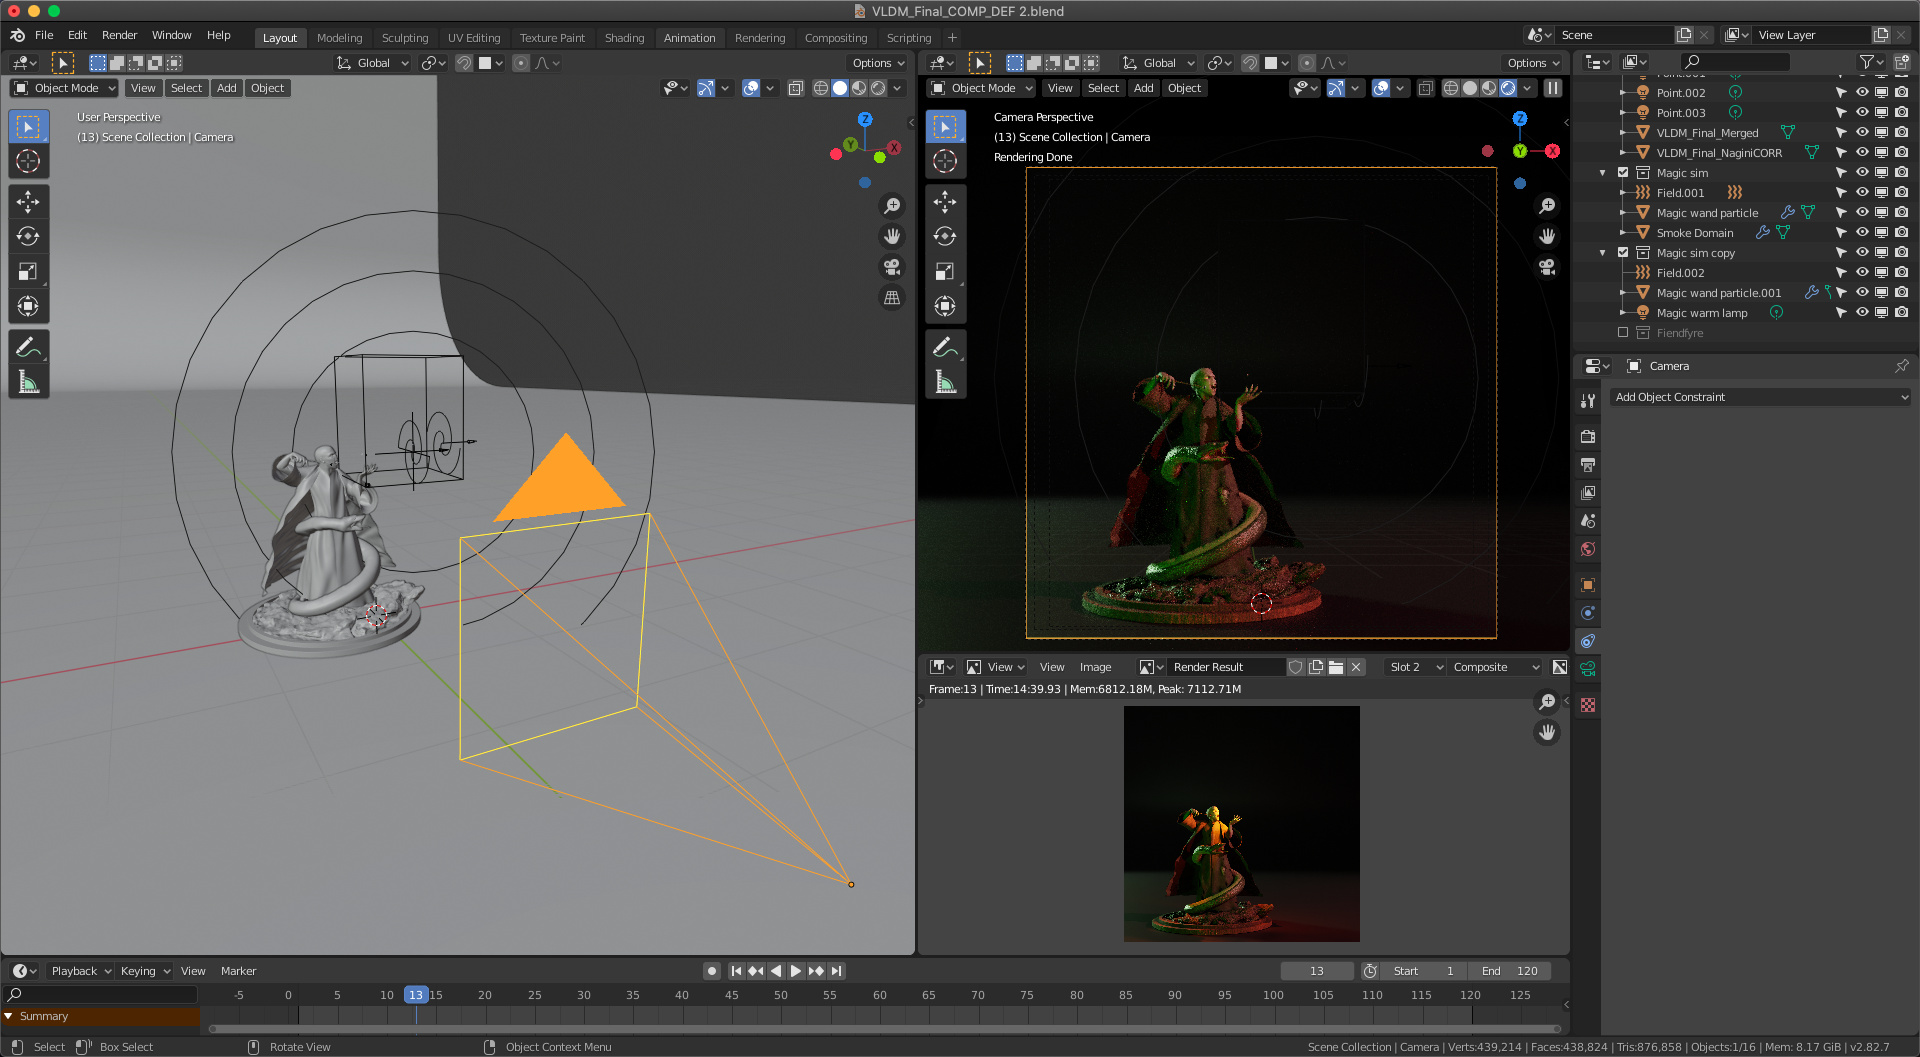
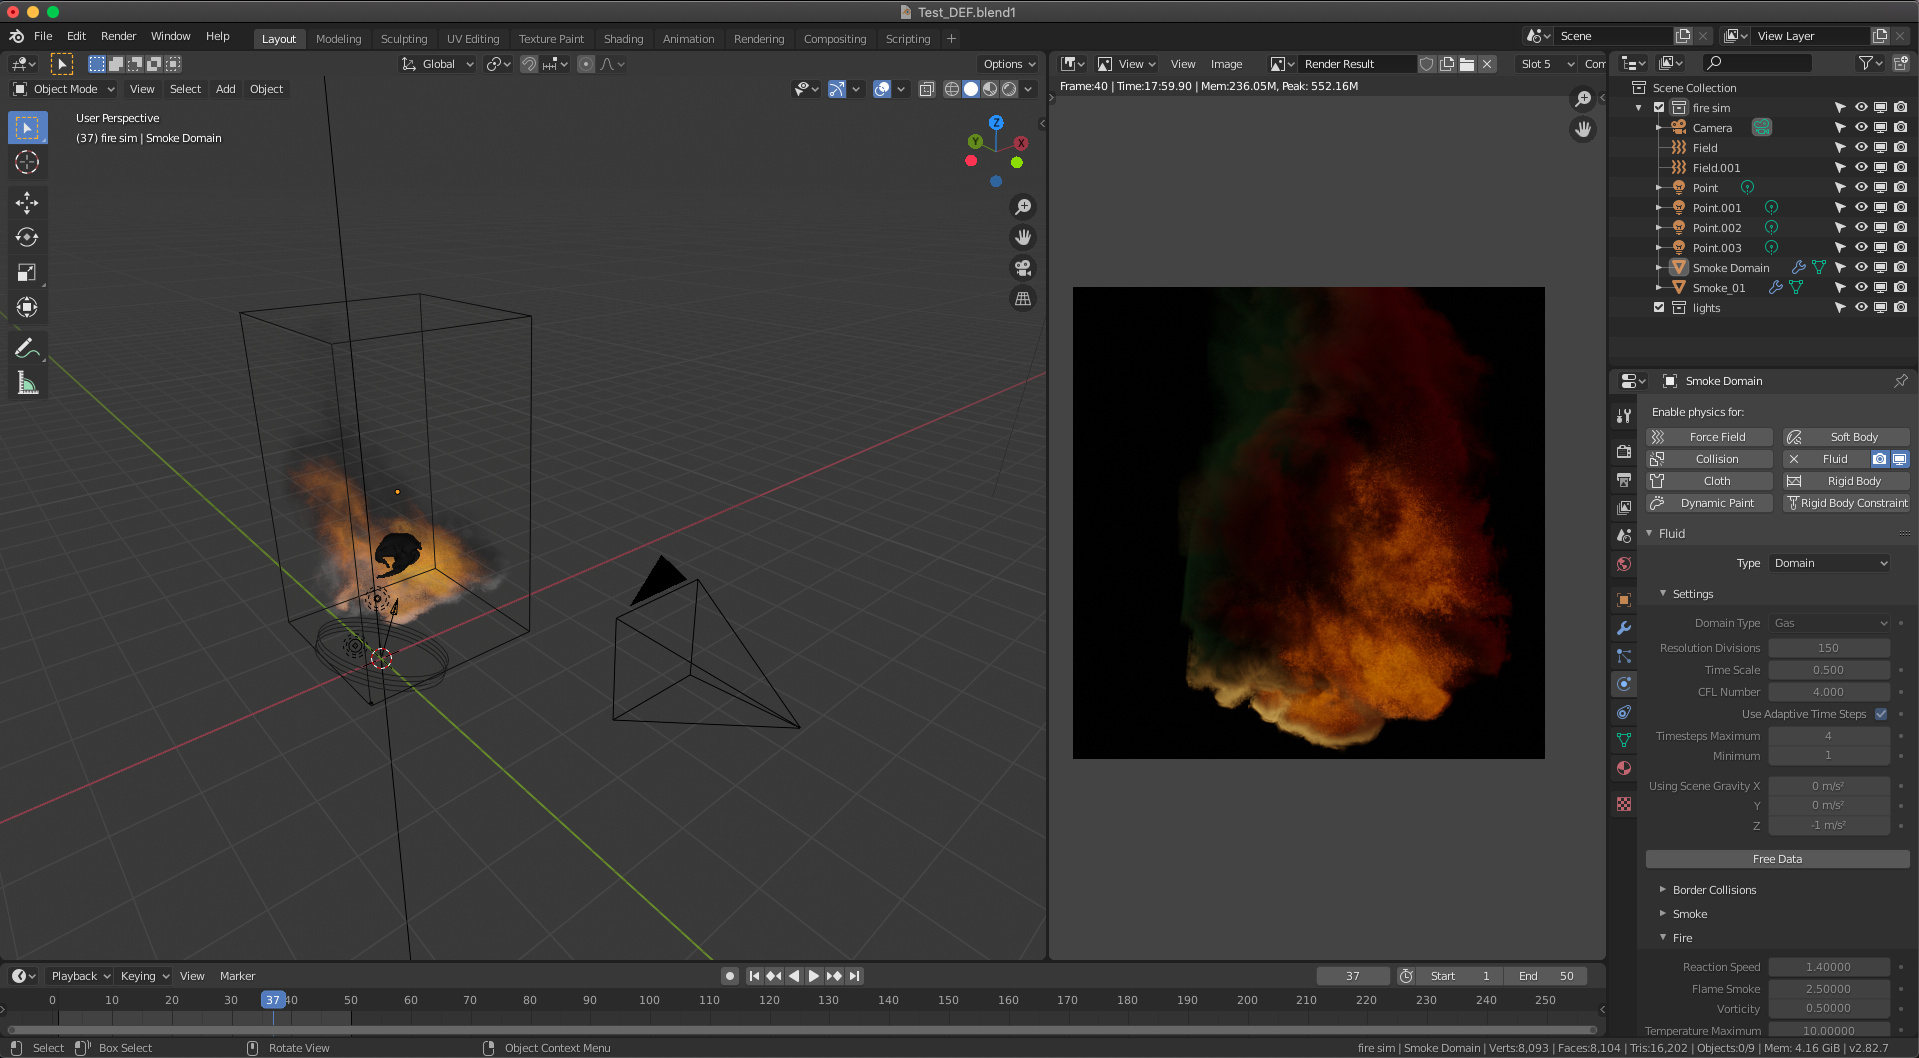
Hi, here’s my last update before submitting the final render!
I had to render the flame sim in a different project because my computer couldn’t handle all the data. I’ve render the scene using cycles, than I composed the final shot in photoshop.
1 Like