Hi evreybody :))))
My name is Morteza and I have been working on creating realistic 3D characters for several years and I am going to participate in this challenge.
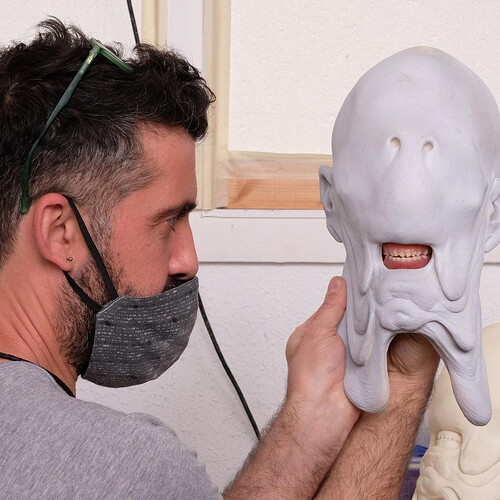
I am very interested in watching the movie and I wanted to model a character from the movie Pan’s Labyrinth, which is a very strange and organic character!! I want to make it completely Likeness and almost exactly like the real model used in the movie! Of course in CG :))
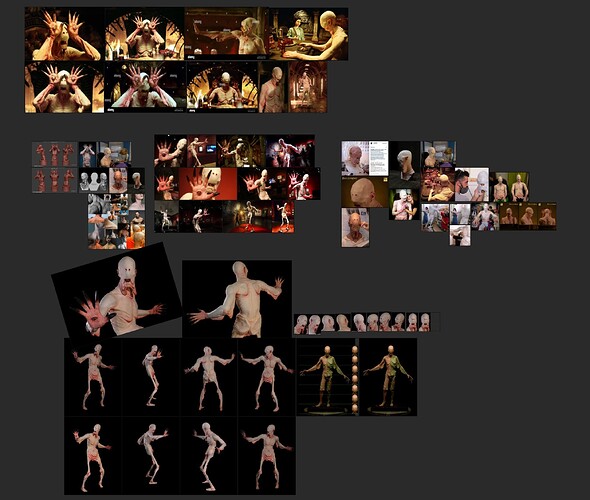
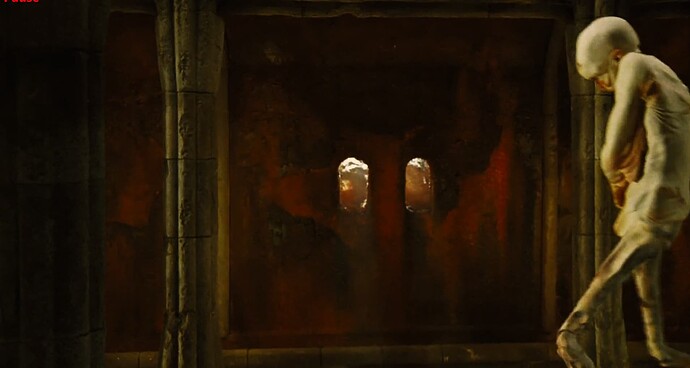
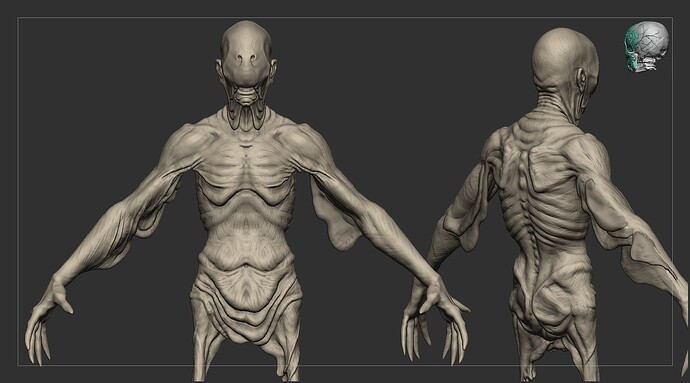
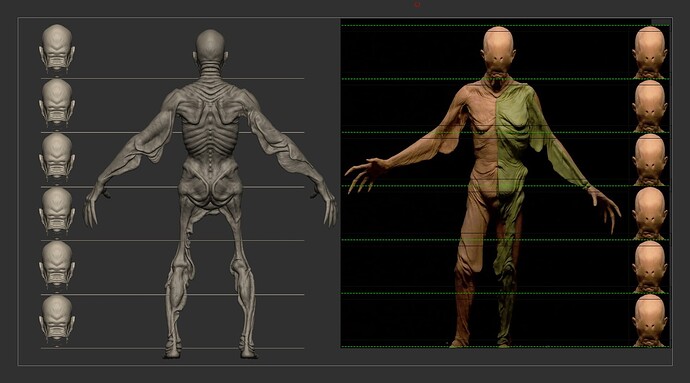
These are some references that I have collected for the Pale Man.
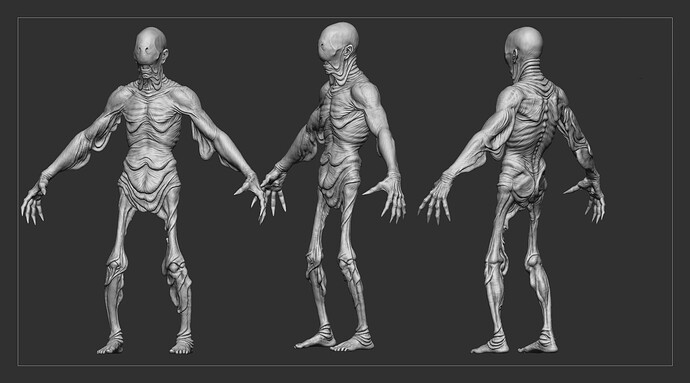
As You Can See, Our character has a very complex and non-symmetrical body (because in the movie it was made in reality and not in CG) and even from the point of view of anatomy, it is very strange and unknown to me  In summary, I preferred the “HARD” one so that I can learn and win first at the same time.
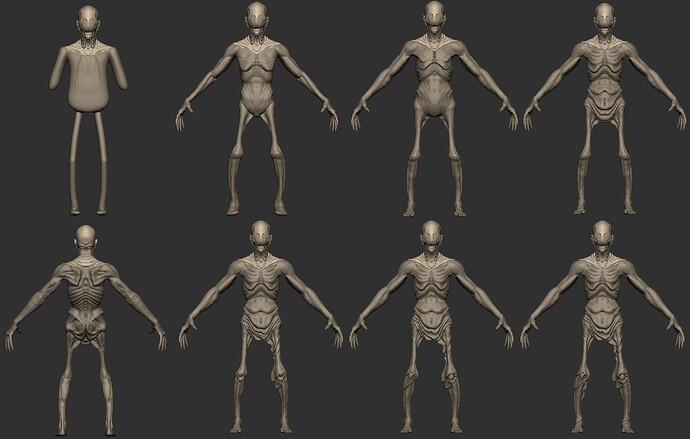
In addition, because both sides of the character are different, I have to sculpt both sides separately, so it’s very difficult for me! Wish me success
Good luck to the rest of the respected artists
Don’t forget to give your comments freely. Thank U
So let’s get started !
7 Likes
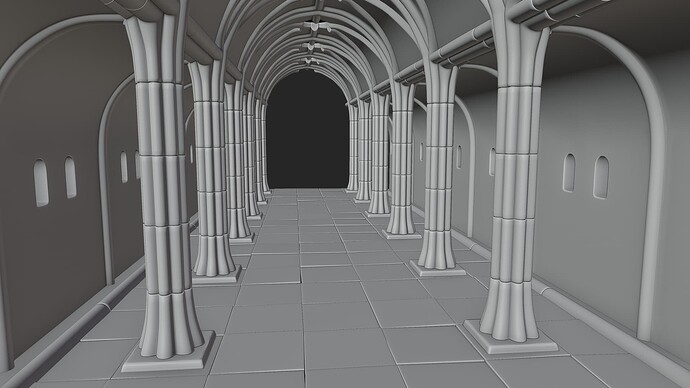
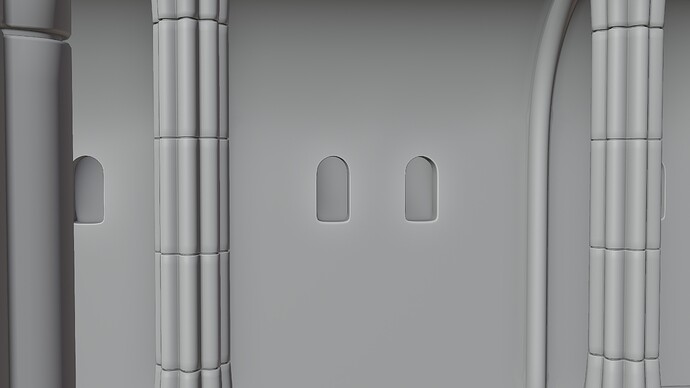
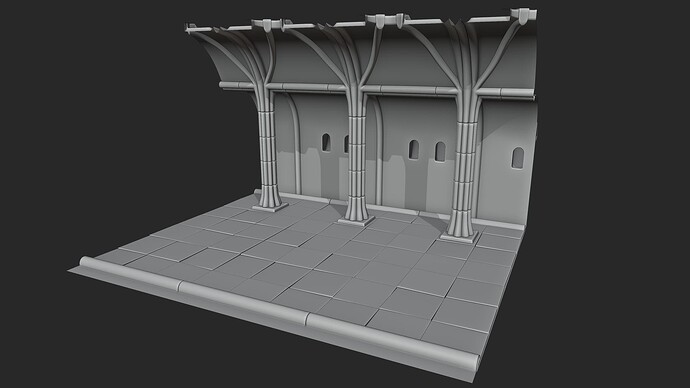
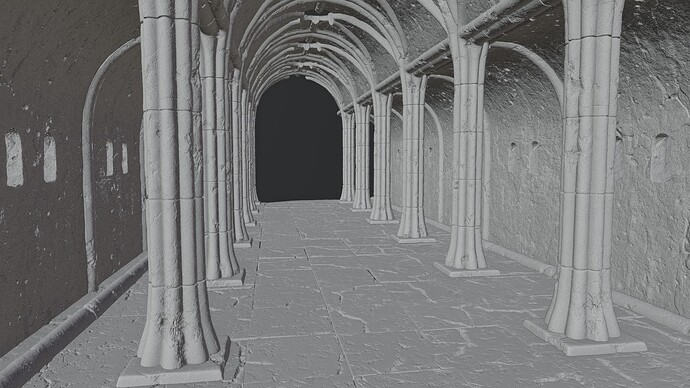
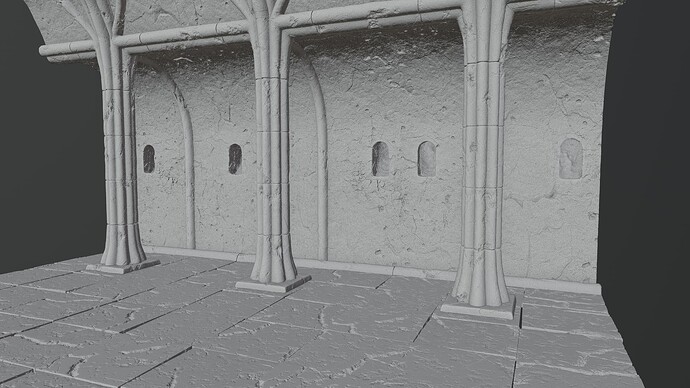
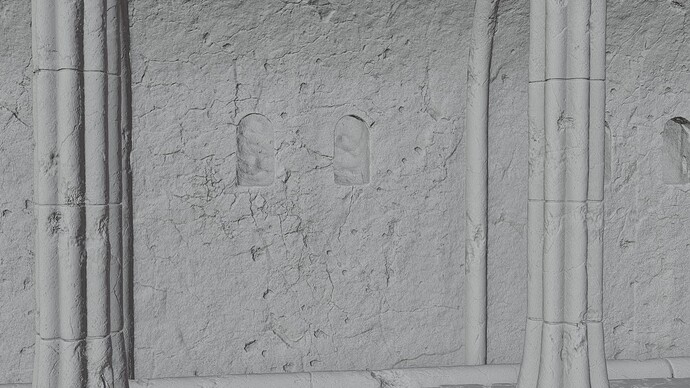
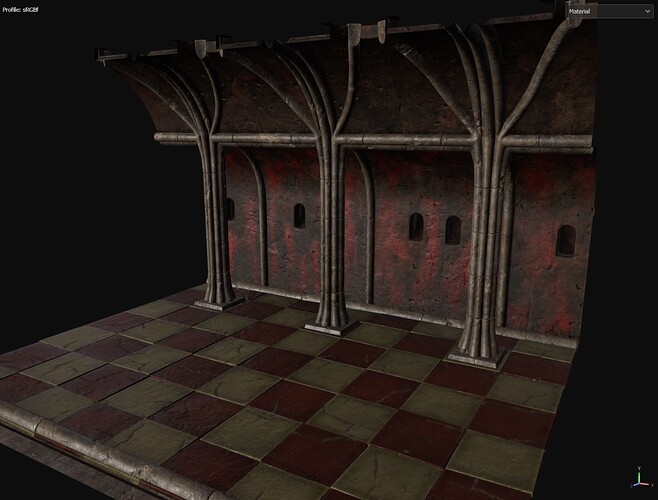
Let’s work a little on making the pale man palace/castle
Just for background 
1 Like
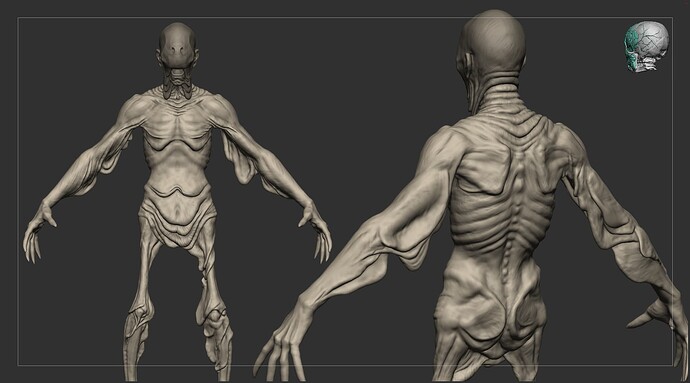
W.I.P 5
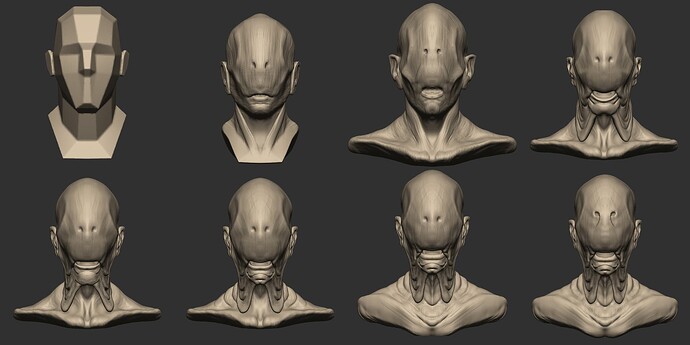
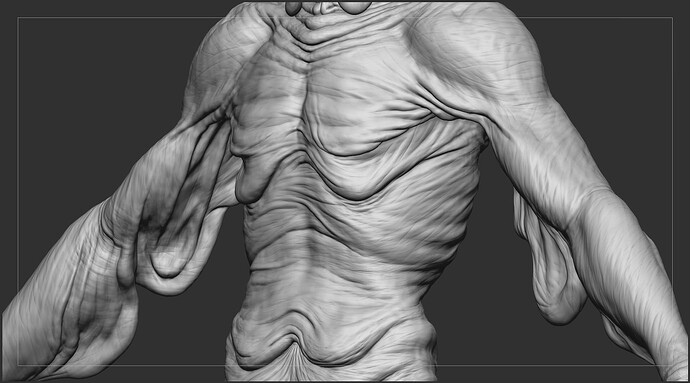
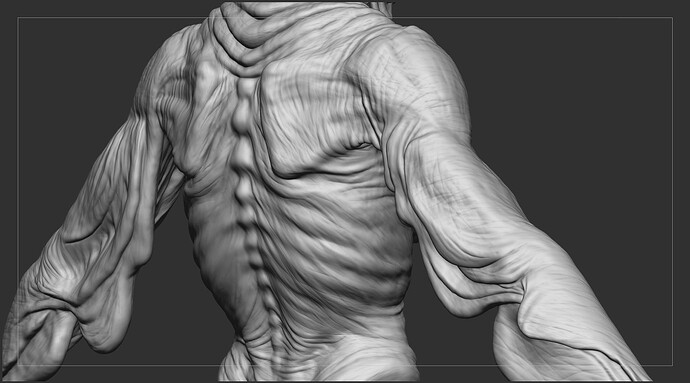
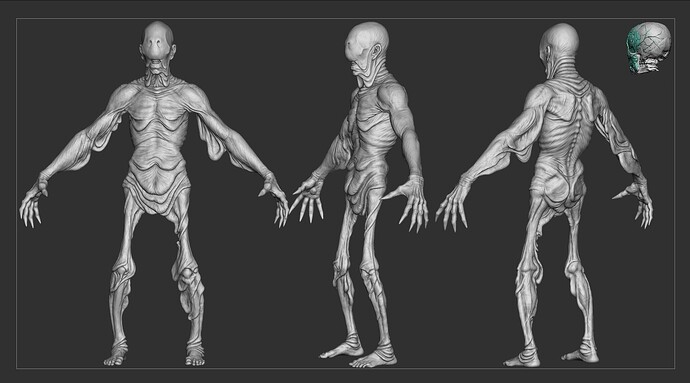
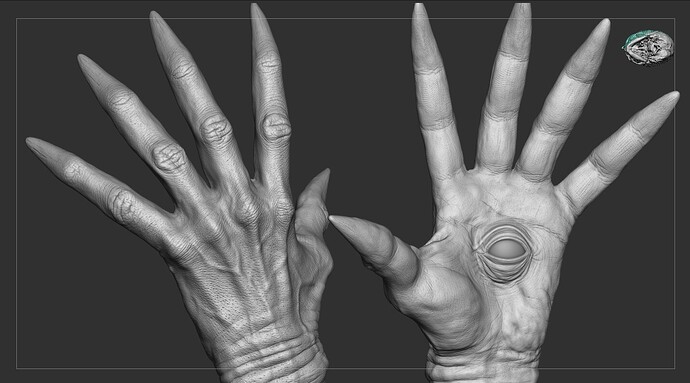
Both sides are individually sculpted!
7 Likes
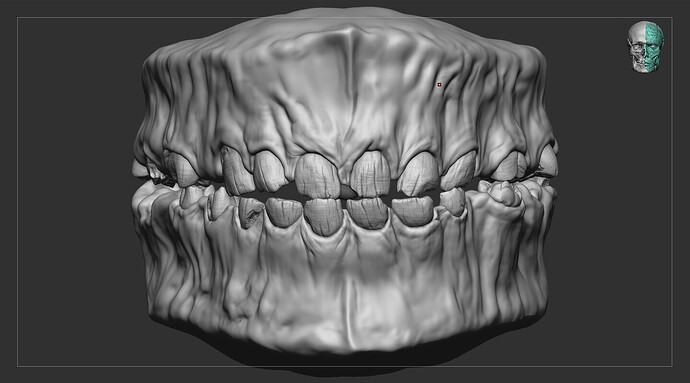
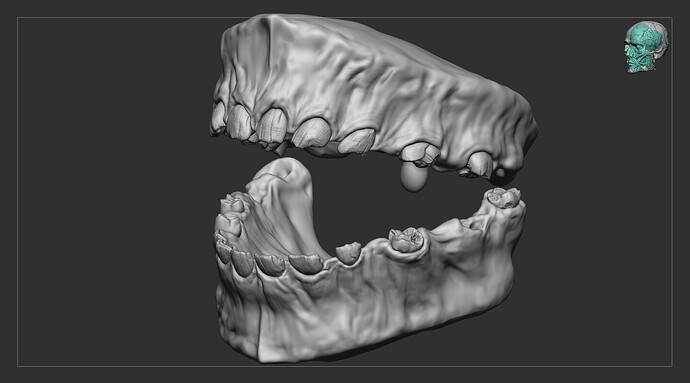
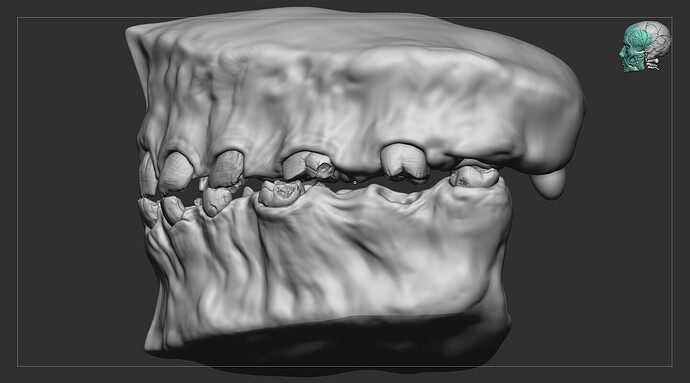
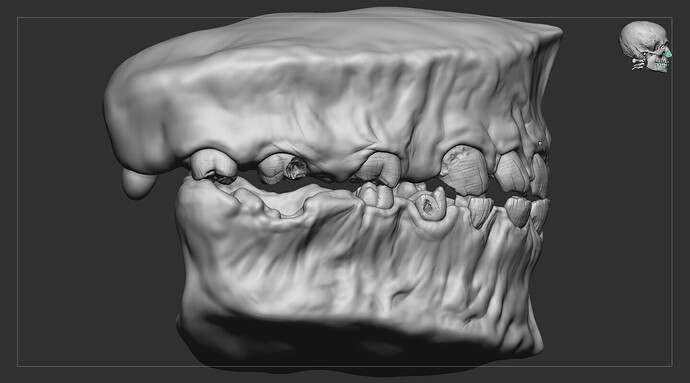
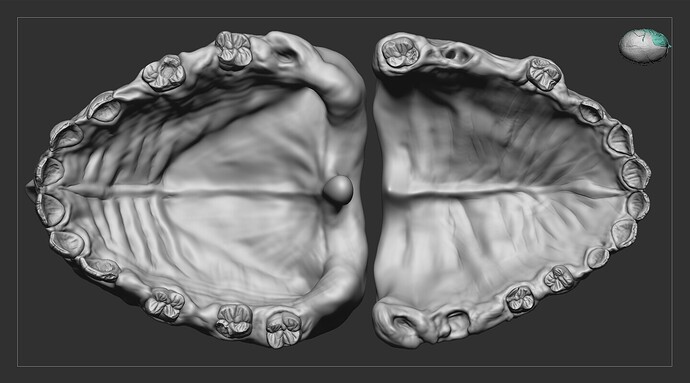
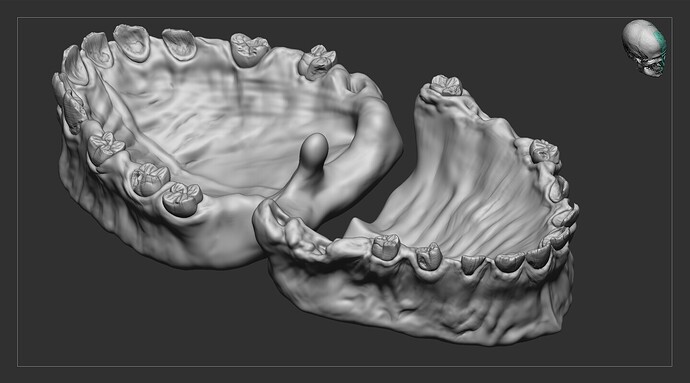
The base model used for the teeth is 3 of the 44 tooth models of my teeth pack. It is zremeshered and then fine details are sculpted on them
Product : 44 TEETH - High Detailed Teeth - FlippedNormals
4 Likes
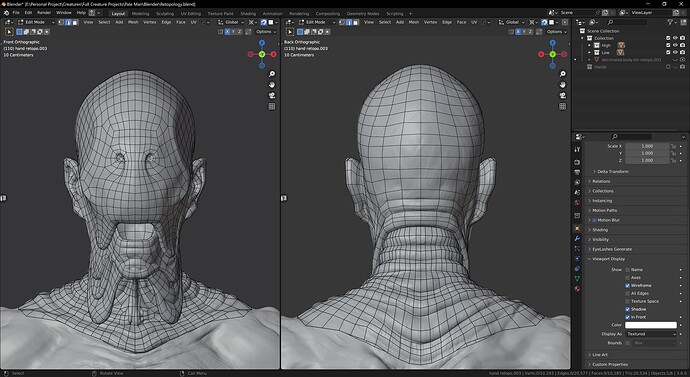
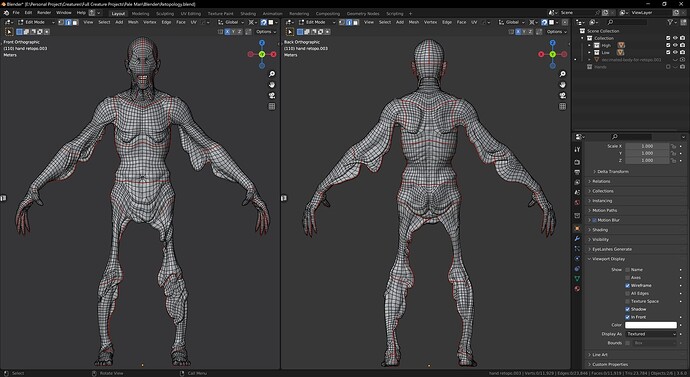
W.I.P 7 : Retopology in Blender
Hello
This character was much harder than what I imagined, the sculpt was so hard that nothing! Even now, I realized that the retopology of both sides should be done separately, some parts or in the next steps, grooming, painting, texturing, etc., all the parts should be done almost separately 
(Even pay attention, I worked on the topology of both sides of the face separately to get the best result from the displacement map)
My Workflow :
I usually don’t use zremesher for the next stage of dynamesh. Instead, When the big and main forms were sculpted with dynamesh so I bring the dynameshed model into Blender, then retopology and Unwrap are done in Blender (final topology), and I import it into Zbrush, divide it, and project it.
5 Likes
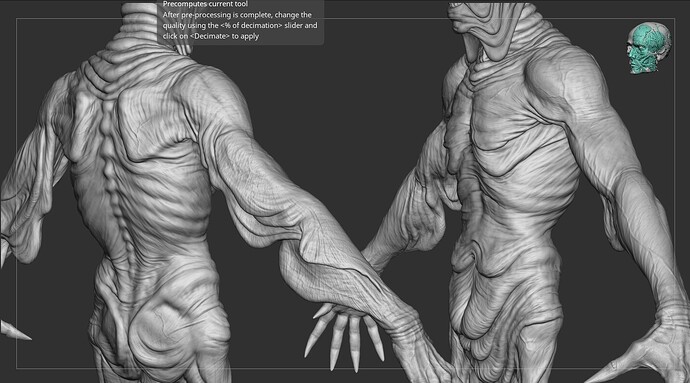
W.I.P 9 : Start detailing on HD Geometry
5 Likes
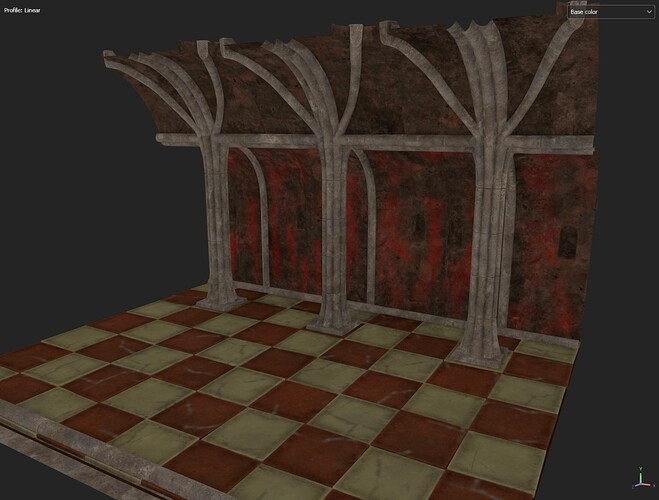
W.I.P 9 : Corridor Texturng in Substance Painter
This is looking super tight! Do you plan on adding a twist to make it more original/your own or are you going for a perfect replica? We also judge based on creativity and originality so I want to make sure you have the best chances 
3 Likes
Hi Emilie
Thank you very much for your kindness and time
If you mean, am I looking to make a model that is exactly in the movie?! Well, I must say that for my model to be exactly like him in every aspect, it will take much more than a month, and the real character in the movie took time!
In fact, I am working on a CG version of it in a short period of time, and I am making some changes based on my own opinions and taste, and I am trying to make it much better than what you see in the movie.
For example, if you look carefully, you can’t see skin details, small details, etc. in the movie, and the character is somewhat blurred, but I try to give skin details and a bunch of other small details to make it look much cooler and more realistic. But I will not make any changes in the overall work and I will stick to the concept in the main forms of our model. (Suppose the character in the movie is 480p, I am making a 4k version of it)
Or, for example, the character doesn’t have hair at all, but I’m going to add hair to it, maybe it will look a bit creepier, who knows 
1 Like
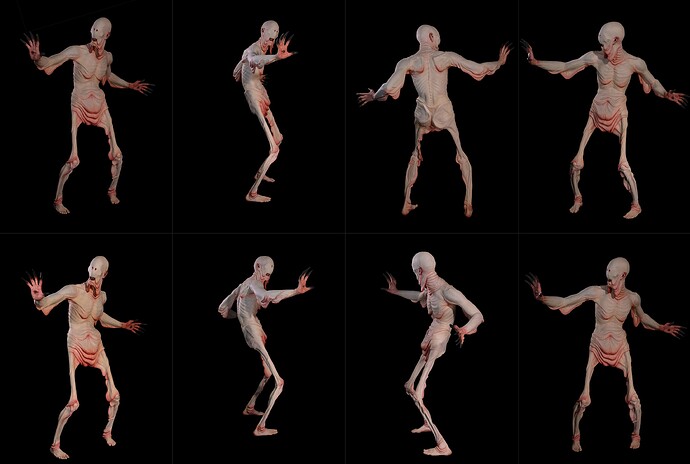
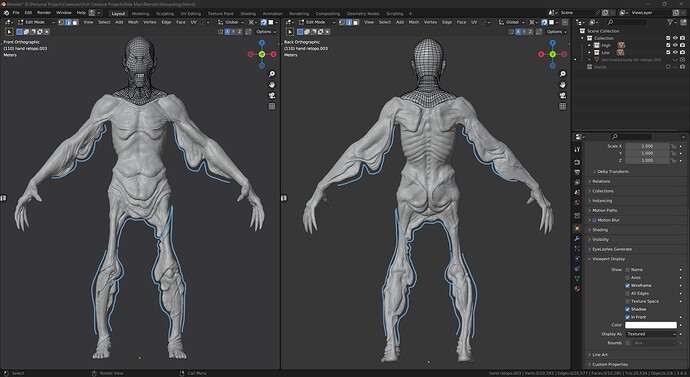
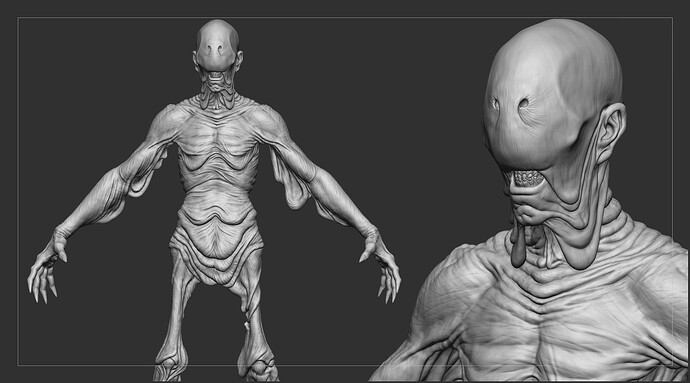
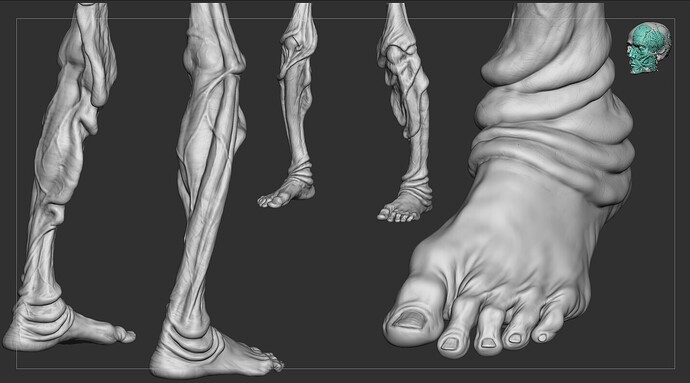
W.I.P 10 : Final Sculpt
I will work on the rest of the details in Substance Painter
I forgot to sculpt the feet veins 

 (No problem, I will sculpt inside Substance
  )
)
2 Likes
![]() In summary, I preferred the “HARD” one so that I can learn and win first at the same time.
In summary, I preferred the “HARD” one so that I can learn and win first at the same time. ![]()
