Hopefully this is how you start an entry, I’m new and have no idea.
It’s been years since I’ve modeled anything, especially a character, but this sounds like a fun challenge and I’ve always thought a “Warlock of the Deep” would be cool.
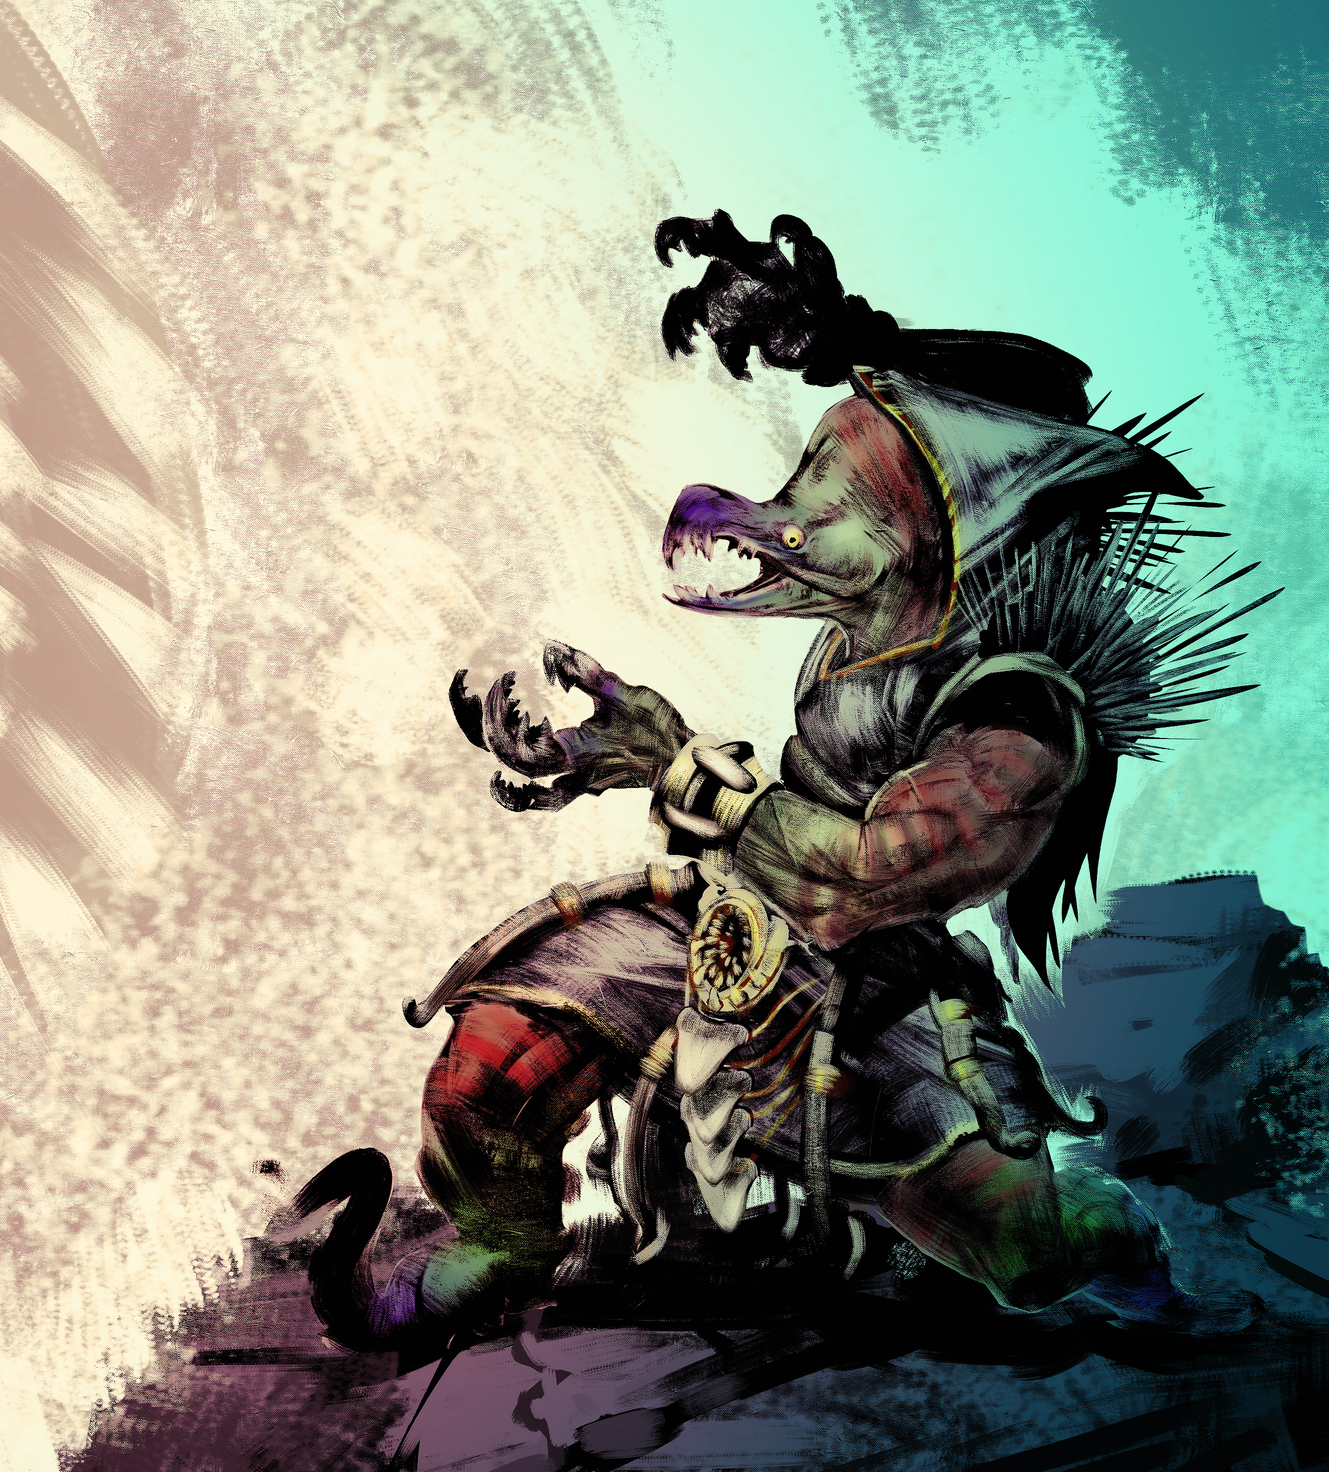
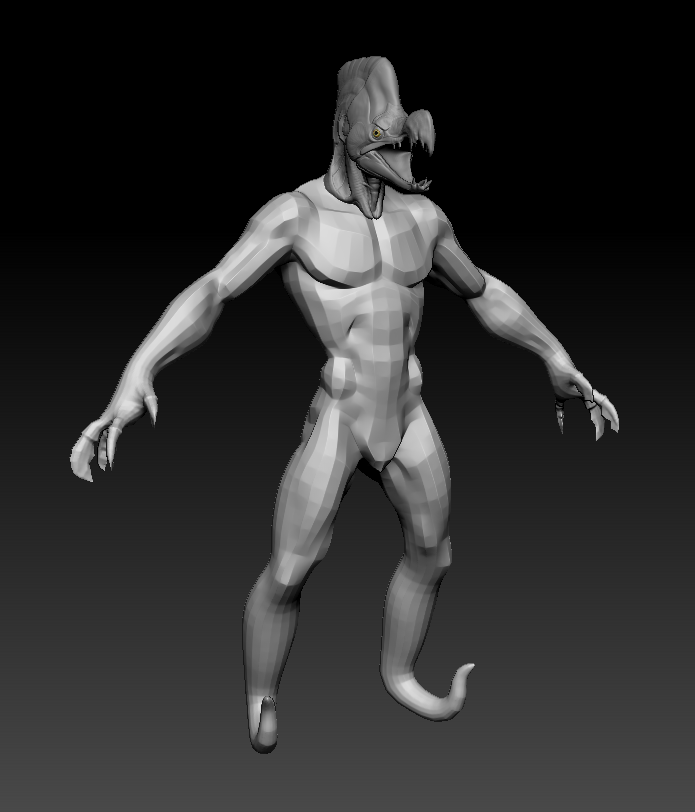
This is a concept of my own. It’s a humanoid made out of a salmon/squid/crab…ocean stuff! If I get the time I’ll throw a staff or some kind of magic weapon in there too.
Like I said, it’s been a while so any helpful comments are much appreciated.
I believe you should have the Warlock Challenge and Warlock of the deep between square brackets, my title is like this [Warlock Challenge] - [Abdul Alhazred The Eldritch Warlock]
But you can still edit the title
I really loved your concept, can’t wait to see it done
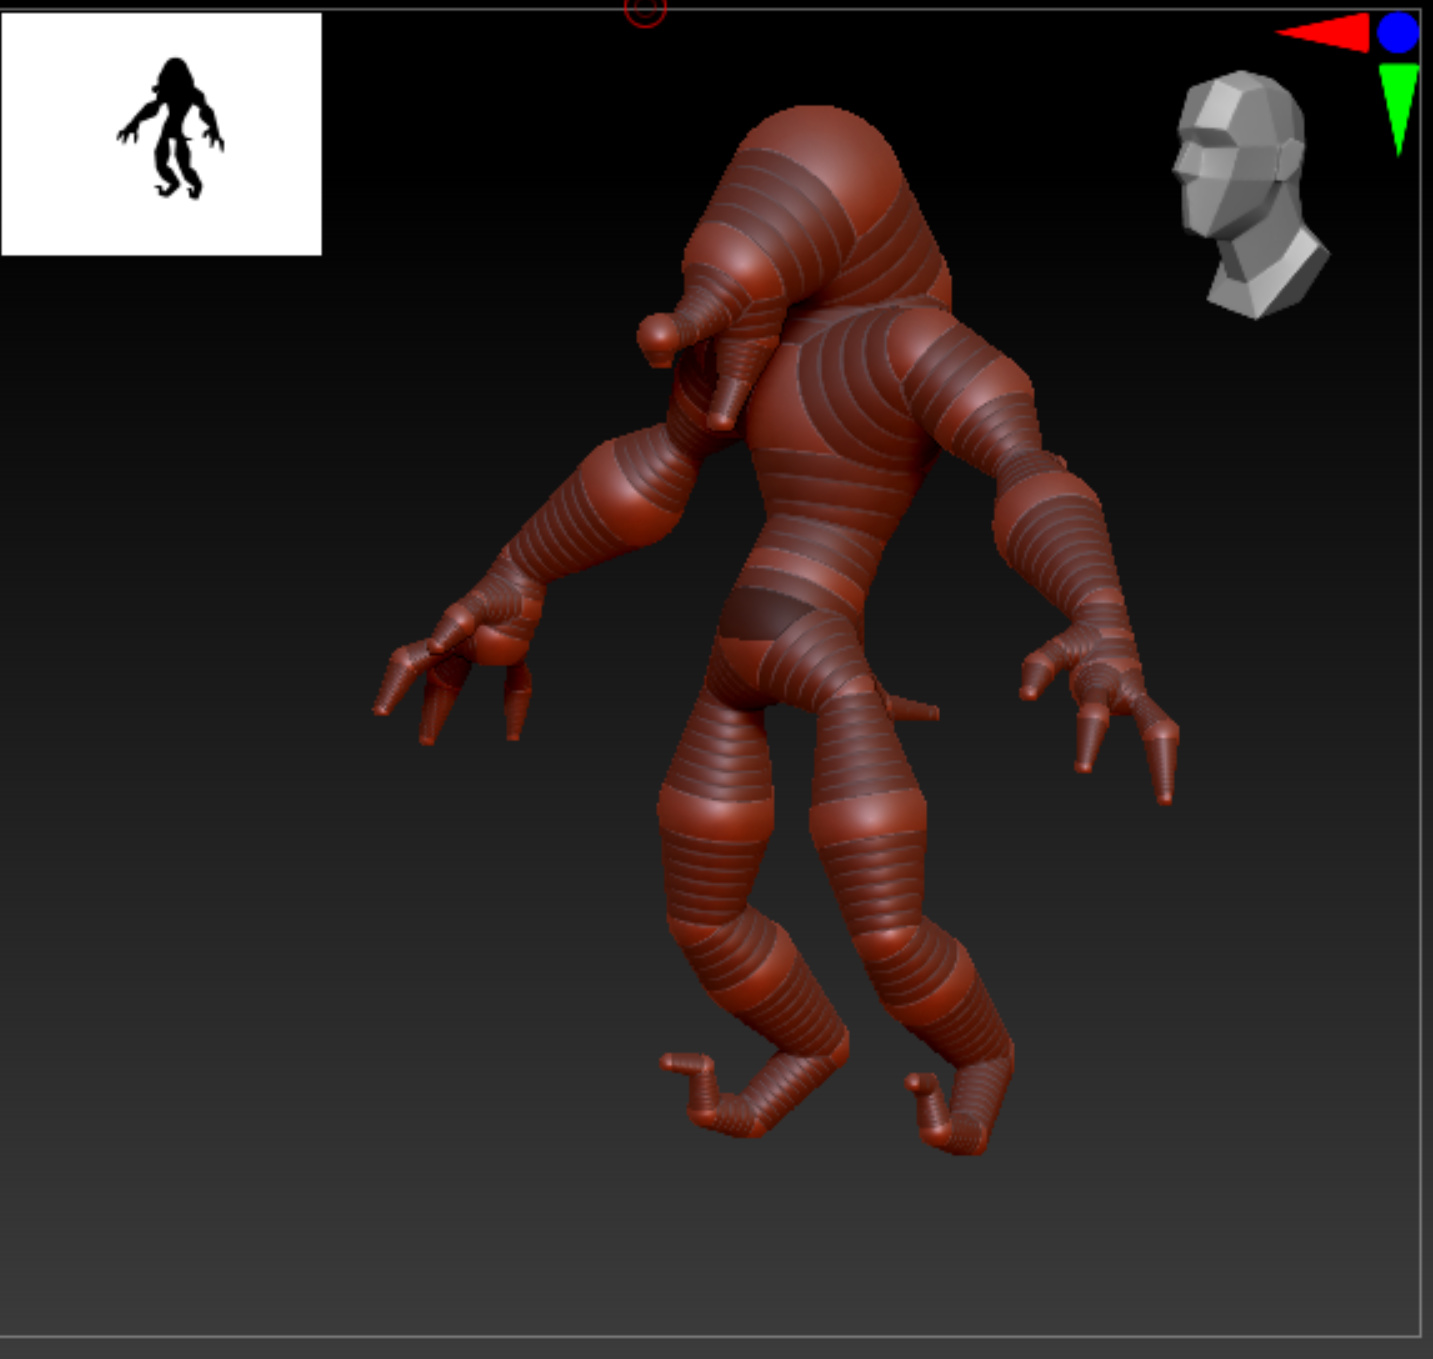
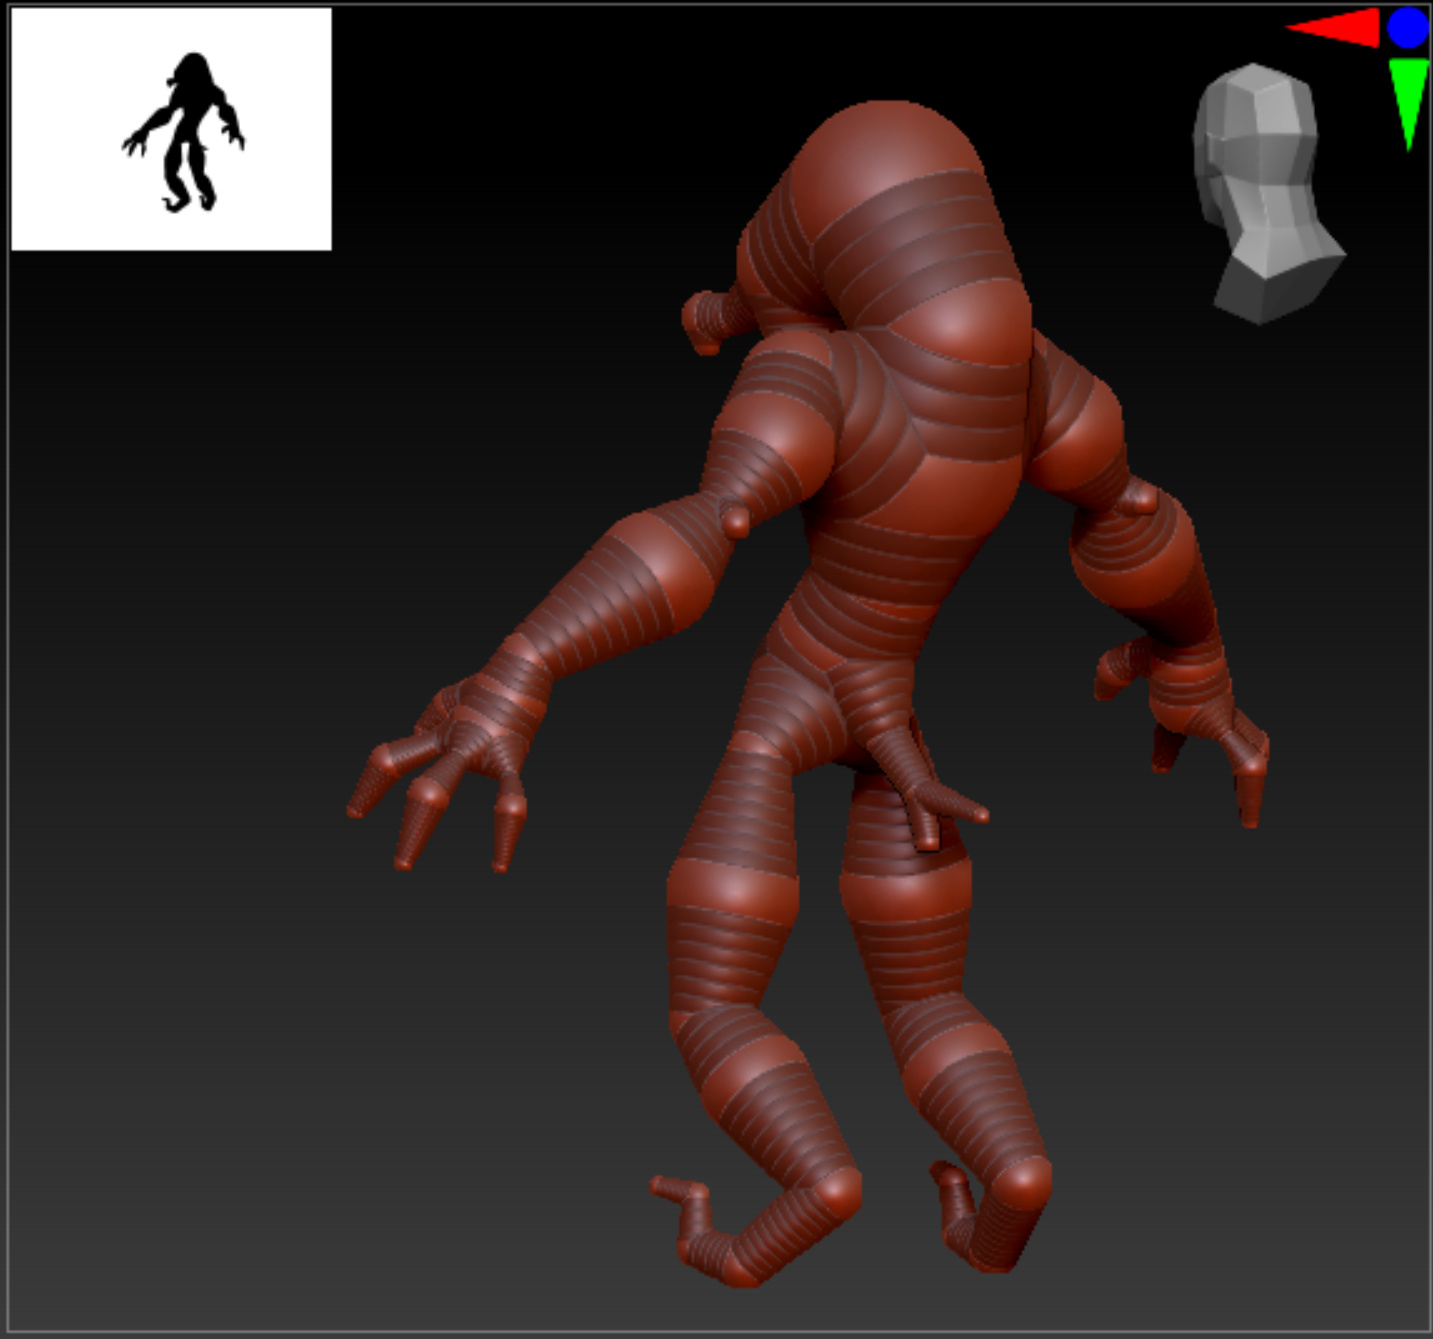
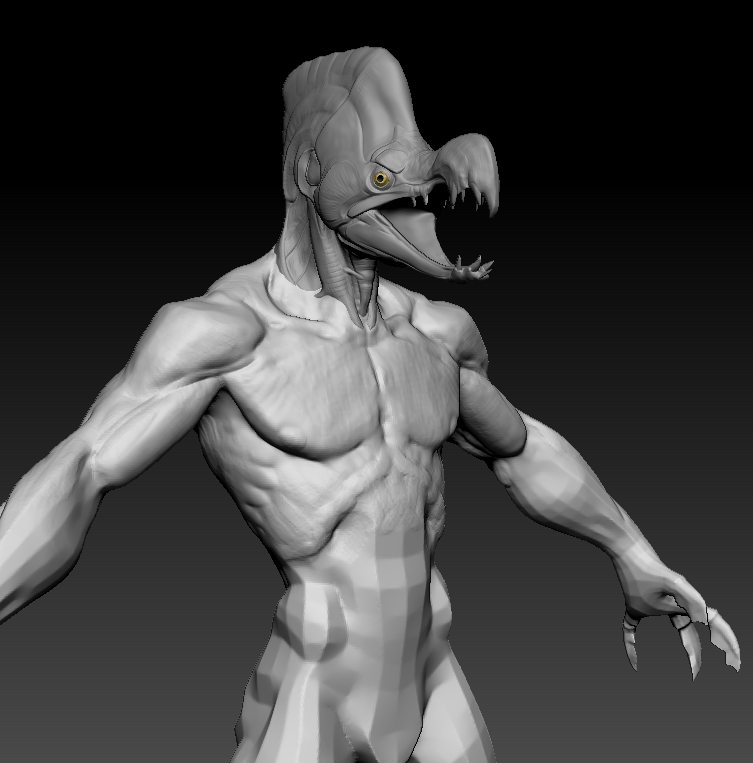
I don’t know if people still use Zspheres, but that’s how I start. I don’t know about the tail either. The clothing will cover the tail - make a goofy shape - and hurt the silhouette; which will need to be clear as this isn’t something you see every day.
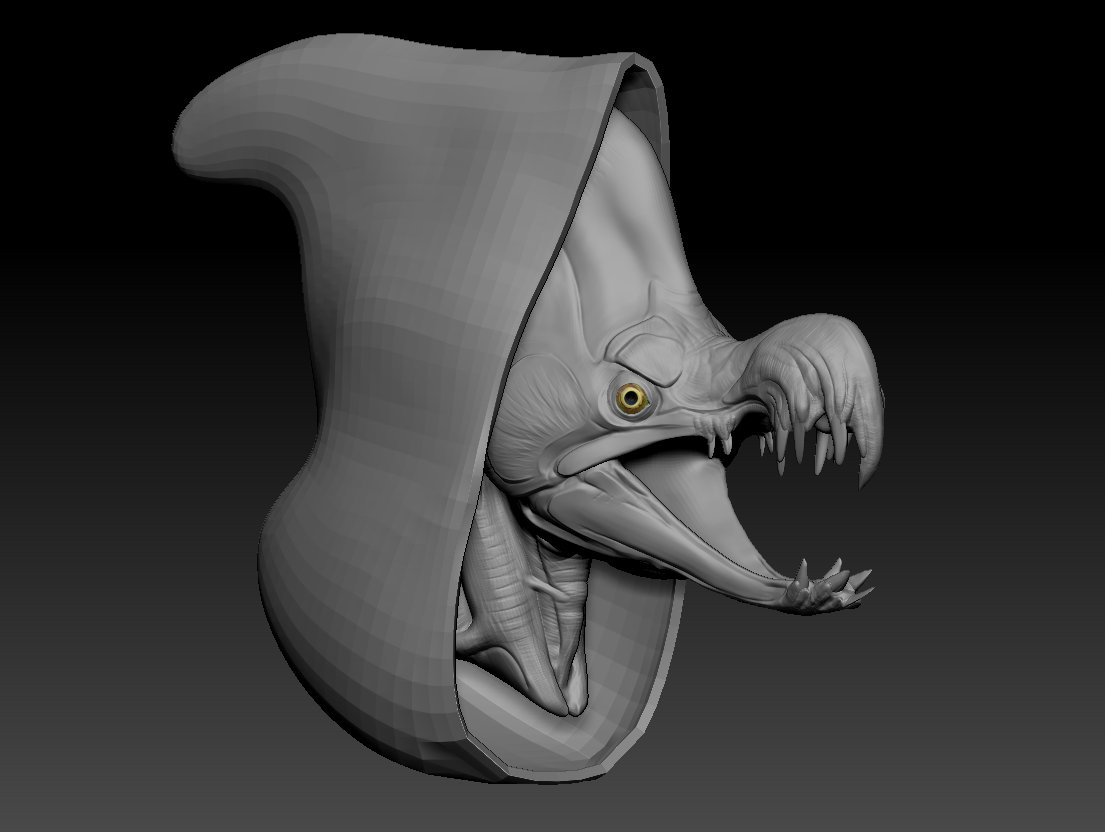
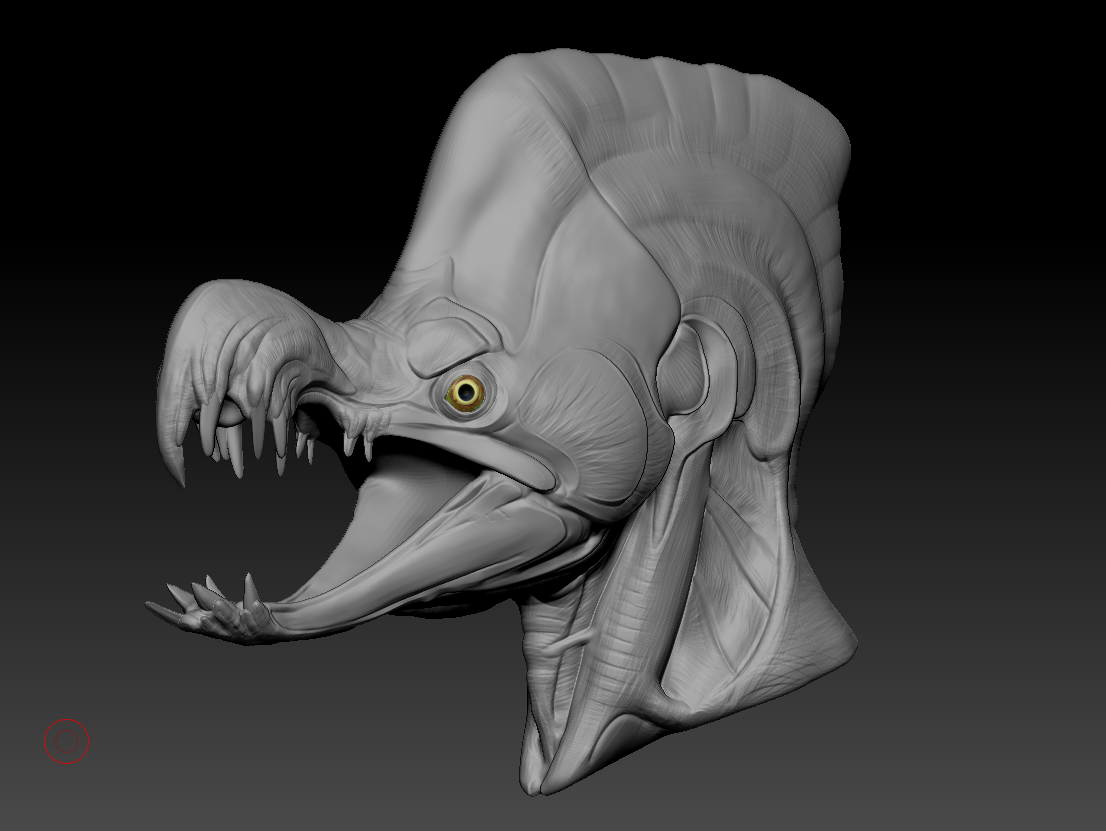
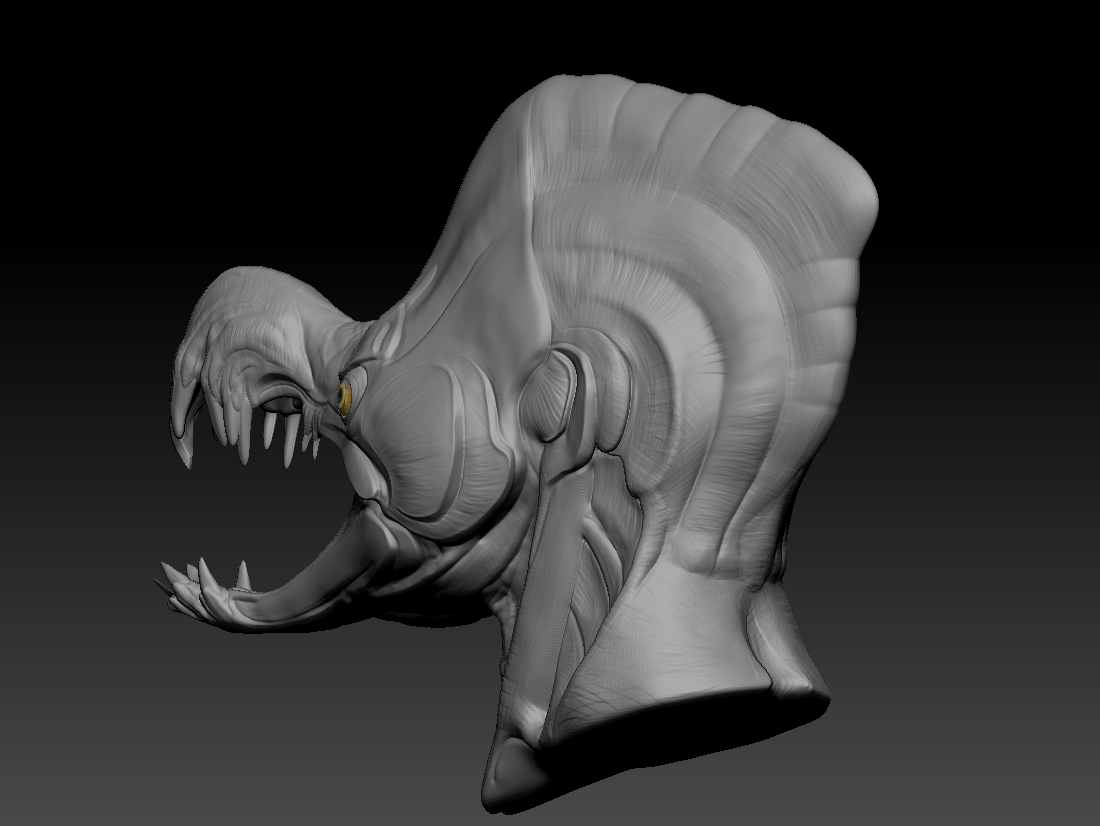
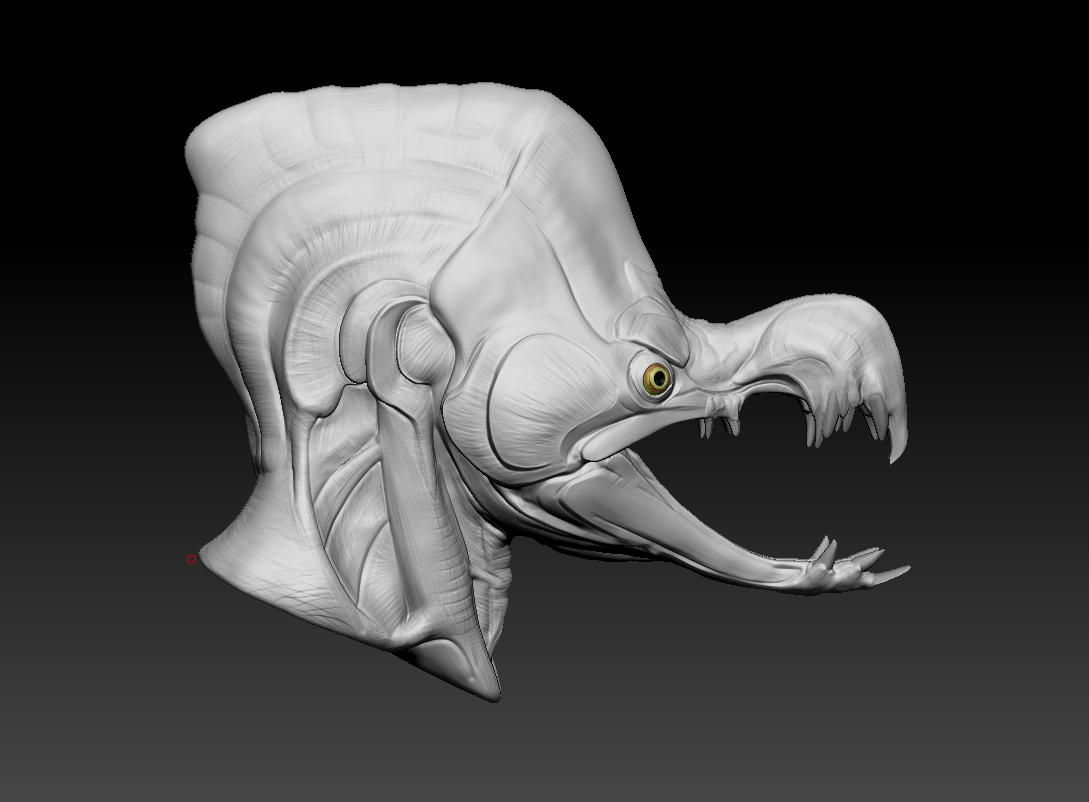
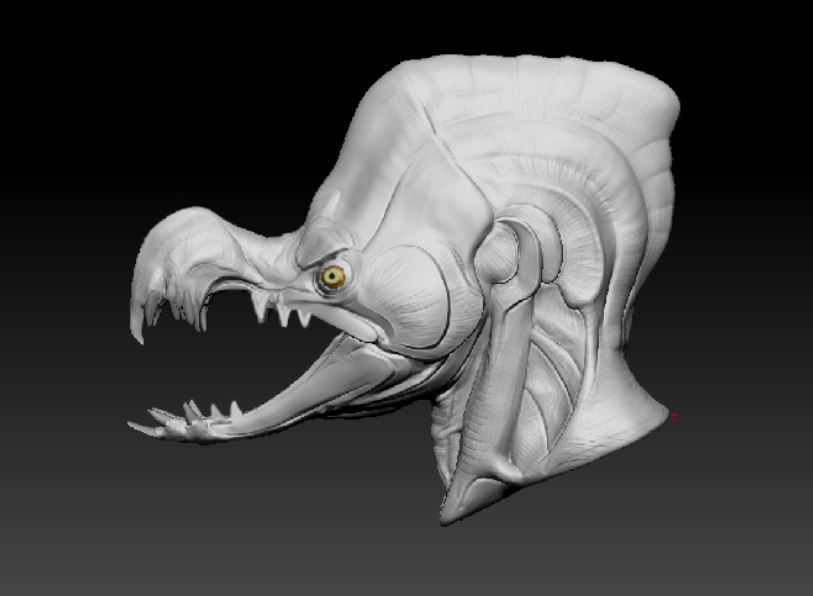
Well after taking a little break from this I can see that the upper mandible is too busy. Too much detail. The teeth are crazy enough, so I think I’ll smooth out some of the detail in the beak and either simplify the teeth or combine them a little more so the silhouette is simpler.
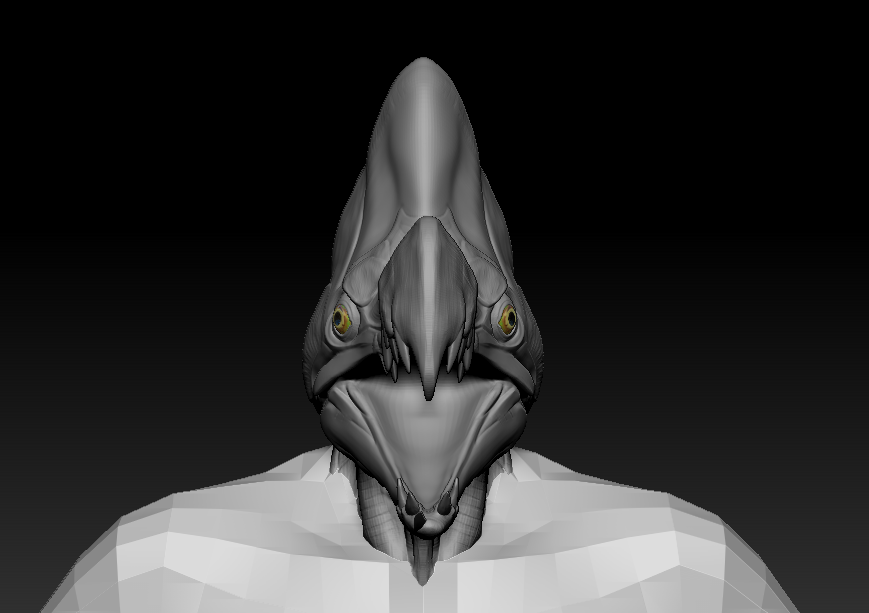
Super rad concept and the sculpt is looking awesome! This guy might struggle with looking forward without doing the pigeon head turn though haha
One area you could maybe tweak a little is the pupil feels too big compared to your concept and maybe a few more teeth could help to break up the silhouette a bit more there too. Here’s what I was thinking but looks awesome either way! Can’t wait to see this finished
Hey thanks for stopping by and I appreciate the compliment and critique!
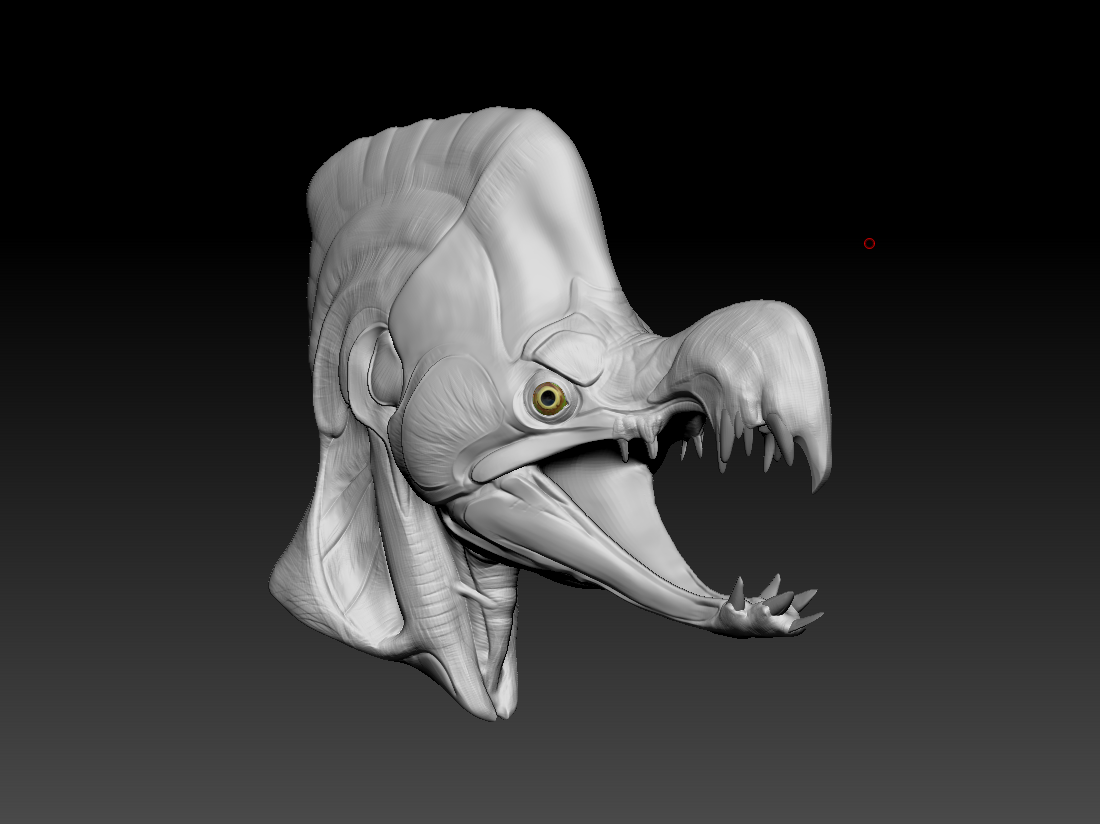
Hah! Yeah I’ve gone back and forth rotating his eyes to a more human/binocular vision angle and then back to a fish/monocular vision. I’ll post a head on, but I decided to error toward the human for, hopefully, a greater appearance of intelligence. Actually the animation of a pigeon-like head twitch for a better view would add to the character.
Your right the pupil is too large for the yellow. I was thinking that the ring around the eye was the same color as the pupil (for salmon), but looking at reference it isn’t. So yeah I’ll smallify the pupil. Constricted pupils up the creepiness.
I actually took out teeth from the first pass, the silhouette started getting too busy, but who knows, that might be something I come back too.
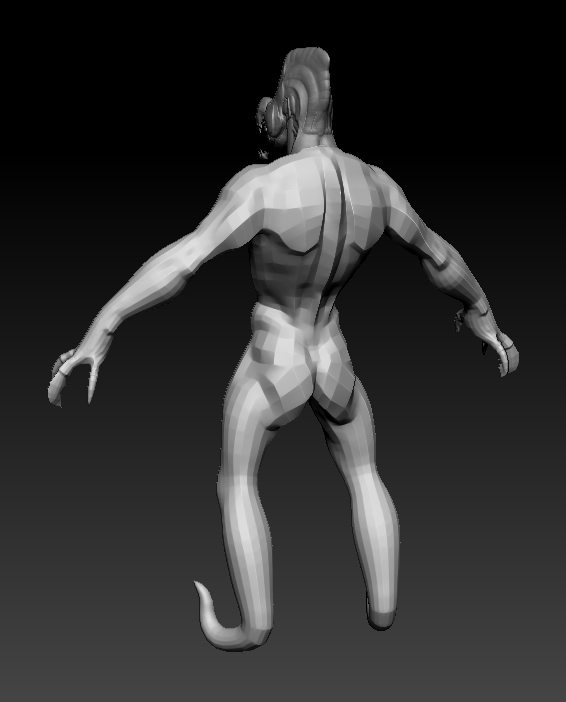
Loving the concept and the features on the character. I think you should have the tentacle legs give him a bit more support. Maybe have them twist backwards and then go forward due to the lack of bones. Just a thought. Keep up the great work
Agreed! I think the tentacles should play a bigger role than just the shape of a genie shoe. I think from the knee I’ll try to twist/bend them around to make the round shin muscles and then around to make the tear drop shape of the medial half of the calf.
So if you wrapped a wide ribbon from the outside of the knee down to the inside of the ankle and then inflated it into a tentacle…maybe. The words are forming in my head better than the picture at the moment.
Thank you for stopping by and I appreciate the idea.
Thank you! I’m still trying to figure out just how to mix the separate head back into the body for baking normals, but I have a bit more sculpting and retopo before that. Any ideas or tutorial links on that topic would be welcome. Thanks.
If I understand right, what I typically do in this instance is duplicate both subtools, merge both together and convert that tool to Dynamesh at the highest res to get both pieces fused together. After they’re fused you can convert that mesh to a Zremeshed version to get nice topology, and use the Project tool in the Subtool menu to get your sculpted details back through each of the subdivision levels on the Zremeshed version from those duplicates you made at the start.
Yes! That worked great. Actually the next youtube that autoplayed was: Reprojecting Details in ZBrush - Top Production Tip from Flipped Normals, so I used that one. Anyway, thanks again.