Here is the process for making pretty much every organic part of the character.
I mostly used ,standard brush, move brush without any alphas and Clay buildup brush with alpha 06 and high focal Shift.
When polypainting i would use only the standard brush on top of the BasicMaterial matcap, using that matcap allows me to move the light and get a better feel for the shape of the mesh.
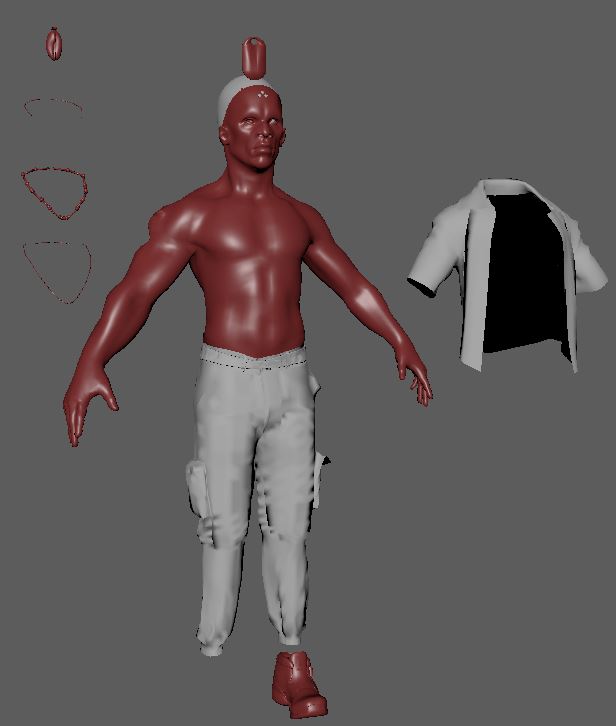
The body is retopologized closely after adding the anatomy and once the shape is better realized.
2 Likes

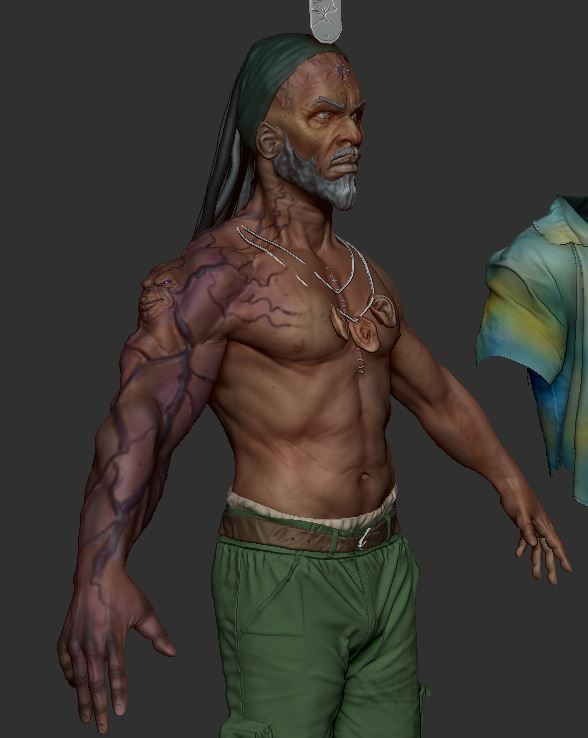
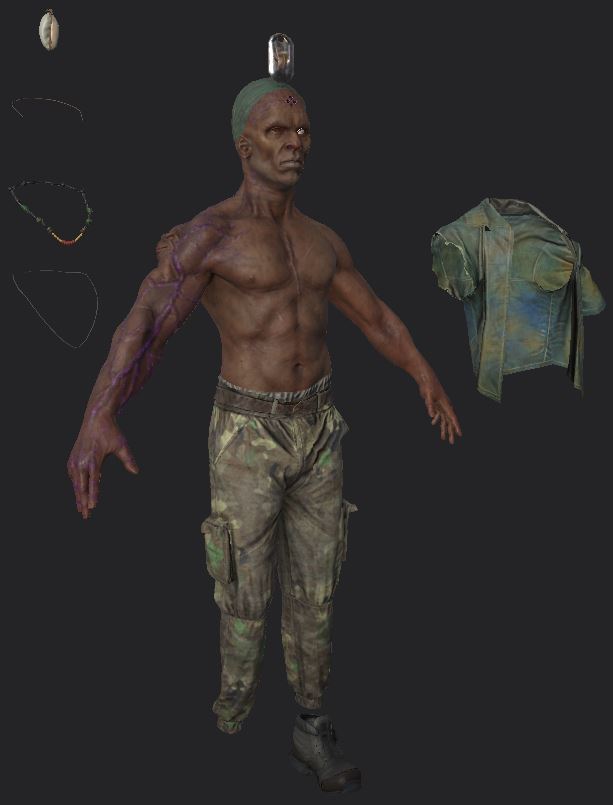
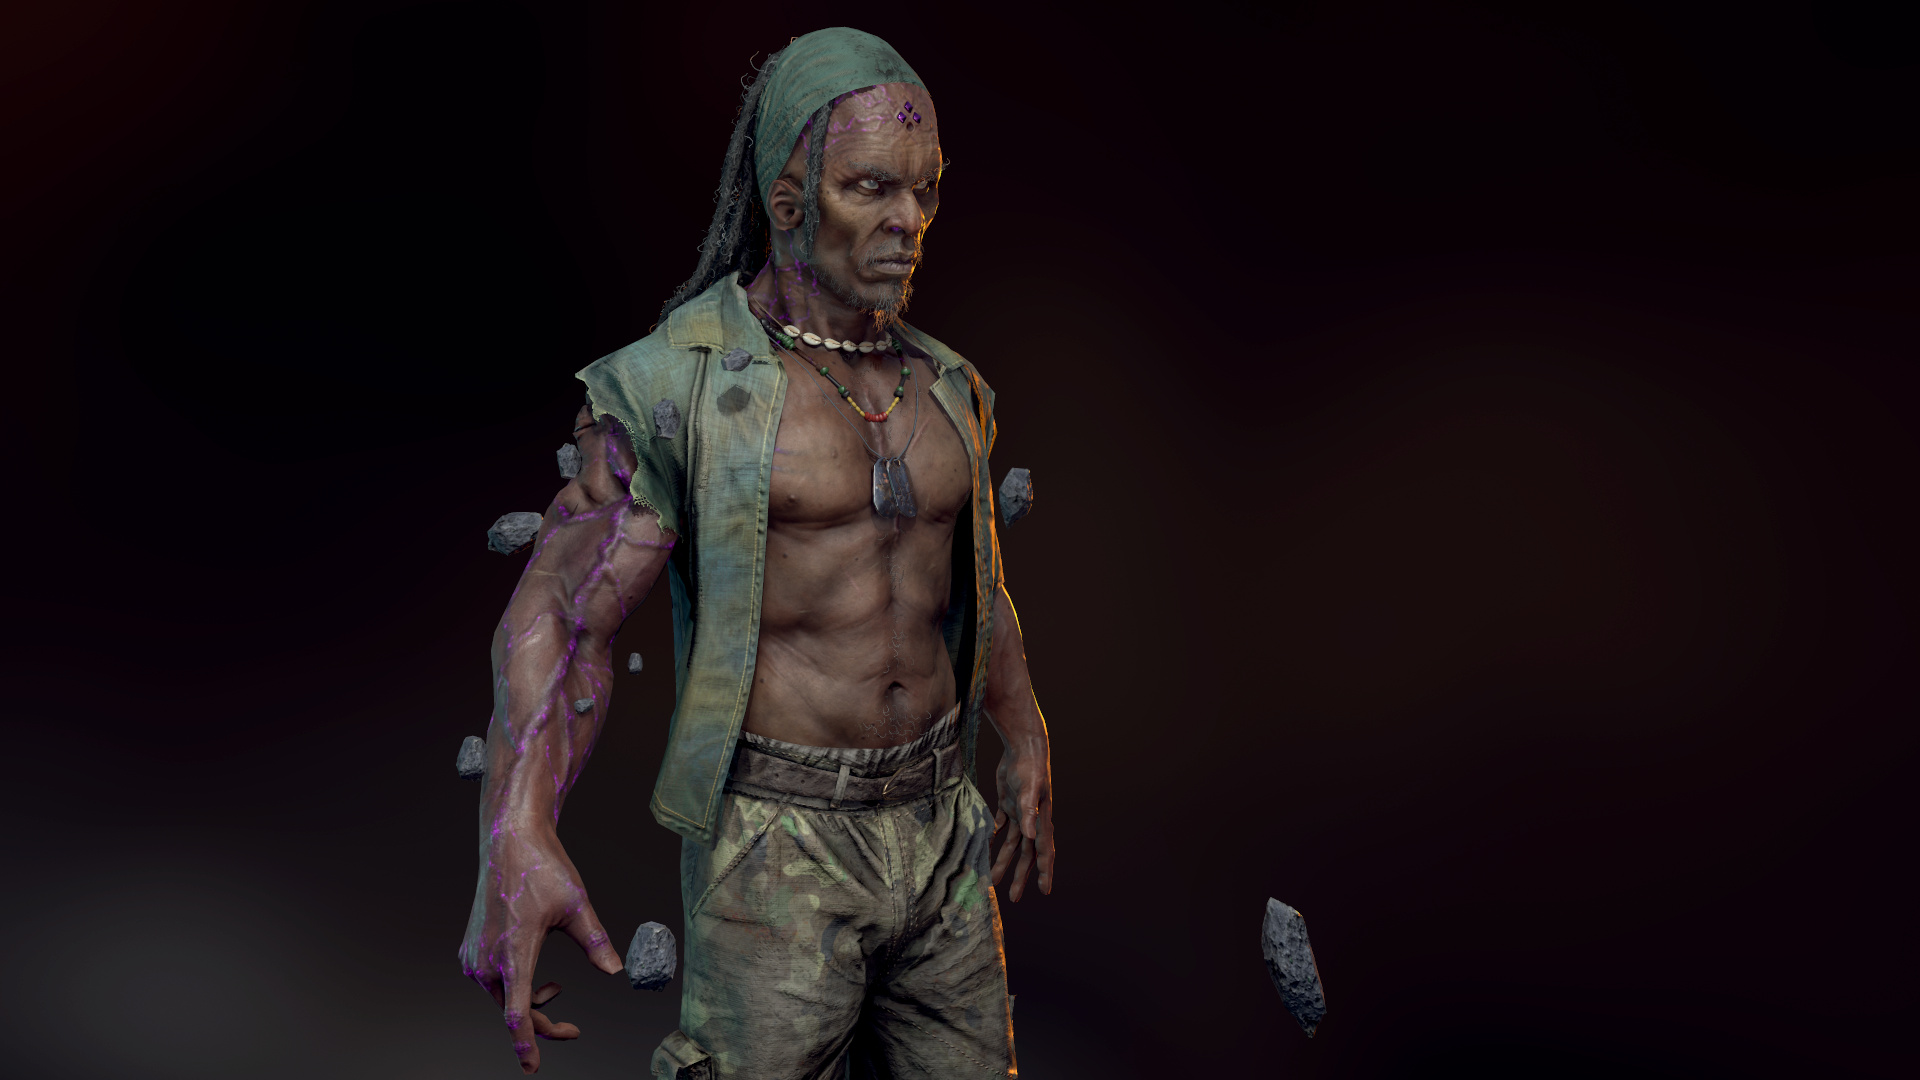
I wanted to create a character that looked almost like an african warlord, so i wanted to keep true to the modern themes and incorporate the warlock part into it.
I tried doing that by giving him a possesed look. I wanted to achieve that by giving him a giant arm with a demon face and a pair of glazed eyes.
Giving him a look of a man that has suddenly in his greed managed to aquire a lot of power by making a pact with a demon, and in his ignorance he consumed. Making him less human as time goes on.
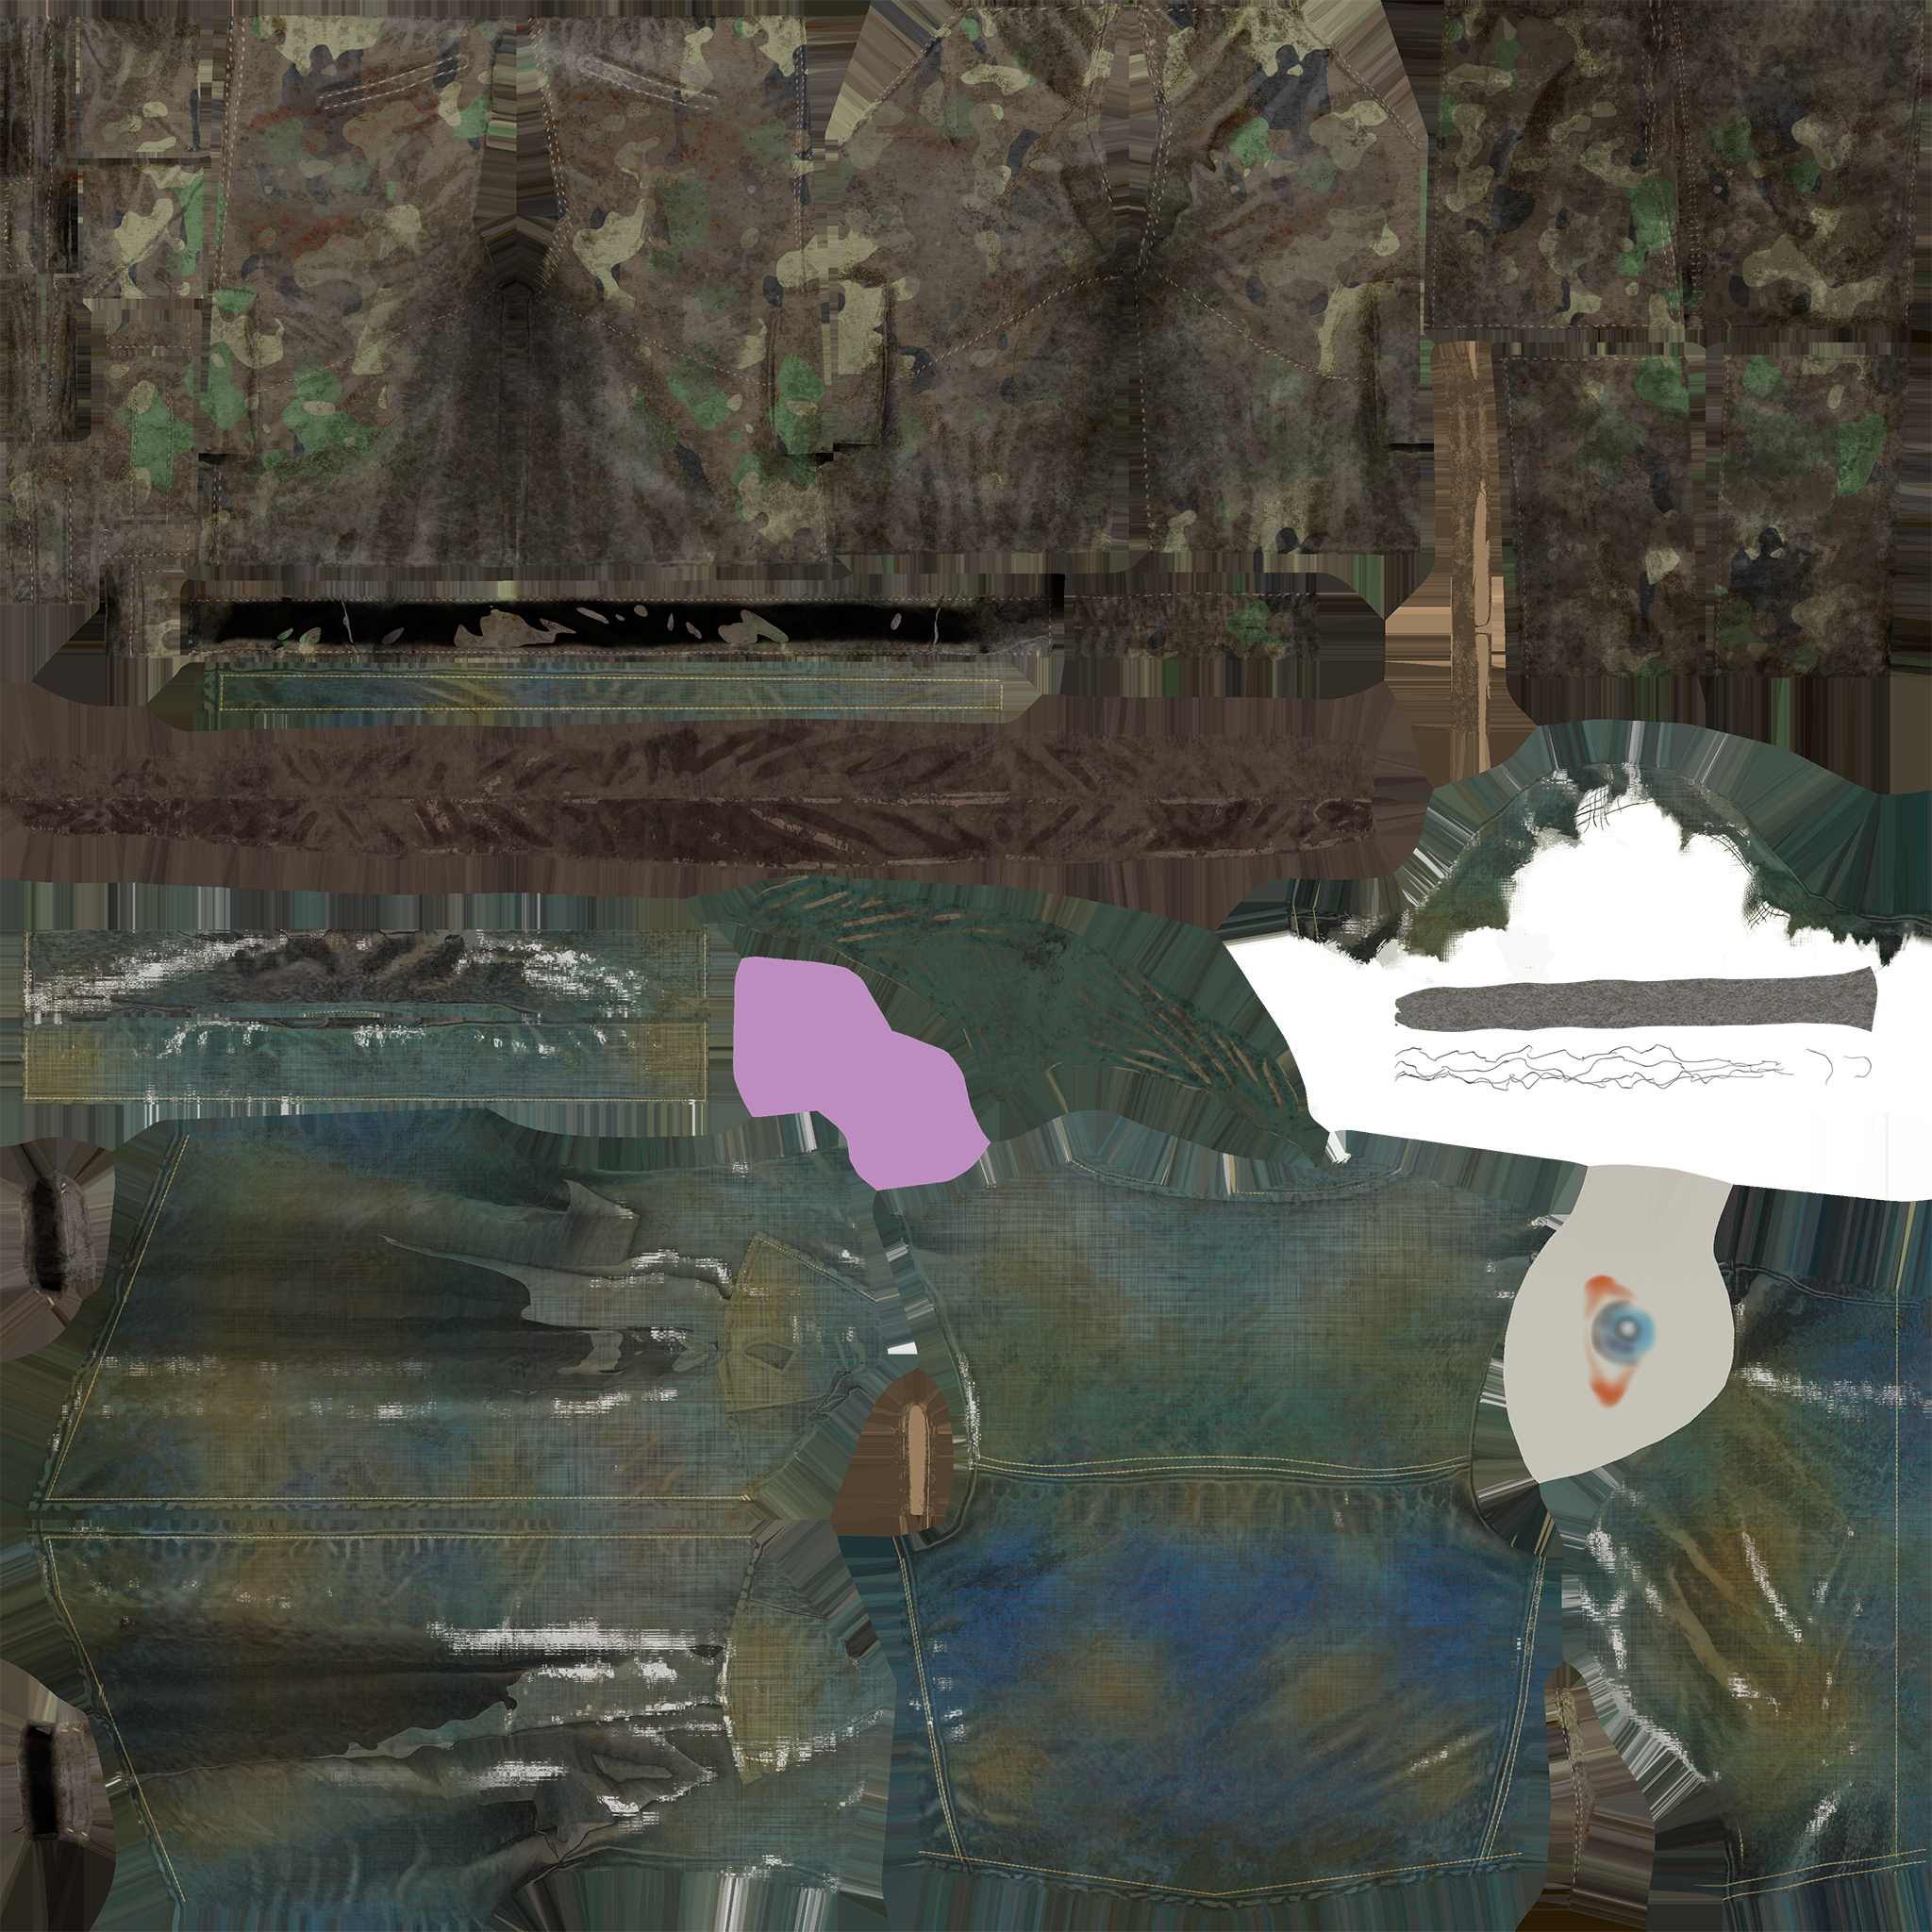
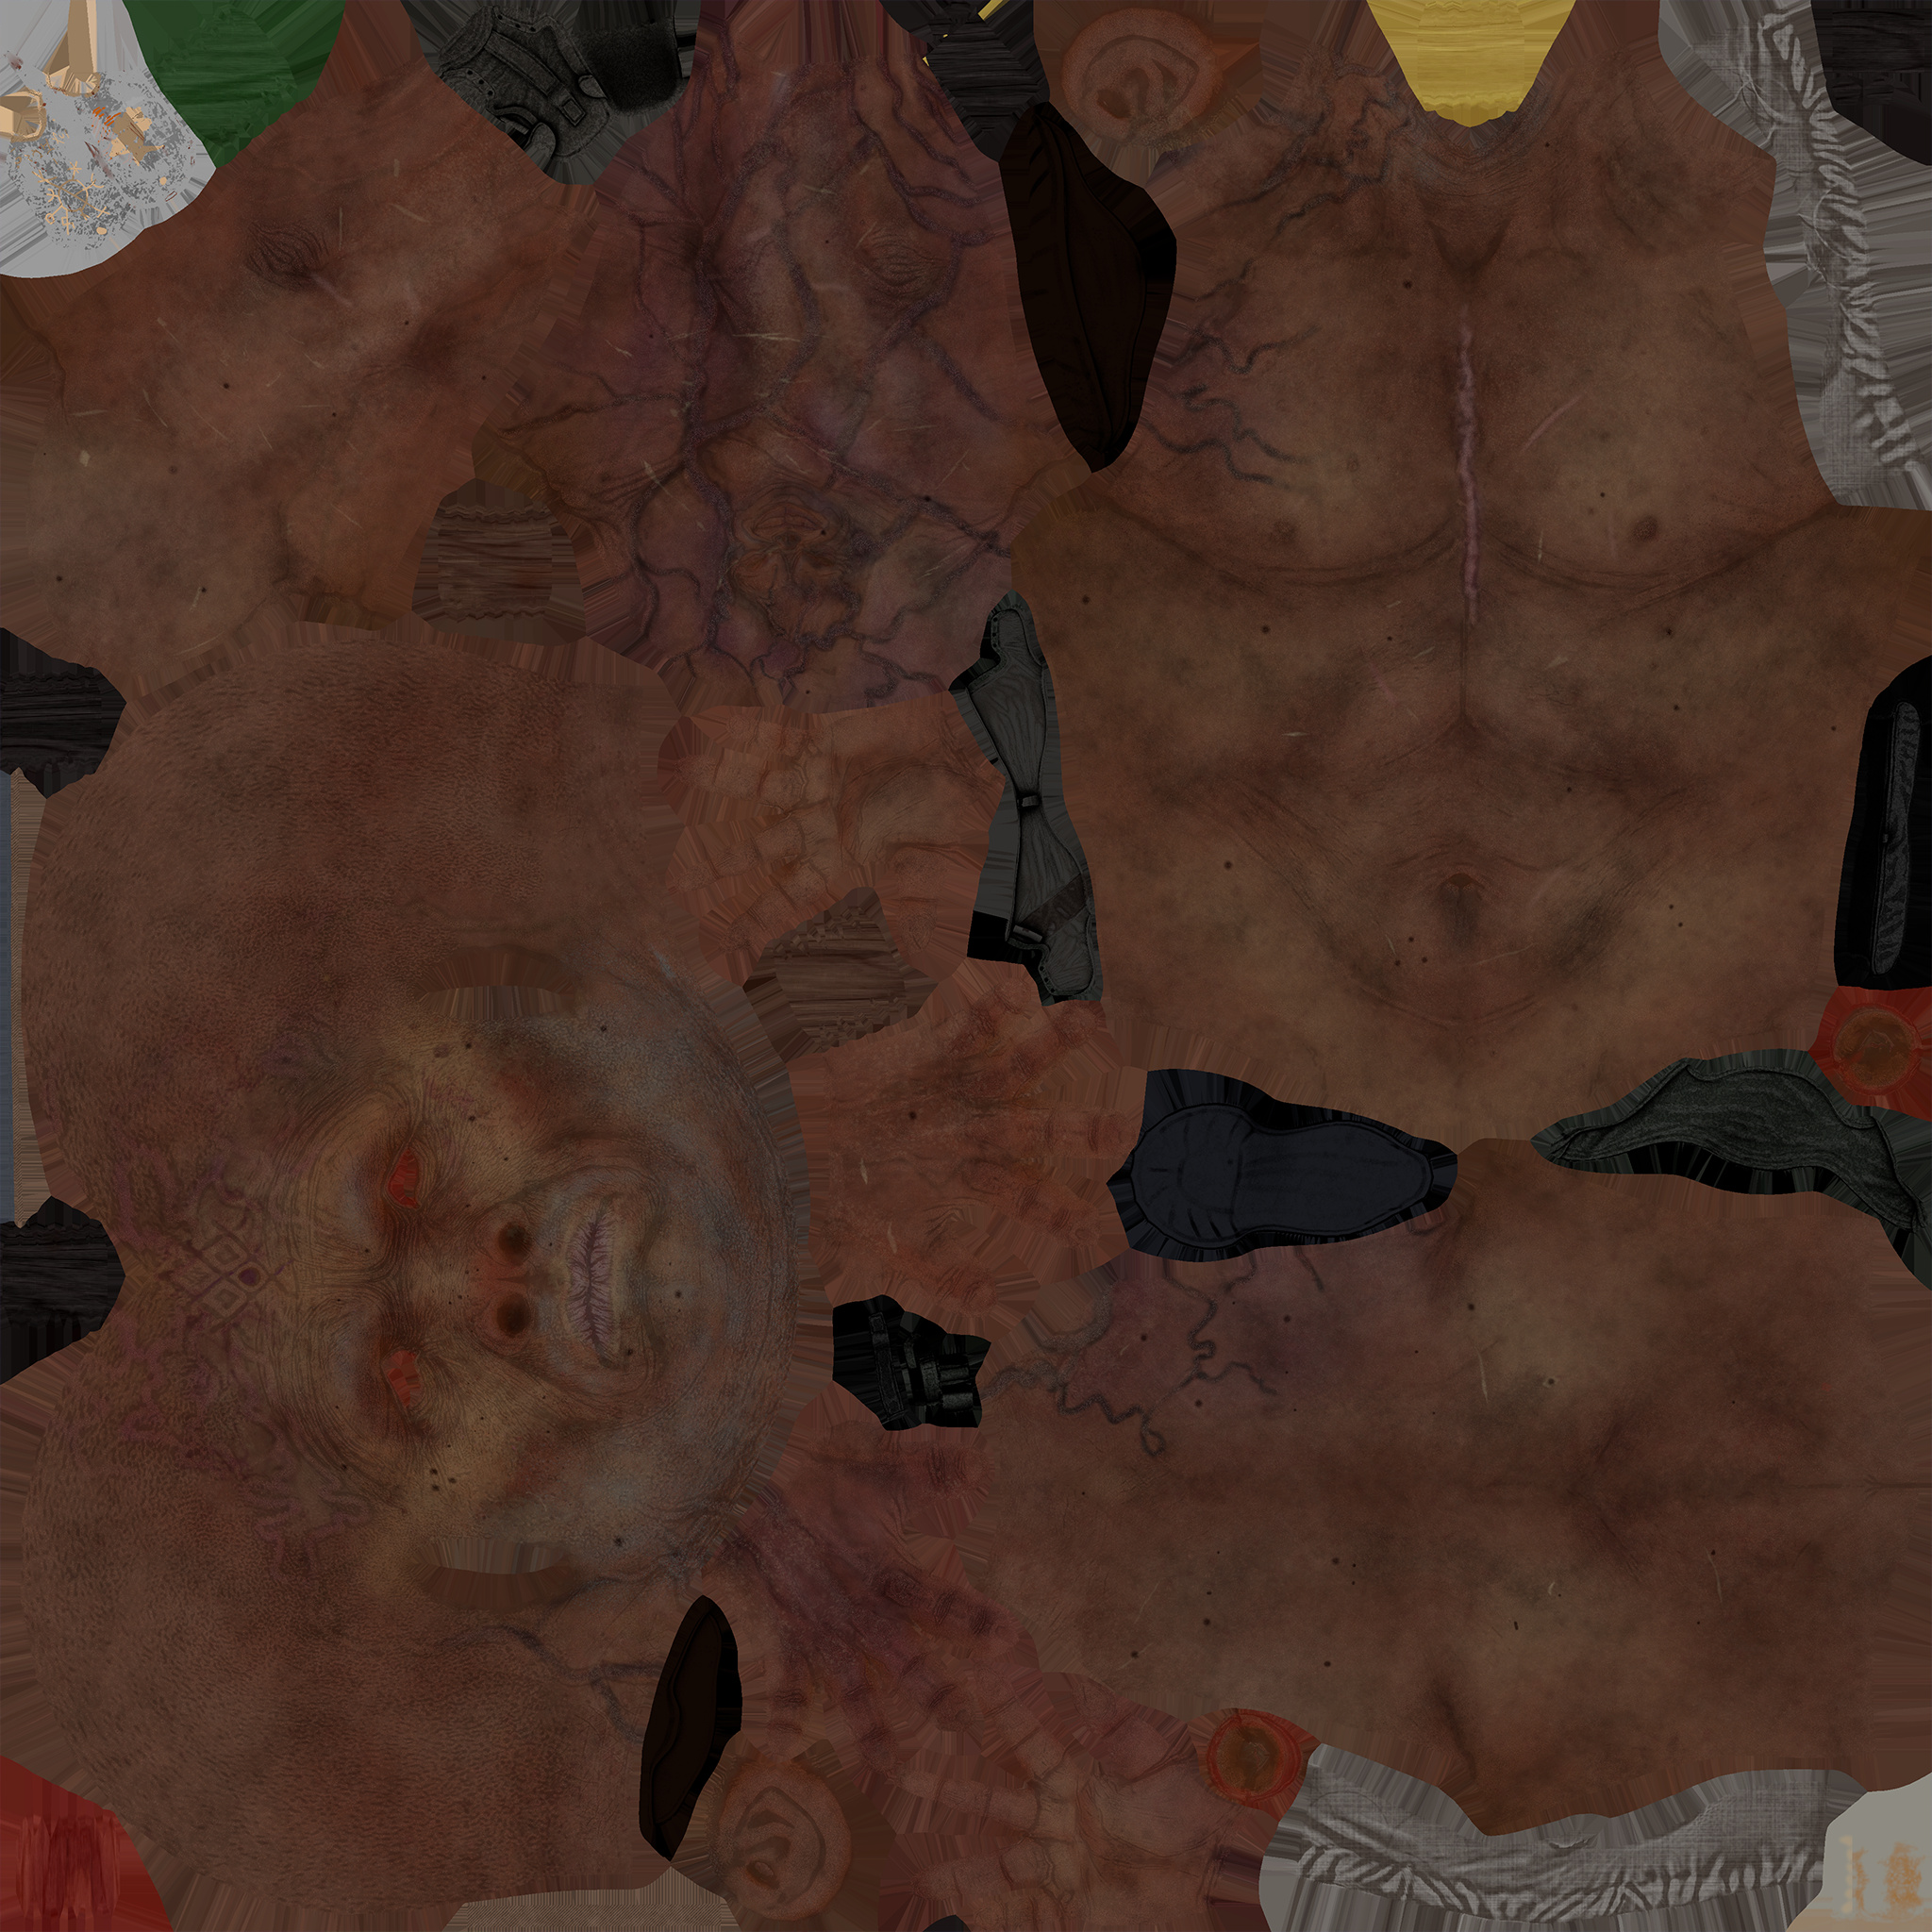
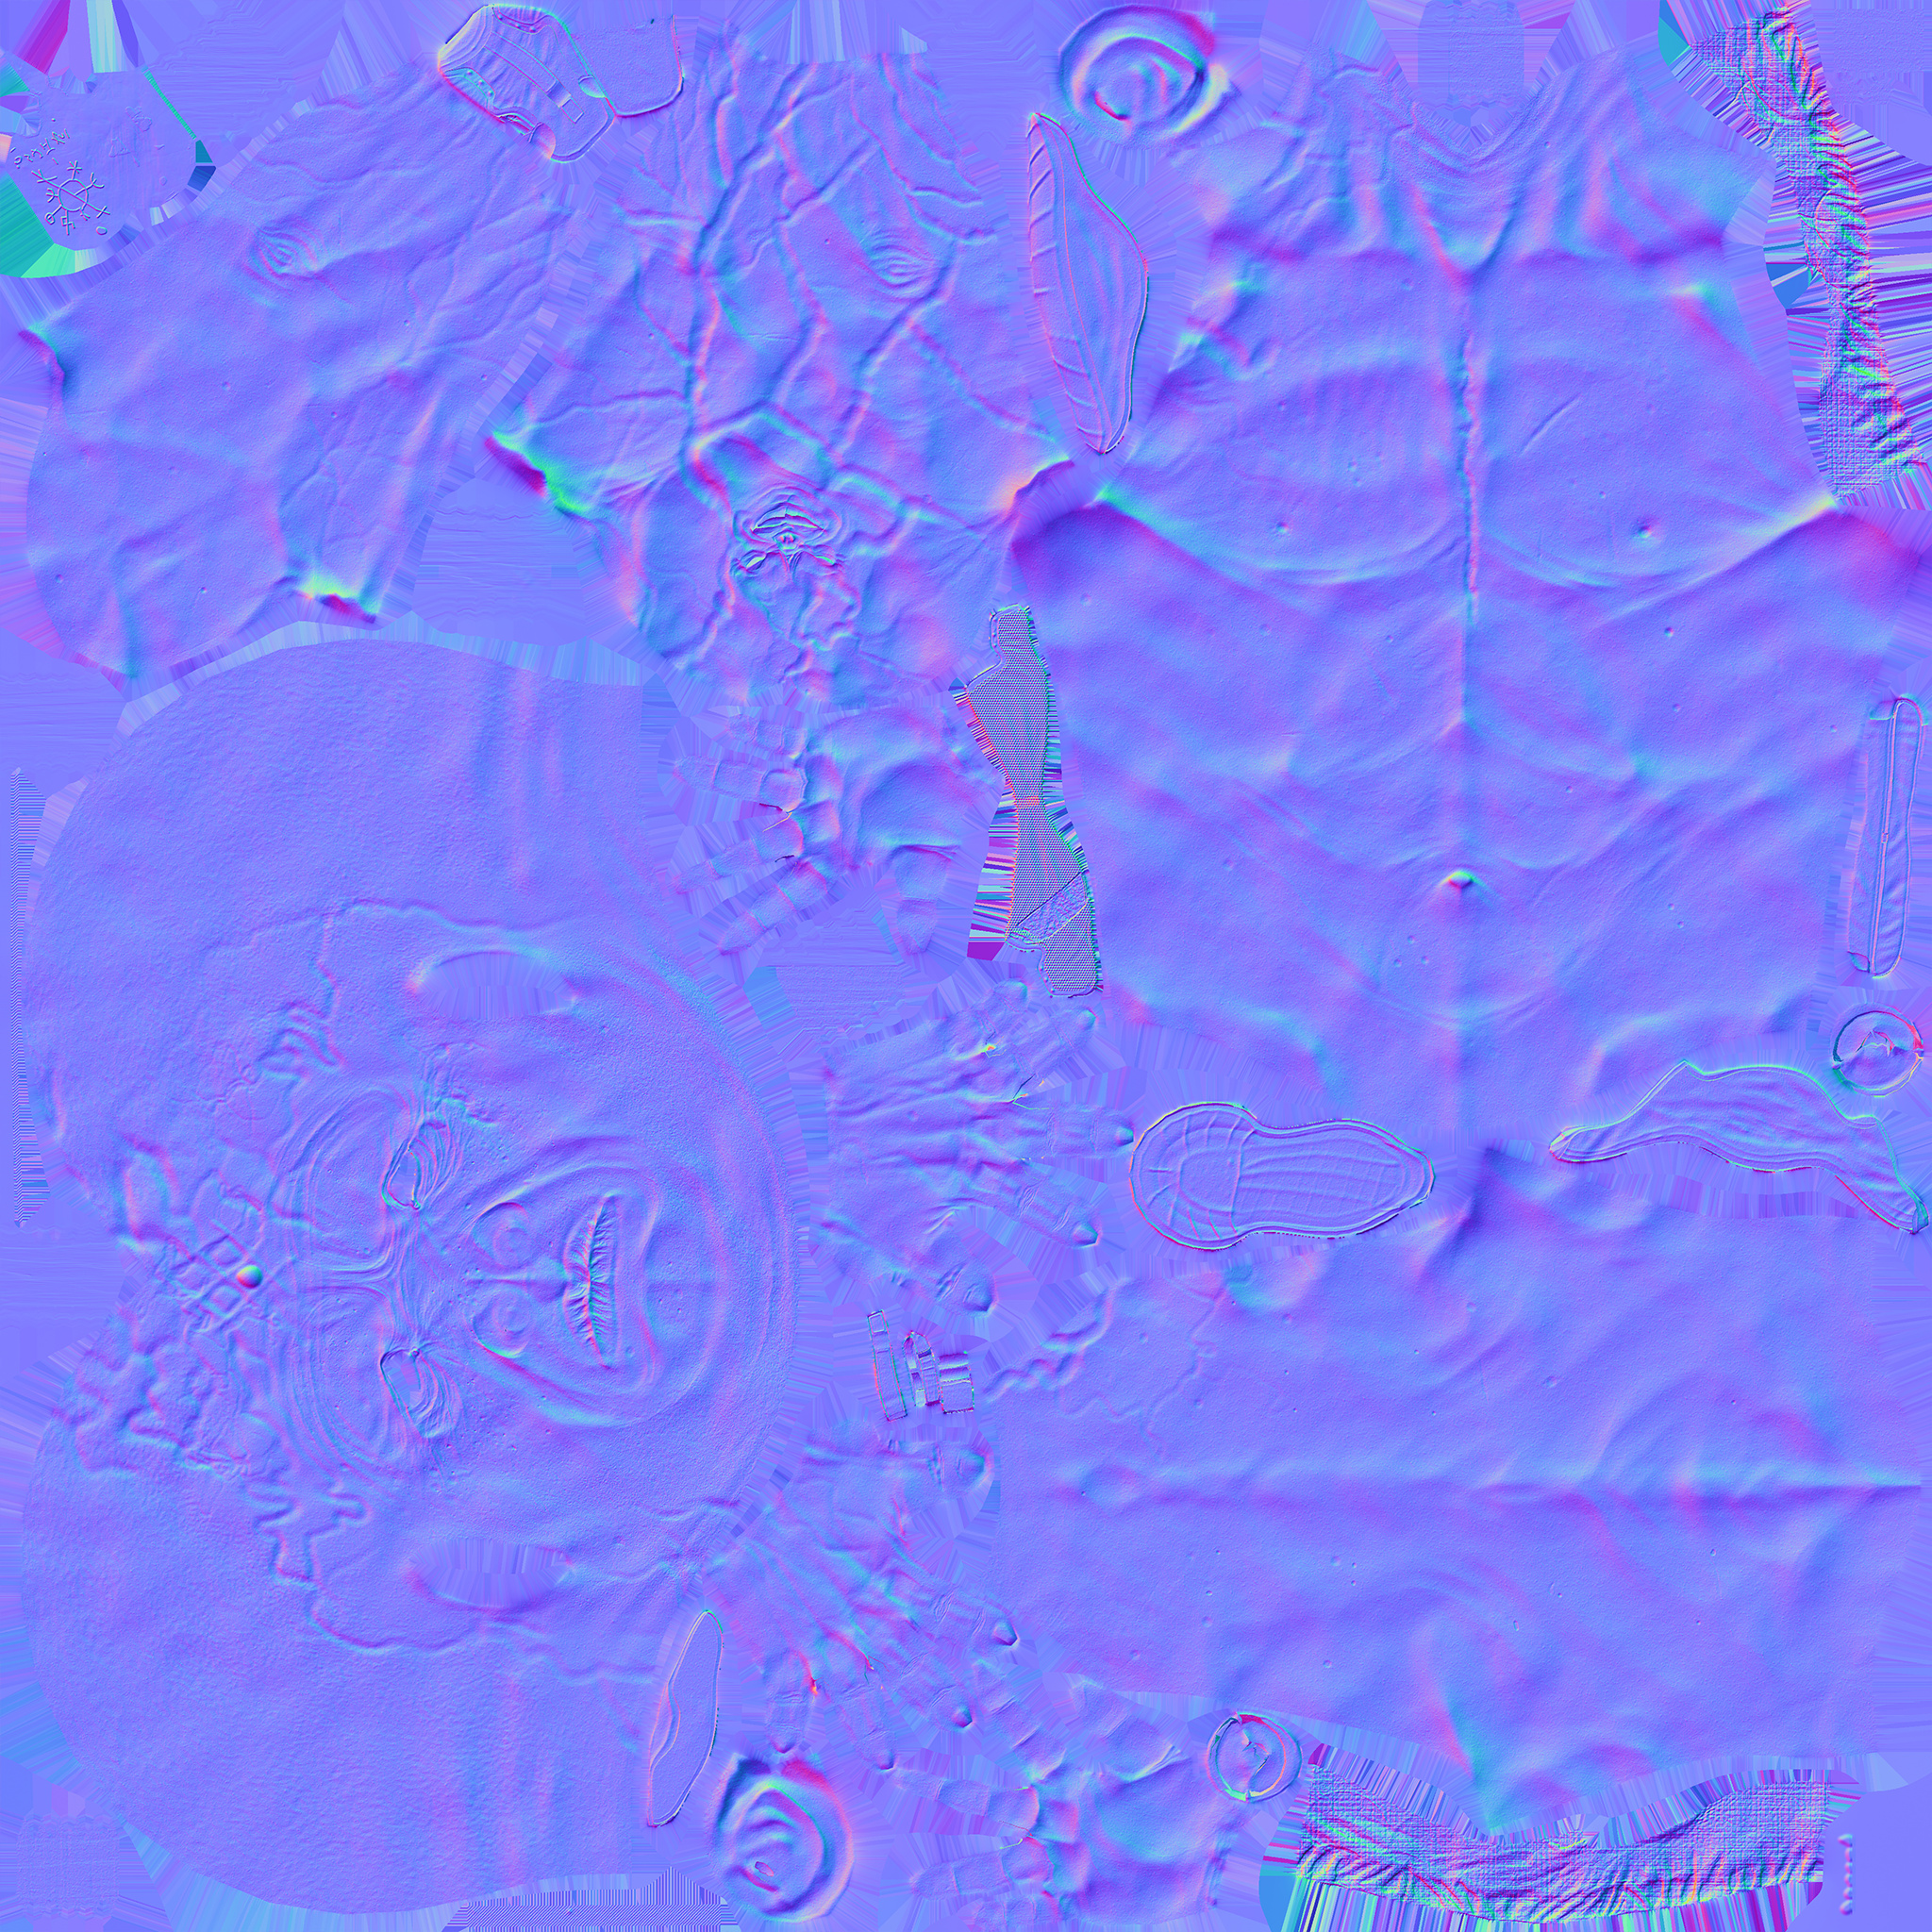
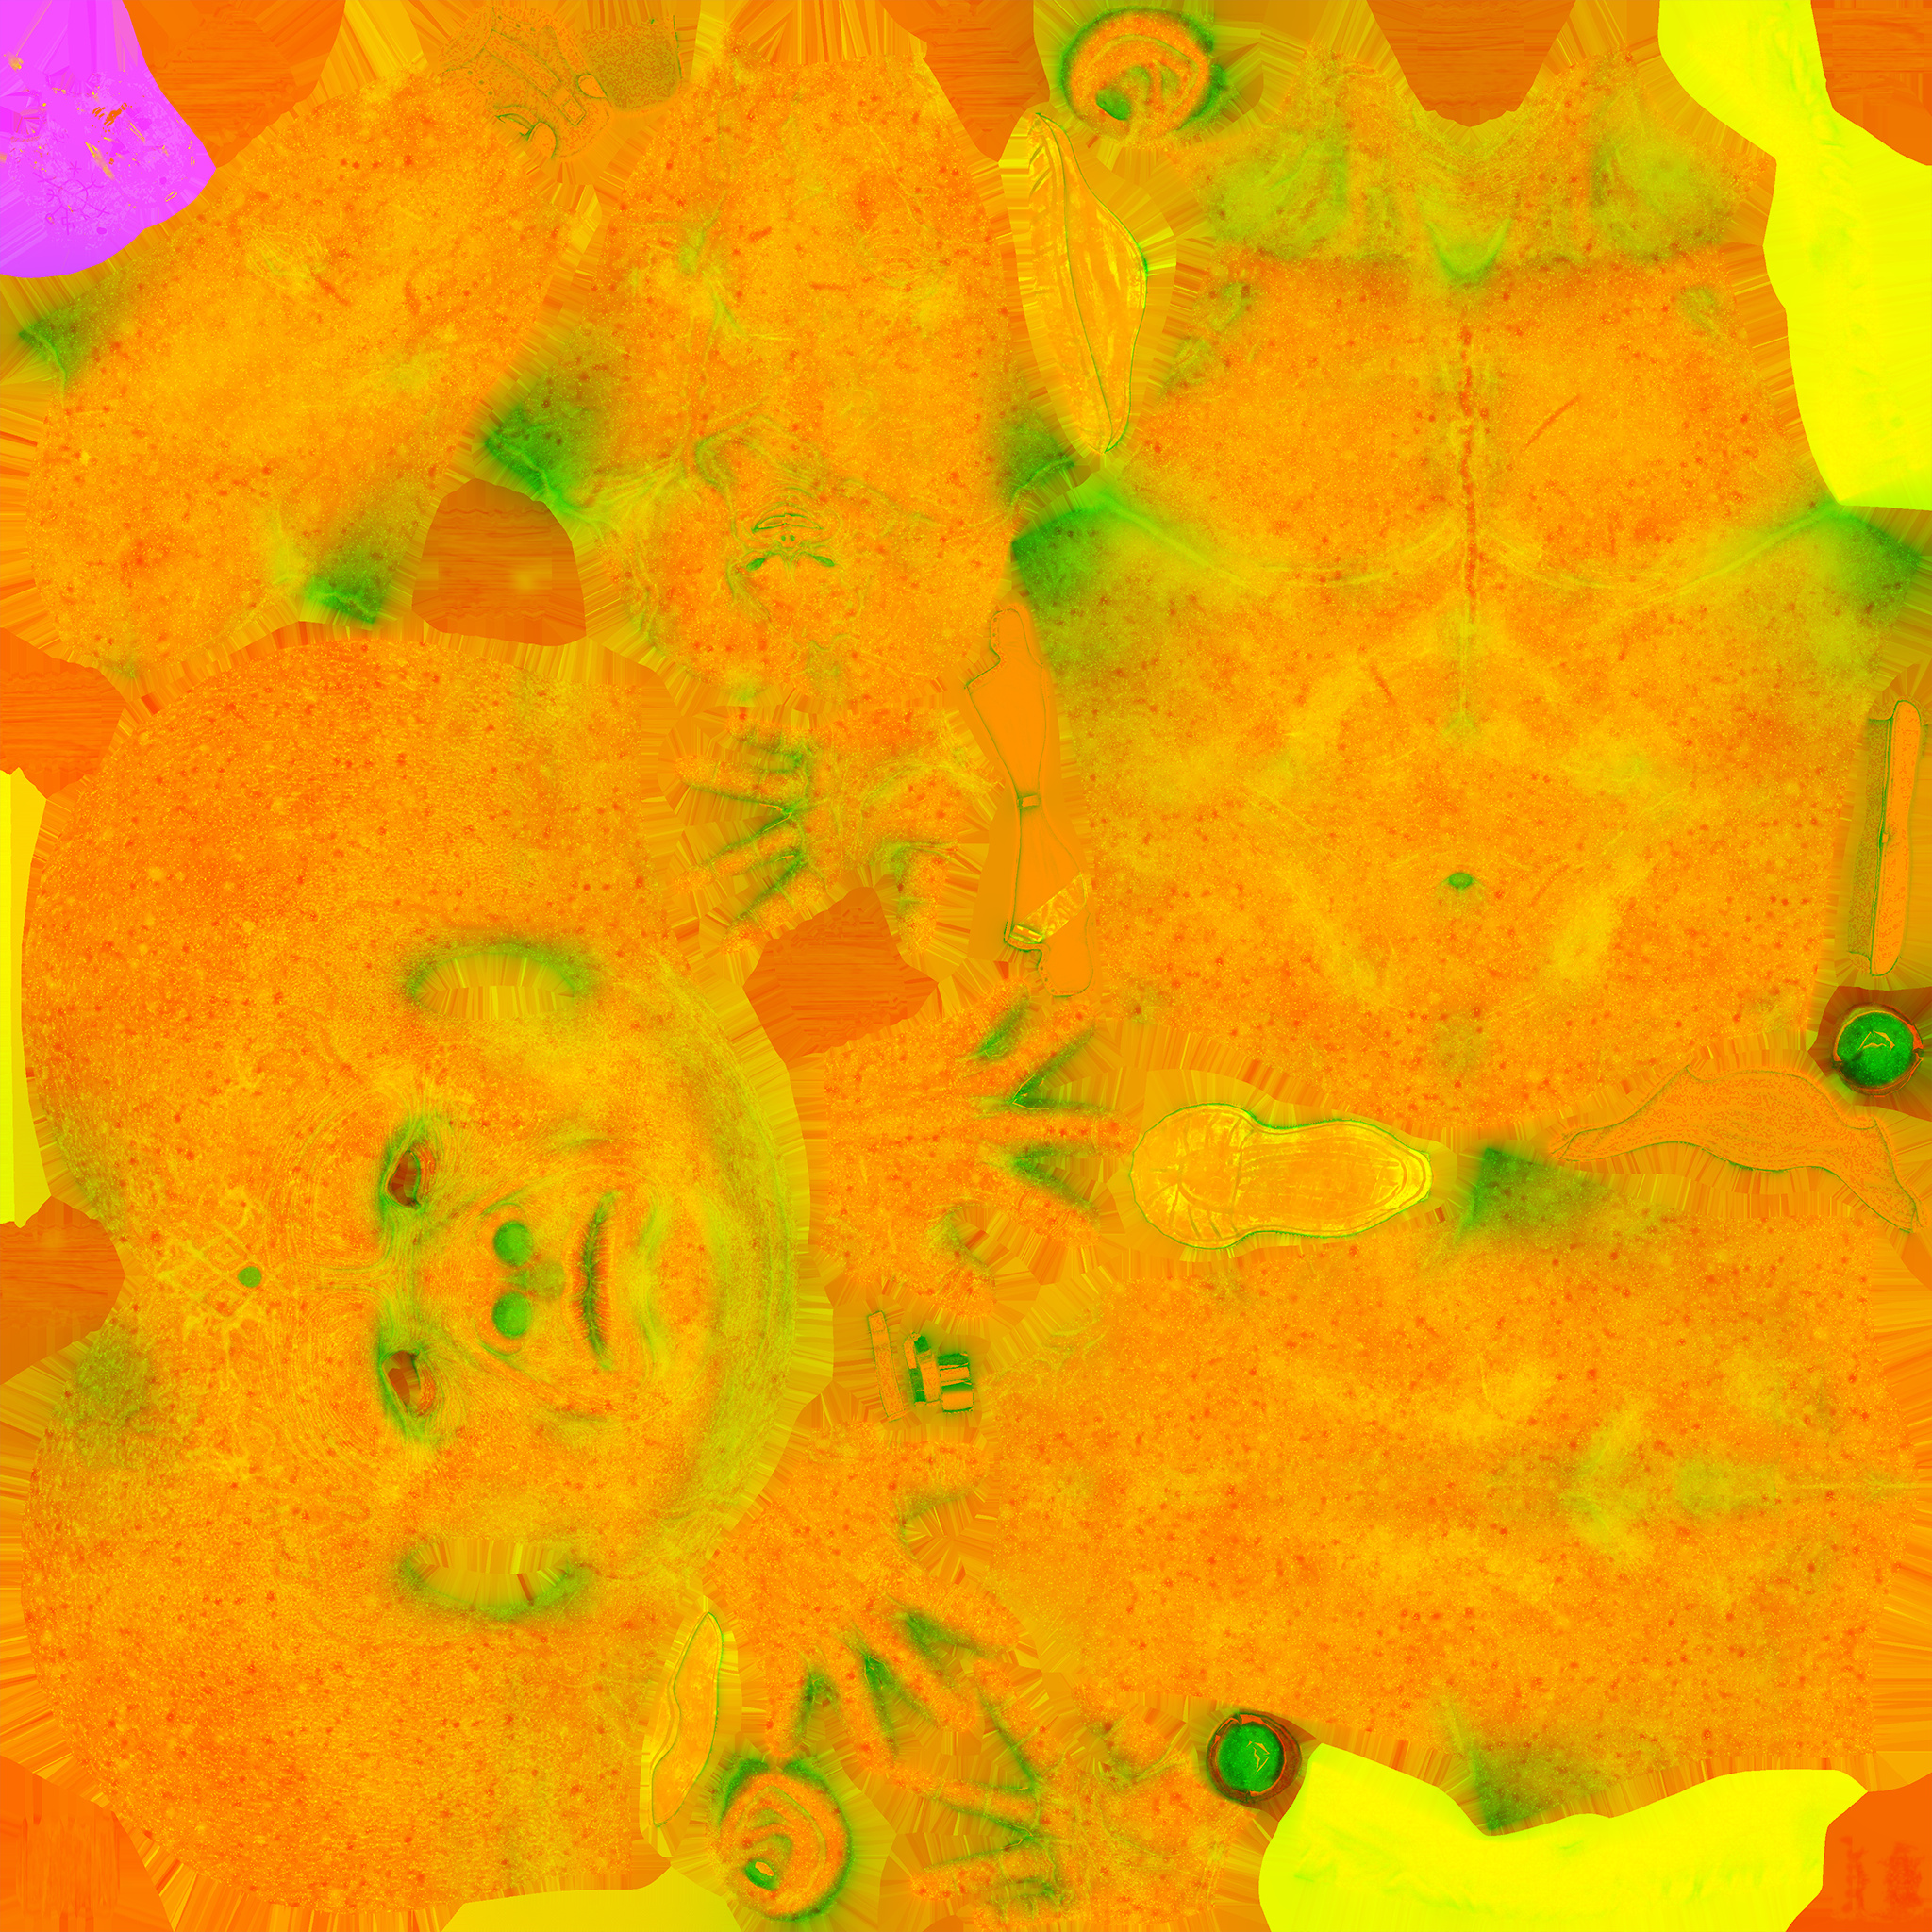
Here is the substance painter file separated into two texture sets to fully utilize the amount of texture space we were allowed to use.
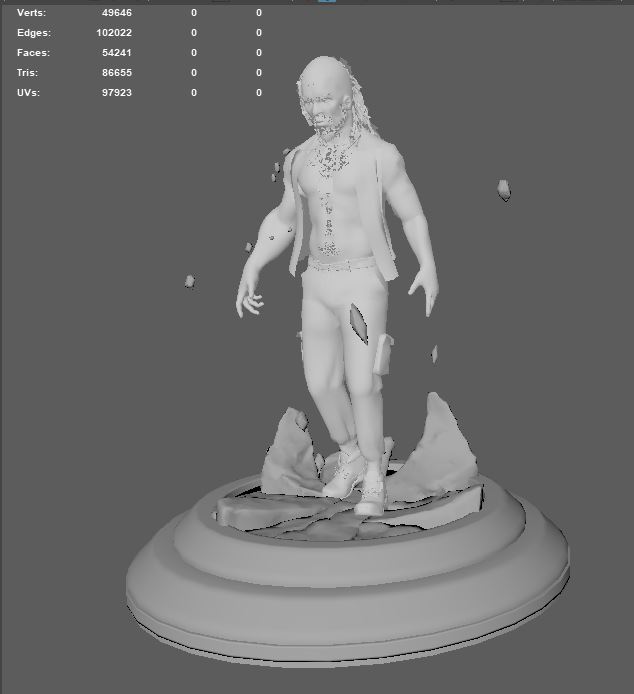
The mesh is exploded to so the baking gives a better result, on some parts like the shirt i didn’t want to bake the AO from the rest of the mesh so they could be removable, or because the baked AO would actually ruin the texture.
One of the things i learned that i haven’t used was moving the parts that share textures to a second UDIM space. Because Substance Painter doesn’t support painting over UDIM’s the texture is repeated, but the parts that are moved to a second UDIM space are ignored in the baking process, which is useful for repeating parts.
Finished textures Inside Substance Painter.
The skin texture has the polypaint used as a base, with a HSL filter applied to make some changes. After that it was mostly a case of building a nice roughness map with some variation, adding splotches and hue variations to build interest and make it feel more like skin and painting over some moles to make them appear stronger on the final result.
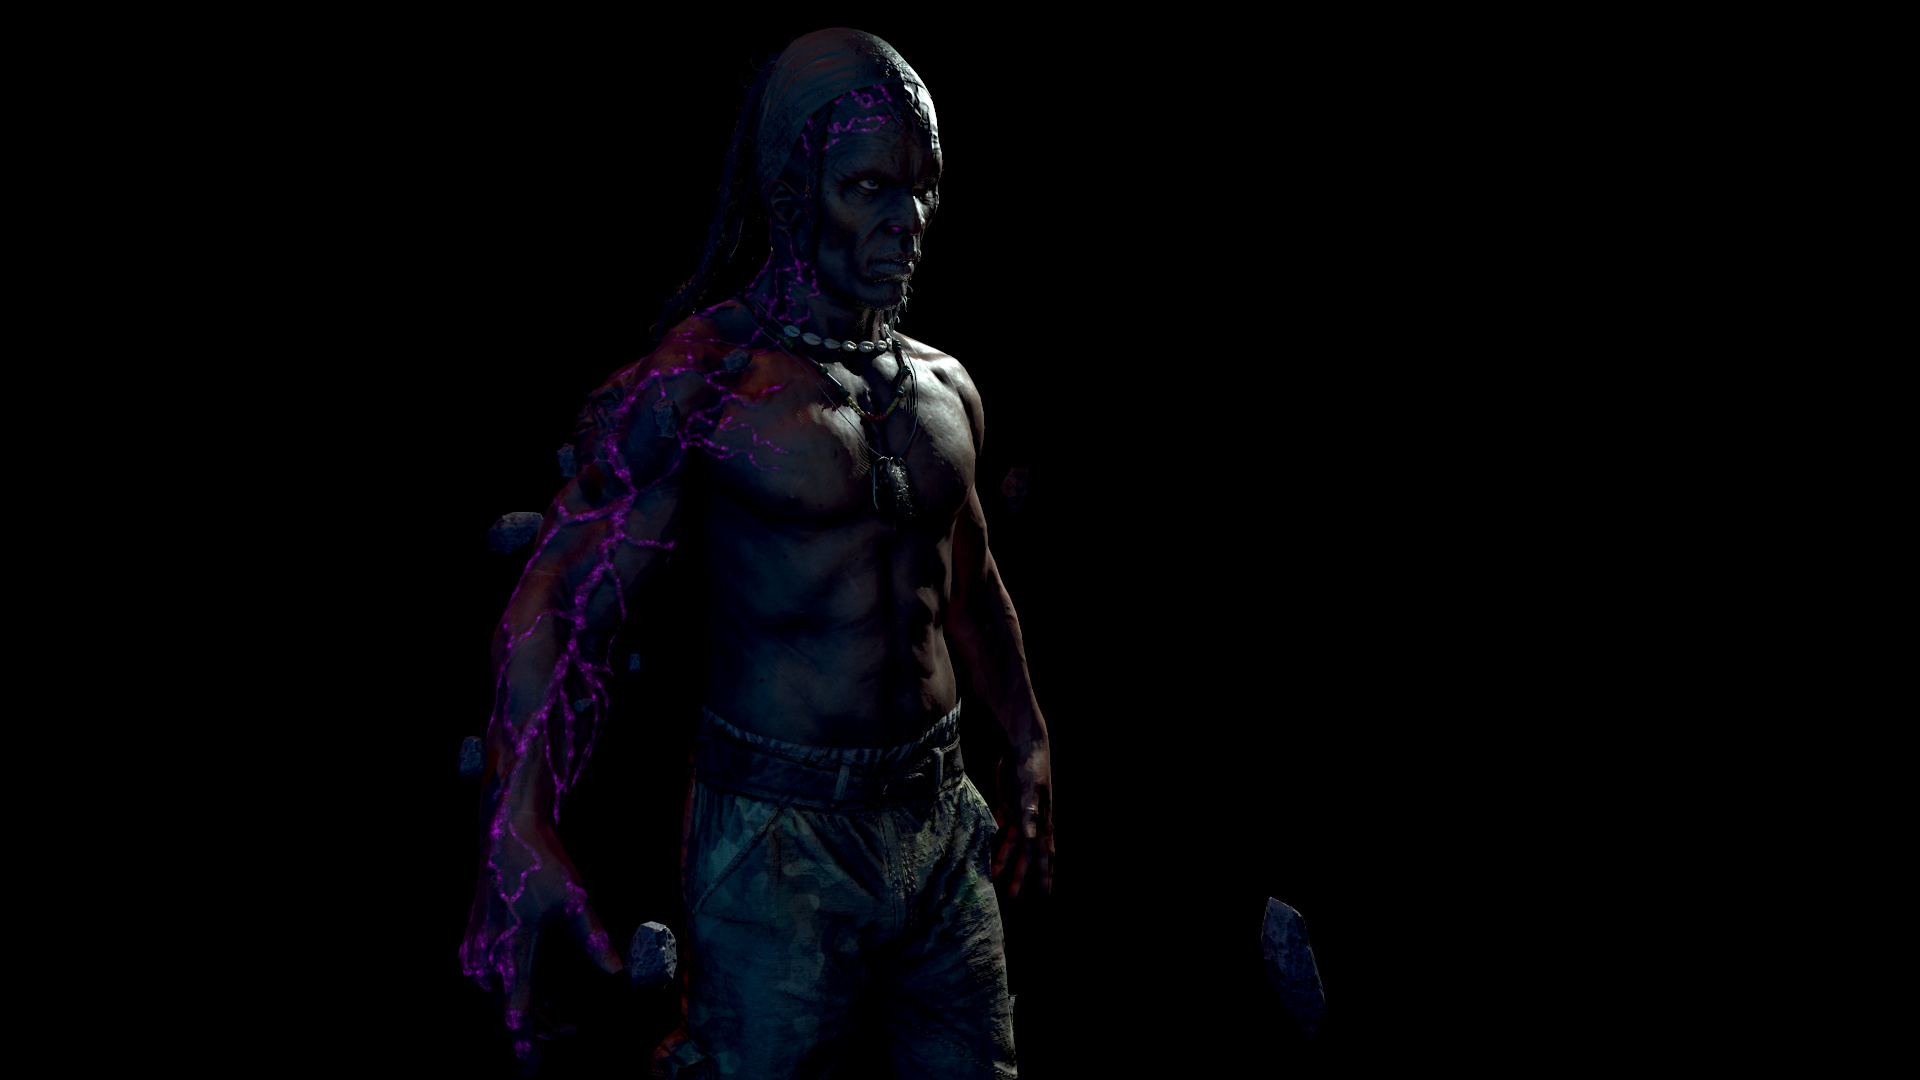
The veins also have a slight emissivness to them. That was done by using Color select to mask out the purple veins and overlaying in the mask with a BnW map in a fill layer set to multiply. This gives it a nice break up that makes it feel more organic and looks great in the final render
The shirt texture is just the polypaint with some seamless textures applied to it to make it look and feel like it was made out of thin linen, something similar to a Hawaiian shirt.
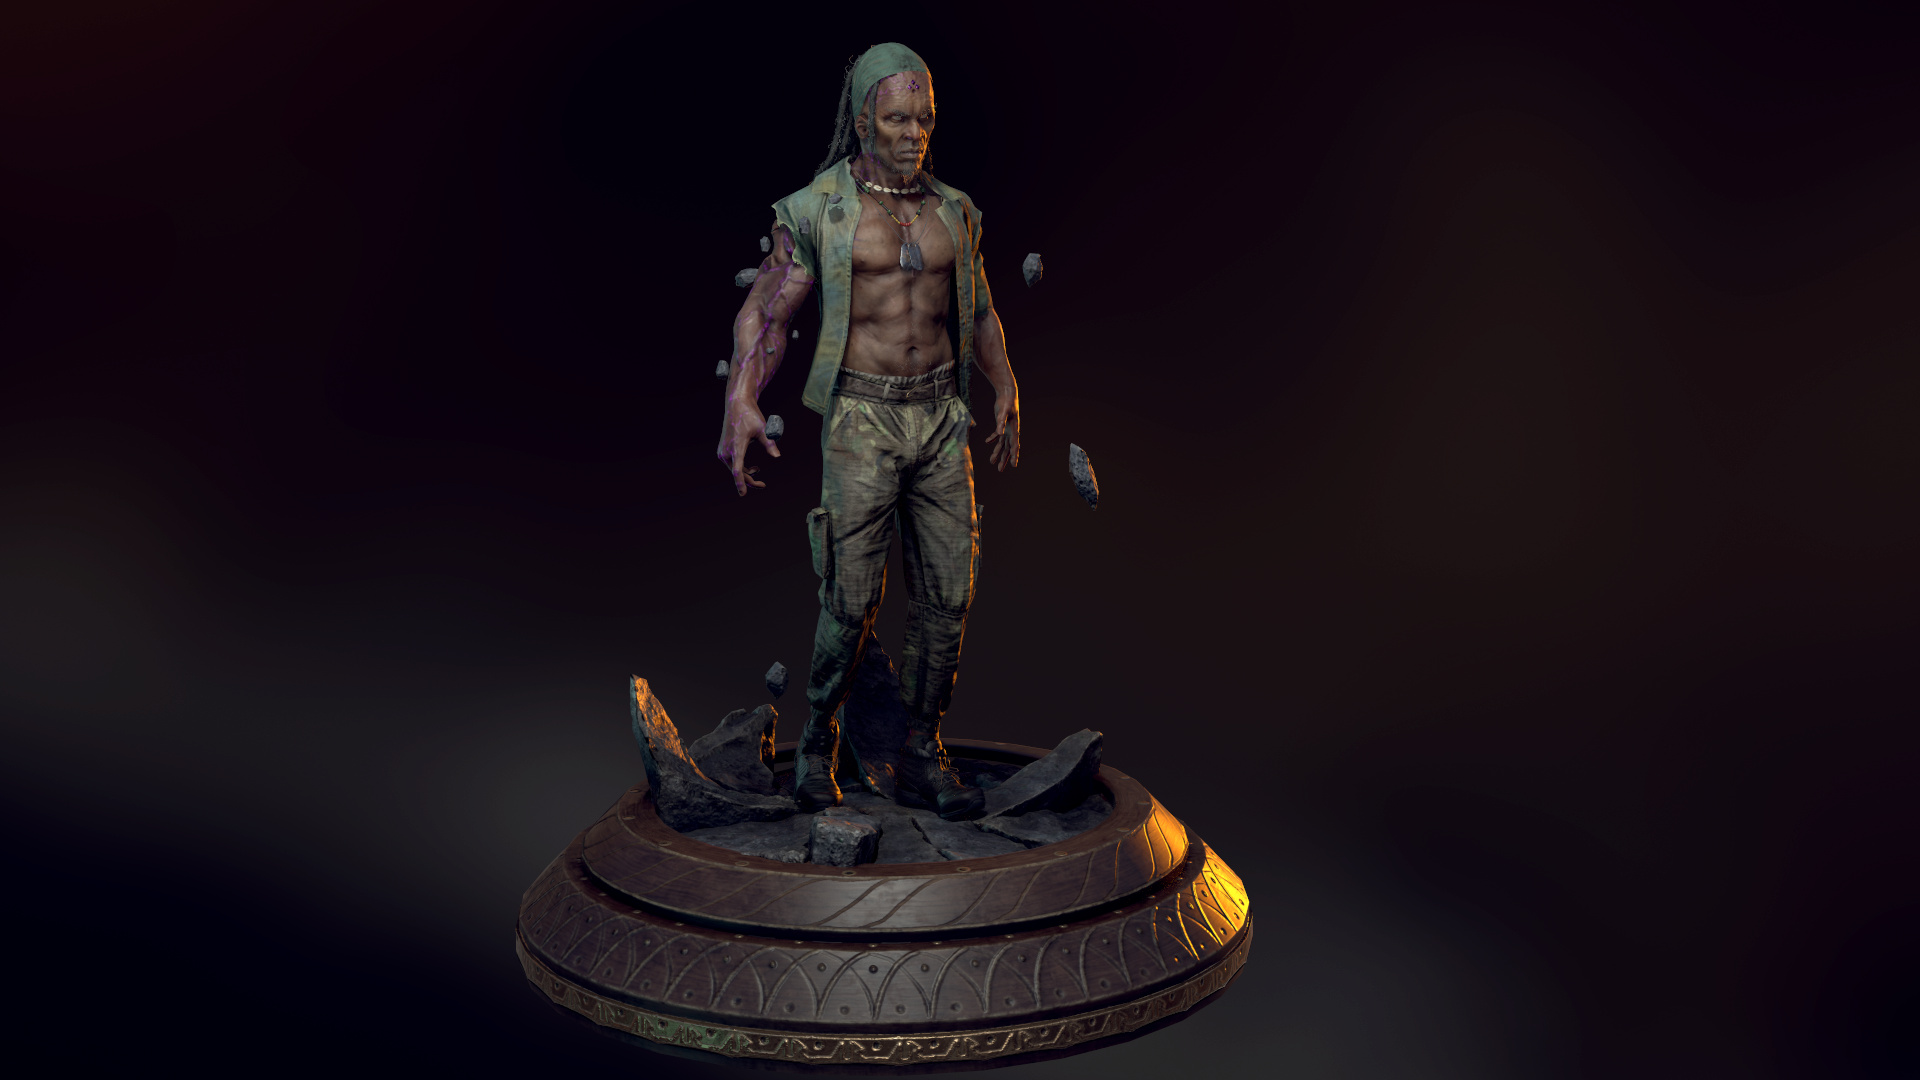

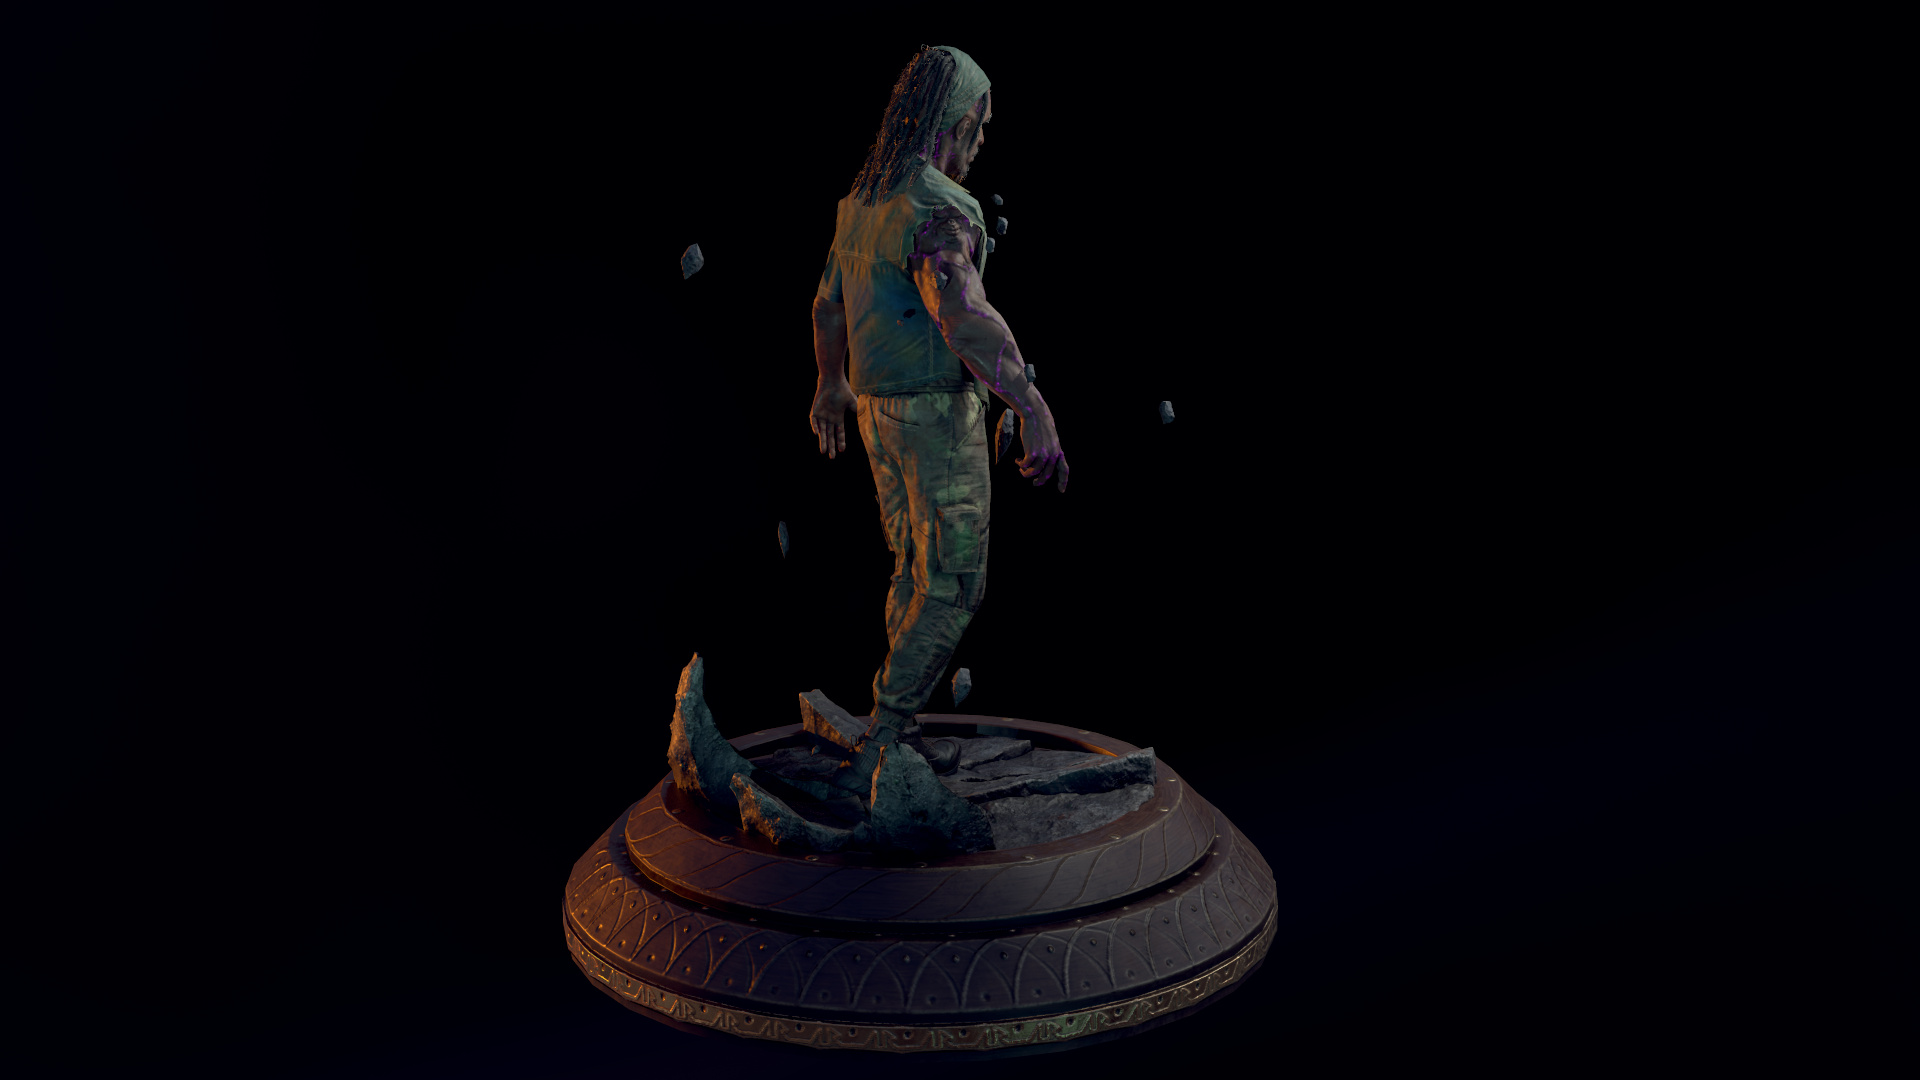


Turntable with the Shirt on

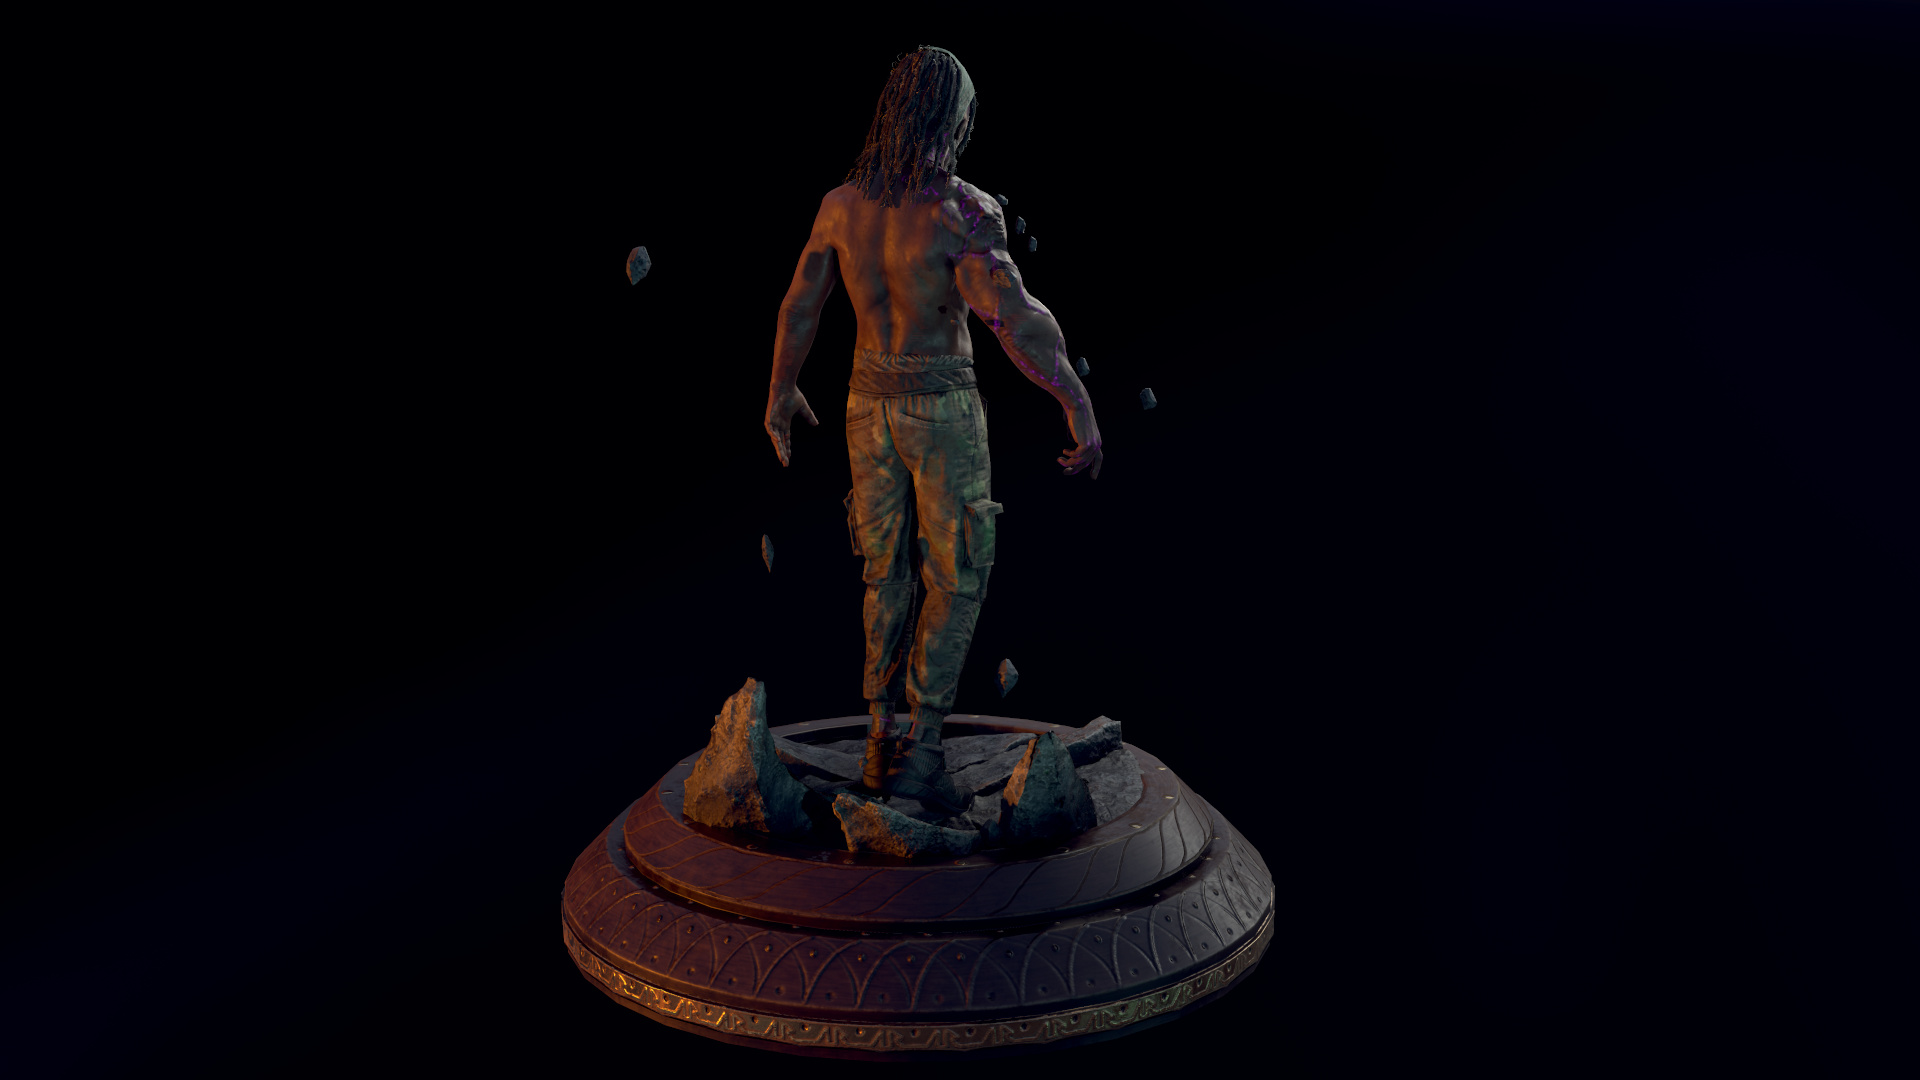
Turntable without the shirt


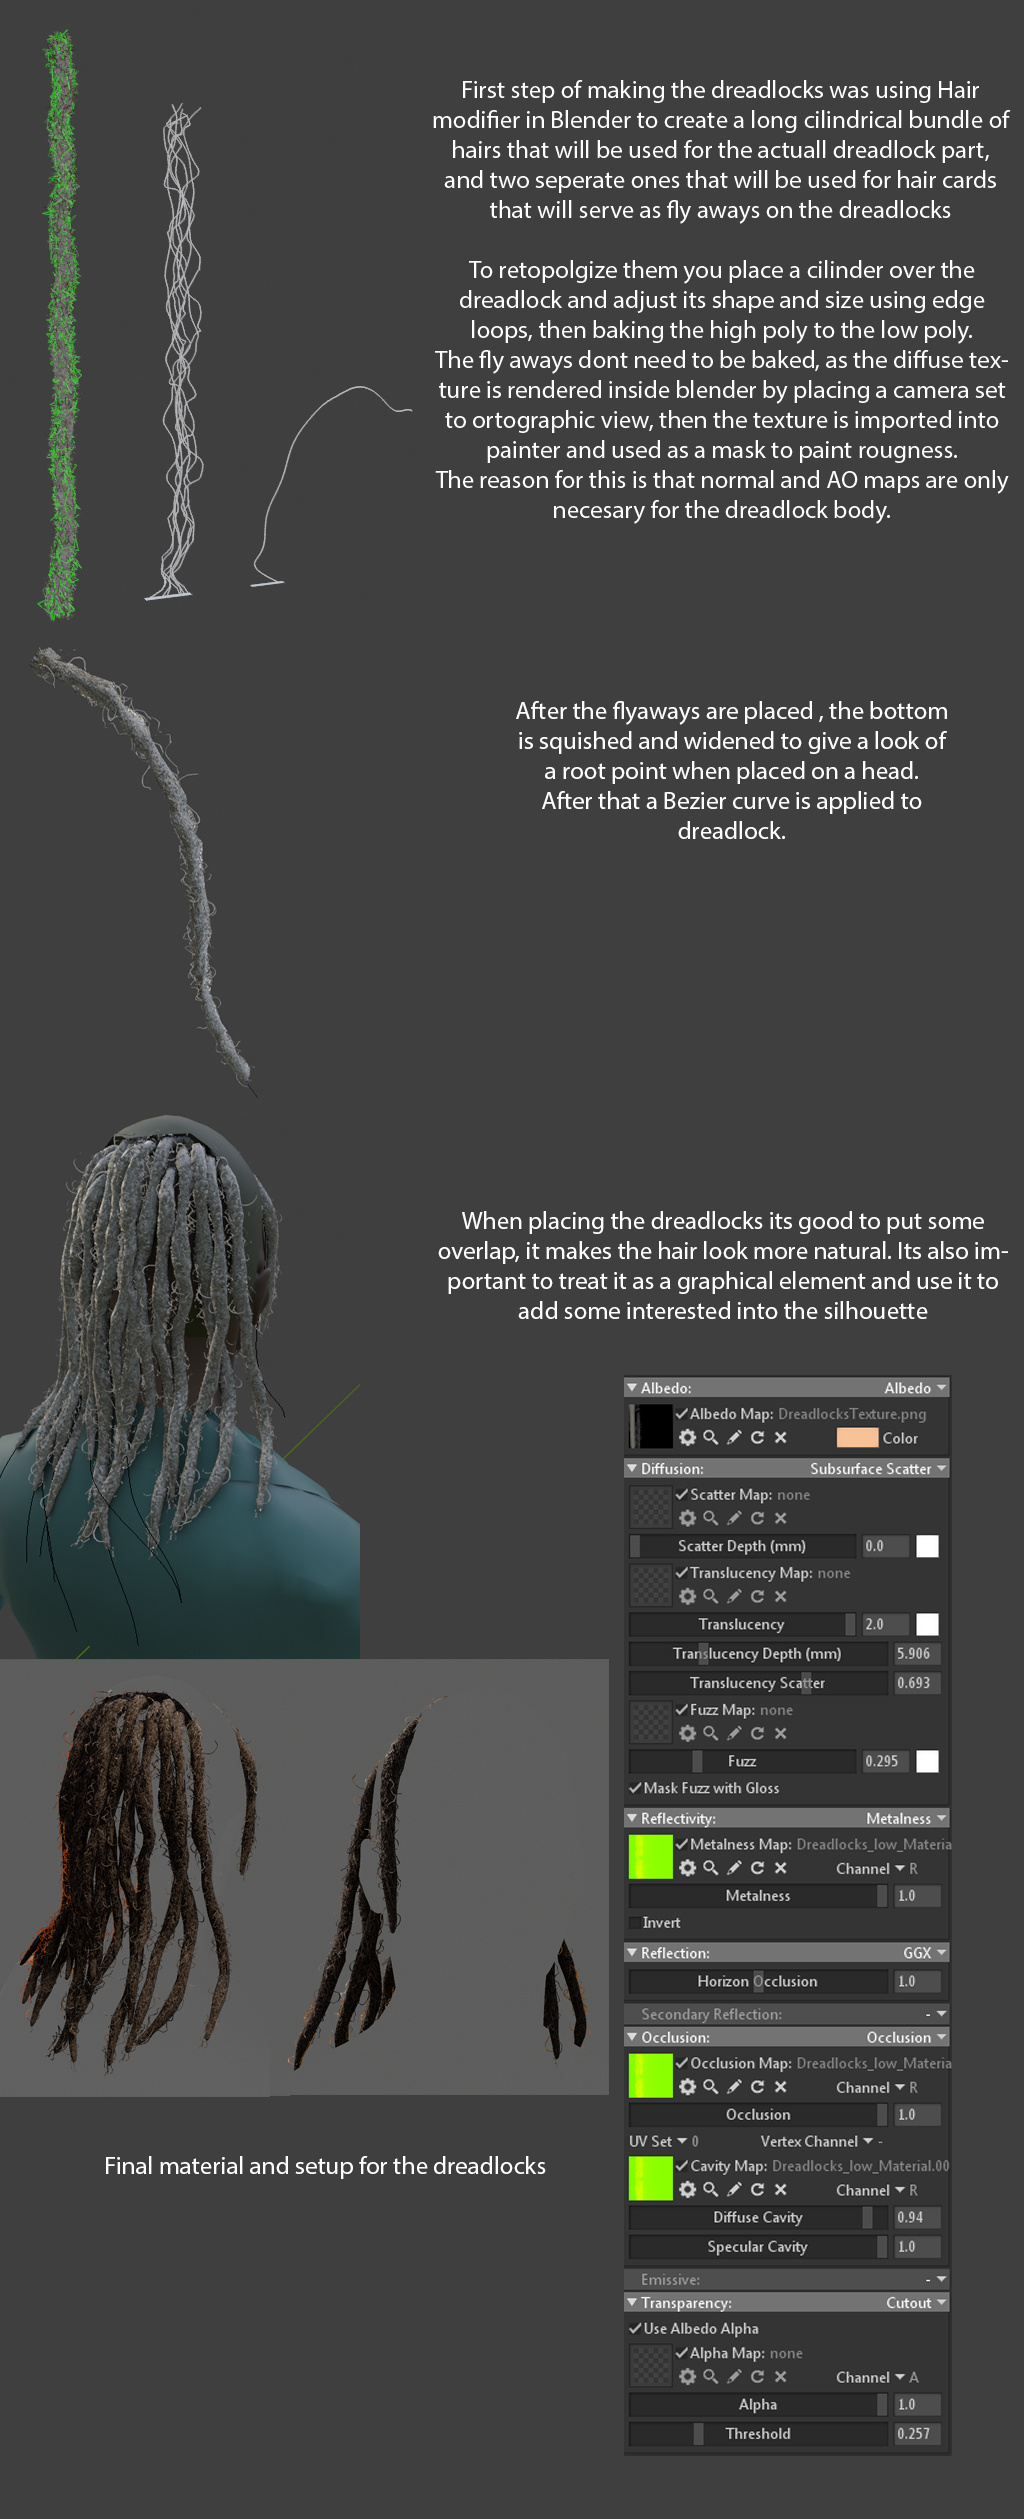
Dreadlocks texture was merged with this texture set in photoshop.

All these textures were exported with UE4 Packed preset inside Substance Painter( and downscaled to 2k because the file size of 4k textures was too high to upload here) with a slight tweak to the exporting of the body textures as to add the emissive map
1 Like