Hello all, my name is Mhiko and this is my first attempt at an art challenge. I’m a little late to the party but i don’t plan to let that deter me. My entry for the challenge is titled “Curse of the Warlock Puppet” From my understanding, a warlock is a witch who was cast away from their coven and is commonly associated with a more dark or demonic kind of magic.
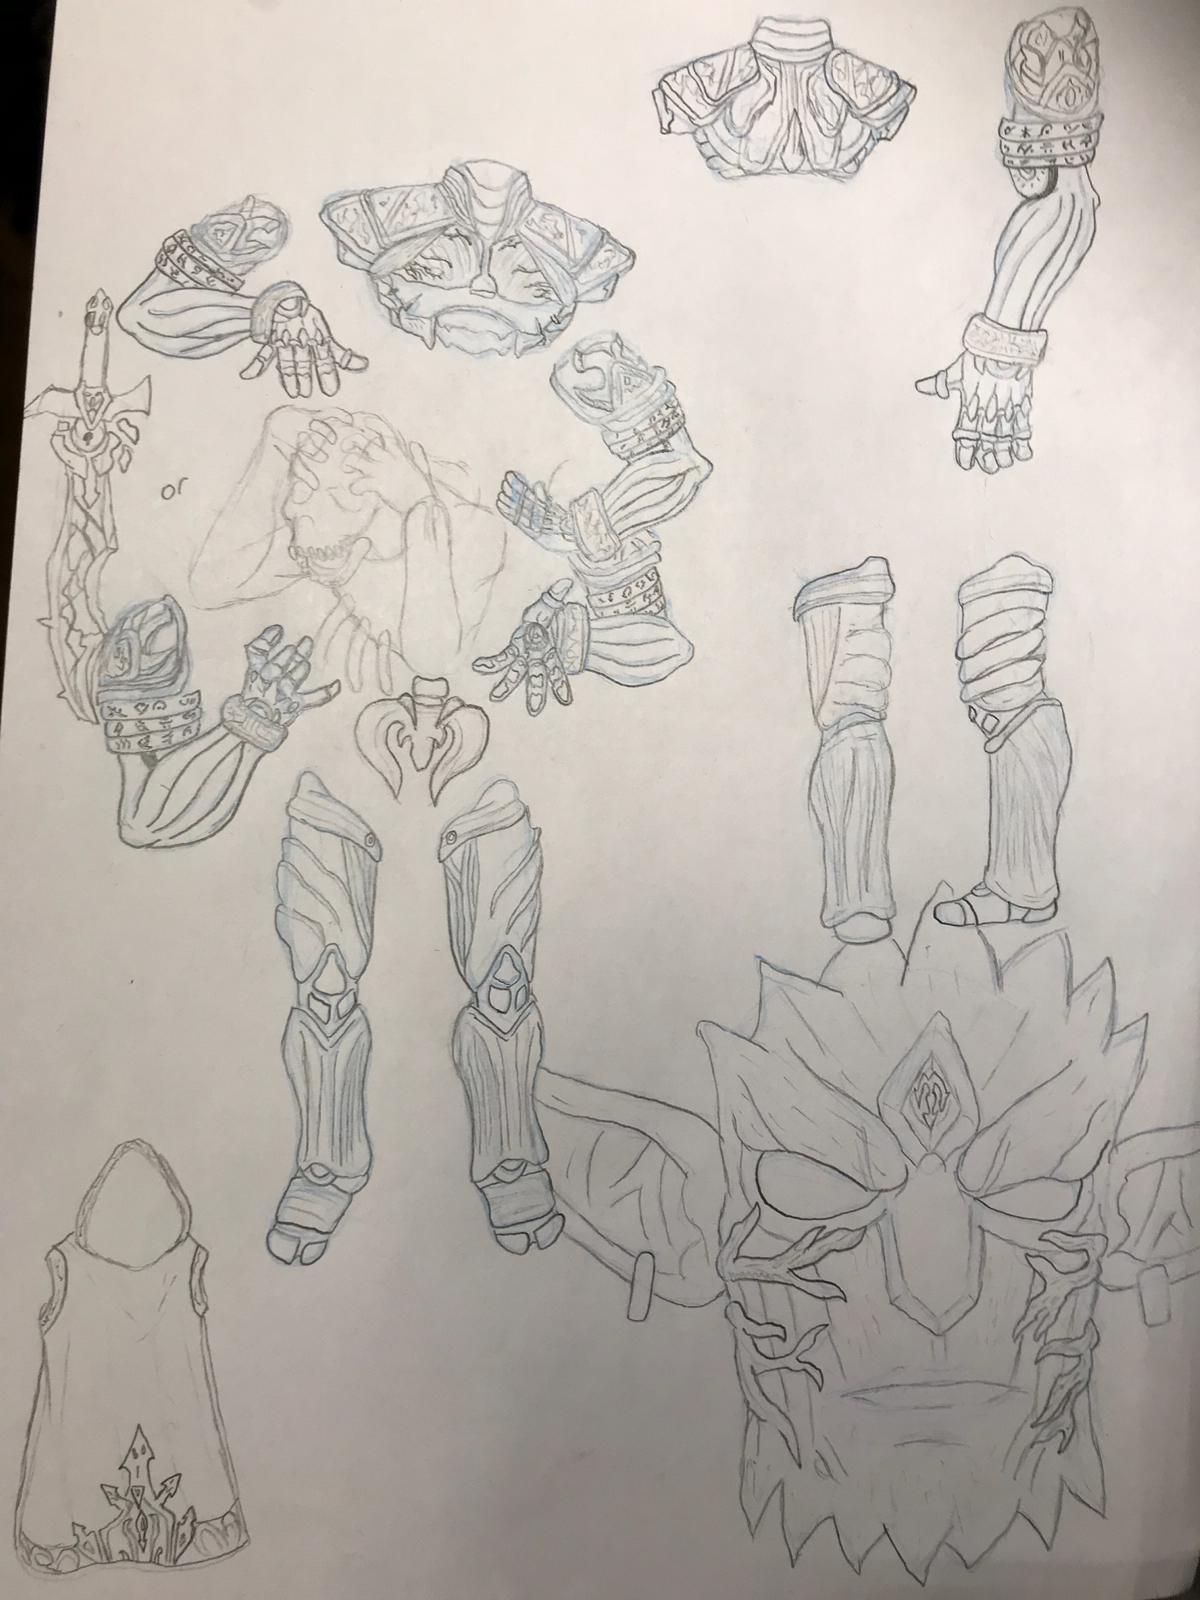
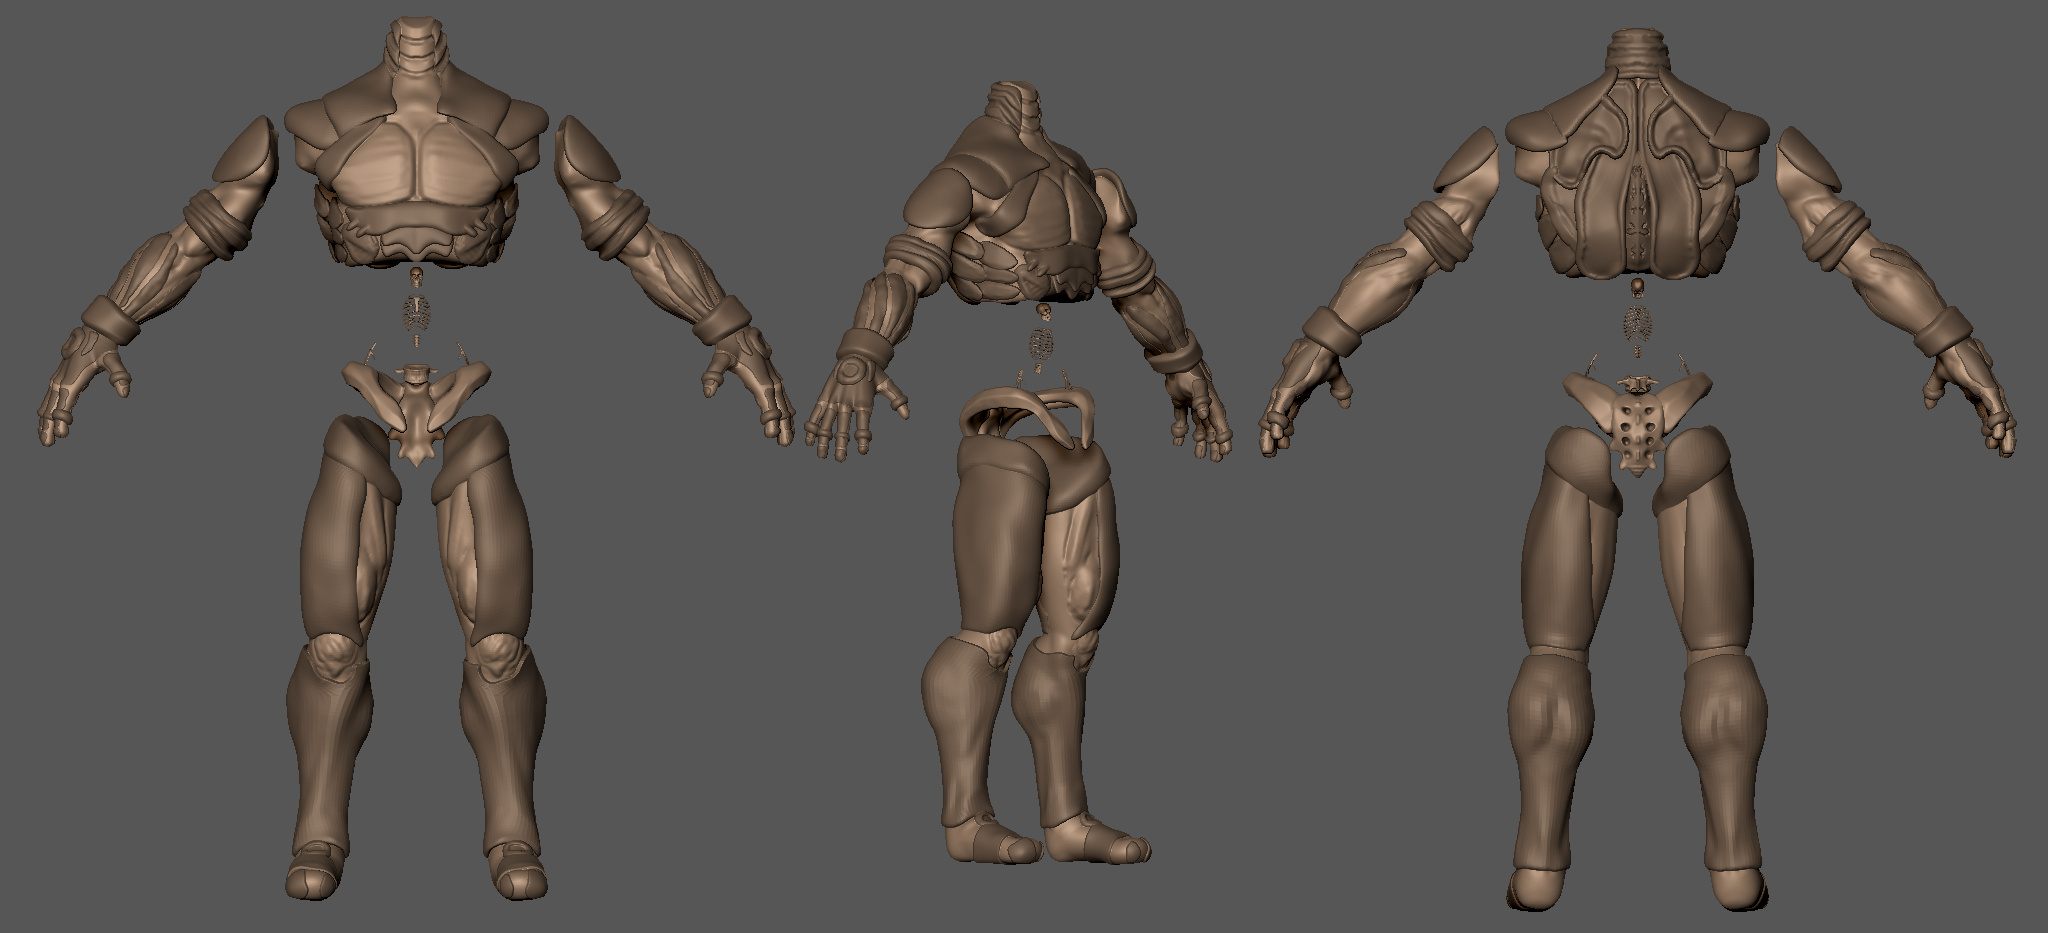
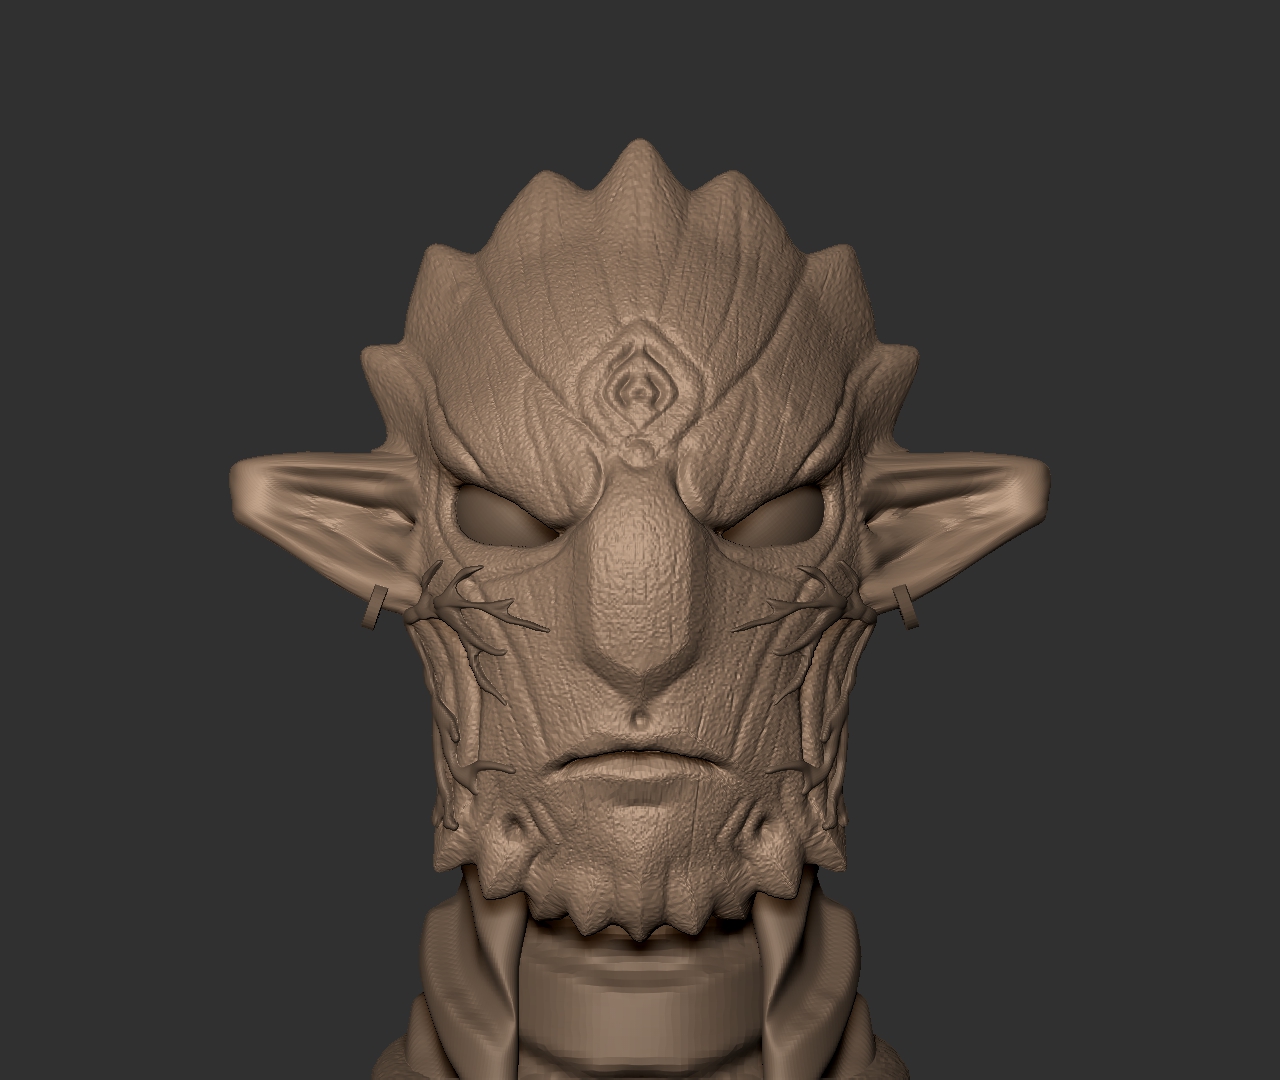
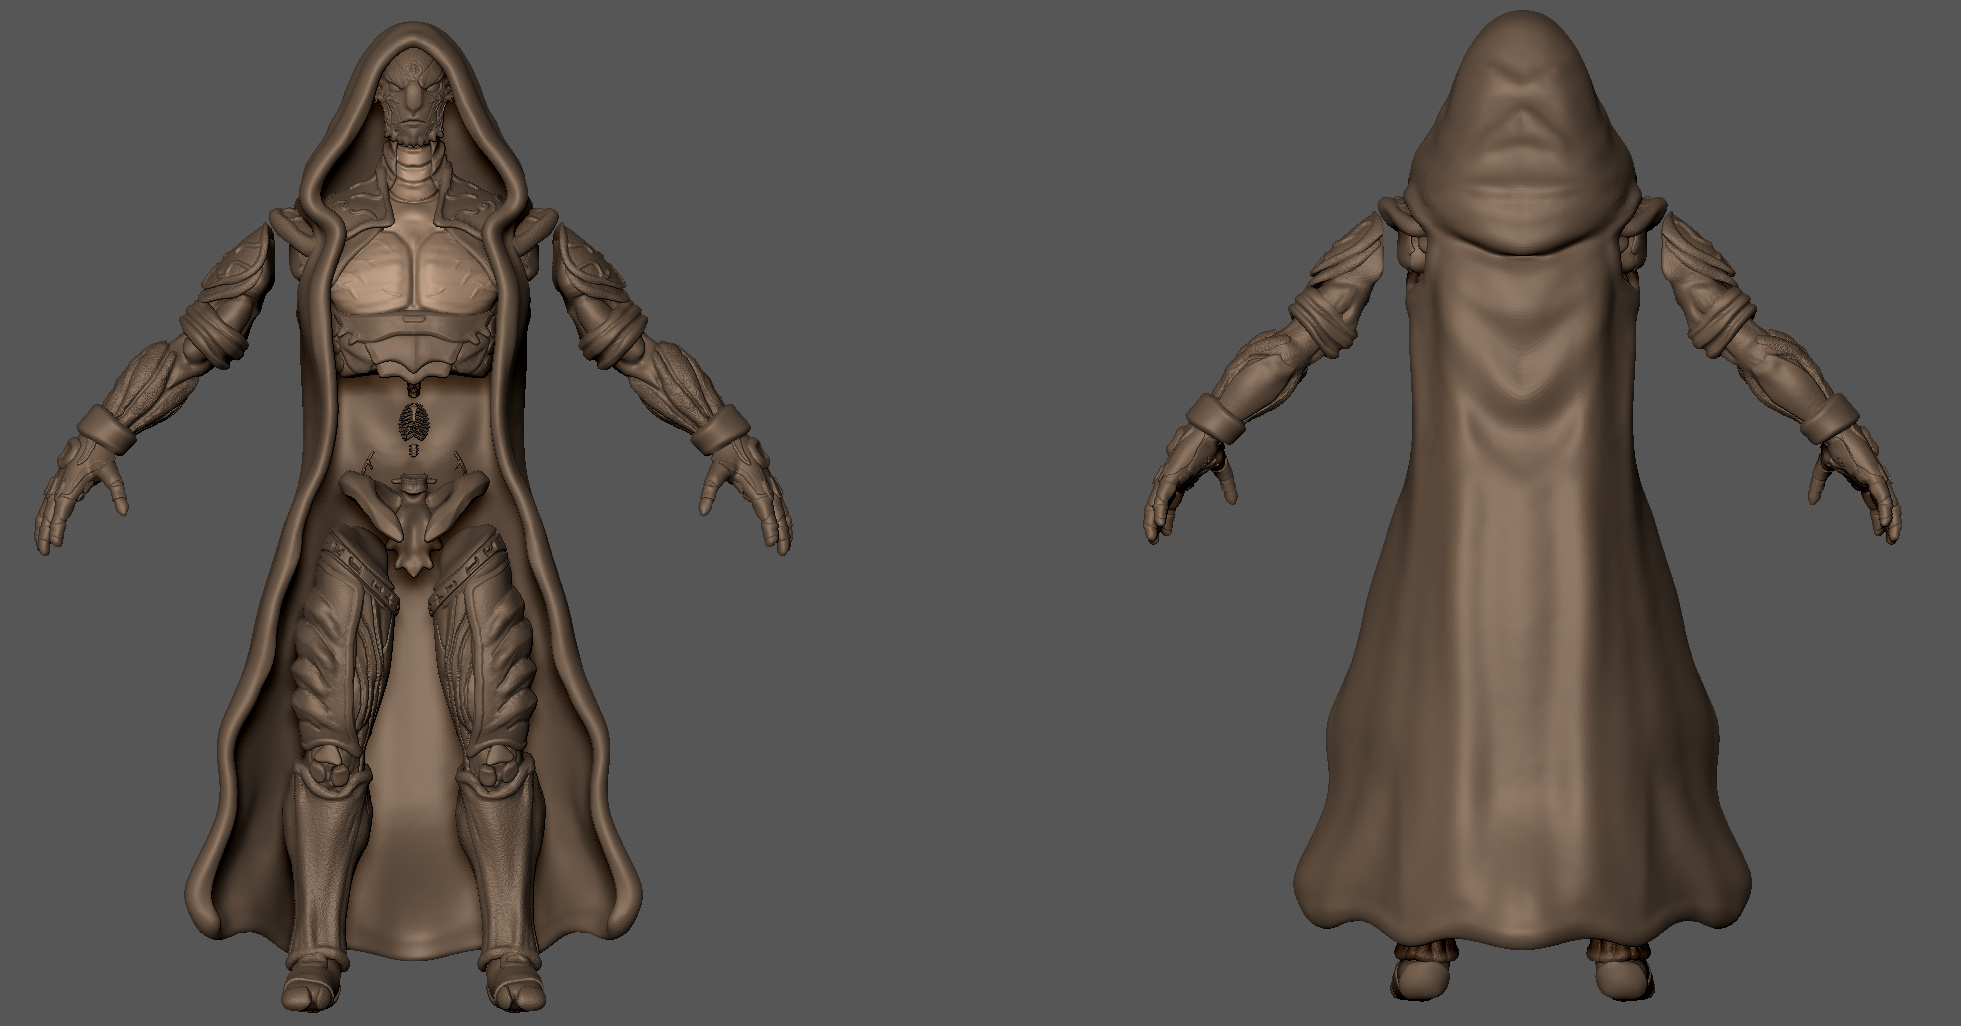
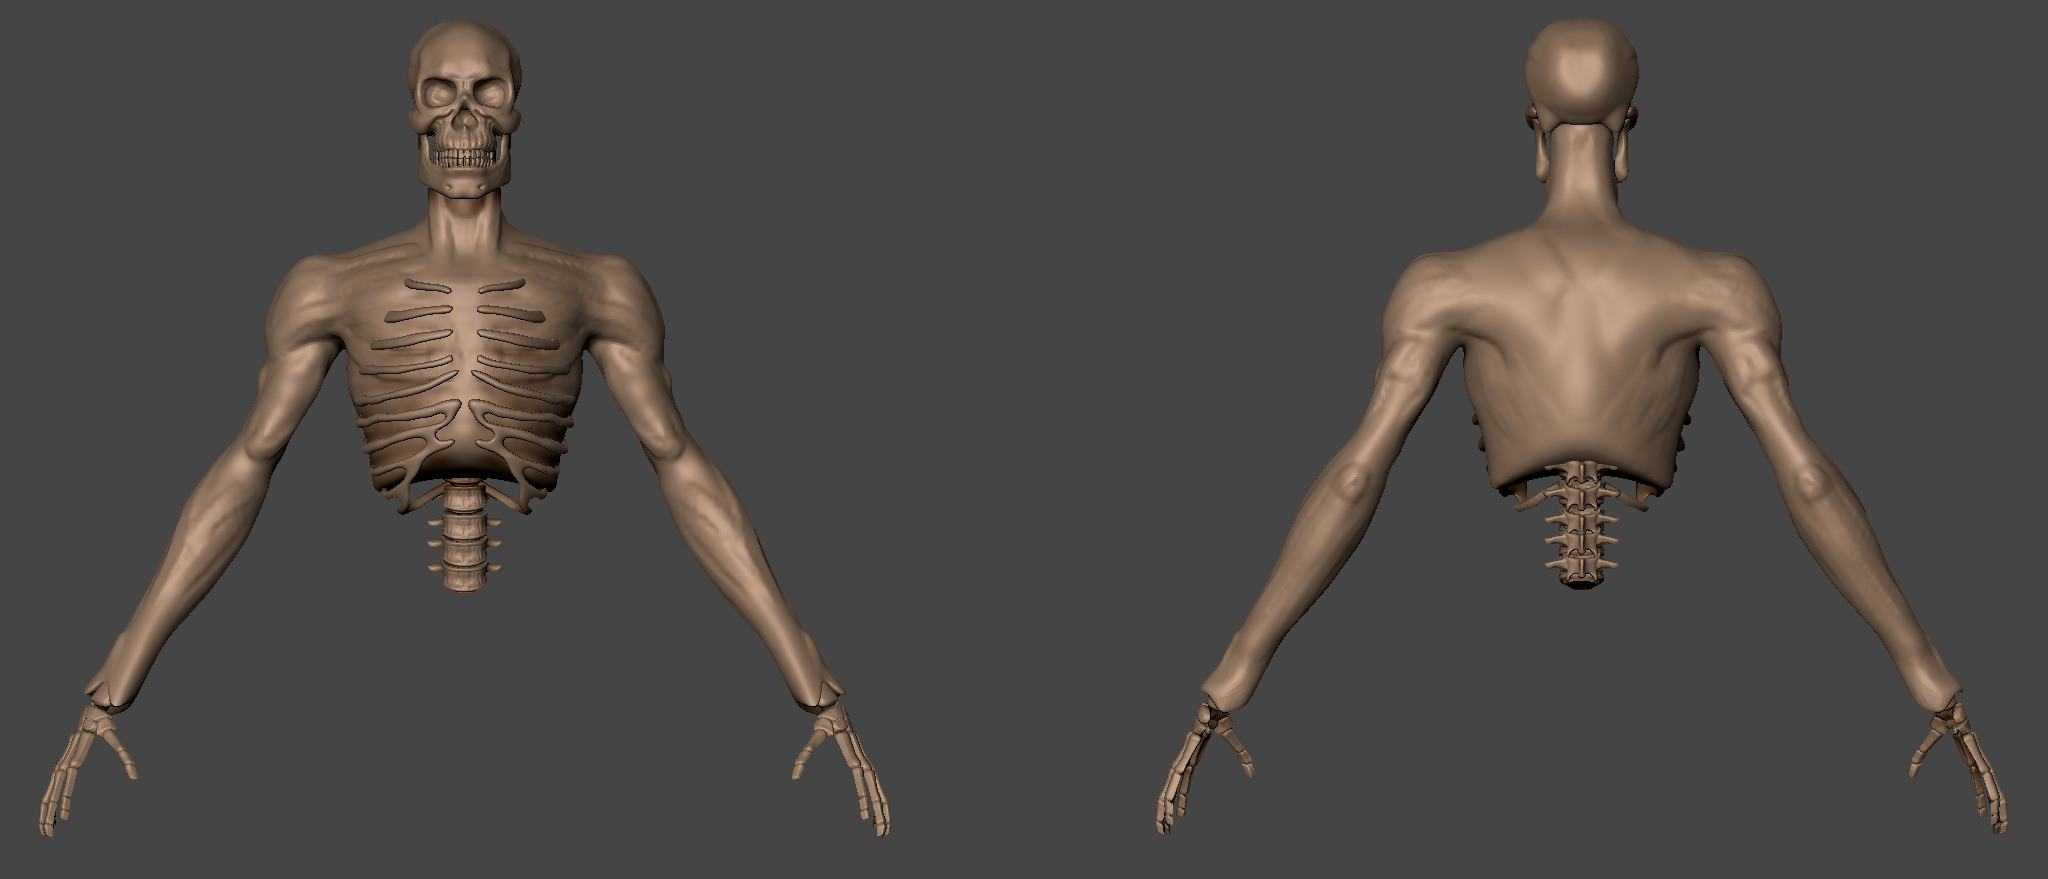
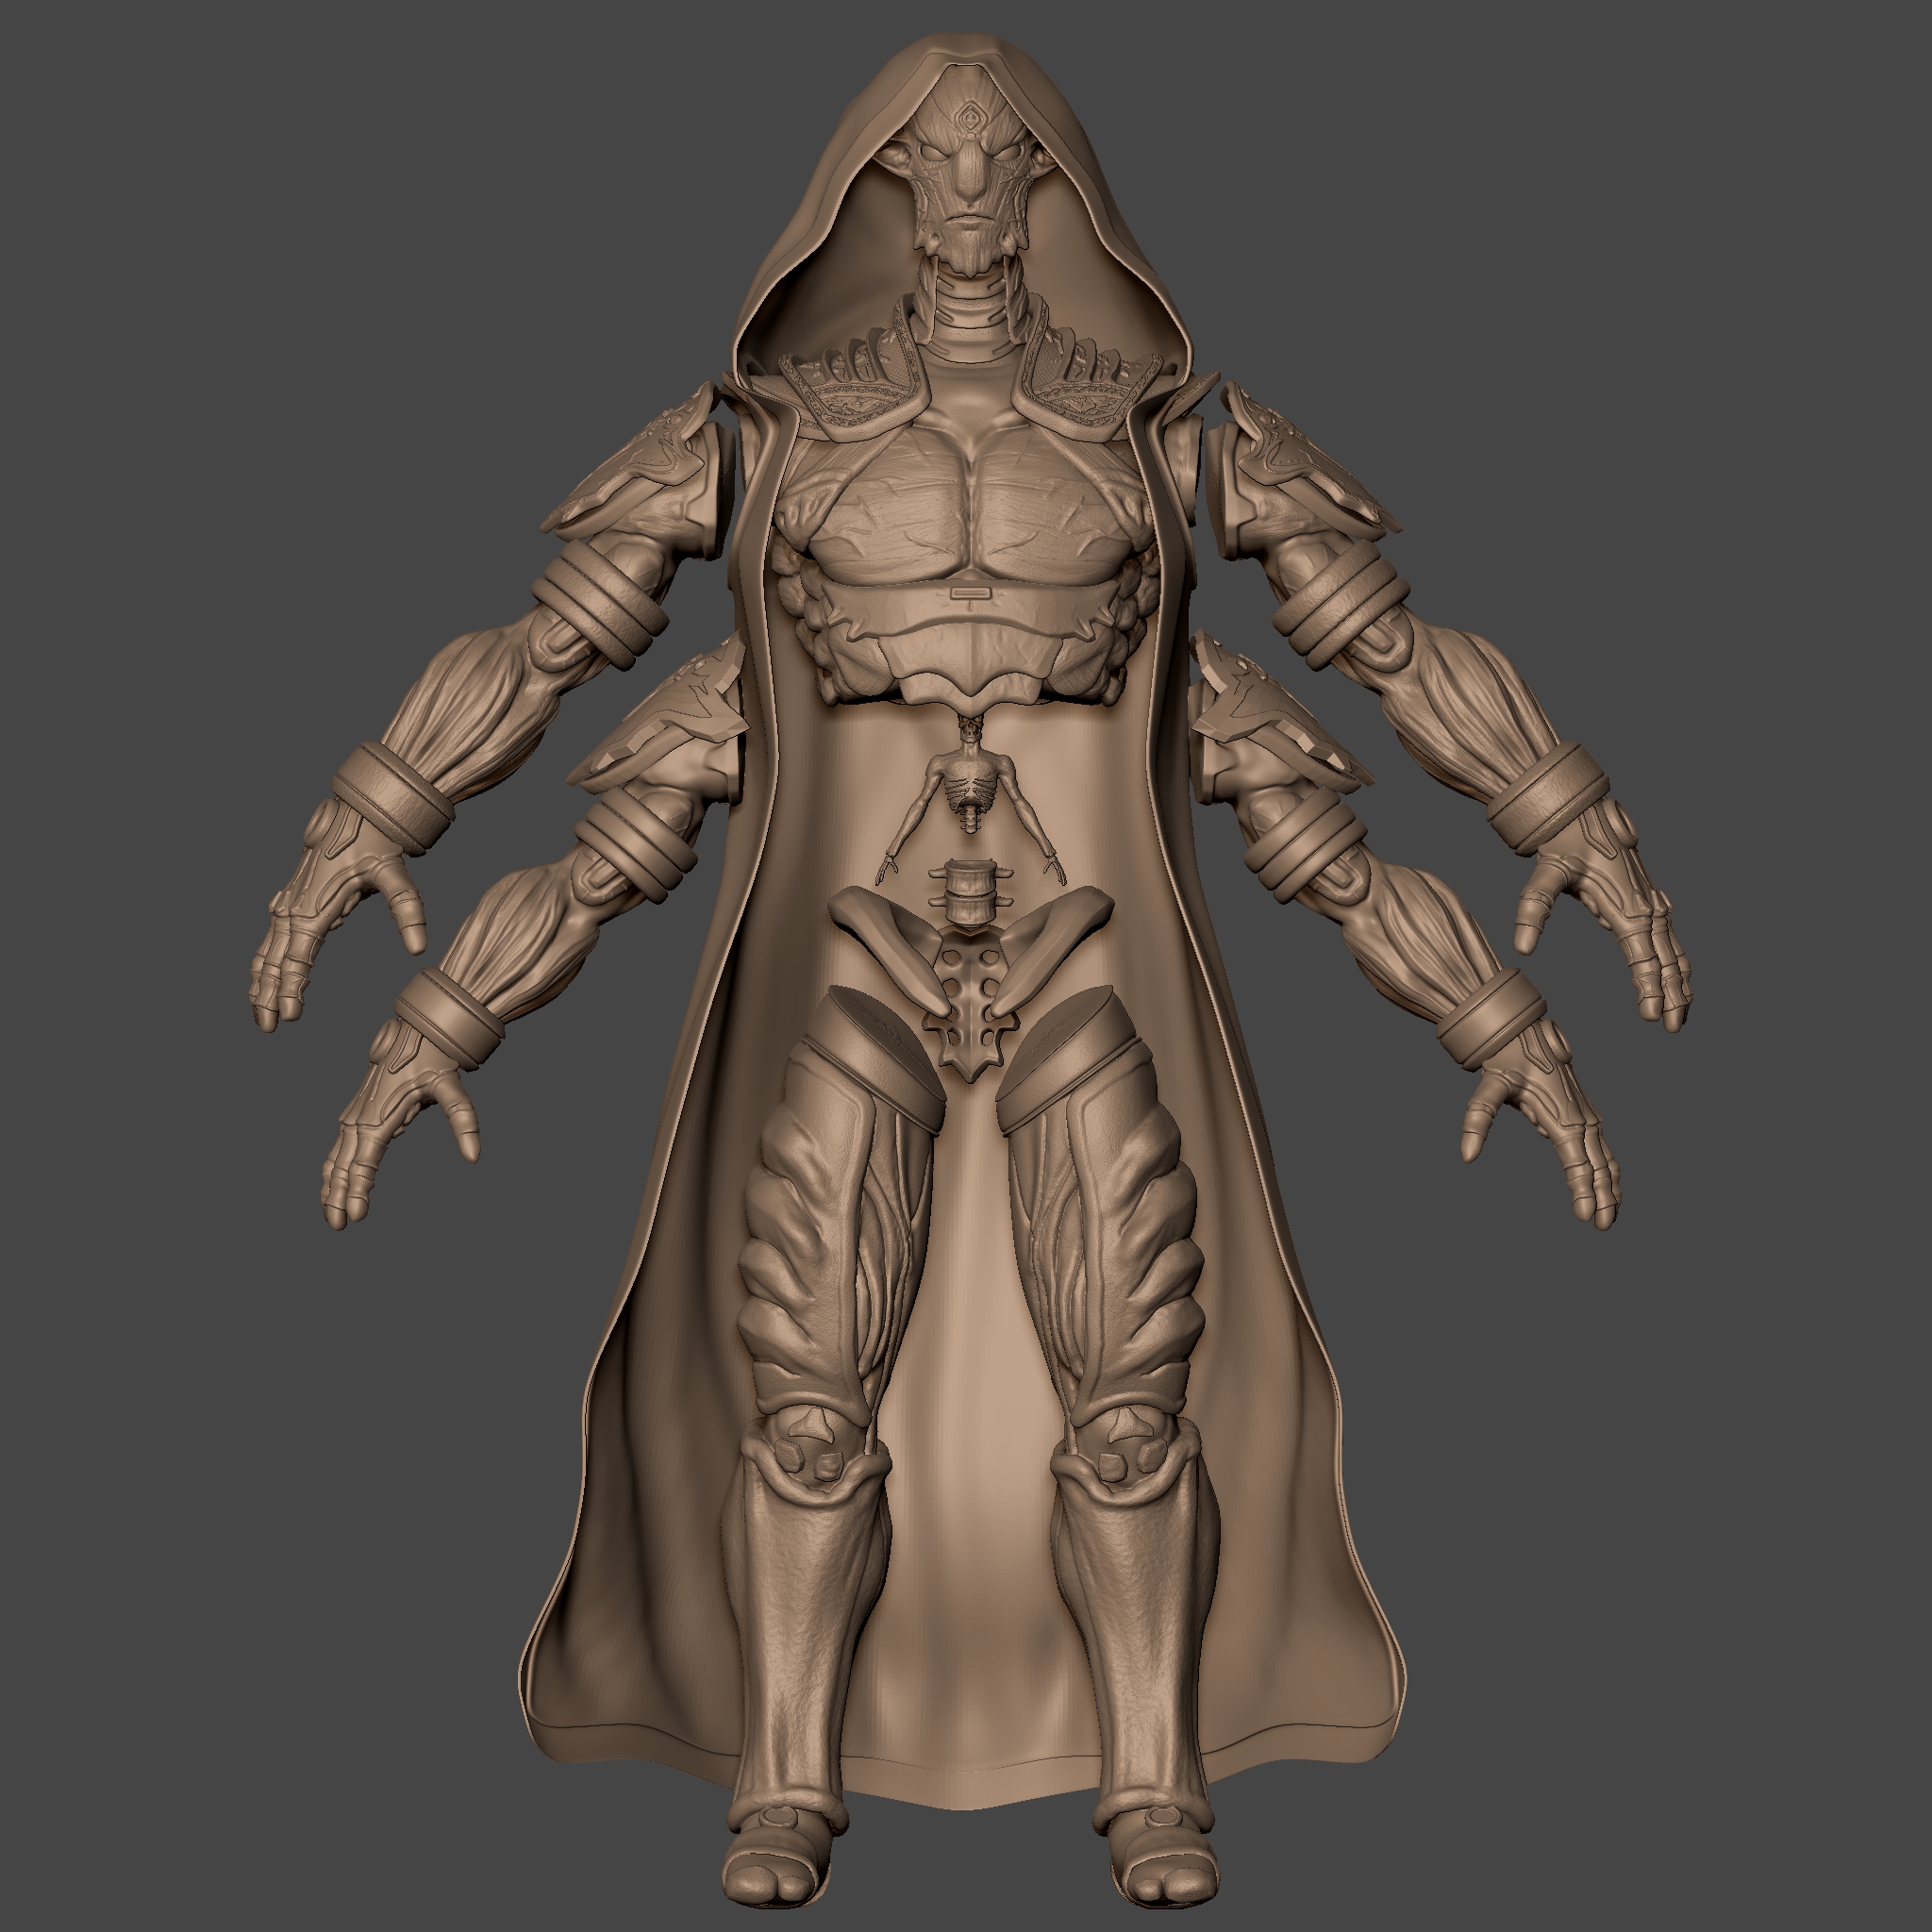
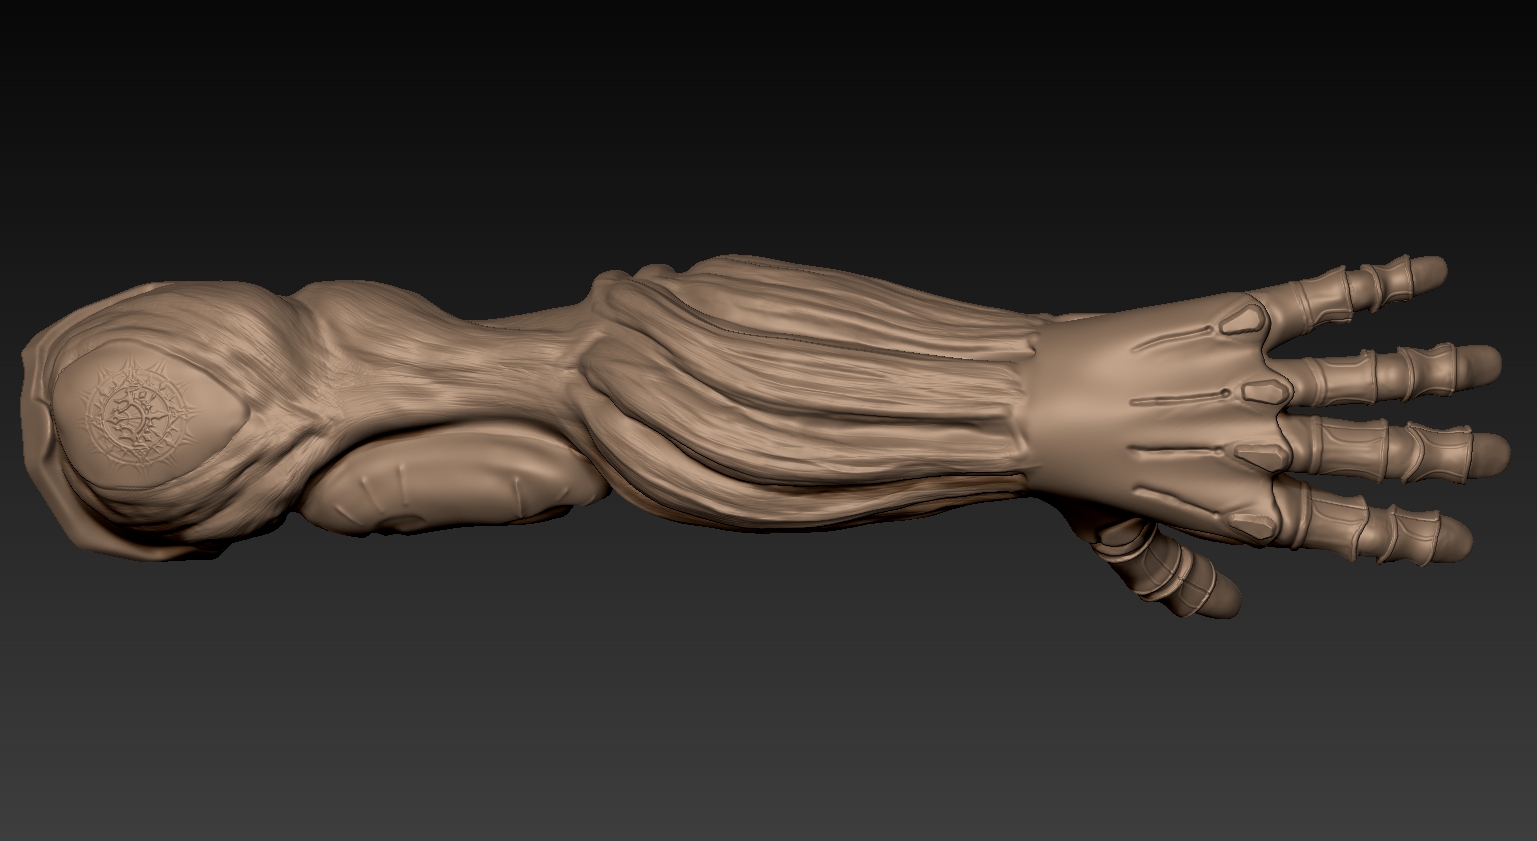
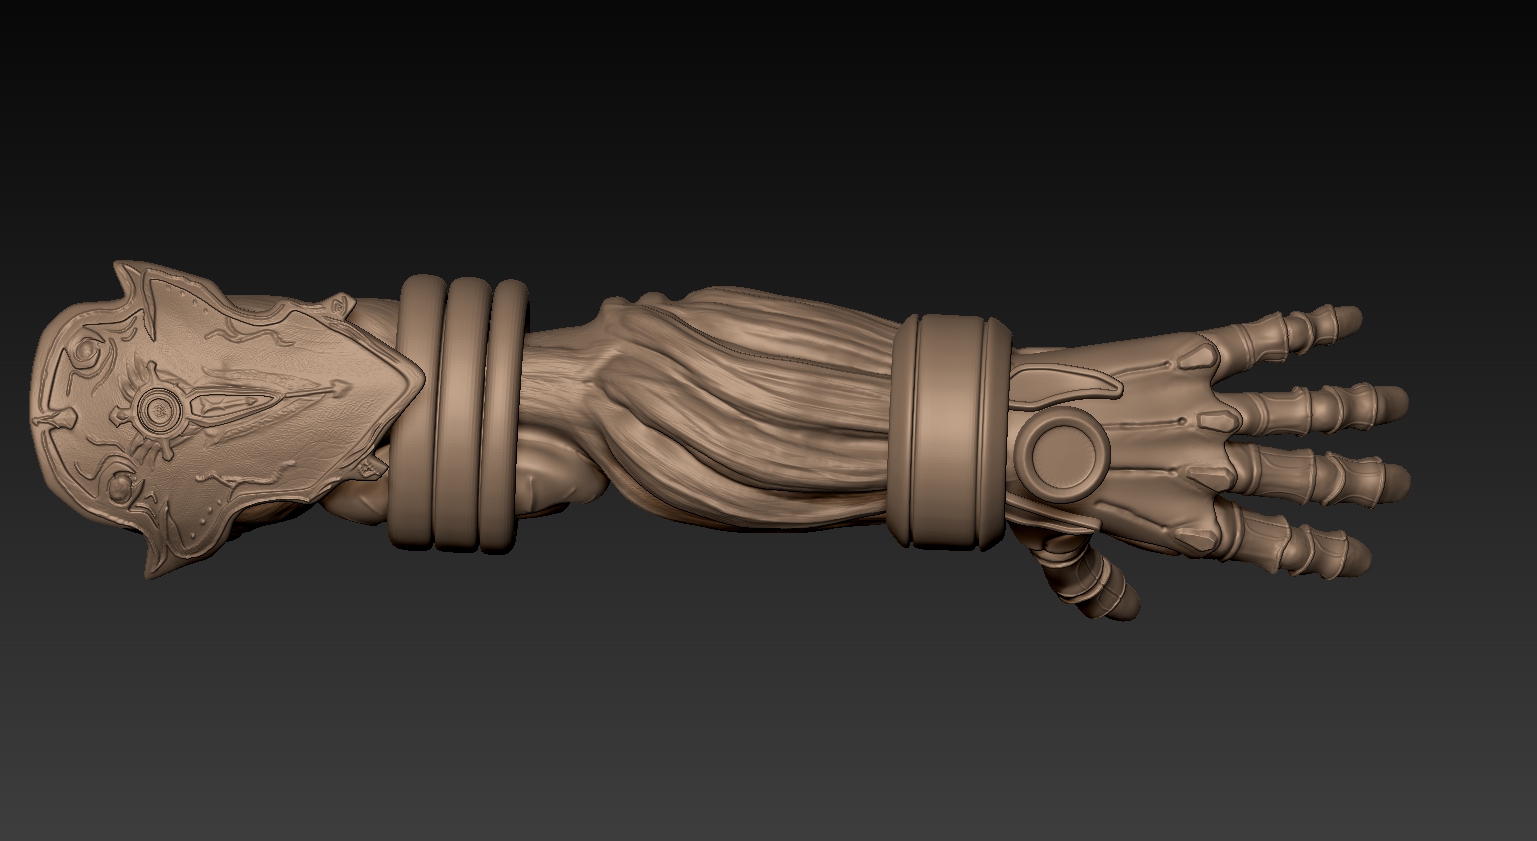
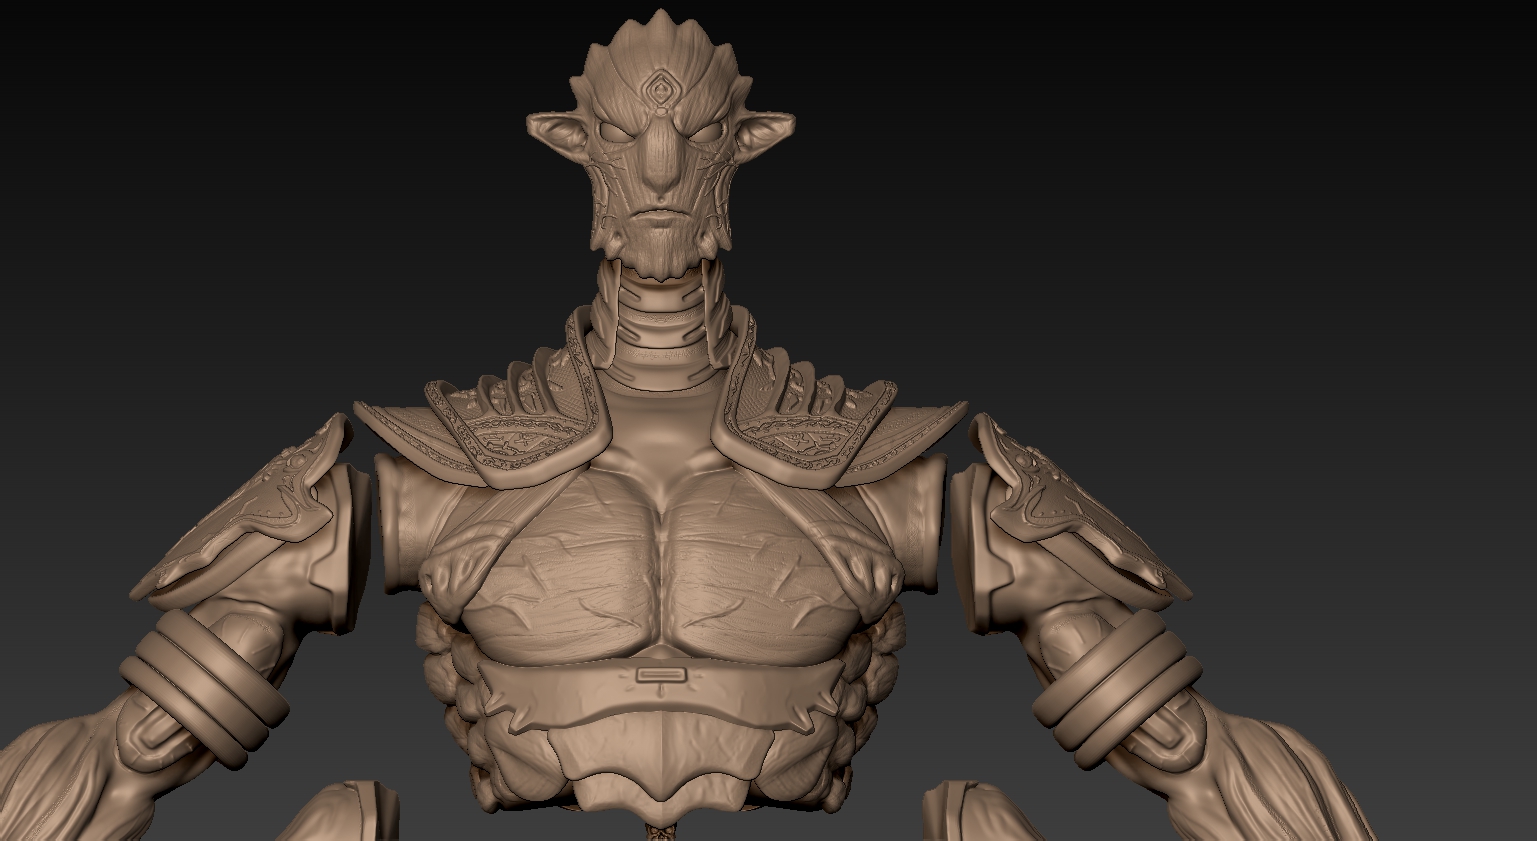
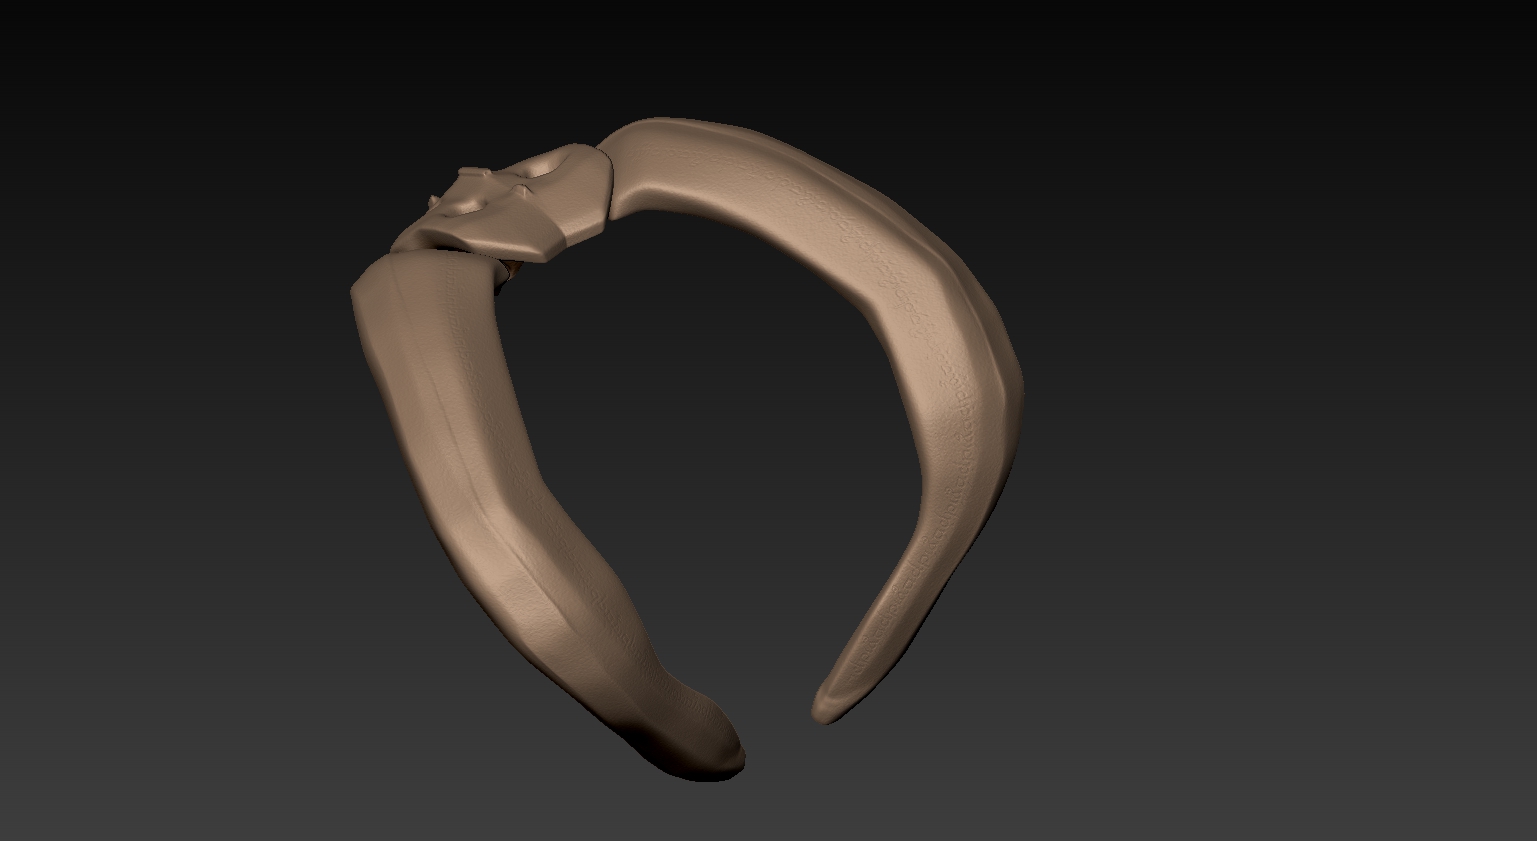
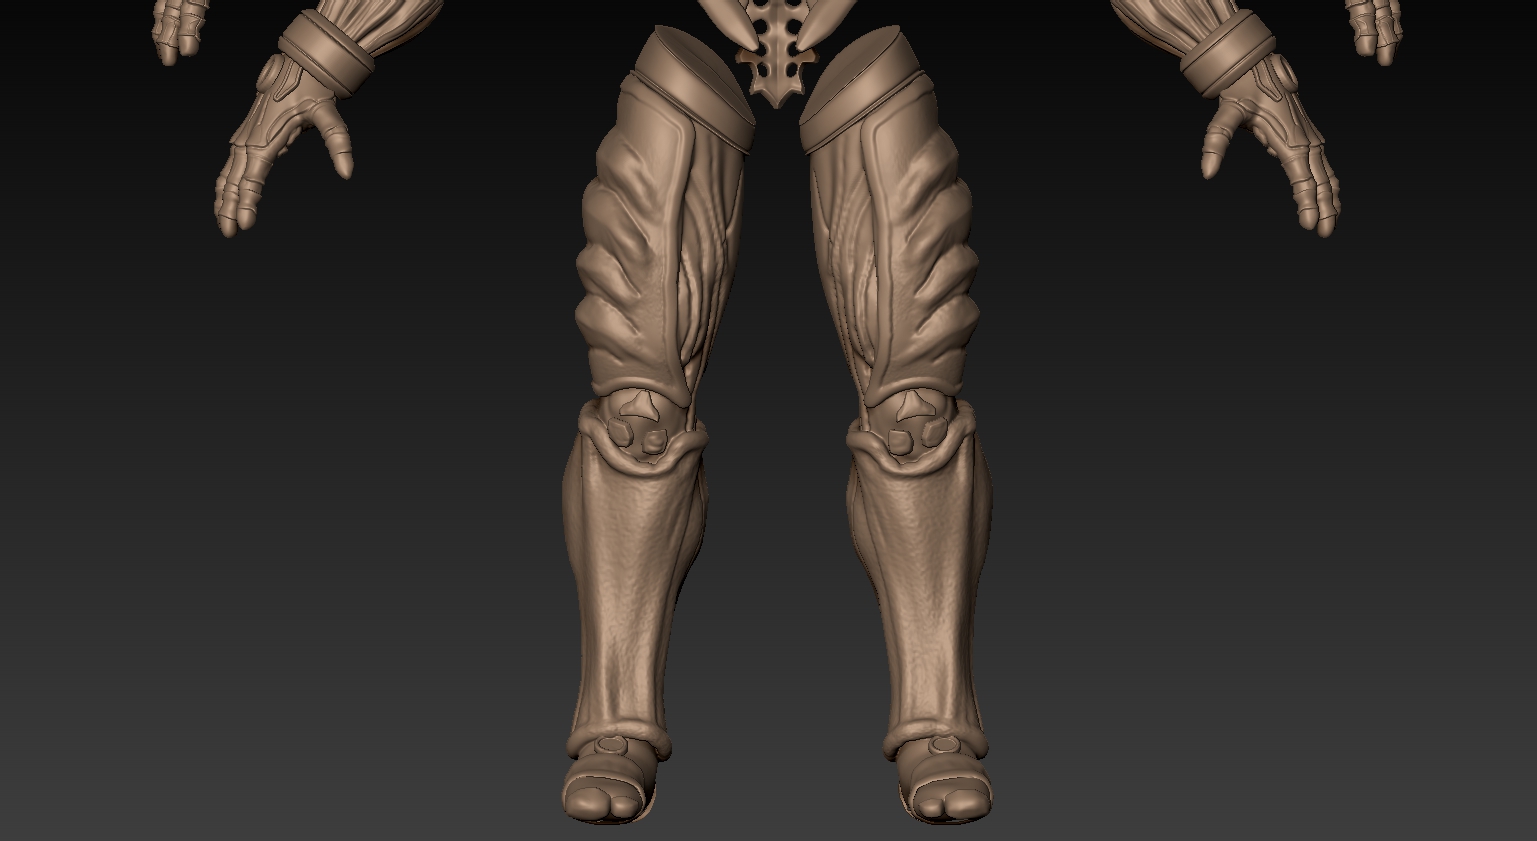
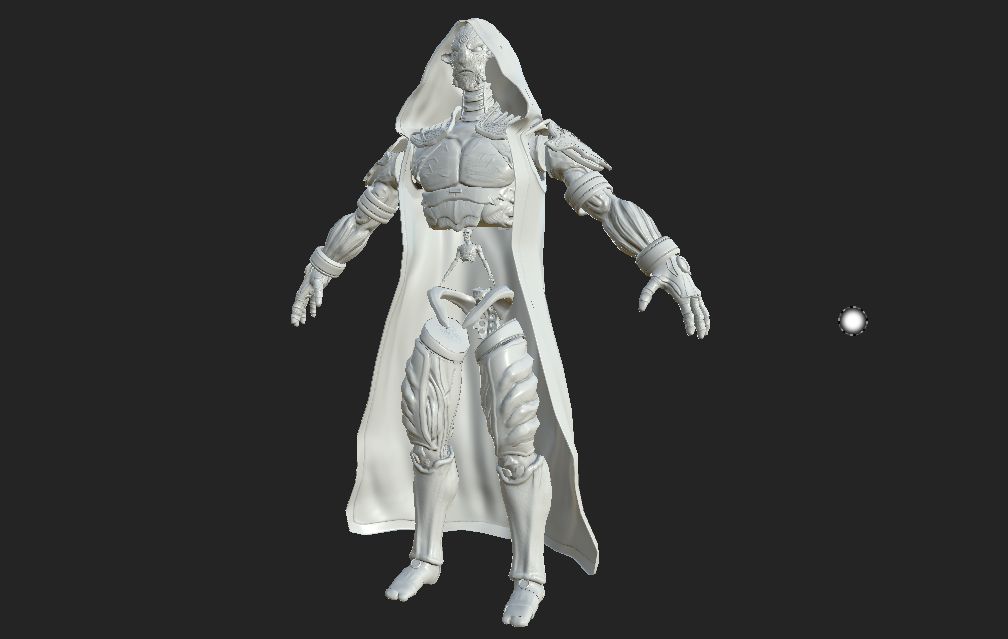
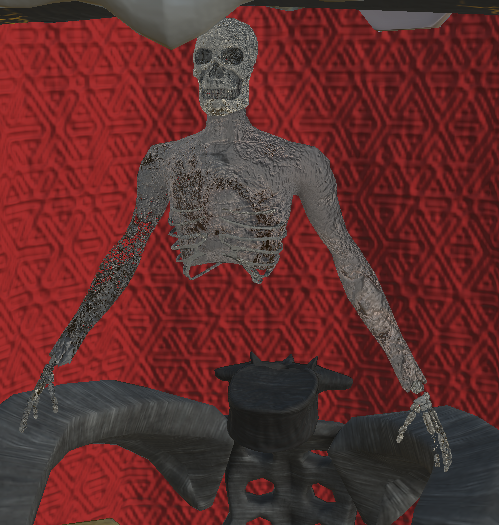
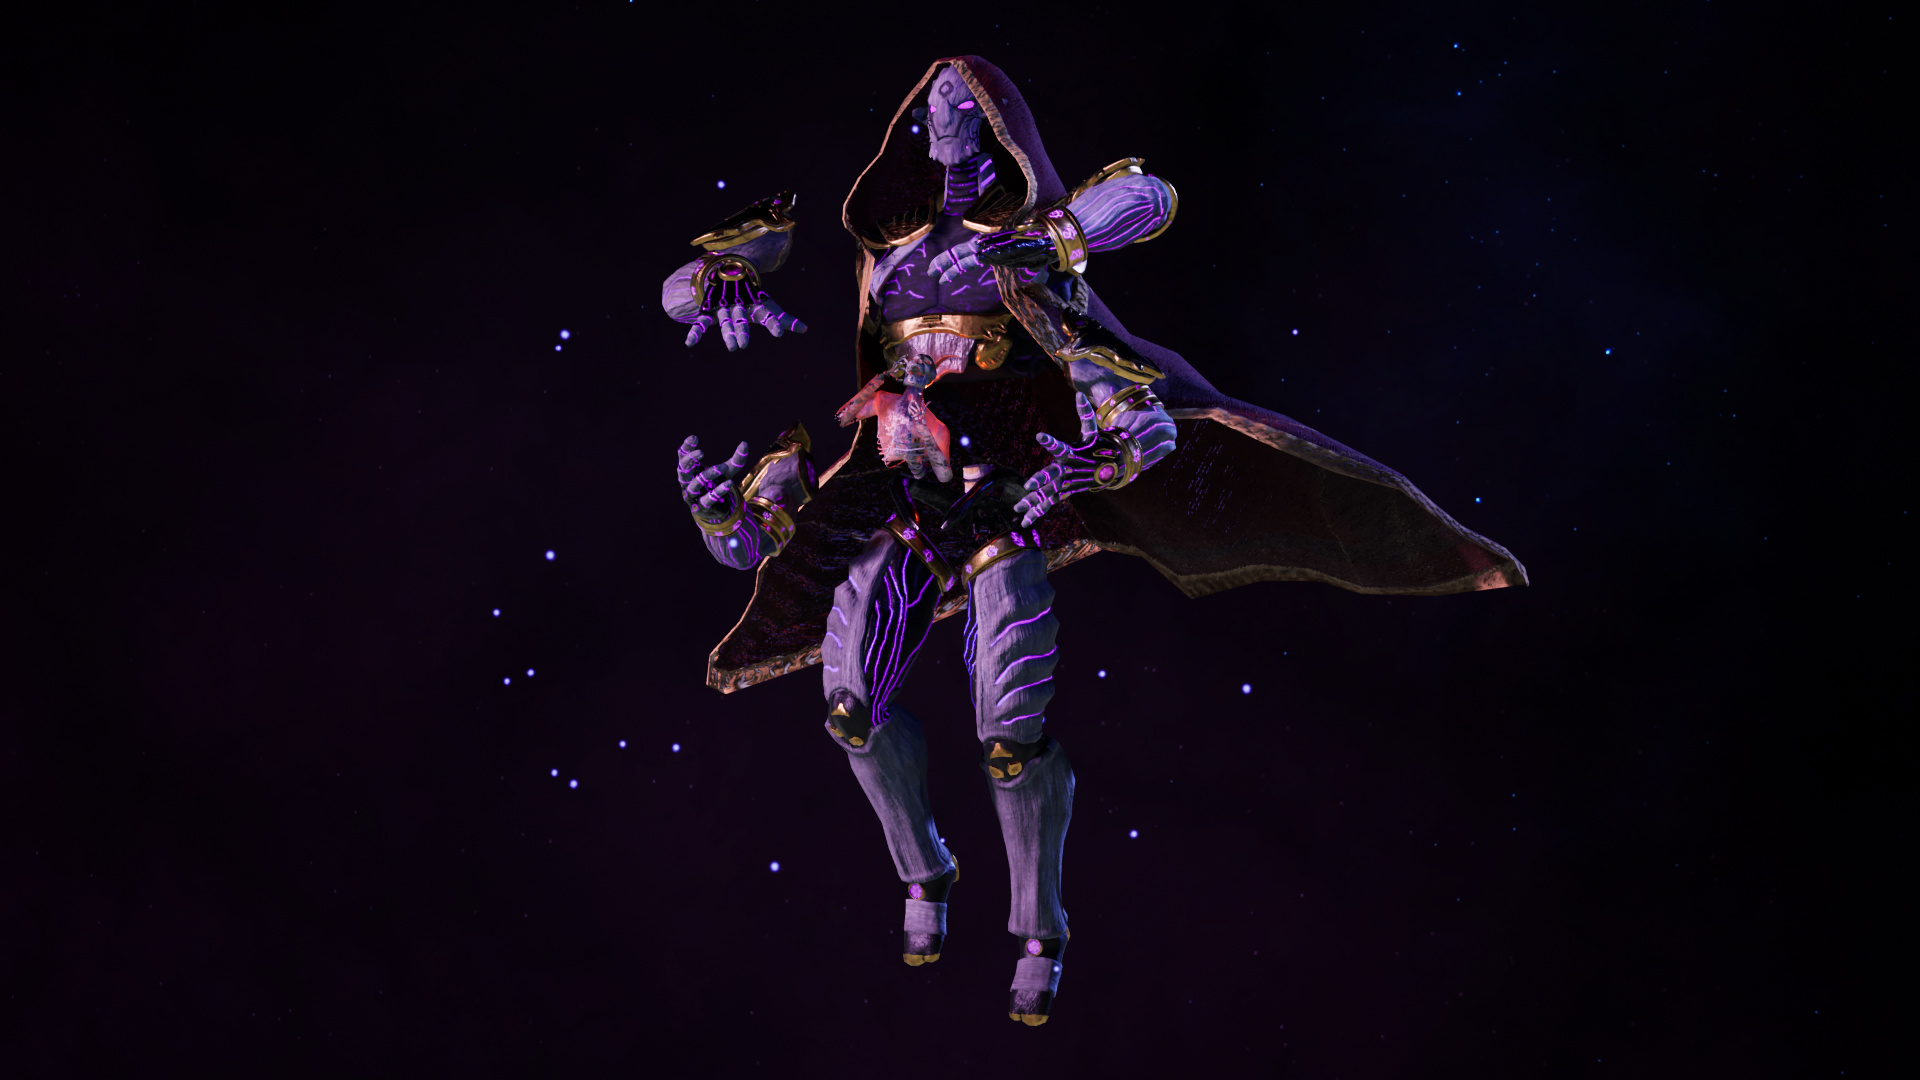
It took me a bit to come up with a concept that felt right, but my idea was to make a warlock who turned his back on nature and assimilated magic infused limbs into his body until they corrupted and completely consumed him. As such my warlock is more a mass of limbs then a full body. Depending on my polycount and how much time I have left, I may either make his spirit crying in agony in his stomach cavity to show the torture his magic has brought on him or just make a cool magic sword.
I’ve gone through quite a few posts and i can only hope you will find my submission as cool and hopefully as intimidating as I’ve found most of yours. Wish me luck
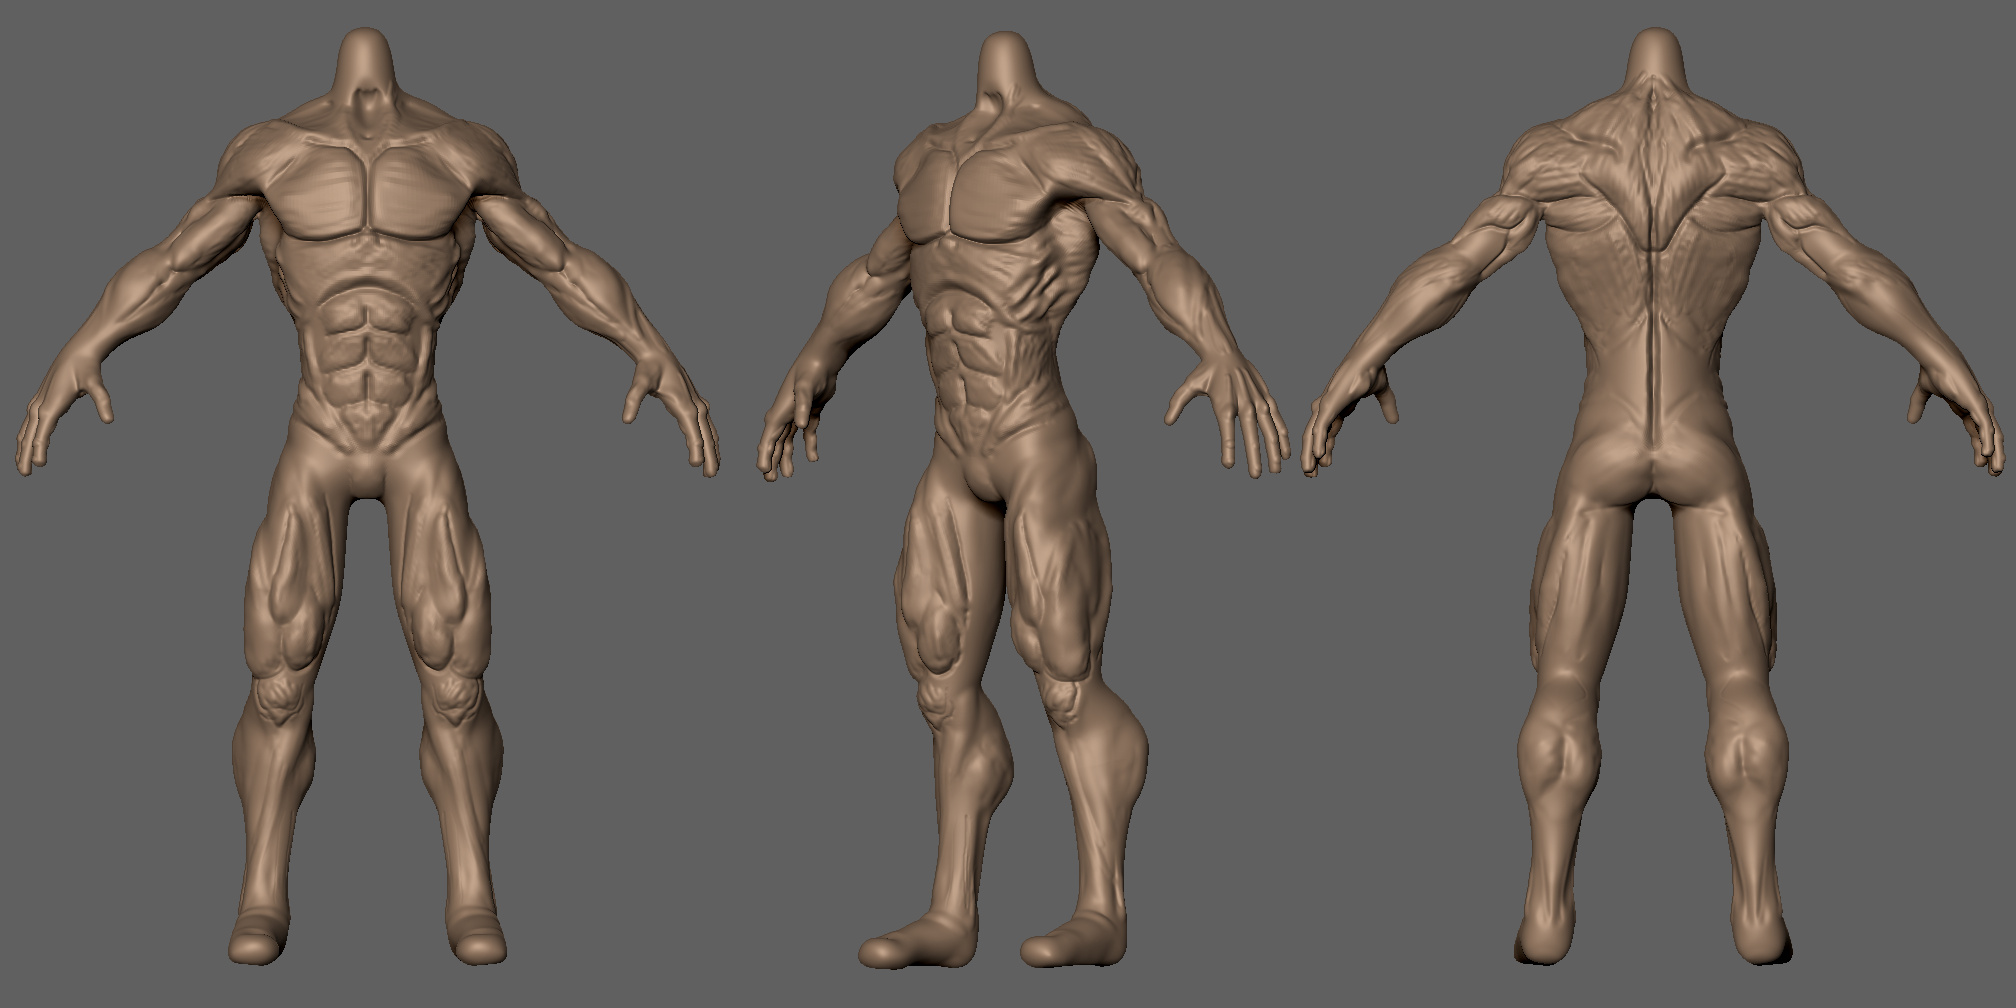
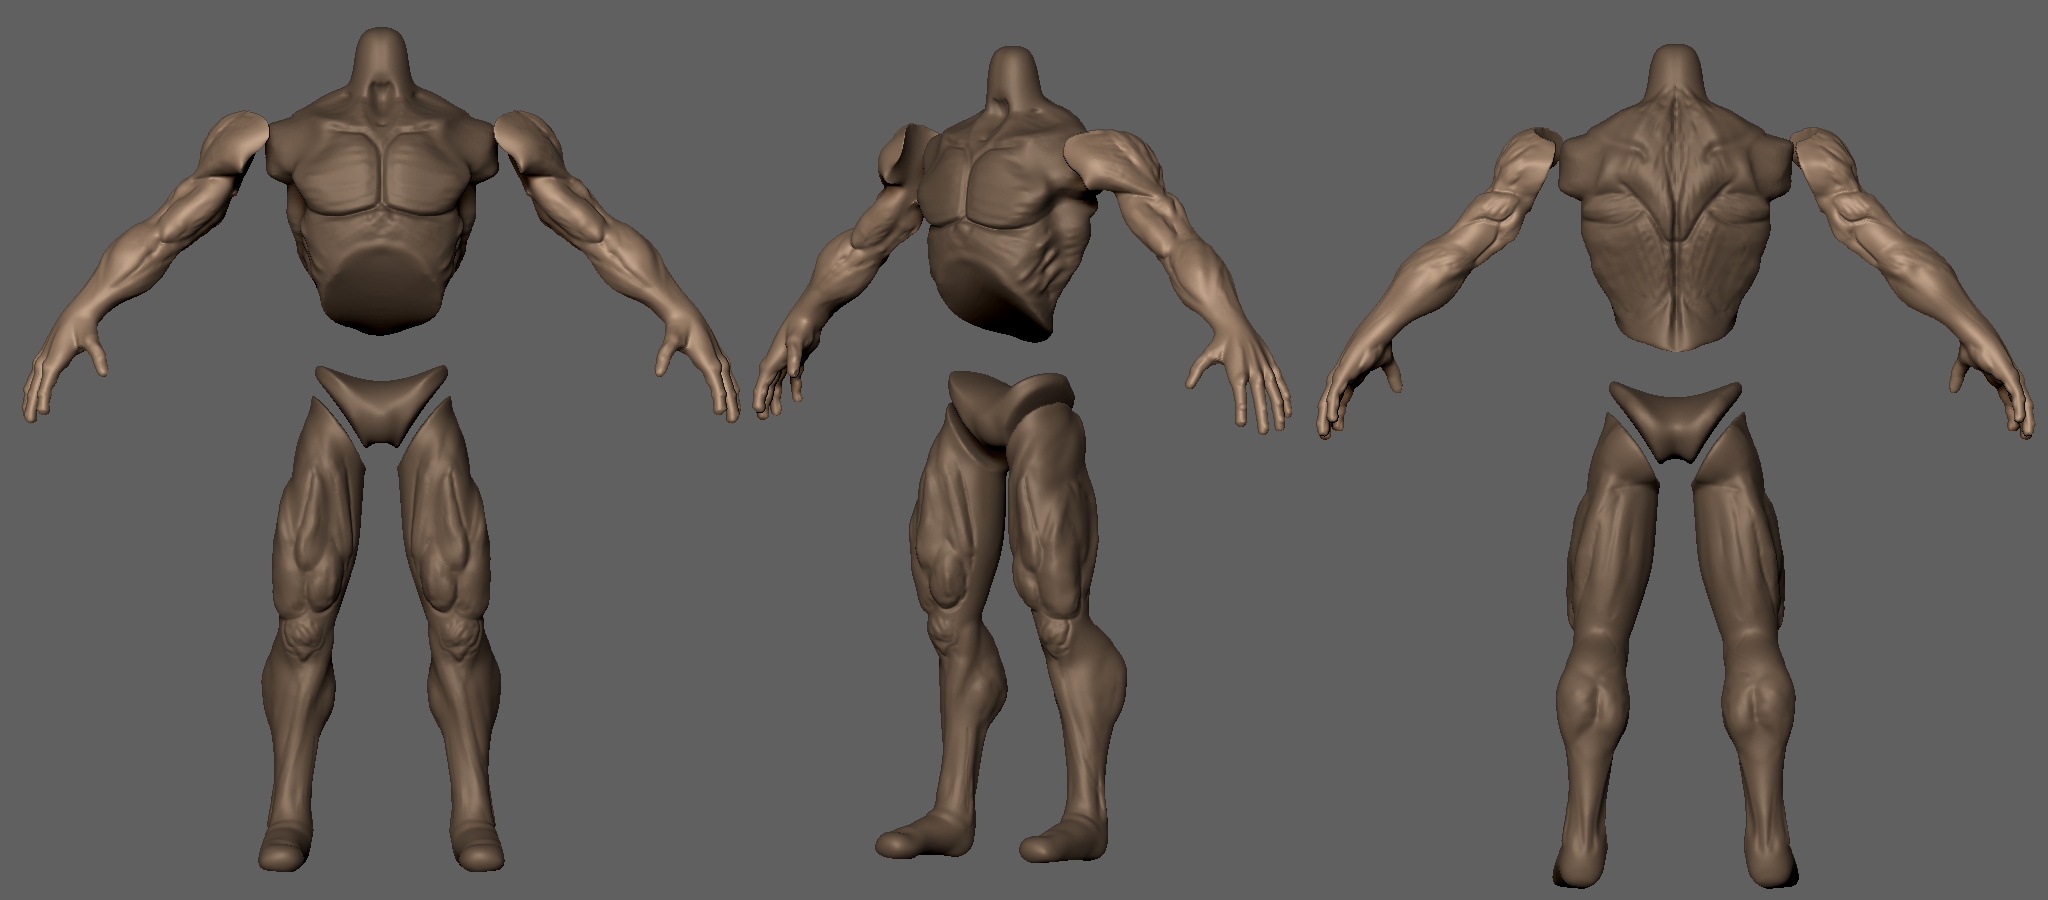
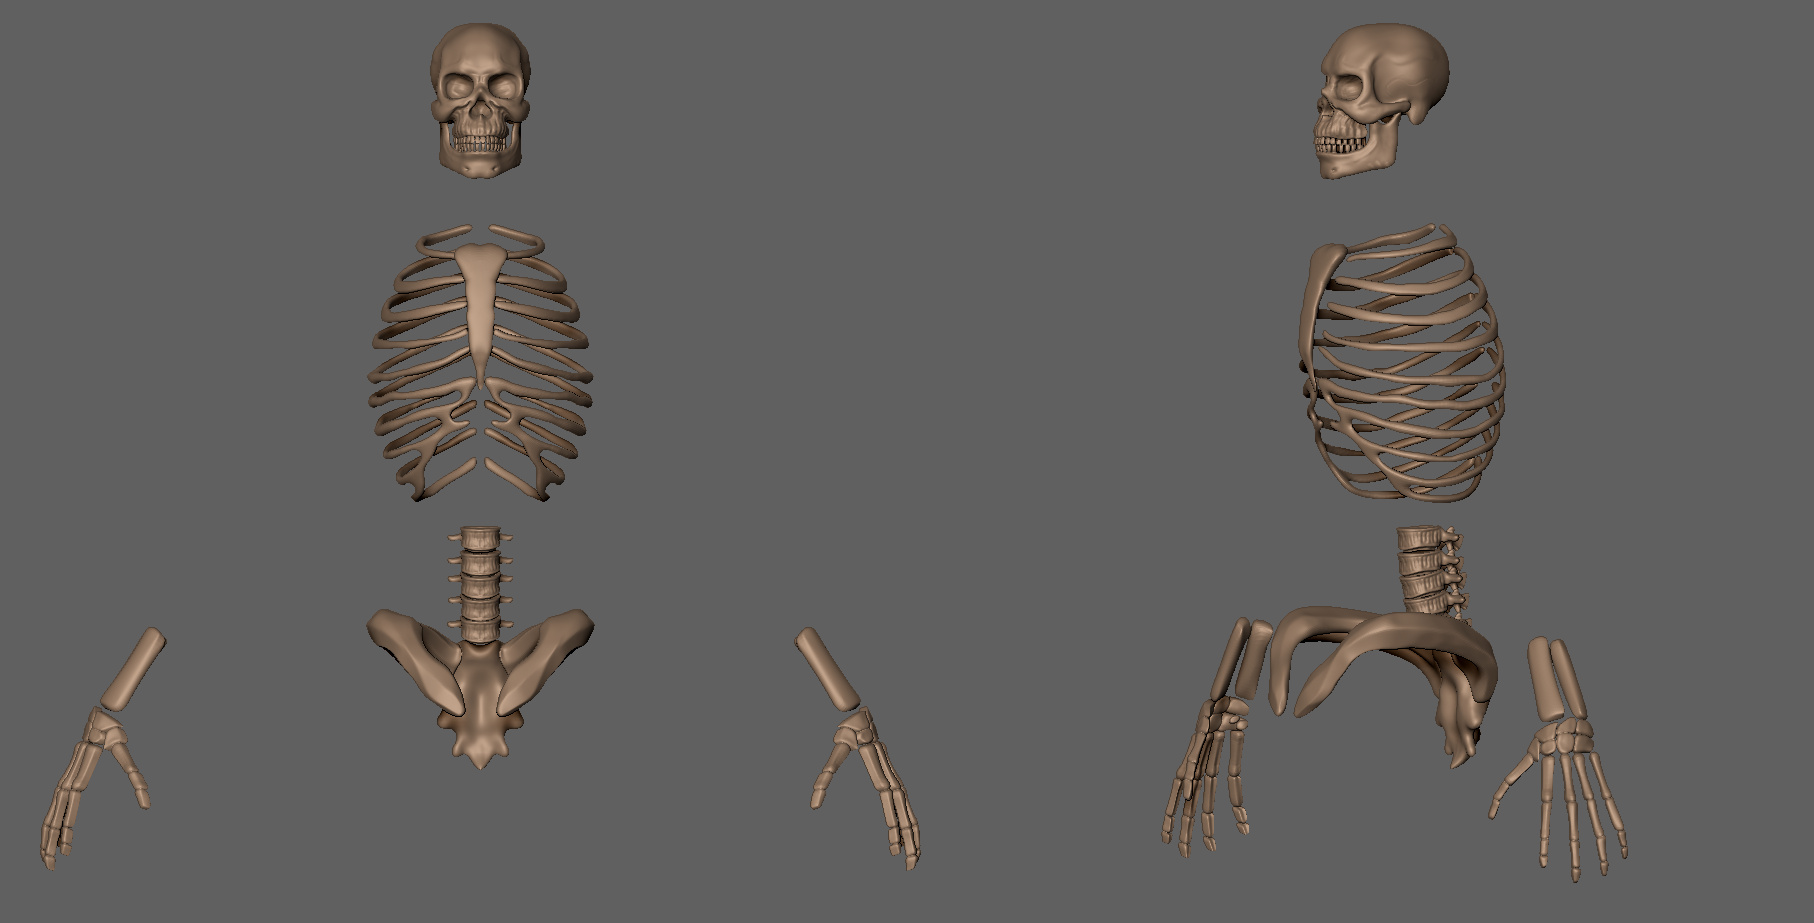
I feel I should call this the rough draft of my submission, I’m going to get started on retopology and will refine the shapes and detail as I go as a way of saving time
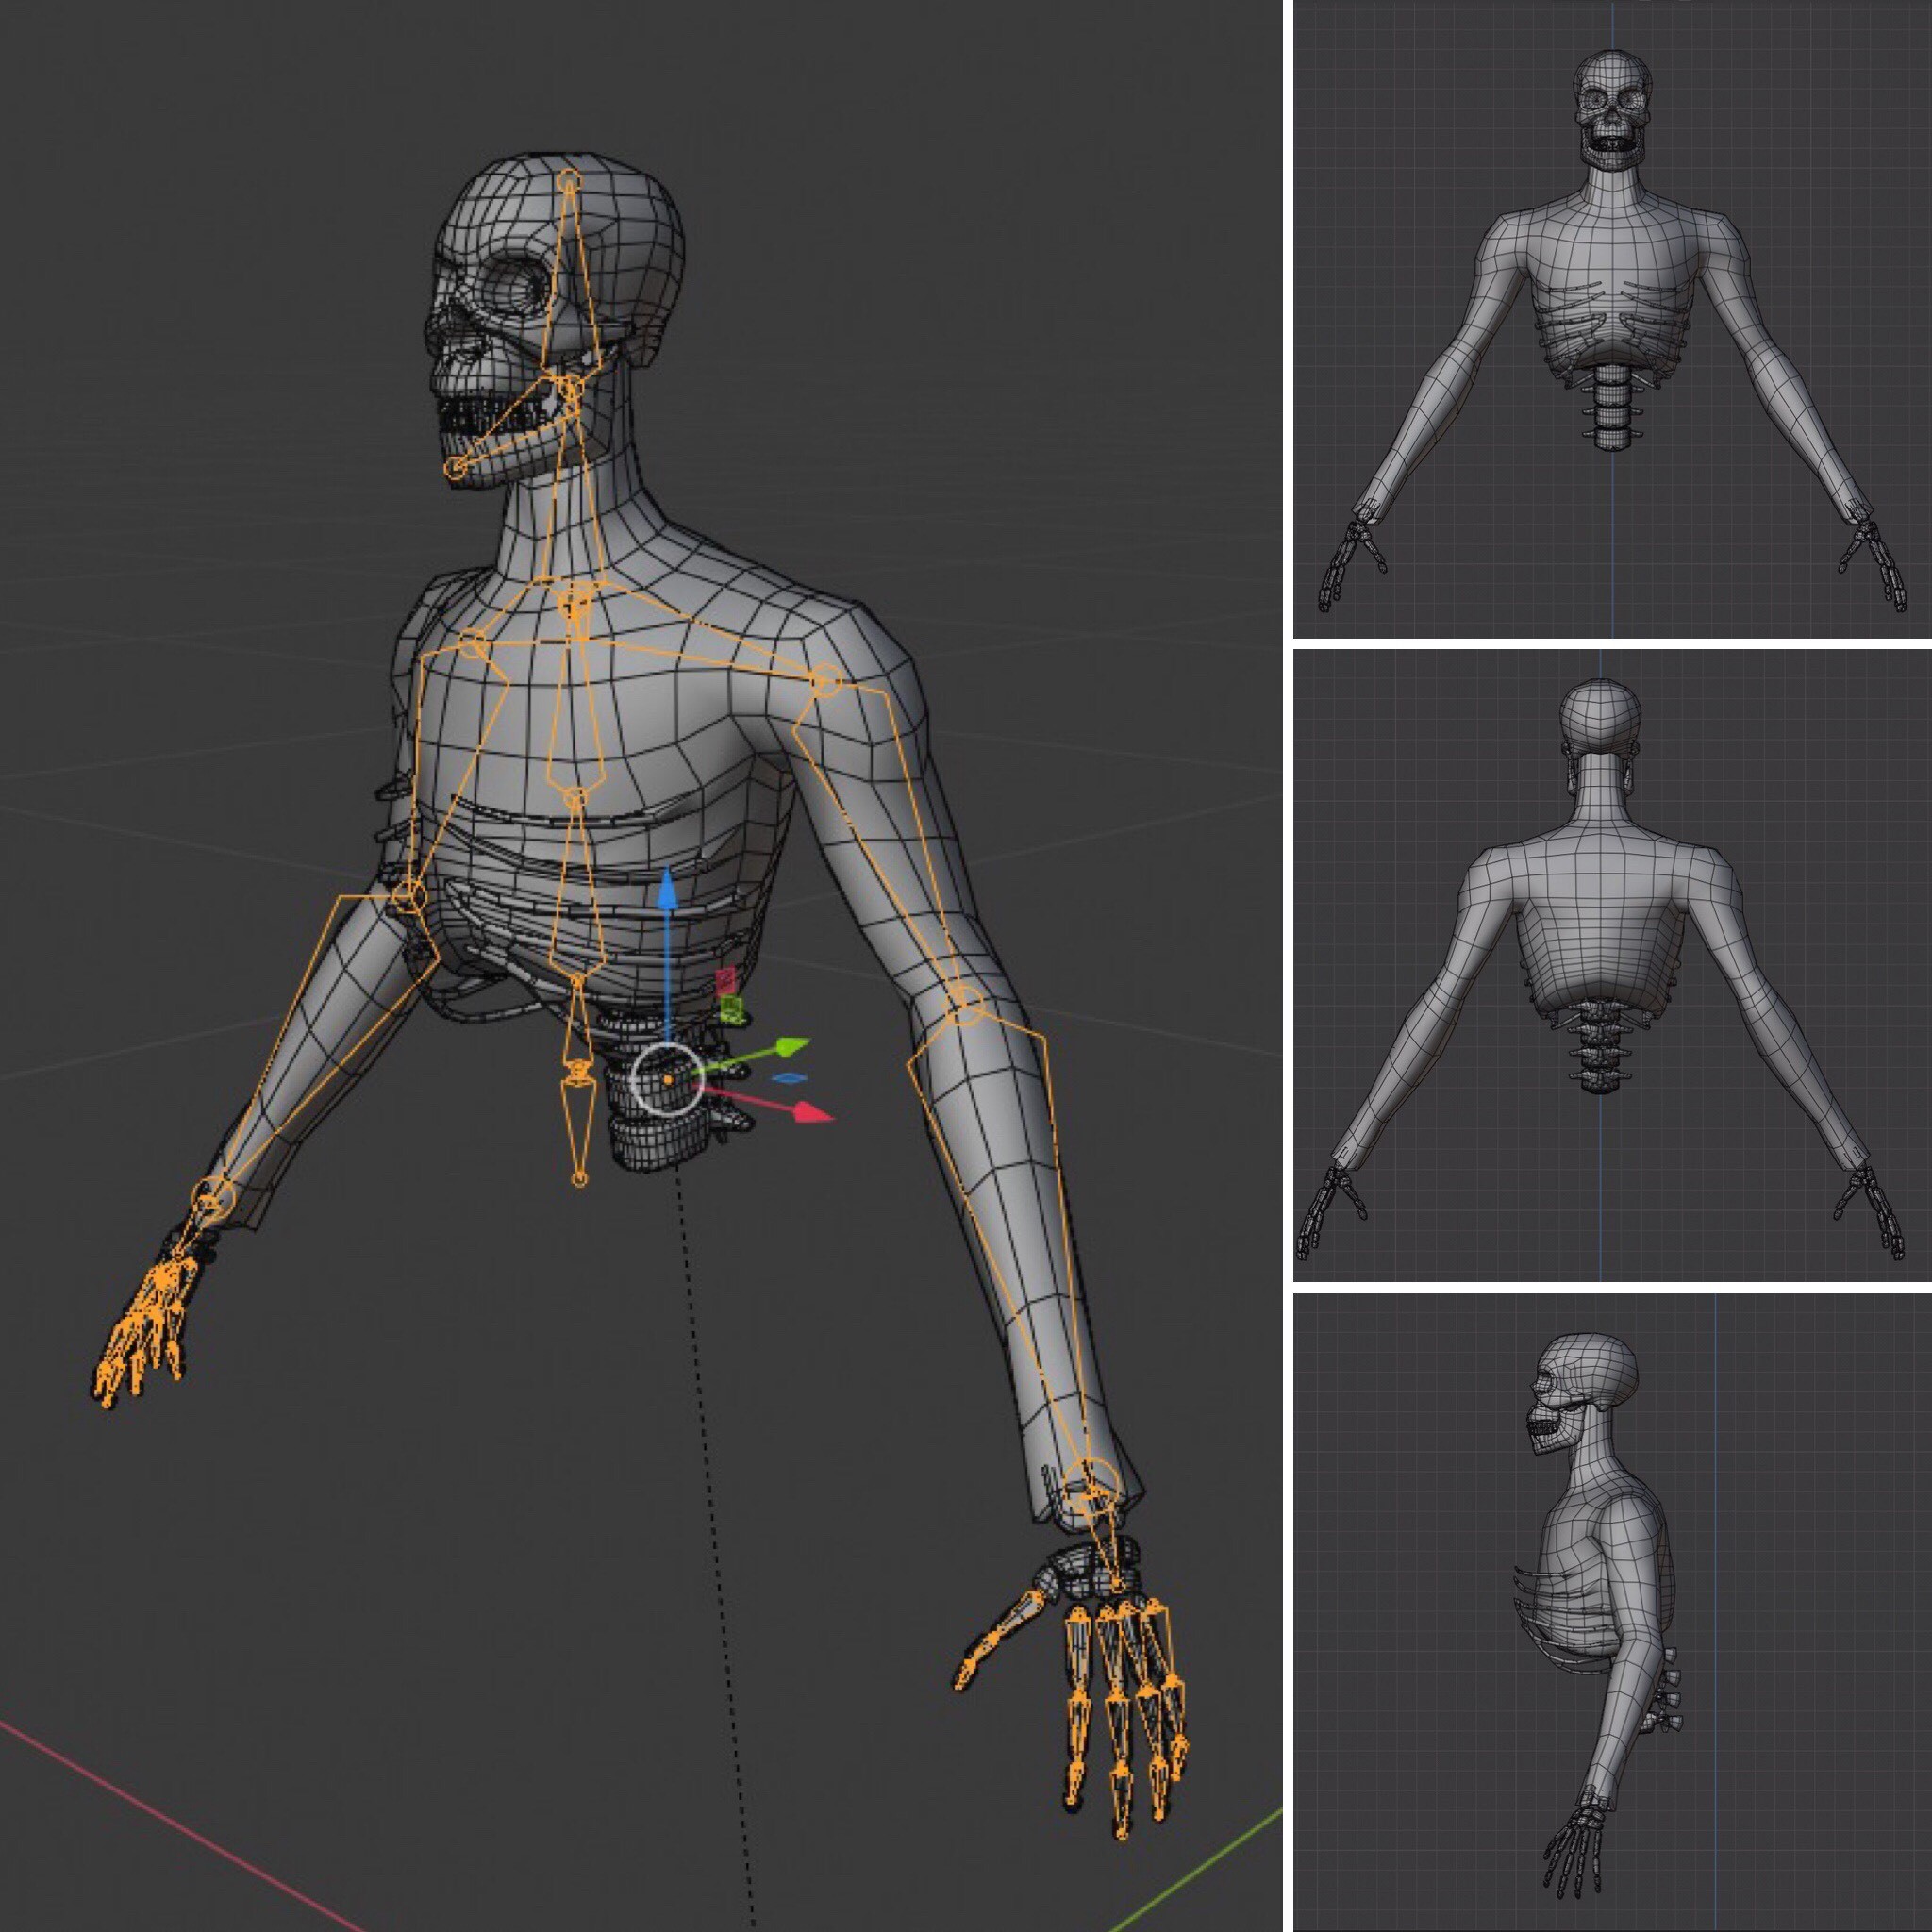
Spent the last two days working on my retopology but I’m glad to say I can move on from this stage. My submission has a 56K tris count, due to the soul and extra pieces all of which have been rigged and weight painted to help with my final posing.
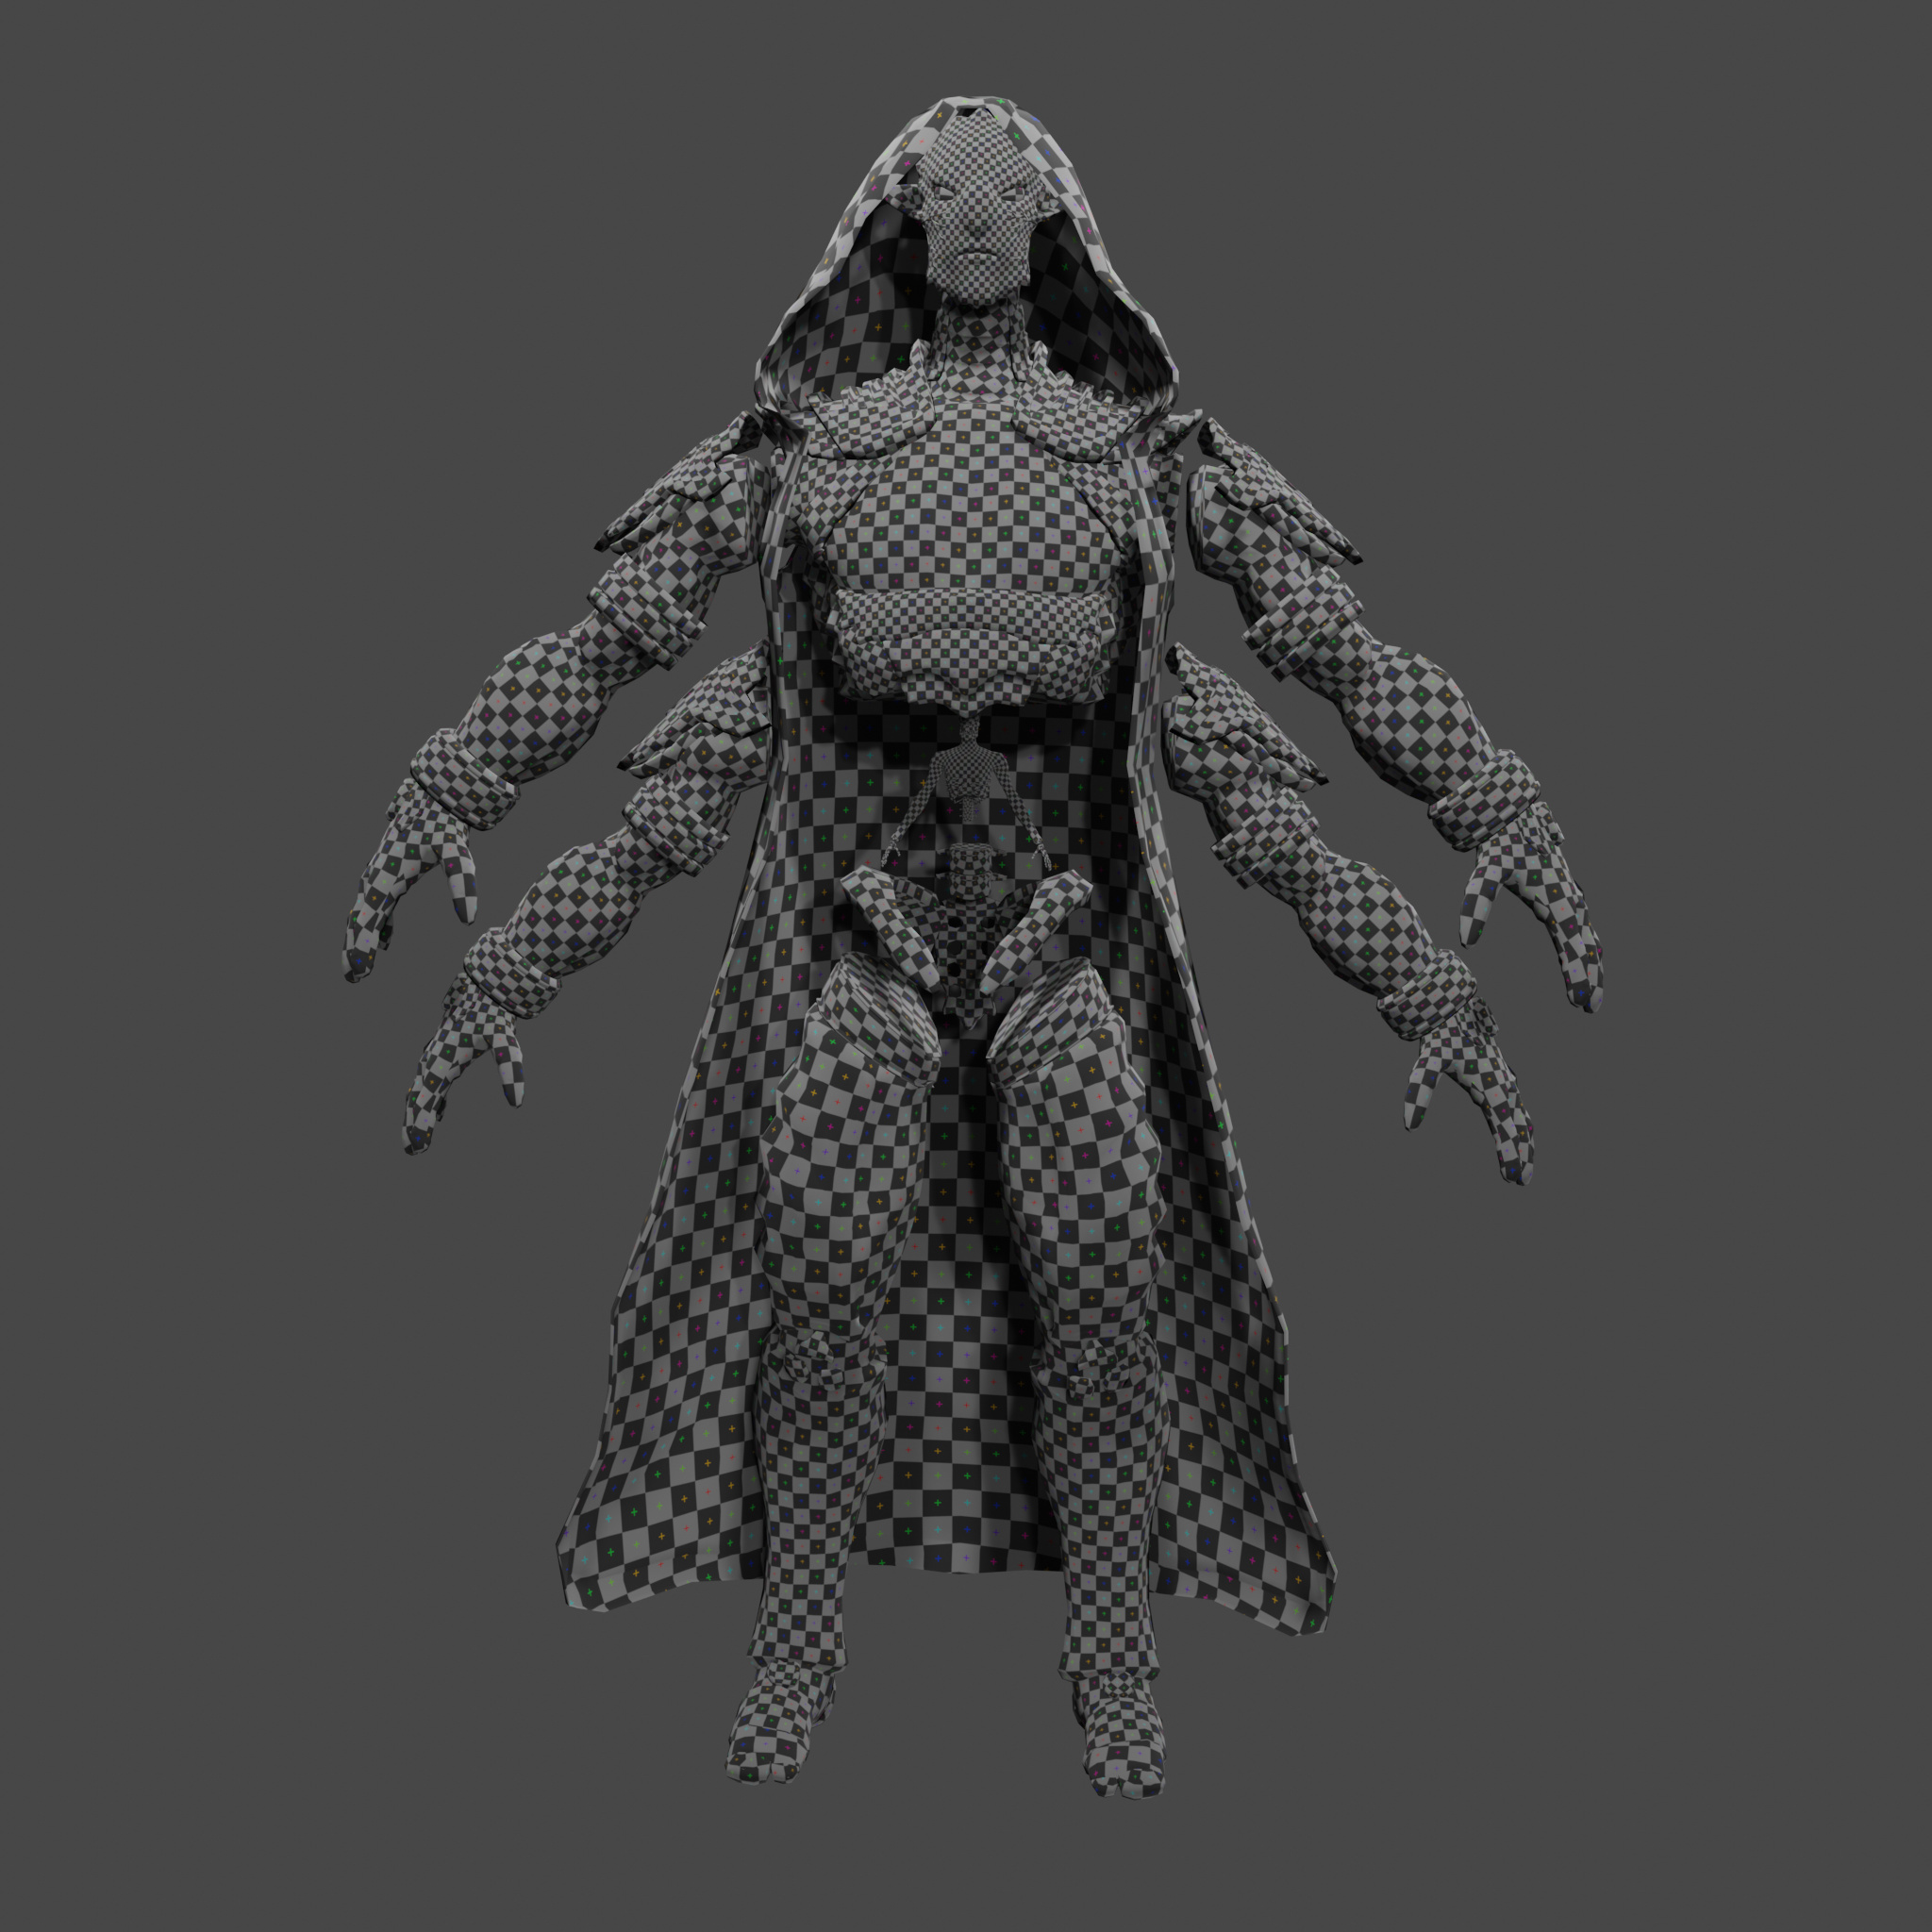
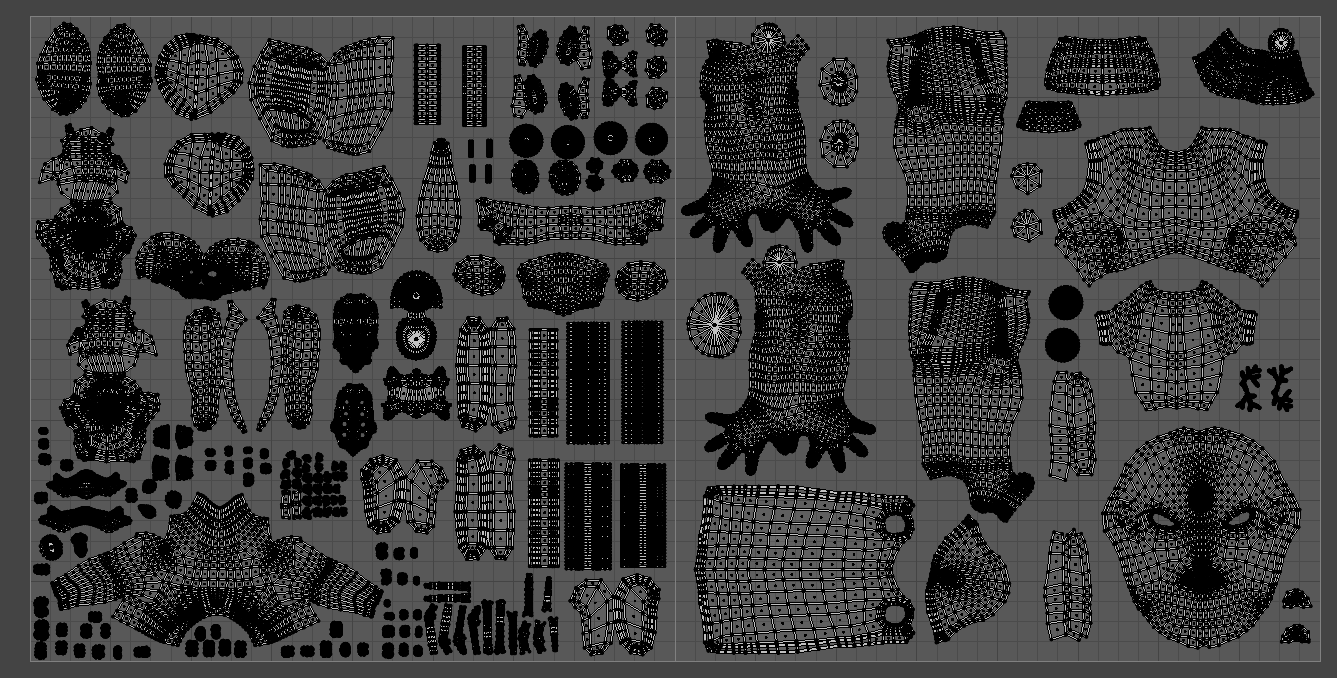
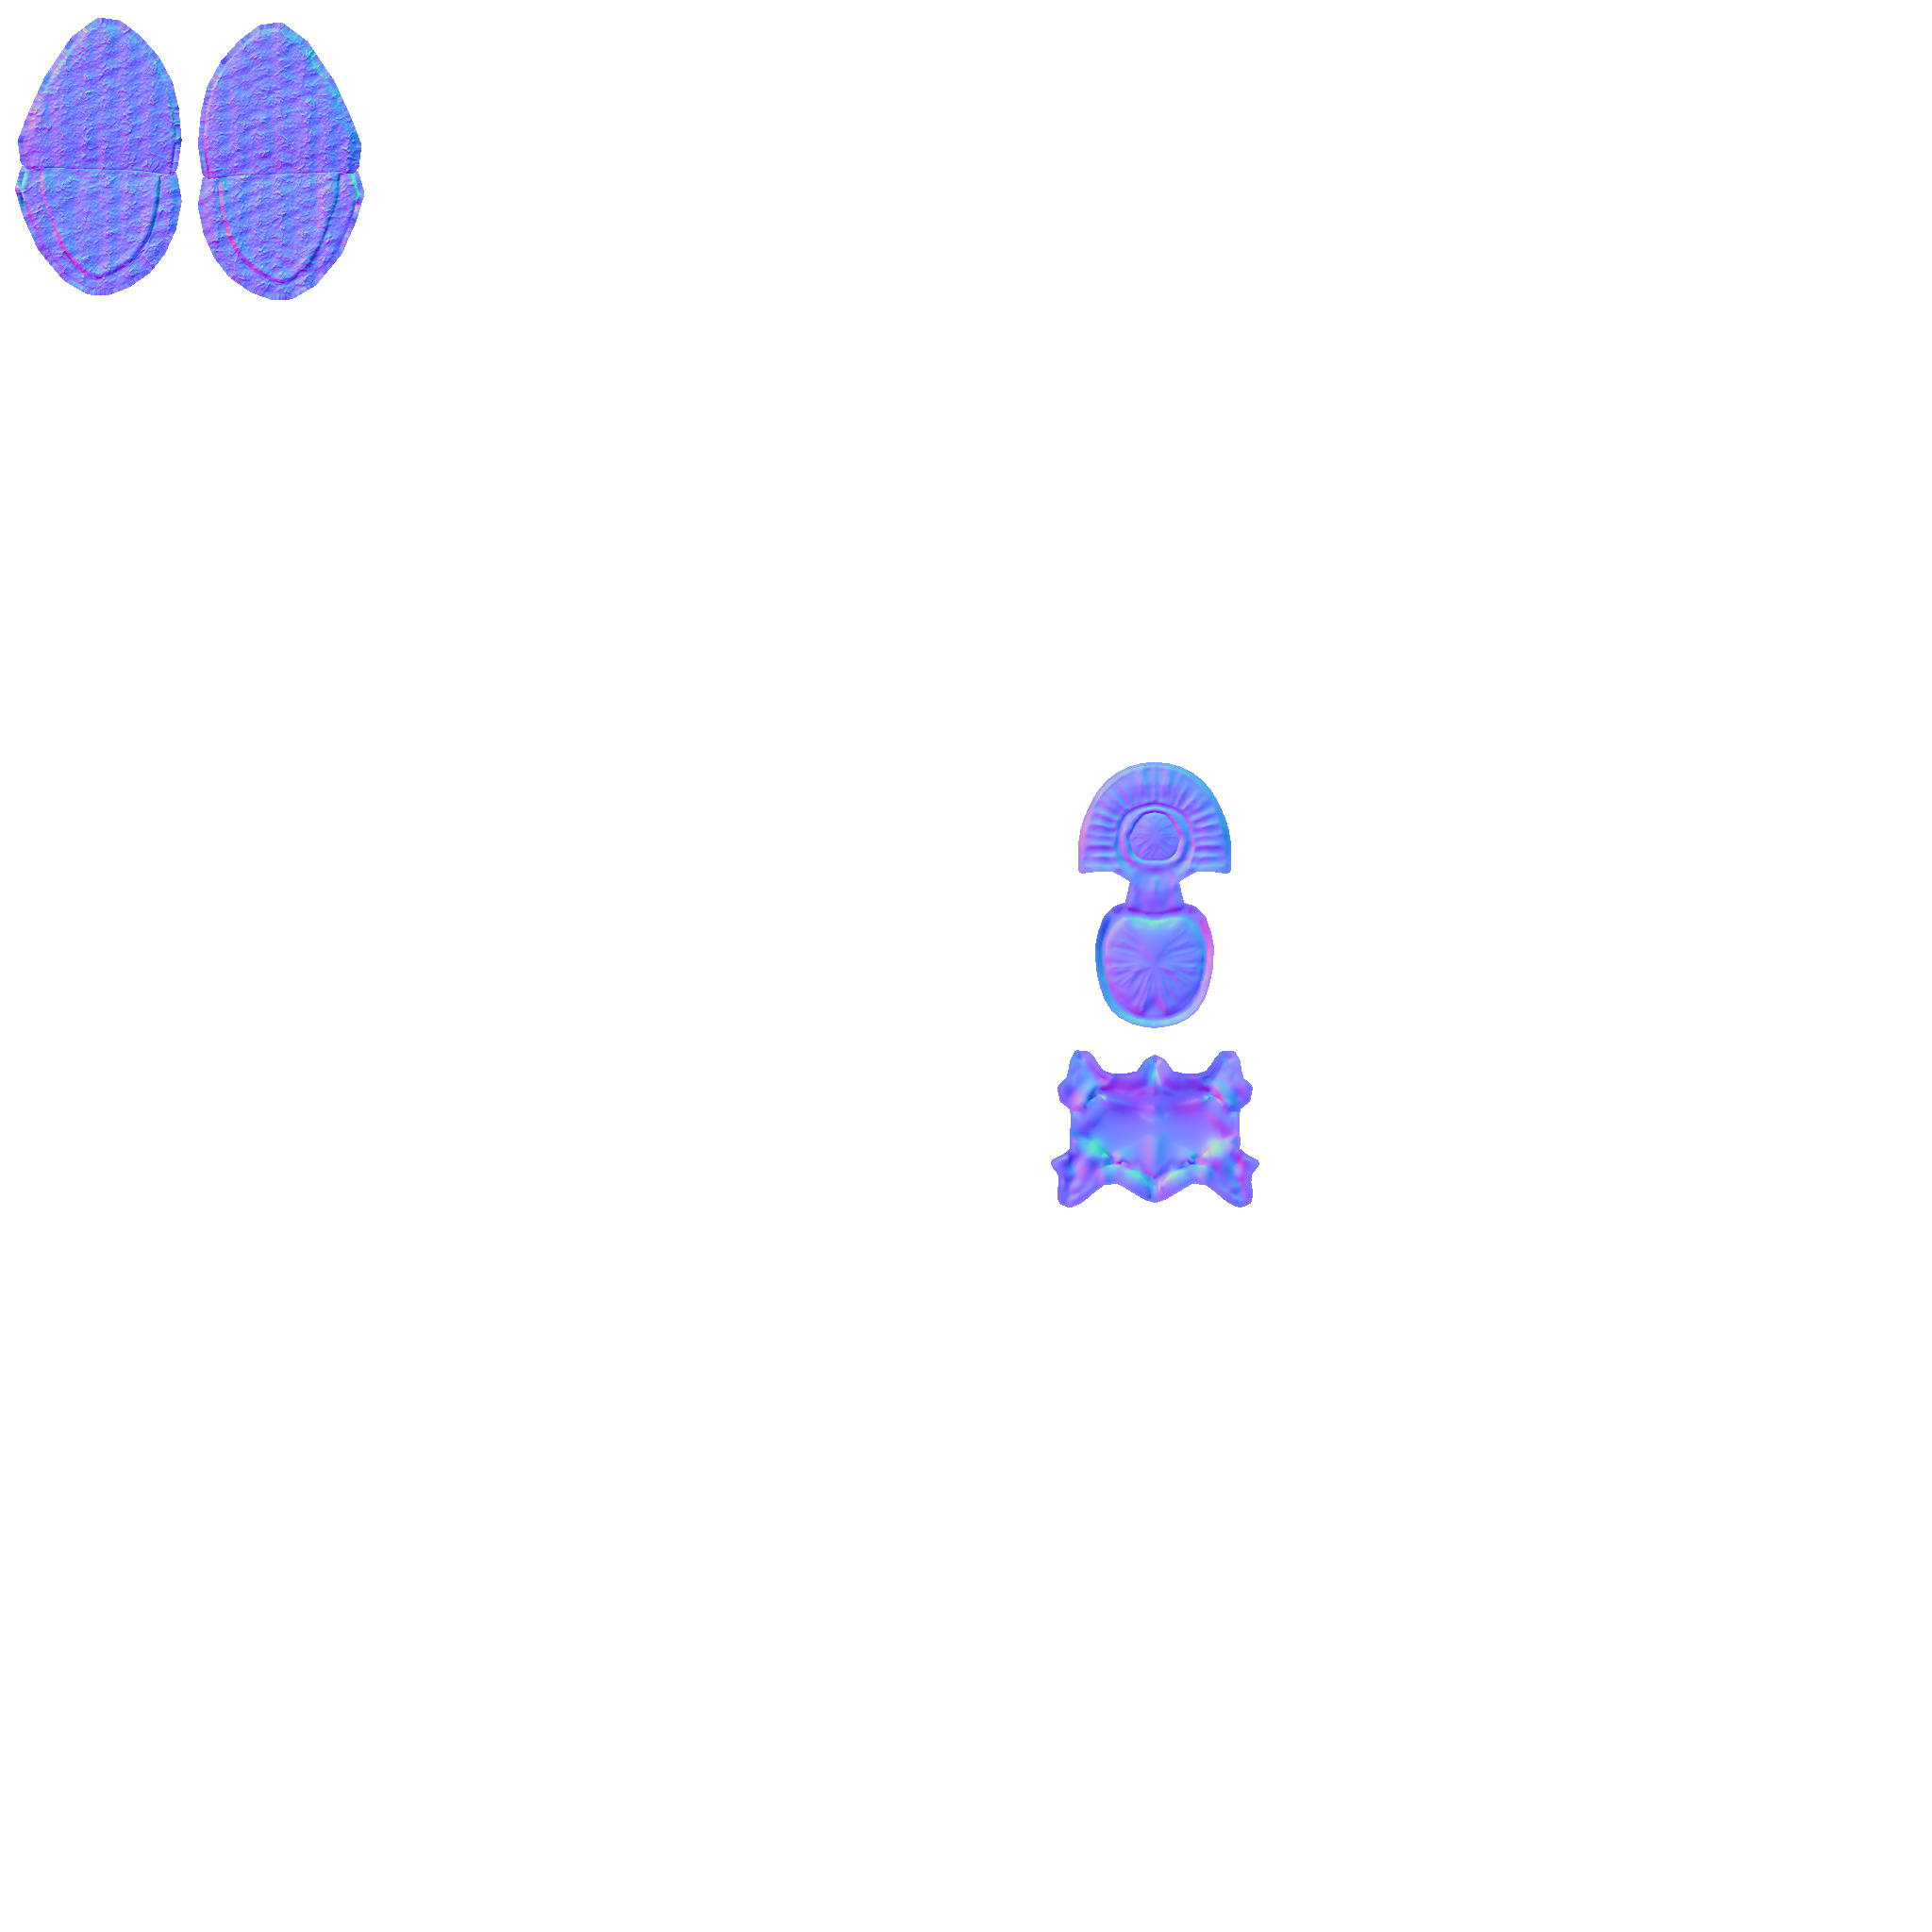
I wasn’t entirely sure how to pack so many objects into two UV tiles, so my approach was to use a UV Grid Map to help guide my layout paying attention to efficient placement for “human texturing” with as minimal stretching as I could get away with. As such, if anyone has any suggestions or input on how I could improve my layout it would be very welcome and appreciated
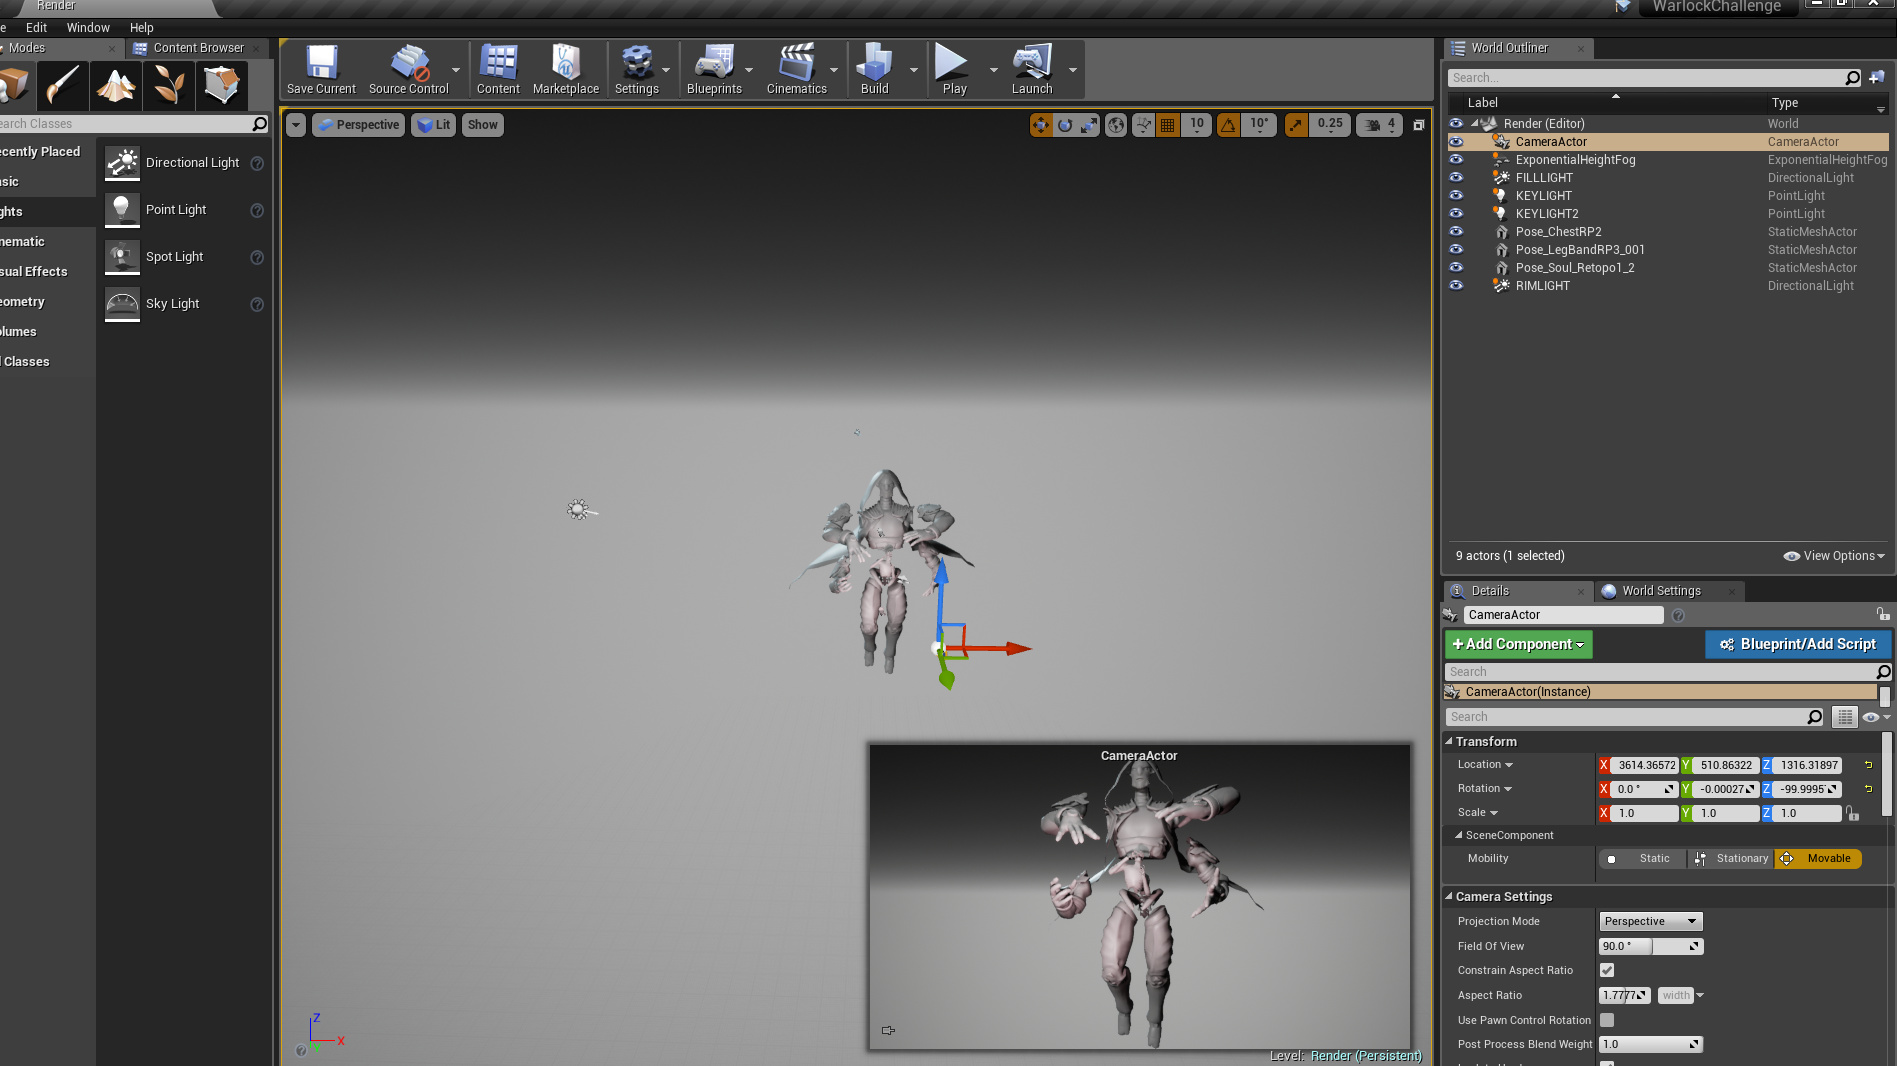
This was a test on how to bake two objects of my model without using UDIMS, export them separately and then combine the two individual texture sets into one
https://www.artstation.com/artwork/DgBDo felt I should share this just in case anyone else had wondered about how to combine multiple texture sets into one and hadn’t stumbled across this yet.