Alright im supposed to make the Moth Man but its wings are simmilar to butterflies so I dont think theyre scary LOL!
ARTHROPOD MAN!
Alright im supposed to make the Moth Man but its wings are simmilar to butterflies so I dont think theyre scary LOL!
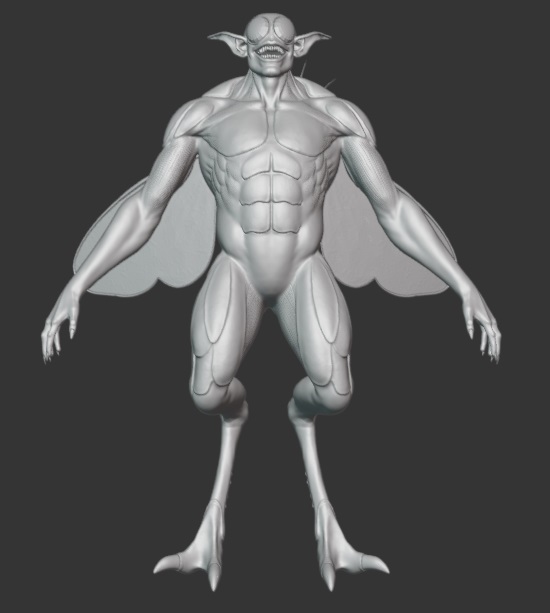
I then decided to make Arthropod Man which is half man half arthropod.
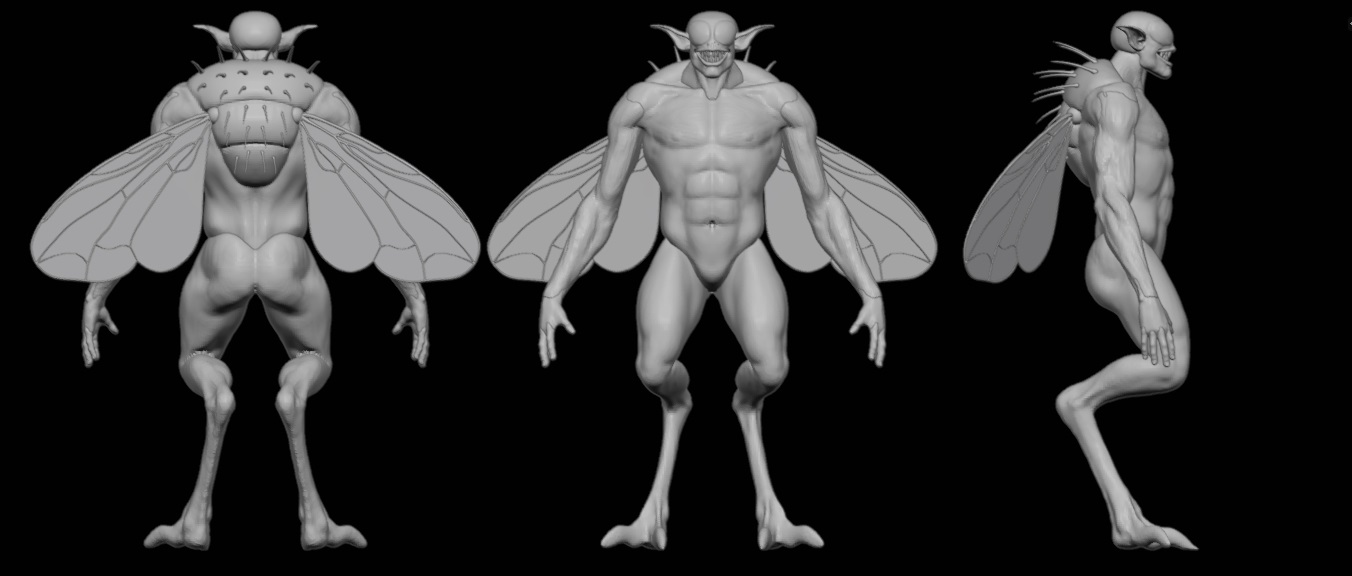
Blocking The Body!
I did the blocking closest to what I have imaginedin my head.

This was then changed after I finished blocking the wings and the hair at the back. I realized that it looks like its just a man wearing a costume. So I then change the structure of the leg.

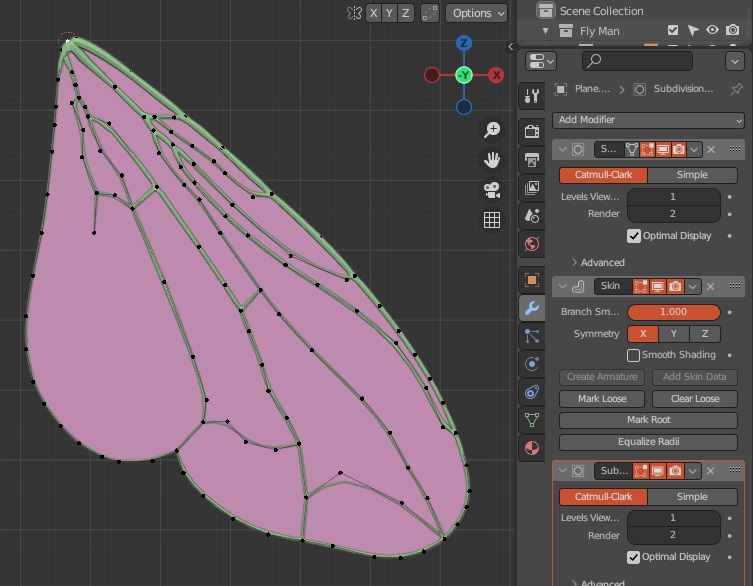
Blockig The Wings
for the wings I used the anotate tool as a guide for the vein like structure of fly wings.

I then extracted the edges and extruded it following the guide, afterwards I then used the skin modifier to create some volume.
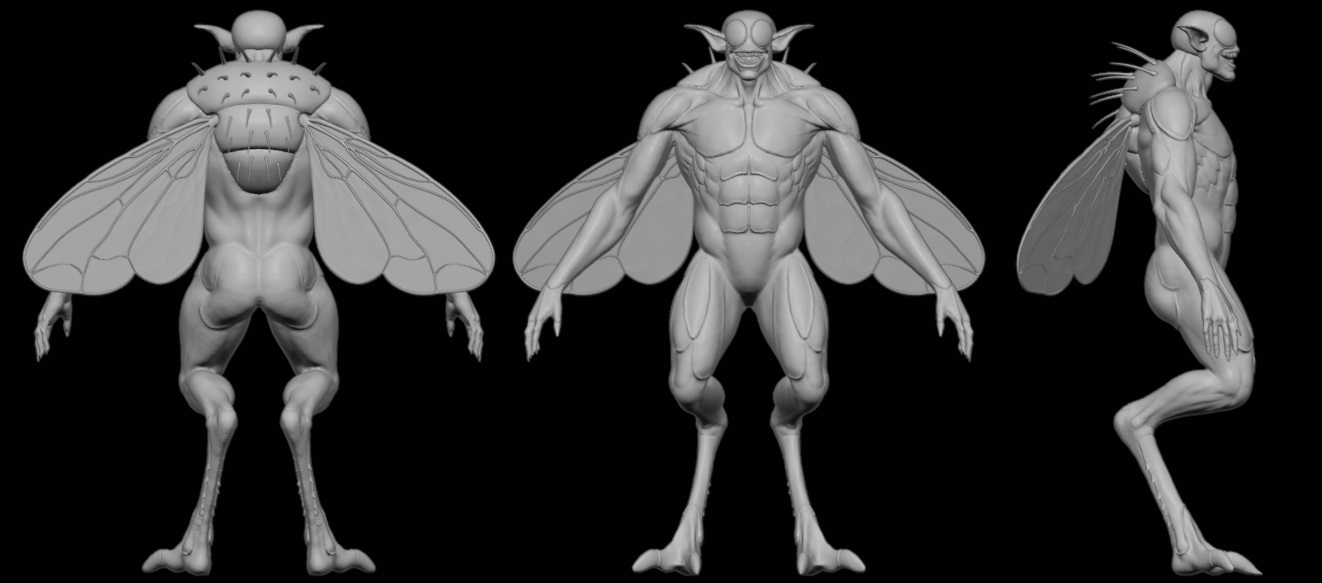
Secondary Details
I remeshed the model and started doing the secondary details
Retopology
After doing the secondary details I started retopologizing for multi resolution sculpting later and also becuase I started to feel the lag ![]() .
.
Heres the result.
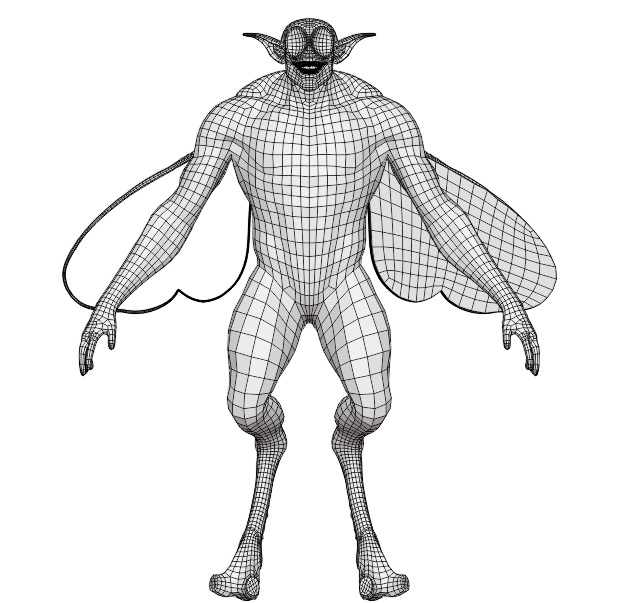
ill be mirroring the missing parts later so that Ill only use 1 UV for each parts.
UV’s
I fixed the stretching for the face region and the torso and also layed it out everything under 6 UDIMs.

MultiRes Sculpting
Since I only have a potato PC I only achieved 5 subdivisions which is around 40M tris on the main body.
The only thing I can add are the obvious creases like muscle fibers, big skin wrinkles, and some blobs on the skin.
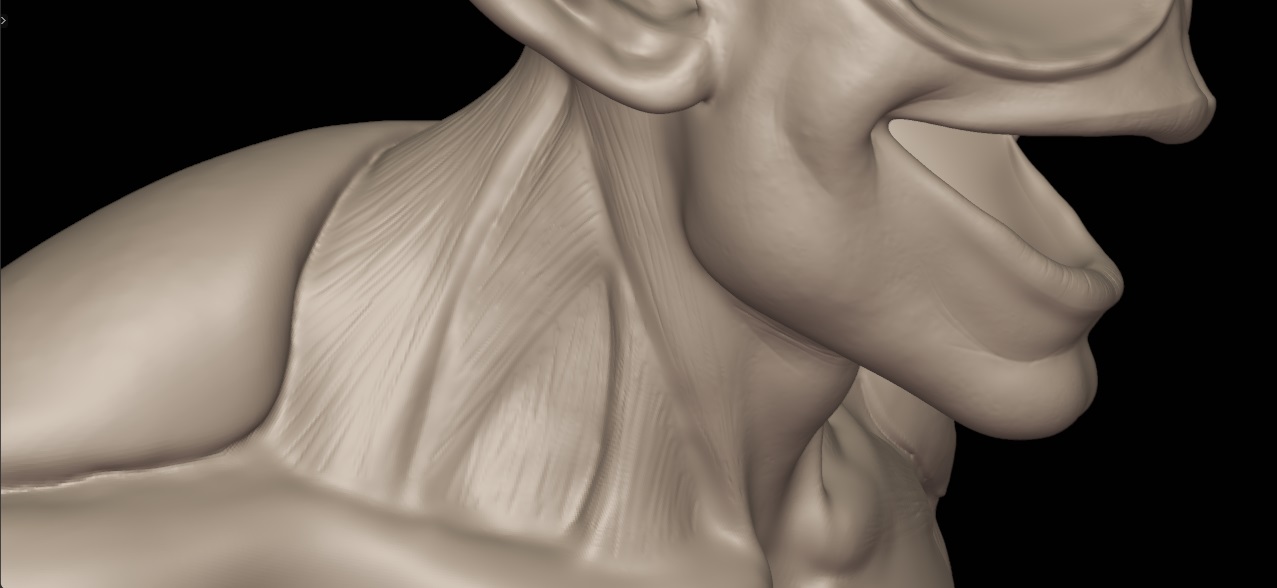
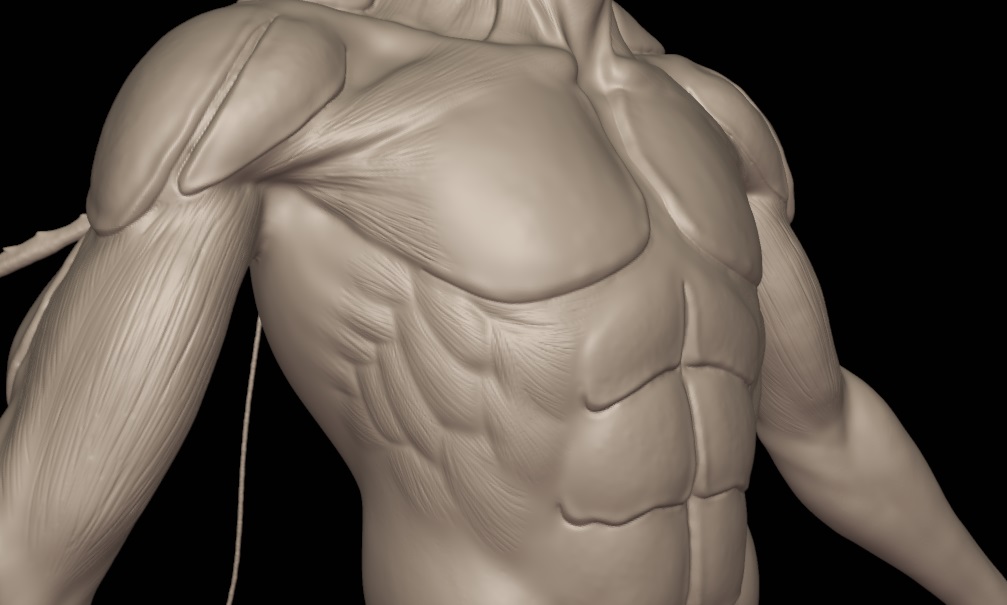
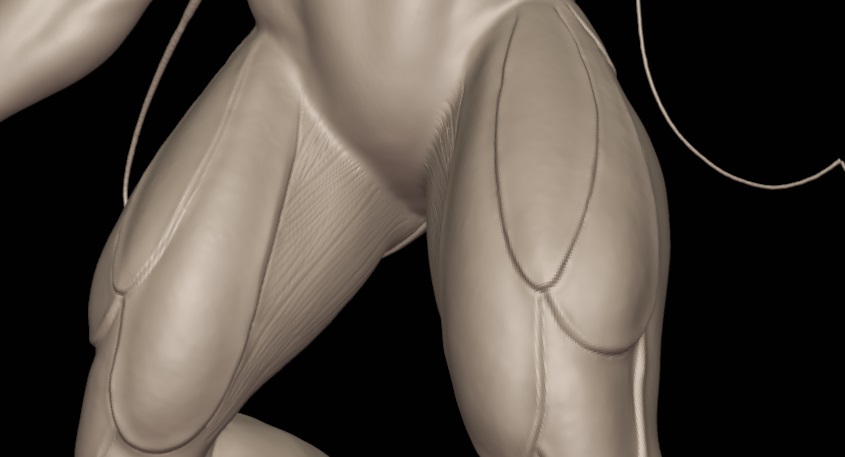
Heres the final result:
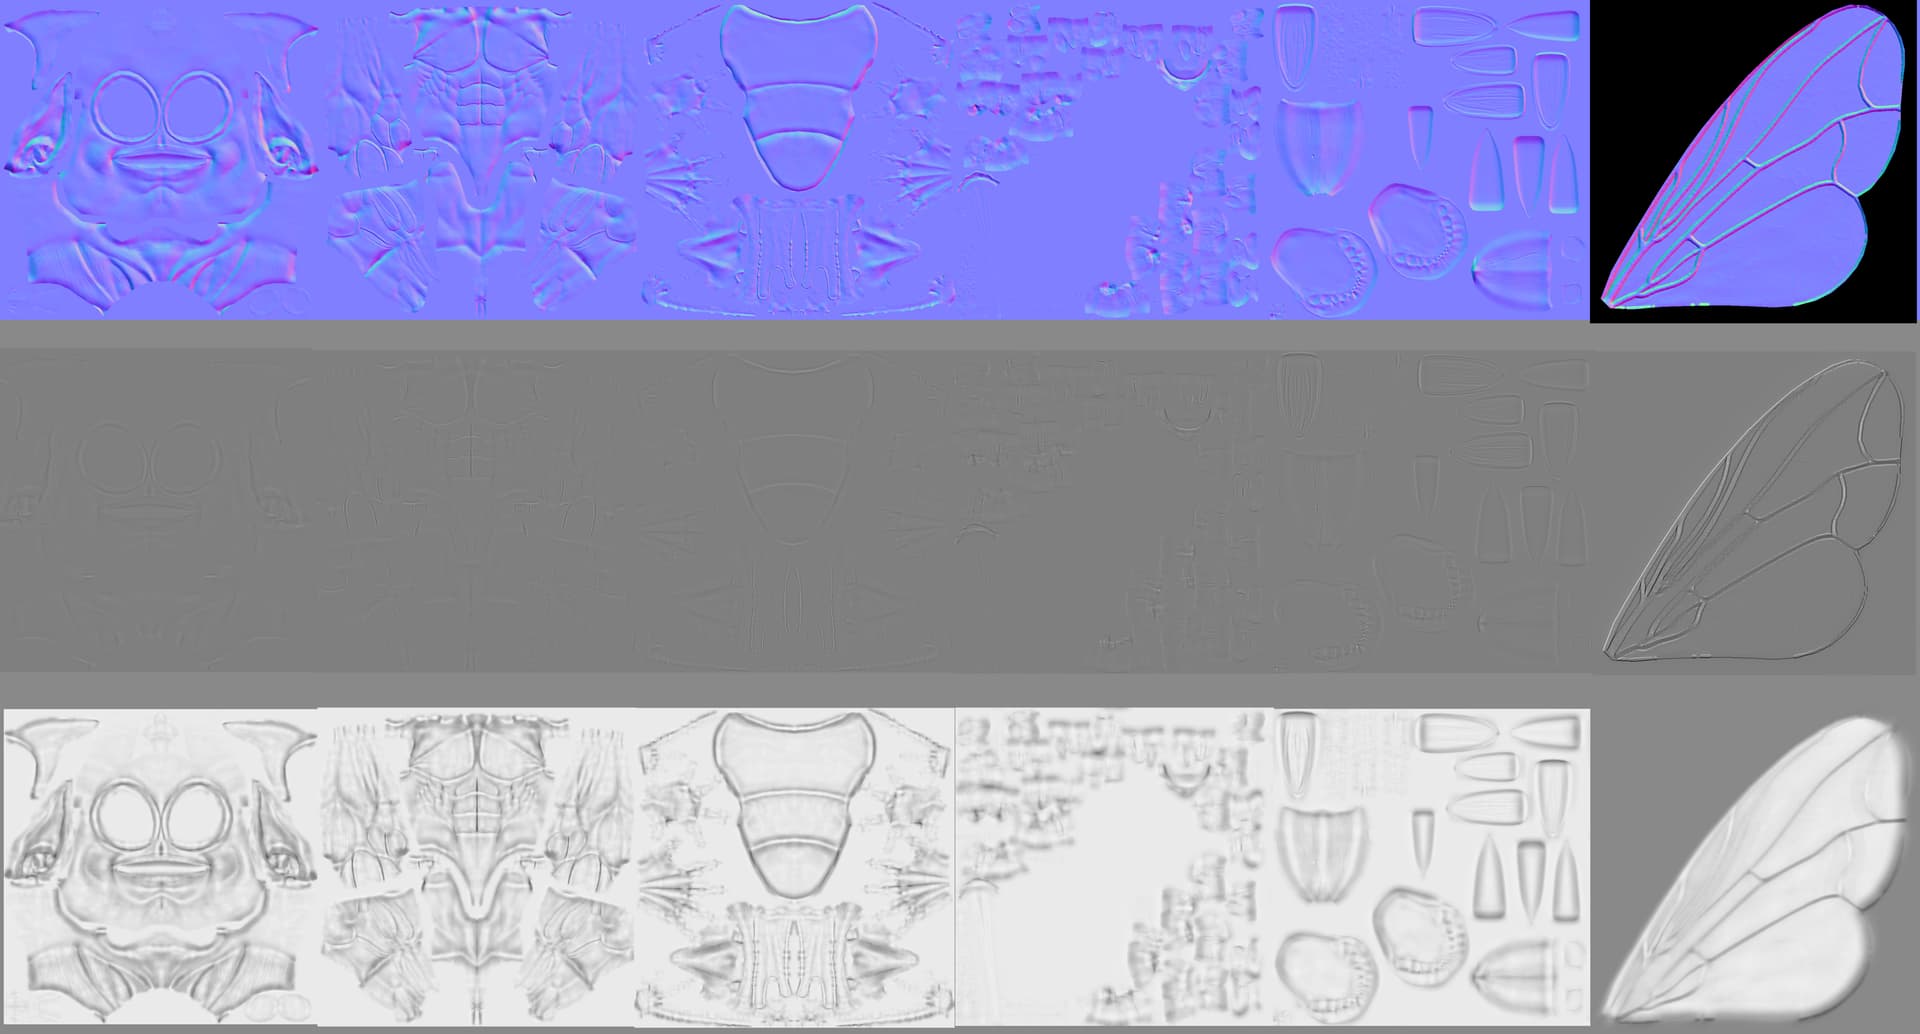
Baking
Since I used MultiRes I was able to use the data stored in it to quickly bake some normal maps. I then used an abandoned software called materialize to extract some edge and AO map from the Normals that I baked which does’nt give the best result. ![]()
Here’s the result:
Texturing!
Befor I start texturing I extracted some brushes from Krita and inverted it since blender uses the white part of the image, I then used it as a texture mask for the basic brush of blender.

Afterwards, I used the maps I baked to start texture painting.
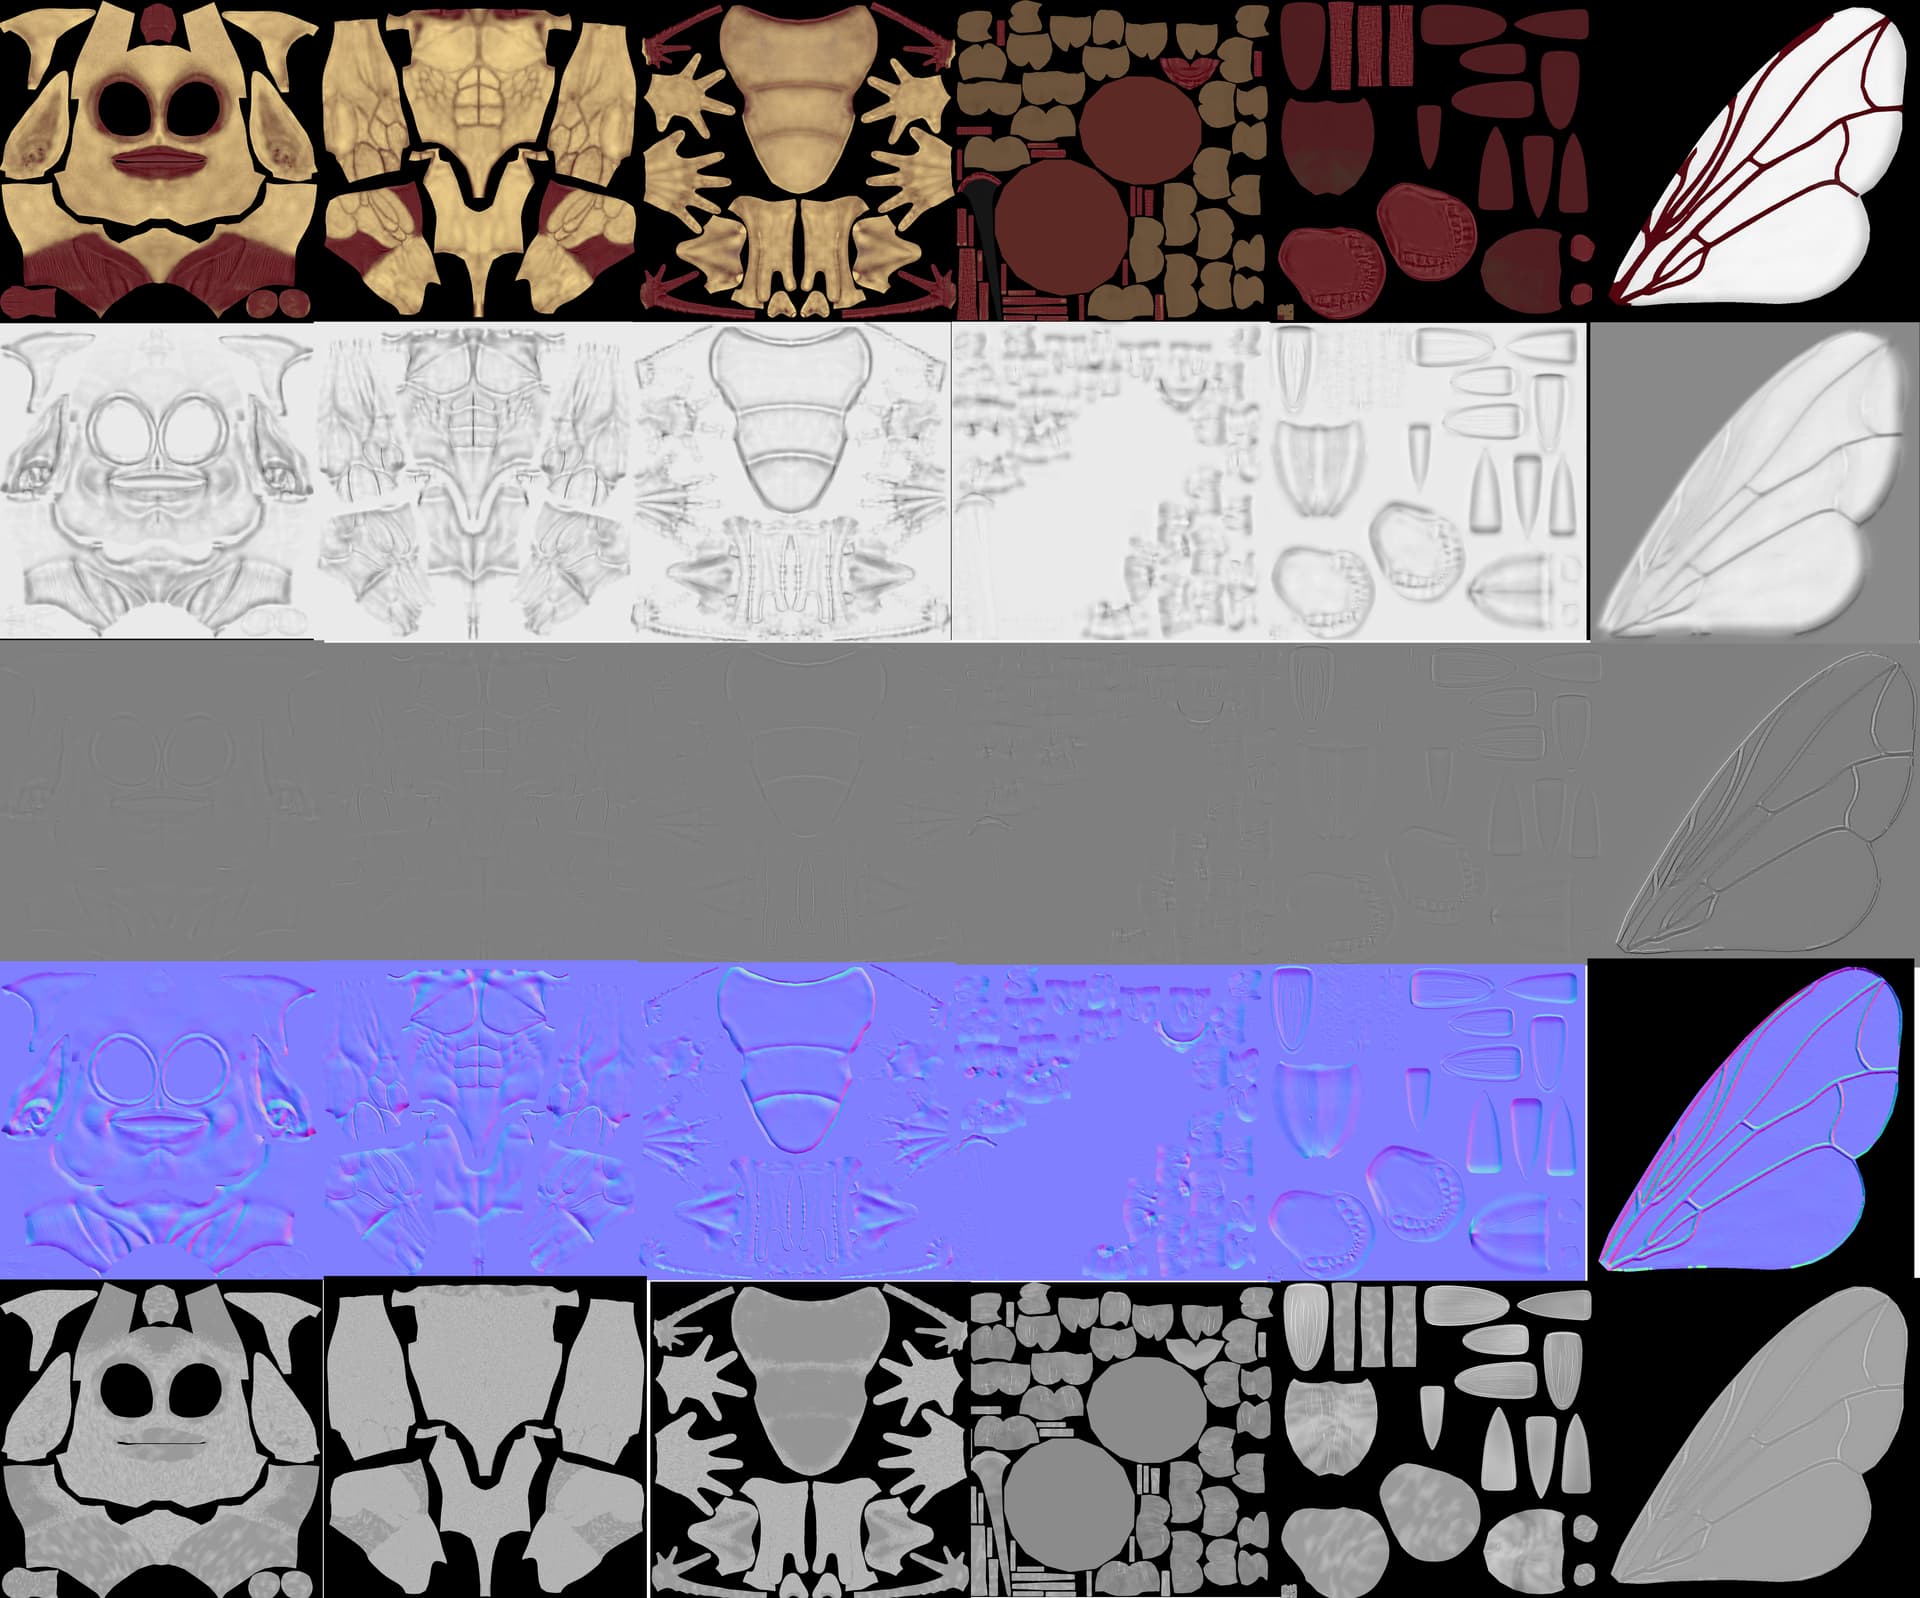
Heres the layout of all the textures after I baked them in their respective UDIMs:
Albedo, AO, Edge, Normals (NOT FLIPPED!), and the Roughness Map!
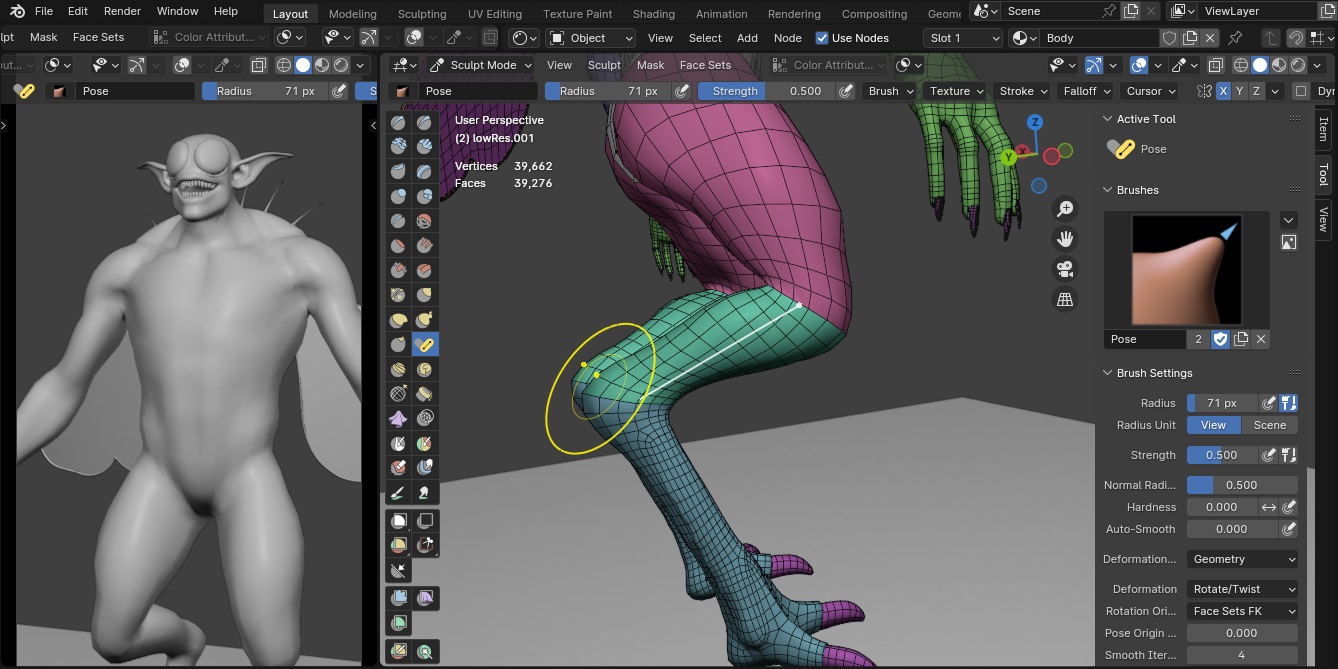
Posing
I then made a simple pose using the pose brush and face sets.
Lighting
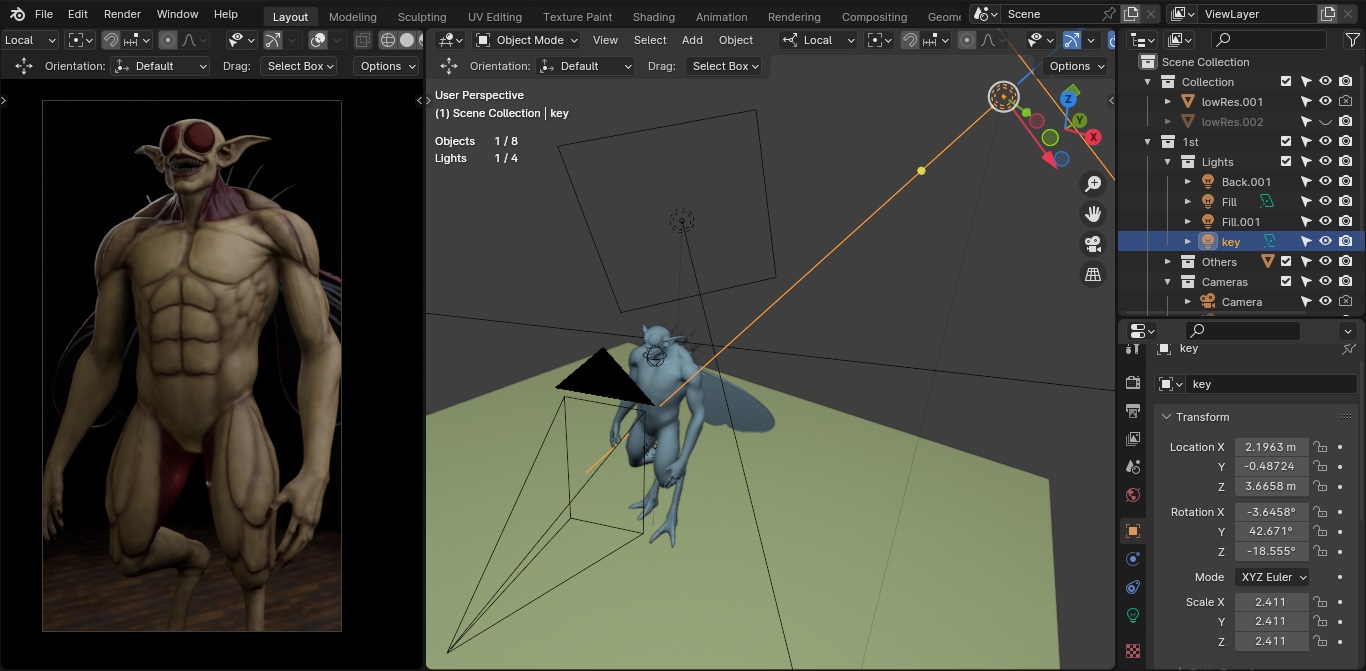
I set up the lighting and camera after this and rendered it out.
THANK YOU AND GOOD LUCK!
Thats all thank you for reading my boring a** WIP and Good Luck to all the people who participated.
THANK YOU TO FLIPPED NORMALS FOR HOSTiING THE CHALLENGE, ILL KEEP CONTINUING TO LEARN AND IMPROVE MY SCULPTING THROUGH YOUR AND OTHER PEOPLES VIDEOS. ![]()
![]()
![]()
1 Like